AI Summary
Note: This guide applies to the Elastic Email mailer in WP Mail SMTP.
What This Error Means
The Elastic Email API key in WP Mail SMTP is valid, but Elastic Email rejected the request. This usually means the key is missing the permission needed to send email, or its access is restricted.
Common Causes
- API key was created without the Plugin permission level (missing the Send email via HTTP permission)
- API key has an IP restriction that doesn’t include your server’s IP address
How to Fix
Here is the complete step-by-step guide to resolving the error.
Step 1: Check the API Key Permissions
The most common cause is a key with the wrong permission level. Fix it by editing the existing key.
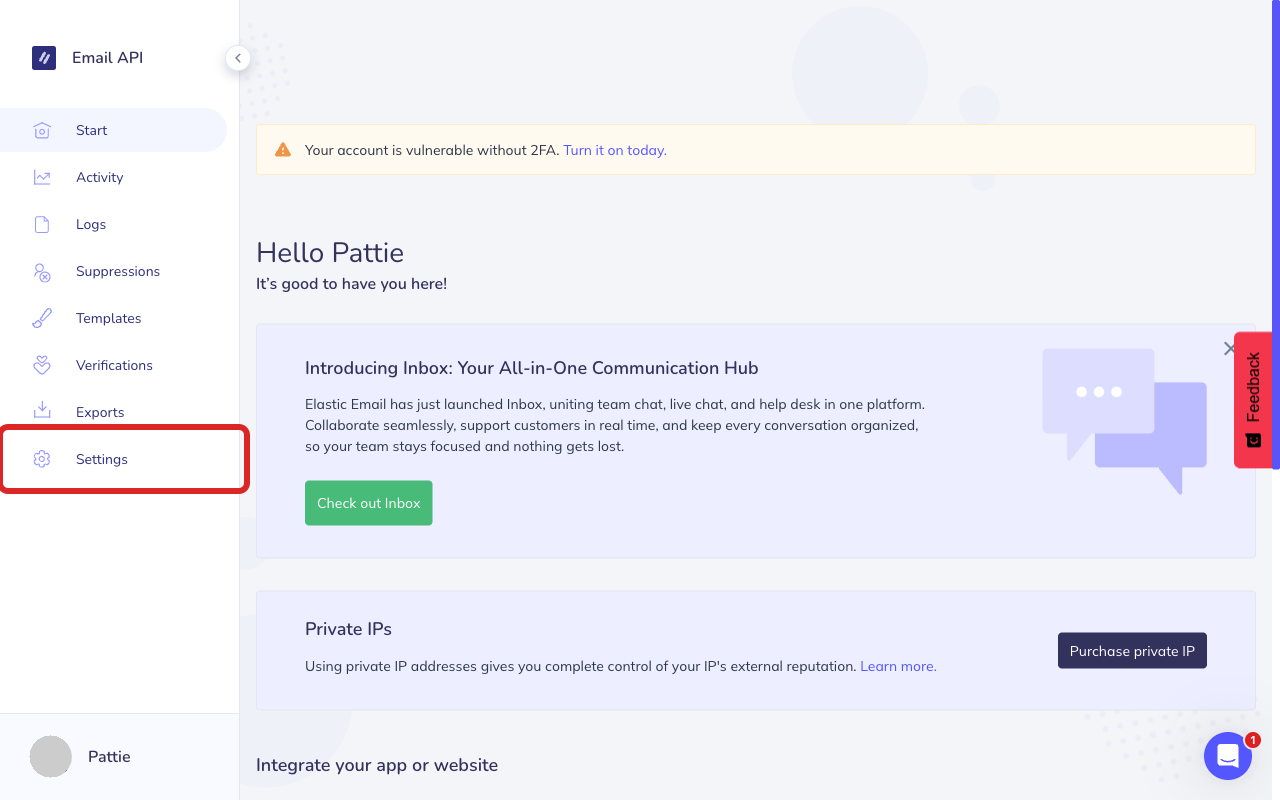
Start by logging in to your Elastic Email account. Once you’re logged in, click Settings in the sidebar.
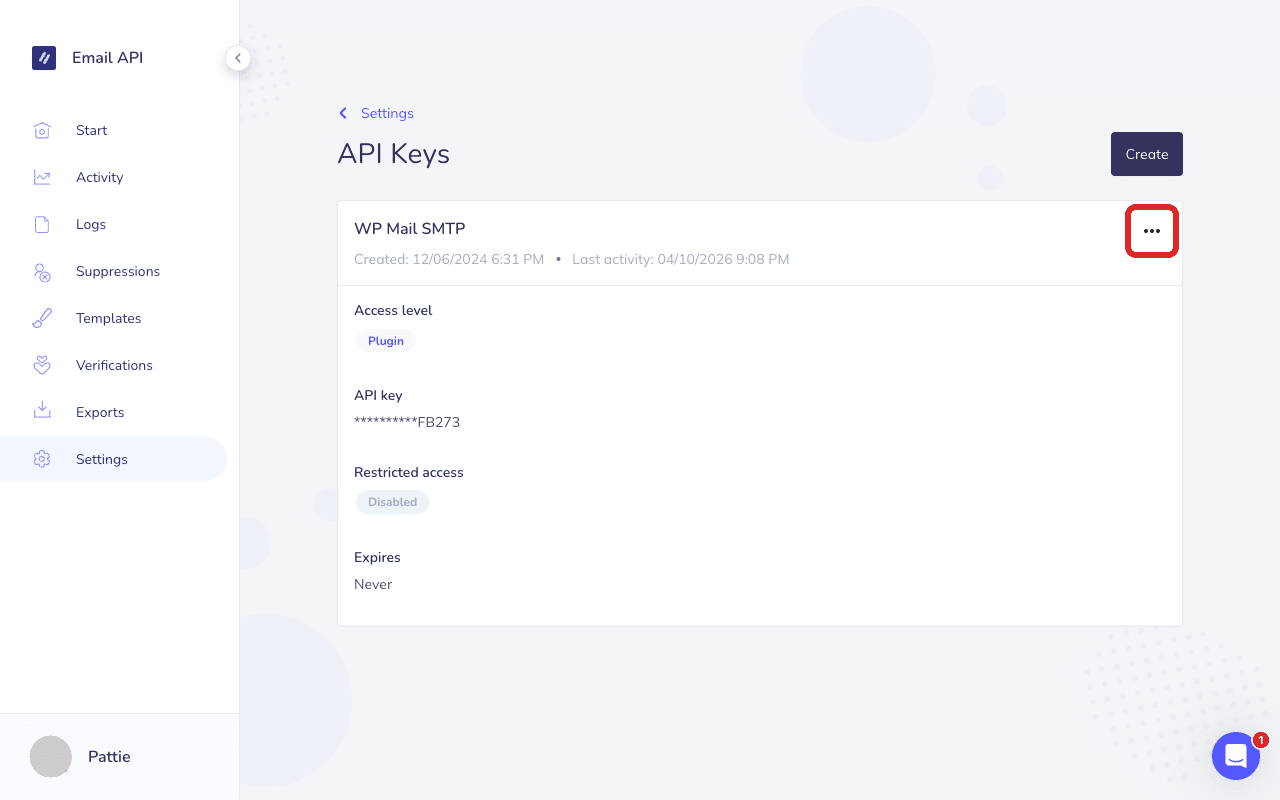
Then, click Manage API keys and select the three-dot menu icon (⋯) next to your API key.
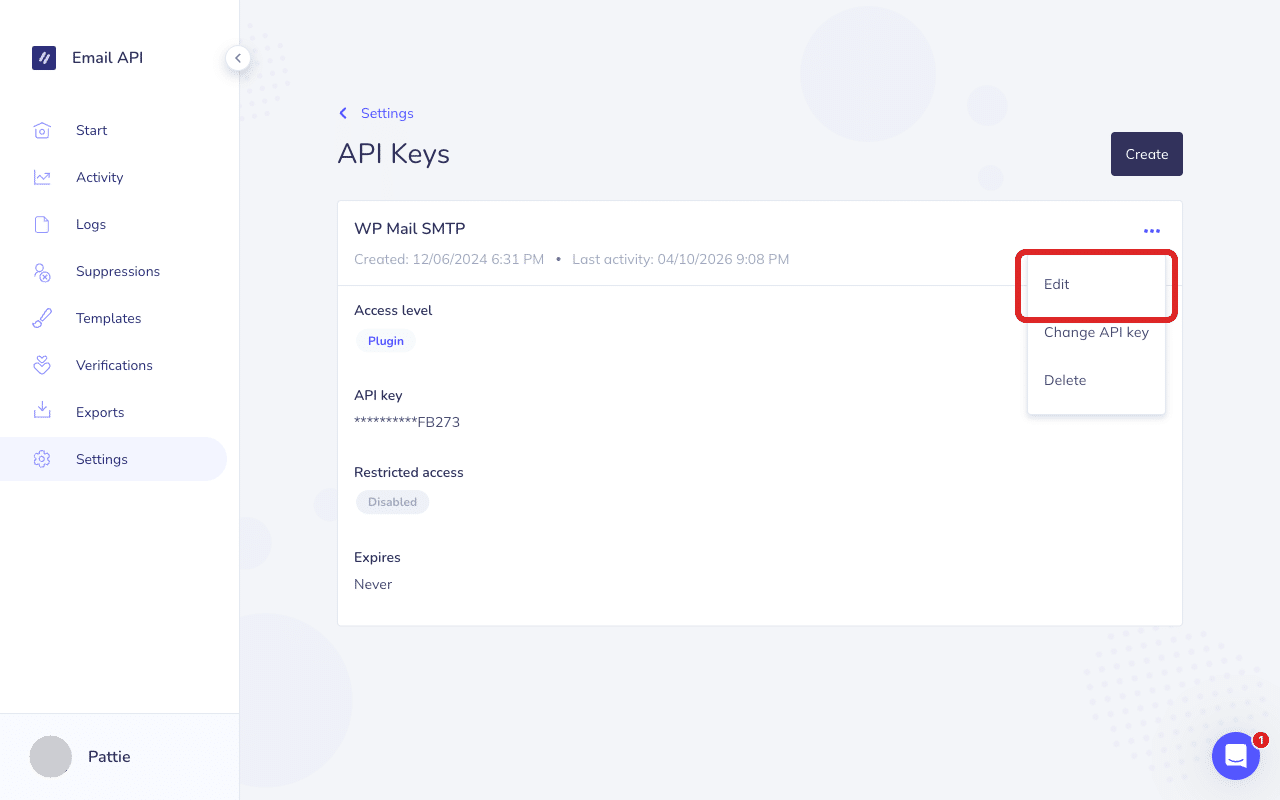
Click Edit to update the API key permission.
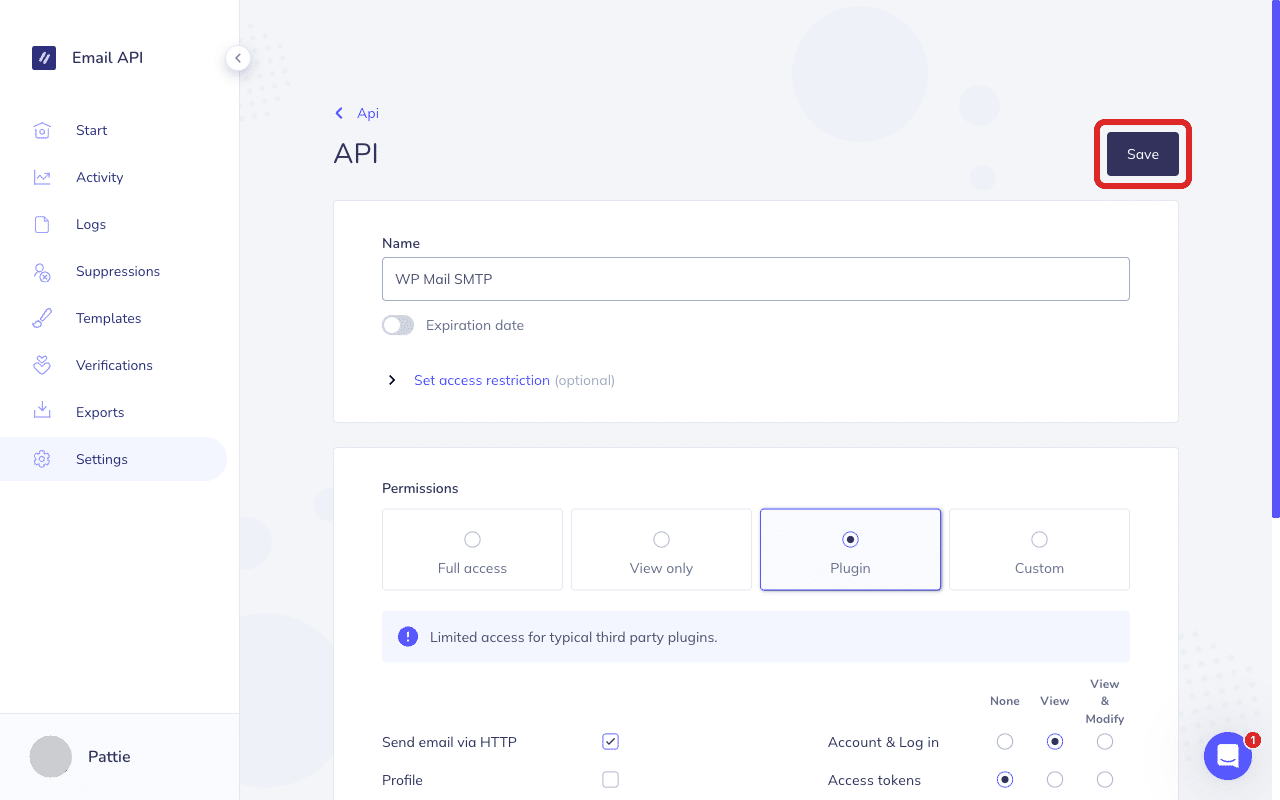
Under Permissions, select Plugin. This automatically enables the “Send email via HTTP” permission that WP Mail SMTP requires.
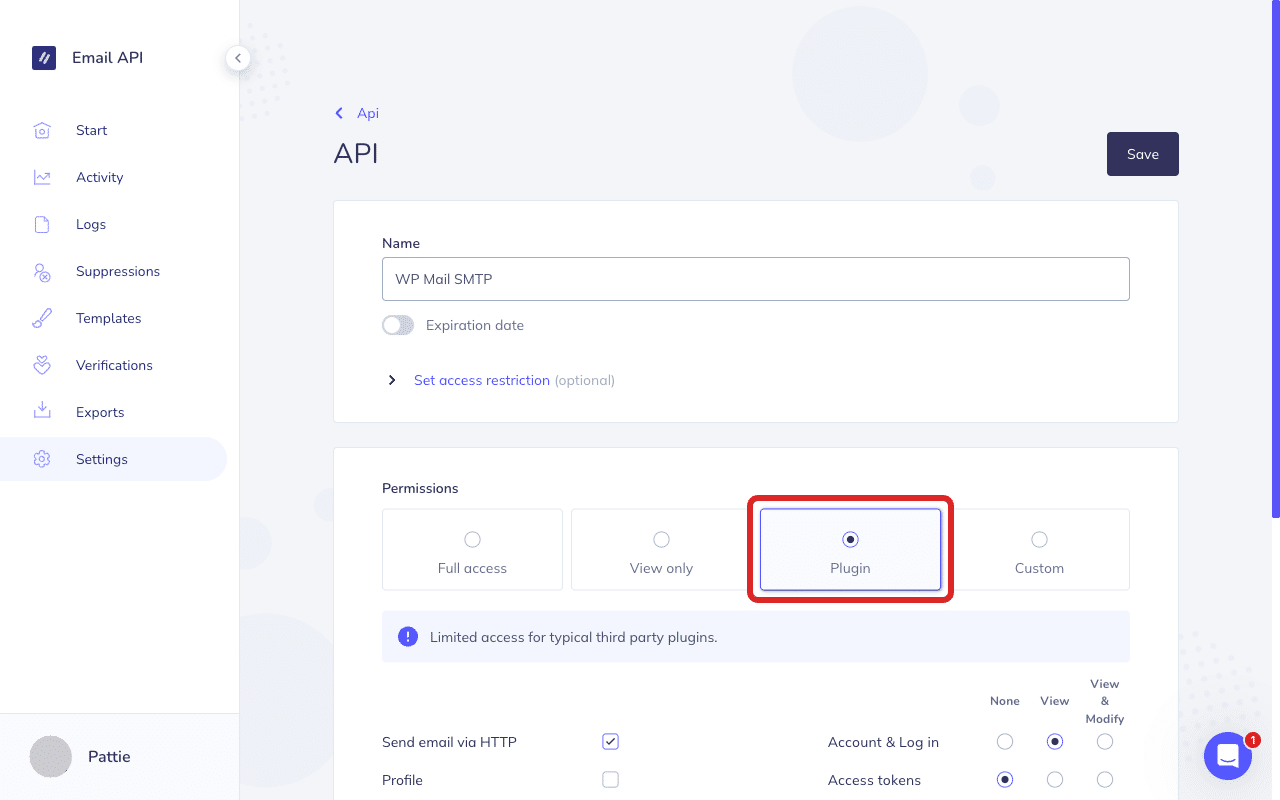
After updating the permission, click Save to save your changes.
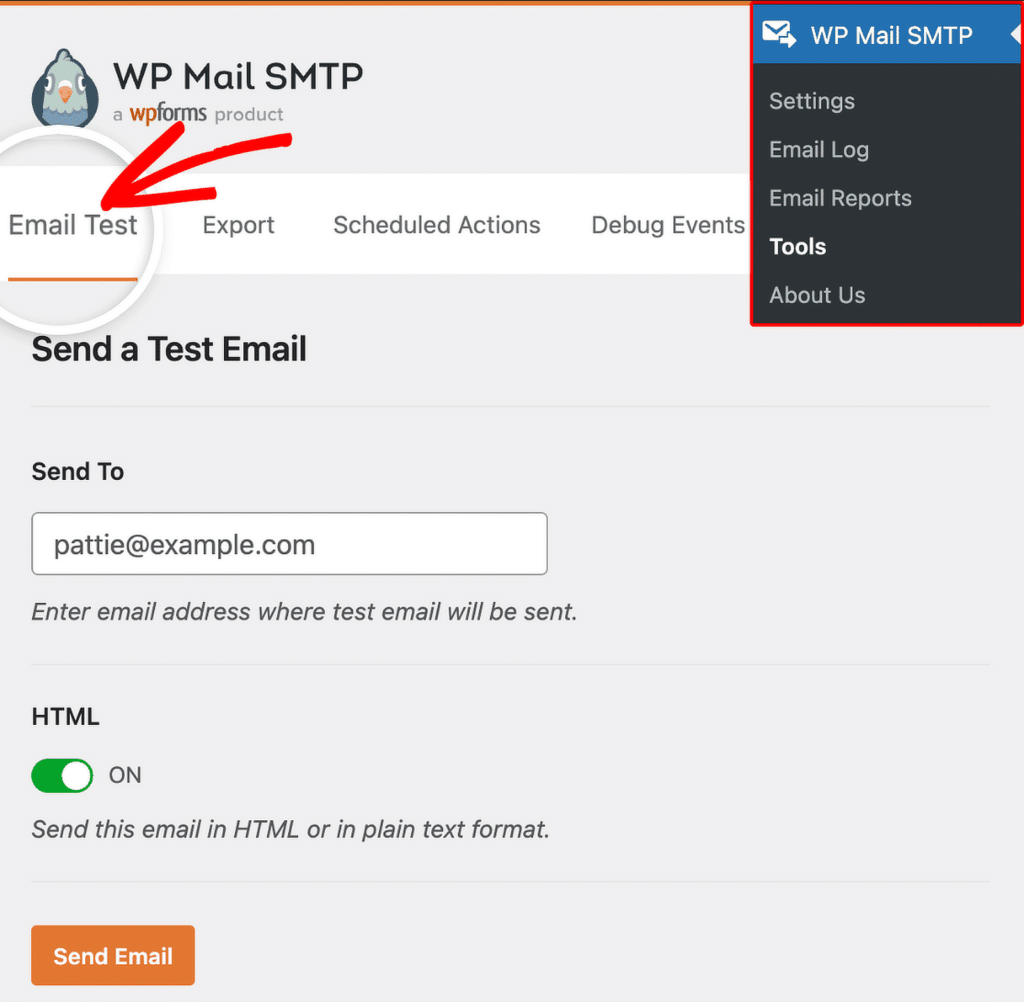
To test the fix, log in to your WordPress admin area and go to WP Mail SMTP » Tools, click the Email Test tab, and click Send Email.
If the error is gone, you’re done. If it persists, continue to Step 2.
Step 2: Check for an IP Restriction
If the permissions are already set to Plugin, the key may have an IP restriction that blocks your server. Here’s how to resolve it:
Return to your Elastic Email account dashboard and select Settings in the sidebar. Next, click Manage API keys.
After that, click the three-dot menu icon (⋯) next to your API key, then click Edit.
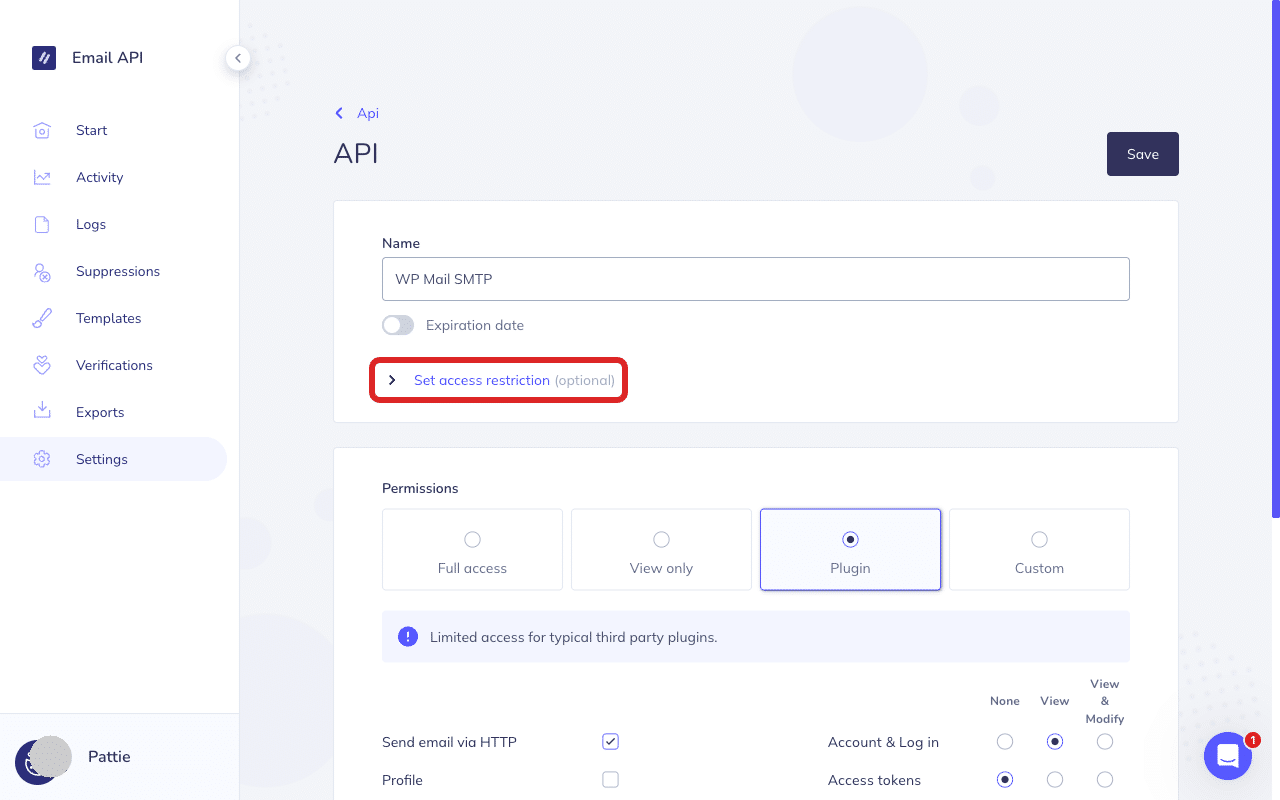
In the API setting page, click Set access restriction (optional) to expand the section.
If the IP field contains any values, your key is restricted to those IP addresses. Either clear the field entirely to remove the restriction, or add your server’s IP address.
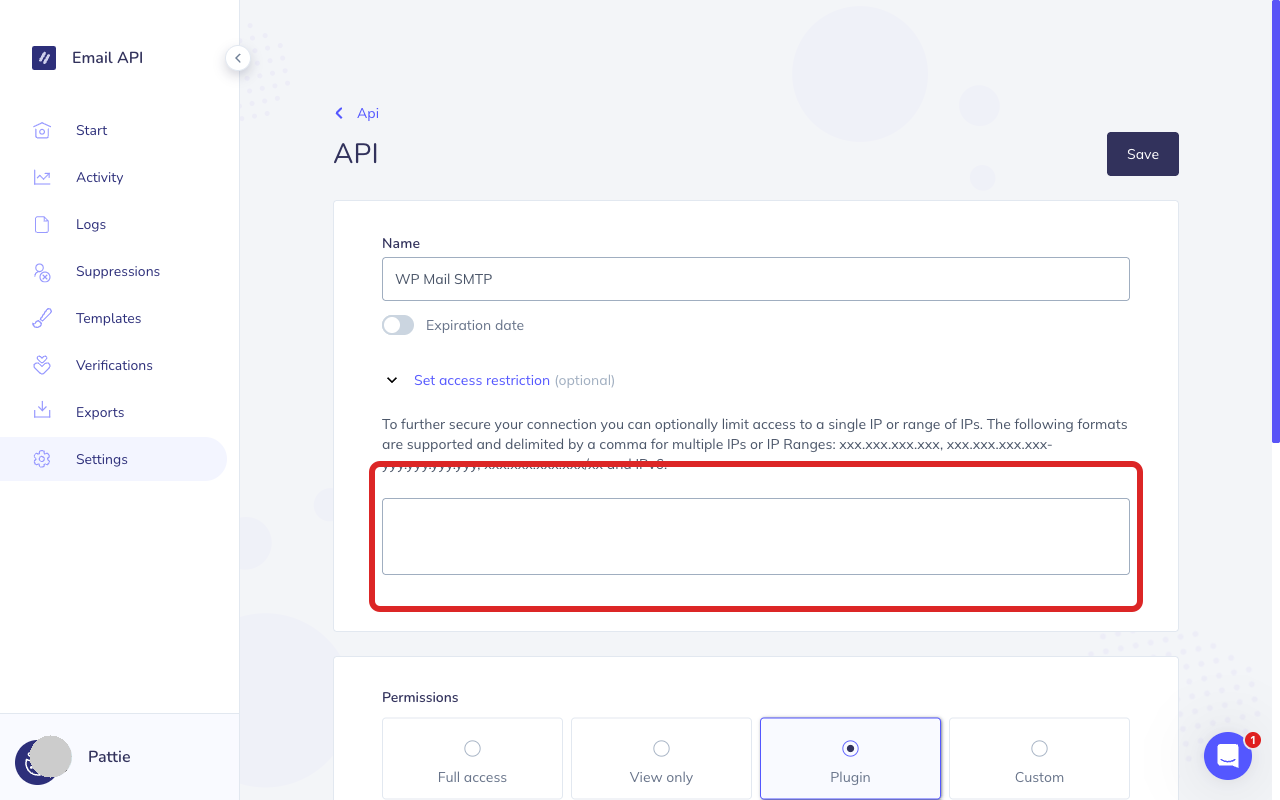
Once done, click Save to update your settings.
Then return to your WordPress admin area and send a test email.
If the error is gone, you’re done. If it persists, try creating a new API key (see below).
Alternative: Create a New API Key
If you’d rather start fresh with a new key instead of editing the existing one:
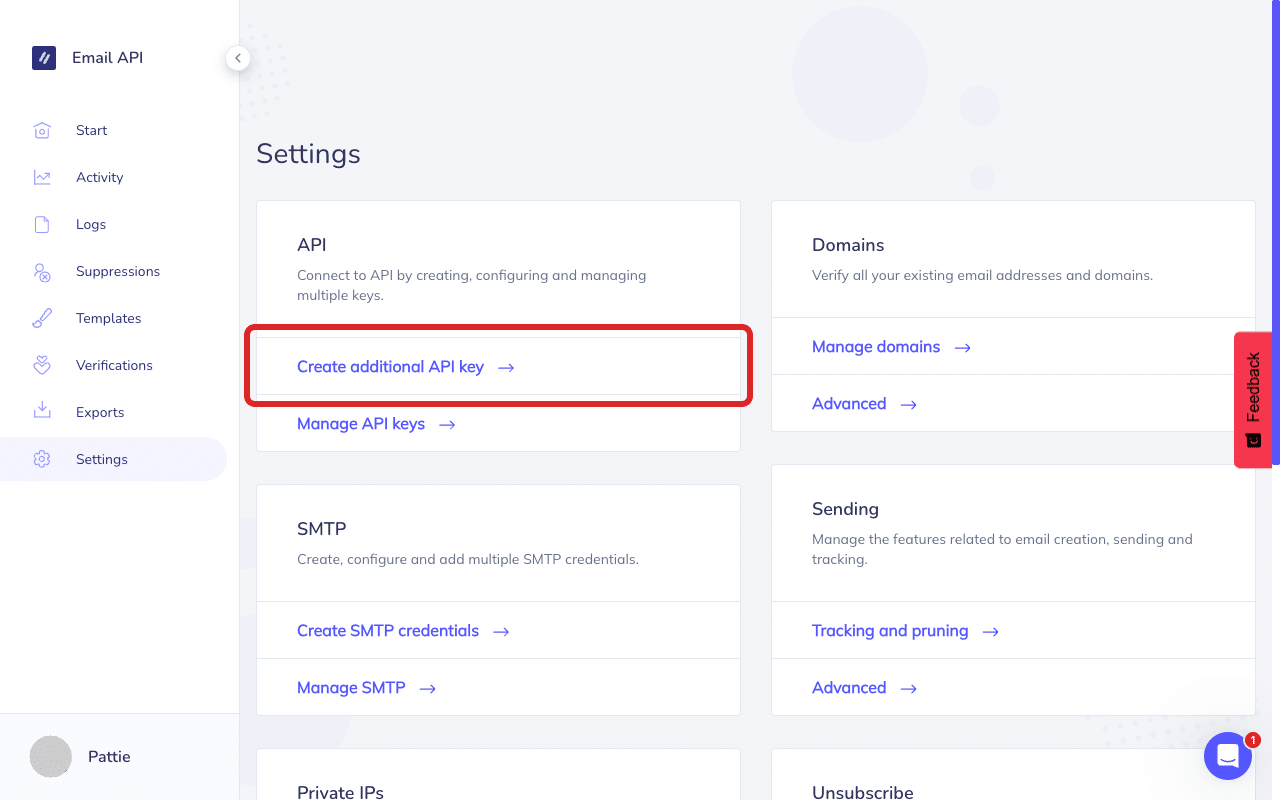
In Elastic Email, go to Settings and click Create additional API key.
Next, enter a descriptive name (for example, “WP Mail SMTP”).
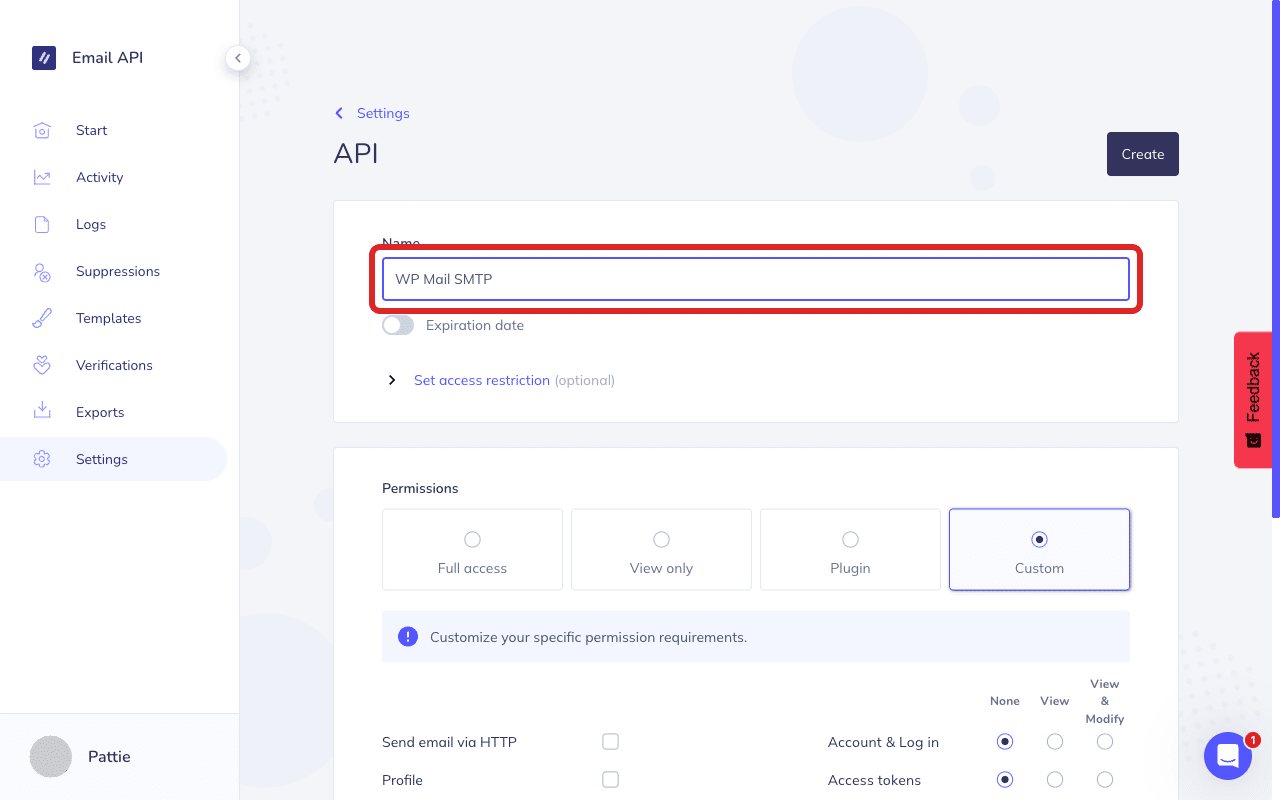
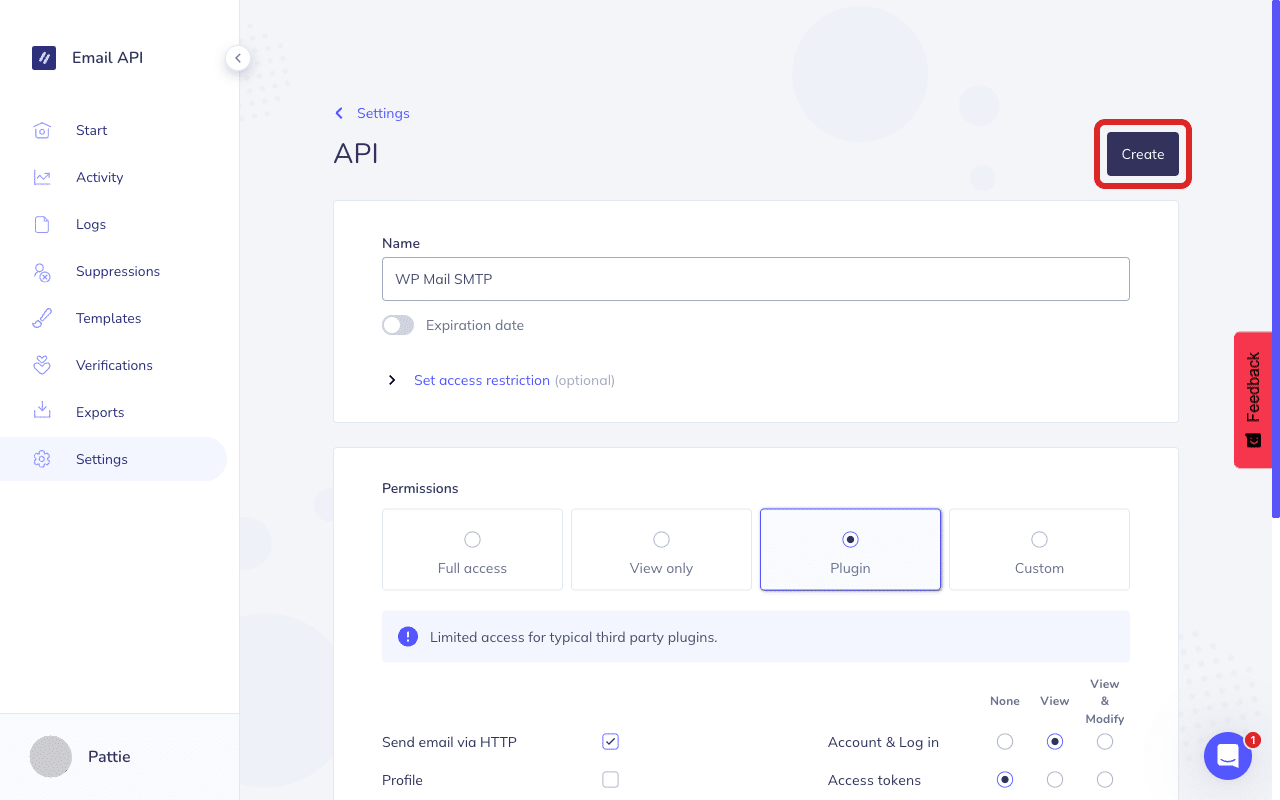
Under Permissions, select the Plugin permission level.

Finally, click Create to generate your API key.
Copy the API key immediately. Elastic Email only shows the full key once.
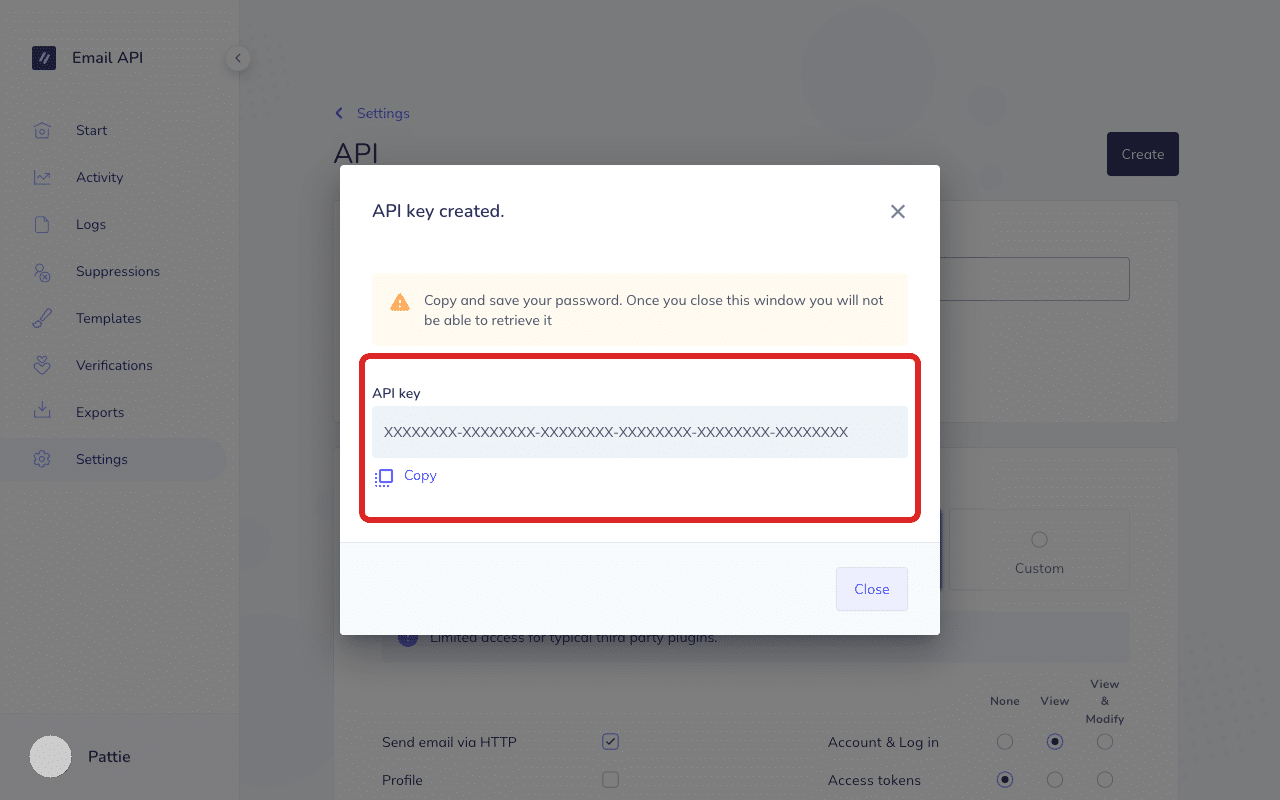
Note: Make sure to store your API key in a secure location. After closing this dialog, you can’t retrieve it.
In WP Mail SMTP » Settings, scroll to the Elastic Email section, clear the old API Key field, paste the new key, and click Save Settings.
Notes
- Elastic Email recommends the Plugin permission level for third-party integrations. It includes only the permissions WP Mail SMTP needs.
- If you don’t know your server’s IP address, ask your hosting provider or temporarily remove the IP restriction to confirm it’s the cause.
- If the error persists after fixing both permissions and IP restrictions, your Elastic Email account may be suspended or under review. Log into Elastic Email and check for alert banners at the top of the dashboard. Contact Elastic Email support to resolve account-level issues.
That’s It! You now know how to fix the ‘Access Denied’ error in Elastic Email and get your emails sending again through WP Mail SMTP.