AI Summary
Note: This guide applies to the Gmail mailer in WP Mail SMTP.
What This Error Means
The OAuth credentials (Client ID and Client Secret) stored in WP Mail SMTP are misconfigured or don’t match the Google Cloud Console application. Unlike the “token expired” variant, this is a configuration mismatch, not just a stale token.
Common Causes
- Client ID or Client Secret typo when entering in WP Mail SMTP
- Wrong OAuth client type used (e.g. Desktop app instead of Web application)
- Authorized redirect URI in Google Cloud Console doesn’t include the WP Mail SMTP callback URL
- OAuth credentials in Google Cloud Console no longer exist (deleted or replaced with new ones)
How to Fix
Here is the complete step-by-step guide to resolving the error.
Step 1: Verify the OAuth Client Type
The most common cause is an OAuth credential created with the wrong application type. Start by checking what you have.
Open the Google Cloud Console and select the project used for WP Mail SMTP. Then, navigate to APIs & Services » Credentials.
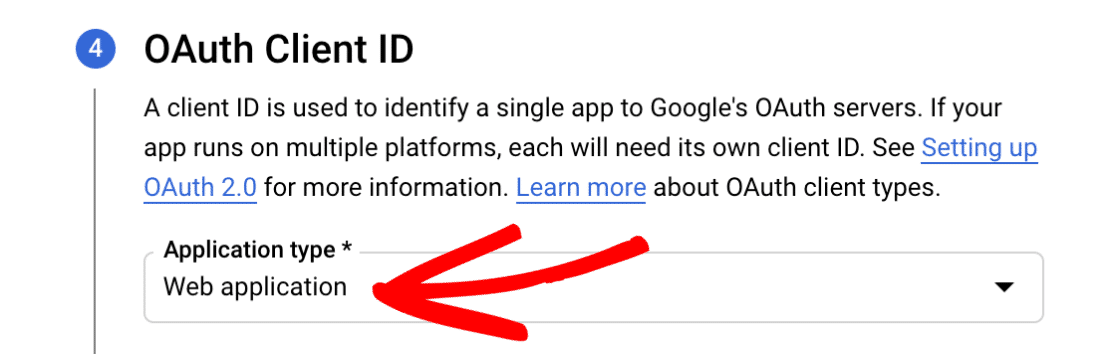
Under OAuth 2.0 Client IDs, find your credential and confirm the type is Web application. If it already says Web application, skip to Step 2. If the type is Desktop app or anything else, create a new credential.
To create a new one, click Create credentials and select OAuth client ID. Then, set Application type to Web application.
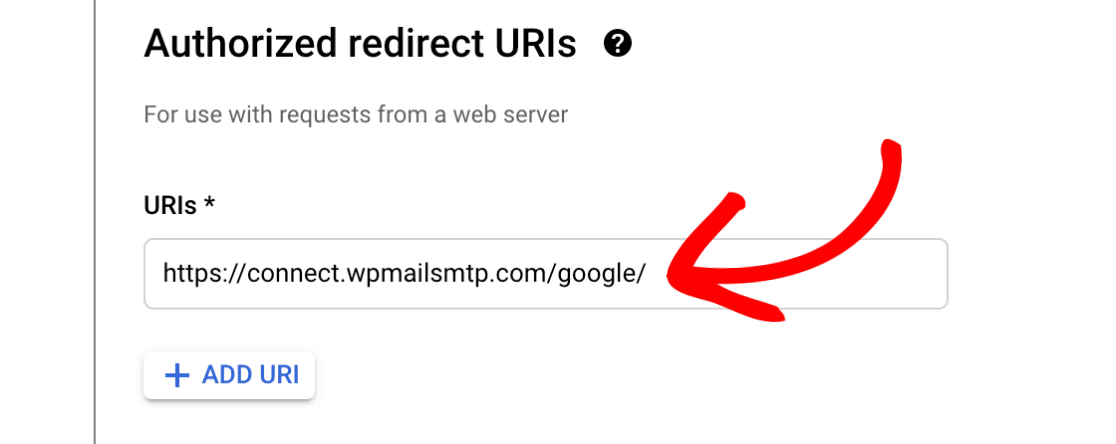
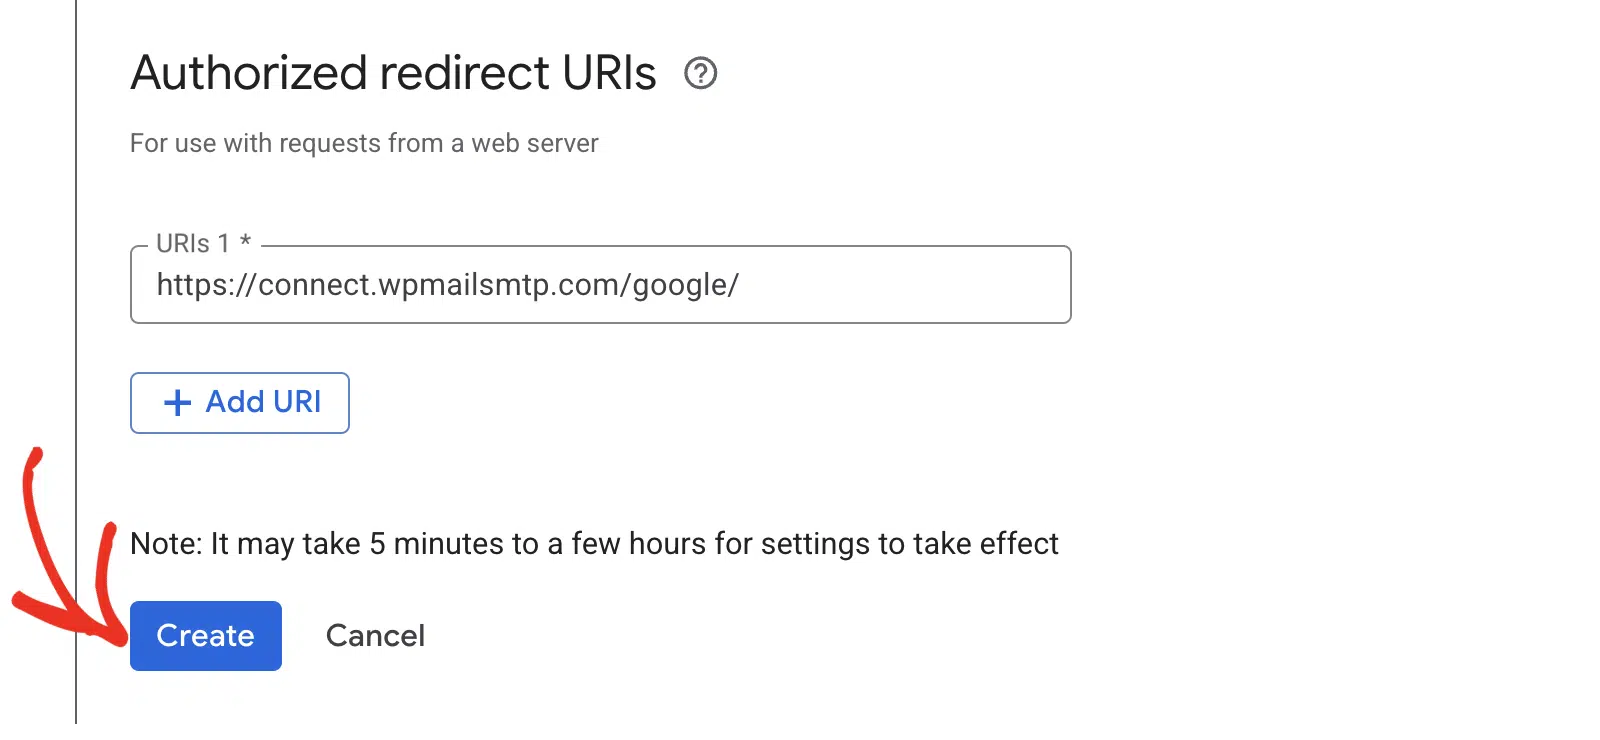
Under Authorized redirect URIs, click + ADD URI and enter https://connect.wpmailsmtp.com/google/.
Finally, click Create.
Step 2: Verify the Redirect URI
If your OAuth client already had the correct type, the next thing to check is the redirect URI.
In APIs & Services » Credentials, click the pencil icon next to your Web application OAuth client. Then, under Authorized redirect URIs, confirm https://connect.wpmailsmtp.com/google/ is listed exactly, including https and the trailing slash.
If the URI is missing, click + ADD URI, paste the URL above, and click Save.
Step 3: Copy the Client ID and Client Secret
With the OAuth client type and redirect URI confirmed, copy the credentials so you can paste them into WP Mail SMTP.
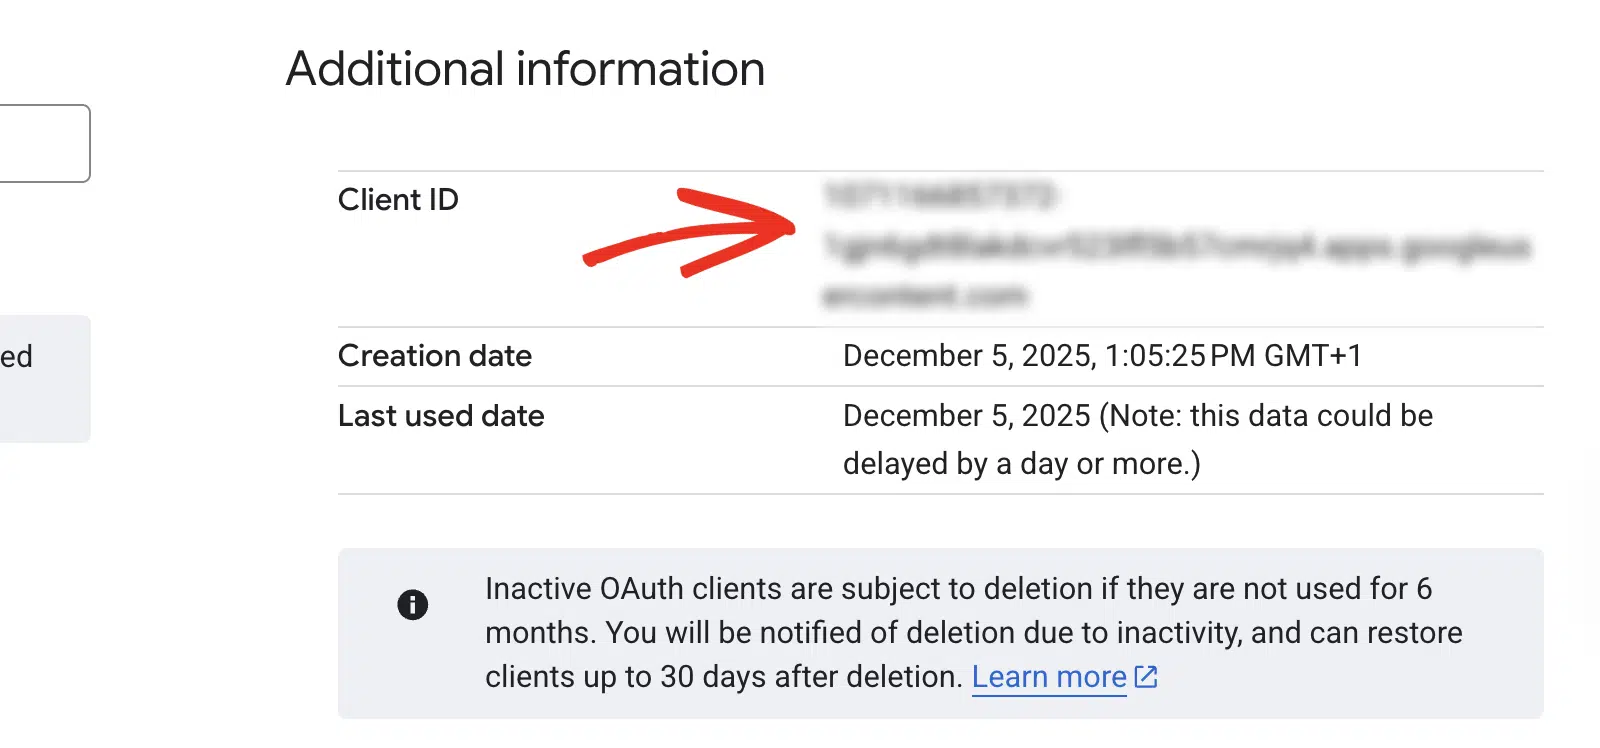
In APIs & Services » Credentials, under OAuth 2.0 Client IDs, click the pencil icon next to your credential.
Then, copy the Client ID.
Next, click + Add secret to generate a new client secret.
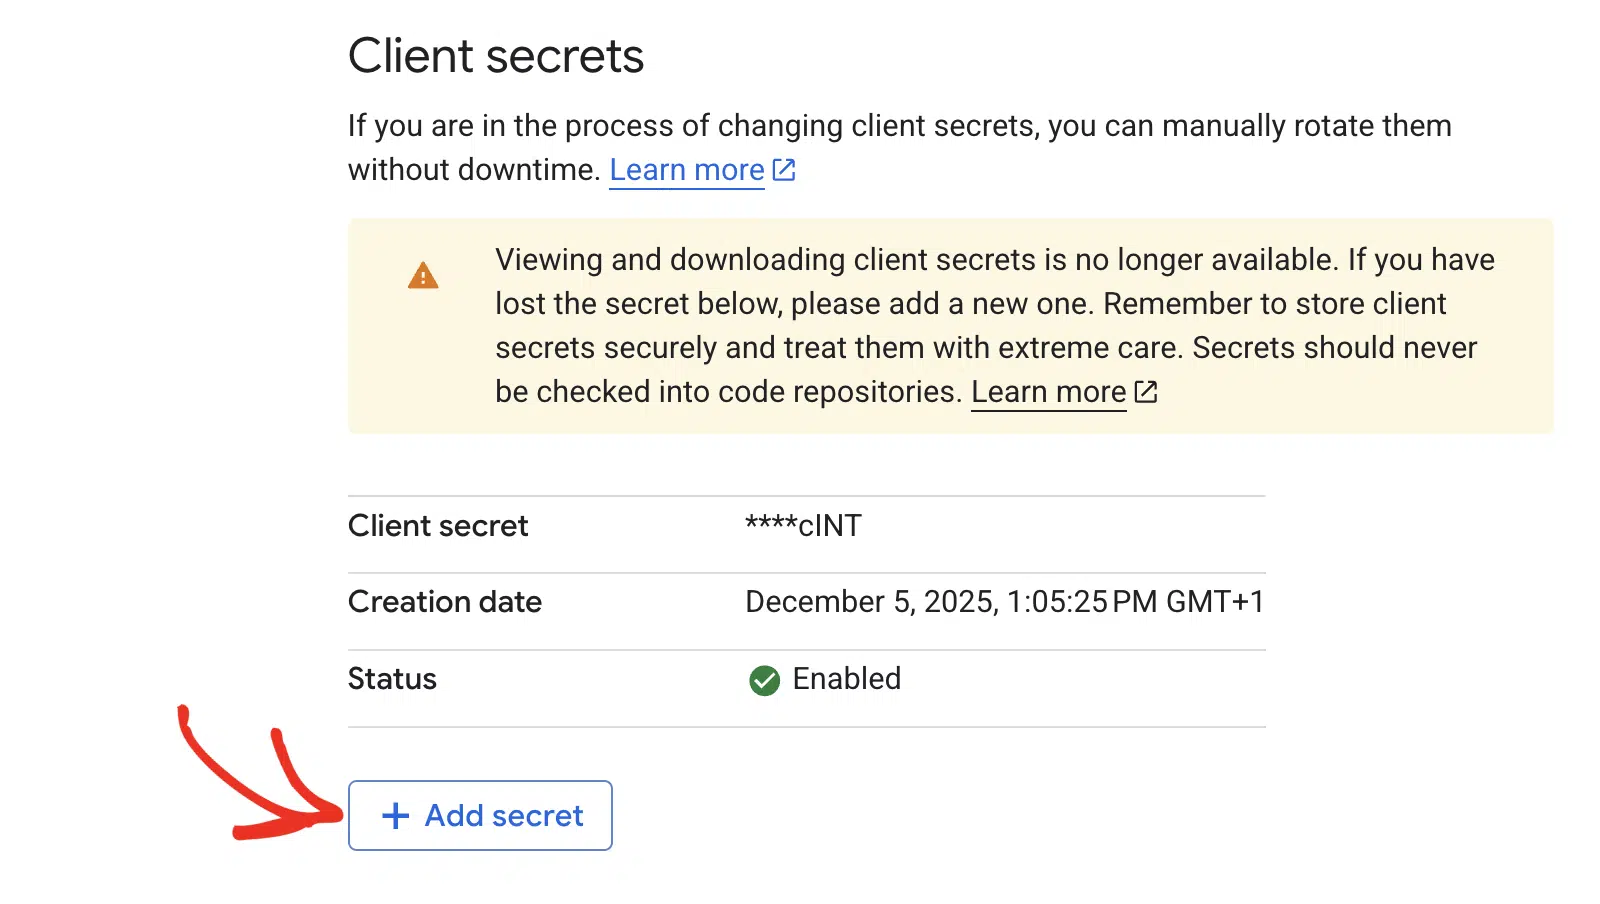
Finally, copy the Client Secret.
Note: Be careful not to copy any extra text or spaces with your Client ID or Client Secret. Google only shows the full Client Secret once.
Step 4: Update WP Mail SMTP and Re-Authorize
Now paste the new credentials into WP Mail SMTP and reconnect your Google account.
Start by going to WP Mail SMTP » Settings and scrolling to the Google / Gmail section. Then, click Remove Connection to clear the old credentials.

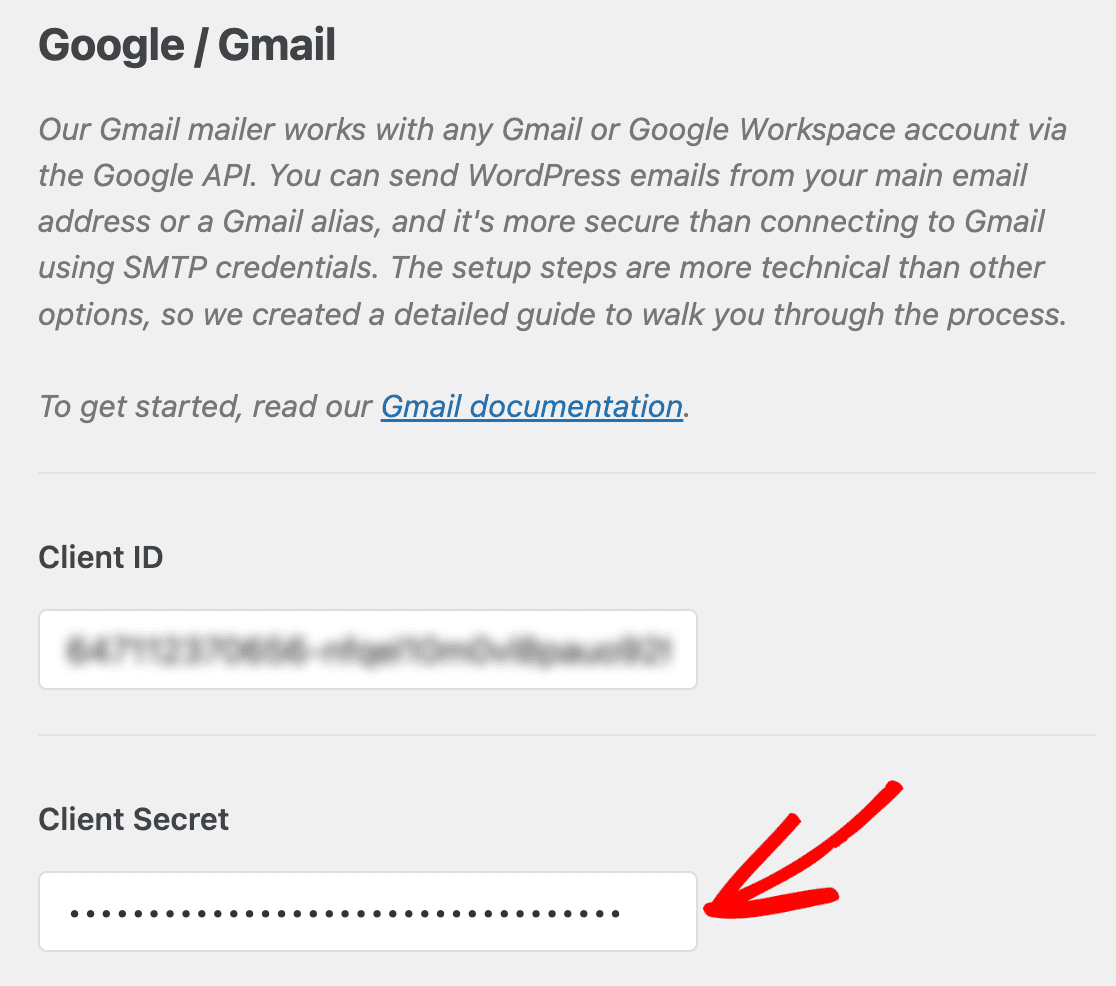
After that, paste the new Client ID and Client Secret into the corresponding fields.
Next, click Save Settings, then click Allow plugin to send emails using your Google account to start the OAuth flow.
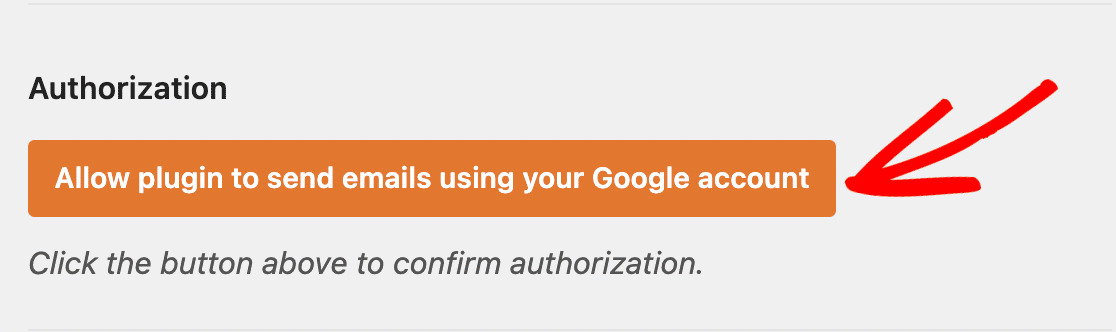
Finally, select your Google account and grant the requested permissions.
Step 5: Send a Test Email
Confirm the fix by sending a test email.
To test the fix, go to WP Mail SMTP » Tools and click the Email Test tab. Enter a recipient address in the Send To field, leave the HTML toggle ON, and click Send Email.
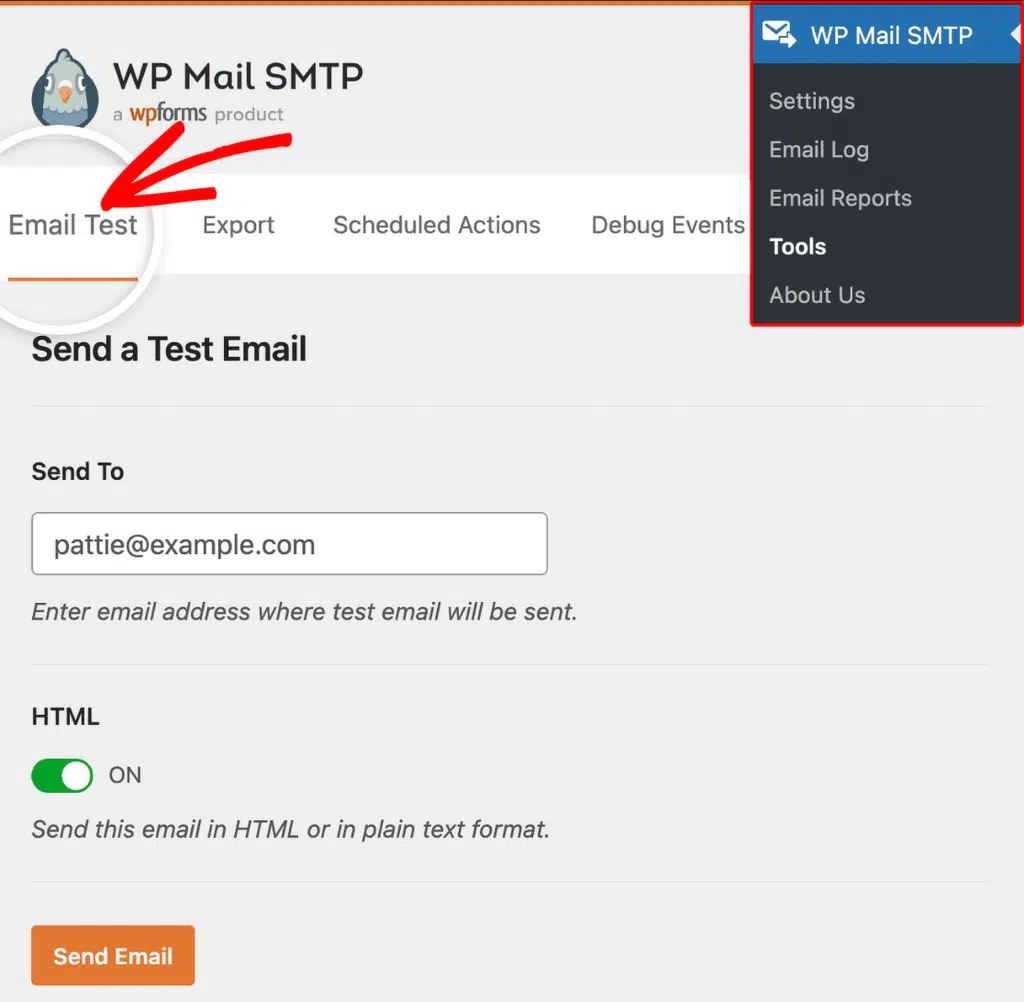
Once done, check for a success message and confirm the email arrived in your inbox.
Notes
- The redirect URI must match exactly, including
httpsvshttpand trailing slashes. - If the Gmail API isn’t enabled, go to APIs & Services » Library, search for “Gmail API”, and click ENABLE.
- If the error recurs every 7 days after fixing credentials, the Google Cloud project may be in “Testing” mode. Publish the app to production in APIs & Services » OAuth consent screen » Audience and click PUBLISH APP.
That’s It! You now know how to fix the ‘invalid_grant: Bad Request’ error in Gmail and get your emails sending again through WP Mail SMTP.