Would you like to use Brevo (formerly Sendinblue) to improve email deliverability on your WordPress site? Brevo is a solid mailer option for WP Mail SMTP, as it’s both super reliable and has a straightforward setup process.
This tutorial will show you how to use the Brevo mailer in WP Mail SMTP.
What Is Brevo?
Brevo (formerly Sendinblue) is an all-around digital marketing solution. While our focus here will be on its tools for improving email delivery, it also offers a popular email marketing service. Both services can be set up from the same account.
In order to use Brevo effectively, you’ll need to have an email address associated with a domain that you own. Email addresses such as @gmail.com, @yahoo.com, etc., are not recommended for use with this mailer.
- Cost: Both free and paid plans are available, depending on how many emails you need to send out. You can use the free plan can to send up to 300 emails per day, which is plenty for many small businesses and personal sites. Please see Brevo’s site for more details about available plans.
- From Email Requirements: While Brevo works with any From Email, we strongly recommend using a domain-specific email to improve reliability.
- Bottom Line: Brevo is a recommended mailer it is easy to set up, and features a robust free option without credit card requirements. Most notably, its services are rather reliable.
Note: For more information about supported mailers, please see our complete guide to mailers in WP Mail SMTP.
Activating Your Brevo Account
Note: This step is for users who do not already have a Brevo account. If you do have an active Brevo account, you can proceed to Step 2.
To get started, you’ll need to have a Brevo (Sendinblue) account. If you don’t have one yet, you can create a new Brevo account. It does not require a credit card for signup.
Once you enter your email address, you’ll need to check your inbox for a message from Brevo. In that email, click on the Confirm my email address button.

This will bring you back to your Brevo account, where you’ll need to provide some information about yourself, starting with your name and company name.

Brevo will then ask for your company name and address.

Next, Brevo will ask for your company’s details such as how many team members you have, how many contacts you have on your mailing list, and whether you plan to sell products online.

Next, Brevo will ask you to input your phone number. Once you’ve done that, simply click the Save button to continue.

After you fill out all the required fields, you’ll be able to choose a plan. We’ll be using the Free option, but the setup process will be the same regardless of which one you select.

Once your account is set up, you can proceed to the next step.
Authorizing Your Domain
To ensure that your emails deliver successfully, next you’ll need to authorize your domain in Brevo. This must be the same domain as used in your From Email.
For instance, if your From Email is [email protected], then the domain you’d need to verify in Brevo would be example.com.
Setting Up a Domain in Brevo (Sendinblue)
To start the domain verification process, go ahead and sign in to Brevo.
Once you’ve logged in, click on your company name in the top right corner of the screen, then select Senders & IP from the menu.

On the next page, click on the Domains option.

Then, click the Add a domain button.

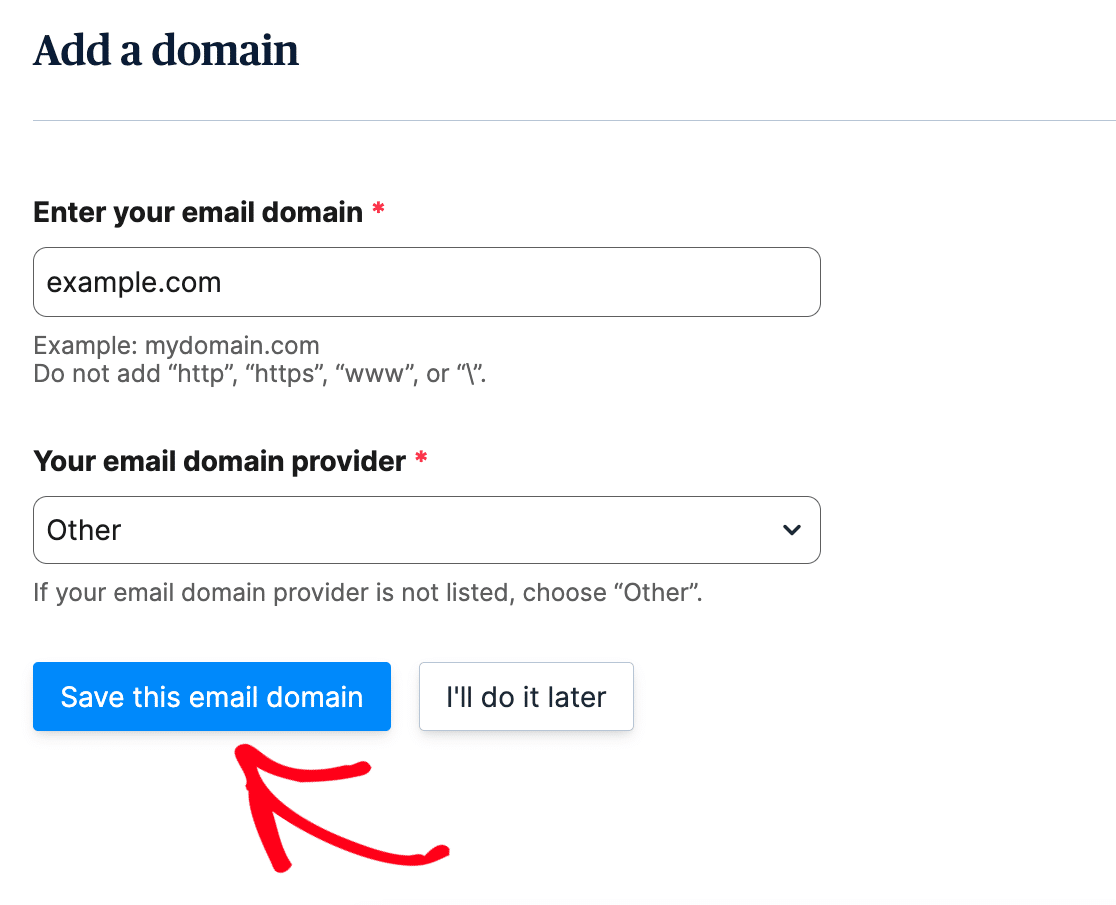
Next, you’ll need to enter your email domain and select your email domain provider. If your unsure of who your email domain provider is, or if it isn’t listed, select the Other option from the dropdown.
When you’re ready to proceed, click the Save this email domain button.
Adding DNS Records
Once you click Save this email domain, you will be taken to a new page that shows several DNS records listed. As a way of both protecting site owners and their visitors, you’ll need to authorize your domain by adding records to your site’s DNS settings. Over time, domain authorization has become increasingly critical for reliable email delivery.
To proceed, you’ll need to open a new browser tab or window. Then log in to the service where you purchased your site’s domain (which is most often your site’s hosting provider) and locate your site’s DNS settings.
Note: If you’re not sure where to find your site’s DNS settings or feel unsure about making changes, please contact your site’s hosting provider before making adjustments.
Or, for more details on modifying your site’s DNS, you can check out our guide to adding DNS records for SMTP setup.
Once your DNS settings are open, you should see an option to add a new record.
To make it possible for Brevo to authorize your domain, you’ll need to add two TXT records to your site’s DNS. Be sure to copy them carefully, as you’ll need the exact values from your Brevo account for the verification to work.
We’ll go through more details on how to add each DNS record below. We’ll use example.com as our domain. Make sure to replace it with your own when adding your DNS records to your settings.
TXT Record (Brevo code)

- Host/Name:
example.com - Record Type:
TXT - TTL:
24 hours(or 1 day/86400 seconds, depending on which units your DNS uses) - Text/Data: Copy from Brevo (this will be unique for each domain)
TXT (DKIM) Record

- Host/Name:
mail._domainkey - Record Type:
TXT - TTL:
24 hours(or 1 day/86400 seconds, depending on which units your DNS uses) - Text/Data: Copy from Brevo (this will be unique for each domain)
Note: If your DNS is managed by GoDaddy, then be sure to set the TTL (Time To Live) to 1 hour. You’ll need to use this 1 hour TTL for all three of these records.
TXT (Optional DMARC Record for Google and Yahoo Users)
According to the most recent sender requirements from Google and Yahoo, establishing a DMARC policy on your domain is recommended.
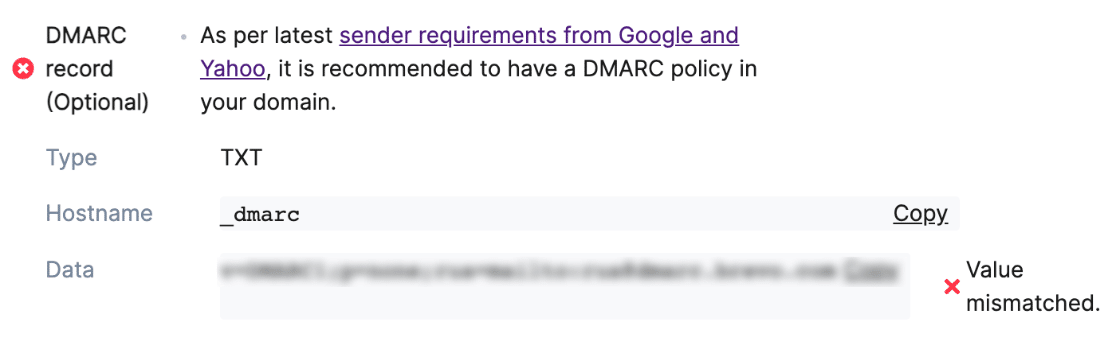
- Host/Name:
_dmarc - Record Type:
TXT - Text/Data: Copy from Brevo
Verifying Your DNS Records
After you’ve added these records, it can take up to 24-48 hours for them to propagate so that Brevo can verify them. However, in some cases, these records can be verified much more quickly. You can go ahead and try clicking the Authenticate this email domain button as a quick test.

Once Brevo verifies your record, it will add a green Value Matched status to the right of the record in the list.

However, there’s no need to wait on this right now! You can move ahead to the next step while you wait for this verification to complete. Just be sure to keep this tab or window open, as you’ll need it a little later.
Note: If you’re using a subdomain when verifying your DNS records, be sure to use the same subdomain in the From Email setting in the WP Mail SMTP plugin (e.g., [email protected]).
Setting Up WP Mail SMTP
In this next step, we’ll switch over to setting up WP Mail SMTP.
Before you get started on this section, be sure to install and activate the WP Mail SMTP plugin.
Once WP Mail SMTP is installed, you’ll need to go to WP Mail SMTP » Settings » General to open the plugin settings page.
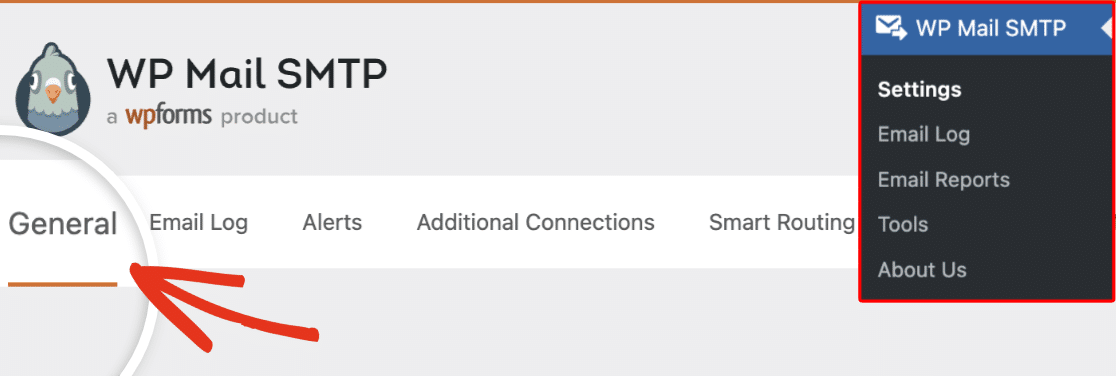
We’ll discuss each of these settings in detail below.
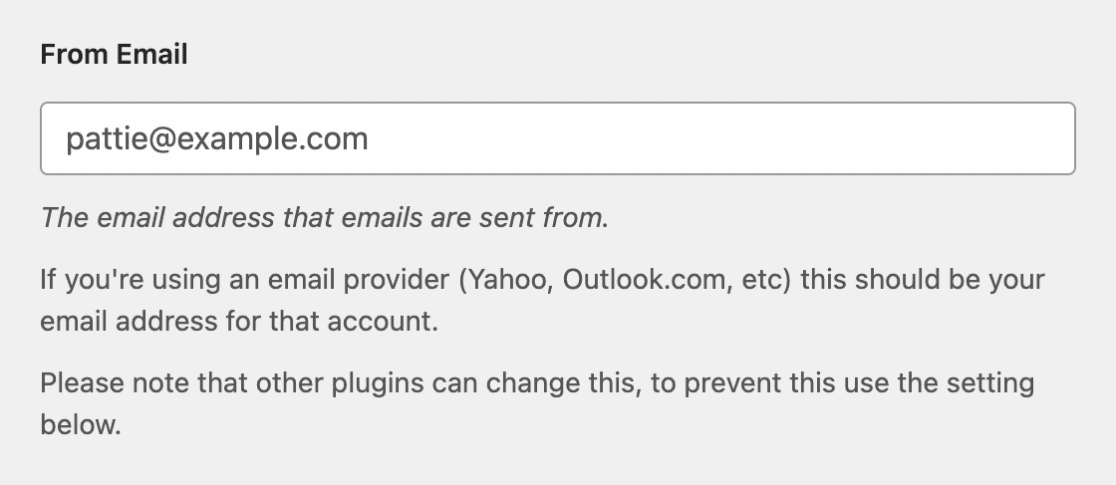
From Email
The From Email is the email address that all of your site’s emails will be sent from. This email address must contain the same domain you authorized in Brevo.
For example, if you authorized example.com, the From Email address must contain example.com (e.g. [email protected]).
You can also choose to check the box labeled Force From Email. If you’d like the From Email to be the same site-wide, this option will save you the trouble of editing the email settings throughout your site, such as in other plugin settings.
Note: For more details, see our guide to understand how the Force From Email setting works.

Note: If you’d like to receive emails in Brevo at the same email address as your From Email, you’ll need to connect your account to Brevo via IMAP. For this address to receive emails, a working inbox is required.
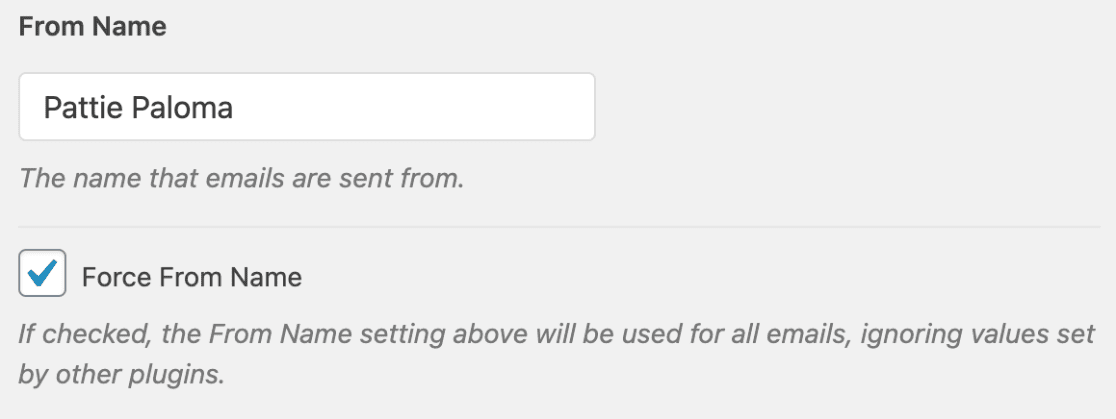
From Name
The From Name will, by default, be set to your site name. However, you can change this to any text you’d like.
You can also choose to enable the Force From Name option to apply this setting to emails site-wide.
Mailer
In the Mailer field, select the Brevo option.

API Key
Selecting your mailer will reveal additional settings specific to Brevo. First, you’ll need to locate and enter your API key.
Go back to the browser tab or window where your Brevo account is open. Expand the menu in the top right corner again and select SMTP & API.

This will open a page where you can create a v3 API key. Switch to the API tab by clicking API Keys.

Next, click on the words Click here in the text that reads “Click here to generate your first API key” to create your v3 API key.

Now, in the modal window, you’ll need to name your API key. You can use whatever name you’d like, but we recommend using something that corresponds with your domain.
Once you’ve named your API key, click the Generate button.

Next, another modal window will appear with your new API key.
To copy the key, click the icon located to the right of the key.

After copying the v3 API key, return to your WP Mail SMTP settings and paste it into the API Key field.

Sending Domain
The Sending Domain setting is an optional setting that will allow WP Mail SMTP to check for any domain-side errors in your Brevo setup (e.g., incorrectly configured or missing SPF records). This domain check will run each time you send a test email, and will only show an error if a misconfiguration is detected.
The sending domain for your site is the same domain that you’ve already authorized in Brevo, so you can copy and paste this value here.

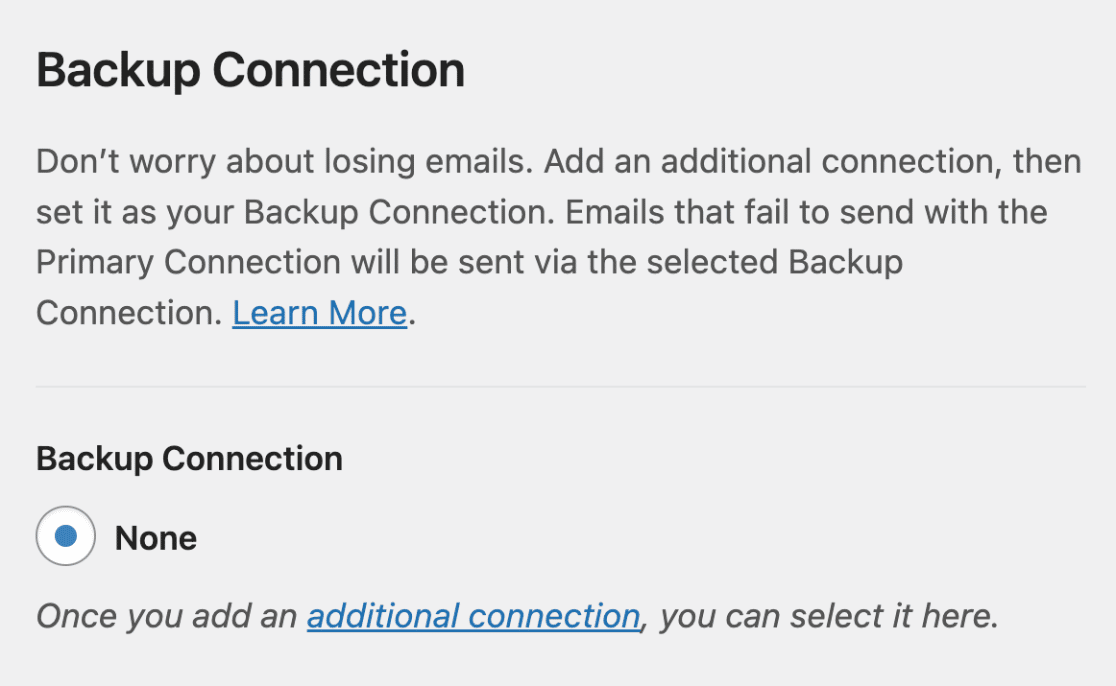
Backup Connection
Setting up a Backup Connection is optional and isn’t required to complete your Brevo mailer setup. However, to further improve email deliverability, we recommend configuring an additional connection to serve as a backup in case your Primary Connection fails.
Note: Want to route your emails through a specific additional connection based on a set of rules or conditions? Be sure to check out our tutorial on Smart Routing to learn how.
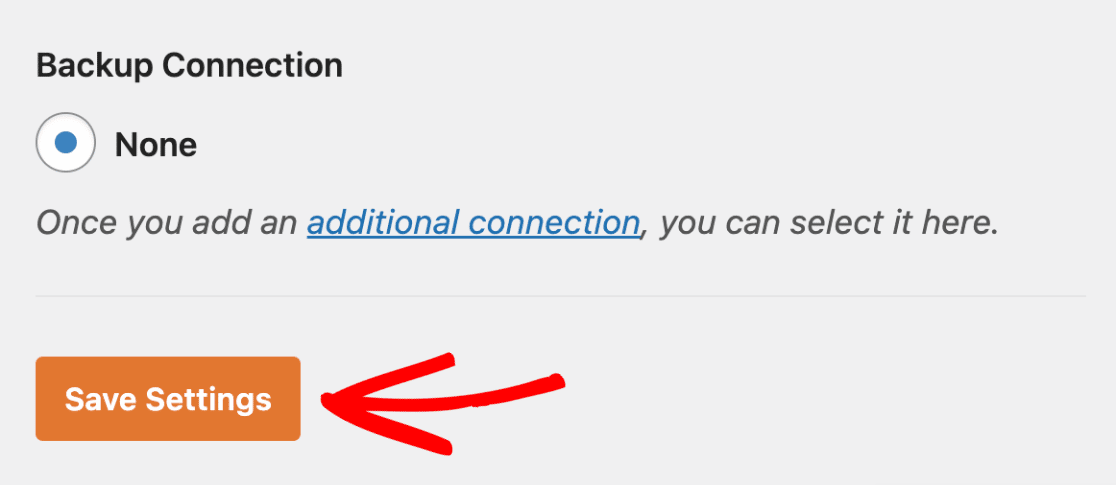
Once you’ve configured your mailer, be sure to click the Save Settings button.
Sending a Test Email
Note: Before proceeding with this step, you’ll need Brevo to verify your DNS records. If the changes to your DNS settings have not been propagated yet, then you’ll need to complete this step later.
Now that your Brevo (Sendinblue) setup is complete, it’s important to send a test email to ensure that everything is working properly. To do so, go to WP Mail SMTP » Tools and open the Email Test tab.
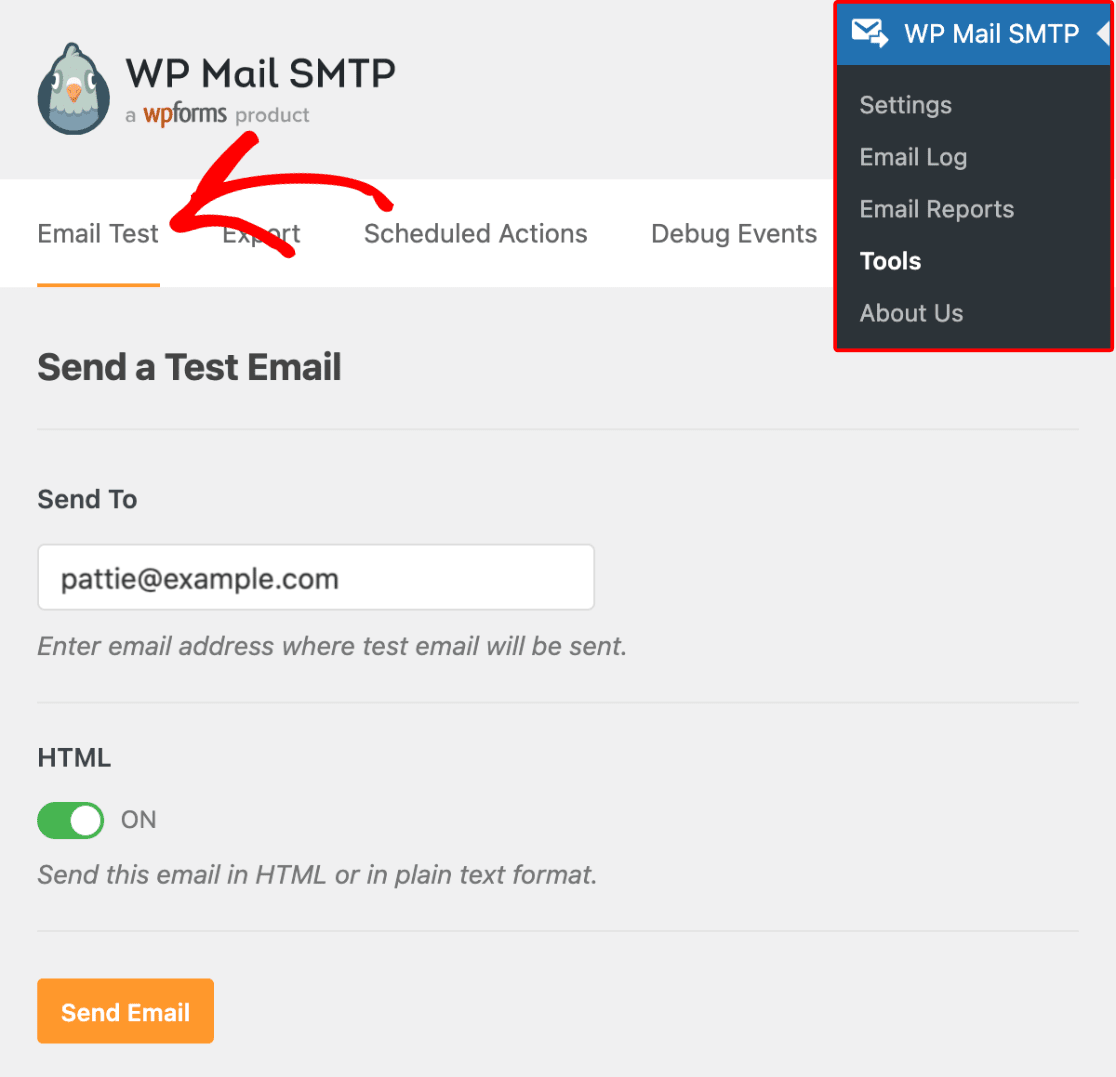
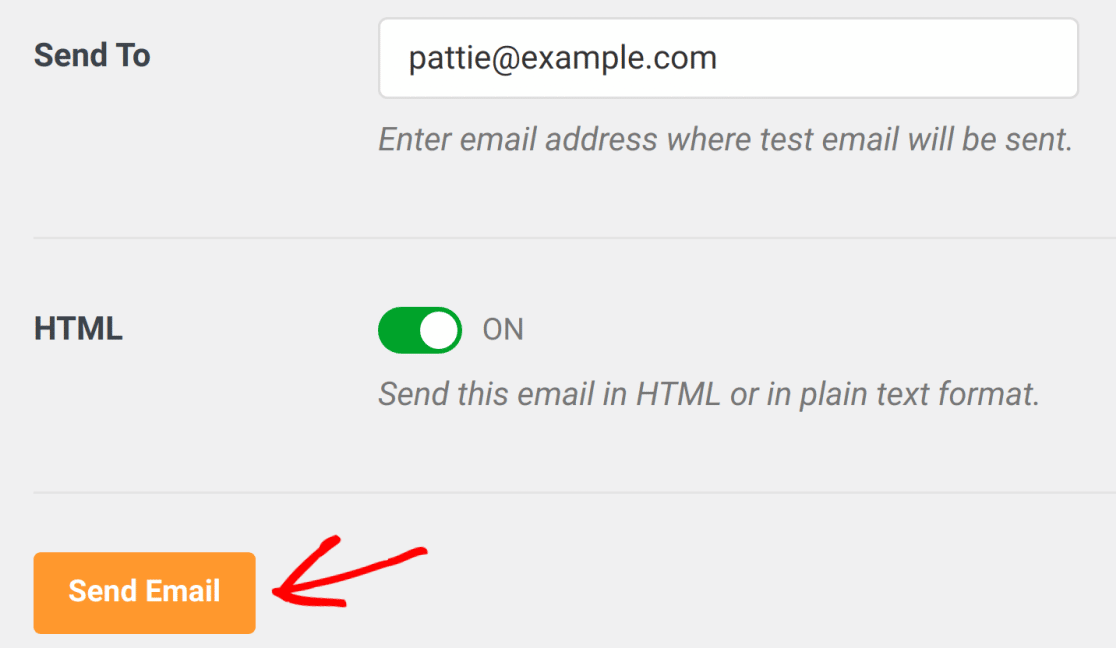
Here, you can enter any email address that you have access to (the default will be the site’s admin email). Unless you’re sure you’ll only be sending plain text emails from your site, we recommend leaving the HTML setting ON.
Note: If you’ve set up an additional connection, you’d be able to choose between your Primary Connection and other connections when sending a test email.
Next, click the Send Email button to send your test email.
After sending the email, you should see a success message.
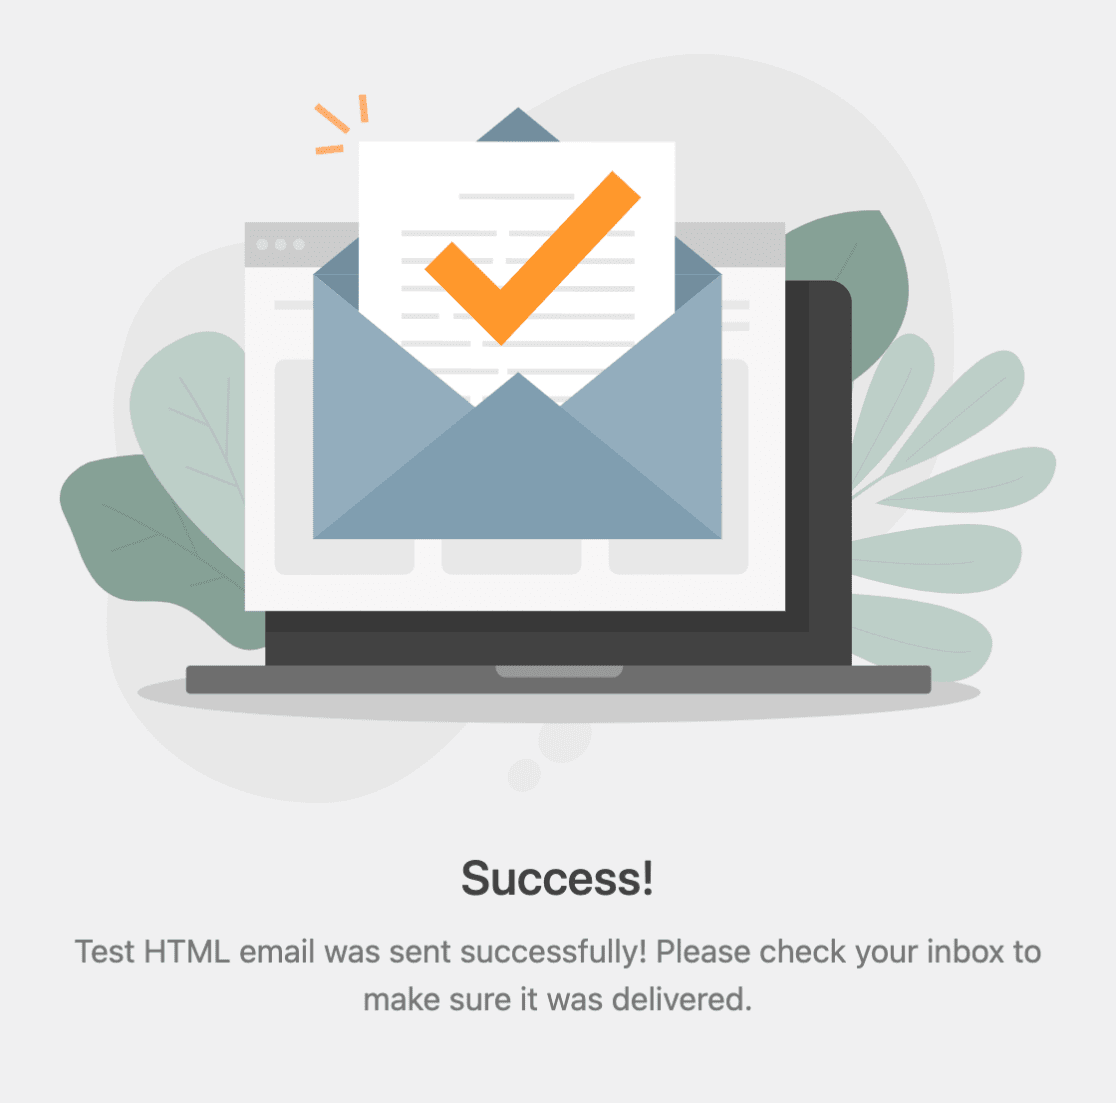
If you check the inbox for the email address you entered, you should have received the email for this test.

Frequently Asked Questions
Here, we’ve answered some of the most common questions we receive about setting up the Brevo mailer.
I just tried to send a test email. Why do I see the following error?
If the test email isn’t sending, you’ll likely see a debug log with additional details. Here are some of the common error messages and how to resolve them.
[permission_denied]: Unable to send email. Your SMTP account is not yet activated.
If you see this error message, your Brevo account may need to be activated manually. Please contact Brevo’s support team for further assistance.
unauthorized: Key not found
This error will display if you use an incorrect API key to configure the Brevo mailer. If you attempt to copy and use the masked version of the API key from your Brevo account, you’ll likely experience this error.

To resolve this issue, you’ll need to generate a new API key from your Brevo dashboard. Then use the new key to complete the setup. Please see the API key section of this tutorial for more instructions.
unauthorized: not verified
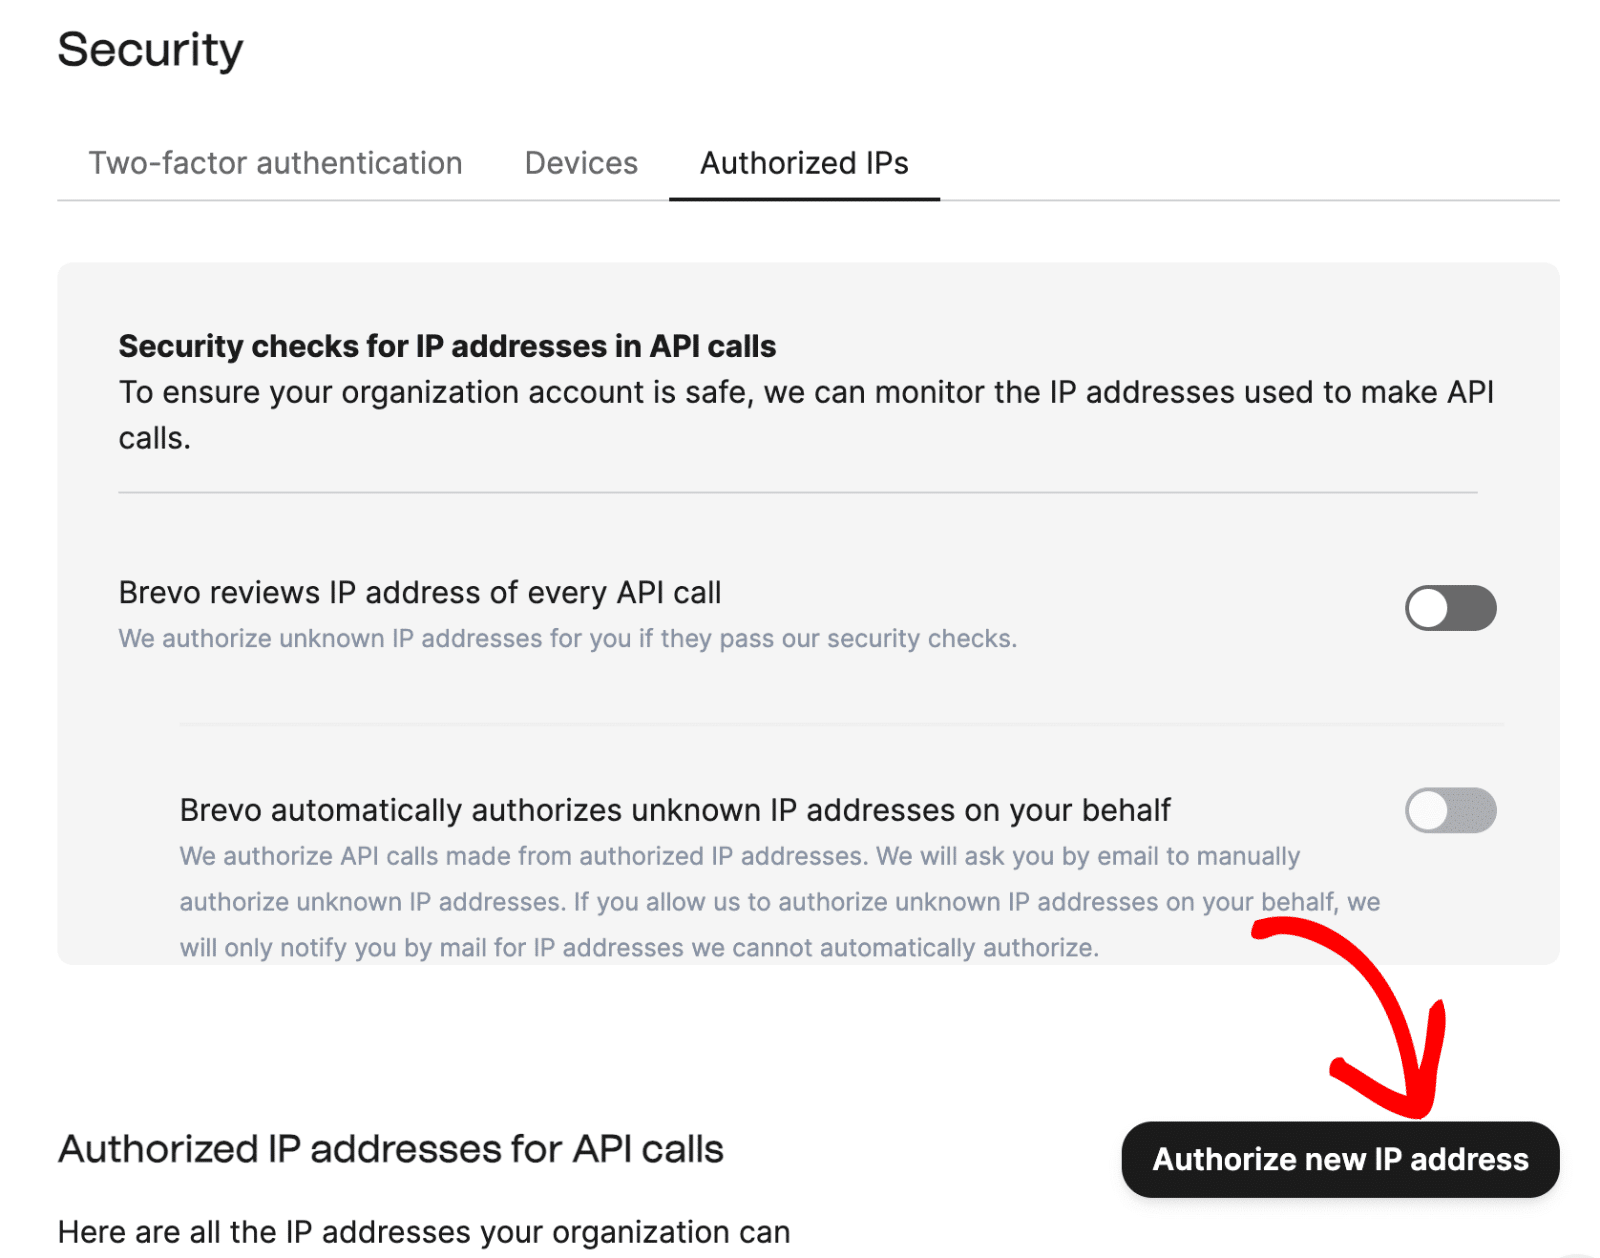
This error often occurs when you attempt to send a test email from a site that isn’t whitelisted on your Brevo account. To fix it, you’ll need to whitelist your site’s IP address on your Brevo account.
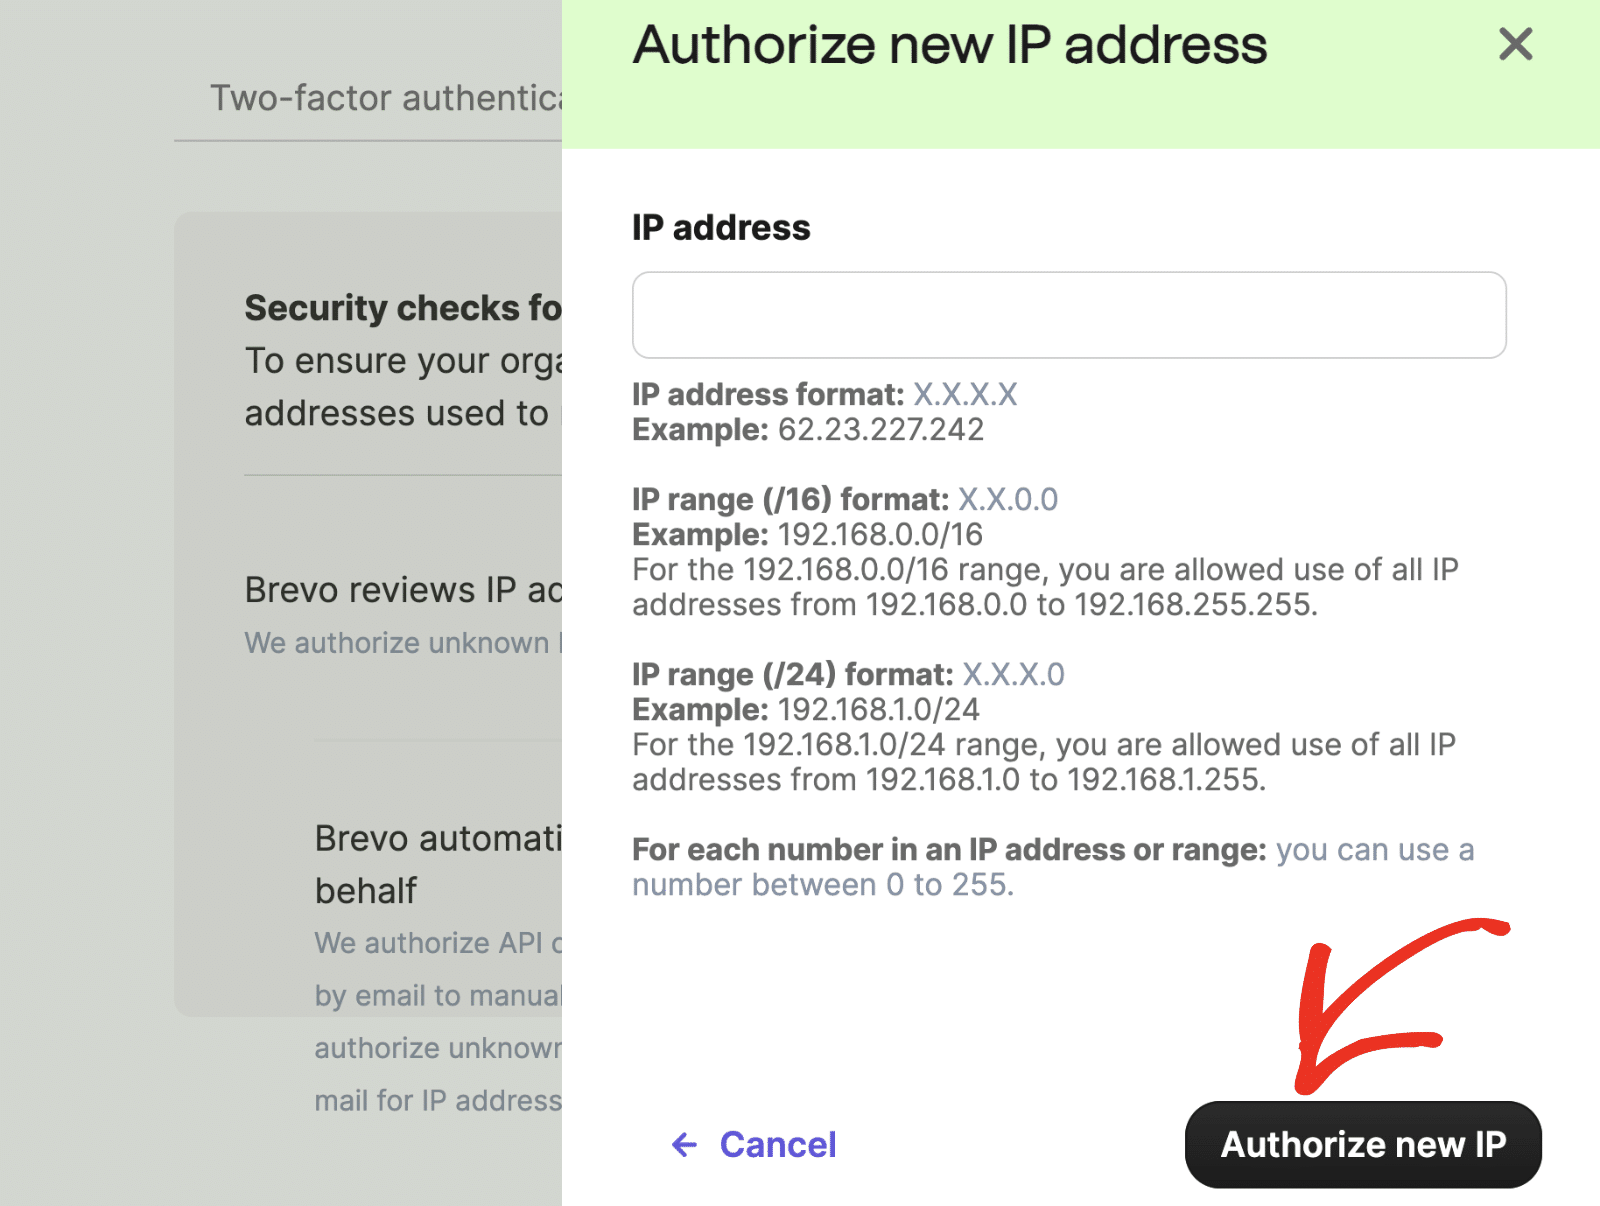
For this, log in to your Brevo account and access the security settings page. Then click the Authorize new IP address button to authorize your domain.
In the overlay that appears, add your site’s IP address into the IP address field.
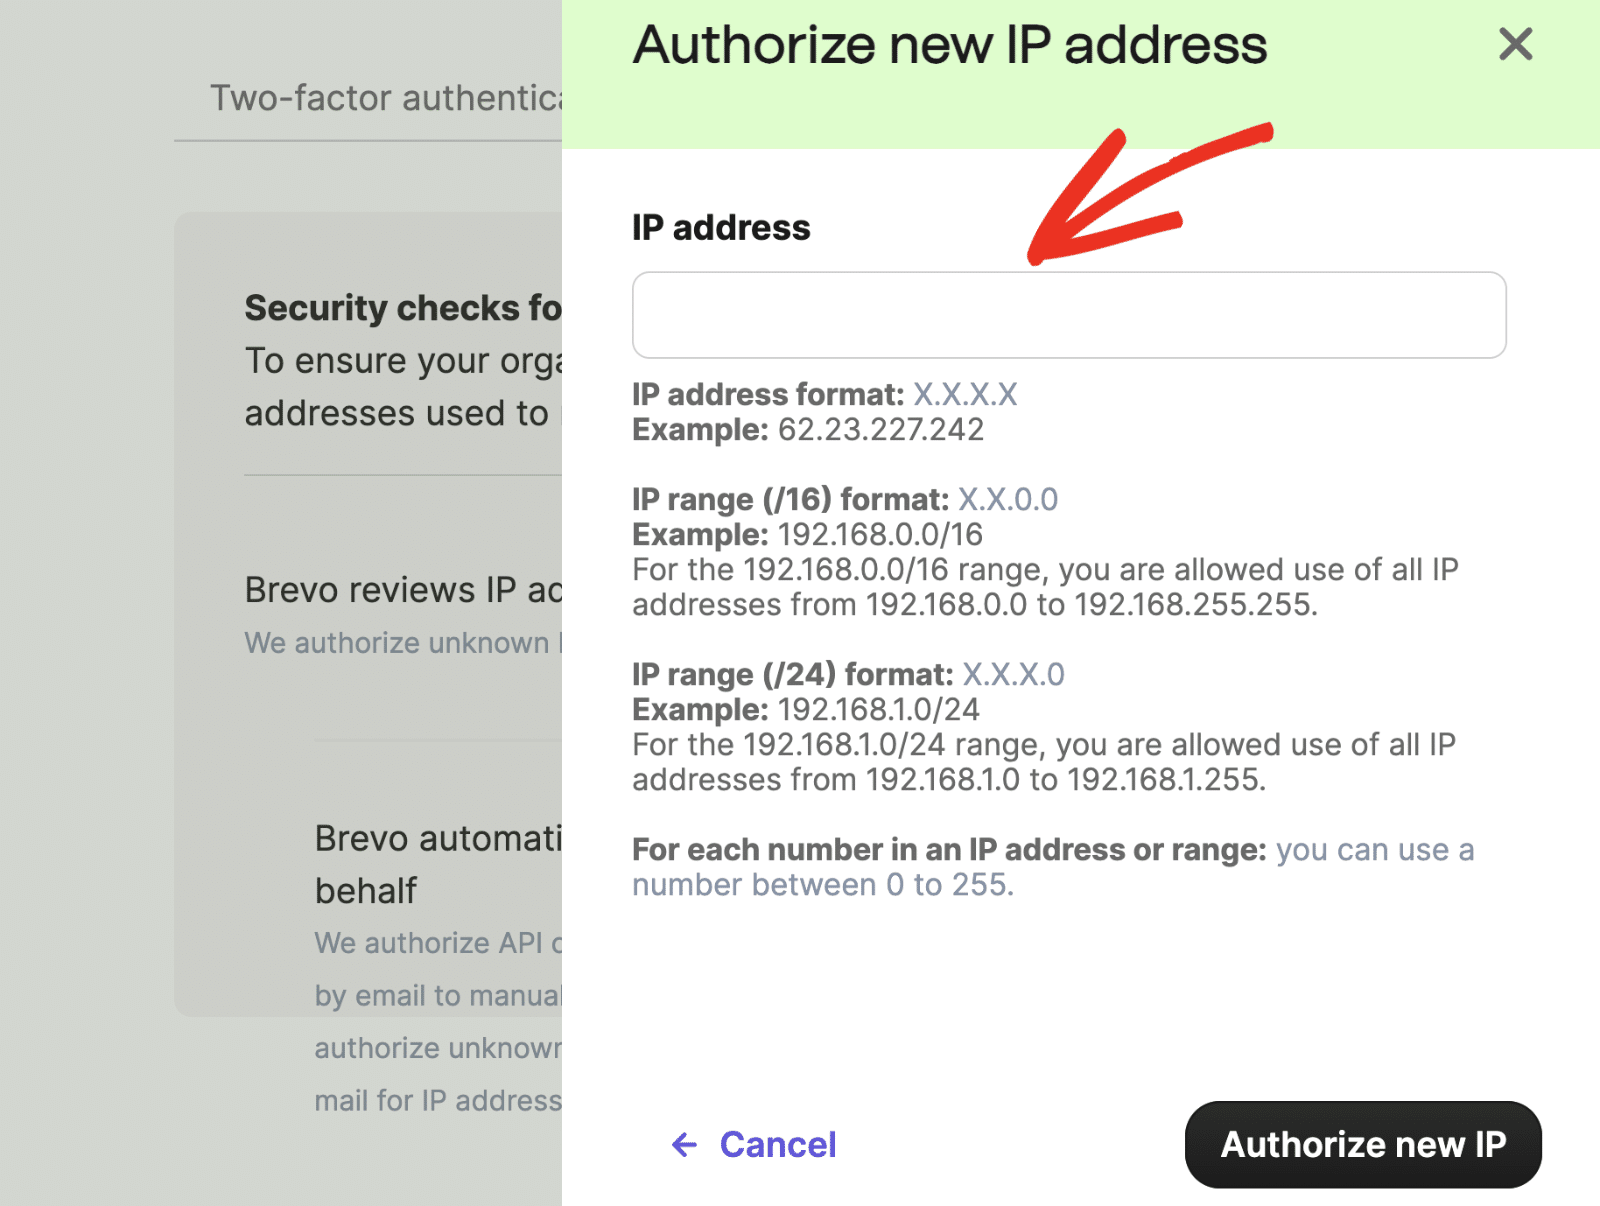
Note: You can use the MXToolBox tool to look up your domain’s IP address.
When you’re ready, click the Authorize new IP button to authorize your domain.
That’s it! Now you know how to set up your site to send WordPress emails with the Brevo (Sendinblue) mailer in WP Mail SMTP.
Next, would you like to keep records of every email that’s sent out from your WordPress site? Check out our tutorial on setting up email logging for details on how to do so.