AI Summary
Would you like to use your Zoho Mail account to improve email deliverability for your WordPress site? All Zoho email accounts include access to an API that you can use to help your site’s emails deliver reliably.
This tutorial will show you how to use WP Mail SMTP to connect your Zoho Mail account to your WordPress site for better email delivery.
What Is Zoho?
Zoho is a company that creates software for businesses and provides a variety of services. One of those services is email hosting called Zoho Mail.
Email providers check for authentication when deciding whether or not to deliver emails to recipients’ inboxes. WP Mail SMTP’s Zoho mailer helps improve deliverability by authenticating your emails. More specifically, it allows you to use your Zoho email address as the sender of all emails from your WordPress site.
- Cost: Zoho Mail offers free email accounts (e.g., [email protected]) as well as domain-specific email accounts (e.g., [email protected]). You can use Zoho Mail’s API to help emails from your WordPress site deliver reliably. If you require more features, there are several paid plans available.
- From Email Requirements: You can only use email addresses that you’ve added to your Zoho account with the Zoho mailer.
- Bottom Line: Zoho provides a trusted and reliable option for improving email deliverability. It has a solid free option, and integration with the Zoho CRM.
Note: For more information about available mailers, please check out the complete guide to mailers in WP Mail SMTP.
Creating Your Zoho Mail Account
In order to complete this tutorial, you’ll need to have a Zoho Mail email.
It’s important to note that the email address you set up in Zoho will be used as the From Email for all emails sent from your WordPress site. If you’d prefer not to use your Zoho email address, then check out one of our other mailer options in WP Mail SMTP.
Additionally, Zoho Mail does not support dynamic reply-to email addresses. See the FAQ section below for more details.
If you already have a Zoho account, then go ahead and log in. Or, to create a new Zoho account, sign up for a personal or business account.
Setting Up WP Mail SMTP
If you haven’t already, be sure to install and activate the WP Mail SMTP plugin.
Once you’ve installed WP Mail SMTP, go to WP Mail SMTP » Settings, then select the General tab.

Next, scroll to the Primary Connection section.
In the next sections, we’ll cover the details for each of the settings located on this page.
From Email
At the top of the Settings page, you’ll see a From Email option. You can skip this, as Zoho will force the From Email to match the email address for the account you’ll connect a little later in this tutorial.

Once your account is connected, you’ll notice this field and the Force From Email option will both become disabled.
From Name
By default, the From Name will be set to your site’s name. However, you can change it to any text you’d like. Just keep in mind that this name will appear in the emails your site sends out.
You can also choose to Force From Name to apply this setting to emails site-wide.

Mailer
Under Mailer, select the Zoho Mail option.

This will open the Zoho mailer’s more specific settings. For now, we’ll focus on the Redirect URI setting, since this will be important in configuring your Zoho Mail account.

The Redirect URI will determine where you’ll be redirected to after you have authenticated your email address with Zoho Mail. Be sure to leave this browser window or tab open as you’ll need to come back to these WP Mail SMTP settings soon.
Accessing Your Zoho API Credentials
In a new browser tab or window, log in to your Zoho account. Then navigate to Zoho’s API console. If you’ve never accessed the API before, you’ll need to click the Get Started button.

Or, if you’ve previously created an app with Zoho, click on the + Add Client button near the upper right corner of the screen.

This will open up Zoho’s Client Type options. For this connection, select Server-Based Applications.

This will open up a list of settings that you’ll need to fill out, including:
- Client Name: This can be any name you’d like to help differentiate between your apps (in most cases, it will be the name of your website).
- Homepage URL: This will be the URL of your website (e.g., https://example.com).
- Authorized Redirect URIs: You’ll need to copy this value from the Redirect URI field in the WP Mail SMTP settings that you left open earlier.

Once you’ve filled out the required information, click the Create button.

This will take you to a page that will display your Client ID and Client Secret values.

Copy both of these values into your WP Mail SMTP settings. Be careful that the Client ID and Client Secret values are each pasted into their corresponding fields.

Configuring Your WP Mail SMTP Settings
After you’ve finished setting up your Zoho account, you’ll need to complete the integration between it and WP Mail SMTP.
In your WP Mail SMTP settings, fill out the remaining details for the Zoho Mail section.
Region
Zoho has data centers for different regions in order to store your information relatively close to where you’re located. When you signed up for your Zoho account, it automatically selected a data center for you based on your IP address (you should have also had the option to manually change the region if needed).
Zoho has data centers in the following regions:
- US: United States (zoho.com)
- EU: European Union (zoho.eu)
- IN: India (zoho.in)
- CN: China (zoho.com.cn)
- AU: Australia (zoho.com.au)
If you’re not sure which data center your account uses, you can check by logging in to your account and clicking on your avatar in the top right corner of the screen. This will open a sidebar with some of your account information, including your data center location.

In your WP Mail SMTP settings, select the region that matches the Zoho data center used for your account from the dropdown provided.

Authorization
Once you’ve completed all the settings above, click the Save Settings button.
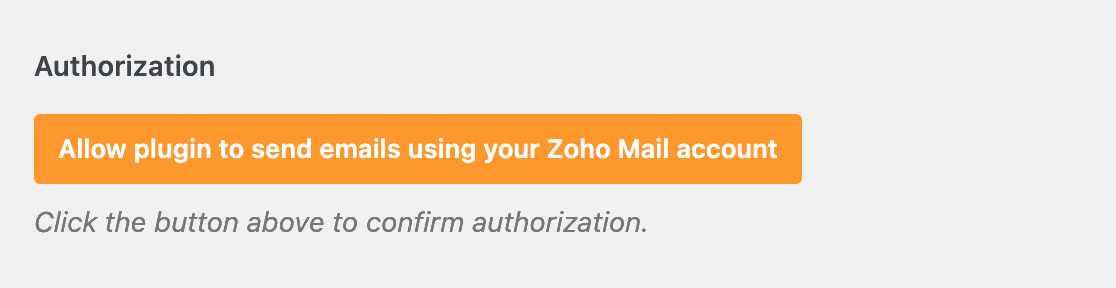
This will cause a button labeled Allow plugin to send emails using your Zoho Mail account to appear. Click on it to permit WP Mail SMTP to access your Zoho account.
When you click this button, you’ll be redirected to a Zoho page asking whether you’d like to connect your site to your Zoho account (in some cases, you may also be asked to log in to your Zoho account).
Click the Accept button to proceed.

Next, you should be redirected back to your WP Mail SMTP settings. Near the top of this page, you should see a success message confirming that your site has been linked to your Zoho Mail account.

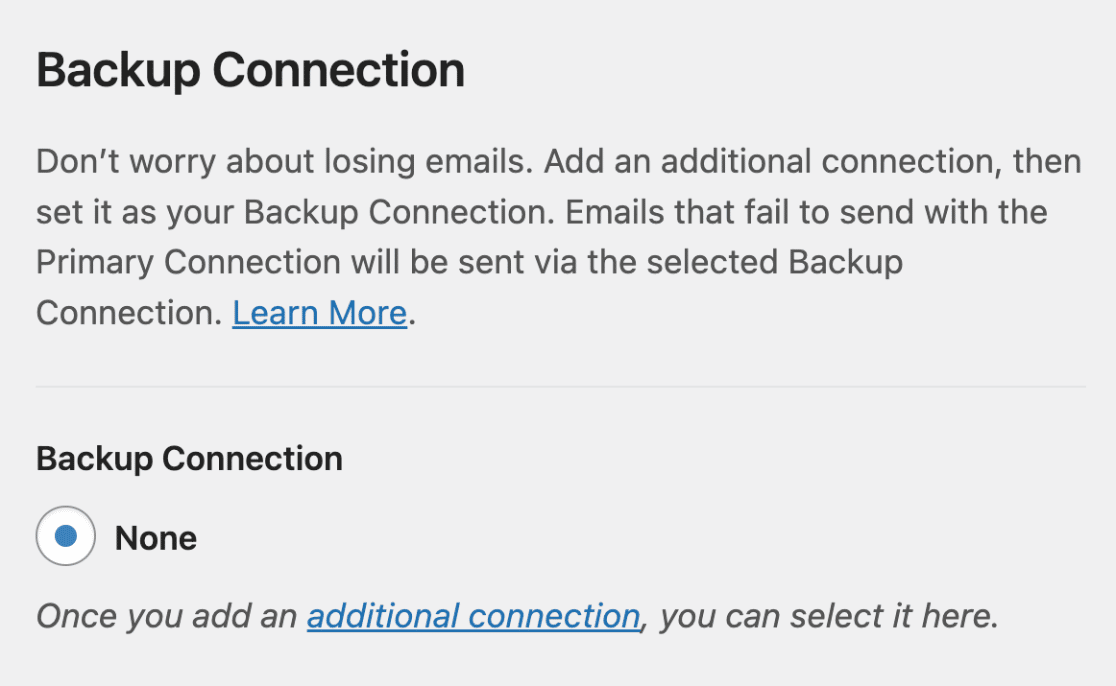
Backup Connection
Setting up a Backup Connection is optional and isn’t required to complete your Zoho mailer setup. However, to further improve email deliverability, we recommend configuring an additional connection to serve as a backup in case your Primary Connection fails.
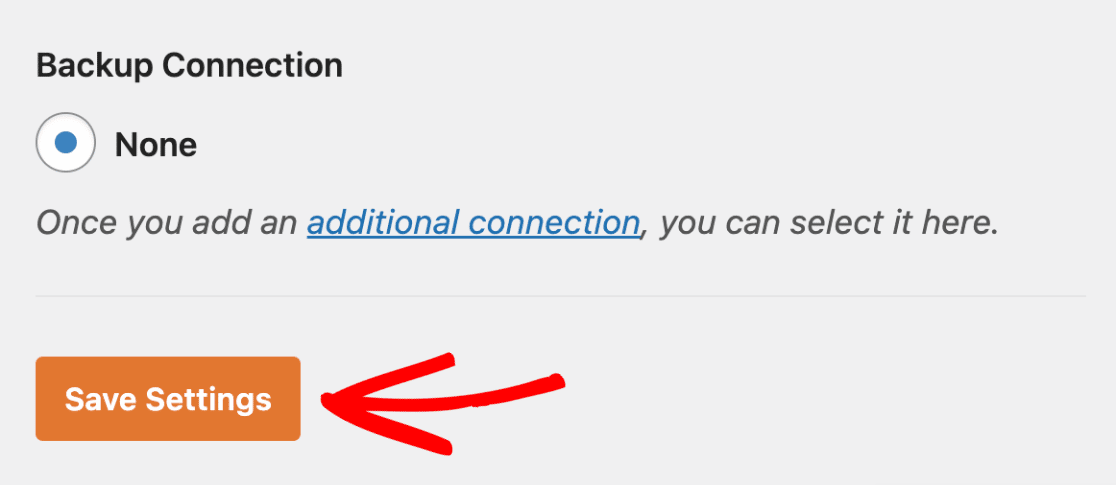
Once you’re done, click the Save Settings button to save the changes.
Sending a Test Email
Once you’ve completed the Zoho Mail setup process, you’re ready to send a test email to make sure your connection works properly. To do so, go to WP Mail SMTP » Tools and click on the Email Test tab.

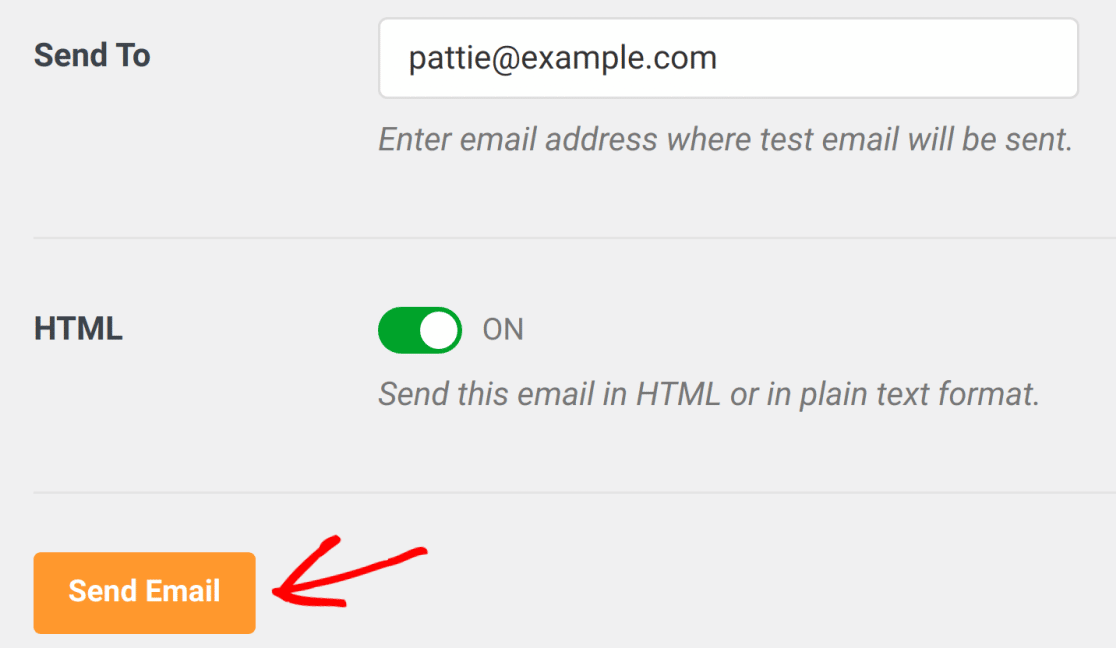
In the Send To field, you can enter any email address whose inbox you have access to. We recommend leaving the HTML setting ON unless you know you’ll only be sending plain text emails.
Once you’ve got your settings configured, go ahead and click the Send Email button to send your test email.
Once the email has been processed, you should see a success message.

Next, check your email inbox. You should soon receive the email for this test.

Frequently Asked Questions
Below, we’ve answered the most common questions we receive about the Zoho mailer.
Why doesn’t reply-to functionality work for emails sent from my site through Zoho Mail?
For security purposes, Zoho limits reply-to functionality to a single verified email address. It does not support dynamic reply-to email addresses, such as those for emails sent by third-party plugins.
For example, if you have a contact form plugin that sends you notification emails when users submit entries, you will not be able to reply directly to a notification email to contact the user.
To register a reply-to email address in Zoho, please see its documentation on this topic.
I just tried to send a test email. Why do I see the following error?
If the test email isn’t sending, you’ll likely see a debug log with additional details. Here are some of the common error messages and how to resolve them.
404: Invalid Input
EXTRA_KEY_FOUND_IN_JSON
This error indicates that your plugin settings include the attachmentSize property, that conflicts with your Zoho API key. To resolve this error, you’ll need to remove the extra property. Here’s a custom PHP snippet you need to add to your site to remove the property.
add_filter( 'wp_mail_smtp_providers_mailer_get_body', function ( $body, $mailer ) {

	if ( $mailer === 'zoho' ) {
		if ( ! empty( $body['attachments'] ) ) {
			$body['attachments'] = array_map( function ( $attachment ) {
				unset( $attachment['attachmentSize'] );
				return $attachment;
			}, $body['attachments'] );
		}
	}

	return $body;
}, 10, 2 );
That’s it! You now know how to complete the setup process for Zoho Mail with WP Mail SMTP, and your site’s emails should start being delivered reliably.
Next, would you like to keep a log of all the emails that your site sends out? You can check out all the details on setting up and using WP Mail SMTP’s Email Log feature over in our email logging guide.