AI Summary
Would you like to use SparkPost to improve email delivery rates for your WordPress site? This email sending platform is a popular choice among businesses looking to ensure their emails reach customers’ inboxes.
This tutorial will show you how to set up the SparkPost mailer in WP Mail SMTP.
What Is SparkPost?
SparkPost is an email-sending platform that helps improve the deliverability of emails sent from your website. It does this by authenticating your domain so that users’ email providers (e.g., Gmail, Yahoo, Outlook, etc.) recognize it as a reputable sender.
- Cost: You can send up to 500 emails per month with a free Test account. Pricing for paid plans is based on the number of emails you send per month.
- From Email Requirements: You’ll need an email address at your website’s domain (i.e., [email protected]), in order to use SparkPost with WP Mail SMTP.
- Bottom Line: Many large brands use SparkPost to reliably deliver emails to customers. It’s a trusted solution for businesses, providing high delivery rates and enhanced security features.
Configuring Your SparkPost Account
First, you’ll need to set up your SparkPost account. To do so, follow this link to create a new account.
For new users, you’ll need to choose your email server region (US or EU). If you’re located in Europe, select SparkPost EU. Otherwise, choose SparkPost for a US-based server.

Then you’ll be asked to provide some basic information about yourself and your business, including:
- Your first and last name
- The name of your business
- Your email address
- A password

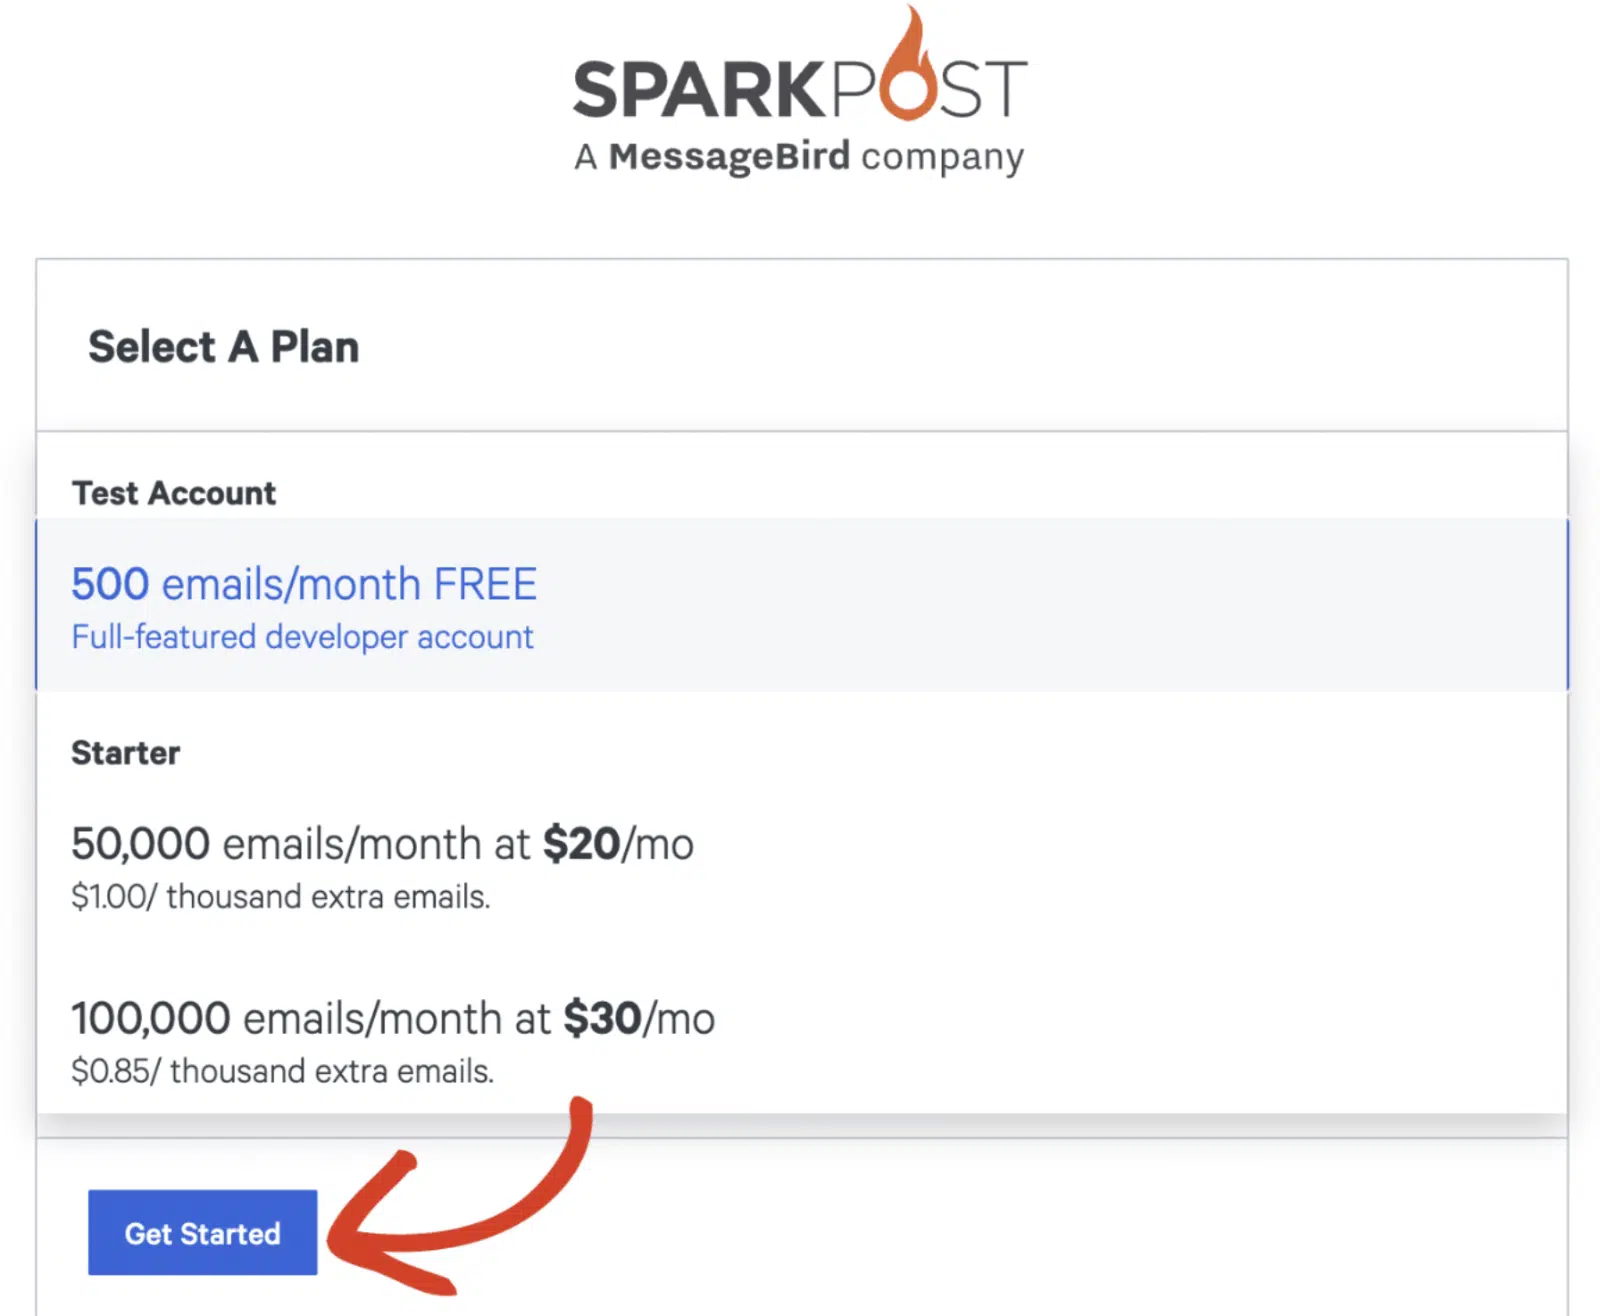
After you provide all the required details and click Create Account, you’ll need to select a plan. The Test Account is selected by default and lets you send up to 500 emails per month for free.
After choosing a plan, click the Get Started button to continue.
Adding Your Sending Domain
Next, you’ll need to add your sending domain to your SparkPost account. From your account dashboard, click the Add Sending Domain button.

On the next screen, click on Add Sending Domain again.

Then you’ll need to select the type of domain you want to add. We recommend using the default Sending Domain option.

You can verify a subdomain in SparkPost and use an email address at that subdomain as the From Email in your WP Mail SMTP settings. This is usually the best setup for ensuring email delivery, as your subdomain’s reputation as an email sender is separate from your root domain’s.
The steps for setting up a subdomain as your SparkPost sending domain are slightly different than those for setting up your root domain as your sending domain, so we’ve covered both options below.
Using a Subdomain as Your Sending Domain
Once you’ve added a new sending domain to your Sparkpost account, enter your email subdomain in the field provided. This is the web address you’ll be sending emails from, and you’ll need an email address at this subdomain to complete the rest of the steps in this tutorial.
Click on Save and Continue to add this subdomain to your SparkPost account.

Domain Alignment
Next, a popup window will appear asking you to select your domain alignment preferences.
For subdomains, we recommend using the Strict alignment option. This will set your sending domain and bounce domain to the same value, which is the simplest solution in most cases. To choose this option, select Yes under Verify this domain for bounce for strict alignment.

Once you’ve chosen your domain alignment preference, click on Save and Continue to proceed.

Verifying Your Sending Domain
Next, you’ll need to verify your sending domain. This process involves adding DNS records to your DNS settings to tell email providers that your subdomain is a reputable sender.
As soon as you finish adding your sending domain, SparkPost will show you the 2 DNS records you need to add.

Note: You’ll need to add the DNS records provided by SparkPost to your root domain’s DNS settings to verify your subdomain.
Once you’ve done so, select the checkbox next to The TXT and CNAME records have been added to the DNS provider. Then click Verify Domain.

Next, SparkPost will carry out its compliance checks for your sending domain. This process can take up to 24 hours to complete and requires updating your DNS records. When your subdomain passes the checks, it will have 3 status markers in your SparkPost account’s Domains list: Sending, Bounce, and DKIM Signing.

Note: It can take up to 48 hours for changes to your DNS settings to be recognized. If you’ve completed the steps above and your subdomain still isn’t verified, wait and check back later. In the meantime, you can continue with the other steps in this tutorial.
Using Your Root Domain as Your Sending Domain (Not Recommended)
After you’ve added a new sending domain to your SparkPost account, enter your website’s root domain in the field provided. This should be the web address you’re sending emails from, and you’ll need an email address at this domain to complete the rest of the steps in this tutorial.

Once you’ve entered your sending domain, click on Save and Continue to add your domain to your SparkPost account.

Domain Alignment
When you save your sending domain in SparkPost, you’ll see a popup window asking you to choose your domain alignment preferences. When using your root domain as your sending domain, you must use the Relaxed alignment option.
Select No under Verify this domain for bounce for strict alignment. Then click the Save and Continue button.

Verifying Your Sending Domain
After you add your sending domain to your SparkPost account, you’ll need to verify it. This process involves adding DNS records to your DNS settings to tell email providers that your domain is a reputable sender.
As soon as you finish adding your sending domain, SparkPost will show you the DNS record you need to add.

After you’ve added the new record to your DNS settings, select the checkbox next to The TXT record has been added to the DNS provider and click Verify Domain.

Next, SparkPost will carry out its compliance checks for your sending domain. This process can take up to 24 hours to complete and requires your DNS records to be updated. When your domain passes the checks, it will have the status markers Sending and DKIM Signing in your SparkPost account’s Domains list.

Note: It can take up to 48 hours for changes to your DNS settings to be recognized. If you’ve completed the steps above and your domain still isn’t listed as verified, wait and check back later. In the meantime, you can continue with the other steps in this tutorial.
Adding a Bounce Domain
Since using your root domain as your sending domain requires you to use the relaxed domain alignment option in SparkPost, you’ll also need to configure a separate bounce domain. This will be the domain that bounce notifications are sent to.
In the Domains section of your SparkPost account, click on the Add a Domain button.

From the options listed on the next screen, select Bounce Domain.

In the field provided, enter the domain you’d like to use for bounce notifications. Then click on Save and Continue.

Note: When using the root domain setup, your bounce domain must be different than your sending domain. We recommend using a subdomain, but you can enter any domain you own in the field provided.
Next, you’ll see another DNS record that you’ll need to add to your root domain’s DNS settings (or the DNS settings of the domain you entered on the previous screen if you’re not using a subdomain).

Once you’ve added the record, select the checkbox next to “The CNAME record has been added to the DNS provider,” then click Verify Bounce.

SparkPost will then carry out its compliance checks for your bounce domain. This process can take up to 24 hours to complete and requires updating your DNS records. When your domain passes the checks, it will have the status markers “Sending” and “Bounce” in your SparkPost account’s Domains list.

Note: It can take up to 48 hours for changes to your DNS settings to be recognized. If you’ve completed the steps above and your domain still isn’t listed as verified, wait and check back later. In the meantime, you can continue with the other steps in this tutorial.
Finally, you need to set the bounce domain you’ve added as the default bounce domain for your SparkPost account. In the Domains list, click on your bounce domain to open its details page. Here, select the checkbox next to Set as Default Bounce Domain.

Creating Your SparkPost API Key
In order to connect WP Mail SMTP to your SparkPost account, you’ll need an API key. To generate one, click on API Keys in the menu at the top of your SparkPost account dashboard.

On the next screen, click the Create API Key button.

Then enter a name for your API key. It’s for your reference only, so you can call it whatever you like.
We recommend leaving the API Permissions option set to All. When you’re ready, click on the Create API Key button at the bottom of the screen.

This will bring you to a new screen with your SparkPost API key.

Leave this page open in a separate browser tab or window as you move on to the next step, as you’ll need it when filling out your WP Mail SMTP settings.
Restricting API Permissions (Optional, Not Recommended)
Note: Although there are security benefits to restricting your SparkPost API permissions, we don’t recommend doing so.
These settings could unintentionally prevent you from using other SparkPost features in future versions of WP Mail SMTP. If you choose to proceed, please keep an eye on your WP Mail SMTP setup for any issues.
SparkPost gives you the option of restricting your API key to one or more specific IP addresses. This prevents unauthorized parties from using your API key if they get ahold of it.
If you want to restrict API permissions for your API key, choose the Select option under API Permissions on the API key creation screen.

Then check the box next to Transmissions: Read/Write and enter the IP addresses you’d like to grant API access to in the field provided.

Click Create API Key to finish the process. Again, leave the screen with your API key open in a separate browser tab or window as you proceed to the next step.
Setting Up WP Mail SMTP
After you’ve set up your SparkPost account, verified your domain, and created an API key, you can set up WP Mail SMTP on your WordPress site.
First, open your WordPress admin area in a new browser tab or window. Be sure to install and activate the WP Mail SMTP plugin if you haven’t already.
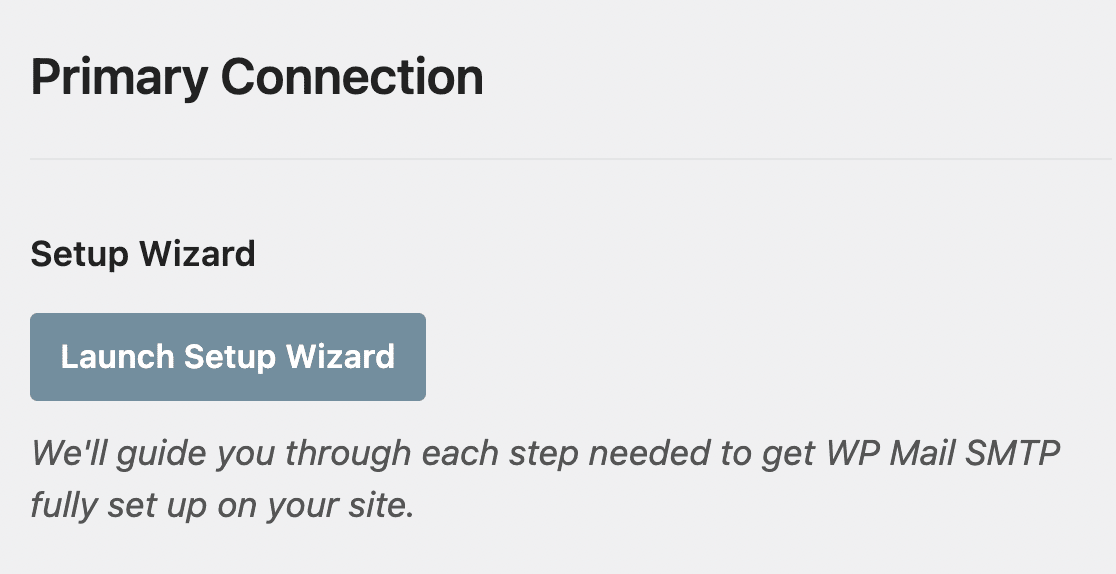
Then head to WP Mail SMTP » Settings, then select the General tab.

Next, scroll to the Primary Connection section.
In the next sections, we’ll cover the details for each of the settings located on this page.
From Email
First, you’ll need to enter the address from which you want to send all your site’s emails in the From Email field.
This must be an email at the domain you verified in SparkPost. We also recommend checking the Force From Email box.
This will make sure all emails sent from your site, including those generated by other plugins, use this same From Email. See our guide to understand how the Force From Email setting works.

From Name
The From Name will be listed as the sender on all your site’s emails. By default, it will be your website’s name. You can change it to anything you like.

You can also enable the Force From Name option to keep this setting consistent across your site.
Mailer
Under Mailer, select the SparkPost option.

This will reveal a couple of additional settings for you to fill out.
API Key
Switch back over to the browser tab or window with your SparkPost API key and copy it by clicking on the button provided.

Then paste this value into the API Key field in your WP Mail SMTP settings.

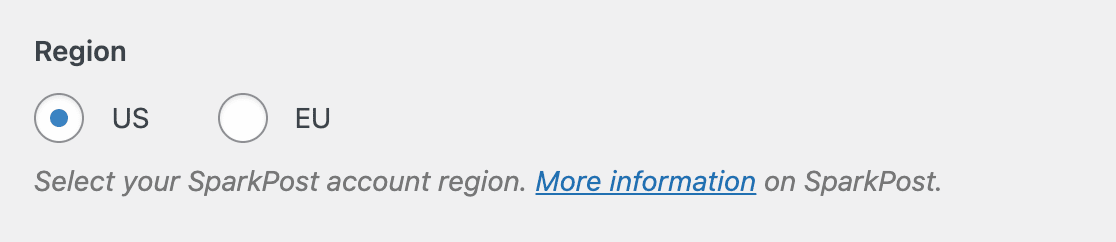
Region
Finally, under Region, select the SparkPost server location (US or EU) that you chose when you set up your account.
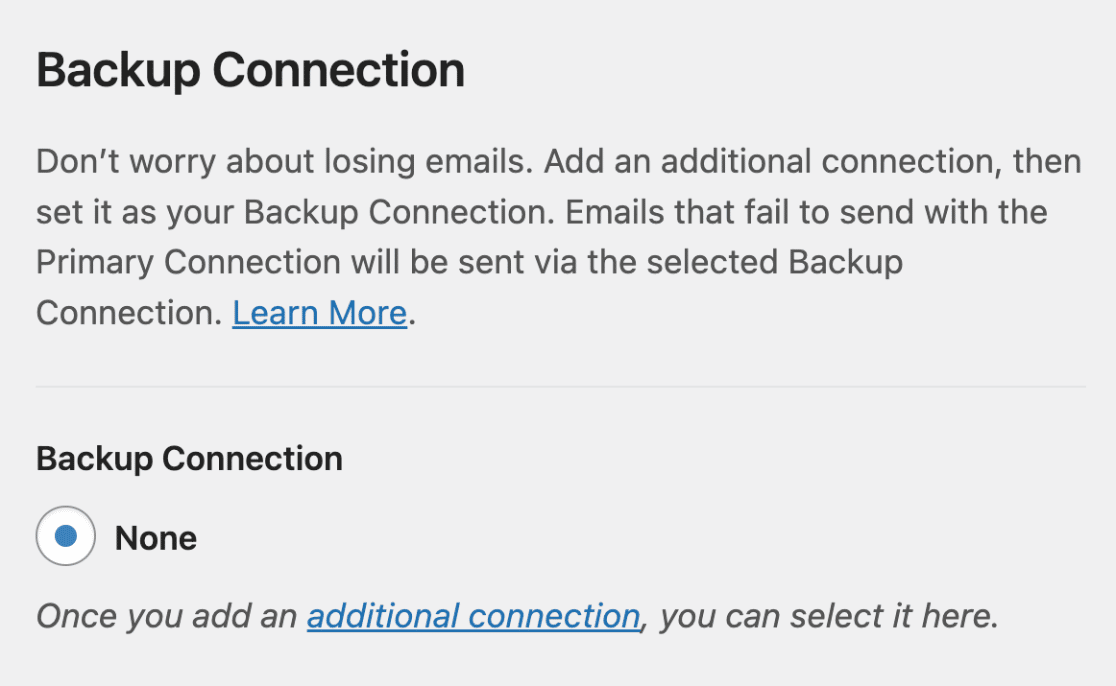
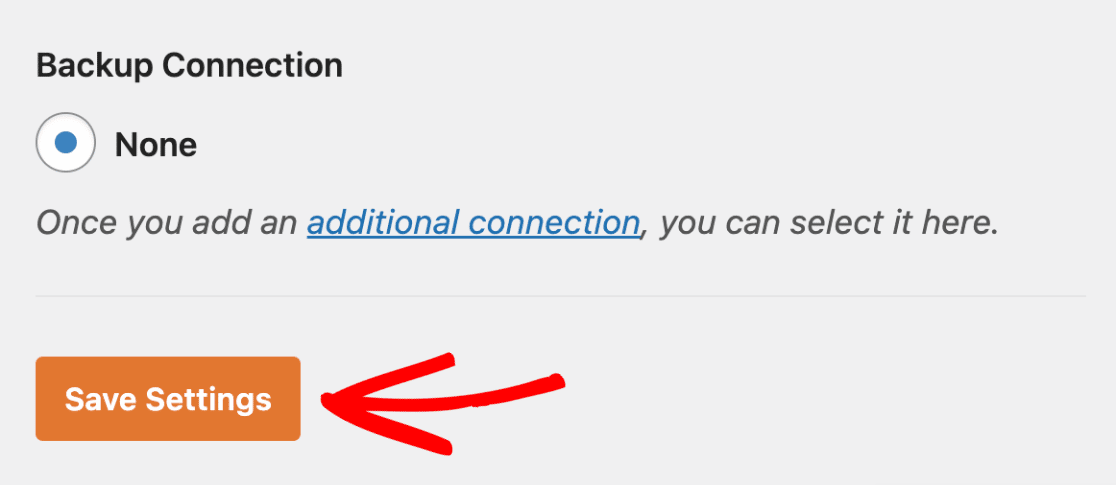
Backup Connection
Setting up a Backup Connection is optional and isn’t required to complete your SparkPost mailer setup. However, to further improve email deliverability, we recommend configuring an additional connection to serve as a backup in case your Primary Connection fails.
Once you’re done, click the Save Settings button to save the changes.
Sending a Test Email
The last step in setting up the SparkPost mailer is to send a test email to be sure your connection is working properly. You can use WP Mail SMTP’s email test tool to do so.
Note: Your sending domain must be verified in SparkPost in order for the test email to send properly. If your sending domain does not have a DKIM Signing status in your SparkPost Domains list, you’ll need to wait for your DNS records to be verified and your compliance checks to be completed before you proceed.
Head over to WP Mail SMTP » Tools and click on the Email Test tab.

In the Send To field, you can enter any email address you have access to. Unless you plan to only send plain-text emails from your site, we recommend leaving the HTML setting toggled ON.
Once you’ve filled out the required settings, go ahead and click the Send Email button.

Once the test email has been sent, you’ll see a success message.

Check the inbox for the email address you entered. If everything is working properly, you should see your test email there.

That’s it! Now you know how to set up the SparkPost mailer in WP Mail SMTP.
Next, would you like to set up email logs so you can monitor all of the emails sent from your site? Check out our guide to the email logging feature in WP Mail SMTP for more details.