AI Summary
Would you like to use the SendLayer mailer to improve email deliverability on your WordPress site? SendLayer is an affordable and simple way to authenticate your outgoing emails, making sure they always reach recipients’ inboxes.
This tutorial will show you how to use the SendLayer mailer with WP Mail SMTP.
What Is SendLayer?
SendLayer is a powerful SMTP email delivery service that is affordable, easy to use, and works seamlessly with WordPress and over 1,000 other platforms. It provides everything you need to send website emails with maximum deliverability, reliability, and scalability, making it our #1 recommended mailer.
- Cost: SendLayer offers a free trial that allows you to send hundreds of emails. Their paid plans include increased email sending limits and many additional features. A credit or debit card is required to complete your SendLayer account registration.
- From Email Requirements: A domain-specific email address (i.e., [email protected]).
- Bottom Line: The SendLayer mailer is recommended because it’s affordable and offers so much more than a simple delivery service. It combines a modern approach with enhanced reliability and security.
Note: Be sure to check out SendLayer’s documentation to learn more about getting started with SendLayer.
Setting Up Your SendLayer Account
First, you’ll need to set up an account so you can connect your WordPress site with SendLayer. If you don’t have an account yet, see SendLayer’s instructions on creating a new account.
Once you’ve set up a SendLayer account, be sure to log in to your SendLayer dashboard. From here, you can begin the mailer setup, which we’ll cover in the next steps.
Authorizing Your Domain in SendLayer
Before you can send emails with SendLayer, you’ll need to authorize your domain. This process shows email servers that you’re the confirmed owner of your sending domain and that your emails are being sent from a legitimate source.
For step-by-step details on how to complete this process, we recommend checking out SendLayer’s guide to authorizing your domain.
Setting Up WP Mail SMTP
Now that you’ve authorized your domain in SendLayer, you can set up WP Mail SMTP.
To do so, log in to your WordPress admin dashboard. You’ll also want to install and activate the WP Mail SMTP plugin if you haven’t already.
Note: We recommend keeping your SendLayer account and WP Mail SMTP account settings open in separate windows or tabs, so you can quickly switch between the two.
Once you’ve installed WP Mail SMTP, go to WP Mail SMTP » Settings, then select the General tab.

Next, scroll to the Primary Connection section.
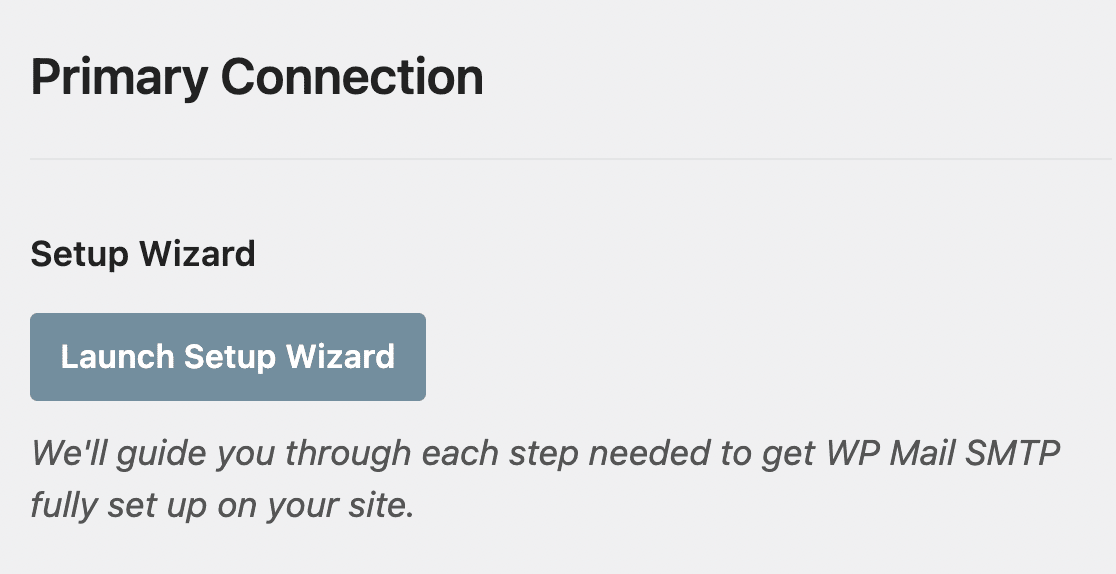
In the next sections, we’ll cover the details of each setting on this page.
From Email
The From Email is the email address that all of your WordPress site’s emails will appear to be sent from. For SendLayer services to work properly, this email address must be at the domain you set up in SendLayer.
We also strongly recommend checking the Force From Email box. Selecting this option will prevent you from having to edit the From Email settings in other areas of your site.
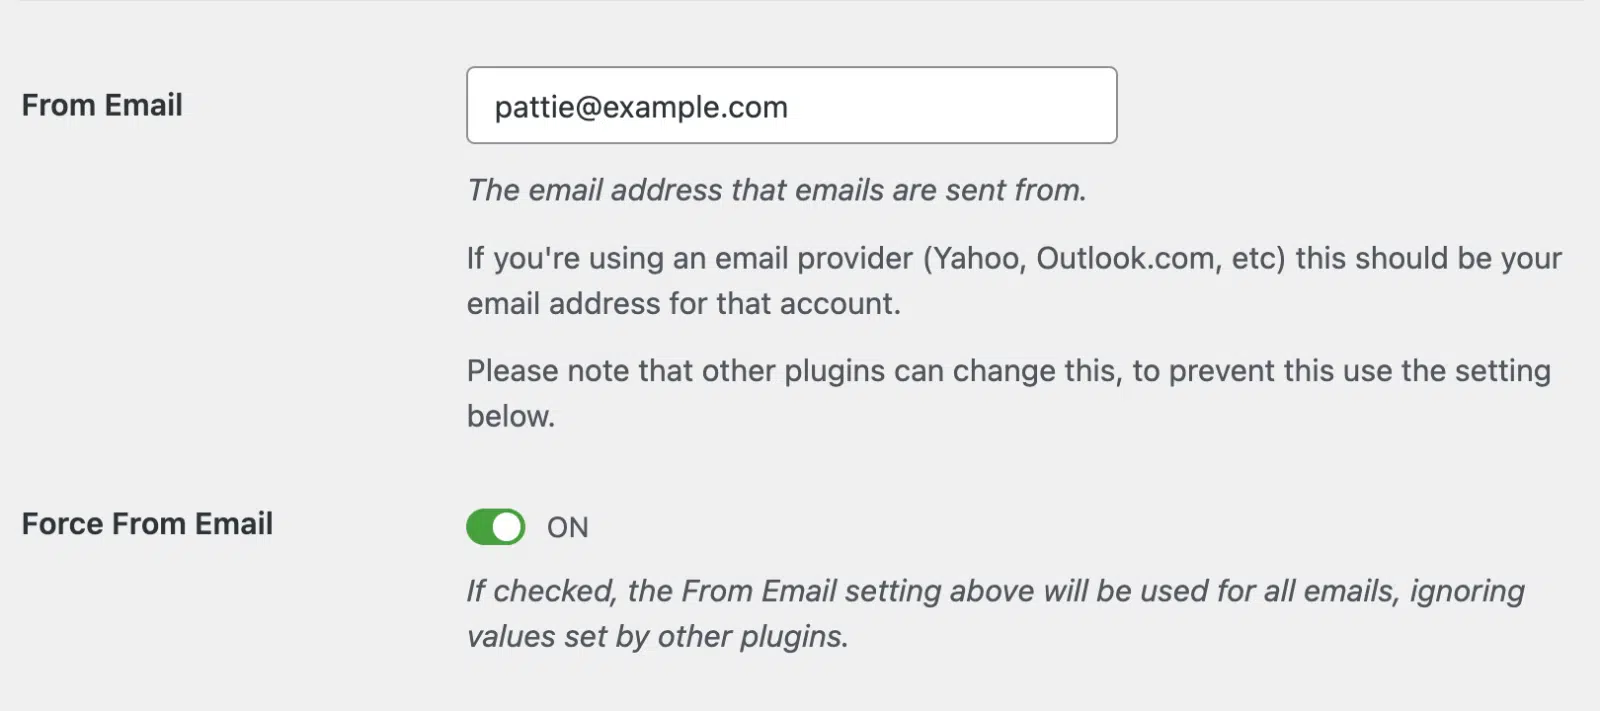
Note: For additional details, see our guide to understand how the Force From Email setting works.
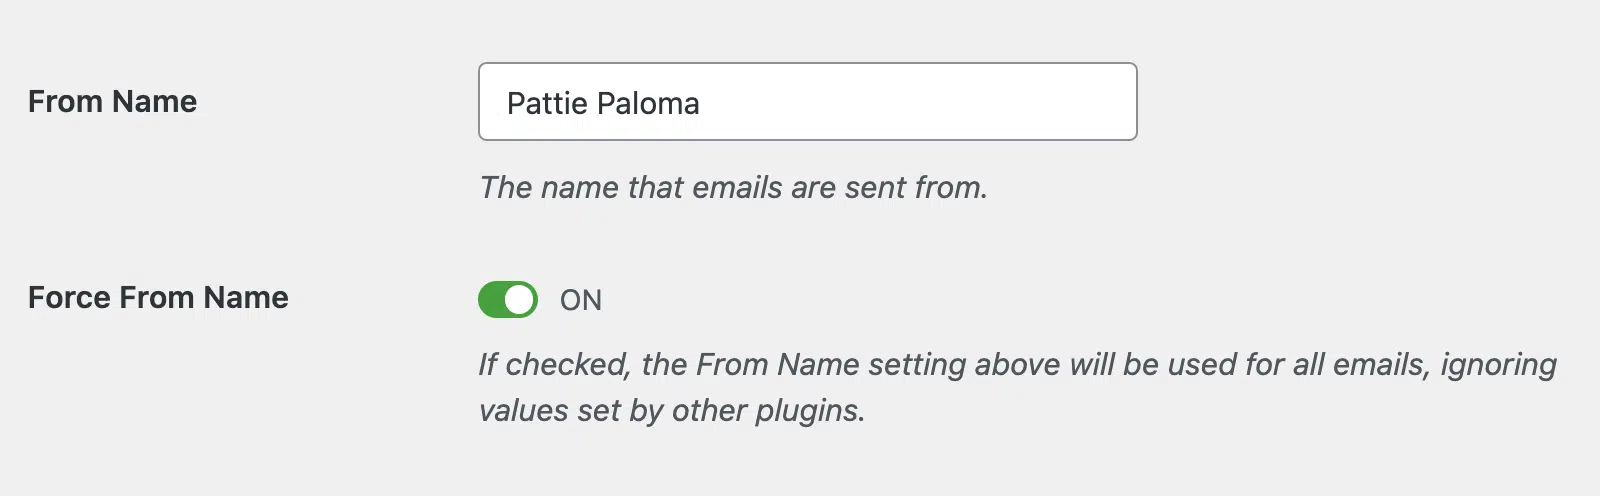
From Name
The From Name will be set to your site’s name by default. However, you can change this to any text you’d like.
You can also select the Force From Name option to apply this setting to emails site-wide.
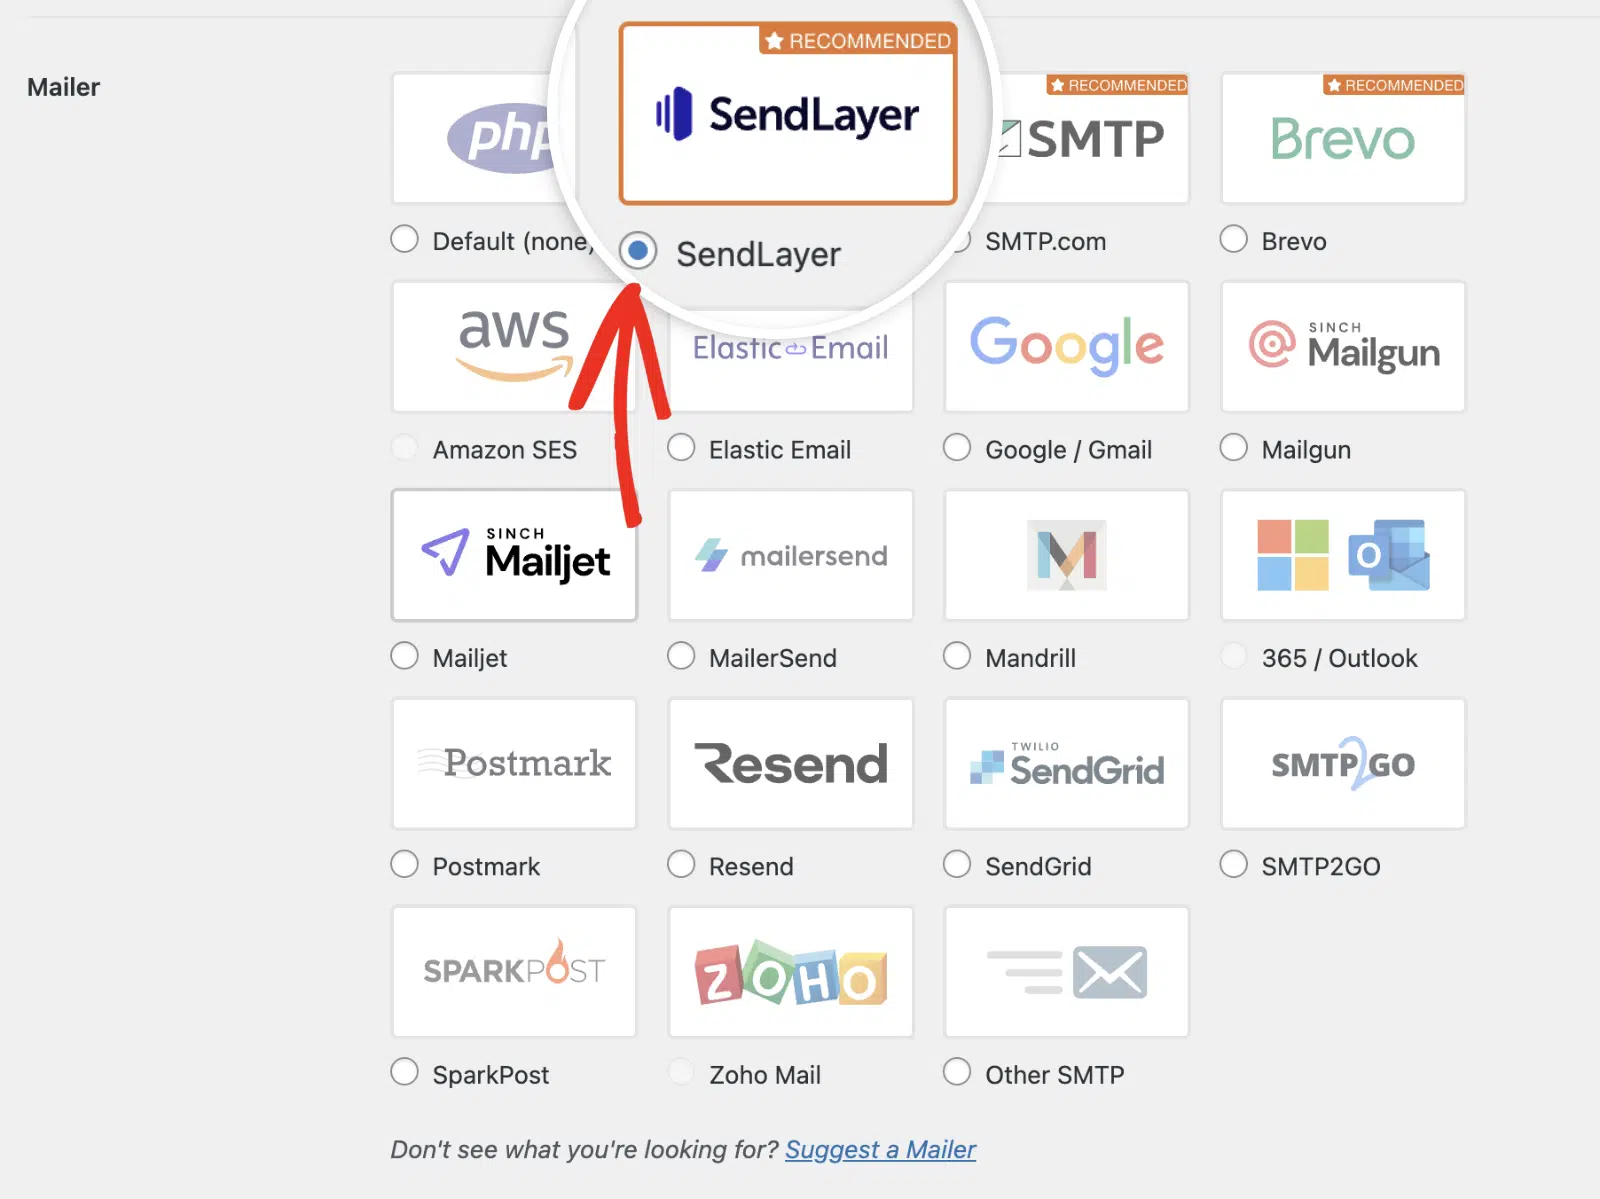
Mailer
In the Mailer section, select the SendLayer mailer option.
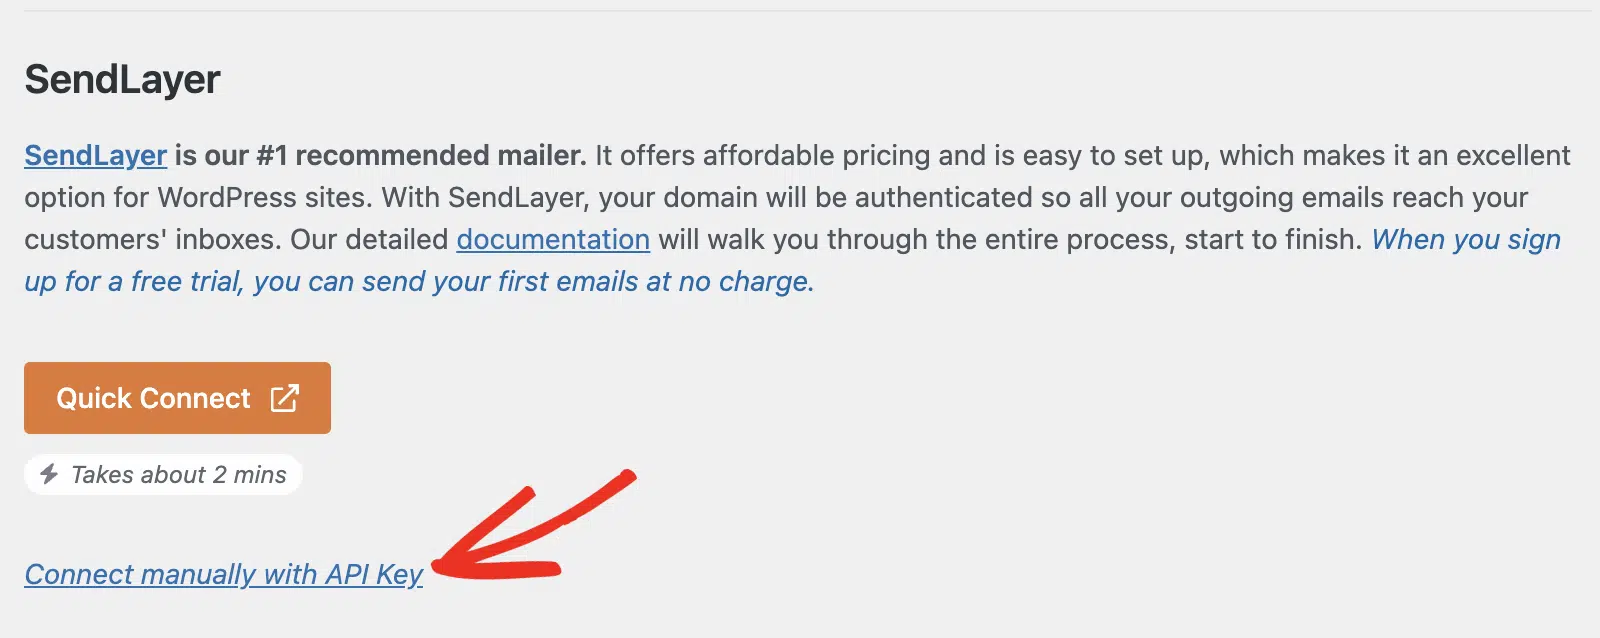
Quick Connect
You can quickly connect the SendLayer mailer using the Quick Connect feature. This option lets you set up email on your WordPress site without adding custom DNS records.
Note: For more information, see our guide on setting up the SendLayer mailer using the Quick Connect option.
If you prefer to set up SendLayer on your domain, click Connect manually with API key.
API Key
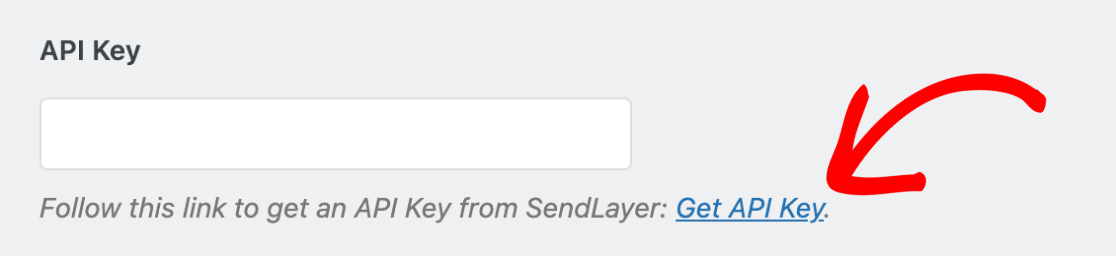
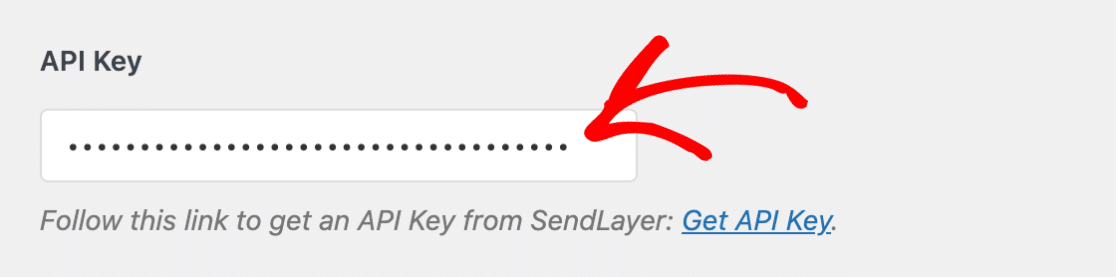
Next, you’ll need to enter your SendLayer API key.
To quickly access your API key in your SendLayer dashboard, click the Get API Key link.
Note: For full details on SendLayer API keys, be sure to check out SendLayer’s guide to managing API keys.
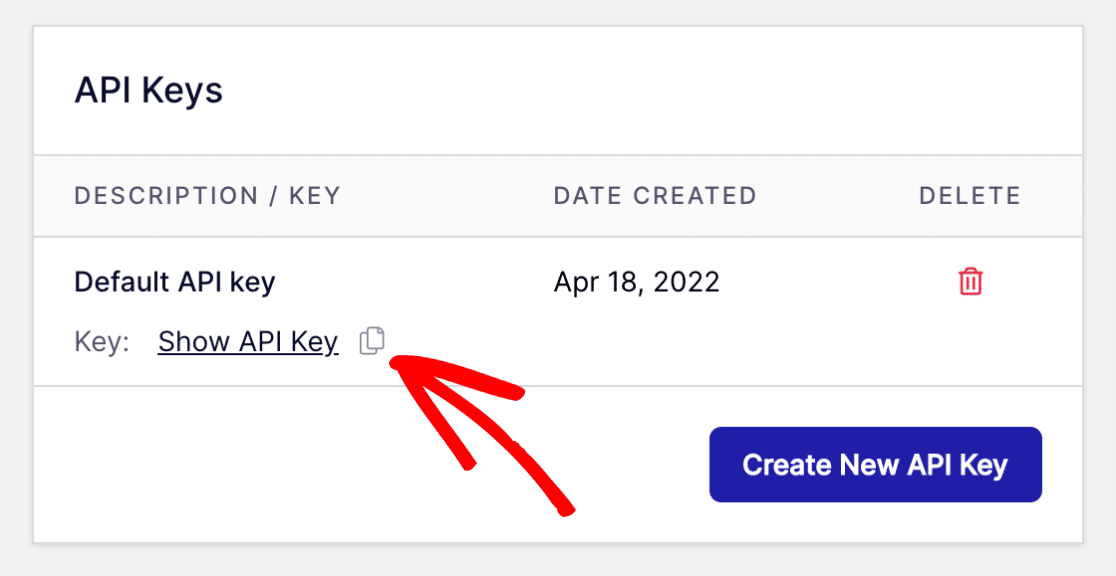
This will take you to the Domain Settings page in your SendLayer account.
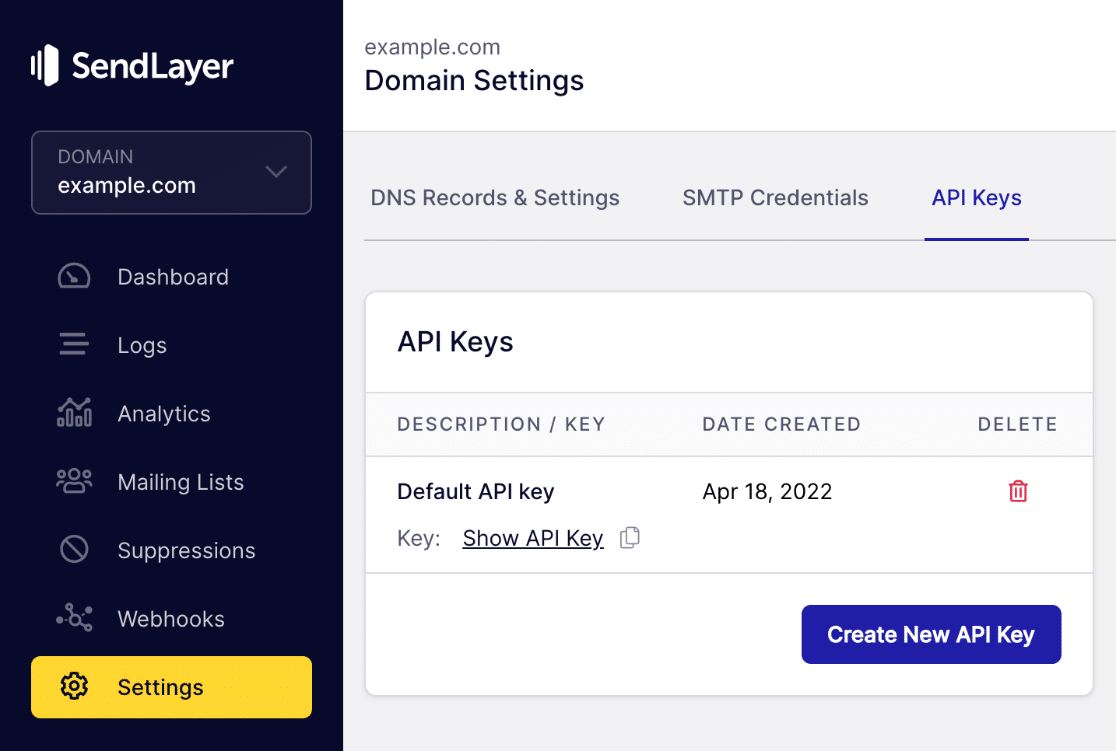
Here, you’ll see a default API key that was generated when you authorized your domain in SendLayer. You’ll want to copy this API key by clicking on the copy icon.
Next, navigate back to your WP Mail SMTP settings and paste the key into the API Key field.
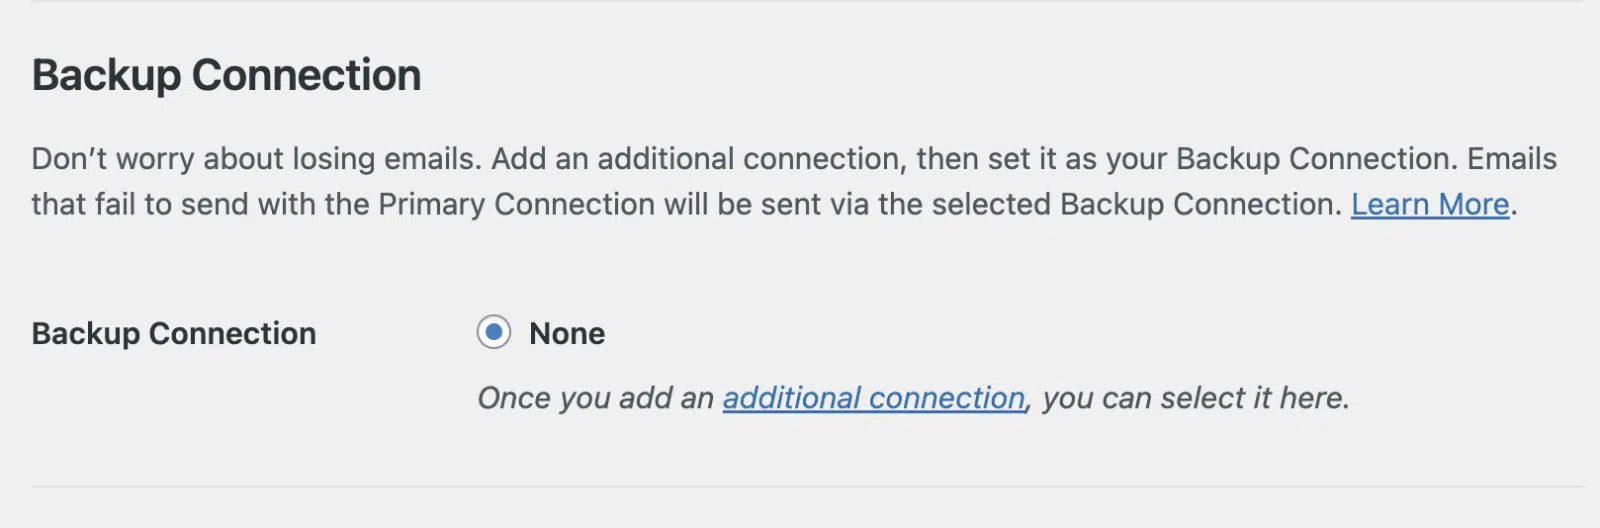
Backup Connection
Setting up a Backup Connection is optional and isn’t required to complete your SendLayer mailer setup. However, to further improve email deliverability, we recommend configuring an additional connection to serve as a backup in case your Primary Connection fails.
Note: Want to send emails using different connections based on a set of rules or conditions? Be sure to check out our Smart Routing tutorial to learn more.
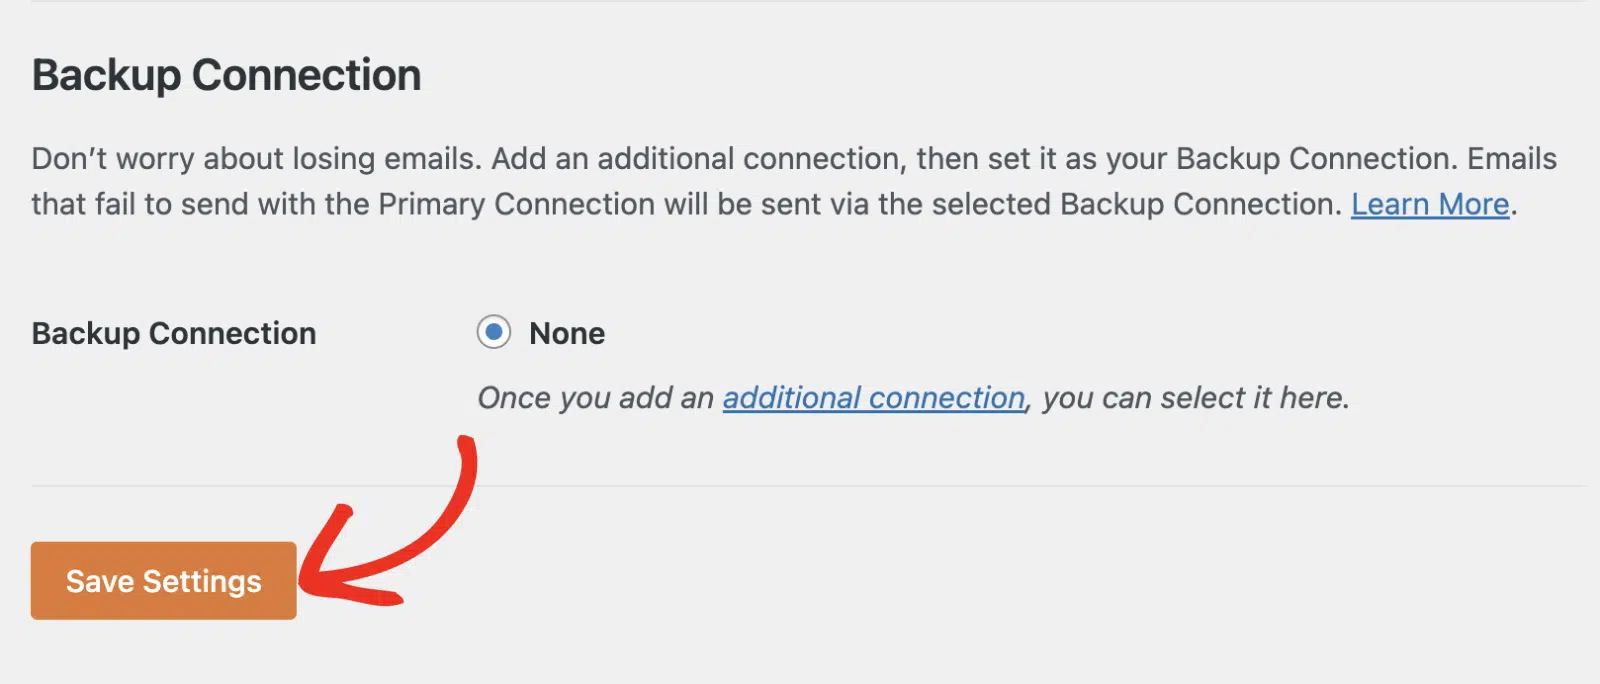
Once you’re done, click the Save Settings button to save the changes.
Sending a Test Email
Now that you’ve got your settings configured, you can send a test email to make sure your connection is working as expected. To do so, go to WP Mail SMTP » Tools and click on the Email Test tab.

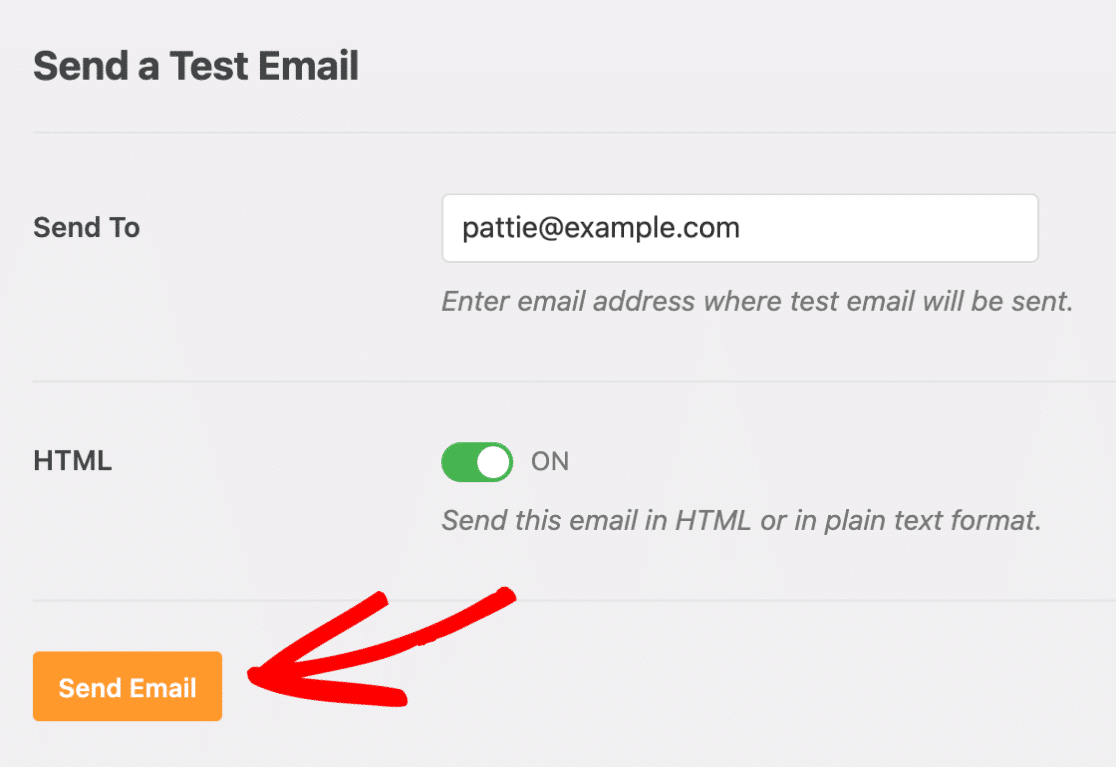
In the Send To field, you can enter any email address whose inbox you have access to.
We recommend leaving the HTML setting ON unless you know you’ll only be sending plain text emails.
Note: If you’ve set up an additional connection, you’d be able to choose between your Primary Connection and other connections when sending a test email.
After you’ve filled out the required settings, go ahead and click the Send Email button to send your test email.
Once the test email has been sent, you should see a success message.
Next, check the inbox for the email address you entered. You should soon receive the email for this test.

In your SendLayer account, you can also check the email log to see if the test email was sent successfully.
That’s it! Now you know how to set up the SendLayer mailer in WP Mail SMTP.
Next, would you like to learn how to resend an email from your WordPress site? Check out our tutorial on resending emails in WP Mail SMTP to learn how.