AI Summary
Would you like to test your WP Mail SMTP setup before going live? Sending a test email is important to ensure that your settings are configured correctly and that all your emails will be delivered successfully.
This tutorial will show you how to send a test email in WP Mail SMTP.
In This Article
Configuring Email Test Settings
Before getting started, you’ll need to install and activate the WP Mail SMTP plugin.
Once you’ve installed the plugin, navigate to WP Mail SMTP » Tools and open up the Email Test tab.
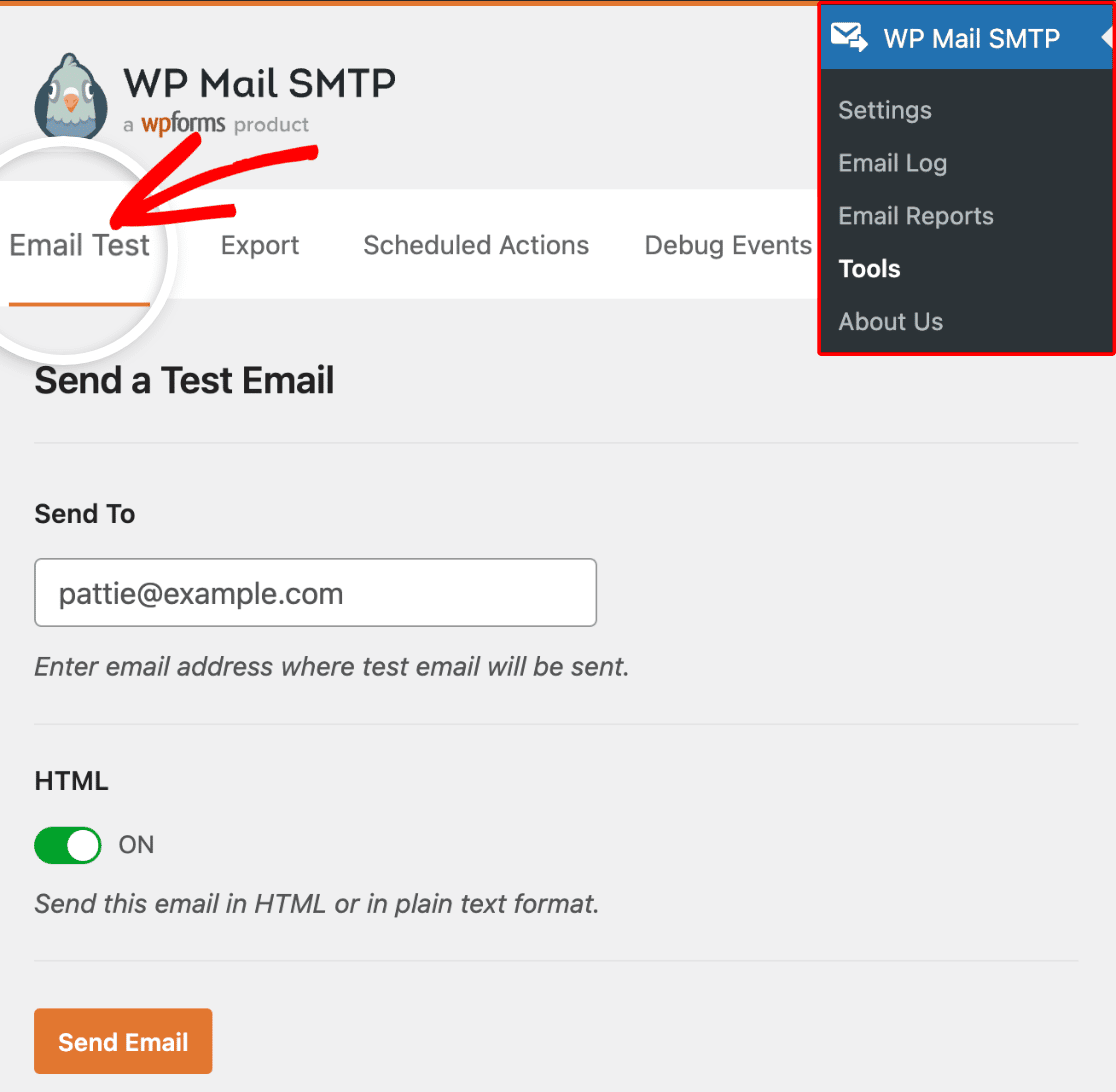
This will open up settings you can configure before sending out your test email. We’ll go over each of the settings below:
Send To
The Send To setting is the email address you’d like your test email to be sent to. By default, this will be set to match the current user account email, but you can change this to any email address you’d like.
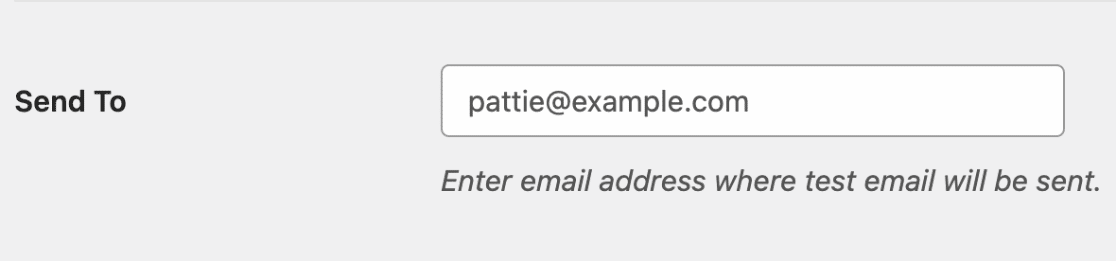
Note: Be sure to choose an email address that you have access to so that you can confirm the test email successfully delivers to your inbox.
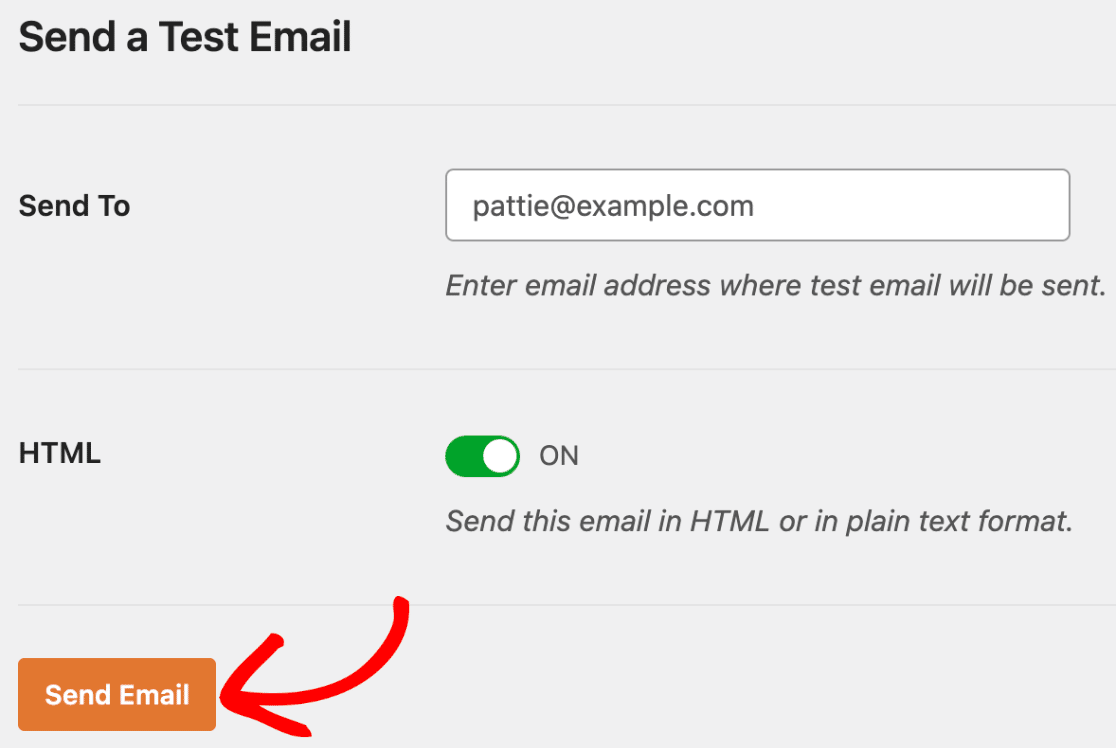
HTML
By default, the HTML setting will be set to ON. While we recommend keeping this setting on, you can also choose to send a plain text email by toggling this setting to OFF.

Note: If you’ve set up an additional connection, you’d be able to choose between your Primary Connection and other connections when sending a test email.
Once you’ve got your settings configured, go ahead and click the Send Email button to send your test email.
Viewing Email Test Results
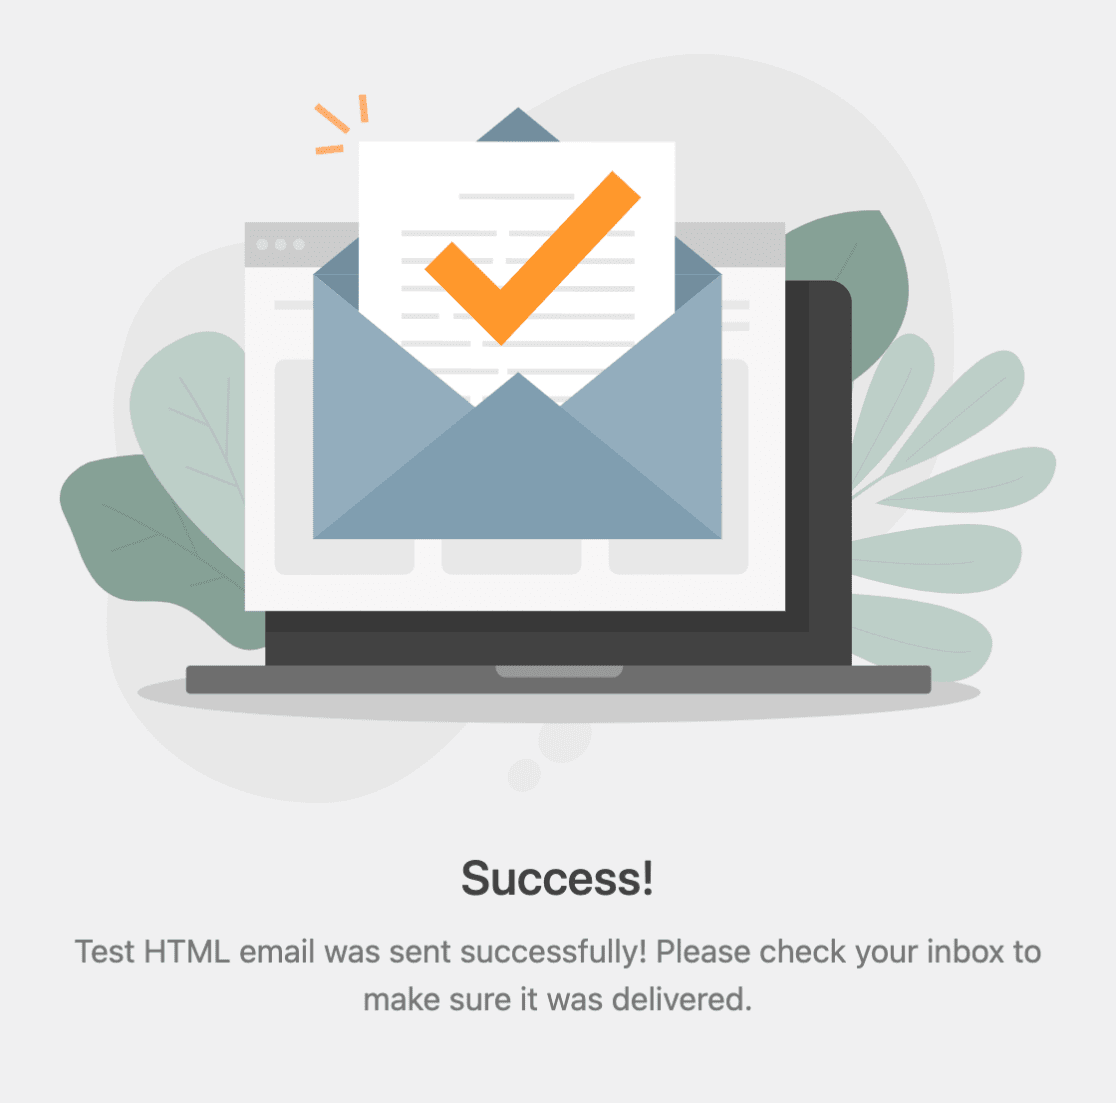
If your test email sends successfully, you’ll see an image with the message Test HTML email was sent successfully! Please check your inbox to make sure it was delivered.
To confirm that your test email was delivered successfully, be sure to check your inbox for an email similar to the example below:

If any issues do come up while sending the test email, you’ll see an error message with more details on what went wrong, as well as recommended next steps.
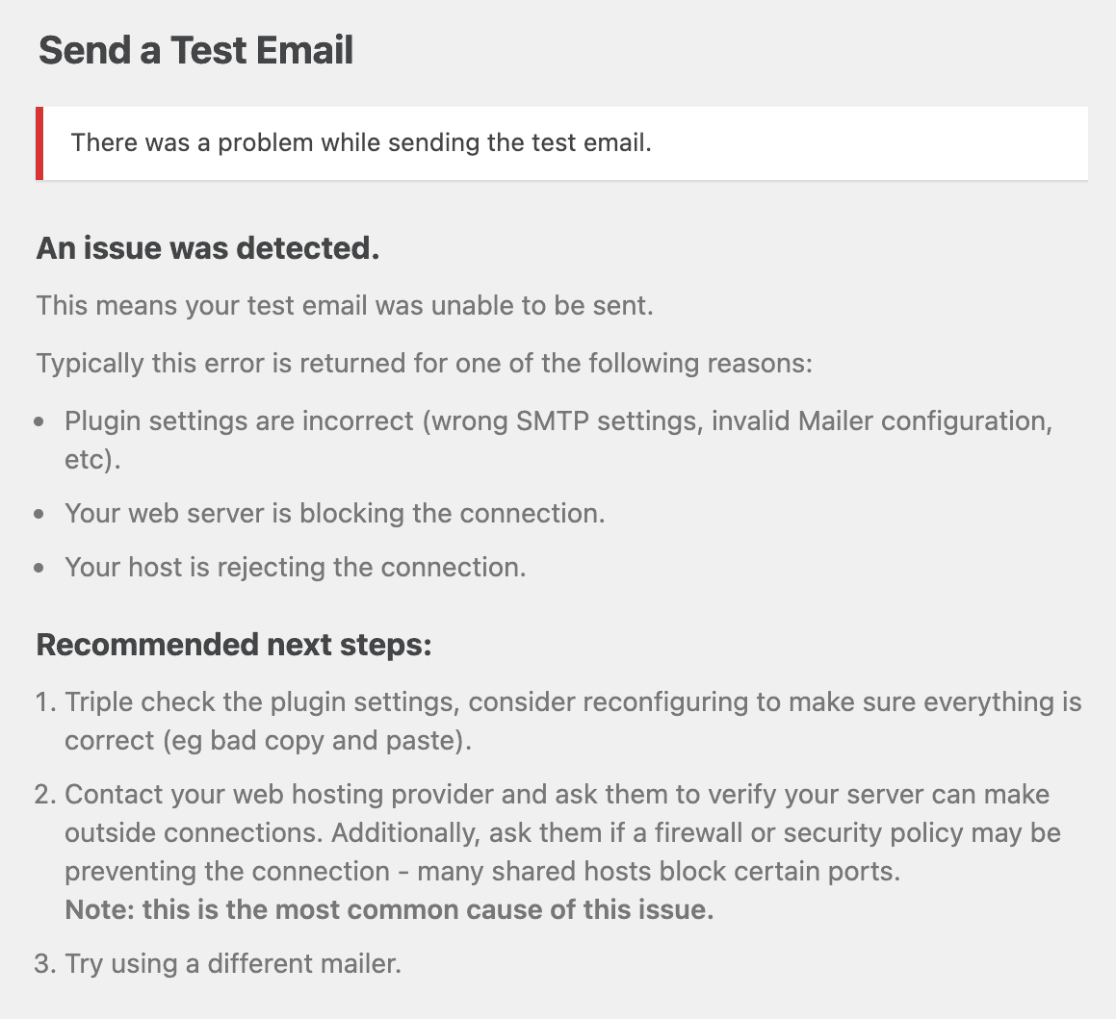
Go ahead and follow the recommended steps outlined in the error message. If the issue still isn’t resolved after following these steps, be sure to reach out to our support team for more assistance.
Note: Email support is only available to users with an active license. For support for our Lite version, please be sure to post your question in our support forum for more assistance.
Domain Check Results
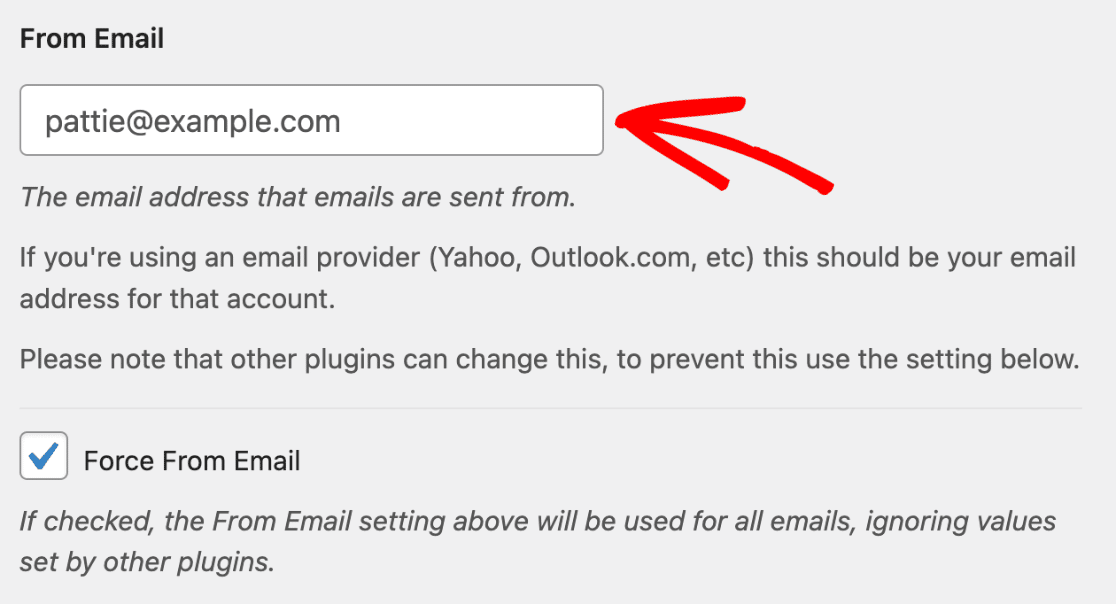
After you’ve clicked the Send Email button, the domain used in the From Email field configured in WP Mail SMTP is automatically checked with an API. This API is used to verify if the DNS records for the sending email’s domain are configured correctly.
Note: Want to learn more about adding DNS records to your WP Mail SMTP setup? Check out our guide to adding DNS records for more details.
You can double-check your email’s domain in WP Mail SMTP » Settings under the General tab.
Depending on which mailer you’re using, the domain check API will verify different DNS records. For example, SPF, DKIM, DMARC, or any custom records required by the mailer.
Note: Domain checking is skipped if the email address used in the From Email field contains a domain from a free email provider (e.g. email addresses with gmail.com, outlook.com, hotmail.com, etc.). Since these free email providers don’t allow users to configure DNS records, the domain check isn’t performed.
Once the domain check is complete, you’ll see the results of the email test on the Email Test page. Here is an example of what the results might look like if there’s any further action needed:
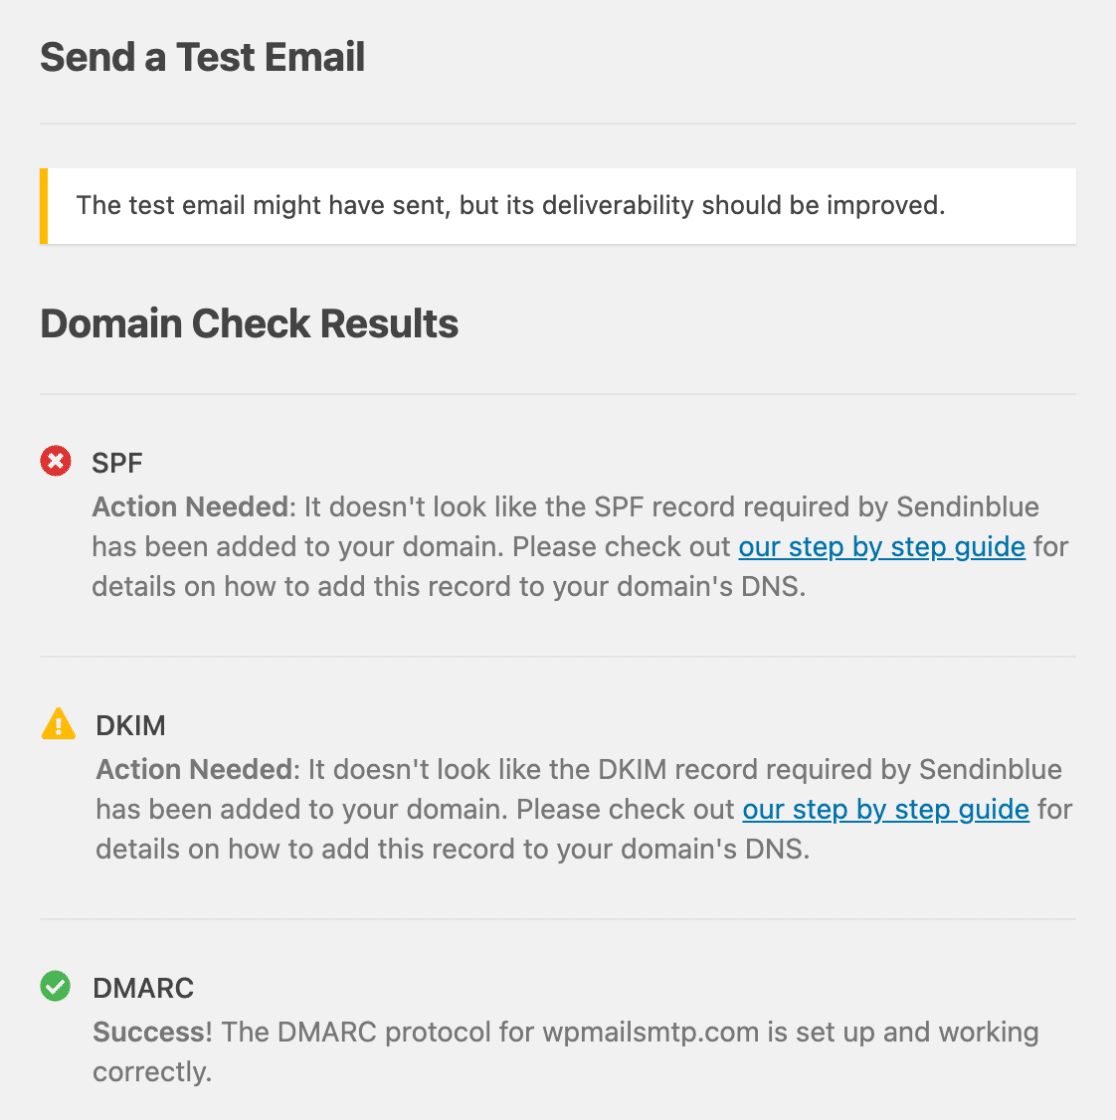
Note: Clicking on the links within the domain checker results will bring you to a specific guide for the mailer you’re using. Within the guide, you’ll find steps to add the record to your domain’s DNS.
That’s it! You can now send a test email in WP Mail SMTP.
Next, would you like to secure your SMTP settings within your site? Be sure to check out our tutorial on securing SMTP settings by using constants for more details.