AI Summary
Would you like to use Postmark to improve email delivery for your WordPress site? This affordable solution integrates with our WP Mail SMTP plugin to help make sure emails sent from your website make it to your users’ inboxes.
This tutorial will show you how to set up the Postmark mailer in WP Mail SMTP.
What Is Postmark?
Postmark is a fast and reliable email delivery service. Using its API, you can connect Postmark to your WordPress site so that emails sent from your site successfully arrive in recipients’ inboxes.
- Cost: You can get started with Postmark’s free developer plan. This option lets you send 100 test emails per month to try it out, and doesn’t require a credit card. Once you’re sure Postmark is the right mailer for you, you can upgrade to a paid plan to send more emails per month.
- From Email Requirements: Works with any From Email, although we recommend using one that is at your website’s domain (e.g., [email protected]). That way you can verify your domain (as discussed later in this tutorial), which ensures the most reliable email delivery.
- Bottom Line: Postmark is both an affordable mailer, with a free developer plan, and a reputation for reliable email delivery. Its setup process is more complex than some of the other options, but its advanced features can make up for the extra configuration that it requires.
Note: To learn more about other available mailers, be sure to check out our complete guide to WP Mail SMTP mailers.
If you have questions about Postmark or need help setting up your account, feel free to reach out to Postmark’s support team for assistance.
Configuring Your Postmark Account
First, you’ll need to set up your Postmark account. This includes choosing a plan and creating a Sender Signature (which is what Postmark calls a verified address you can use as your From Email in WP Mail SMTP).
Choosing a Postmark Plan and Signing Up for an Account
Head to Postmark’s Pricing page to look over the available options. You can use the cost calculator to estimate your total monthly charges if you want to purchase a paid plan.
Otherwise, click on the Start Free Trial button at the bottom of the page to sign up for a developer plan.

Then create your login credentials and click Let’s get started.

At this point, Postmark will send a verification email to the address you provided. It will also automatically create an individual Sender Signature using this address.
Go ahead and open the email and click on the Confirm Sender Signature button.

If you want to use Postmark to send emails from a different address, don’t worry. We’ll show you how to create additional Sender Signatures shortly.
Requesting Account Approval
Finally, log in to your Postmark dashboard and look for the Request approval button in the toolbar.

Postmark manually reviews each new account to make sure its platform isn’t being used to send emails that might damage its reputation.
You’ll need to fill out a bit of information, such as how many emails per month you intend to send and what you plan to use Postmark for. Then submit your request.

You can continue with the setup process below while you wait for approval (which typically takes 1 business day). However, you won’t be able to send any emails to addresses outside of your verified domain until after your account is approved.
Note: For more information on Postmark’s approval process, please see its official documentation on this topic.
Creating a Sender Signature
A Sender Signature is an individual email address or domain that is authorized in Postmark to send emails from your site.
To create a new Sender Signature, log in to your Postmark account and click on Sender Signatures at the top of your dashboard.

Then click on the Add Domain or Signature button.

Adding a New Sender Signature
Note: Although you can get the Postmark mailer up and running with a Sender Signature for an individual email address, we recommend adding a domain instead to better ensure email delivery.
To send emails from a single email address, you can verify a Sender Signature. The email associated with your account will be verified during the signup process, but you can add as many additional addresses as you want.
First, click on the Add Sender Signature button.

This will take you to a page with a short form to fill out. You’ll need to provide the sender’s name and email address.

Click Create Signature when you’re ready. Postmark will send a verification email to the address you provided. Click the Confirm this Sender Signature button in the email to finish setting it up.
Adding a Domain
Note: You can verify a subdomain in Postmark and use an email address at that subdomain as the From Email in your WP Mail SMTP settings. This is usually the best setup for ensuring email delivery, as your subdomain’s reputation as an email sender is separate from your root domain’s.
To verify your sending domain, click on the Add Domain button.

This will open a popup window in which you’ll need to enter the domain you want to verify.

Note: To verify your domain in Postmark, you’ll need to add DNS records to your domain. For guidance on this process, please see our tutorial on how to add DNS records to set up your mailer.
Click the Verify domain button to proceed. This will take you to a screen with the DNS records that you need to add to your DNS settings.

Keep this page open while you add the DKIM and Return-Path records to your DNS settings.
Note: Although Postmark does not require you to add the Return-Path record to your DNS settings to verify your domain, it’s recommended to ensure email delivery.
Then come back to this screen and click on the corresponding Verify buttons for each record.

Note: It may take up to 48 hours for changes to your DNS settings to be recognized. If you try to verify your domain in Postmark and it doesn’t work, wait and try again. In the meantime, you can continue setting up WP Mail SMTP.
Once your domain has been successfully verified, you’ll see green checkmarks and “Verified” messages for each record as well as for your domain.

Finding Your Postmark API Token
In order to connect your Postmark account to WP Mail SMTP, you will need an API token. You can find yours by clicking on Servers in your Postmark dashboard toolbar.

Then click on the name of the server you’re going to use to send emails. For this tutorial, we’ll be using the default (My First Server), but you can use any server you’ve created in Postmark.

Note: In Postmark, servers organize the emails you send out. For example, you might set up separate servers for different WordPress sites. To see more details on Postmark servers, check out its official documentation on managing servers.
In your server’s dashboard, click on API Tokens.

This will bring up a screen with your server API Token. Leave this page open in a separate browser tab or window, as you’ll need to return to it later when configuring your WP Mail SMTP settings.

Setting Up WP Mail SMTP
Next, you’ll need to set up WP Mail SMTP on your WordPress site. First, make sure the plugin is installed and activated.
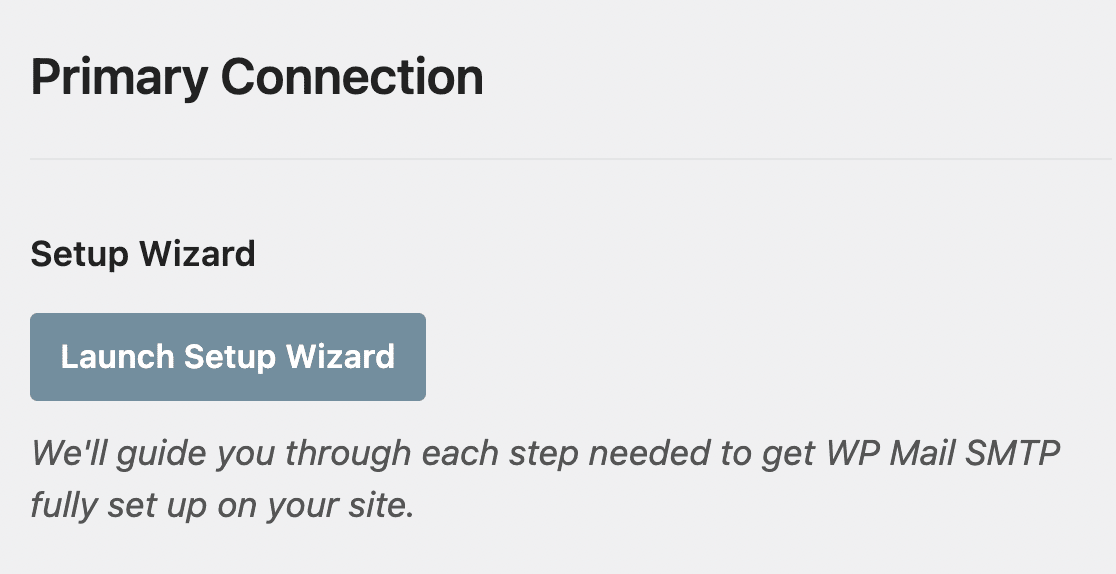
Once you’ve installed WP Mail SMTP, go to WP Mail SMTP » Settings, then select the General tab.

Next, scroll to the Primary Connection section.
In the next sections, we’ll cover the details for each of the settings located on this page.
From Email
The From Email should be the email address from which you want to send messages. If you set up a single Sender Signature in Postmark, this email address should match your Sender Signature. If you verified your domain, you can use any email address at the domain you added in Postmark.

Note: You can use any email address on your sending domain as the From Email address, as long as it contains the domain you verified in your Postmark account. However, it must be connected to a working inbox if you plan to receive emails at this address.
You may also choose to check the Force From Email box. This will ensure all emails sent from your site use the same From Email.

Note: For more details, see our guide to understand how the Force From Email setting works.
From Name
The From Name is the name that will be shown as the sender on emails sent from your site. By default, it will match the name of your site, but you can set it to whatever you want.

You can also check the Force From Name box to keep this setting the same for all emails sent from your site.
Mailer
From the Mailer section of the Settings page, select Postmark.

Server API Token
Next, go back to the browser tab or window in which your Postmark account is open with your Server API Token. Copy the token, then paste it in the Server API Token field in your WP Mail SMTP settings.

Message Stream ID (Optional)
Lastly, you can add a Message Stream ID from your Postmark account if you would like.
To optimize email deliverability, it’s important to separate your transactional emails (like your password reset or account verification emails) from marketing or bulk emails (like your newsletters or promotions).
Postmark Message Streams help you do this. If you’re using WP Mail SMTP to only send transactional emails, enter Postmark’s Transactional Stream in this setting. If you’re sending bulk emails, you’ll want to add a Broadcast Stream.
Note: For all the details on creating and using Message Streams, see Postmark’s documentation on sending emails through Message Streams.
To locate a Message Stream ID in your Postmark account, go to the Servers tab in your dashboard and click on your server’s name. On the following screen, you’ll see a list of existing Message Streams, including the Default Transactional Stream.

Click on the Message Stream you want to use. On the next screen, look for the Stream ID at the top of the page.

Copy this, then return to your WP Mail SMTP settings and paste it into the Message Stream ID field.

If you leave this setting blank, WP Mail SMTP will use the Default Transactional Stream.
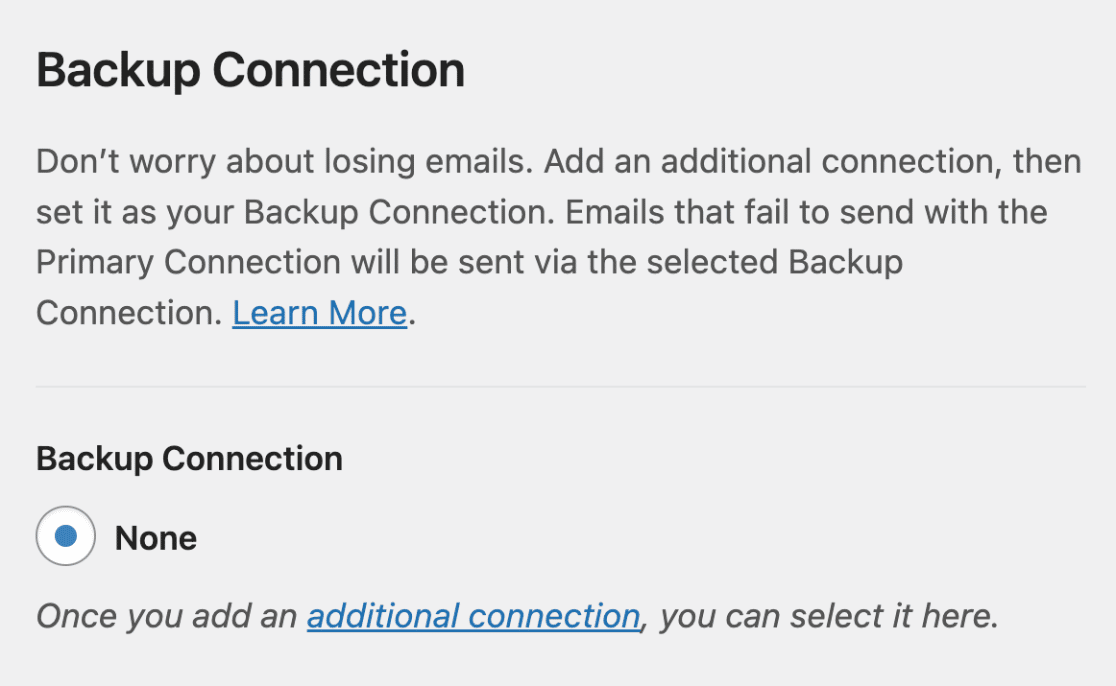
Backup Connection
Setting up a Backup Connection is optional and isn’t required to complete your Postmark mailer setup. However, to further improve email deliverability, we recommend configuring an additional connection to serve as a backup in case your Primary Connection fails.
Note: Want to send emails using different connections based on a set of rules or conditions? Be sure to check out our Smart Routing tutorial to learn more.
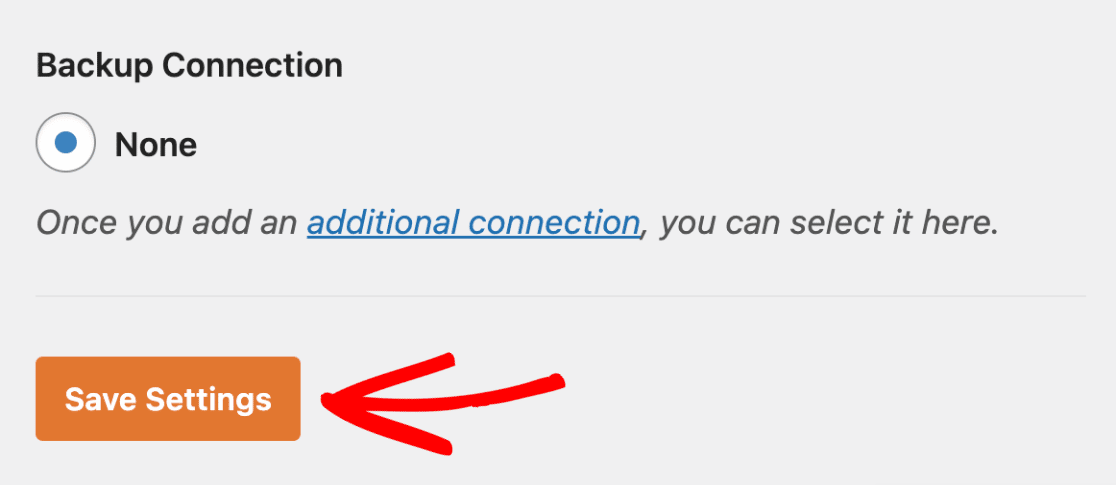
Once you’re done, click the Save Settings button to save the changes.
Sending a Test Email
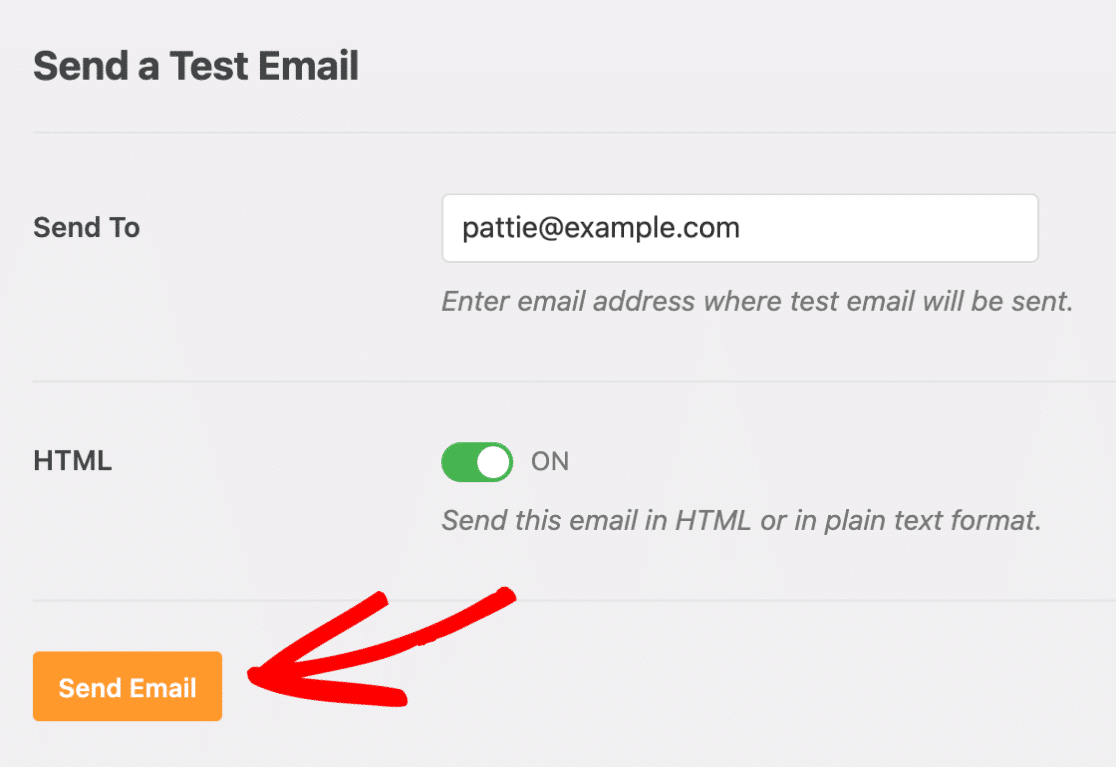
Now that you’ve got your settings configured, you can send a test email to make sure your connection is working as expected. To do so, go to WP Mail SMTP » Tools and click on the Email Test tab.

In the Send To field, you can enter any email address whose inbox you have access to.
We recommend leaving the HTML setting ON unless you know you’ll only be sending plain text emails.
Note: If you’ve set up an additional connection, you’d be able to choose between your Primary Connection and other connections when sending a test email.
After you’ve filled out the required settings, go ahead and click the Send Email button to send your test email.
Once the test email has been sent, you should see a success message.

Next, check the inbox for the email address you entered. You should soon receive the email for this test.

Frequently Asked Questions
These are some of the top questions we receive about setting up the Postmark mailer.
Can I send emails via two different Postmark streams based on the ‘From’ email address?
WP Mail SMTP plugin does not directly support selecting a specific Postmark message stream based on the ‘From’ email address. However, it’s possible to achieve this with a code snippet that allows conditional selection of the Postmark mailer message stream based on the email subject.
To do this, simply copy and paste this snippet to your site. On line 9, you’ll need to replace WP Forms Subject with the subject of your email. Next, replacewp_forms_message_stream on line 10 with your desired Postmark message stream.
Note: For extra guidance, please see WPBeginner’s tutorial on adding custom code.
That’s it! Now you know how to set up the Postmark mailer for WP Mail SMTP.
Next, would you like to set up email logging? Check out our tutorial on how to log emails for all the details.