AI Summary
Would you like to use Amazon SES to improve email deliverability for your WordPress site? Amazon Simple Email Service, or Amazon SES, is a powerful tool that’s commonly used for sending marketing emails. The Amazon SES mailer for WP Mail SMTP lets you securely use this same tool to make sure your emails get delivered.
This tutorial will show you every step needed to set up the Amazon SES mailer in WP Mail SMTP.
In This Article
Requirements: Amazon SES requires your site to have an SSL certificate (https). For details on setting up SSL on your WordPress site, please check out WPBeginner’s SSL guide.
What is Amazon SES?
Amazon SES is a service designed to send emails for businesses. While our focus here is on using their services to improve the deliverability of emails sent out from your website, they also offer tools to create and send out marketing emails.
- Cost: Free for the first year. After that, pricing is based on the number of emails you send, as well as some other factors such as the size of email attachments. For full details, please be sure to check out the Amazon SES pricing page.
- From Email Requirements: Works with any domain-specific email address (e.g., [email protected]). To ensure the most reliable email deliverability, this domain-specific email address should be used as the From Email when setting up WP Mail SMTP on your WordPress site.
- Bottom Line: Amazon SES is secure and getting started is free, though you will need a credit card to set up your account. Notably, the setup process is fairly involved and, at one stage, requires the approval of Amazon’s team. Consequently, we only recommend this mailer for more technically advanced users.
In order to use Amazon SES, you must have an SSL certificate installed on your WordPress site.
Note: For more information about supported mailers, see our complete guide to mailers in WP Mail SMTP.
Configuring an Amazon AWS Account
Before we get started, you’ll need to sign up for a free account with Amazon Web Services, or AWS.
Although your account is free and this mailer setup does not require the use of any paid services, AWS will require that you enter a credit card when setting up an account.
After signing up for an AWS account, their system will try to determine your region, based on your address. If AWS is unsure of your region, you’ll be asked to select the next closest region.
The following regions are currently supported:
Note: The regions marked with an asterisk are supported, but aren’t enabled by default. If your closest region falls in this category, be sure to manually enable the region in your AWS account settings.
- Africa (Cape Town)*
- Asia Pacific (Hong Kong)*
- Asia Pacific (Jakarta)*
- Asia Pacific (Mumbai)
- Asia Pacific (Osaka)
- Asia Pacific (Tokyo)
- Asia Pacific (Seoul)
- Asia Pacific (Singapore)
- Asia Pacific (Sydney)
- AWS GovCloud (US)
- Canada (Central)
- Europe (Ireland)
- Europe (London)
- Europe (Frankfurt)
- Europe (Milan)*
- Europe (Paris)
- Europe (Stockholm)
- Middle East (Bahrain)*
- South America (São Paulo)
- US East (N. Virginia)
- US East (Ohio)
- US West (N. California)
- US West (Oregon)
Creating an IAM User
Once you’ve created an account in Amazon Web Services, the next step is to set up an IAM User. This will provide you with access keys needed later.
First, you’ll need to open the Amazon Web Services’ IAM Users page.
Within this page, click the Create user button.

Next, you’ll need to set up a new user. In the User name field, you can add any name you’d like. However, we recommend using the following name format:
yourdomain_wpmailsmtp
For example, for WPForms.com we would use the following user name: wpformscom_wpmailsmtp. If you need to set up or edit users down the road, this will make it easy to keep track of which site is connected to each user.

When you’re ready, click the Next button to proceed.
Next, you’ll be setting permissions for this new user. From the top row of options, select Attach policies directly.

Next, type AmazonSESFullAccess in the search bar. You should see only one result with the same name. Make sure to select the checkbox next to this option to grant the user permission to access it.

When you’re ready, click the Next button to proceed.
On the next page, you’ll be shown all the details you’ve chosen for this user. You can double-check that everything looks correct, then click the Create user button.

After completing the previous step, AWS will show a success message and automatically direct you to the Users page.
Generating an Access Key
On the Users page, click on the User name of the user you created to proceed.

Next, from the tabs which are displayed, click on Security credentials.

Then, scroll down to the Access keys section and click on the Create access key button.

Next, select Other for the Access key best practices & alternatives section.

When you’re ready to move forward, click the Next button.
On the next page, you can skip the description tag and simply click the Create access key button to proceed.

AWS will now display a success message along with the Access key ID and Secret access key for your user. Don’t forget to take a moment to securely save a copy of these keys.

Note: You will not be able to see this Access key ID and Secret access key again once you close this page. Be sure to download a CSV with these details and/or copy them into a safe location.
You can also keep this window open for now, as we’ll be using these keys a little later.
Switching AWS to Production Mode
All Amazon SES accounts are, by default, put in Sandbox Mode. This is very limiting, as it means that your account has a low monthly sending quota and will only be allowed to send emails to email addresses verified through Amazon.
In this step, we’ll show you how to move from Sandbox Mode to Production Mode so you can increase your monthly sending quota and send emails to anyone.
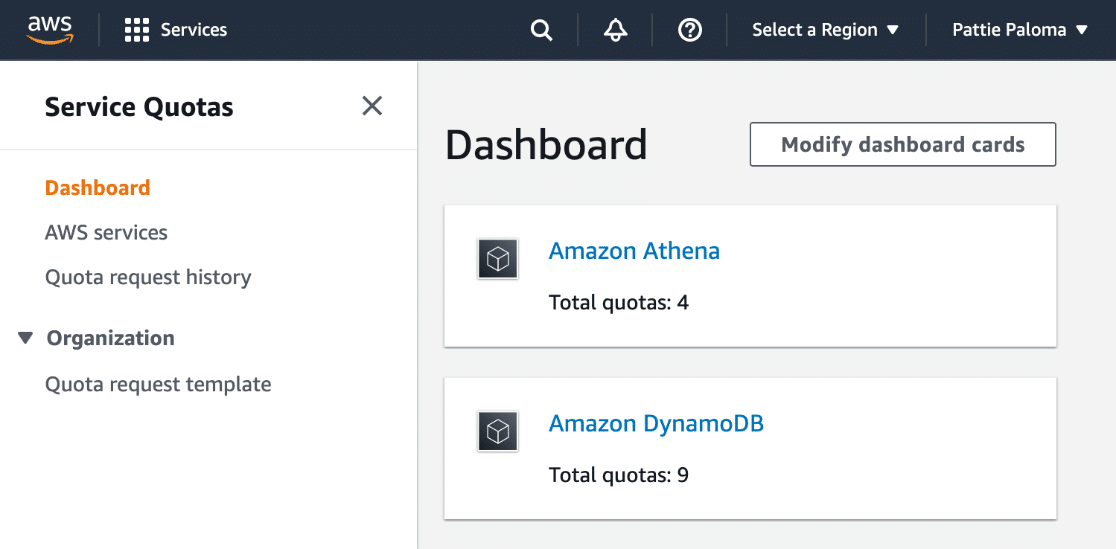
To begin this step, you’ll need to navigate to the Amazon Service Quotas dashboard.
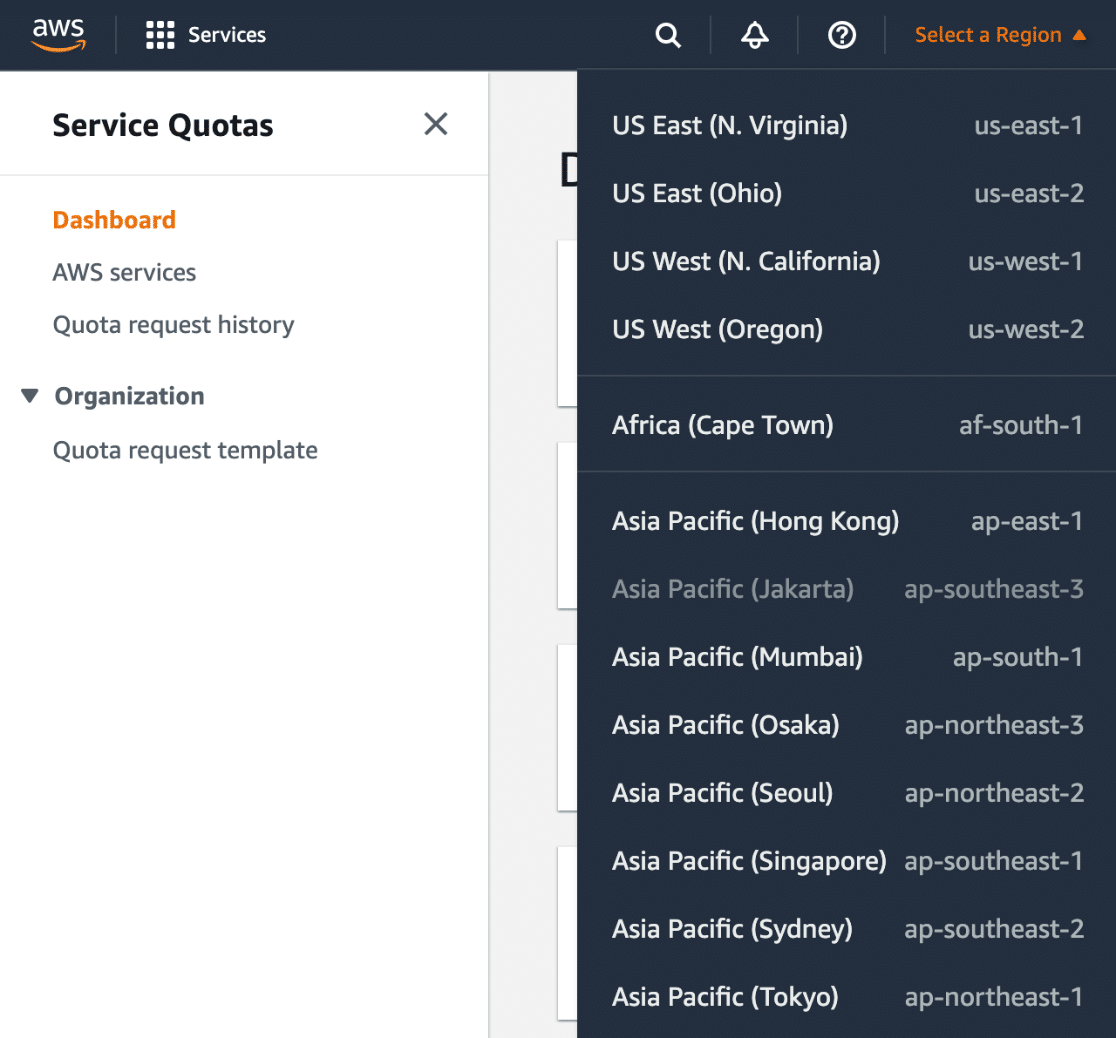
Selecting Your Region
Once you’ve accessed the dashboard, you’ll need to select your region by clicking the Select a Region dropdown and locating your region in the dropdown list. Be sure to select the same region you chose when you configured your Amazon AWS account.
Now that you’ve selected a region, you can proceed to request an increase for your monthly email quota.
Requesting a Quota Increase
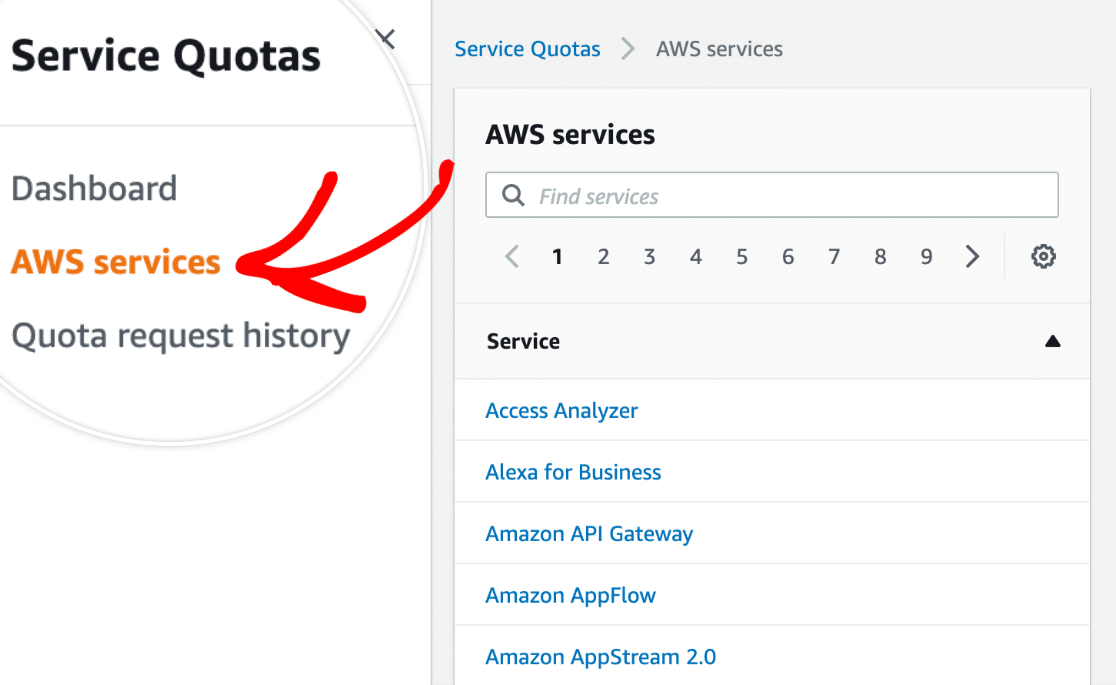
To request an increase to your monthly email limit, click on the AWS services option in the sidebar menu.
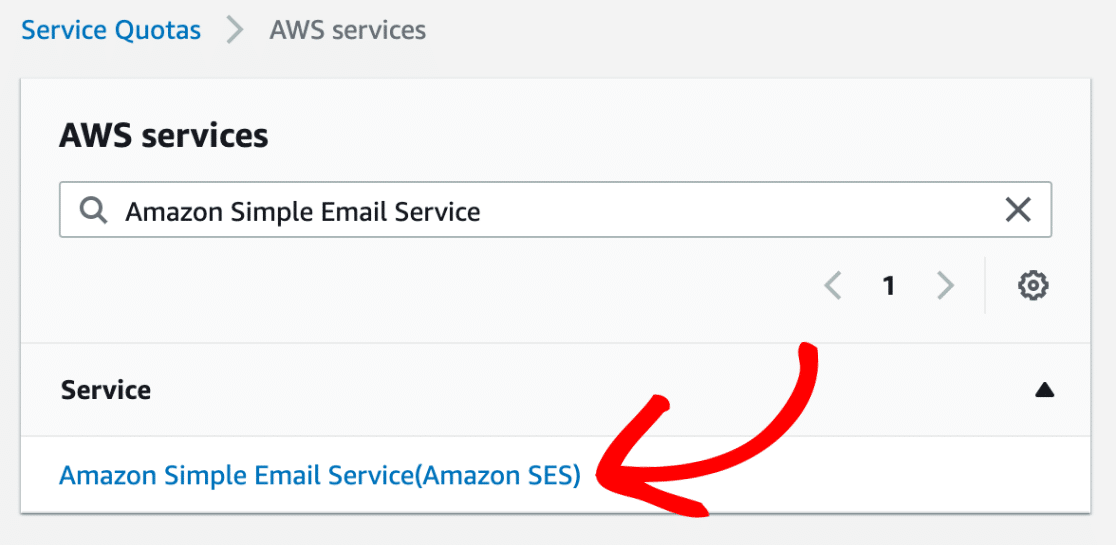
Then, type Amazon Simple Email Service into the search bar.
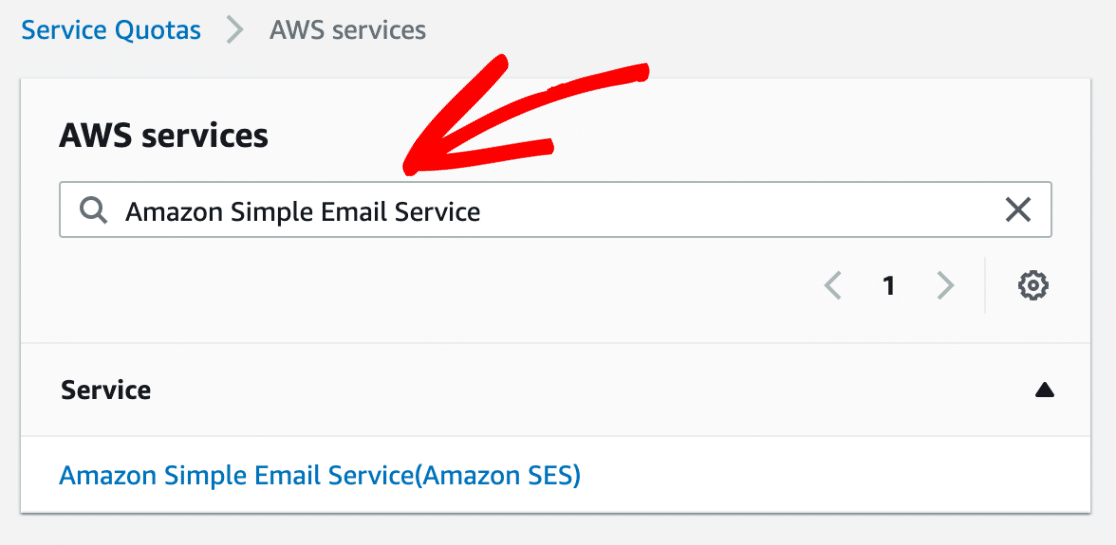
This will leave a single option named Amazon Simple Email Service(Amazon SES). When you’re ready, go ahead and click on this option.
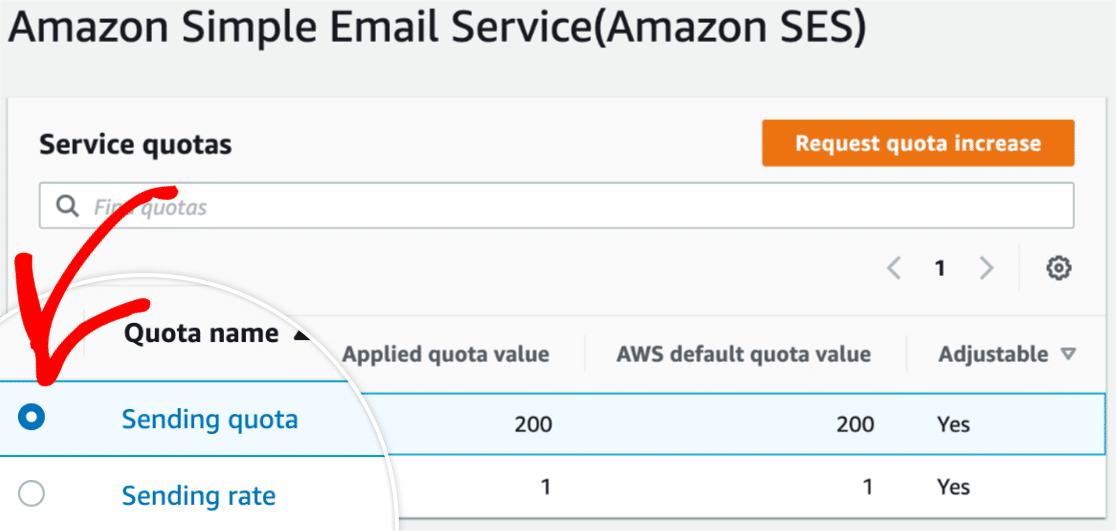
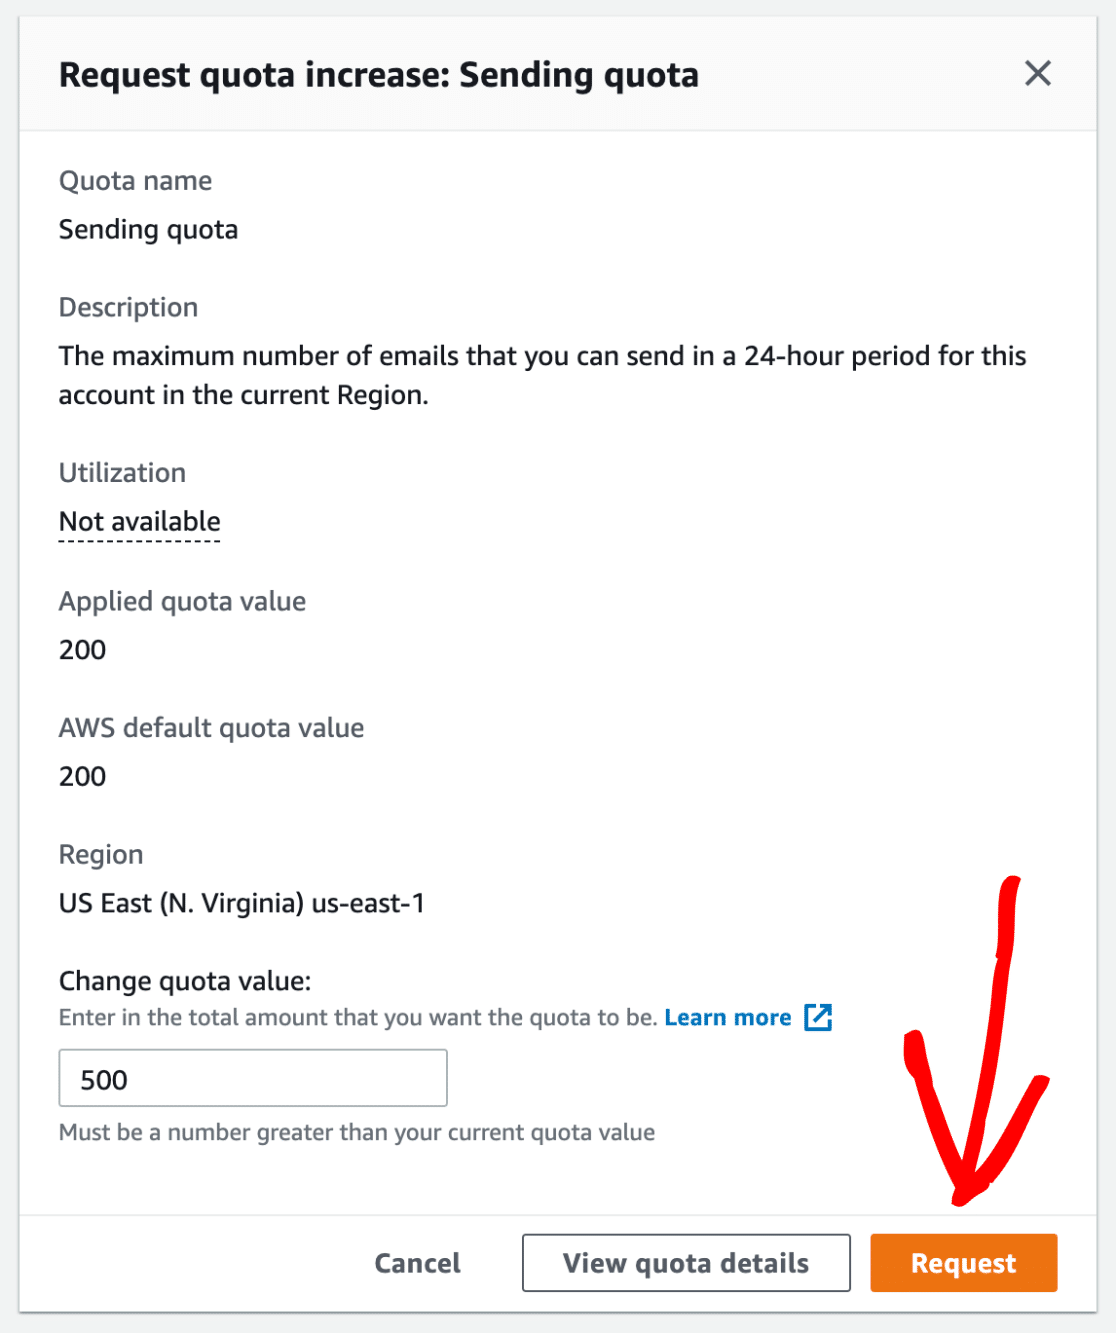
On the next page, you’ll want to initiate a request to increase your sending quota. To do this, start by selecting the multiple-choice option next to Sending quota.
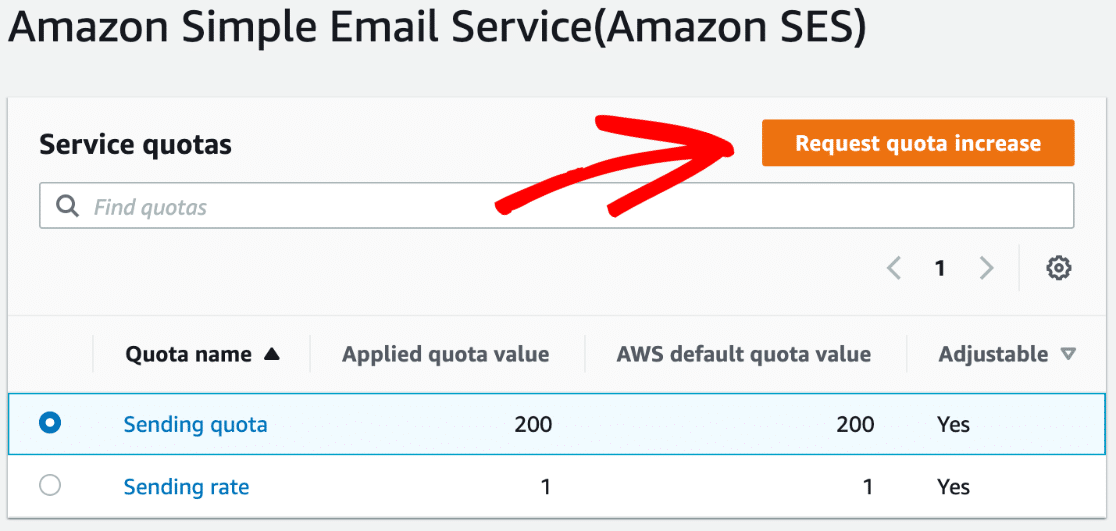
Next, click on the Request quota increase button.
After that, a Case Classification form will appear that you’ll need to review and fill out. This is an important step, as it’s what Amazon uses to prevent spammers from using their system. Within this form, you’re essentially proving to Amazon SES that your site will be sending emails for legitimate purposes.
To complete this form, enter your desired daily sending quota in the Change quota value section. For this example, we’ll request a daily sending quota of 500 emails.
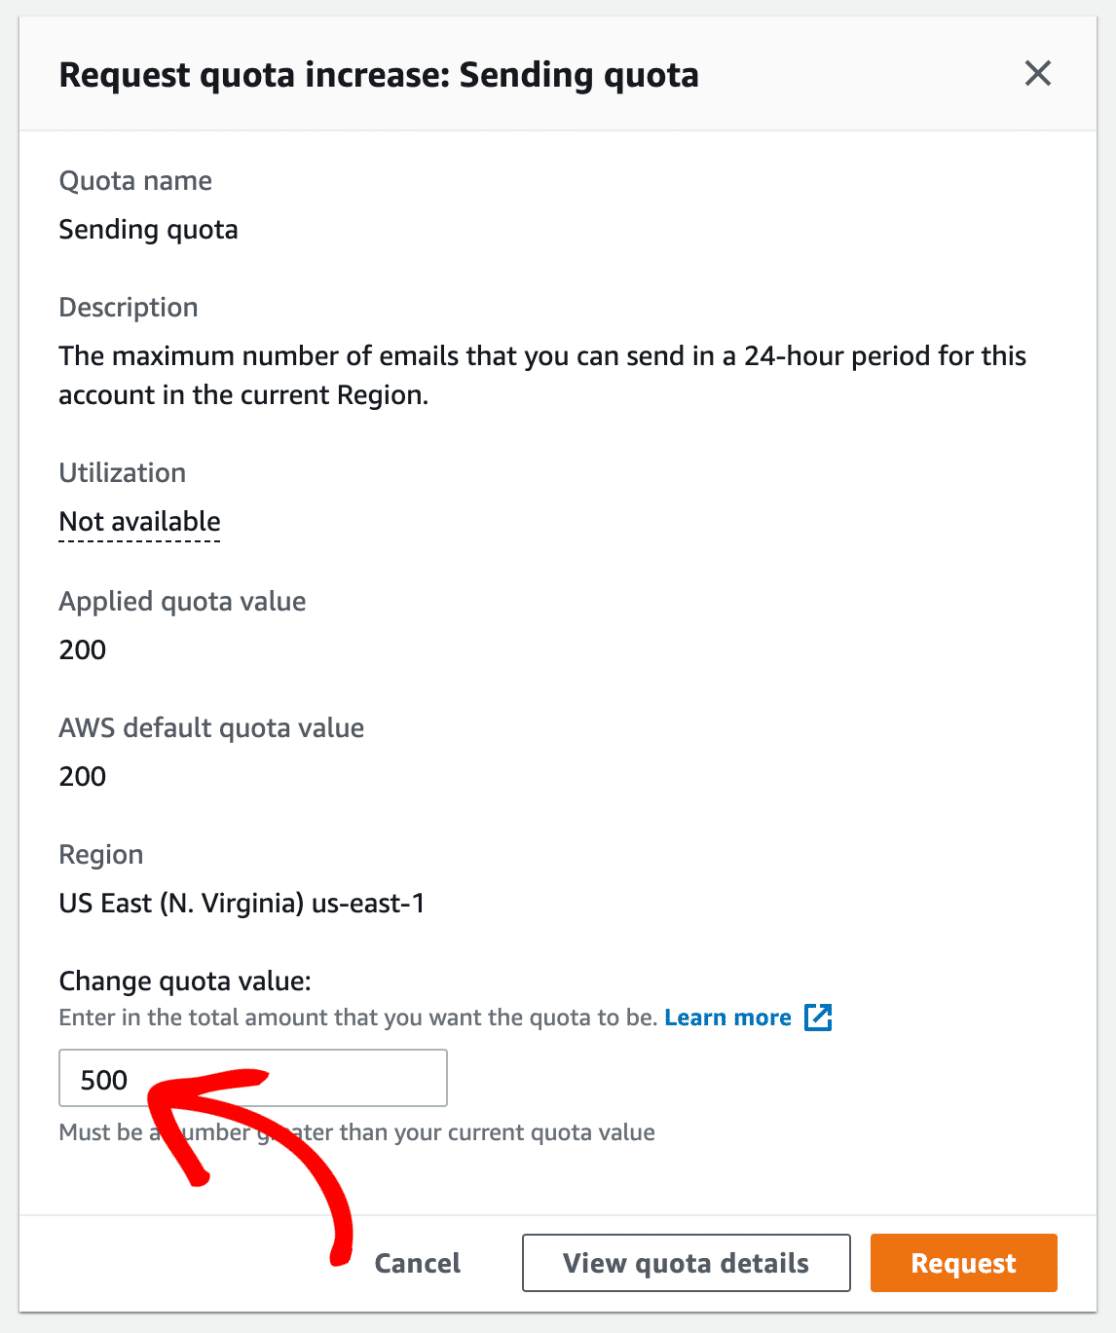
Once you’ve added a quota value, go ahead and click the Request button to submit the form.
Immediately after submission, you should receive two emails from Amazon Web Services. Both will simply confirm that a new case has been created.
AWS will generally review requests and let you know the result within one business day. In the meantime, though, you can continue with the next setup steps.
Setting Up WP Mail SMTP
While you’re waiting for AWS to review your case submission, you can set up WP Mail SMTP on your WordPress site.
Before we get started, be sure to install and activate WP Mail SMTP on your site.
Once you’ve installed and activated the plugin, go to WP Mail SMTP » Settings, then select the General tab.

Next, scroll to the Primary Connection section.

In the next sections, we’ll cover the details for each of the settings located on this page.
From Email
This is the email address that all of your site’s emails will be sent from. For the From Email, you can enter any valid email address. However, for best results, we recommend using a domain-specific email address (i.e. [email protected]).
You can also choose to check the box labeled Force From Email. If you’d like the From Email to be the same site-wide, this option will save you the trouble of editing the email settings throughout your site (in all form emails, etc).

Note: For more details, see our guide to understand how the Force From Email setting works.
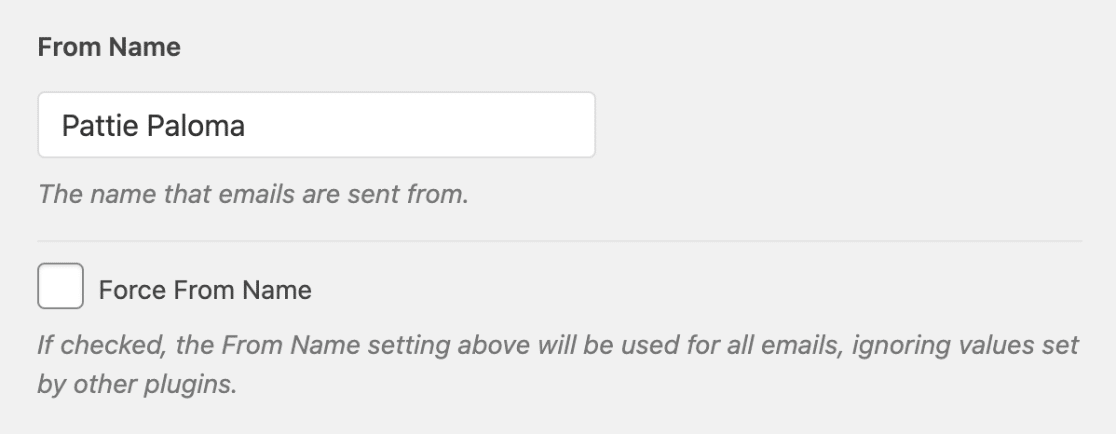
From Name
The From Name is the name that will be shown as the sender on emails sent from your site. By default, it will be set to your site’s name, but you can adjust it to any desired value. Additionally, you can check the Force From Name option to apply this setting site-wide.
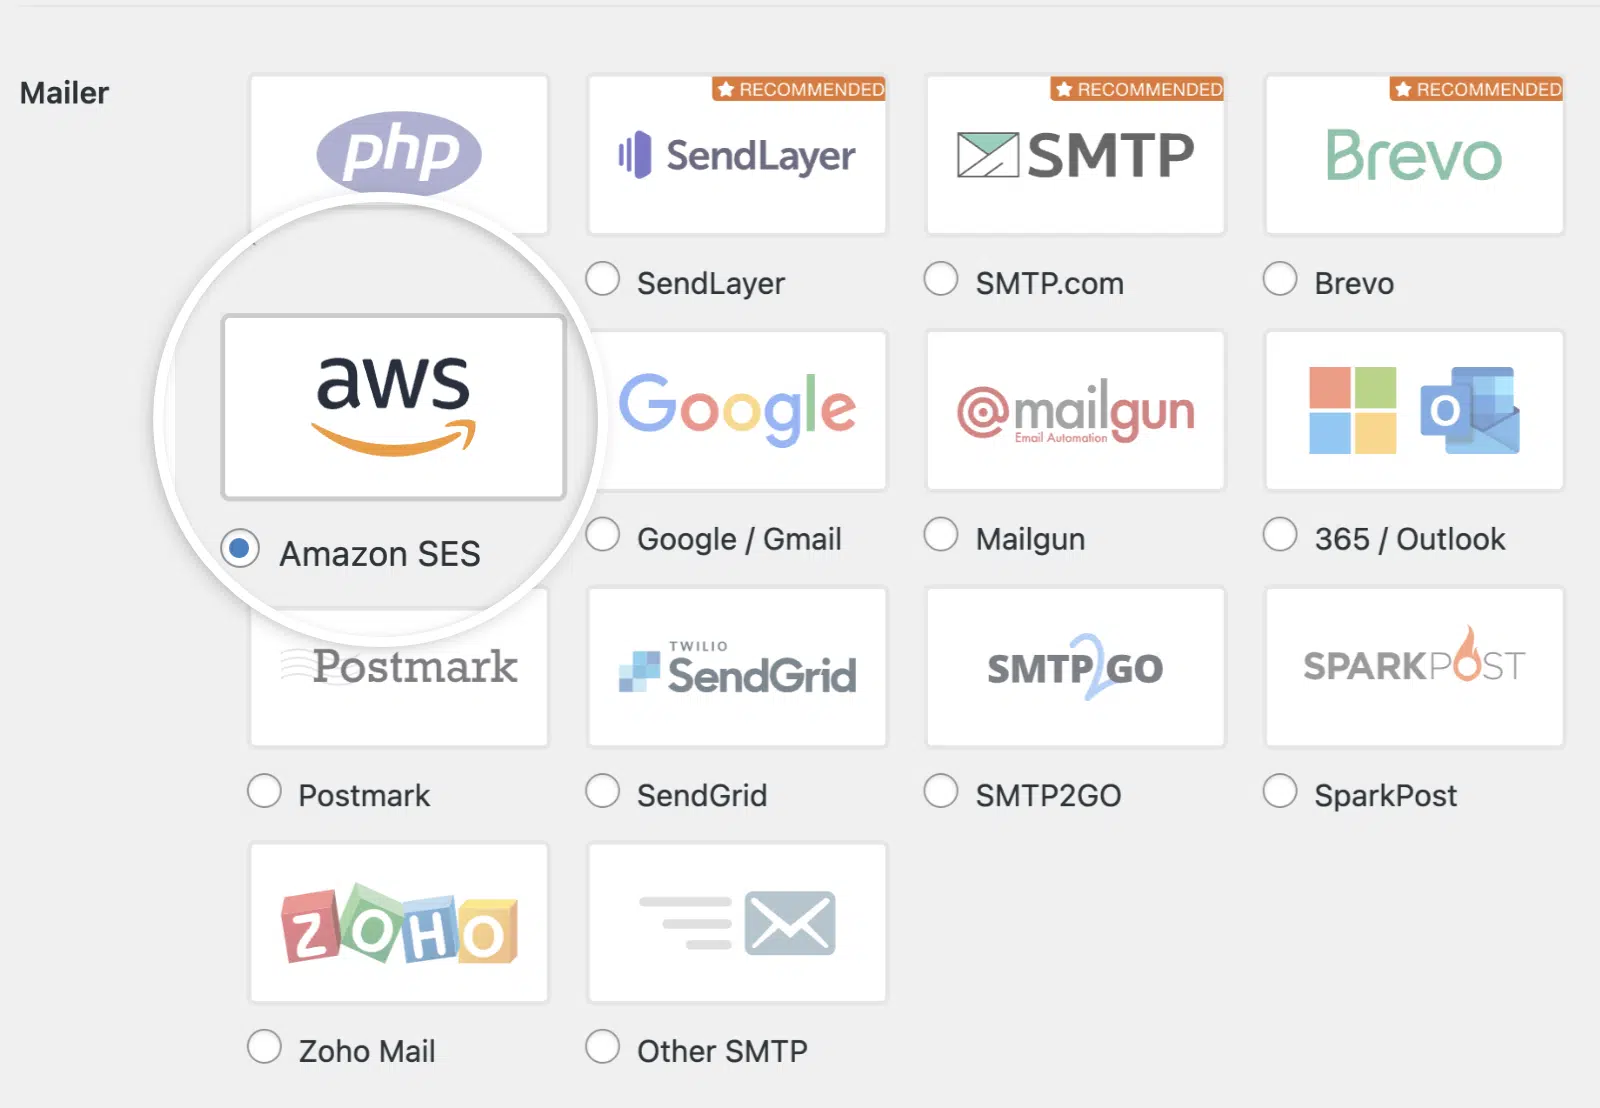
Mailer
In the Mailer section, select the Amazon SES mailer option.
Amazon SES
Now that you’ve chosen the Amazon SES mailer, you should see a new section appear titled Amazon SES. Here, you’ll need to add the access keys you created in your AWS account earlier. Go ahead and copy in the Access Key ID and Secret Access Key, and click the Save Settings button.
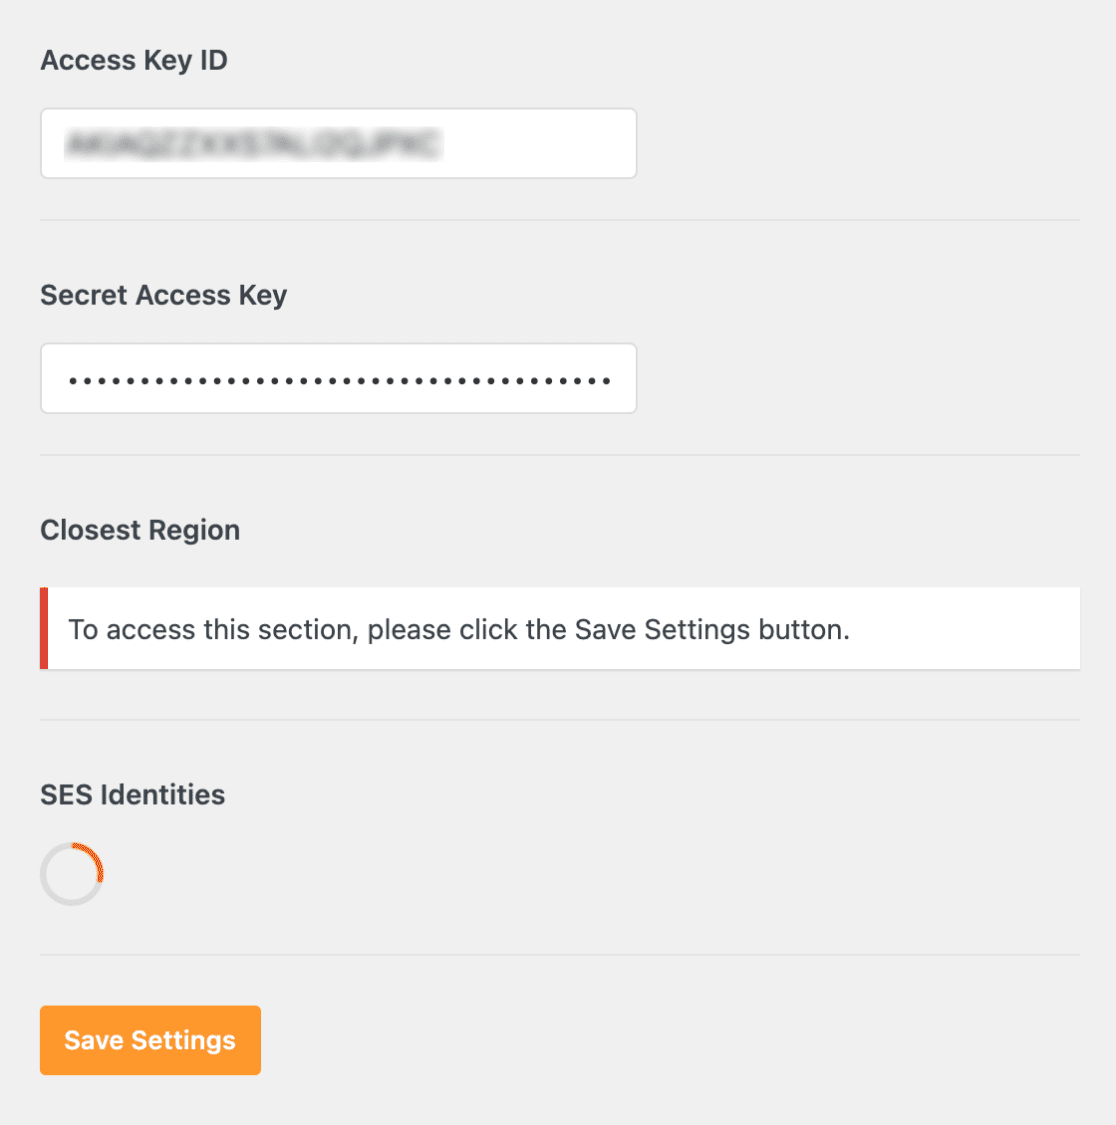
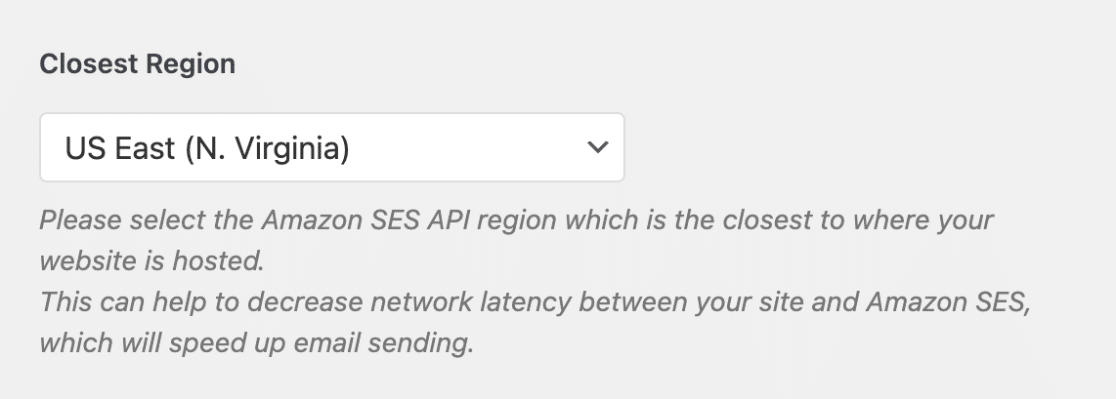
Once your keys are in place and settings have been saved, you can configure the Closest Region field. A region will already be pre-selected for you based on where your site’s hosting server is located, so just be sure to check that this is correct and matches what you chose in Amazon SES.
Note: If you select a different region than the one in Amazon SES, you will need to repeat the service limit increase steps for this new region.
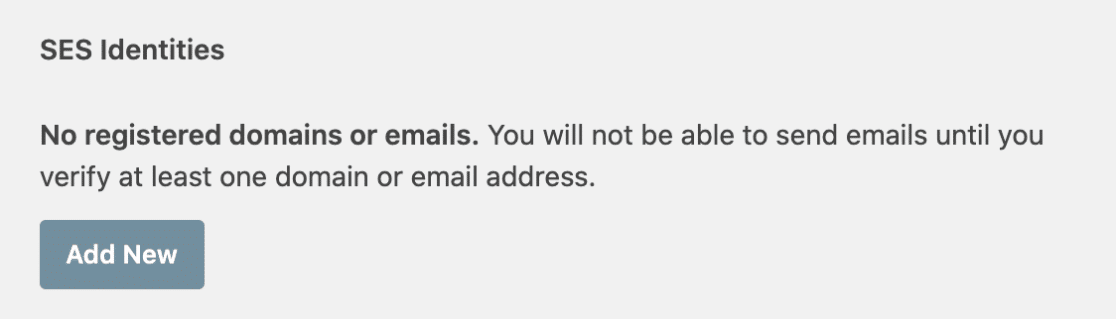
Next, scroll down to the SES Identities section. This is where you will add any emails or domains that you might like to use as the From Email on your site.
To add a new verified email or domain, click the Add New button.
This will open up an overlay, where you can select Verify Domain or Verify Email Address. We’ll cover both of these options below.
Verifying a Domain
By verifying a domain in Amazon SES, you’ll be able to use any email address under that verified domain, without having to verify each email address individually.
To verify a domain, be sure to select the Verify Domain option. Then, in the Please enter a domain box, go ahead and add your domain. We’ll be using example.com as an example.

Once you’ve entered your domain, click the VERIFY button to generate CNAME records for your domain.
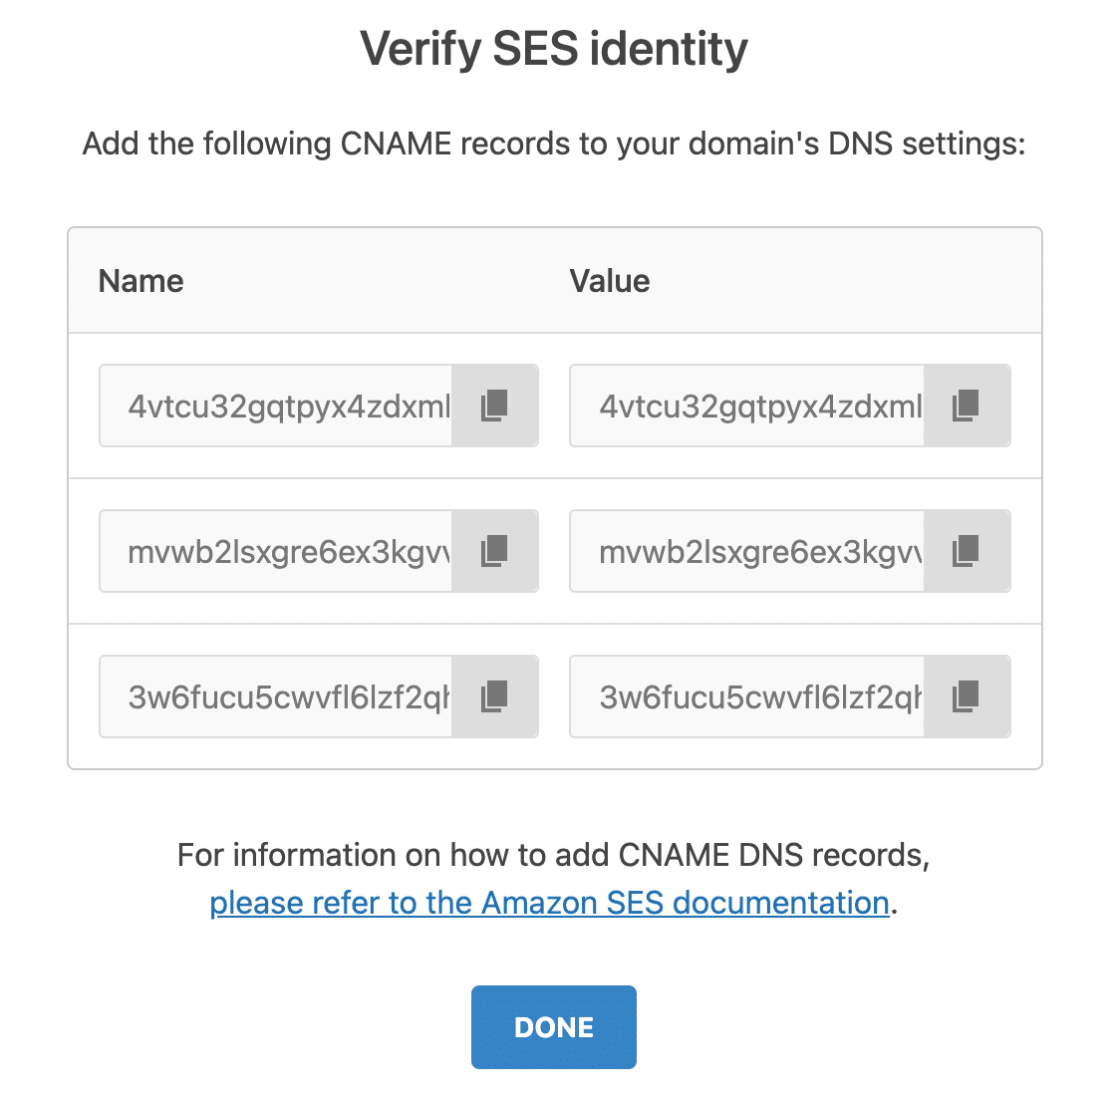
This will generate three different CNAME records for you. As required by Amazon, you’ll need to add all three Name and Value pairs to your domain’s DNS settings to complete the verification process.
Note: For more details on how to add CNAME records, be sure to check out Amazon’s guide on SES domain verification CNAME records.
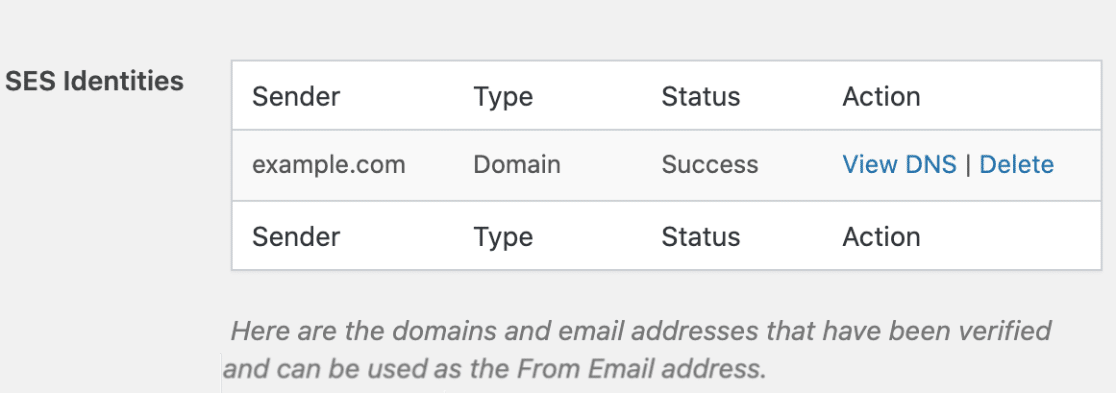
After you’ve successfully verified your domain, you can return to your site’s WP Mail SMTP settings and refresh the page. Any verified domains will now be displayed, and emails with this domain can now be used in your From Email setting.
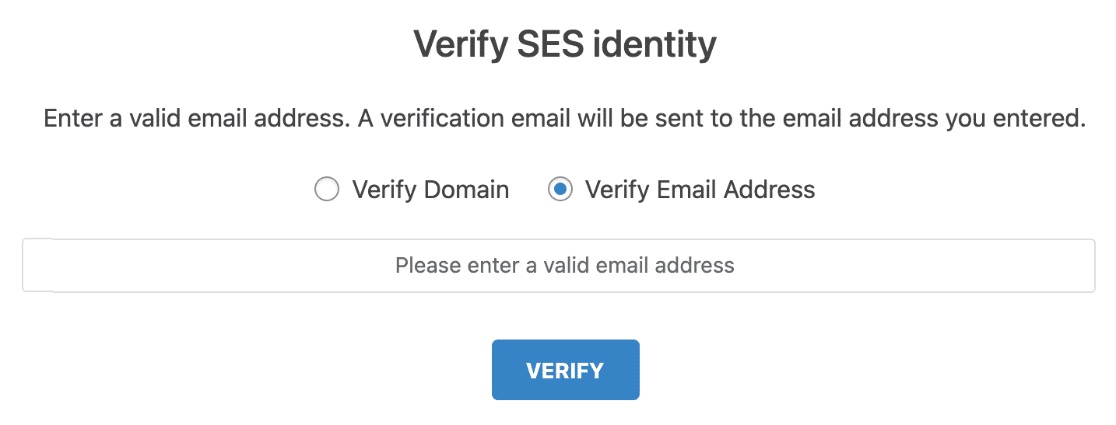
Verifying an Email Address
To verify a specific email address, be sure to select the Verify Email Address option. Go ahead and add in your email address to the Please enter a valid email address field and click the VERIFY button.
Then, you’ll be shown a notice asking you to check your email’s inbox for a verification email.
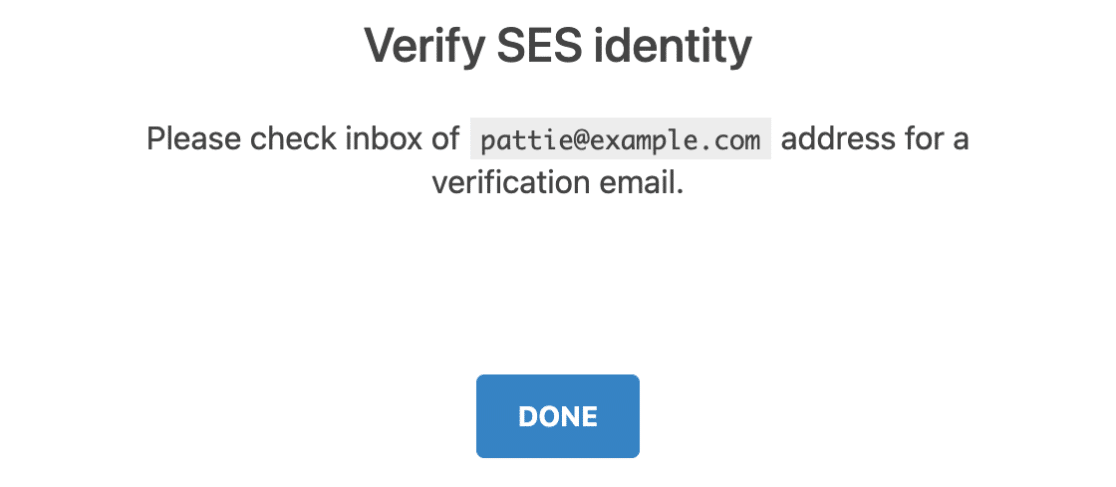
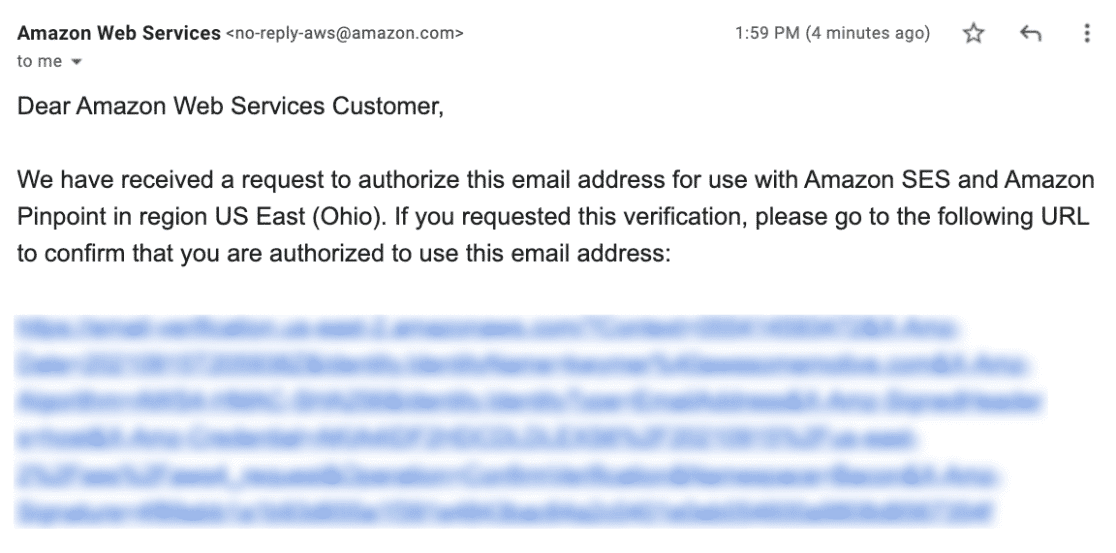
This email will be sent from Amazon Web Services and will include a verification link. You must click this link within 24 hours in order to verify this email address.
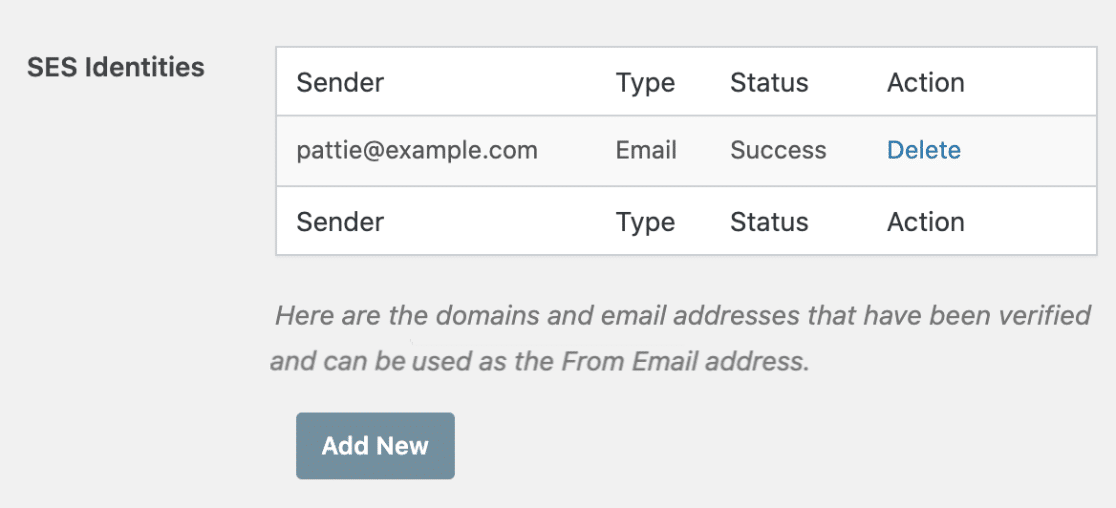
After you’ve successfully verified your email, you can return to your site’s WP Mail SMTP settings and refresh the page. Any verified emails should be displayed.
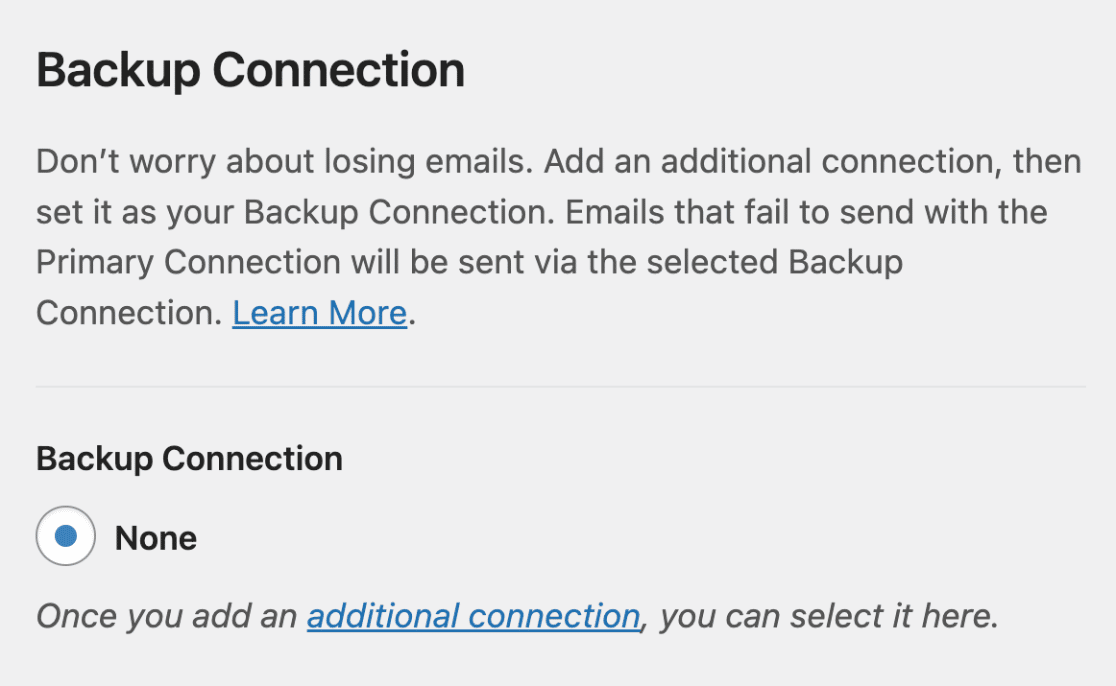
Backup Connection
Setting up a Backup Connection is optional and isn’t required to complete your Amazon SES mailer setup. However, to further improve email deliverability, we recommend configuring an additional connection to serve as a backup in case your Primary Connection fails.
Note: Want to send emails using different connections based on a set of rules or conditions? Be sure to check out our Smart Routing tutorial to learn more.
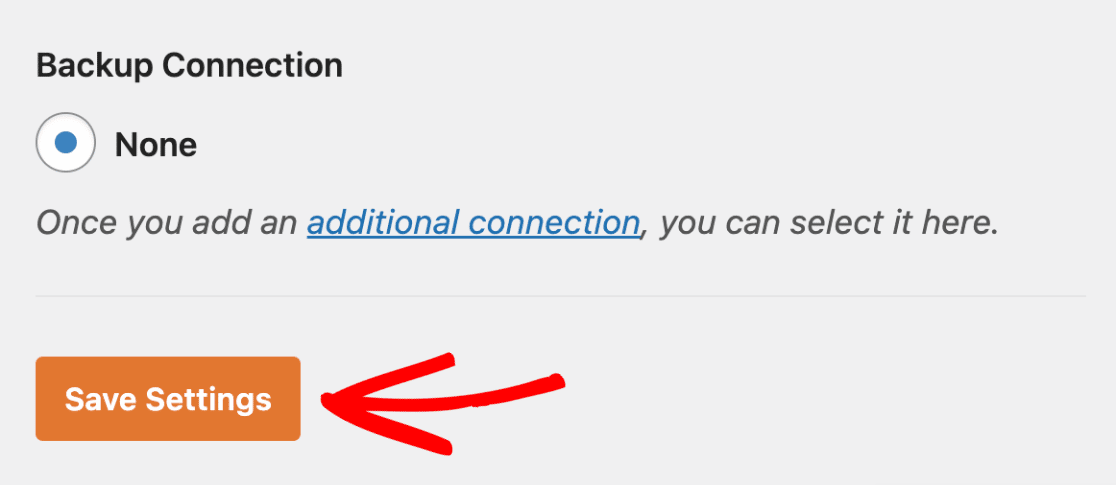
Once you’re done, click the Save Settings button to save the changes.
Sending a Test Email
Now that your WP Mail SMTP settings are ready and any From Emails have been verified, it’s important to send a test email to ensure that everything is working properly. To send a test email, navigate to WP Mail SMTP » Tools and open up the Email Test tab.

On this tab, you’ll see that the Send To field is already filled in with your site’s admin email. However, you can enter any email address that you have access to.
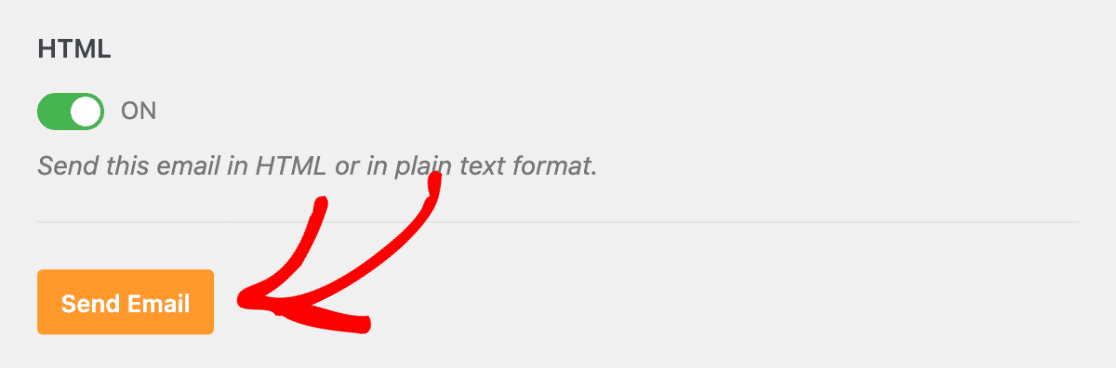
For the HTML option, you can click the toggle in order to send a plain text email, if you’d like. However, for most sites, it will make the most sense to test using an HTML email (which is the default).
Note: If you’ve set up an additional connection, you’d be able to choose between your Primary Connection and other connections when sending a test email.
Once you’ve configured your test email settings, click the Send Email button to send your test email.
If the test email has been sent successfully, you’ll see a success message appear on the page.
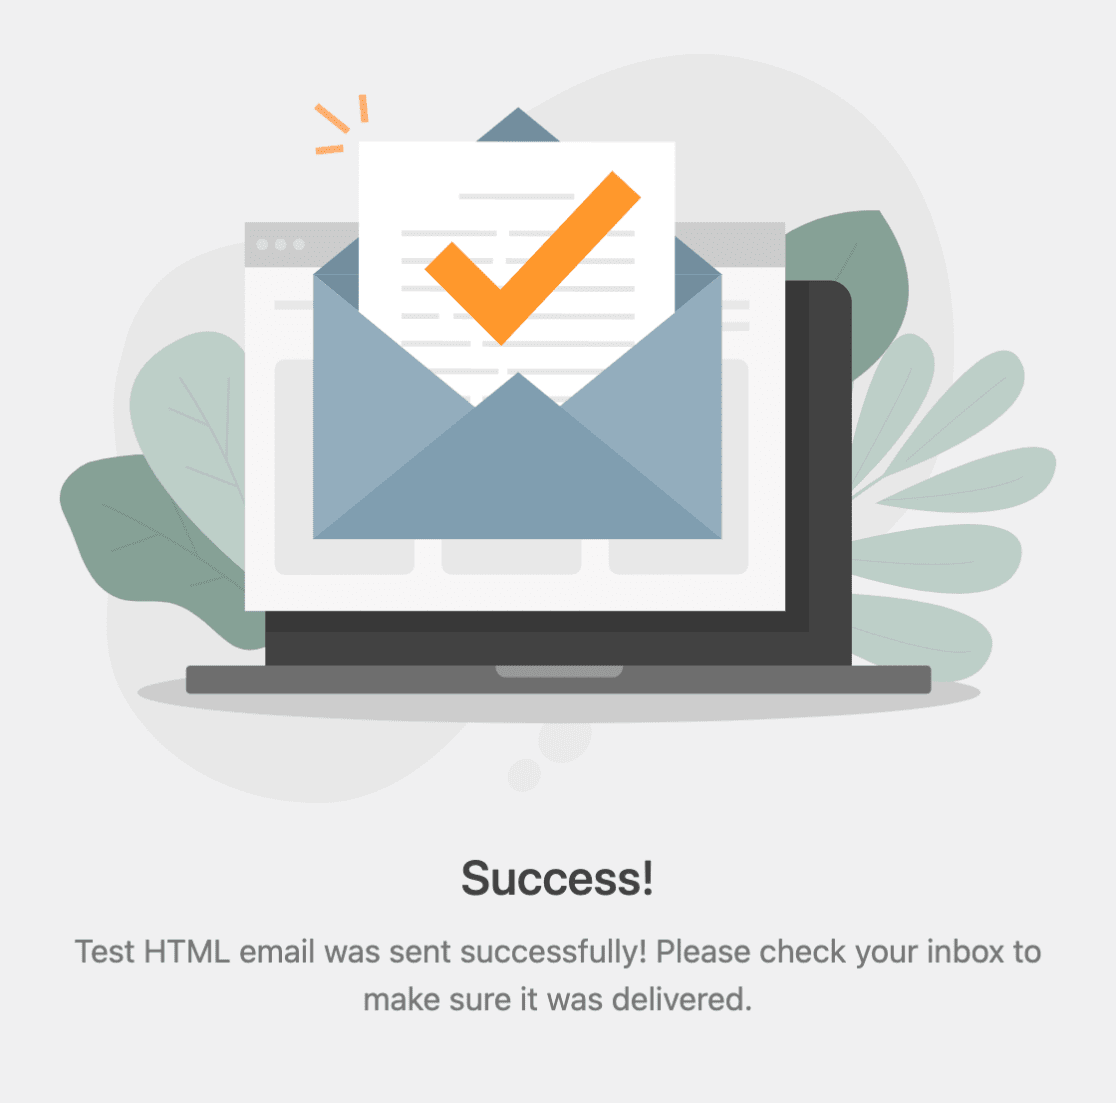
Then, you’ll need to check your inbox to confirm that you’ve received your test email.

Frequently Asked Questions
Here are answers to some top questions about setting up WP Mail SMTP with the Amazon SES mailer.
I just tried to send a test email. Why do I see the following error?
MessageRejected (client): Email address is not verified. The following identities failed the check in region.
This error will usually appear if the email address you’re sending the test email to is unverified, and your AWS account hasn’t yet been approved for Production Mode by Amazon. While your AWS account is in Sandbox Mode, emails can only be sent to verified email addresses.
Once your account has been approved for Production Mode, you should be able to send test emails to any email address, including unverified ones.
As a freelancer or agency, how can I hide my identity when using Amazon SES for client sites?
If you’re managing websites for clients and need to keep your Amazon SES details confidential, WP Mail SMTP has a feature to help. It lets you conceal your identity by hiding user identities and restricting the domains you can send emails from.
For comprehensive steps on how to set this up, check out our guide on hiding your Amazon SES identity.
That’s it! You have successfully set up your site to send WordPress emails with Amazon SES.
Next, would you like to control which emails WordPress core sends out from your site? Be sure to check out our tutorial on managing email controls for more details.