AI Summary
Would you like a faster way to connect SendLayer to your WordPress site? With the Quick Connect option in WP Mail SMTP, you can link your site to SendLayer in just a few steps.
This tutorial will walk you through configuring the SendLayer mailer in WP Mail SMTP using the Quick Connect feature.
Before you begin, make sure you’ve installed and activated WP Mail SMTP on your WordPress site.
Selecting SendLayer as Your Mailer
To get started, log in to your WordPress dashboard and go to WP Mail SMTP » Settings.

Under the General tab, scroll down to the Primary Connection section. Then select SendLayer from the list of available mailers.

Once selected, additional connection options will appear. Click the Quick Connect button to begin linking your SendLayer account.

Creating or Connecting Your SendLayer Account
A popup window will appear, allowing you to either create a new SendLayer account or sign in to an existing one.
To create a new account, enter your email address, name, and password, then click Sign Up.

After signing up, SendLayer will send a verification code to your email. Enter the code to confirm your account.

Next, select a plan. SendLayer offers a free option with limited email sends, which is a good starting point for most sites.

If prompted to enter payment details, enter your credit card details and click Connect and Continue.

This step is optional but recommended, as it ensures your emails don’t stop working when you exhaust your free email quota.
Alternatively, skip this step and continue the setup by clicking Skip and Connect.
Then select the Shared Domain option and click Connect to complete the setup.

Once connected, SendLayer will automatically configure your account and display a confirmation message.

Completing Setup in WP Mail SMTP
After closing the popup, you’ll be redirected to your WP Mail SMTP settings. Your SendLayer connection will already be configured, including your domain and API key.

From Email
The From Email is the address your WordPress emails will be sent from. After connecting, this field is prefilled using your SendLayer domain.
You can update the email prefix to match your preferred sender name (for example, [email protected]).

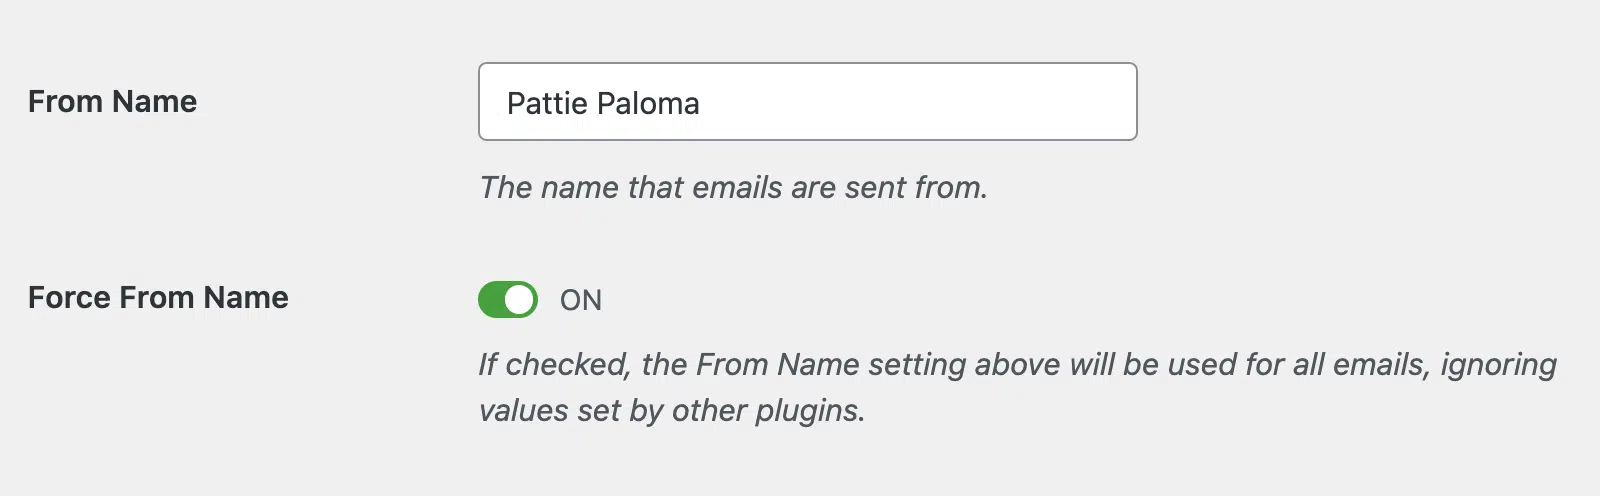
From Name
The From Name is the name that appears in outgoing emails. By default, this is set to your site’s name, but you can change it to anything you prefer.
If you’d like to use the same sender name across your site, enable the Force From Name option.
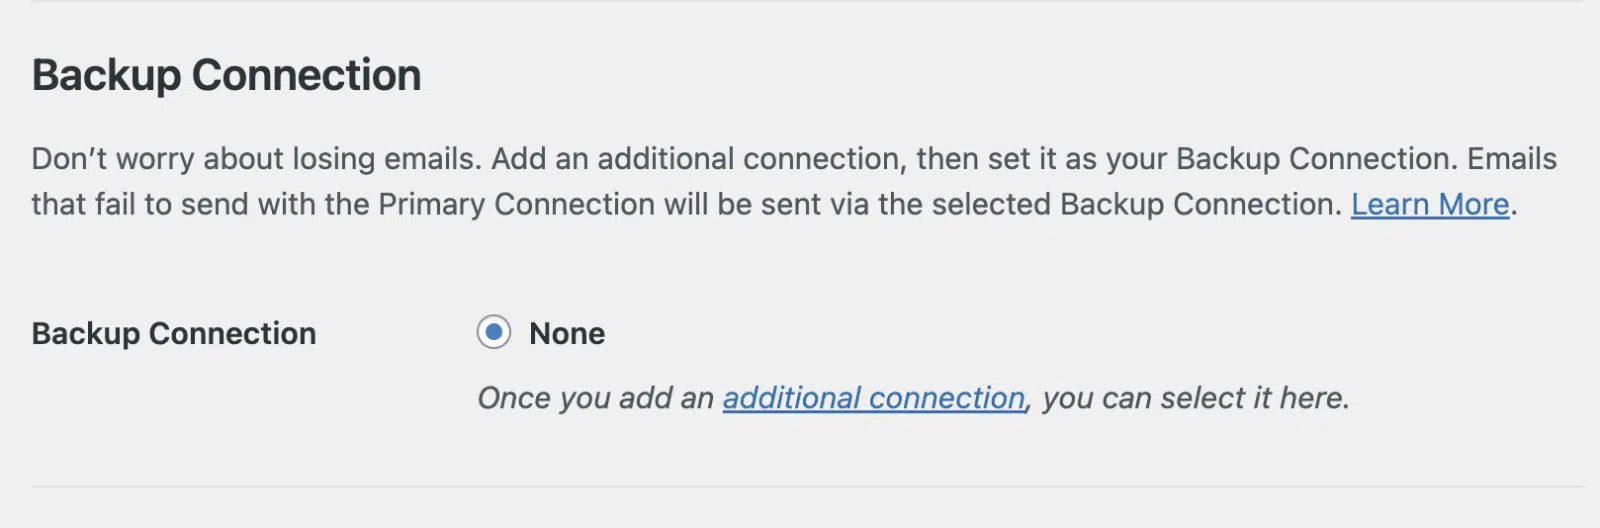
Backup Connection
Adding a backup connection is optional, but it can help ensure your emails are still delivered if your primary mailer fails. We recommend setting up an additional connection for improved reliability.
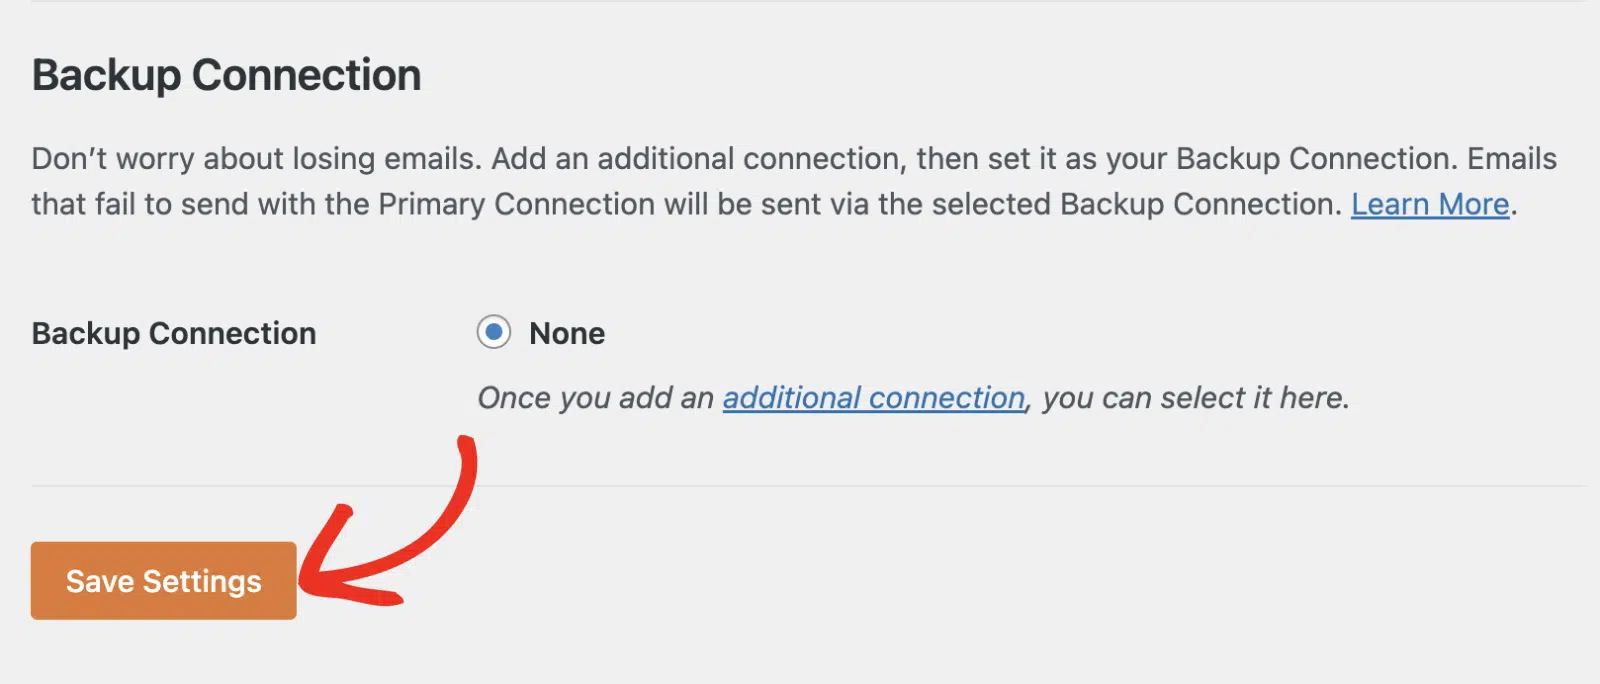
Be sure to click Save Settings once you’ve finished configuring your options.
That’s it! You’ve successfully connected SendLayer to WP Mail SMTP using the Quick Connect feature.
Next, would you like to review your WordPress email logs? Be sure to check out our guide to enabling email logging in WordPress.