


AI Summary
Note: This guide applies to the SendLayer mailer in WP Mail SMTP.
What This Error Means
The sending domain in SendLayer hasn’t passed DNS verification. SendLayer requires domain authentication before it will send email from that domain.
Common Causes
- Domain was never added to SendLayer (the domain in the From Email isn’t registered in the SendLayer account)
- DNS records added but not yet propagated
- Required DNS records missing or entered incorrectly at the DNS provider
- Wrong domain added to SendLayer (doesn’t match the From Email domain in WP Mail SMTP)
- Domain verification was never started (domain was added but DNS records were never set up)
How to Fix
Here is the complete step-by-step guide to resolving the error.
Step 1: Add the Domain to SendLayer
If the sending domain isn’t yet in SendLayer, add it first. You can skip to Step 2 if your domain is already in SendLayer.
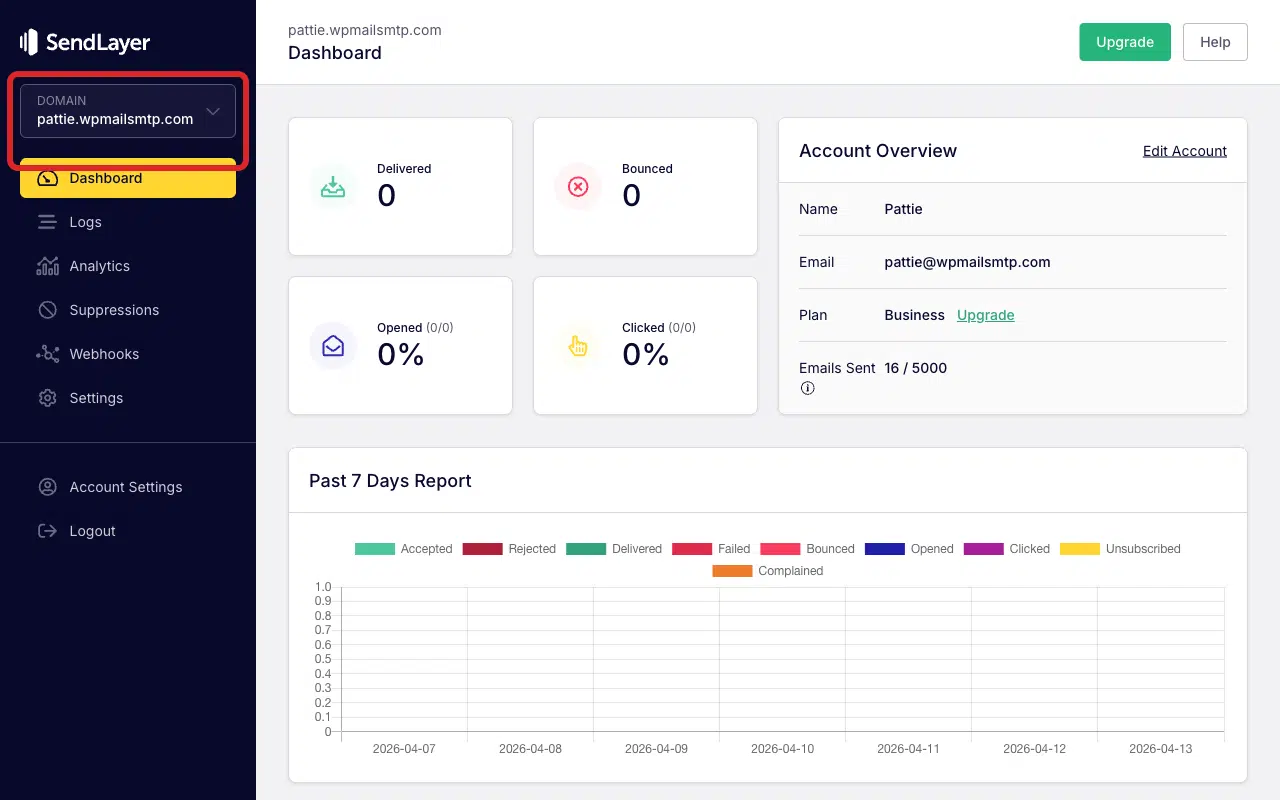
To add a new domain, log in to your SendLayer account. Once you’re logged in, click the DOMAIN dropdown at the top of the sidebar.
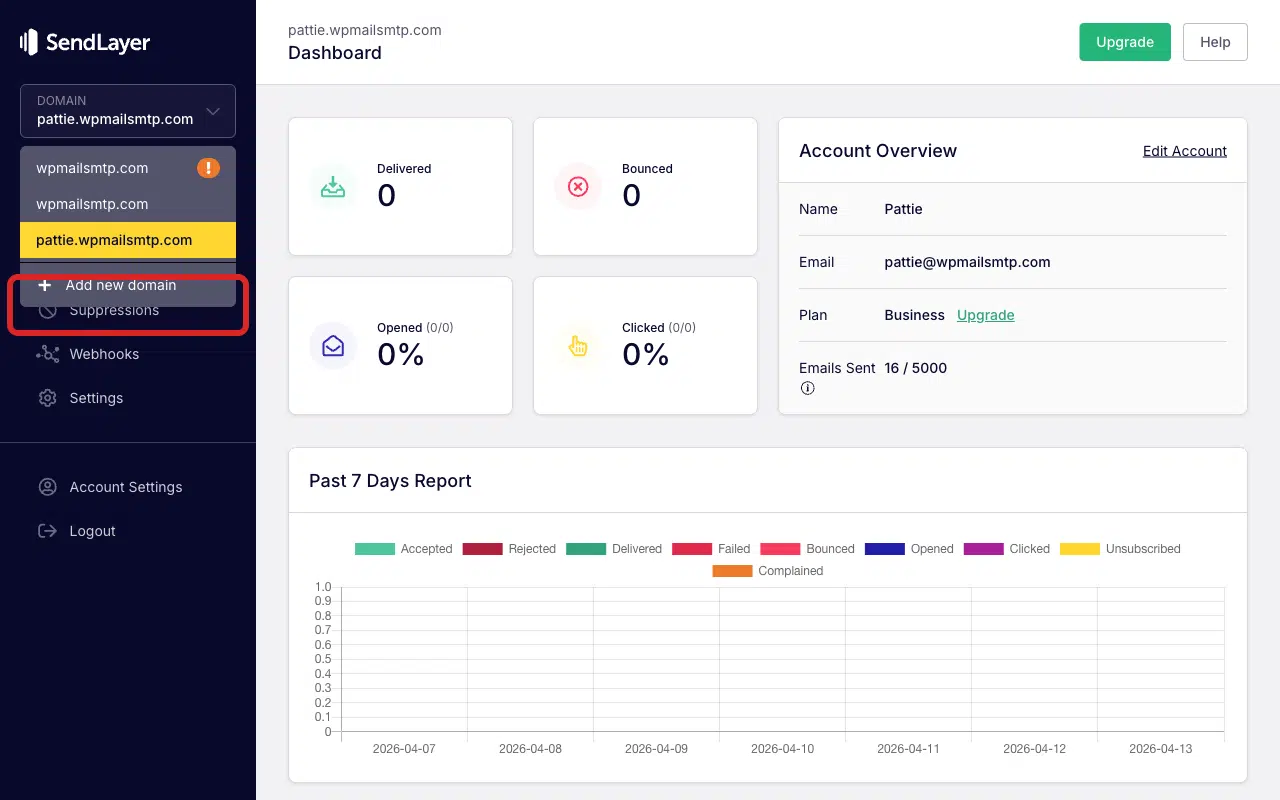
Then, click Add new domain at the bottom of the dropdown.
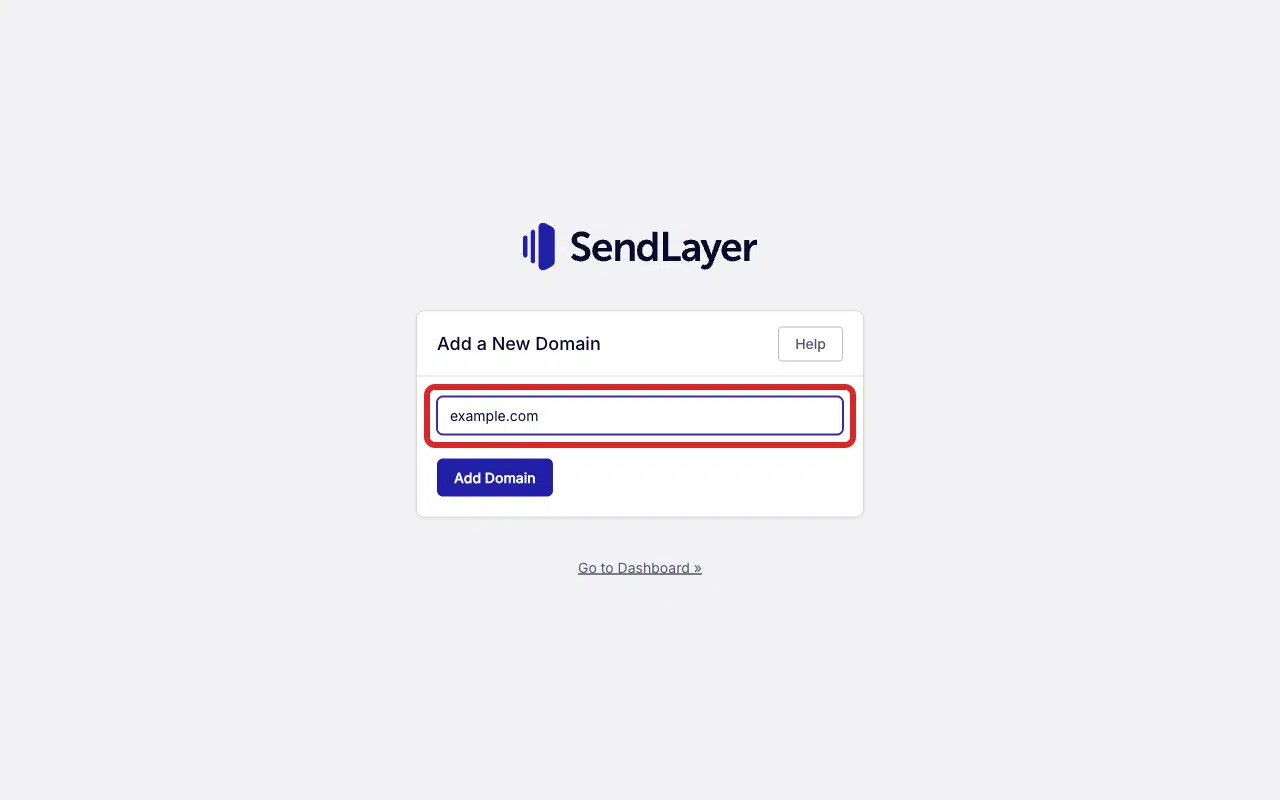
Next, enter the domain that matches your From Email address in WP Mail SMTP. For example, if your From Email is [email protected], enter example.com.
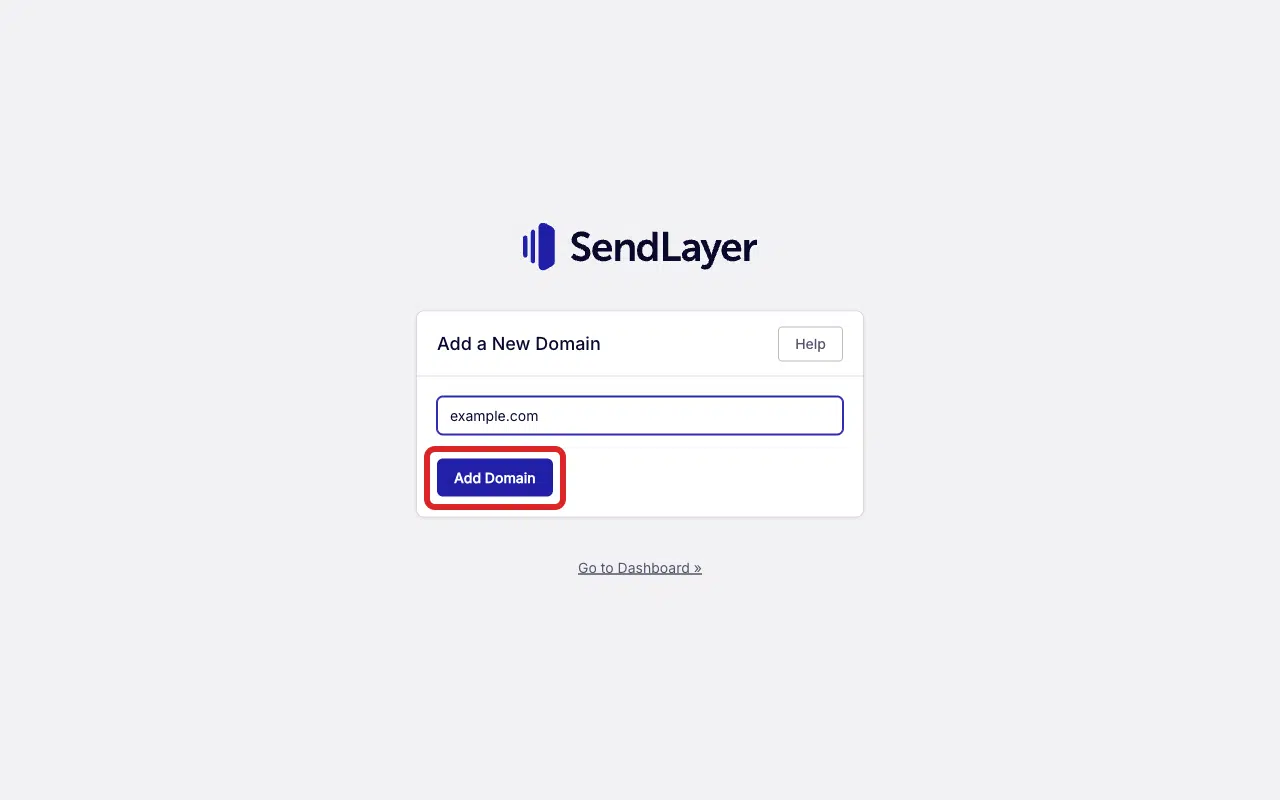
After that, click Add domain. SendLayer will display the DNS records you need to add. Continue to Step 2 to add them.
Step 2: Add and Verify the DNS Records
SendLayer authenticates the domain through DNS records you add at your DNS provider. Here’s how to verify your domain.
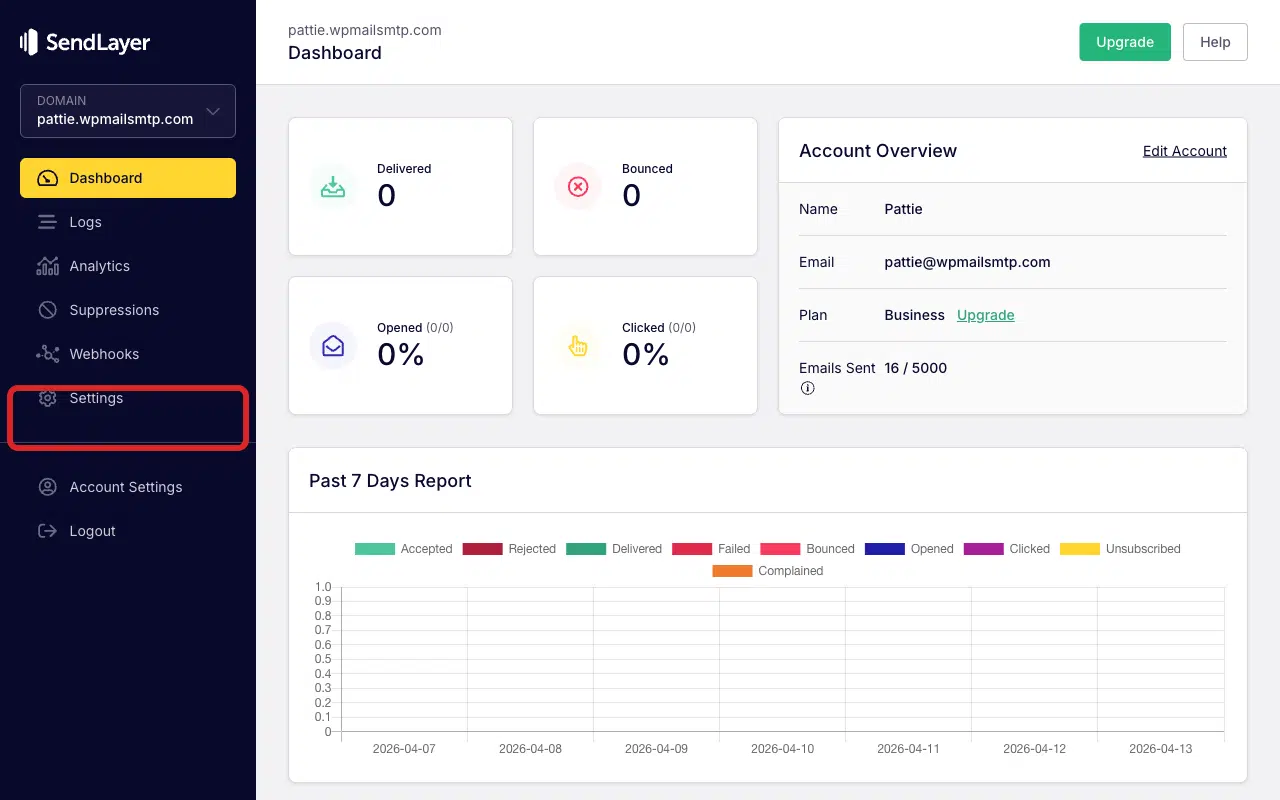
Log in to SendLayer, then click Settings in the left sidebar to open the DNS Records & Settings page.
You’ll see a table of DNS records with columns for Type, Hostname, Value, TTL, and Status. Each record has a status icon indicating whether SendLayer has verified it.
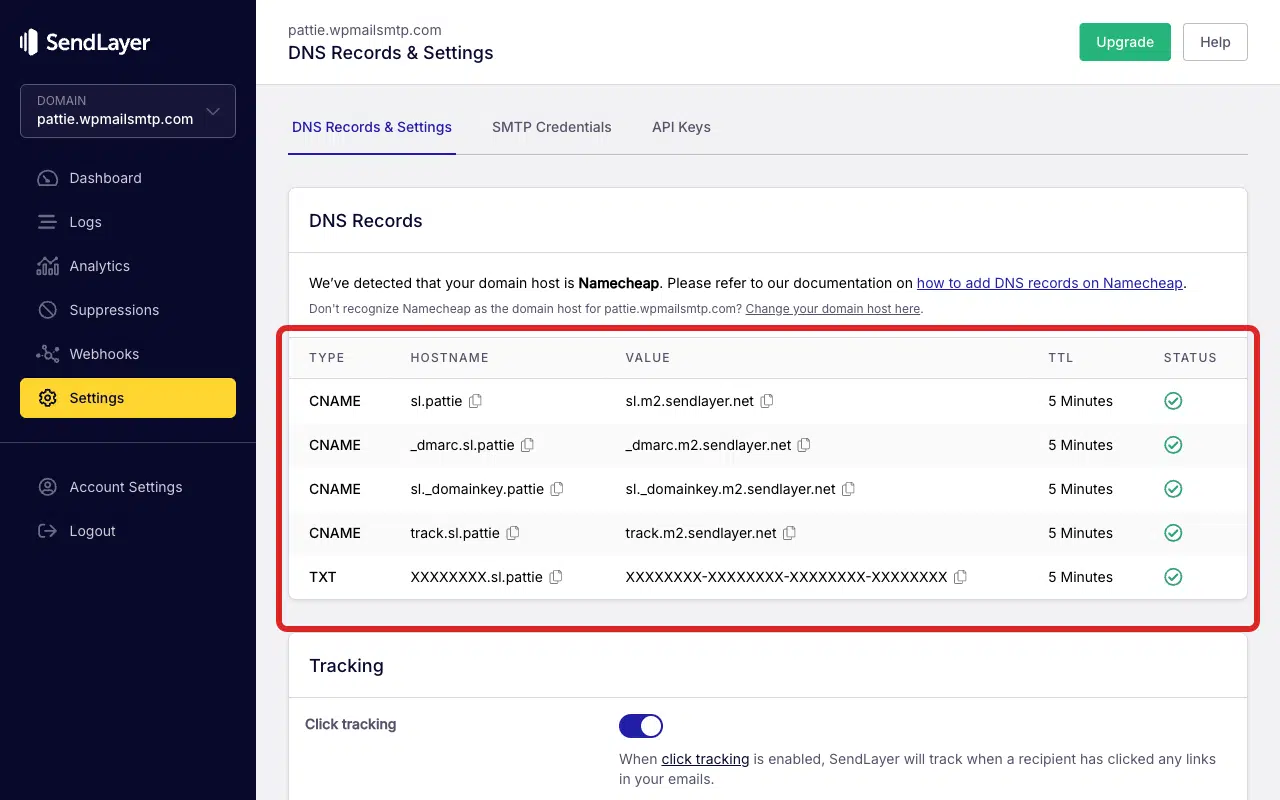
Next, log in to your DNS provider (Cloudflare, GoDaddy, Namecheap, etc.) and add each record listed in SendLayer. For each record, match the Type, Hostname, and Value fields exactly as they are displayed in SendLayer.
Note: See the guide to adding DNS records for step-by-step instructions for common DNS providers.
After adding your DNS records, return to your SendLayer account area. Check the Status column for green checkmarks. DNS propagation can take up to 24-48 hours, though it’s usually faster.
Finally, once all records show green checkmarks and the domain is Active, send a test email to confirm the fix.
Step 3: Send a Test Email
To test the fix, log in to your WordPress admin area and go to WP Mail SMTP » Tools, click the Email Test tab, enter a recipient email in the Send To field, leave the HTML toggle ON, and click Send Email.
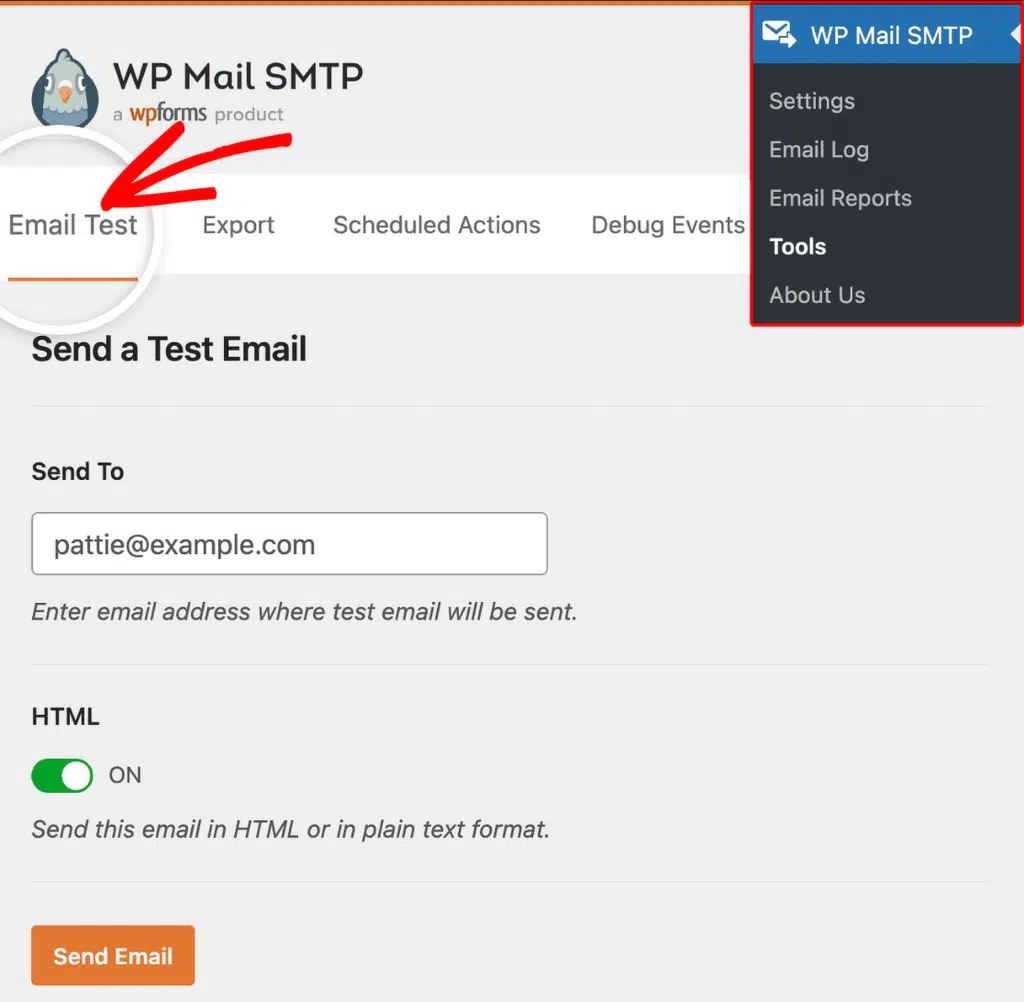
Once done, look for the success message and confirm the email arrived in your inbox.
Notes
- SendLayer requires 4 CNAME records (covering DKIM, SPF, and DMARC) plus 1 TXT record. Add all 5 records. Missing any one of them can prevent verification.
- SendLayer implements SPF and DMARC as CNAME records, not TXT records as in traditional setups.
- If records appear correct but verification fails, double-check for extra spaces, trailing dots that some DNS providers add automatically, or your DNS provider auto-appending the domain name to CNAME values (causing a duplicate like
sl._domainkey.example.com.example.com). - Confirm the From Email in WP Mail SMTP » Settings » General uses an address at the domain verified in SendLayer.
That’s It! You now know how to fix the ‘Domain Is Not Activated’ error in SendLayer and get your emails sending again through WP Mail SMTP.