AI Summary
Would you like to customize the Email Log page in WP Mail SMTP? You can easily change the columns on this screen to show the information that’s most relevant to you.
In this guide, we’ll show you how to change the screen options to customize the Email Log page.
Before you dive in, be sure WP Mail SMTP is installed on your website, your license is verified, and you’ve enabled email logging.
Changing Screen Options
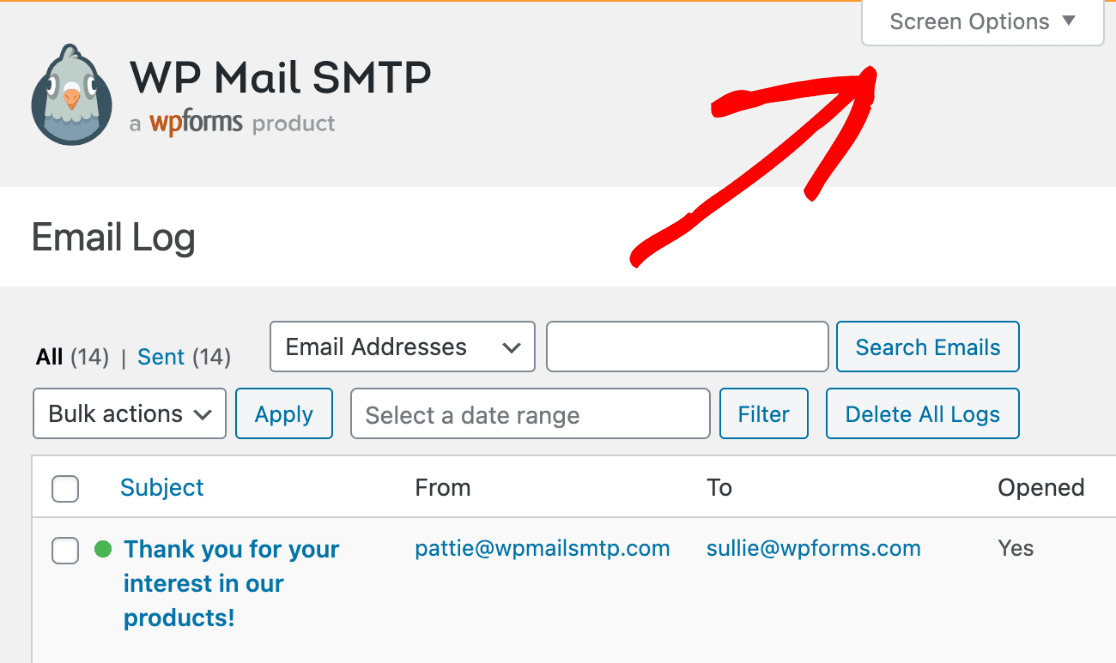
To change the layout of the Email Log page, go to WP Mail SMTP » Email Log, then click on Screen Options in the top right corner of the page.

Once you click Screen Options, you’ll see a menu with several checkboxes. You can select or deselect checkboxes to choose which columns are visible on the Email Log page. You can also set the number of logs to display per page.

After making any changes, be sure to click on the Apply button before closing the Screen Options menu.
Including CC and BCC
By default, CC and BCC information is not included on the Email Log page. If you’d like to see these details, select the checkboxes next to CC and BCC in the Screen Options menu.

That’s it! Now you can customize the Email Log page so it shows the information that’s most important to you.
Next, would you like to search or filter your email logs to find a specific message? Check out our tutorial on how to search and filter emails for help.
