AI Summary
Would you like to prevent SMTP settings from being edited in your WordPress admin area? On most sites, email deliverability is a critical functionality. But when settings are available in the WordPress admin area, any administrator on the site can see and edit those details (and the values are stored in your site’s database, too).
In this tutorial, we’ll show you how to prevent users from changing WP Mail SMTP settings in your WordPress admin area by setting up constants.
In This Article
Enabling Constants in WordPress
To get started, you’ll need to open your site’s wp-config.php file. If you’re not sure how to locate and edit this file, check out WPBeginner’s guide for more details.
Once this file is open, scroll down. Look for the line that reads /* That's all, stop editing! Happy publishing. */ Be sure to paste any new code above this line.
Note: You cannot “install” these particular WPCode snippets. They must be copied and pasted into wp-config.php. If you feel at all unsure about where to paste the necessary code to wp-config.php, then place it at the top of the file. This will help ensure that the code can be used by your site.
Here’s the first line of code you’ll need to paste into your site’s wp-config.php:
True turns on constants support and usage, and false turns it off.
This will enable the usage of WP Mail SMTP constants on your site.
Adding Constants for WP Mail SMTP
Once you’ve enabled constants for WP Mail SMTP, the next step is to paste the code for any specific constants you want to use.
Below, you’ll find the code needed to create a constant for each SMTP value. Go ahead and copy the lines of code you need into your site’s wp-config.php file. After pasting them to your file, be sure to check that all code values match what you need on your site.
General Settings
Every constant in this section can be used for any mailer because they’re not specific to any one mailer option.
Email Logs
The constants in this section can also be used regardless of which mailer you choose.
define ( 'WPMS_LOGS_ENABLED', true ); // True turns it on, false turns it off.
define ( 'WPMS_LOGS_LOG_EMAIL_CONTENT', true ); // True turns it on and stores email content, false turns it off.
define ( 'WPMS_LOGS_LOG_RETENTION_PERIOD', 0 ); // How long email logs should be retained before they are deleted, in seconds. To disable the log retention period and keep logs forever, set to 0.
SendLayer Mailer
SMTP.com Mailer
Brevo (formerly Sendinblue) Mailer
Mailgun Mailer
SendGrid Mailer
Amazon SES
Google Mailer
Outlook Mailer
Postmark Mailer
SparkPost Mailer
Zoho Mailer
Other SMTP Mailer
Once you’ve copied the code you’d like to use, you’ll need to add the details that are relevant to your specific site configuration.
Note: If you aren’t sure which values are needed for your site, then be sure to check out the tutorial for the specific mailer you’ve chosen. You can find links to all of our mailer tutorials in this guide.
After your code is set up, make sure that you save the file.
Confirming Your Constants
The last step is to make sure your constants are working. To do this, you’ll need to open your WordPress admin area and go to WP Mail SMTP » Settings.
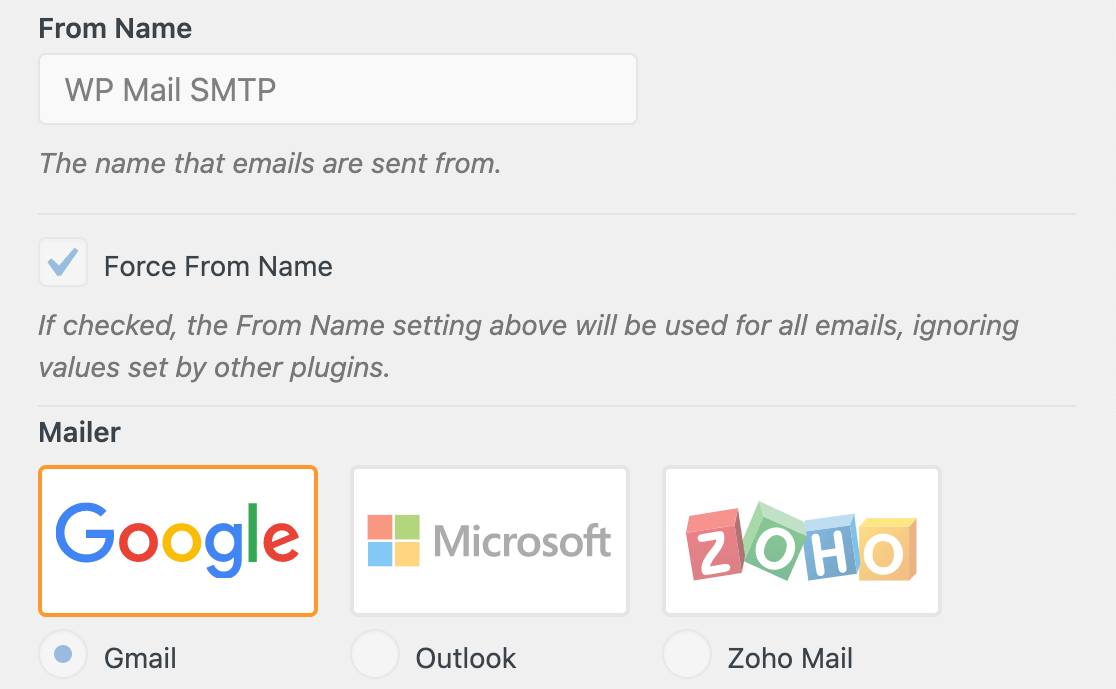
If you check the settings here, you should see that any fields using constants are disabled. They’ll appear grayed out and won’t be editable.

Updating Your Constants
Note: This section only applies to mailers SendLayer, SMTP.com, Brevo (Sendinblue), Mailgun, Postmark, SendGrid, and SparkPost. Other mailers do not support webhook delivery confirmation because they do not have this functionality.
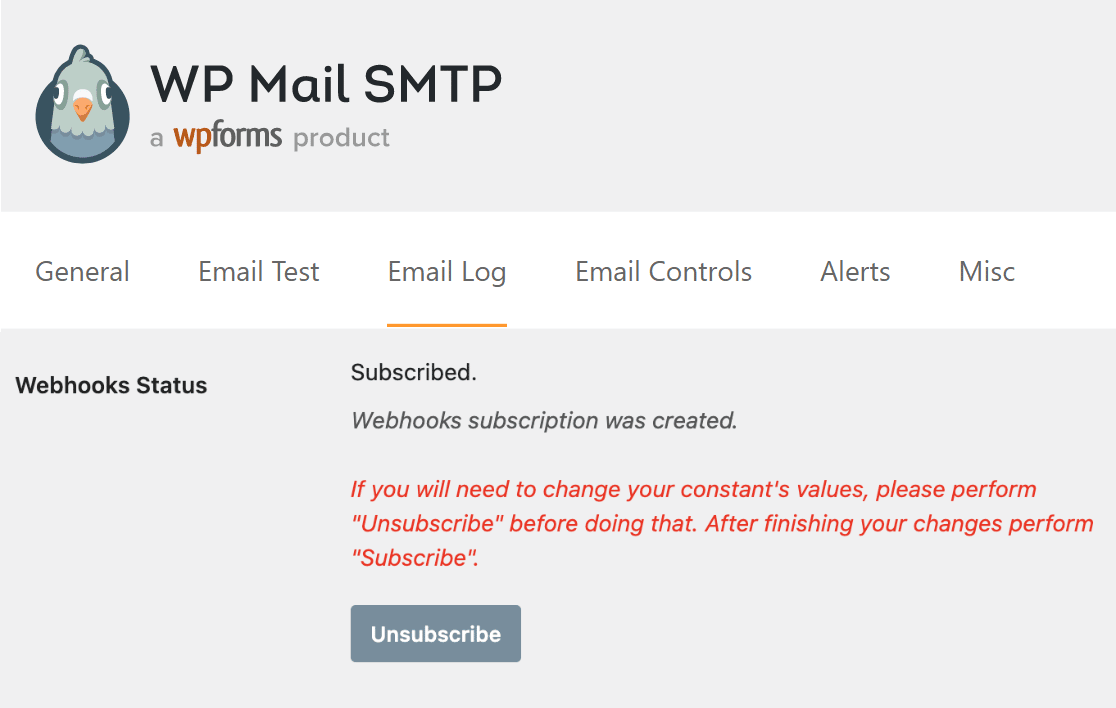
Before you update your constants, you’ll need to disable the Webhook alerts and re-enable them once you’re done updating the constants. To do so, go to WP Mail SMTP » Settings and open the Email Log tab.

Here, click on the Unsubscribe button next to the Webhooks Status field.

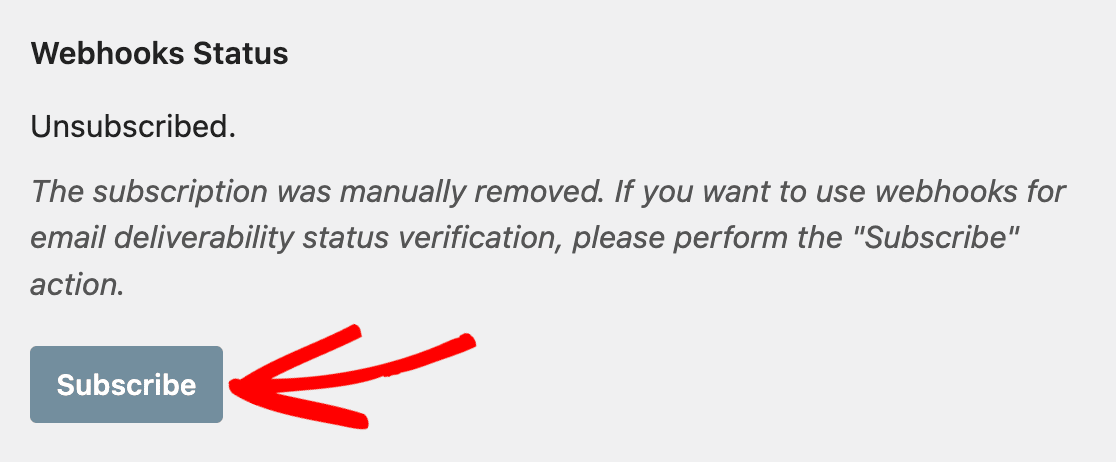
Once your constants have been updated, refresh the page and click on the Subscribe button next to the Webhooks Status field. This ensures that the delivery verification webhooks will be configured correctly against your constant changes.

That’s it! You can now add your WP Mail SMTP settings to your site’s config file instead of the admin area to make them more secure.
Next, would you like to keep tabs on all the emails sent out from your WordPress site? WP Mail SMTP’s email logging feature lets you see all the emails generated by your site, as well as whether they were successfully sent or not.
