AI Summary
Would you like to improve email delivery for your WordPress site using a reliable and cost-effective solution? Elastic Email is a powerful email delivery service that offers both API and SMTP options to ensure your emails reach their destination.
This tutorial will walk you through how to set up the Elastic Email mailer in WP Mail SMTP.
What is Elastic Email?
Elastic Email is a robust email delivery service that provides reliable email sending capabilities for your WordPress site. It offers a straightforward setup process and includes features for tracking email performance and delivery rates.
- Cost: Elastic Email offers a free plan that includes up to 100 emails per day to try it out, and doesn’t require a credit card. However, the free plan only allows sending emails to the email address used for registration. Once you’re ready to send to additional recipients, you can upgrade to a paid plan.
- From Email Requirements: Works with any email address, though using a domain-specific email address (e.g., [email protected]) is recommended for optimal delivery rates.
- Bottom Line: Elastic Email is a reliable option that combines powerful delivery infrastructure with comprehensive email tracking capabilities. It includes features like real-time analytics, webhook integrations, and both SMTP and API sending options to improve your WordPress site’s email deliverability.
Creating Your Elastic Email Account
To get started with Elastic Email, you’ll first need to sign up for an Elastic Email account by visiting their pricing page.
For our example, we’ll be signing up for their free plan (limited to 100 emails per day). However, the setup process will be the same no matter which plan you choose.
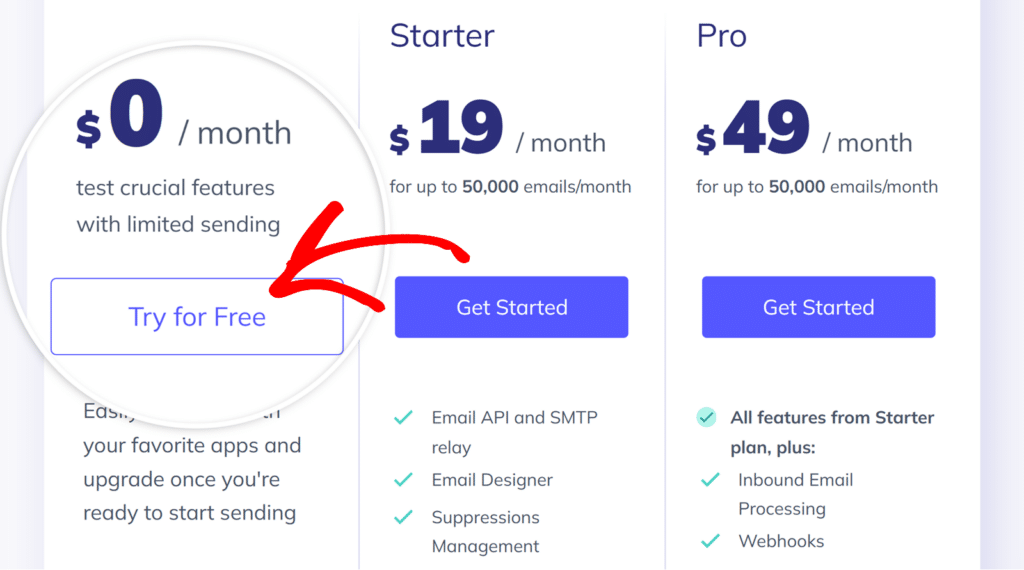
After signing up and verifying your email, you’ll be taken to your Elastic Email dashboard where you can begin setting up your account.
Verifying Your Domain
As a way of both protecting site owners and their visitors, you’ll need to authorize your domain by adding records to your site’s DNS settings. Over time, domain authorization has become increasingly critical for reliable email delivery.
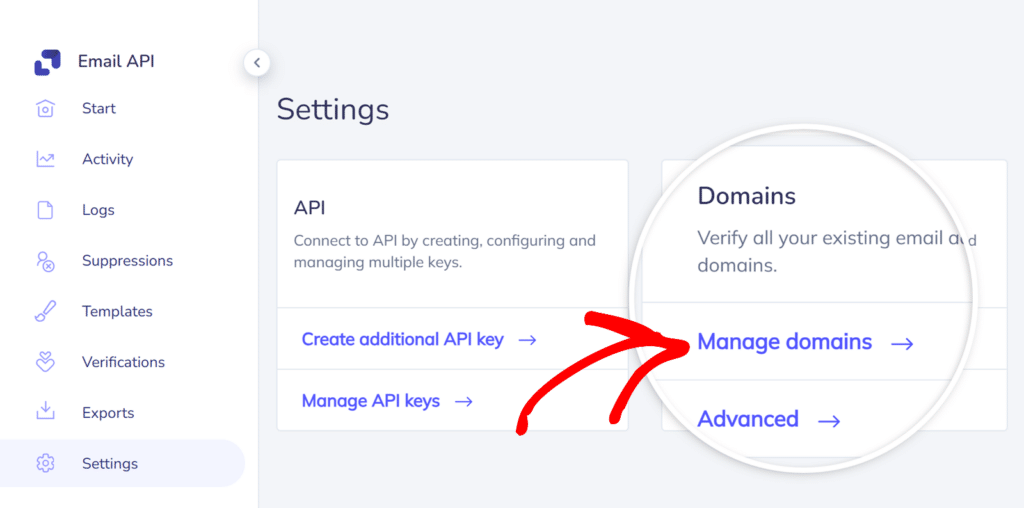
To start verifying your domain, log in to your Elastic Email account and go to your account settings. Under the Domains section, click on Manage domains.
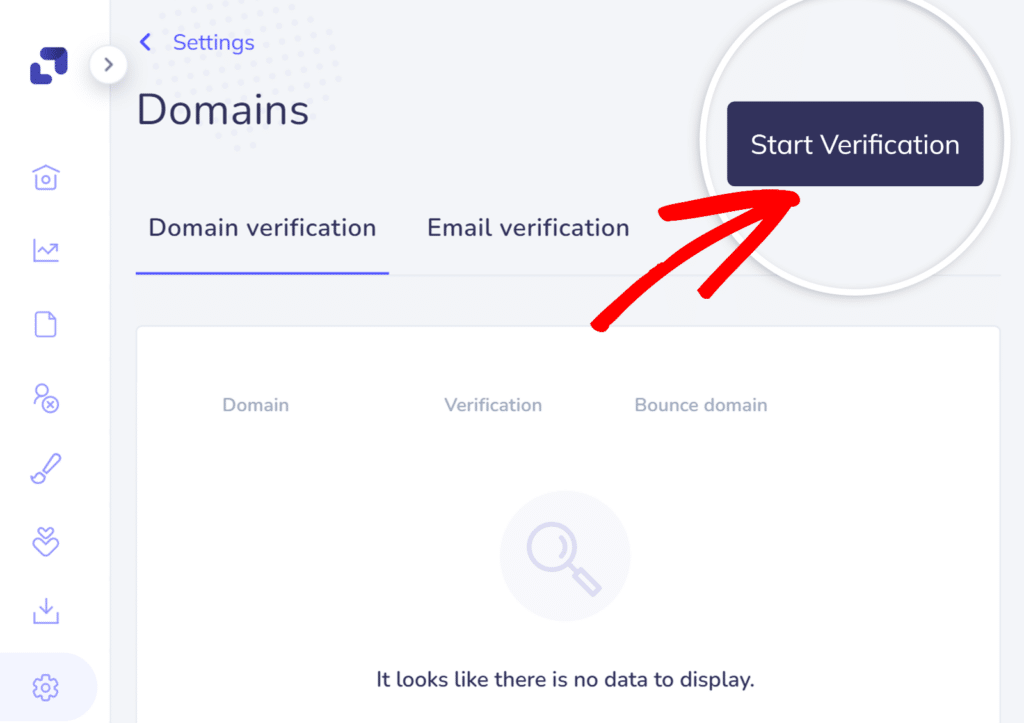
On the verification page, click on the Start Verification button to start.
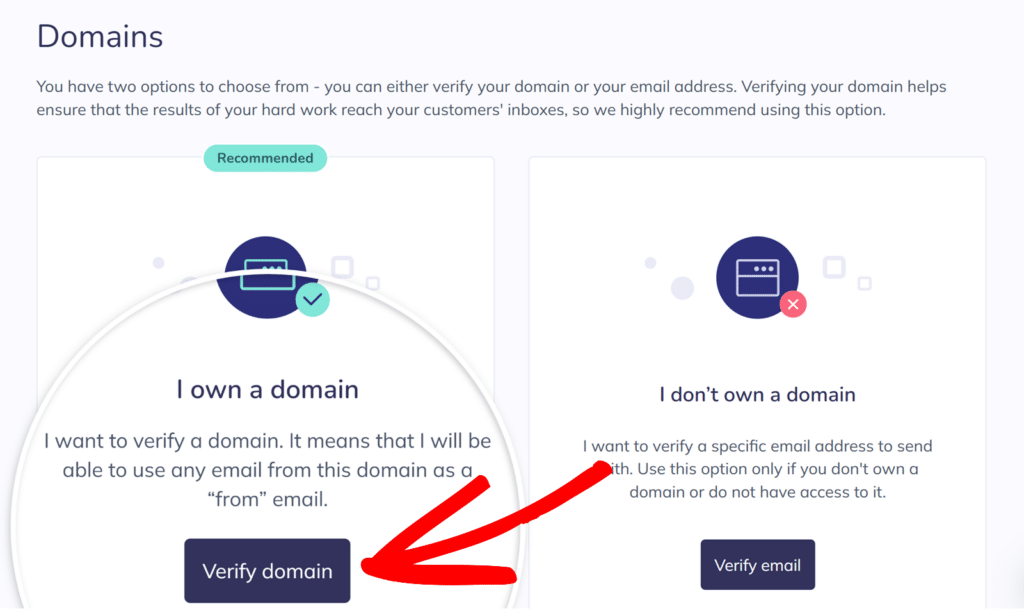
Next, click on the Verify domain button under the I own a domain section.
On the next page, enter the domain name that you want to verify and click Continue.
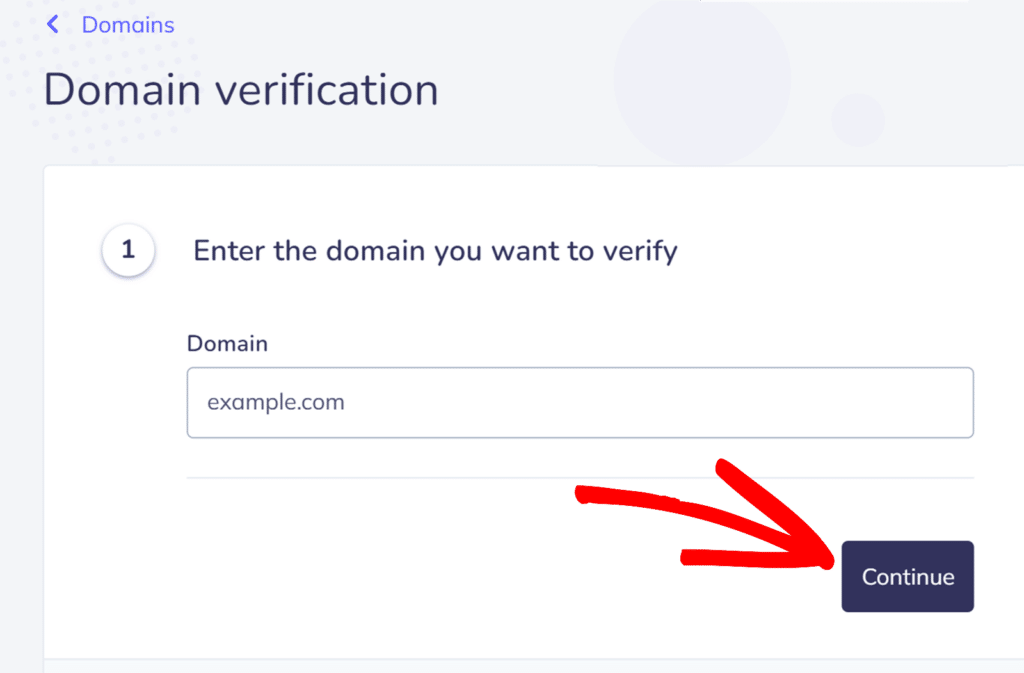
After entering your domain, Elastic Email will provide you with several DNS records that need to be added to your domain’s DNS settings. These include TXT records for SPF verification and additional records for DKIM authentication.
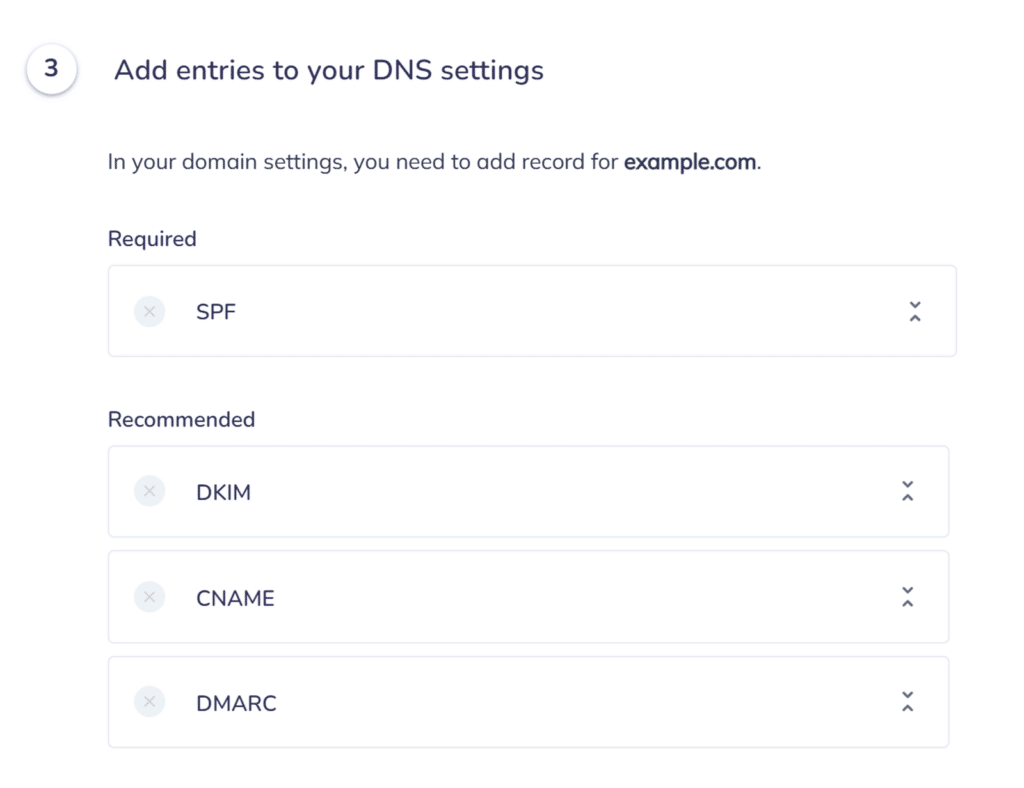
Note: Make sure to add the tracking CNAME record when updating your site’s DNS settings.
After you’ve added these records, it can take up to 24-48 hours for them to propagate so that Elastic Email can verify them. However, in some cases, these records can be verified much more quickly.
You can go ahead and try clicking the Verify record button as a quick test.
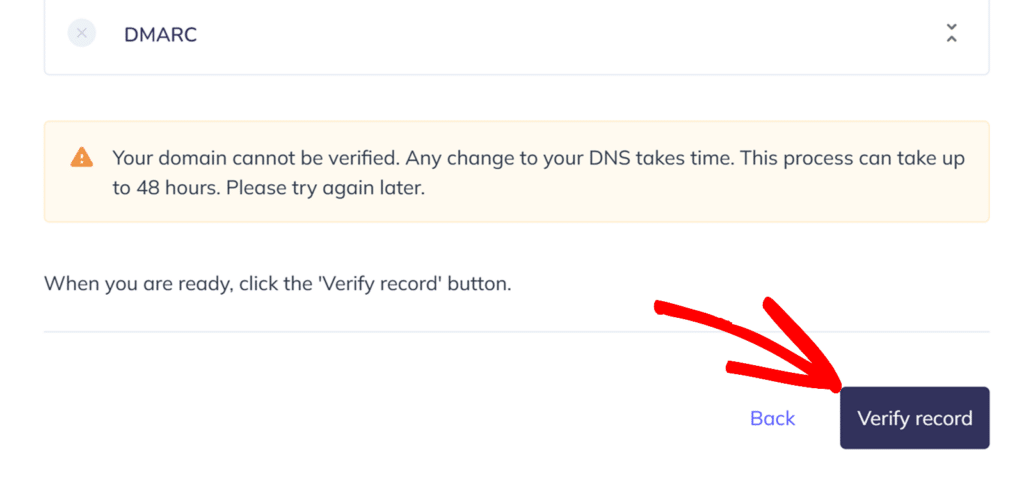
However, there’s no need to wait on this right now! You can move ahead to the next step while you wait for this verification to complete.
Setting Up WP Mail SMTP
Now that you’ve set up your Elastic Email account and authenticated your domain, you can configure WP Mail SMTP to use Elastic Email for sending emails.
Before you get started on this section, be sure to install and activate the WP Mail SMTP plugin.
Once WP Mail SMTP is installed, you’ll need to go to WP Mail SMTP » Settings and select the General tab to open the plugin settings page.
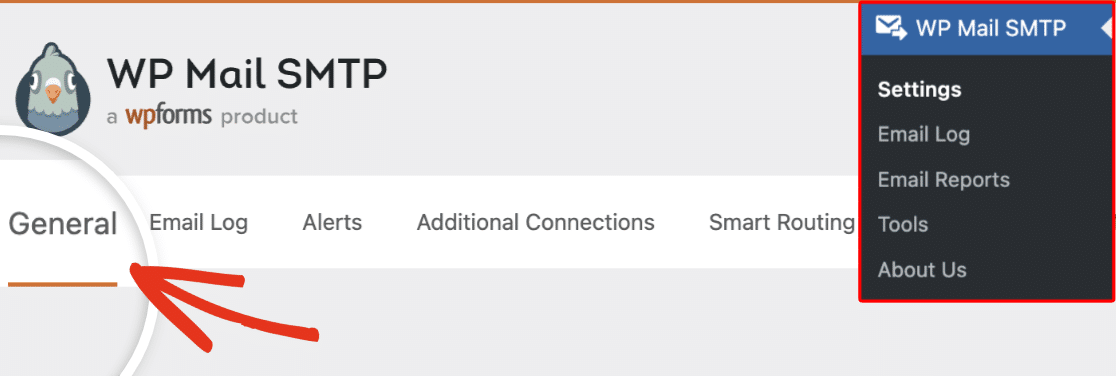
We’ll discuss each of these settings in detail below.
From Email
The From Email is the email address that all of your site’s emails will be sent from. This email address should contain the same domain you verified in Elastic Email.
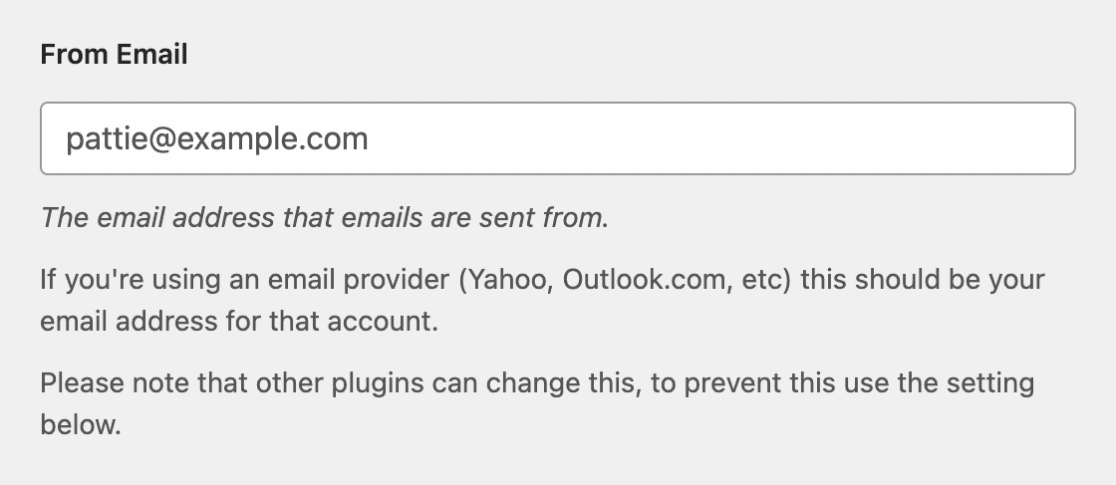
You can also choose to check the box labeled Force From Email. If you’d like the From Email to be the same site-wide, this option will save you the trouble of editing the email settings throughout your site.

Note: For more details, see our guide to understand how the Force From Email setting works.
From Name
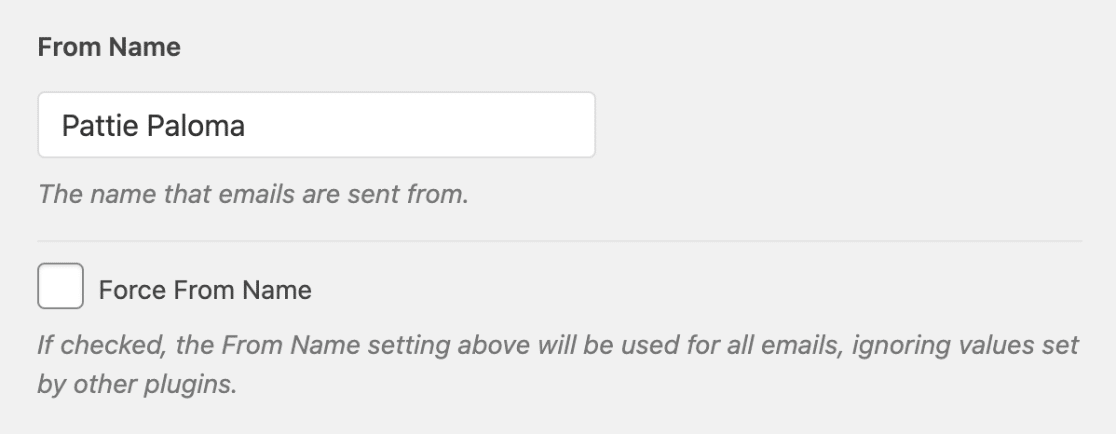
The From Name will, by default, be set to your site name. However, you can change this to any text you’d like.
You can also enable the Force From Name option to apply this setting to emails site-wide.
Mailer
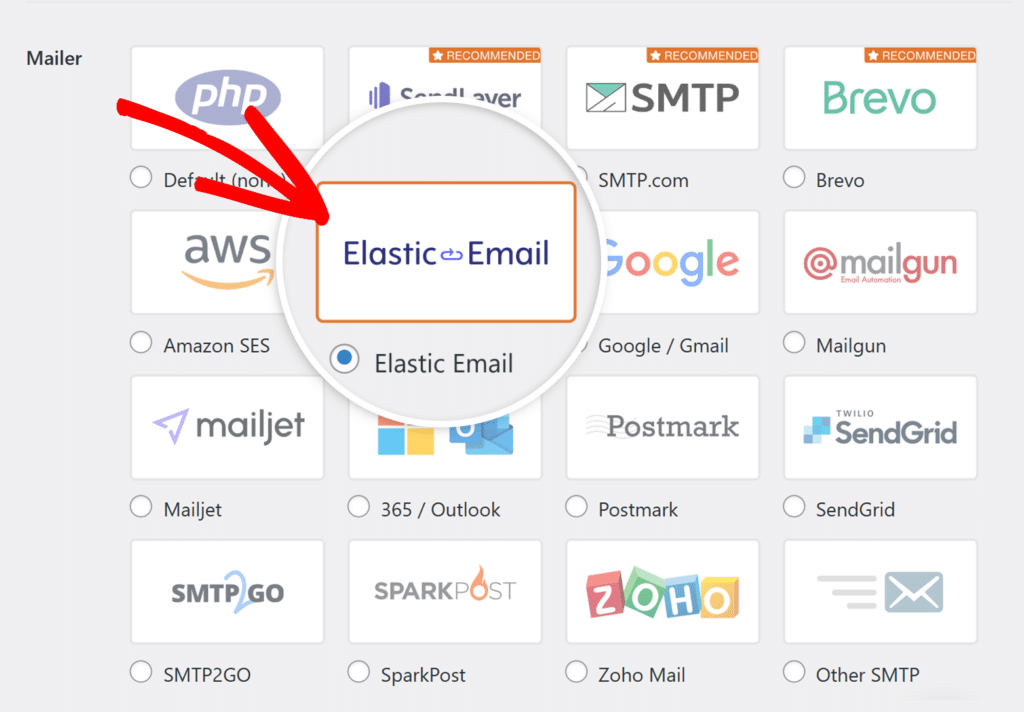
In the Mailer field, select the Elastic Email option.
API Key
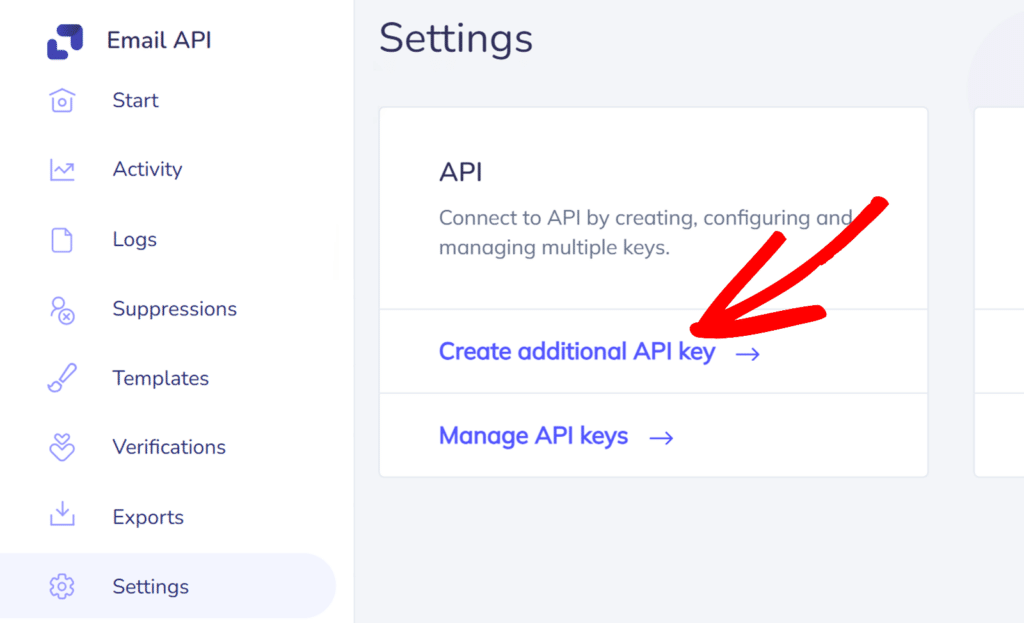
Once you’ve chosen Elastic Email as your mailer, you’ll need to enter your API key. Return to your Elastic Email account settings and click on Create additional API key from the API section.
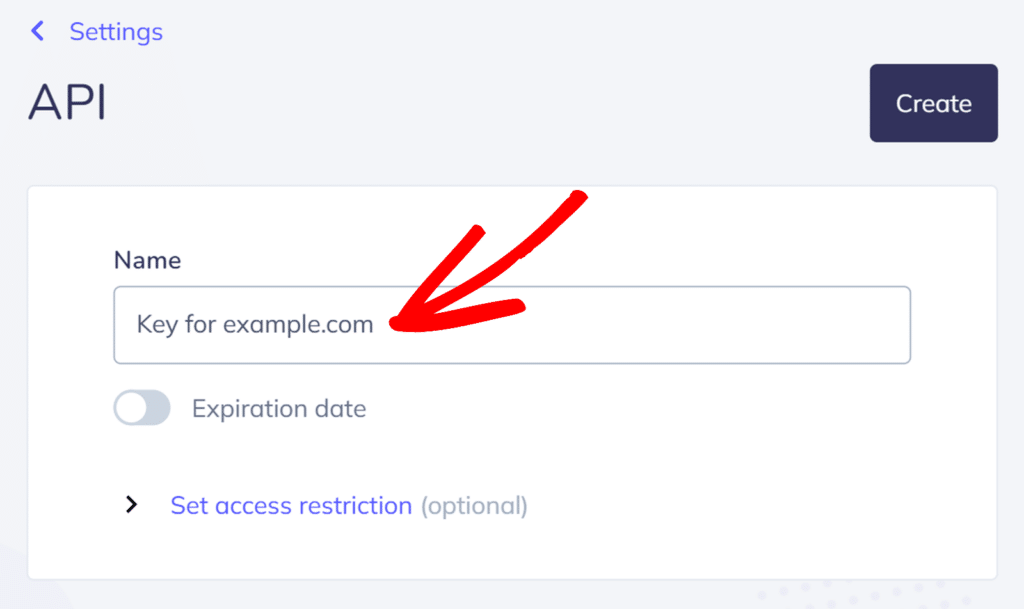
On the next page, enter a descriptive name for your key that will help you remember its purpose in the Name field.
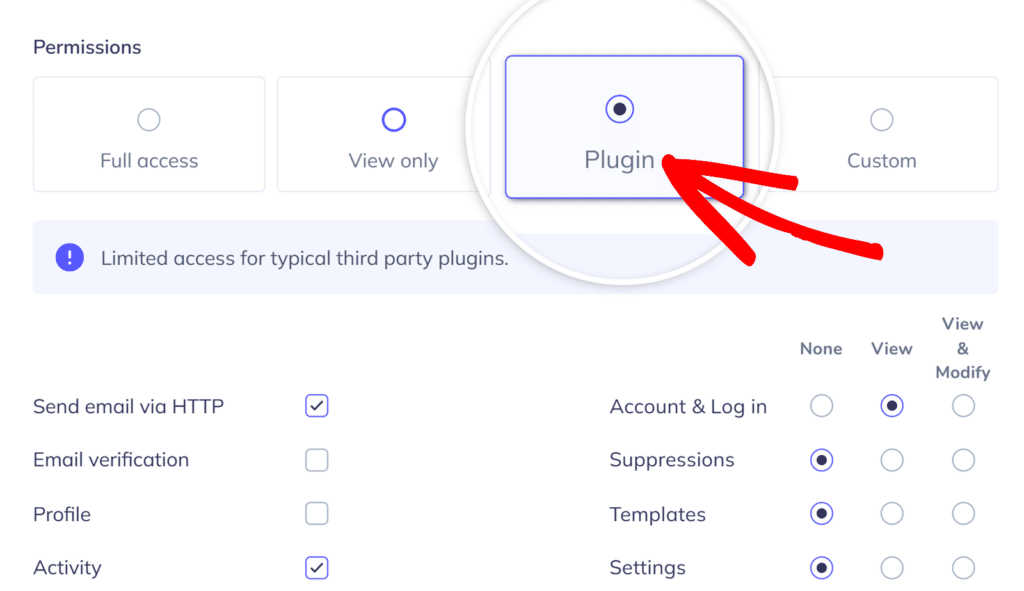
Next, select Plugin option from the Permissions section which provides the necessary access level for WP Mail SMTP integration. Leave all other settings at their default values.
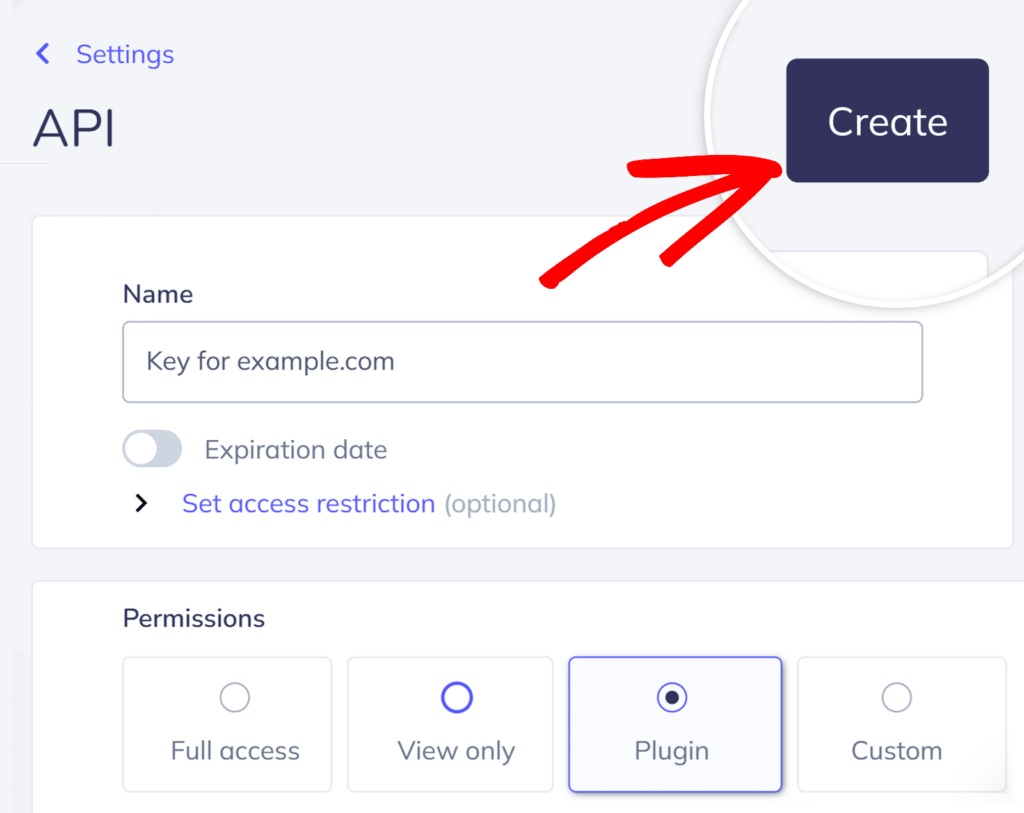
Once done, click on the Create button to create the API key.
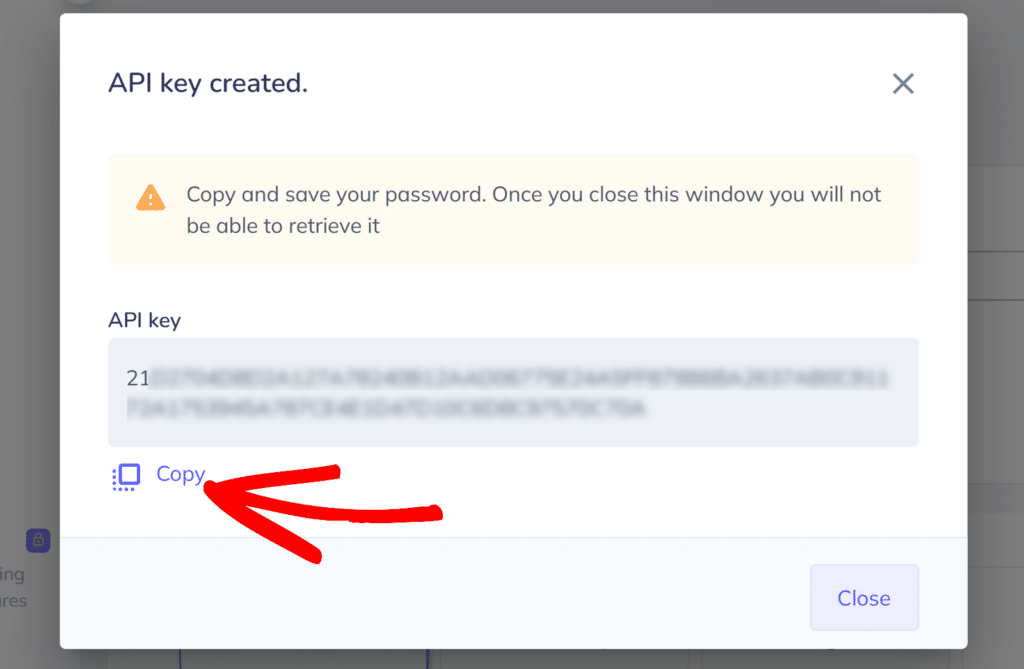
This will open a popup window displaying your API key. Be sure to copy this key by clicking the Copy button.
Then, return to your WP Mail SMTP settings and paste the API key into the API Key field.

Backup Connection
Setting up a Backup Connection is optional and isn’t required to complete your Elastic Email mailer setup. However, to further improve email deliverability, we recommend configuring an additional connection to serve as a backup in case your Primary Connection fails.
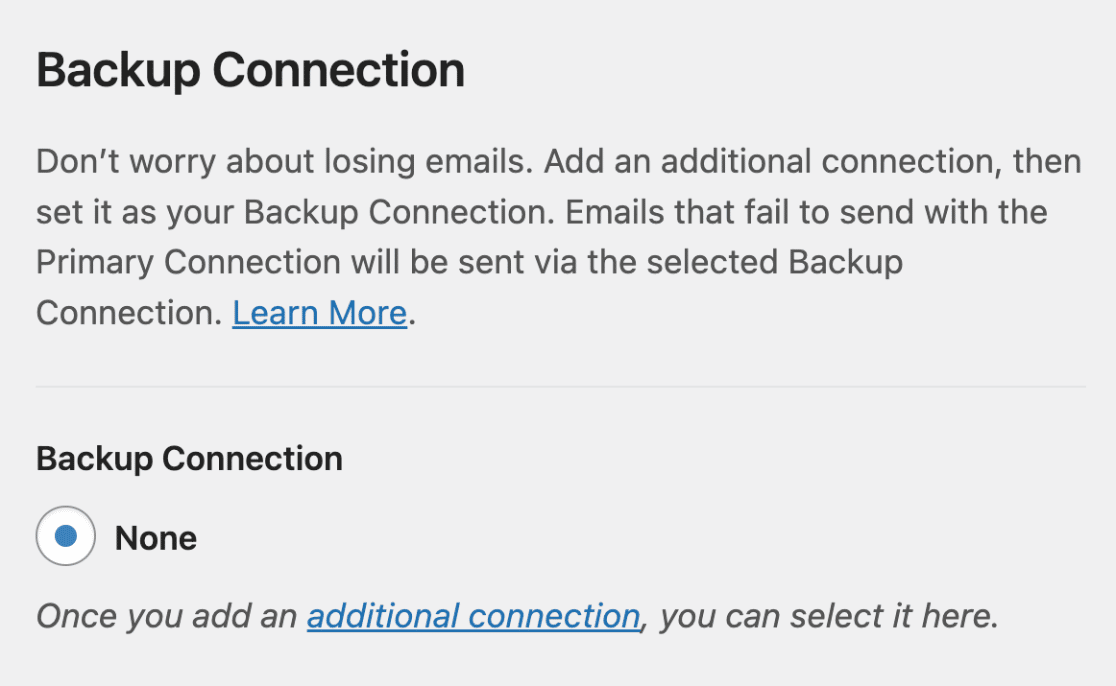
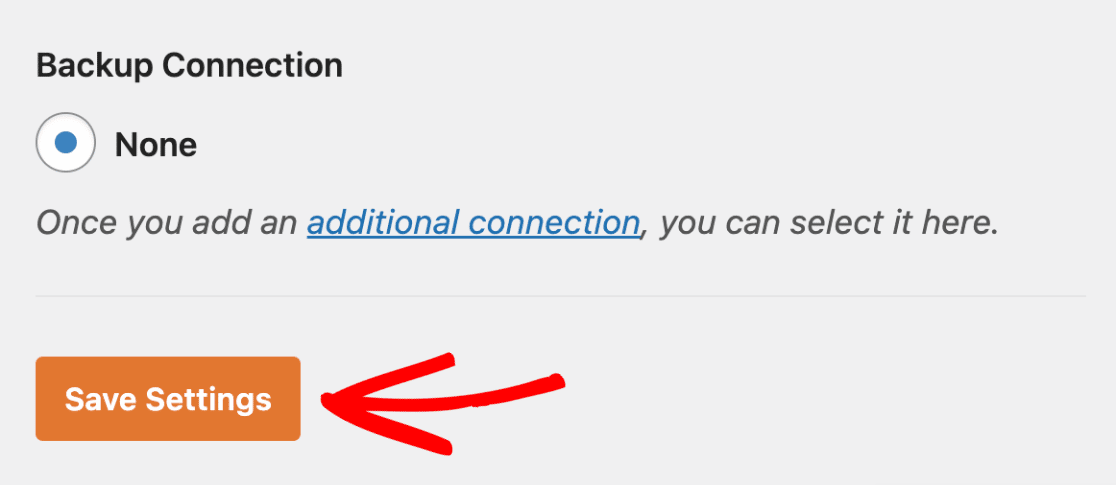
Once you’ve configured your mailer, be sure to click the Save Settings button.
Sending a Test Email
Note: Before proceeding with this step, you’ll need Elastic Email to verify your DNS records. If the changes to your DNS settings have not been propagated yet, then you’ll need to complete this step later.
After configuring your settings, you should send a test email to verify everything is working correctly. To do so, go to WP Mail SMTP » Tools and open the Email Test tab.
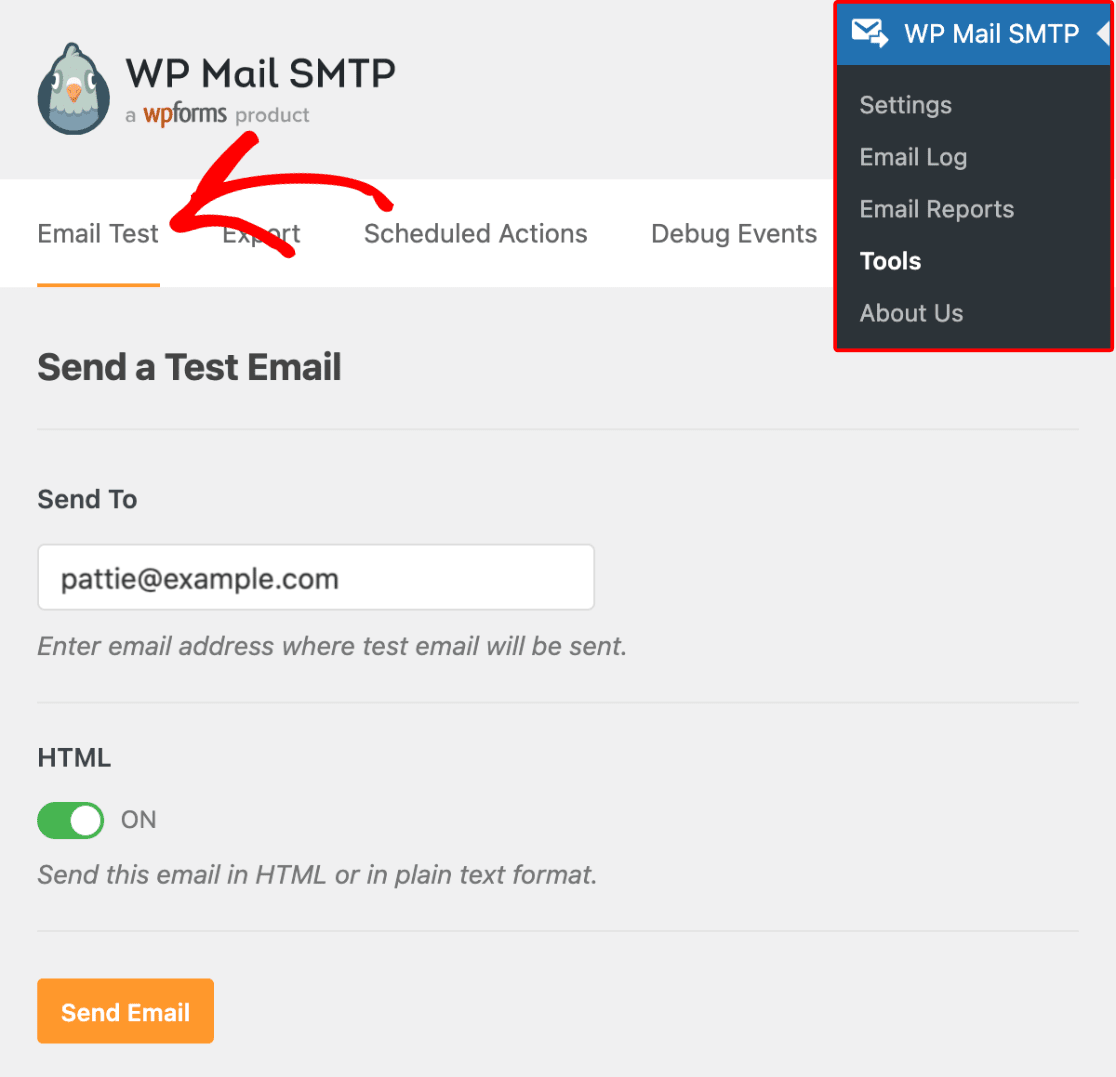
In the Send To field, you can enter any email address whose inbox you have access to. We recommend leaving the HTML setting ON unless you know you’ll only be sending plain text emails.
Note: If you’ve set up an additional connection, you’d be able to choose between your Primary Connection and other connections when sending a test email.
Next, click the Send Email button to send your test email.
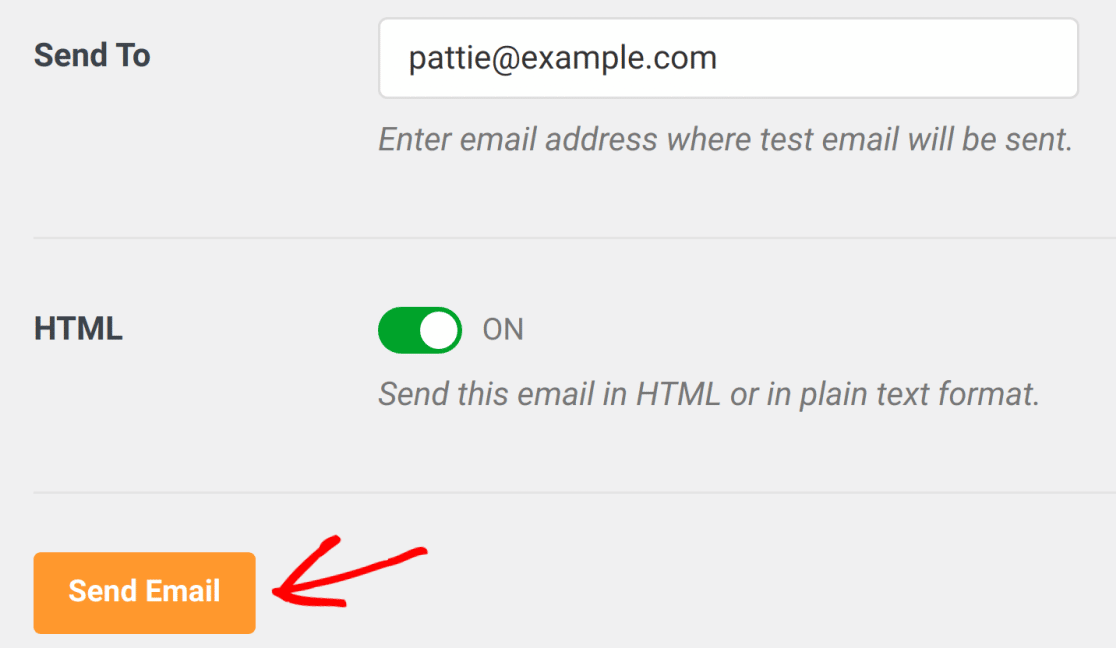
After sending the email, you should see a success message.

If you check the inbox for the email address you entered, you should have received the email for this test.
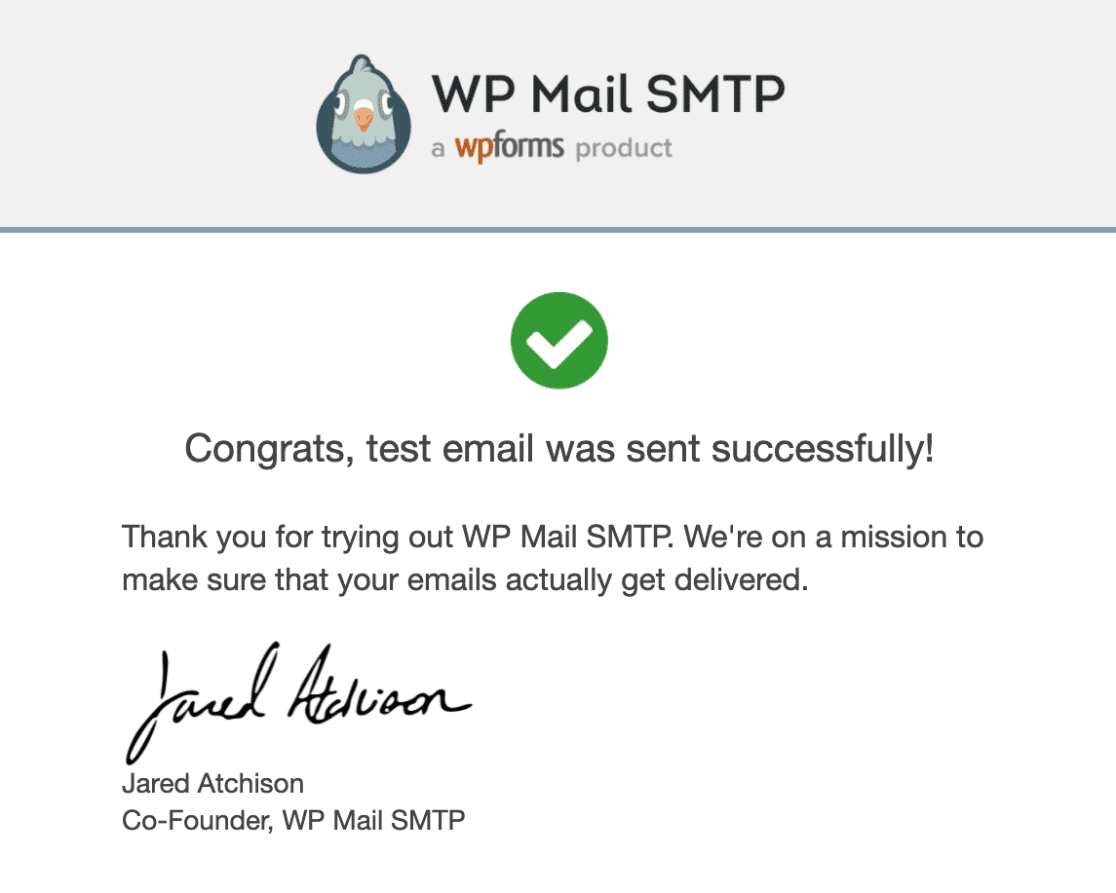
That’s it! You’ve successfully set up Elastic Email with WP Mail SMTP. Your WordPress site should now be able to send emails more reliably.
Next, would you like to keep records of every email that’s sent out from your WordPress site? Check out our tutorial on setting up email logging for details on how to do so.
