AI Summary
Would you like to easily monitor email logging on your WordPress site? With the dashboard widget for WP Mail SMTP, you can quickly view a summary of your email logs directly from your dashboard.
This tutorial will show you how to use the WP Mail SMTP dashboard widget.
In This Article
Viewing the WP Mail SMTP Dashboard Widget
The WP Mail SMTP dashboard widget will automatically appear as soon as you’ve installed and activated the WP Mail SMTP plugin. However, if you don’t have email logs enabled, it won’t display any information.
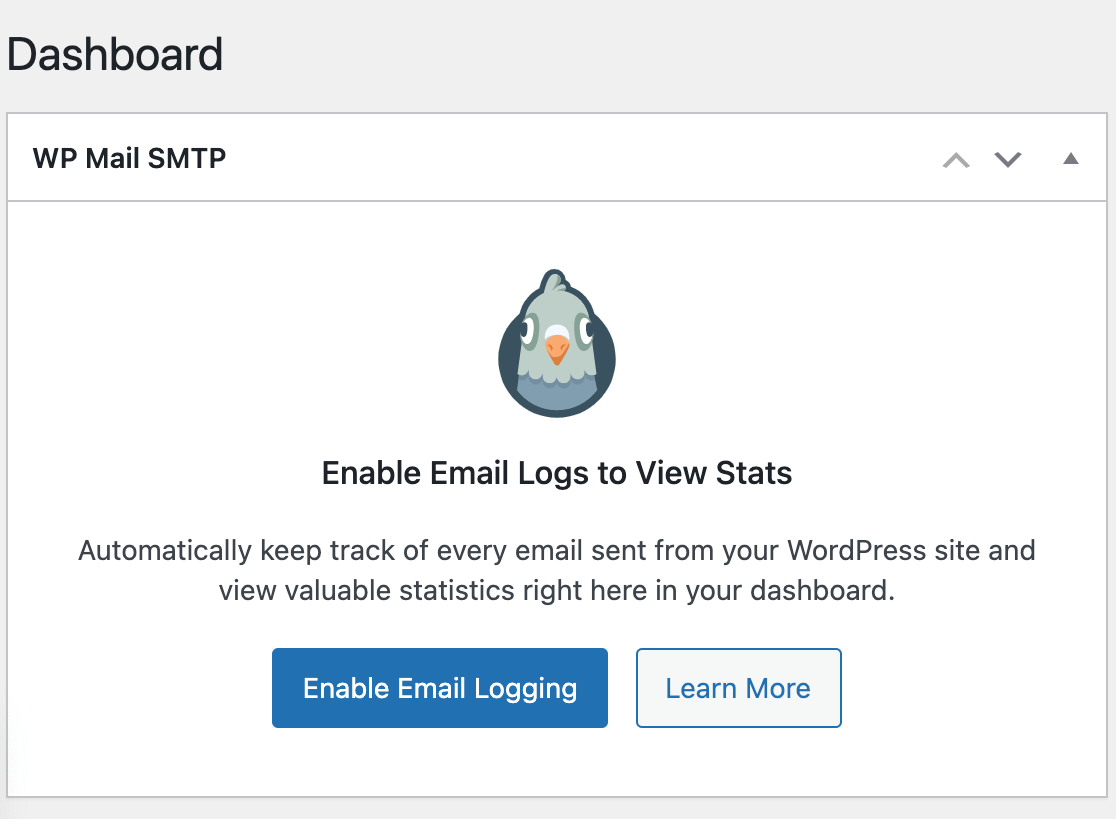
Click the Enable Email Logging button to quickly go to the Settings page where you can turn on this feature.
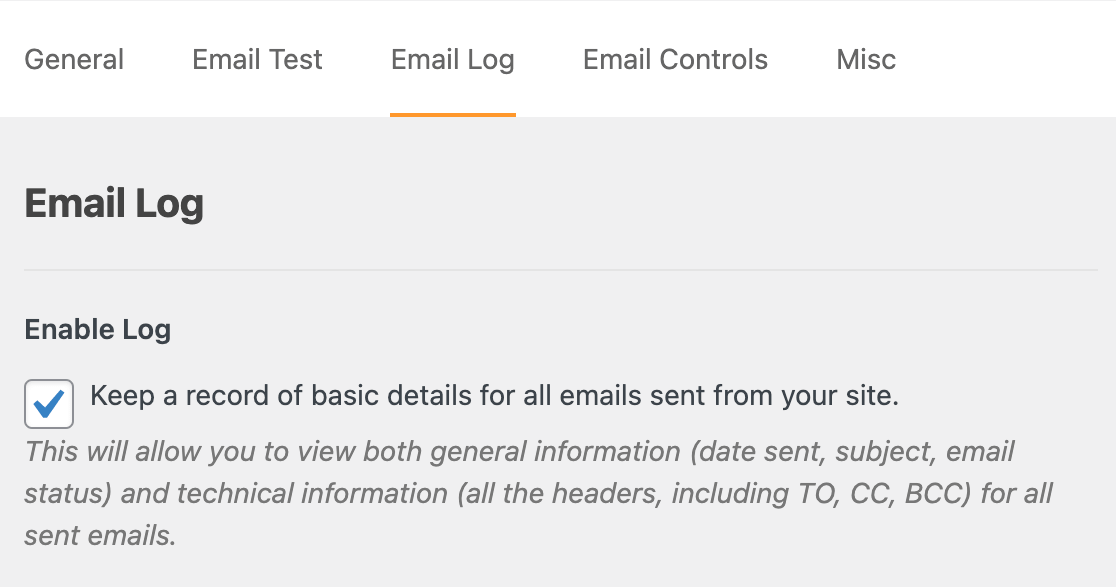
Select the checkbox next to Keep a record of basic details for all emails sent from your site. Then save your settings.
Note: For more details on how to enable email logging in WP Mail SMTP, please see our complete guide to this feature.
To view the widget at any time, navigate to Dashboard » Home in the left WordPress menu.
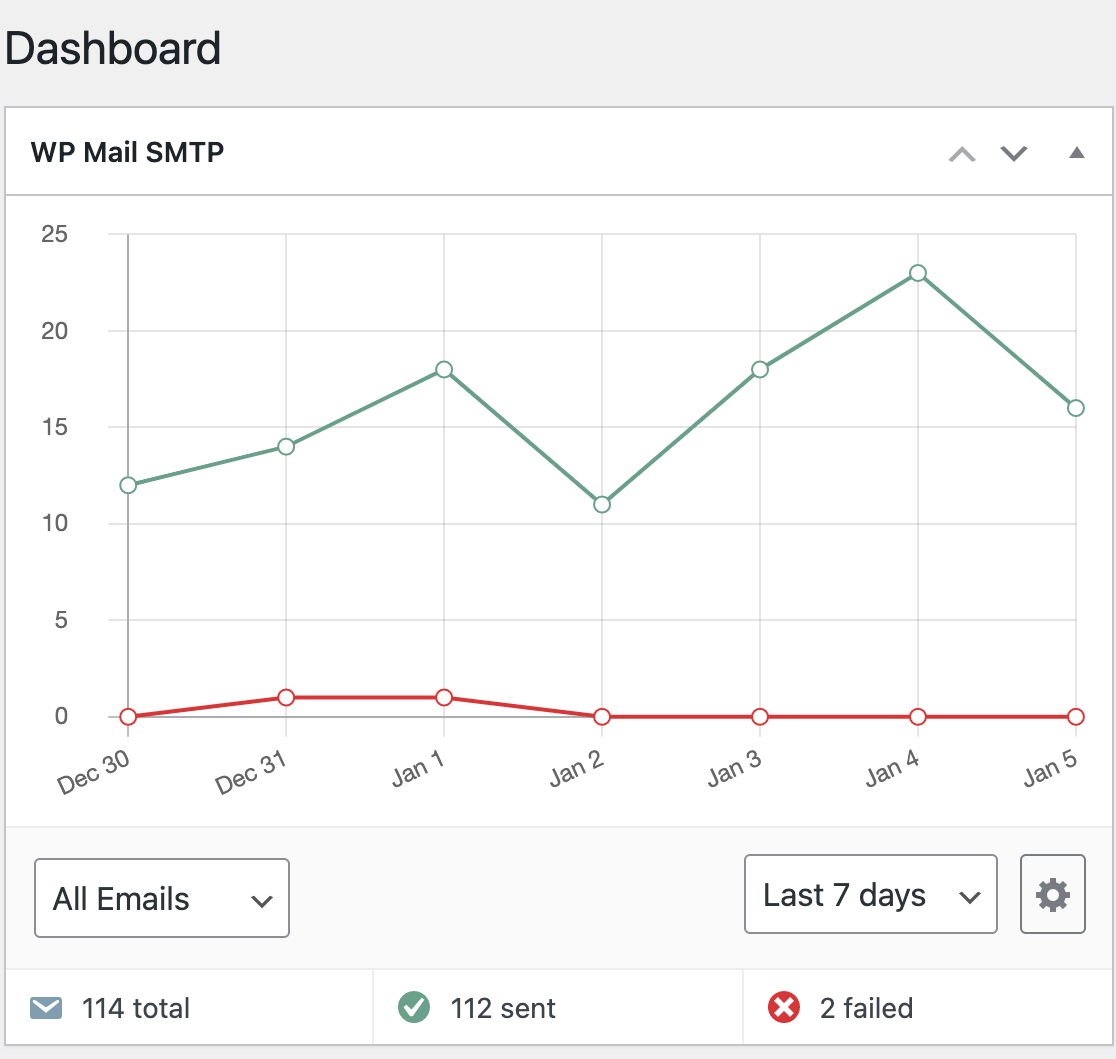
Note: If you had to enable email logs to view data in the dashboard widget, it may take up to 24 hours for data to appear.
Customizing the WP Mail SMTP Dashboard Widget
There are a few ways you can customize the WP Mail SMTP dashboard widget to suit your needs and preferences.
Filtering Dashboard Widget Data
By default, the dashboard widget displays data for the previous 7 days. However, if you’d like to see additional historical data, you can adjust the dropdown to view data for the last 14 days or the last 30 days instead.
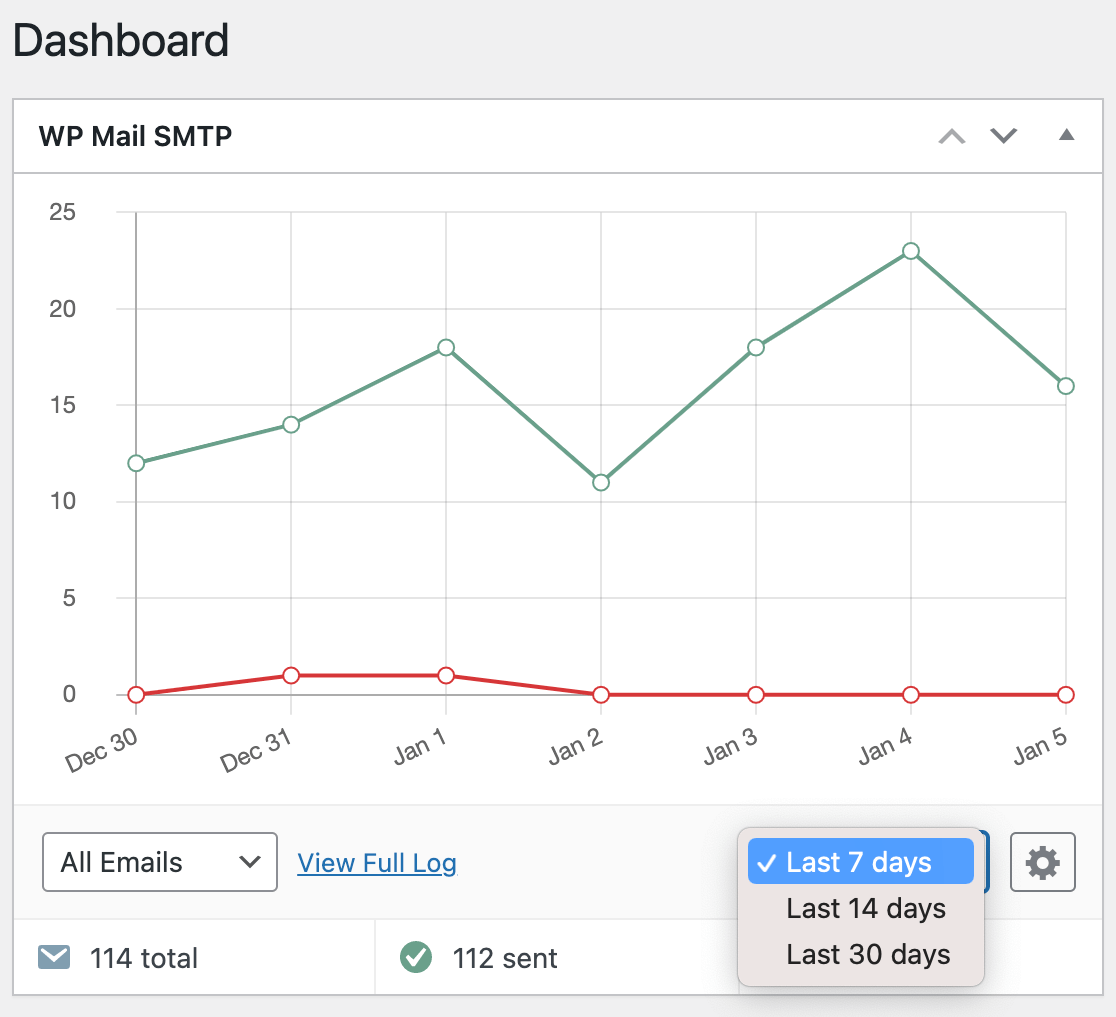
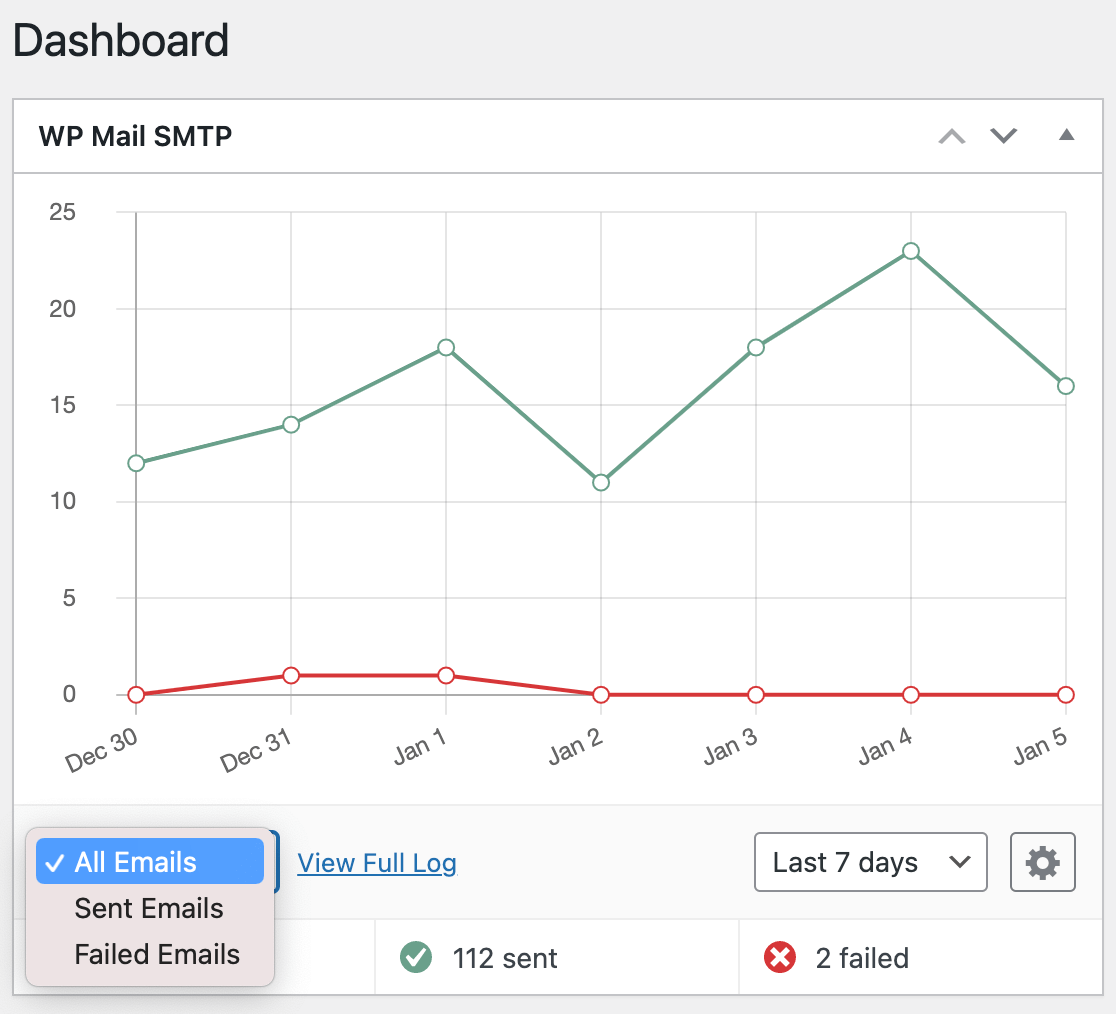
You can also choose to display data for all emails, only sent emails, or only failed emails. To change the view, click on the All Emails dropdown. Then select which types of emails you’d like to show information for.
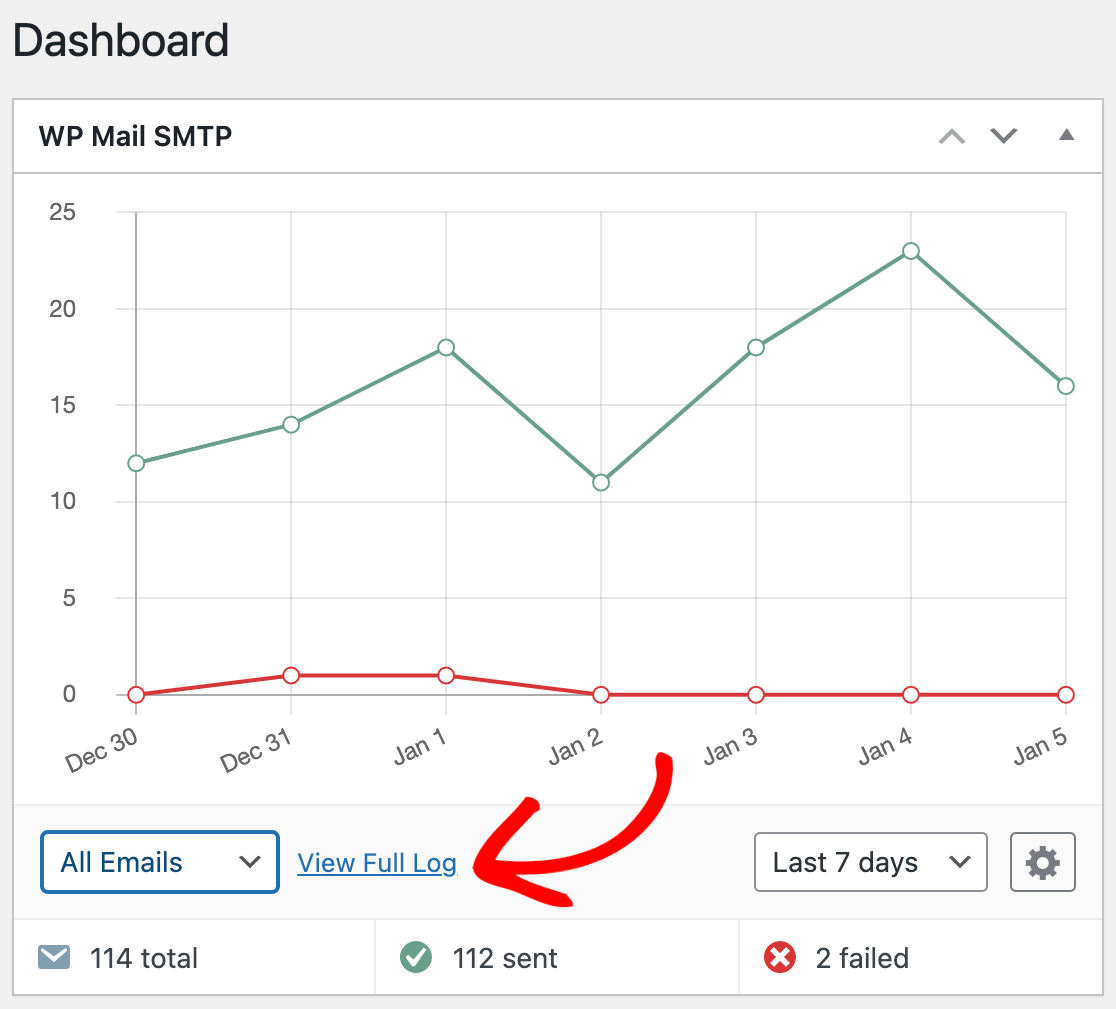
If you’d like to view your full email log, click the View Full Log link to open up your logs page.
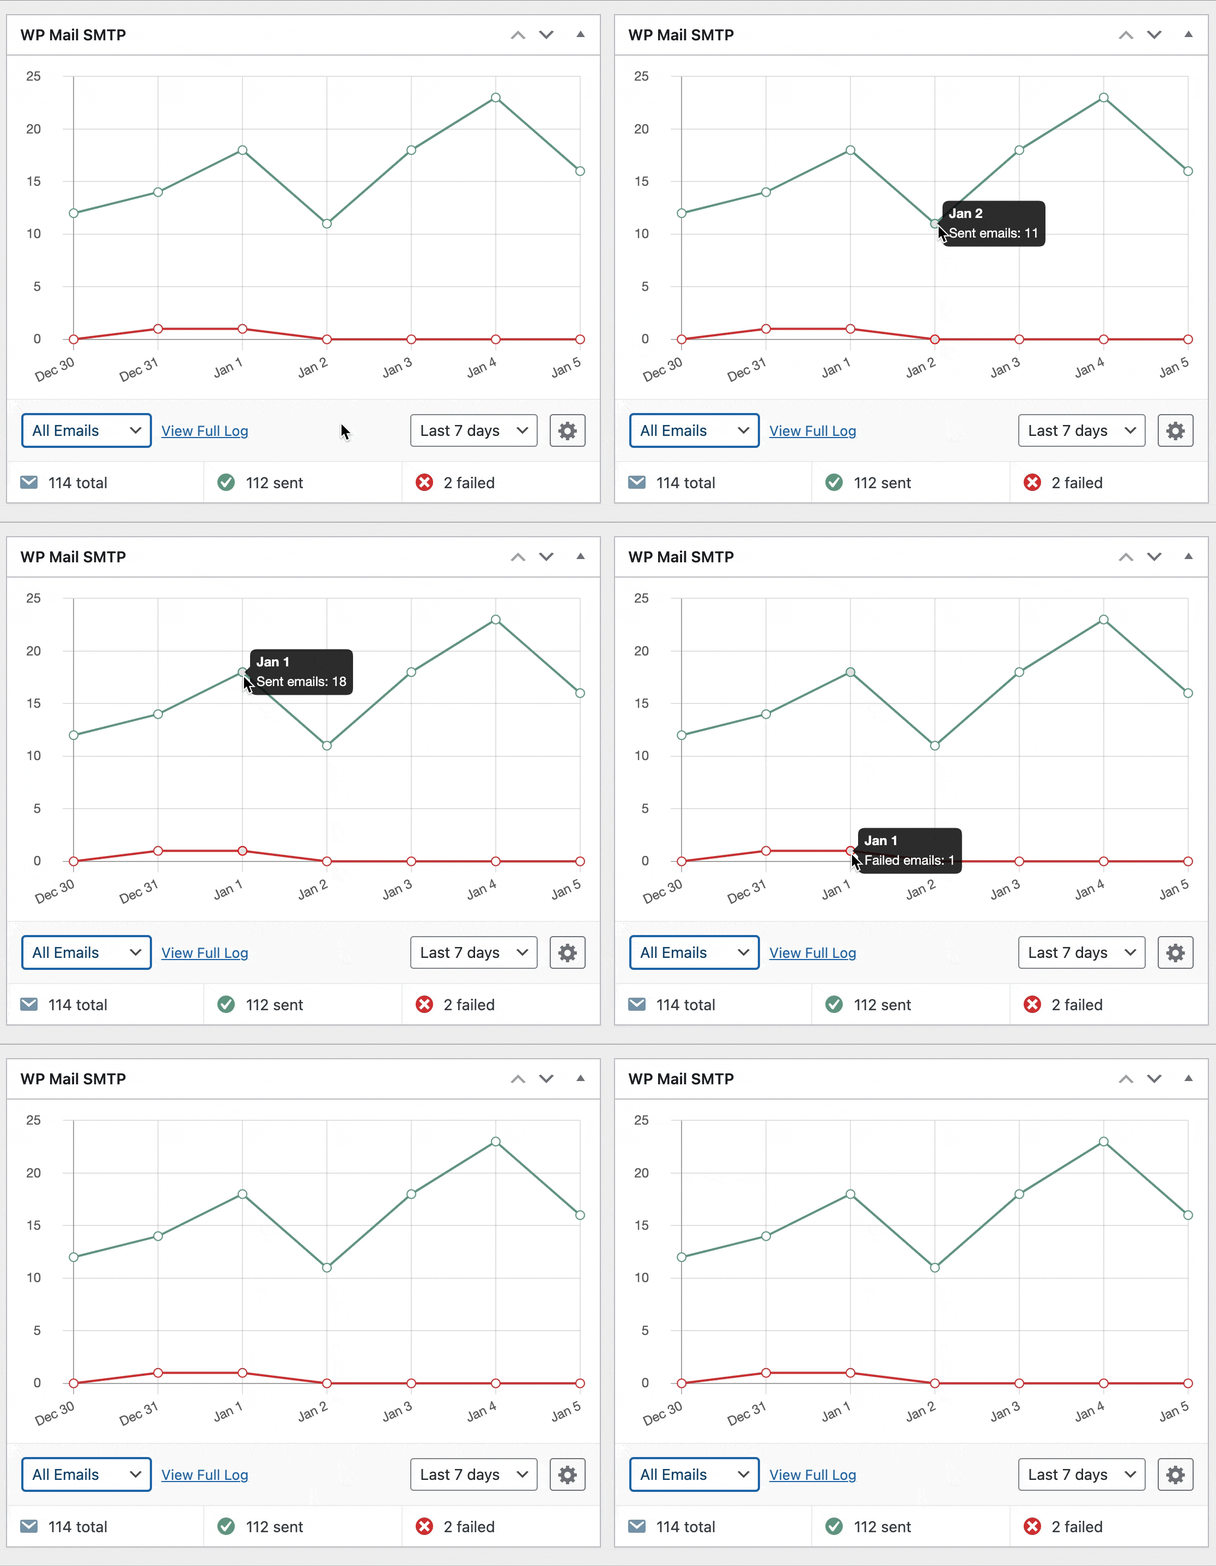
To view more specific details about a date’s data, you can hover over any point on the graph to see its value.
Changing the Dashboard Widget Graph Style
If you’d like to customize the type of graph your data is shown in, click on the gear icon on the right side of the dashboard widget. Then select an option from the Graph Style section.
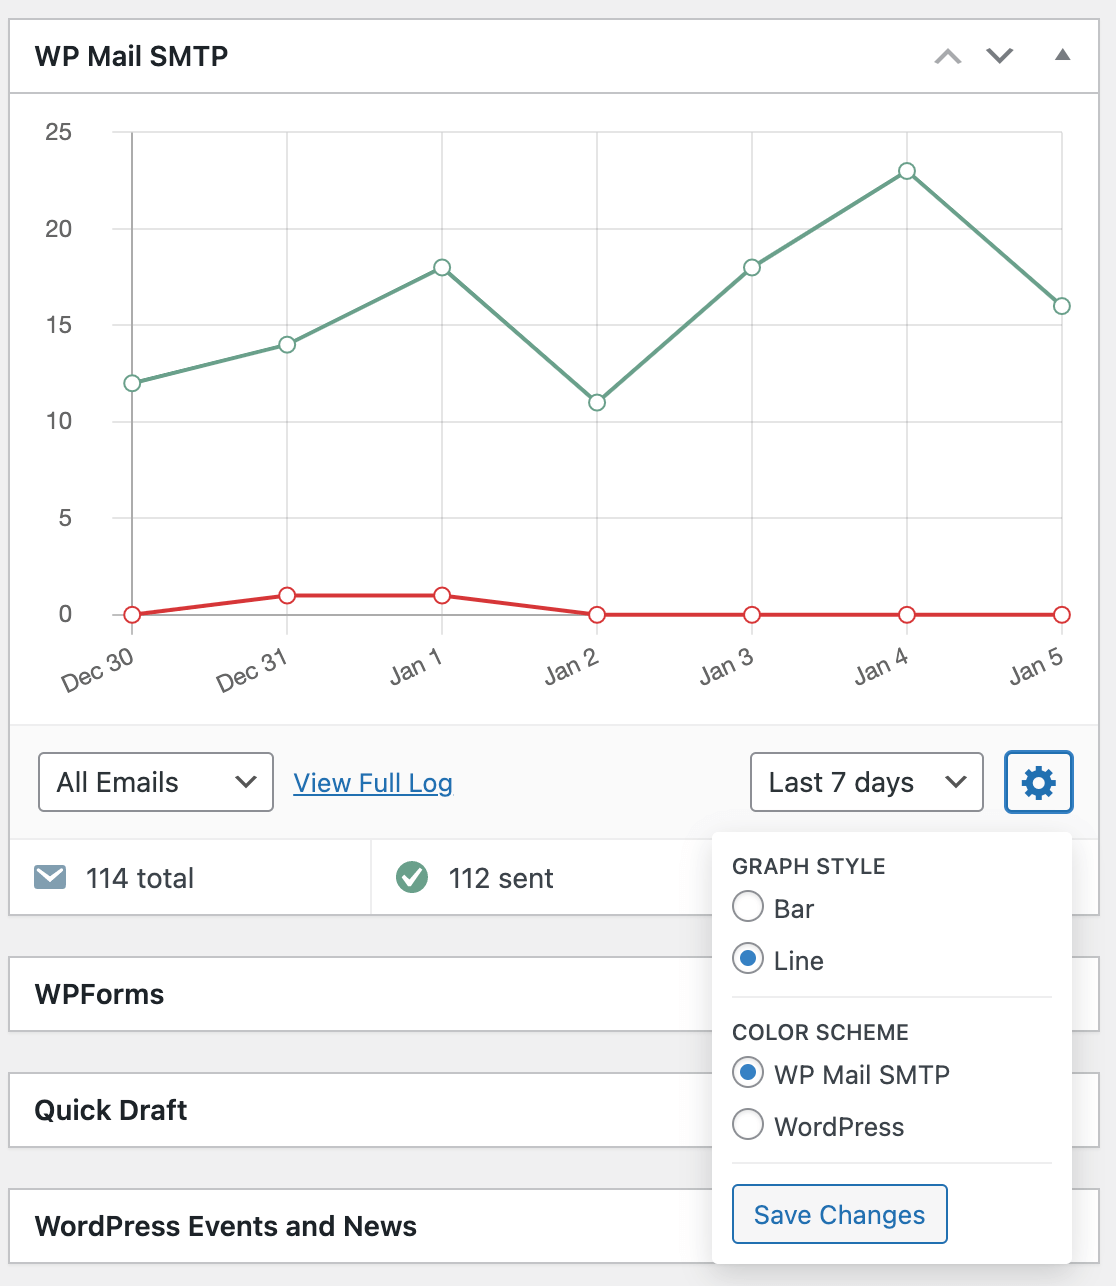
From here, you can also optionally change the graph’s color scheme to use the plugin’s or to match your WordPress admin area.
Once you’re done customizing your graph’s style, make sure to click the Save Changes button to apply your choices.
Moving the Dashboard Widget
If you would like to move the WP Mail SMTP dashboard widget to another part of the screen, you can do so simply by dragging and dropping it.
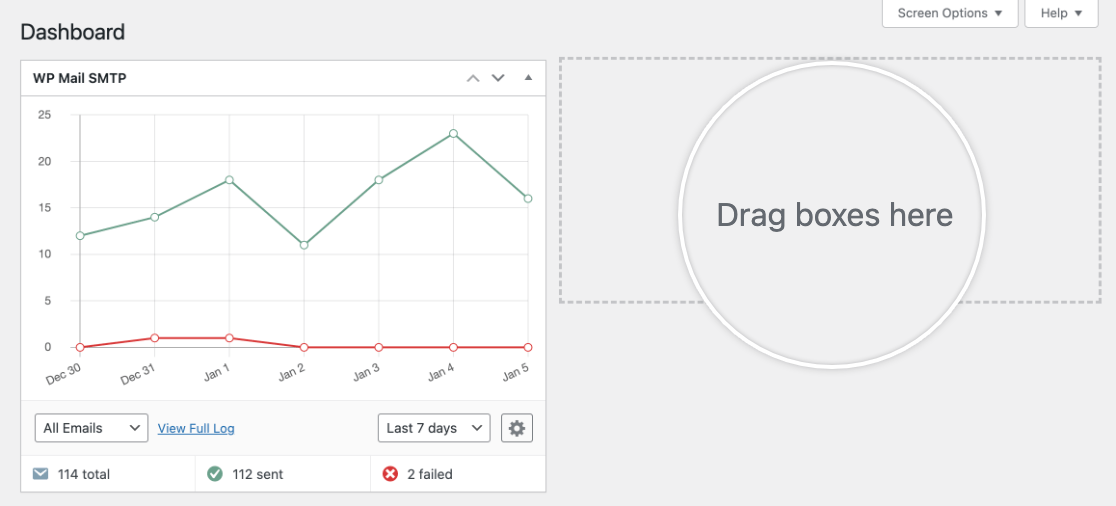
Hiding the WP Mail SMTP Dashboard Widget
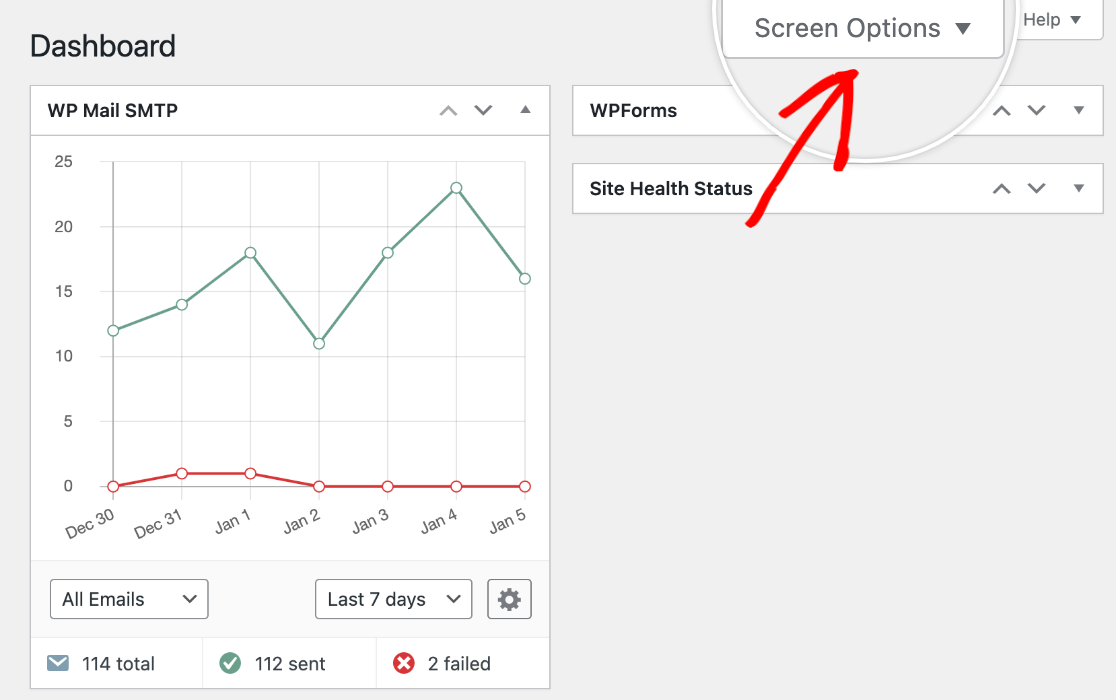
WordPress enables you to customize which dashboard widgets are visible on your Home screen. To hide the WP Mail SMTP dashboard widget, click on the Screen Options tab in the top right corner of your admin area.
This will reveal checkboxes for all of the dashboard widgets available for your site. Deselect the one for WP Mail SMTP to hide the widget.
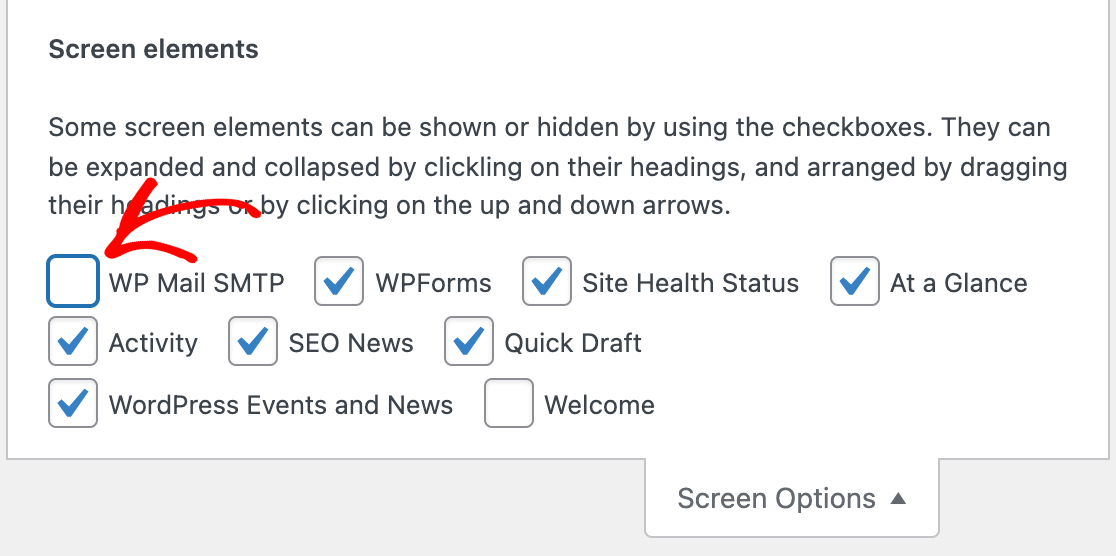
Note: The Screen Options settings for the WP Mail SMTP dashboard widget are specific to the individual logged-in user. Any adjustments made won’t be reflected for other users logging into the same site.
If you ever want to add the WP Mail SMTP widget back to your dashboard, just open the Screen Options and select its checkbox again. It will always show the latest email log data for your site (provided you keep email logs turned on).
If you would rather just hide the WP Mail SMTP dashboard widget temporarily, you can collapse it by clicking on the arrow in the top right corner of the widget.
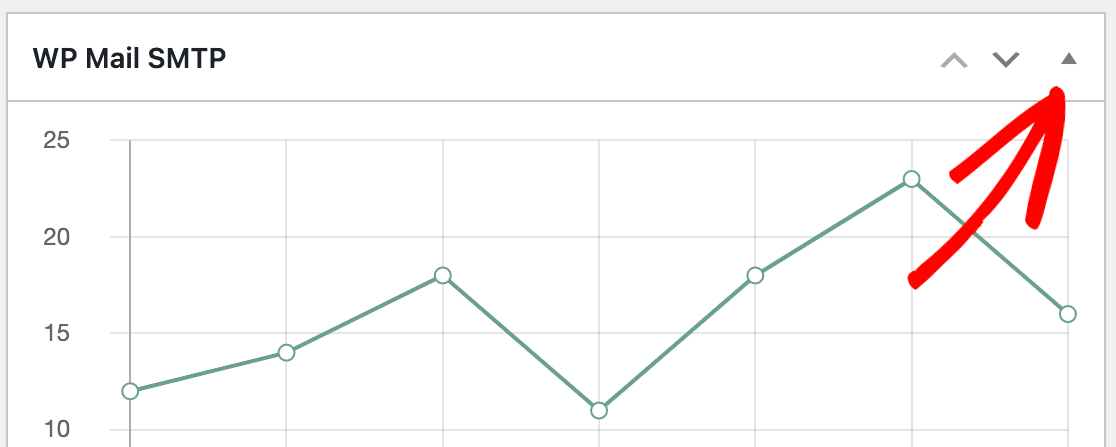
Then you can re-expand the widget at any time to see your site’s email data at a glance.
That’s it! You can now use the WP Mail SMTP dashboard widget to quickly view and monitor email logs and trends for your site.
Next, would you like to troubleshoot any issues within WP Mail SMTP? Be sure to check out our guide on how to troubleshoot WP Mail SMTP for more details.
