AI Summary
Do you need help adding DNS records to set up your WP Mail SMTP mailer? This is an important step for authenticating your domain to configure several of our mailer options.
This tutorial will share basic instructions and resources to help you add DNS records to set up your WP Mail SMTP mailer.
What Are DNS Records?
The Domain Name System (DNS) is like the address book of the internet. DNS records point your domain name (e.g., wpmailsmtp.com) to your website’s unique IP address so that when users type your web address into their browsers, they’re directed to the right place.
TXT records are a type of DNS record that adds an encrypted key to your outgoing emails. This tells mail servers that your domain is a trusted sender and helps improve email deliverability.
To learn more about the DNS and DNS records, check out WPBeginner’s glossary entry on this subject.
Accessing DNS Records to Add for Your Mailer
Several of the mailers that are compatible with WP Mail SMTP require you to add DNS records to your account in order to authenticate your domain.
You can find instructions on how to locate the records you need to add in the setup guide for your mailer:
- SendLayer
- SMTP.com
- Brevo (Sendinblue)
- Amazon SES
- Mailgun
- Postmark
- SendGrid
- Elastic Email
- Resend
- MailerSend
- Mailjet
- Mandrill (Mailchimp transactional)
- SMTP2GO
When you locate the required records, they should include the record type, hostname, and value.
Finding Your DNS Settings
Once you have the DNS records you need to authenticate your domain, you’ll have to access your DNS settings. To do so, log in to your web hosting account.
Since each provider has a different dashboard, the steps to access your DNS settings will vary depending on which host you use.
Below, we’ve linked to the documentation on locating your DNS settings for the most popular providers we’ve come across:
Adding DNS Records
Finally, add your mailer’s DNS records to your settings to authenticate your domain. As we mentioned earlier, each provider uses a different dashboard, so the exact steps in this process will vary.
We recommend checking your provider’s documentation for specific guidance by clicking on the relevant link above or searching its knowledge base.
Note: If you’ve read your provider’s documentation on adding DNS records and aren’t feeling confident in the steps you need to take, please contact your provider’s support team for further guidance.
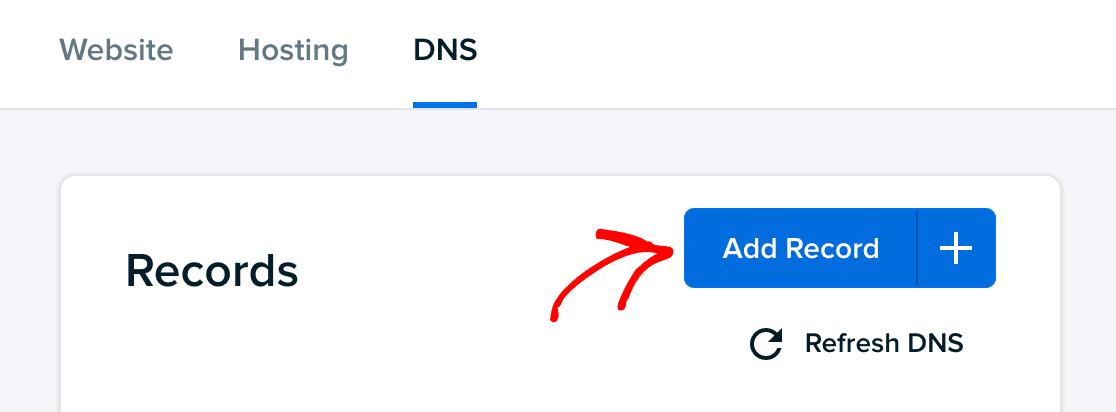
Typically, once you’ve accessed your DNS settings, there will be a link or button labeled Add Record or something similar.

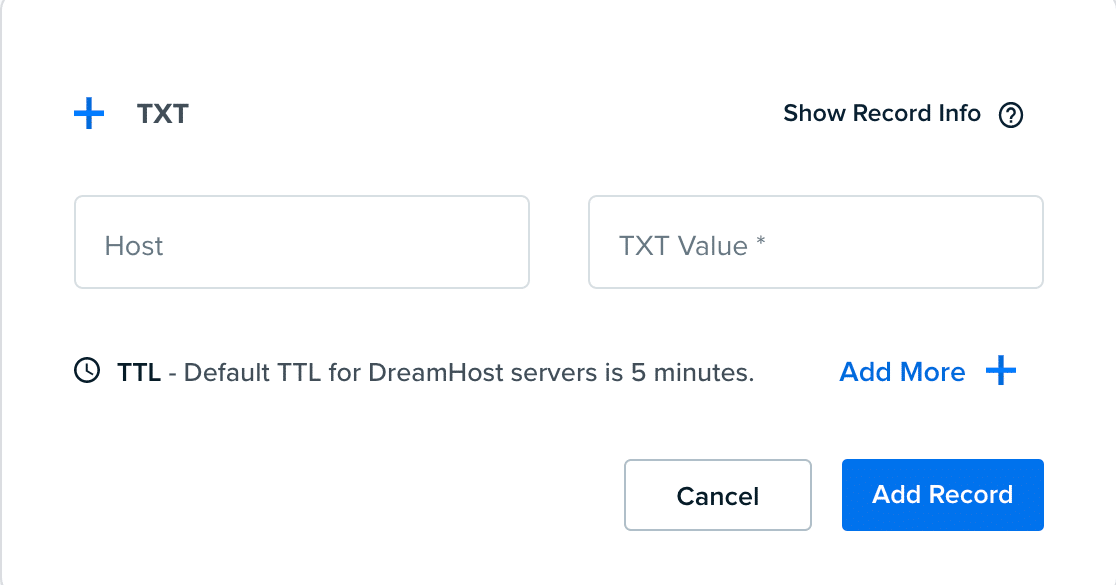
Clicking on this option should bring up a screen where you can enter the required information for your record, including the type, hostname, and value provided by your mailer.

Note: It can take several hours for changes to your DNS records to apply. If you’ve added your mailer’s DNS records to your settings and still can’t authenticate your domain, you may need to wait and try again later.
If you’re having trouble adding your DNS records to your settings, please contact your provider’s support team for help.
Adding DNS Records for a Subdomain
In many cases, it’s recommended that you use a subdomain as the sending domain for your site’s emails. This can help protect the sending reputation of your root domain if email providers mark messages from your subdomain as spam.
For instance, you could use the subdomain mail.example.com as your sending domain to protect the reputation of example.com. Your WP Mail SMTP From Email would be something like [email protected].
If you’re using a subdomain as the sending domain for your mailer, you’ll need to add the required DNS records to that subdomain instead of your root domain. However, there are a couple of potential problems you may bump into when doing so.
First, some hosting providers do not allow users to add TXT records to subdomains. If that is the case, you can usually add modified records to your root domain to verify your subdomain with your mailer.
Note: For details on whether your hosting provider allows you to add DNS records to subdomains, and what modified records you may be able to add to your root domain instead, please contact your web host’s support team.
Some providers (such as GoDaddy) automatically add your root domain to your DNS record’s hostname when you enter it in your DNS settings. In these cases, you should only add your subdomain to the hostname field.
For example, if you’re using mail.example.com as your sending domain, you might need to only enter “mail” in the hostname field when adding your DNS records for domain verification.
Note: If you’re unsure whether your hosting provider adds your root domain to your DNS records’ hostnames automatically, please contact your web host’s support team or check your provider’s documentation to find out how you should enter this information.
Frequently Asked Questions
These are some of the most popular questions we receive about setting up DNS records for WP Mail SMTP mailers.
I don’t know what account I’m supposed to use to find my DNS settings. What should I do?
If you can’t remember where your website is hosted, or if someone else (like a web developer) set up your web hosting for you, you can look it up to figure out which account has the DNS settings you need.
There are many tools you can use to look up your web host. We’ve compiled a list of some of the most popular ones below:
- WordPress Theme Detector by WPBeginner
- IsItWP
- Sitechecker
- HostAdvice
- BuiltWith
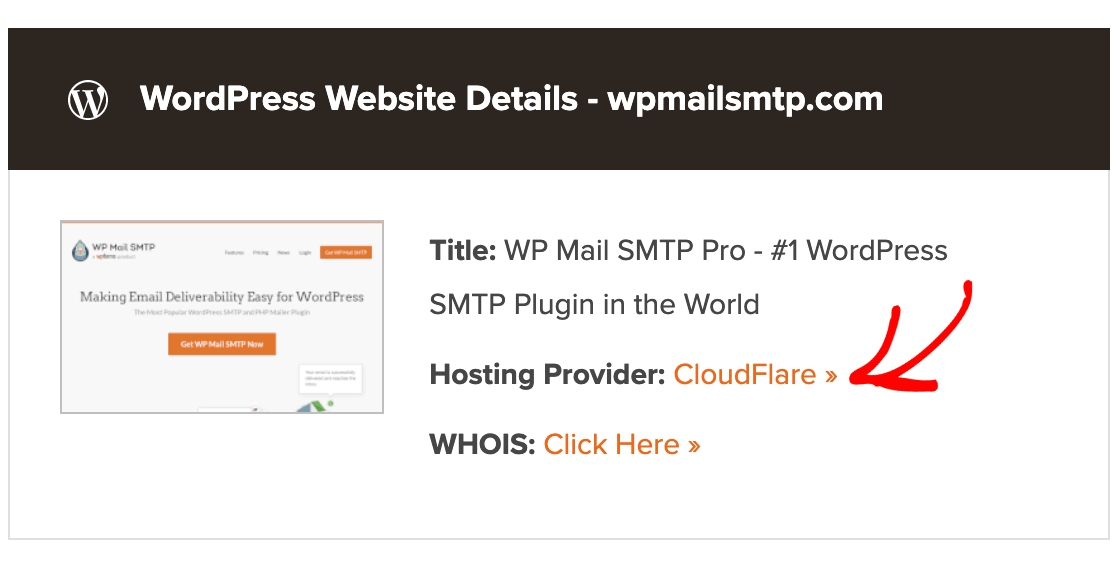
These tools all work the same way. Just type your domain into the search bar and look for your hosting provider on the results page. Here’s an example of some results from WordPress Theme Detector:

Note: Sometimes, the company name a hosting lookup tool shows as your provider differs from the brand name your account is under. For example, New Dream Network, LLC, does business under the name DreamHost.
A quick Google search may help you find the right brand name. If not, try using a different tool from the list above. Each lookup tool often displays results slightly differently, which may help you find the right brand.
Once you find your provider, follow its account recovery process to find your username and password. If your site was set up for you by someone else, you can contact the developer for the necessary information.
That’s it! You can now add the DNS records your mailer requires to authenticate your domain and complete your WP Mail SMTP setup.
If you’re still not sure how to finish configuring your mailer, feel free to contact our support team or request a White Glove Setup.
