Heads up!
Pepipost support has been discontinued.
For new sites, we strongly recommend SMTP.com or one of the other many transactional services we support.
Are you looking for a tool that will not only improve email delivery but also offers a straightforward setup? This guide will show you how to reliably deliver WordPress emails using WP Mail SMTP’s Pepipost mailer.
In This Article
1. Configuring Your Pepipost Account
To get started, you’ll need to set up a Pepipost account. This will provide you with an API key, a unique identifier that lets your website communicate with your Pepipost account.
Creating a Pepipost Account
If you don’t already have an account with Pepipost, go ahead and create one now.
For our example, we’ll be registering for a brand new free trial. However, the setup will be the same no matter what type of account you have.
Note: Pepipost’s free trial allows 30,000 emails to be sent during the first month. After that, their free plan allows up to 100 emails/day (or a higher limit with a paid plan).
Adding a Sending Domain
After you’ve created an account (or logged into an existing account), you’ll need to set up a sending domain. If you aren’t taken directly to the page for this when your account opens, then please click here.
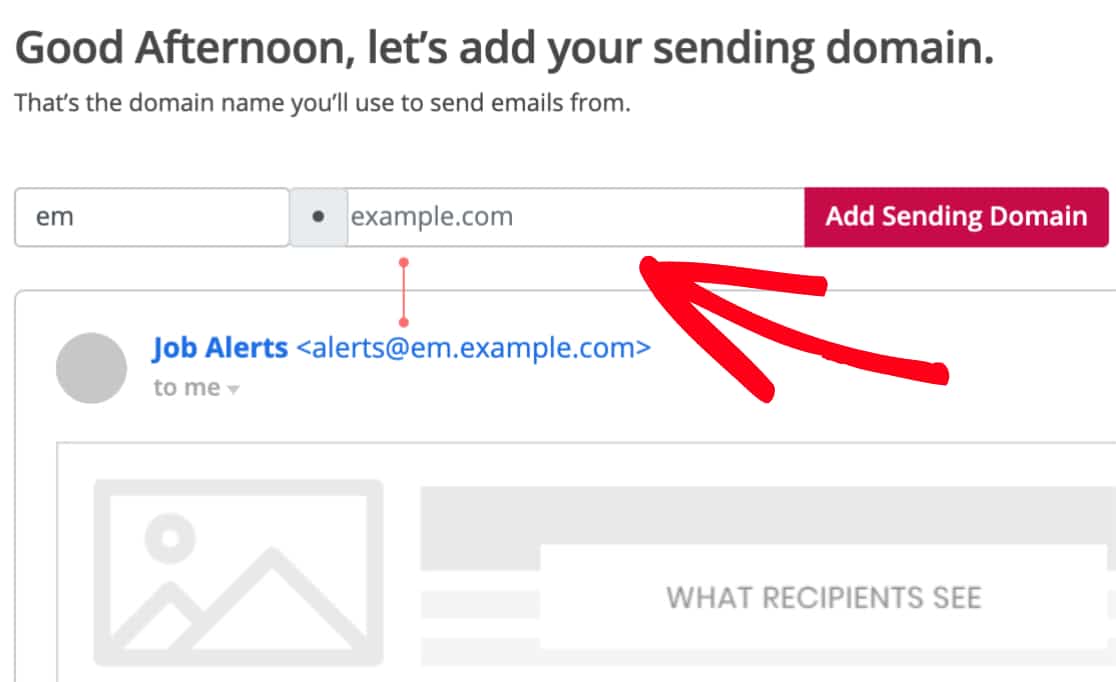
In the first field of this form, you’ll need to enter a subdomain.
What does this mean, exactly? A subdomain replaces the “www” part of your website’s address; for example: “subdomain.yourwebsite.com.” Subdomains can be used to add separate sections or directories to your website (like how some sites have their blogs on a subdomain such as blog.example.com). In the case of emails, a subdomain can help to better ensure reliable email delivery for your site over time.
Note: The subdomain can be anything you’d like, however we recommend:
- Not using “mail” as many hosting companies will already use this and it could cause conflicts.
- Not including any underscores (_), as this may not be compatible with some DNS providers.
For our example, we’ll enter em as our subdomain. In the second field, you’ll need to enter your domain (ie example.com).
Adding DNS Records
After clicking the Add Sending Domain button, the next page will display details about authenticating your domain.
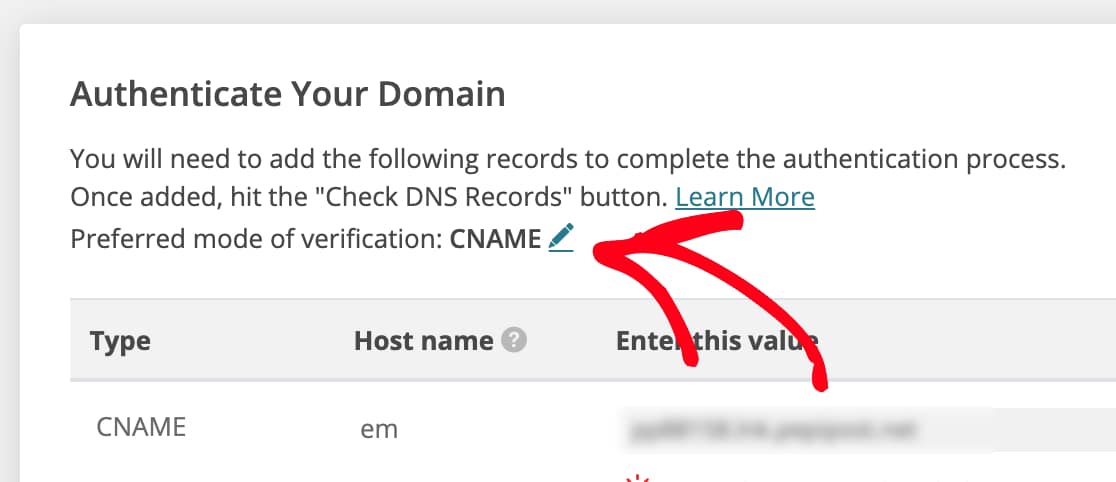
By default, Pepipost will display a CNAME record to use for authentication. However, to better avoid potential conflicts in your site’s existing settings we recommend using their alternative method instead.
To switch authentication methods, click the small pencil icon to the right of CNAME.
After clicking this icon, the CNAME text should turn into a dropdown. Here, switch to the other option named SPF/DKIM.
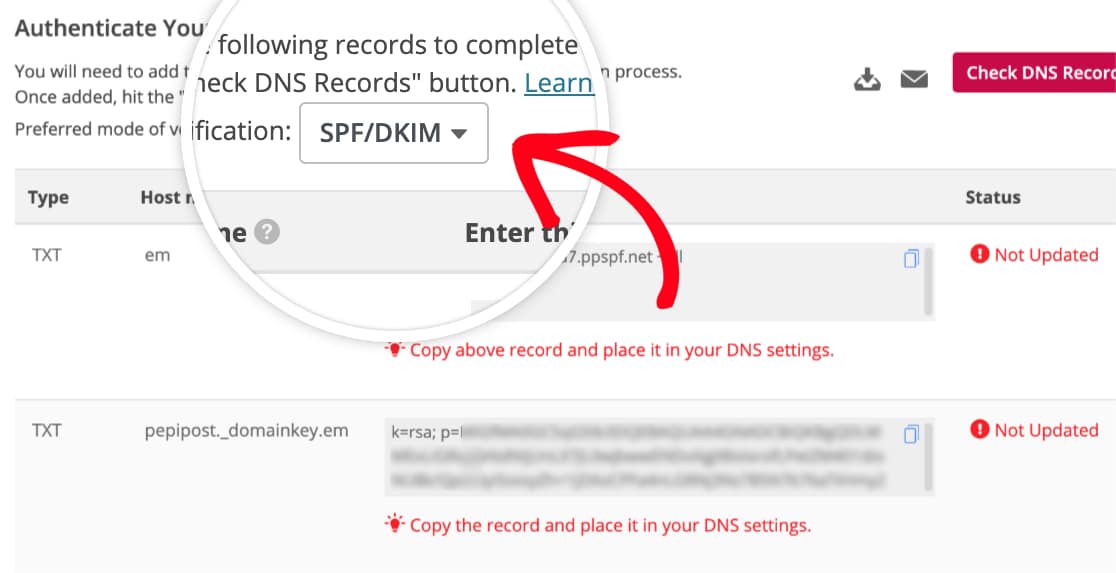
This will show you two TXT records, both of which need to be added to your site’s DNS settings.
Note: For more details on modifying your site’s DNS, we recommend WPBeginner’s tutorial on DNS settings.
If you have additional questions about DNS or feel unsure about making changes, please contact your site’s hosting provider.
In your site’s DNS settings you may also see a TTL (Time To Live) field for the record. If you’re provided with a way to change this, we recommend setting the TTL to 1 day (or 86400 seconds, depending on the units your DNS uses).
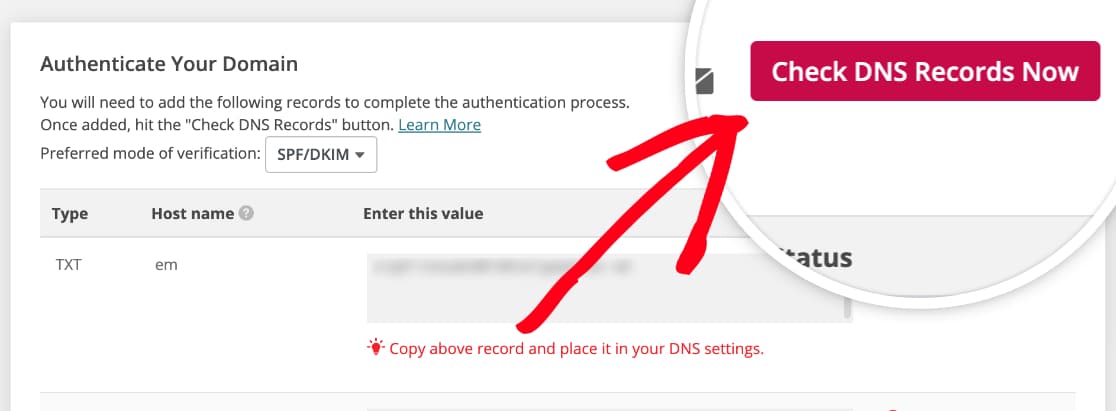
After adding any DNS records listed here, click the Check DNS Records Now button to see if they can be verified. DNS changes can take up to 48 hours to be recognized, so you may need to check back on this later.
When the DNS records are verified successfully, you should see an overlay message stating that your domain is under review with Pepipost’s compliance team.
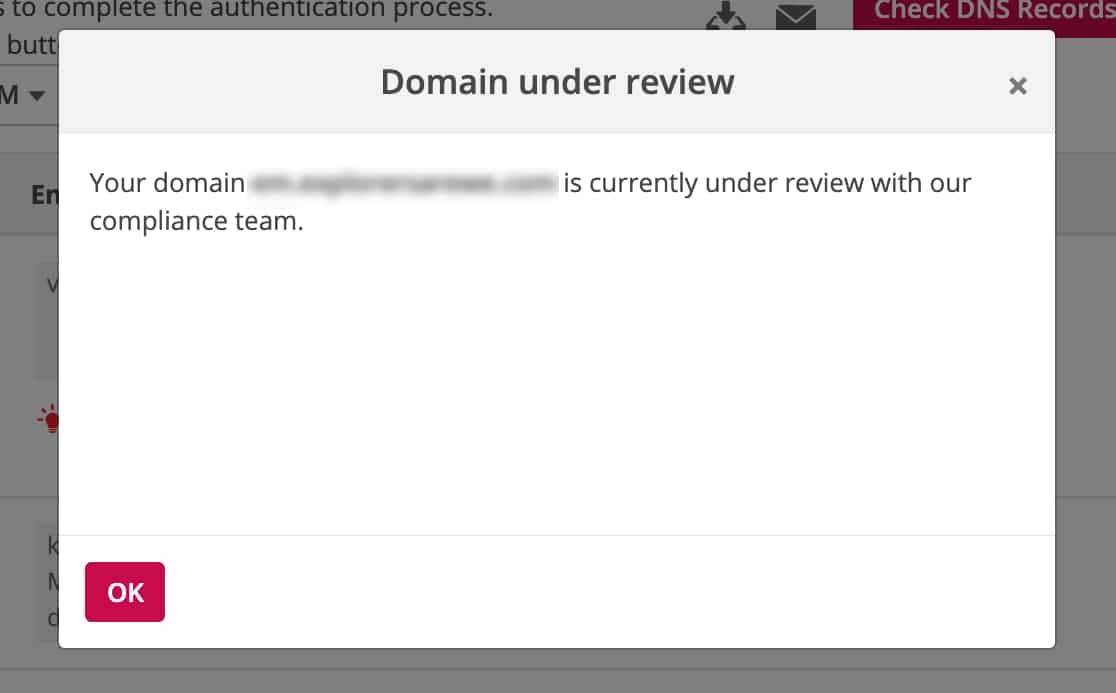
Note: Pepipost’s domain review process typically requires 6-8 hours, depending on the specific situation. For details, including which factors they consider in their review process, please see Pepipost’s guide.
Even if the records aren’t verified yet, and/or you haven’t received confirmation from Pepipost’s compliance team, you can still move ahead to the next step.
2. Setting Up WP Mail SMTP
Now that your Pepipost account is prepped, we can switch over to setting up WP Mail SMTP.
Before we get started on this section, be sure to install and activate the WP Mail SMTP plugin.
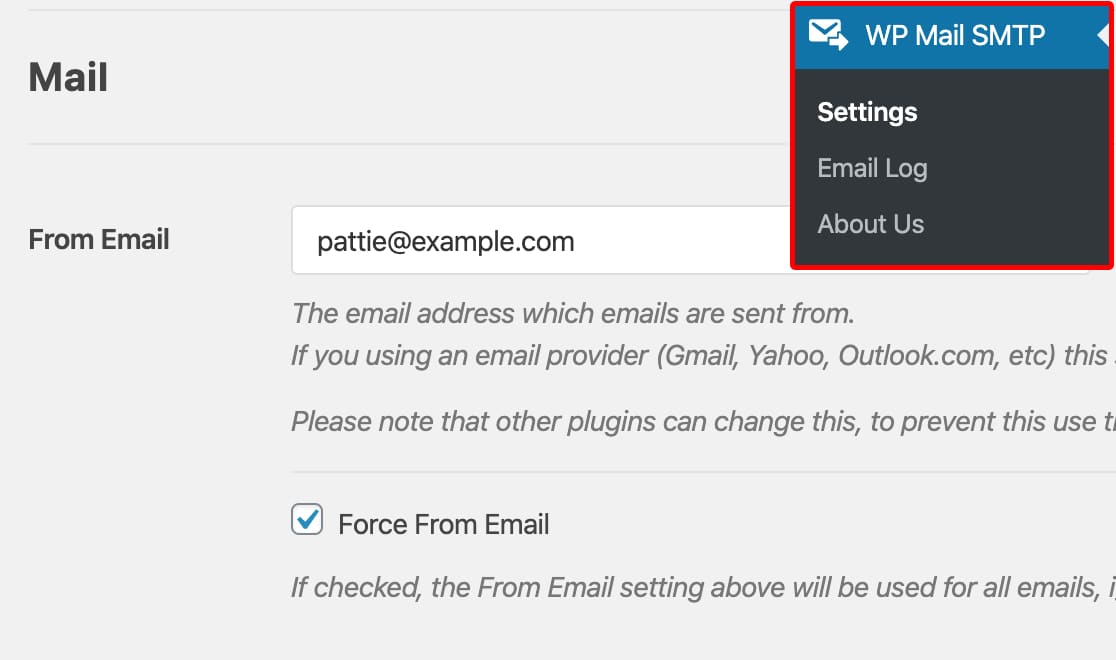
Once WP Mail SMTP is installed, you’ll need to click on WP Mail SMTP in the left WordPress menu to open the plugin settings page. We’ll discuss each of these settings in detail below.
From Email
This is the email address that all of your site’s emails will be sent from.
You can also choose to check the box labeled Force From Email. If you’d like the From Email to be the same site-wide, this option will save you the trouble of editing the email settings throughout your site (in all form emails, etc).
From Name
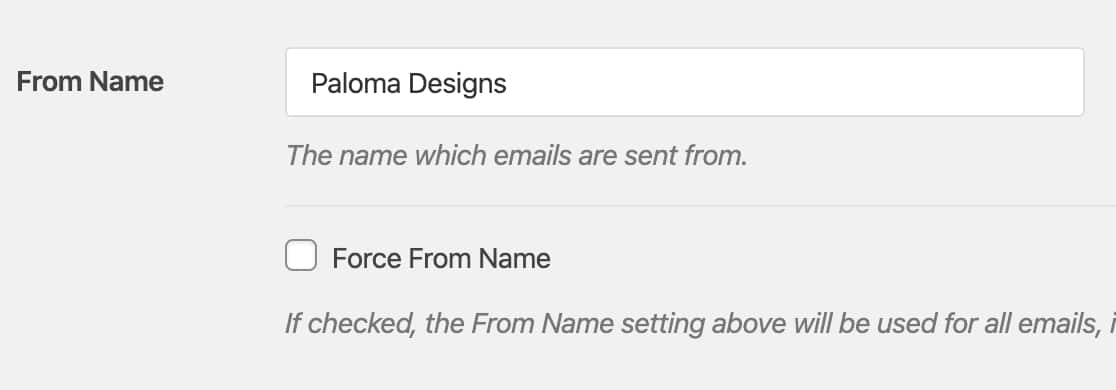
The From Name will, by default, be set to the site name. However, you can change this to any text you’d like.
You can also choose to Force From Name to apply this setting to emails site-wide.
Return Path
It’s recommended to check the optional Return Path checkbox to Set the return-path to match the From Email. With this enabled, you should be emailed if any messages bounce as a result of issues with the recipient’s email.

Mailer
In the Mailer field, you’ll need to select the Pepipost option.

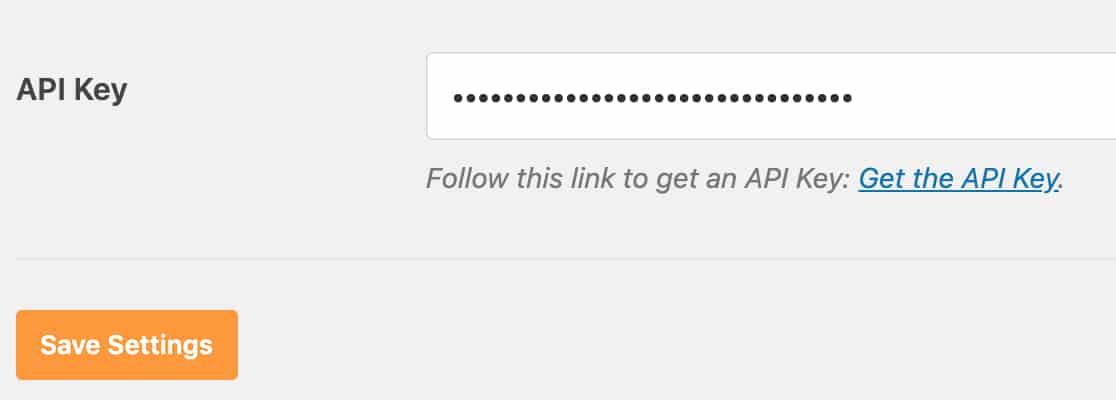
The last step on this page is to scroll to the Pepipost section and enter the API Key.
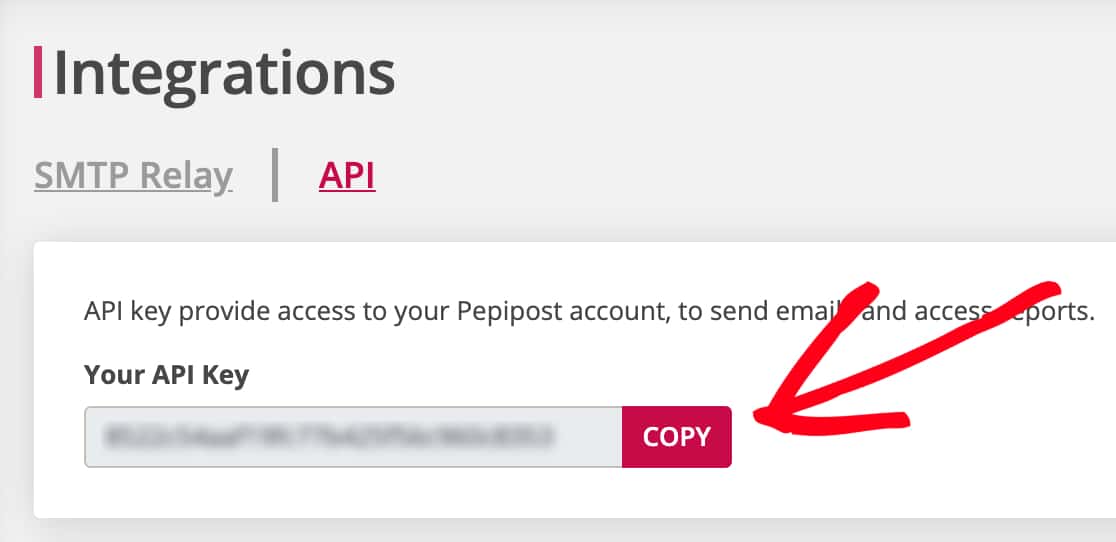
To locate this key, open up the Integrations page of your Pepipost account. Then, just under the page title, click on API.
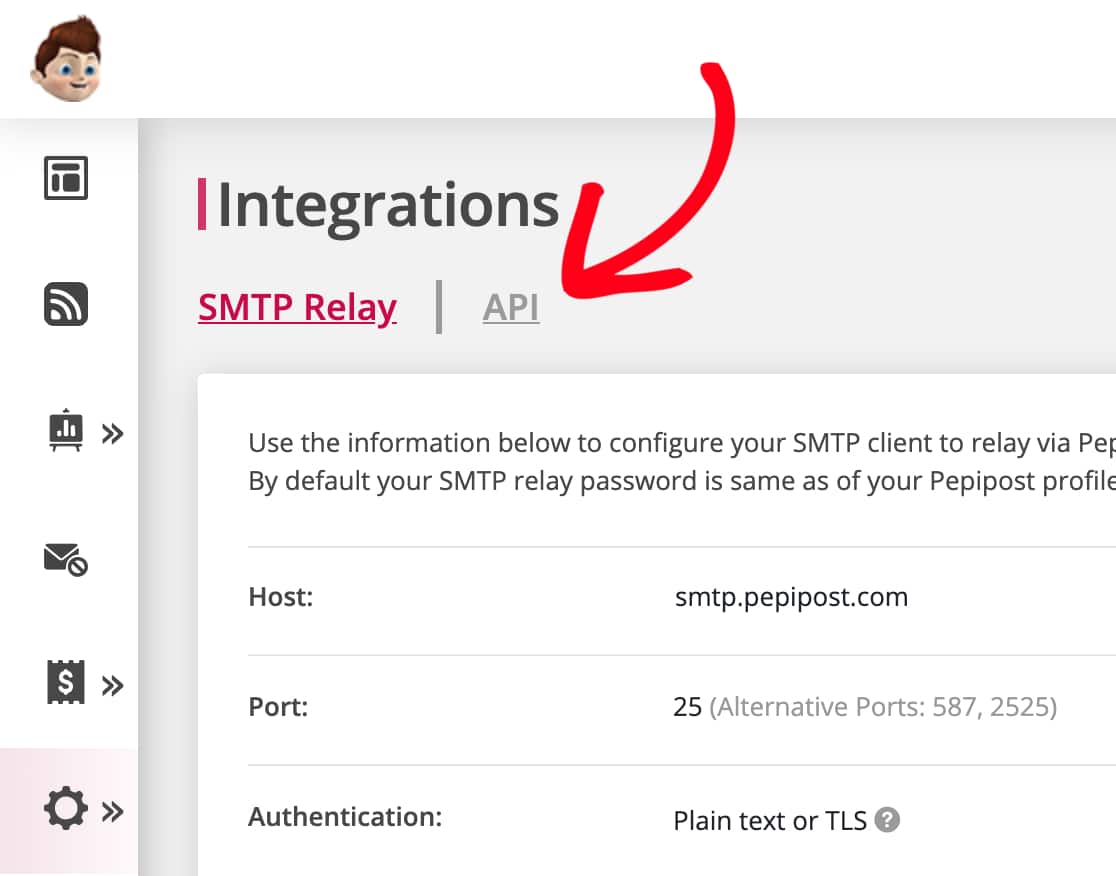
On this page, you should see your account’s API Key. Go ahead and click the Copy button.
Back in your WordPress site’s WP Mail SMTP settings, you can paste this into the API Key field. Then, be sure to click Save Settings.
3. Sending a Test Email
Note: Before proceeding with this step, make sure that the verification process from Step 1 is complete. This may take a while, so it’s possible you’ll need to come back to this later.
Now that your setup is complete, you’re ready to try sending a test email. To do this, click on the Email Test tab.
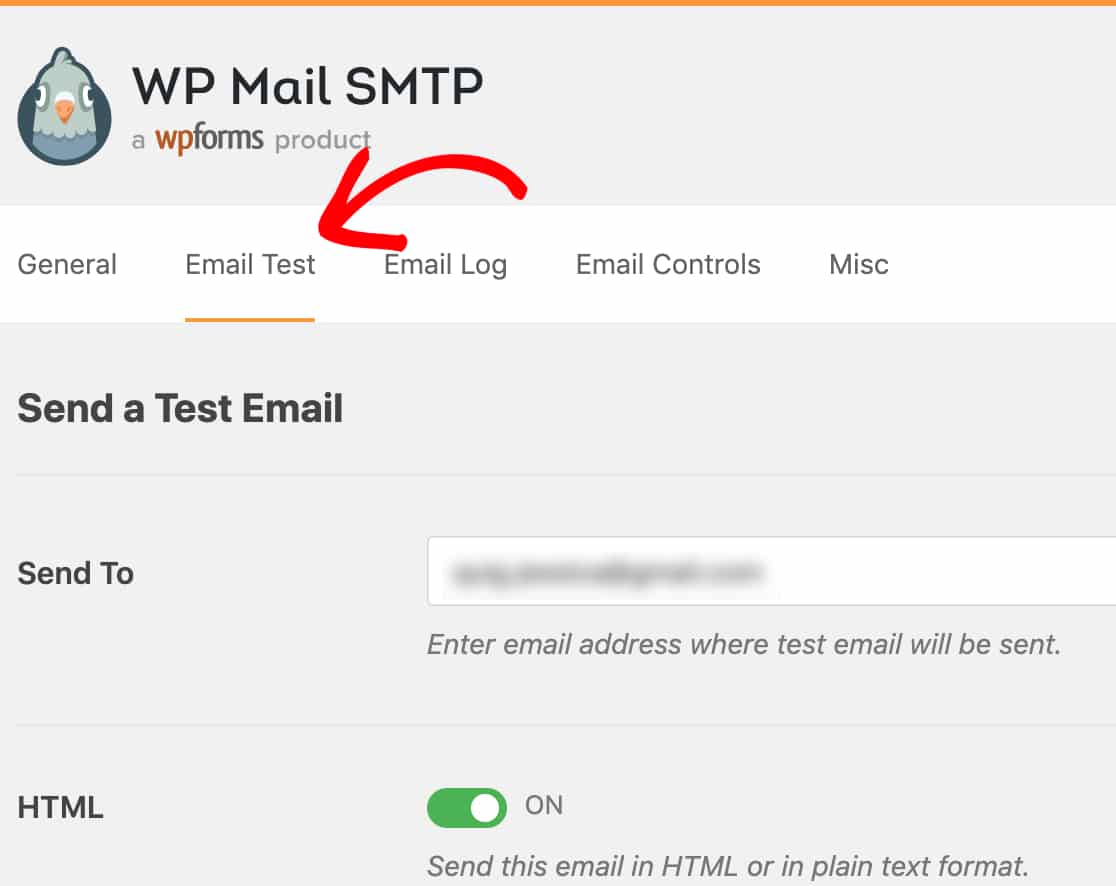
On this tab, you can enter any email address that you have access to and click the Send Email button.
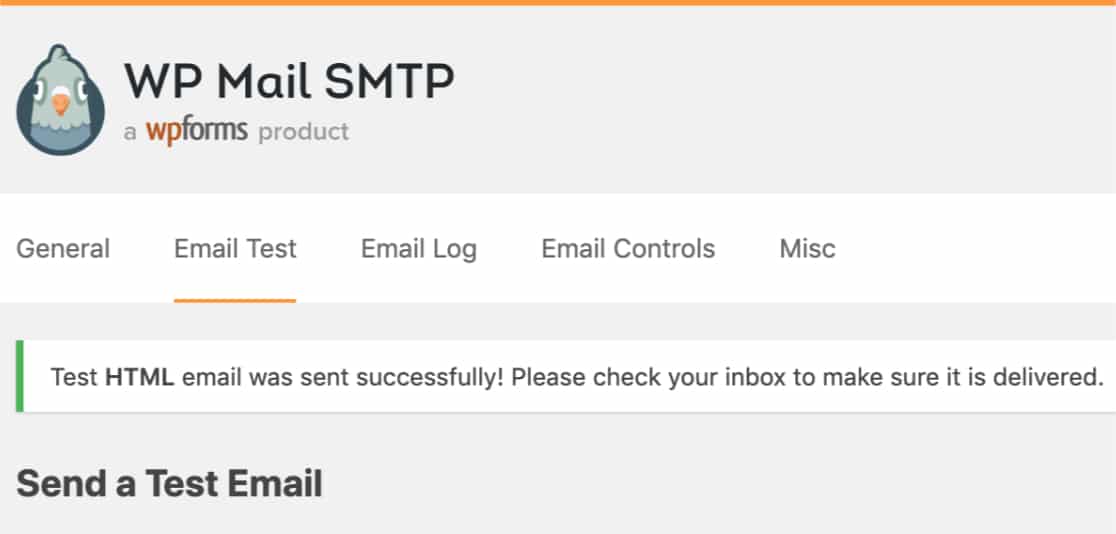
Once the email has processed, you should see a success message.
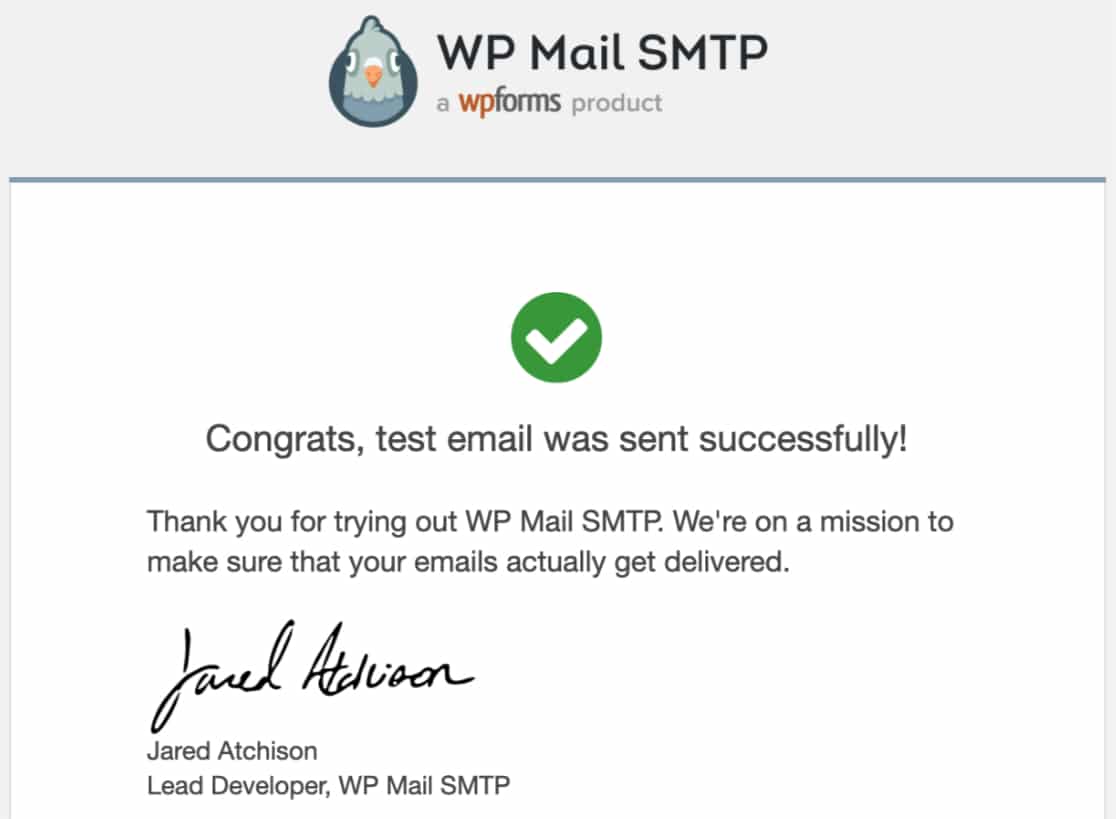
If you check the inbox for that email address, you should also soon receive the email for this test.
Note: In this test email, be sure to check that the From Email matches your setting in WP Mail SMTP. If the From Email addresses don’t match, then please return to Step 1 to check that your domain has both been verified and passed Pepipost’s compliance review.
That’s it! You’ve just fixed your WordPress site’s email delivery issues with Pepipost using WP Mail SMTP.
