AI Summary
Would you like to receive notifications whenever your site fails to send emails? With our Webhook integration, your site can send notifications through any service that supports webhooks.
This tutorial will show you how to set up Webhook alerts in WP Mail SMTP.
Before getting started, you’ll first need to make sure WP Mail SMTP is installed and activated on your WordPress site and that you’ve verified your license.
Accessing the Email Alerts Page
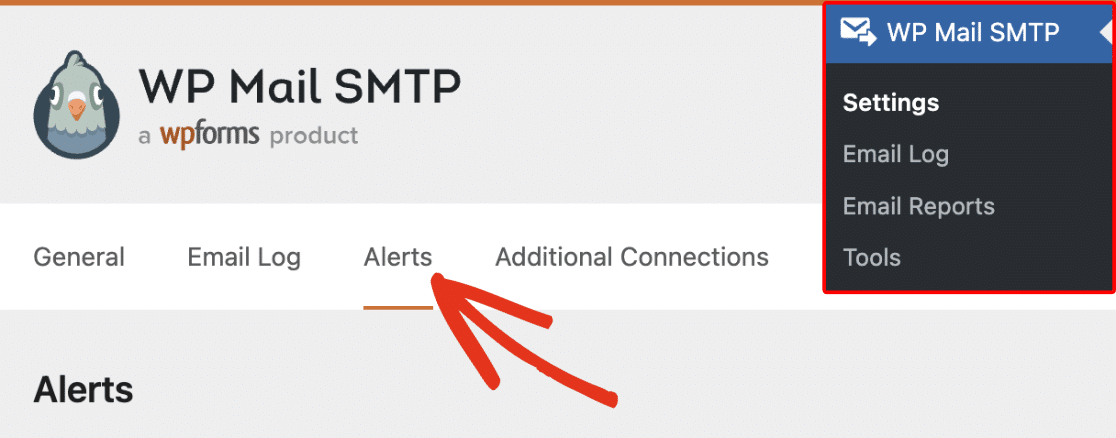
To begin setting up email alerts from the WordPress dashboard, go to WP Mail SMTP » Settings and click on the Alerts tab.
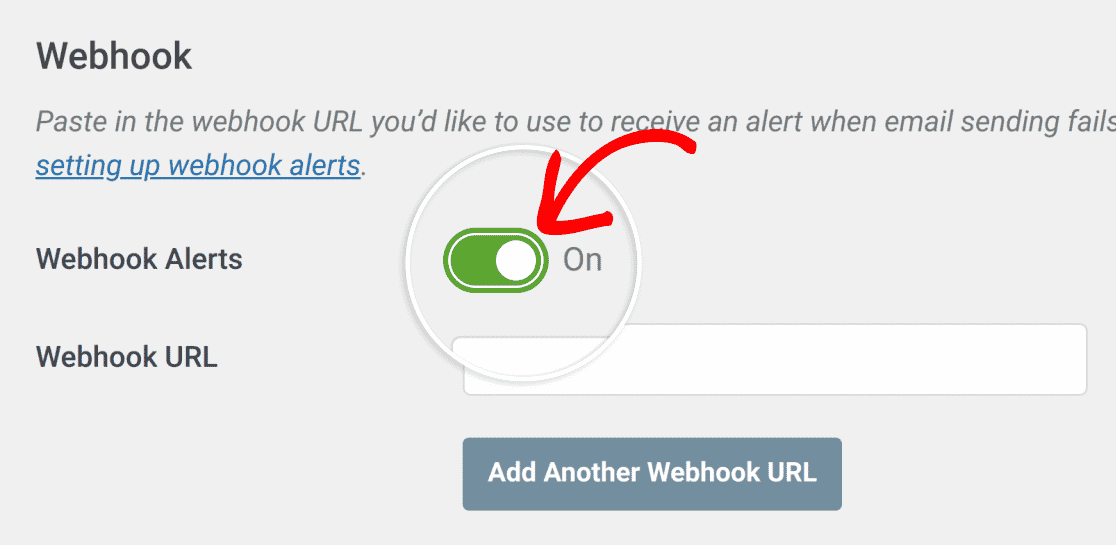
Once here, scroll down to the Webhook section. First, to integrate Webhooks with your site, set the Webhook Alerts toggle to the on position.
Note: Webhooks alerts send POST requests with JSON payloads.
Adding the Webhook URL
After enabling Webhook Alerts, copy the Webhook URL from the service you’d like to utilize and place it in the Webhook URL field.

If you’d like to add another webhook integration, click Add Another Webhook URL.

Another Webhook URL field will become available.
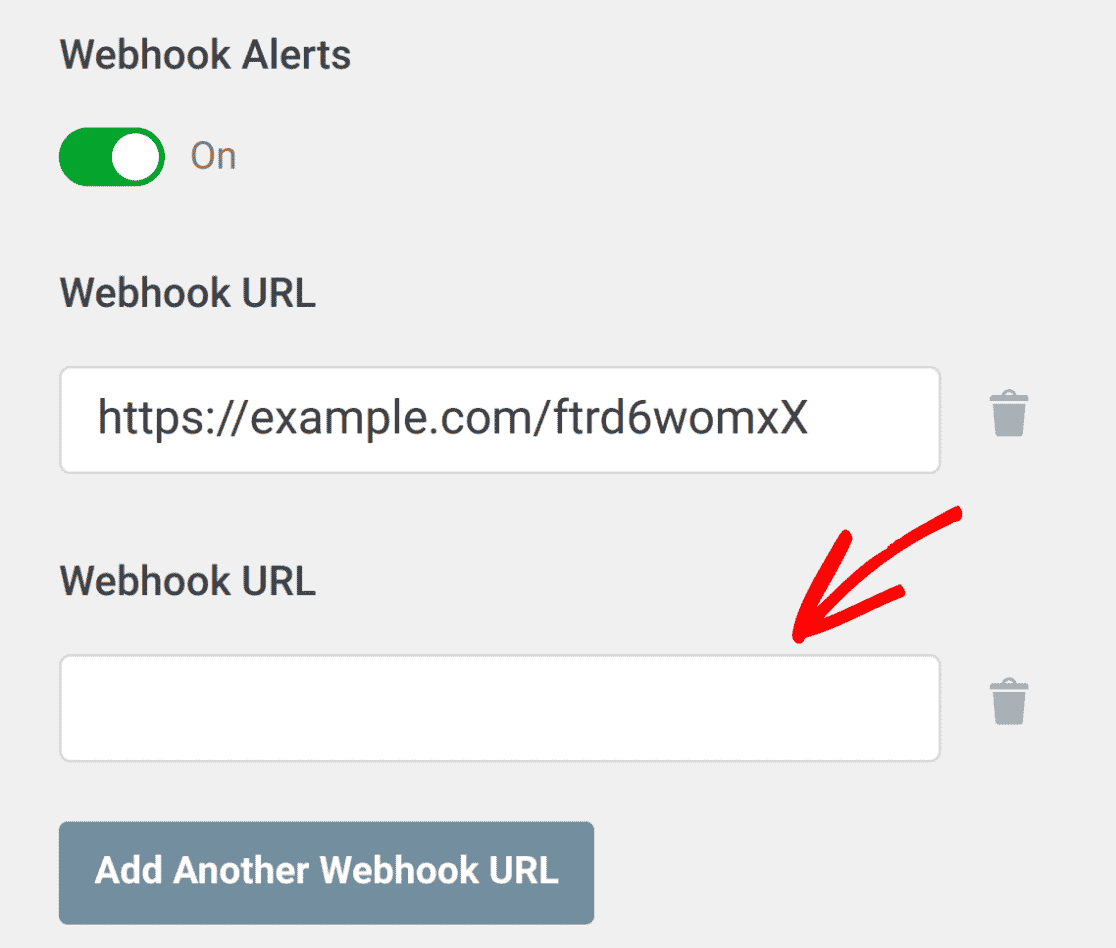
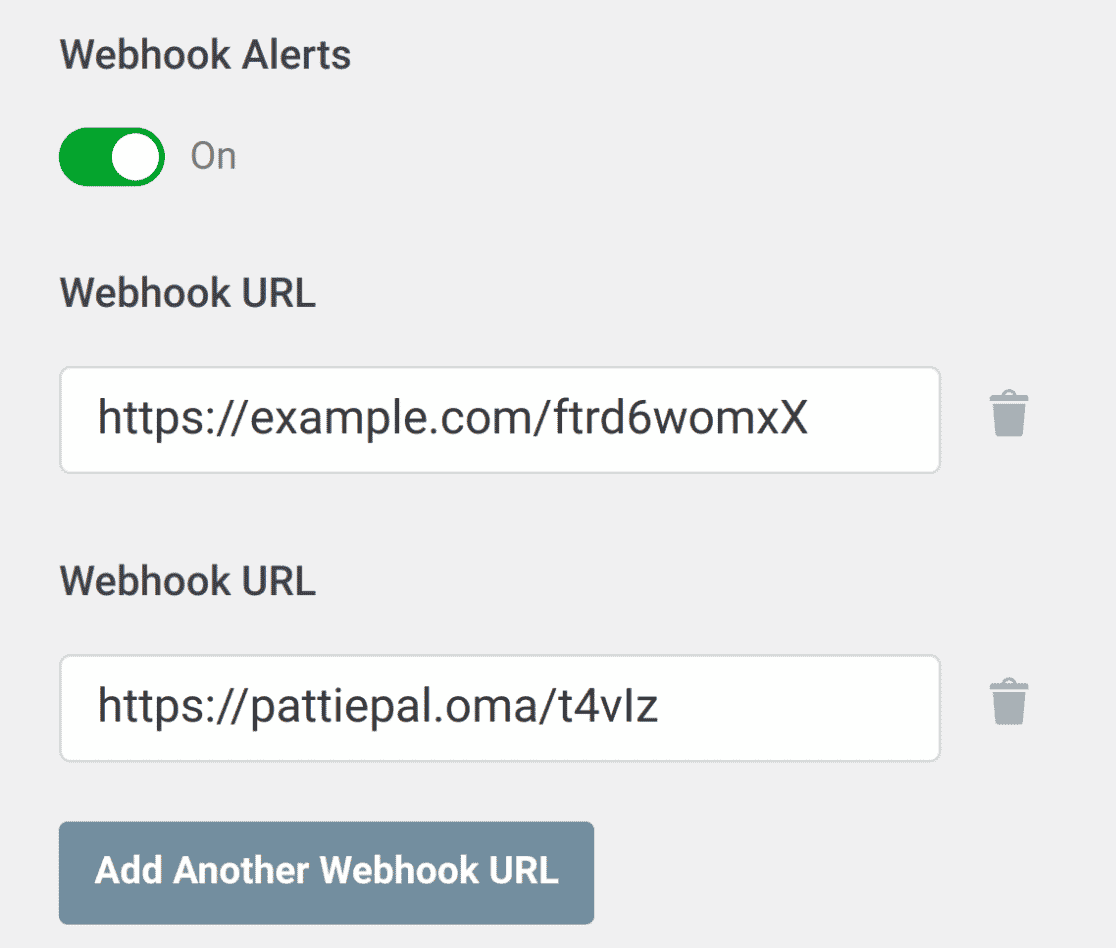
To add an additional webhook integration, paste the new webhook URL in the new Webhook URL field.
We’ve included the output of an example webhook alert below:
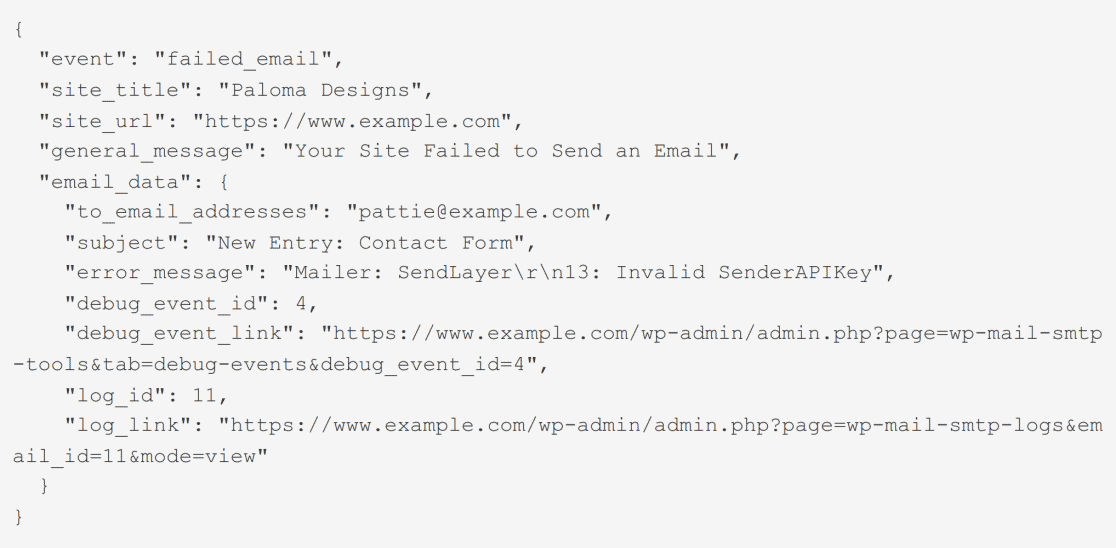
Once you’ve finished setting up your webhooks integrations, either save your settings or continue to add other integrations. To save your settings, scroll down and click the Save Settings button.

That’s it! You’ve now learned how to configure Webhook alerts in WP Mail SMTP.
Next, would you like to conditionally route emails based on certain conditions you specify? See our tutorial on enabling Smart Email Routing to learn how.
