AI Summary
Looking for a quick and simplified way to configure the Google Workspace / Gmail mailer in WP Mail SMTP? Our One-Click Setup feature offers a secure and efficient way to fix your website’s email delivery issues, without any complex setup.
This guide will walk you through the steps to quickly configure the Google Workspace / Gmail mailer in WP Mail SMTP.
Requirements:
- The One-Click Setup feature for this mailer is only available with WP Mail SMTP version 3.11.0 or higher and requires the Pro license or higher.
- This mailer requires your site to have SSL (https) enabled. For setup details, please see WPBeginner’s guide to adding SSL and HTTPS in WordPress.
Installing and Configuring the WP Mail SMTP Plugin
Before getting started, make sure to install and activate WP Mail SMTP on your WordPress site and verify your license.
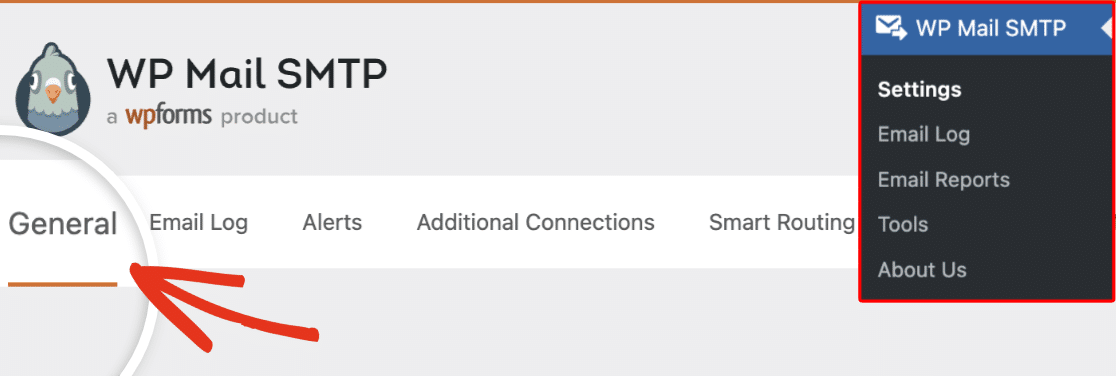
Once you’ve installed and activated the plugin, go to WP Mail SMTP » Settings and select the General tab to access the settings page.
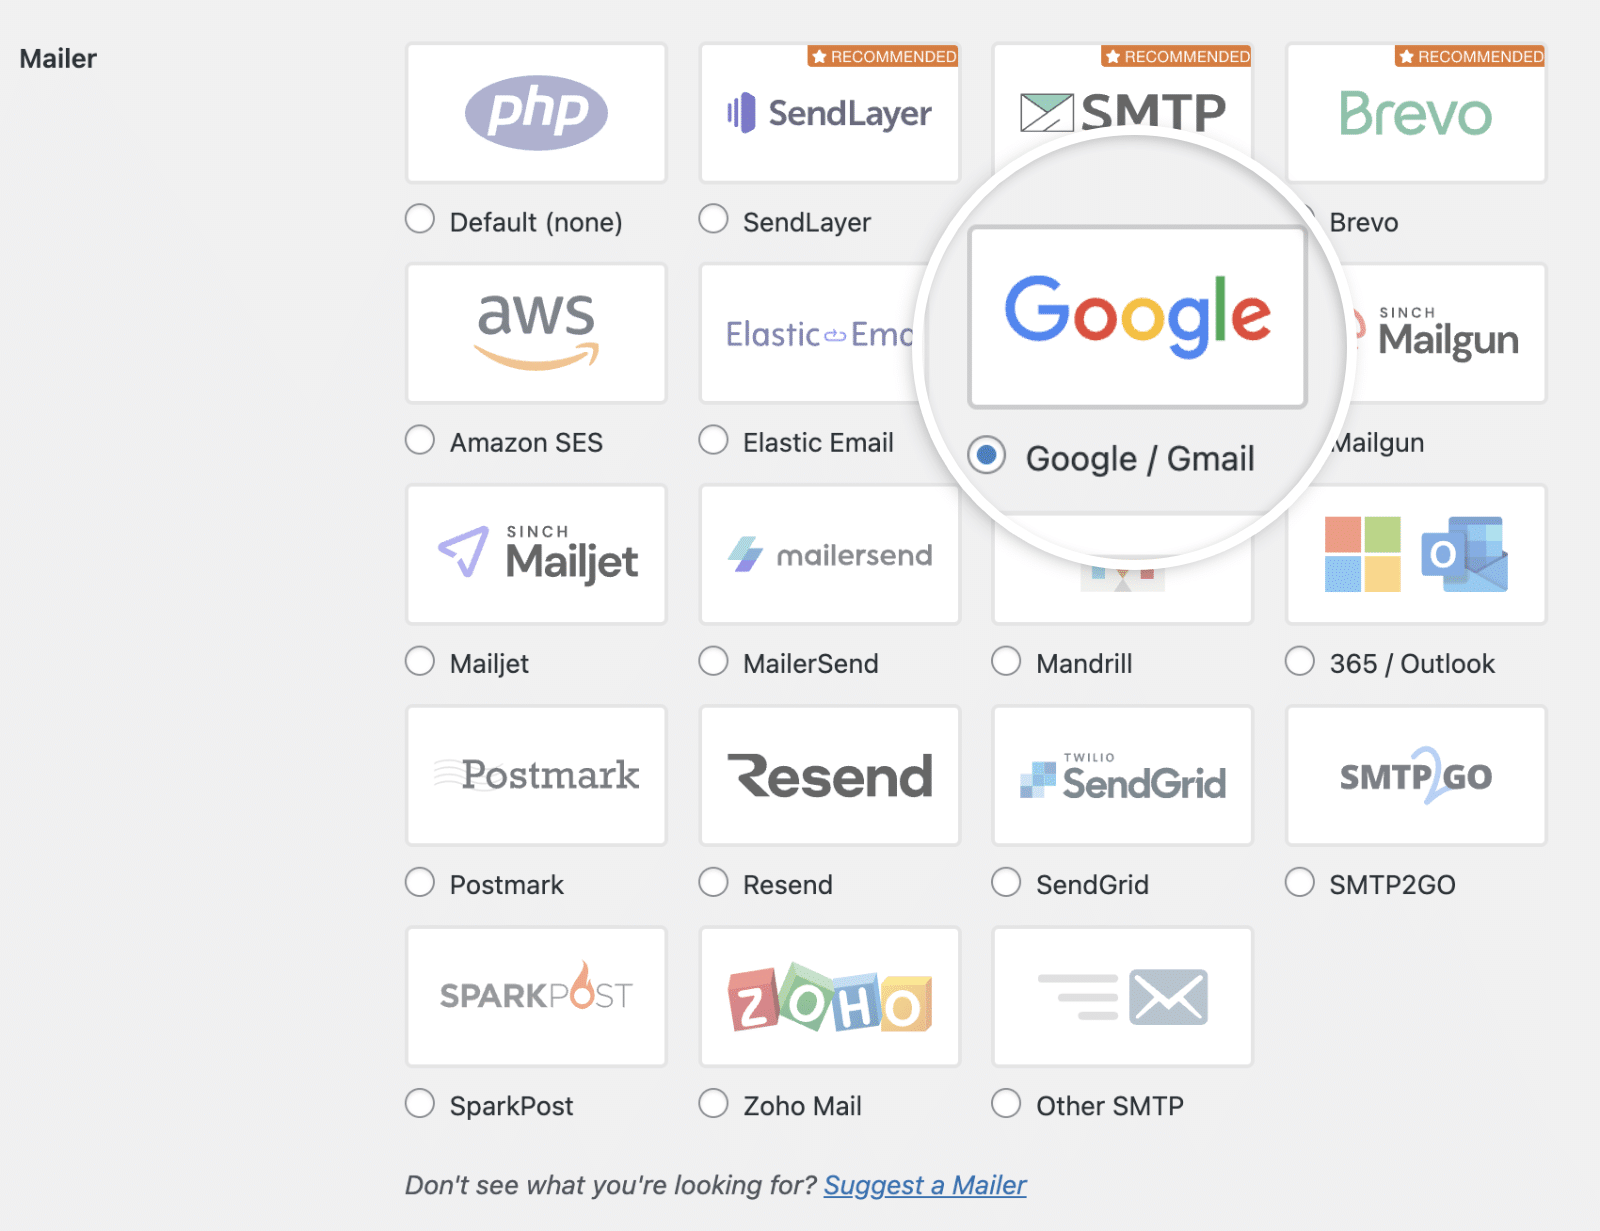
Under the Mailer section, select Google / Gmail as your mailer option,
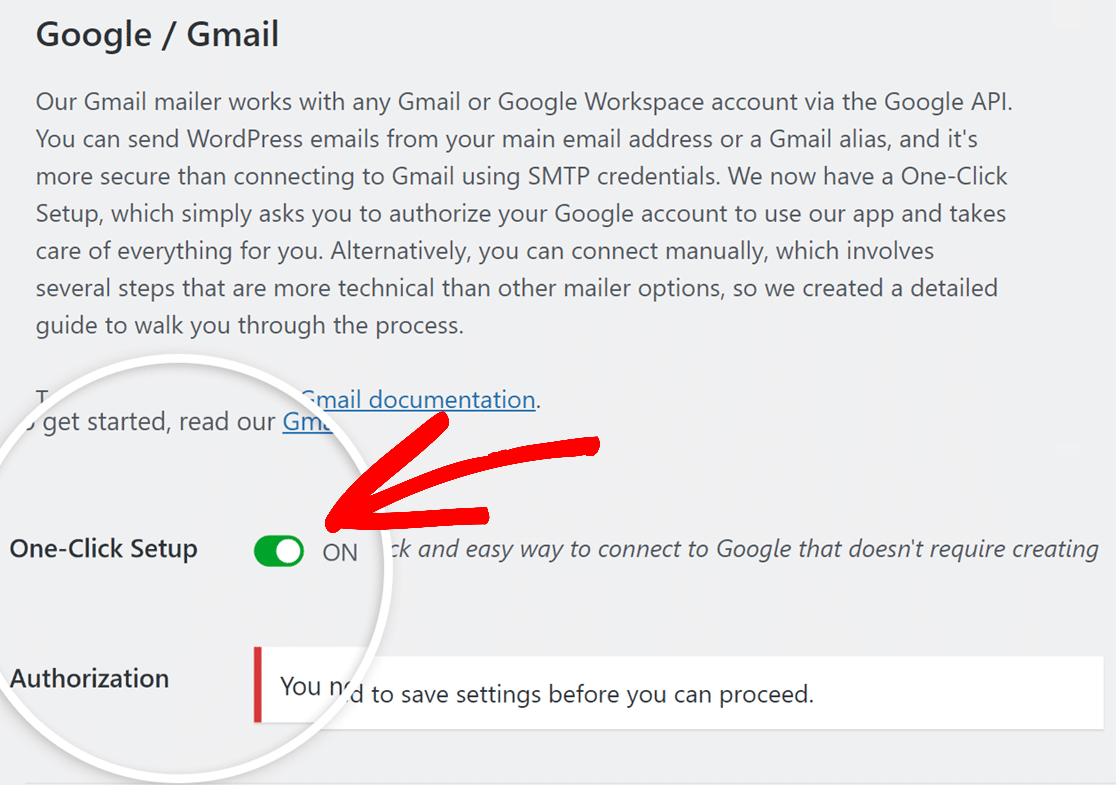
Activating One-Click Setup
Once you’ve selected Google / Gmail as your mailer, you’ll find the One-Click Setup option. Turn this toggle to the ON position to begin the simplified setup process.
After enabling the One-Click Setup option, click the Save Settings button at the bottom of the page.
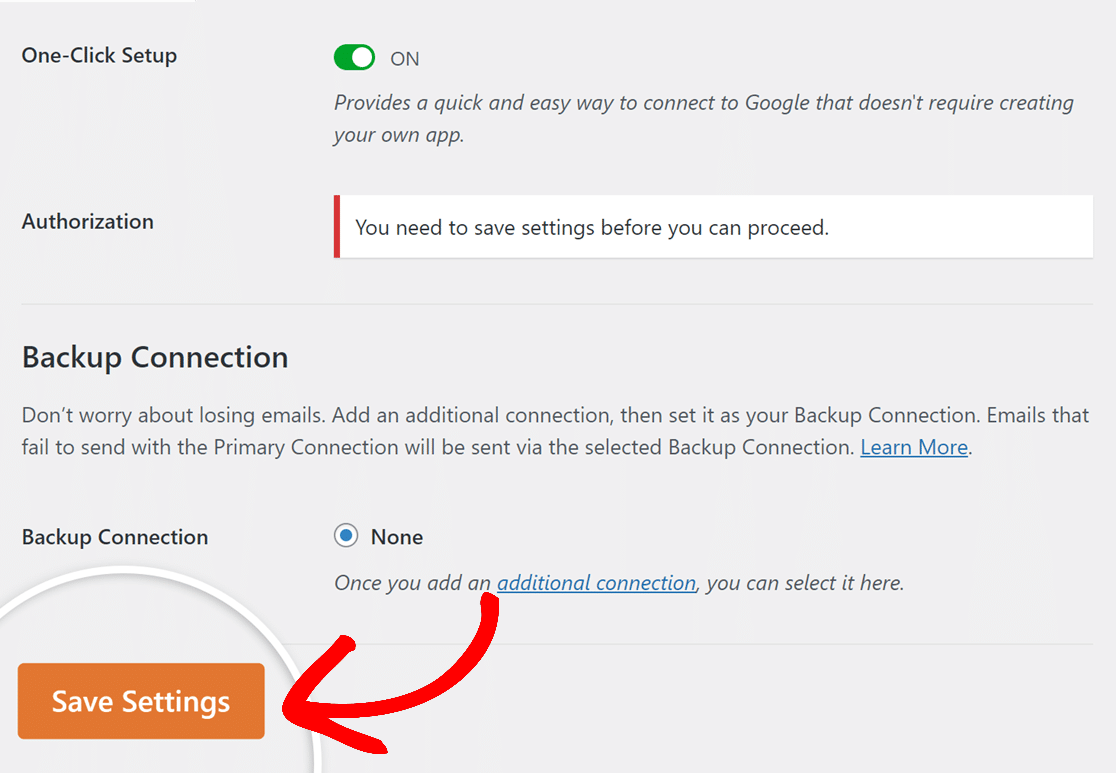
The page will now refresh to show you the new authorization options.
Authorizing WP Mail SMTP With Your Google Account
After the page has been refreshed, scroll down to the Authorization section, and you’ll see the Sign in with Google button. Click on this button to authorize your site to send emails through your Google account.

This will open a login screen for Google. Go ahead and log in to the account you’re setting up this mailer with.
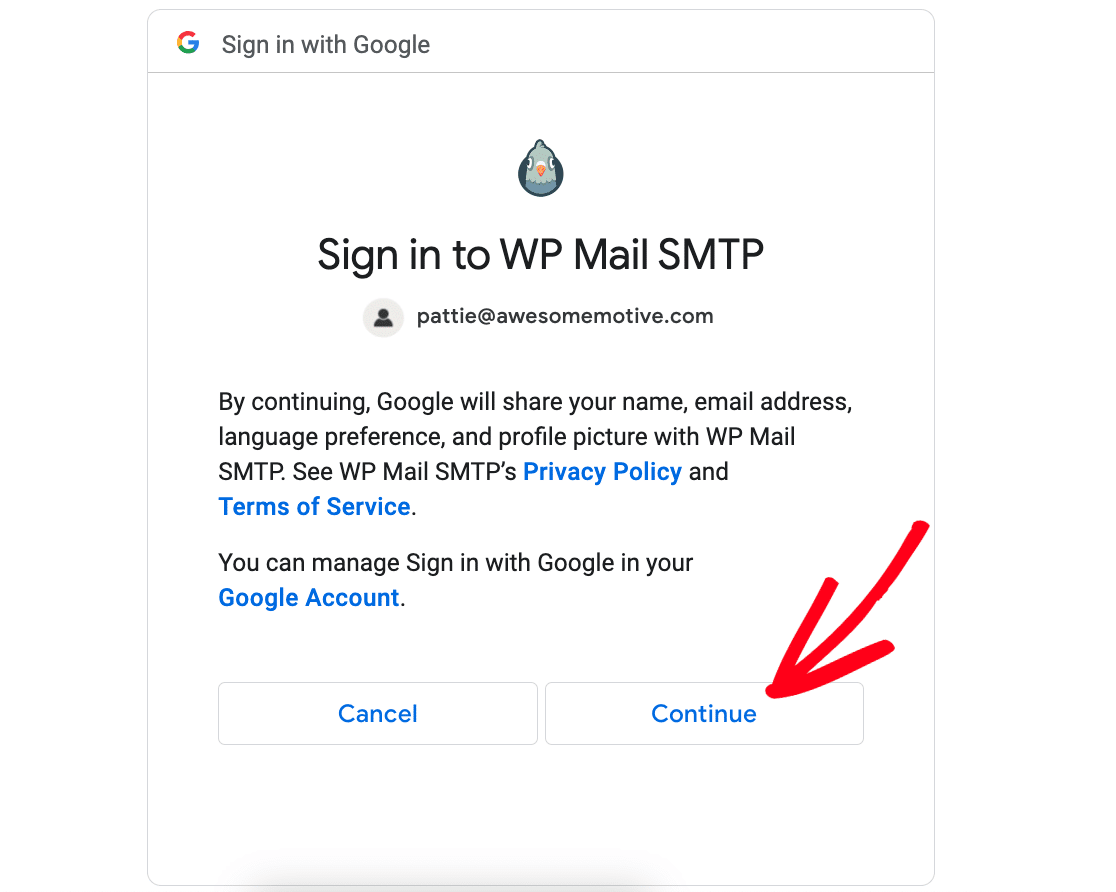
Then, when prompted by Google, go ahead and click the Continue button to allow Google to share your name, email address, language preference, and profile picture with WP Mail SMTP.
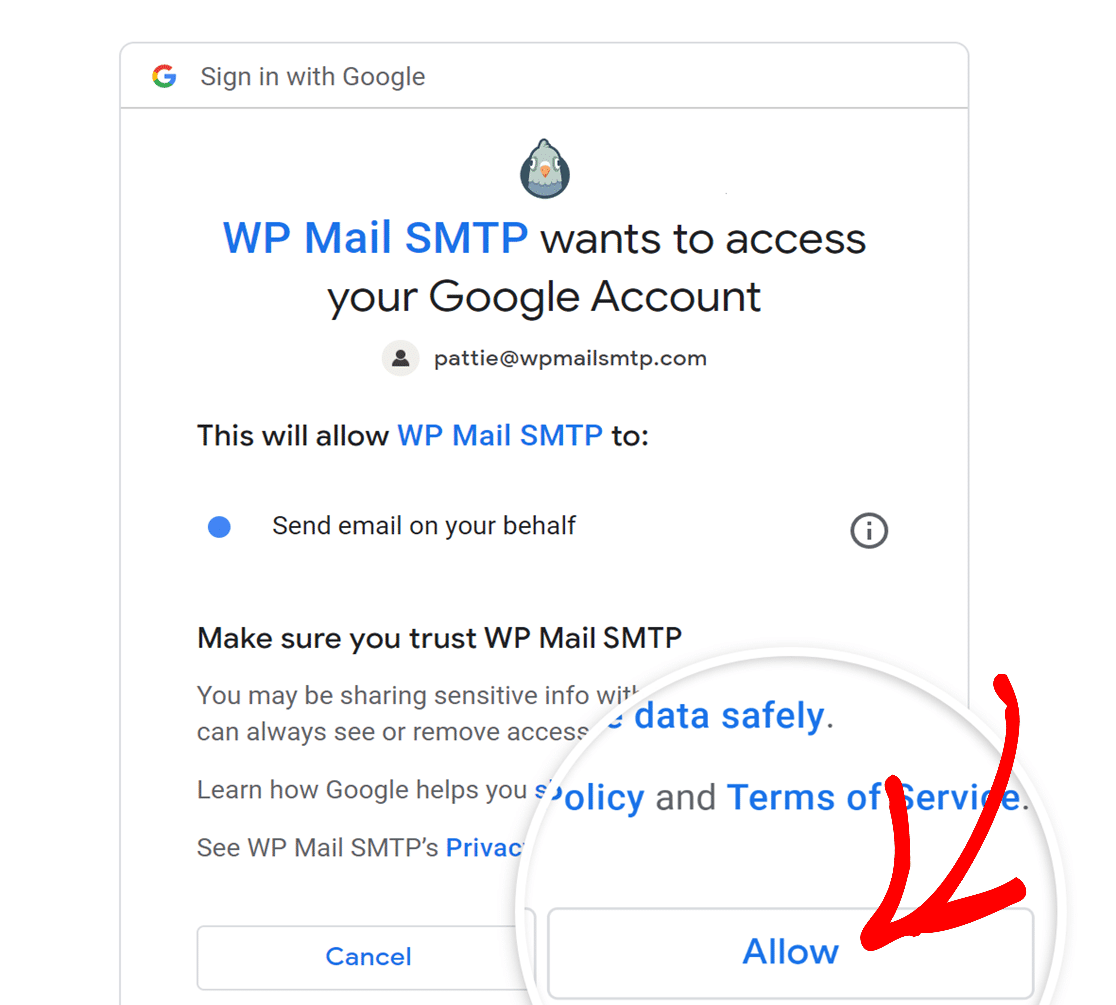
Next, you’ll see a screen requesting permission for WP Mail SMTP to access your Google account. Click on the Allow button to proceed.
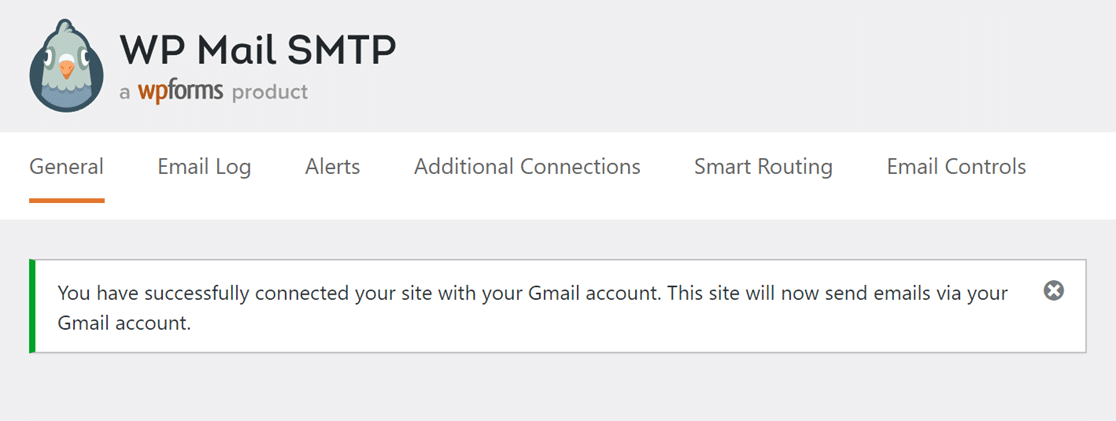
You’ll then be redirected back to the WP Mail SMTP settings page, where a confirmation message will appear, indicating that you’ve successfully connected your Google account.
You’ll also notice the email you’ve set up with is now listed within the Authorization section.

Frequently Asked Questions
These are some of the top questions we receive about setting up the Google Workspace / Gmail mailer.
Why has my site stopped sending emails?
This issue usually arises due to an expired Google/Gmail connection or an expired WP Mail SMTP license.
To address this, first, ensure you have an active subscription plan with WP Mail SMTP. If your license has expired, you’ll need to renew it.
Then, navigate to WP Mail SMTP » Settings and click on the Reconnect button. This action will renew your connection with Google, ensuring uninterrupted email delivery.
Will I need to reconnect if I change my credentials?
Yes. Your account will be invalidated if you change your password. To fix this issue, you’ll need to re-authorize your WP Mail SMTP connection.
For this, go to your WP Mail SMTP settings page and scroll down to the Google / Gmail mailer section. Next, disconnect your account by clicking the Remove OAuth Connection button in the Authorization section.
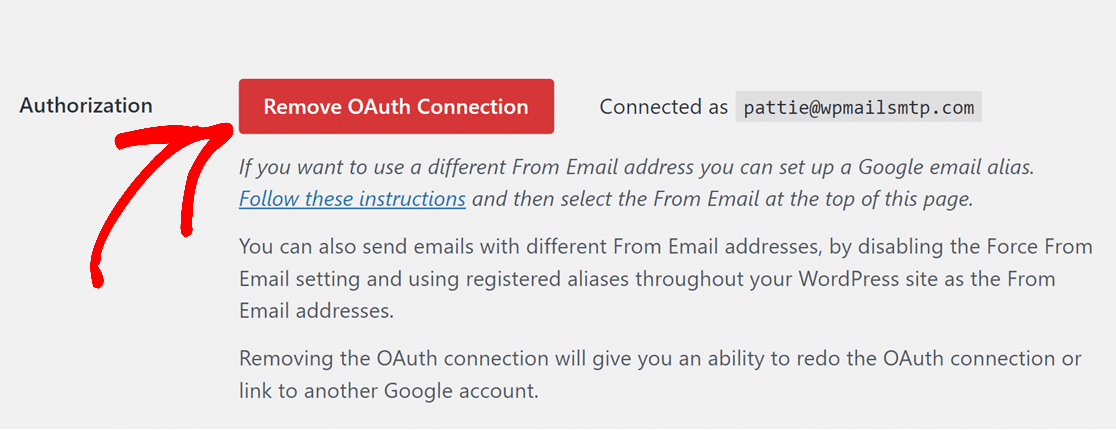
After removing the existing connection, you’ll need to reconnect your account by clicking the Sign in with Google button.

Can I use the Google Workspace / Gmail mailer if I have 2 Factor Authentication (2FA) enabled on my Google account?
It shouldn’t be an issue if you already have 2FA / MFA enabled before completing the steps in this tutorial.
However, if you enabled 2FA / MFA after setting up the Gmail mailer on your website, you’ll need to re-authorize your Google account. Please see the authorization section of this guide to learn how.
Does the Google Workspace / Gmail mailer support aliases?
Yes, WP Mail SMTP supports Gmail aliases. For more details on how to set up an alias in Google, check out our guide on sending emails from a Gmail alias.
That’s it! You’ve now successfully set up the Google Workspace / Gmail mailer with the One-Click Setup feature in WP Mail SMTP.
Next, would you like to test your WP Mail SMTP setup before going live? Our guide on sending test emails will walk you through the process step by step.
