Are you wondering what the best Slack integrations for WordPress websites are?
If your team uses Slack, one way to improve efficiency is by automating certain processes.
For example, want to notify your team when an email is opened by a user? Instead of checking each time manually, you can automate this task and other frequent workflows using a few helpful WordPress plugins.
We’ve tested dozens of WordPress plugins that work with Slack, but only a few of these were good enough for our list of the top Slack integrations for WordPress.
Can I Integrate Slack With My Website?
Yes, you can integrate Slack with your website, but not directly. If you have a WordPress website, you can easily connect your website with Slack by using WordPress plugins that support it.
Fortunately, quite a few of the best WordPress plugins, like WP Mail SMTP, let you automate processes with Slack. Read on to see our top choices next!
The Top Slack Integrations for WordPress Websites
In This Article
1. WP Mail SMTP

WP Mail SMTP is the leading plugin for implementing Simple Mail Transfer Protocol (SMTP) on a WordPress website. SMTP is the best way to ensure email deliverability for WordPress websites.
With WP Mail SMTP installed, having your emails blocked or sent to spam will be a thing of the past.
We’ve tested the plugin, and it’s exceptionally easy to use. Plus, it comes with a few extra features that give you a high level of control over your WordPress emails, like email logs, email tracking, and notification controls.
WP Mail SMTP integrates with Slack with the help of Uncanny Automator. There are several ways you can utilize automation between Slack and WP Mail SMTP. For instance, you can configure notifications to be sent to Slack each time your emails get opened or if a specific link is clicked by users.
Ready to get started with SMTP on a WordPress site? Our guide to the top SMTP plugins would be an excellent start.
WP Mail SMTP pricing: WP Mail SMTP starts at $39 annually.
2. WPForms
WPForms is the #1 form builder for WordPress websites and is one of the best ways to integrate Slack with WordPress. We have over 5 million active installations and 11k+ 5-star ratings on WordPress.org to prove it!
If you’re looking for a way to send form submission notifications to a Slack channel or team member, WPForms is absolutely the plugin we’d recommend.
Setting up the WPForms Slack integration is quite simple. All you need is the Uncanny Automator plugin which allows you to create an automation recipe between WPForms and Slack.
With your WPForms forms all set up, you and your team can receive notifications in Slack whenever a form is submitted on your website.
You’ll also love being able to use unique WPForms features such as:
- The Save and Resume addon
- User journey mapping
- Form revisions
- Form locations
- The Google Sheets addon
- Advanced payment gateways such as PayPal Commerce and Stripe
WPForms Pricing: WPForms starts at $39.60 for the Basic plan annually.
3. OptinMonster

Optin forms are a great way to capture some leads and build your marketing campaigns. And OptinMonster is the best WordPress plugin for creating high-converting optin forms.
One useful way you can use OptinMonster with Slack is to set up notifications to trigger on Slack every time a new lead is generated through a campaign.
In order to integrate OptinMonster with Slack, you’ll need to use Zapier or some other Zapier alternatives such as Integrately.
In addition to being able to set up a straightforward connection with Slack, you’ll also love how easy it is to get started with OptinMonster. For example, you’ll have access to handy, professionally-designed optin form templates to help you get started.
And when we tried it out, one feature that we loved and would recommend was the cool content lock feature that allows you to supercharge your lead-building efforts by creating content upgrades.
OptinMonster pricing: OptinMonster starts at $9 per month (billed annually) for the Basic plan.
4. Easy Digital Downloads
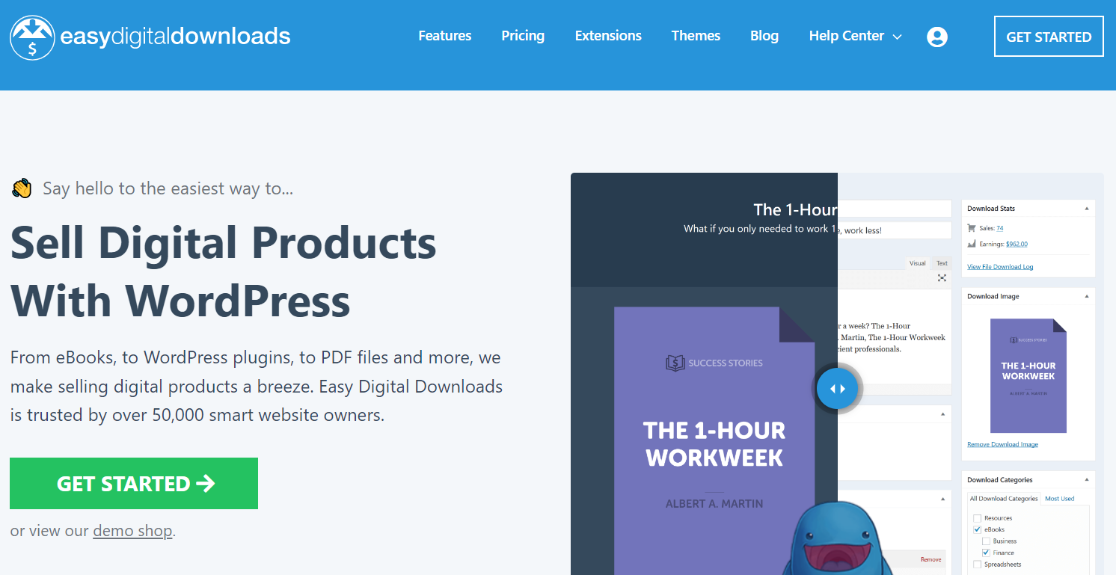
Want to set up an online store for digital products? The easiest way to do this is by using Easy Digital Downloads (EDD). This plugin makes it easy to create a system that allows your users to easily pay for and download digital products.
EDD includes a really powerful native Slack integration on its All Access Pass license. With this integration installed, you’ll be able to send notifications to Slack channels based on a number of triggers. Potential triggers include new user registrations, purchase completion or failure, and so on.
And that’s not all. The EDD Slack integration also allows for additional triggers when you activate some EDD extensions, such as Frontend Submissions, Commissions, Purchase Limit, and so on.
Easy Digital Downloads pricing: To use EDD’s native Slack integration, you’ll need the All Access Pass, which costs $499.50 annually.
5. MemberPress

If you’re planning on creating a membership website in WordPress, you’ll need to look no further than MemberPress. MemberPress is the leading WordPress plugin for creating online communities with gated content, like online course websites.
And when it comes to integrating MemberPress with Slack, we’ve tried it out and found that it’s really easy to set this up using Uncanny Automator.
Want to get a Slack notification when users make a subscription or take some other action? Just create an automation, and you’ll always be in the know as soon as a new member subscribes to your site.
MemberPress pricing: MemberPress starts at $179.50 for the Basic plan.
6. AffiliateWP
Looking to build an Affiliate program in WordPress? Try AffiliateWP, the top affiliate management WordPress plugin.
One of the things we really love about AffiliateWP is how easy it is to manage affiliates on the backend. And you’ll have even more convenience when you connect AffiliateWP with Slack using Uncanny Automator.
This connection allows you to send messages to specific users or channels or create a new Slack channel in response to up to 9 triggers. These include triggers like a new affiliate registration or when a referral makes a purchase.
You’ll also find it really easy to get started with AffiliateWP, as you can go from zero to fully set up in just a matter of minutes.
Despite its simplicity, AffiliateWP is capable of setting up complex affiliate structures, including things like tiered affiliate rates, per affiliate rates, lifetime affiliate rates, pay-per-lead affiliate rates, and so on.
We highly recommend AffiliateWP as a powerful affiliate plugin for WordPress sites.
Check out this AffiliateWP review for the full details.
AffiliateWP pricing: AffiliateWP starts at $149.5 annually.
7. Uncanny Automator
Uncanny Automator is the best WordPress automation plugin and is a must-have for people looking to integrate WordPress with Slack.
Uncanny Automator provides a simple, seamless way of connecting WordPress plugins, websites, and external apps to create powerful, automated workflows.
It does this by using recipes that create rules to trigger certain actions once certain events occur. Connecting WPForms to Slack, for instance, can be done in just 10 minutes or less.
Other than Slack, Uncanny Automator integrates with various other WordPress plugins and external apps. You can greatly simplify your WordPress workflows by automating redundant tasks using Uncanny Automator.
Uncanny Automator pricing: Uncanny Automator is free to use for the first 1,000 connections.
And that’s it for our list of the best WordPress plugins for Slack. These 7 plugins cover different needs, so you’re sure to have found something that works for you!
Next, Send Emails From LocalHost Site
Did you know that you can send emails from a localhost WordPress site using WP Mail SMTP? For tips on how to do that, see our guide on sending WordPress emails on LocalHost.
Ready to fix your emails? Get started today with the best WordPress SMTP plugin. WP Mail SMTP Elite includes full White Glove Setup and offers a 14-day money-back guarantee.
If this article helped you out, please follow us on Facebook and Twitter for more WordPress tips and tutorials.

