AI Summary
Are you unable to add DKIM (DomainKeys Identified Mail) to your DNS records due to a character limit?
Sometimes, the DKIM key given by your email service provider can be too long. When that happens, you won’t be able to copy-paste your DKIM record without exceeding the character limit.
Fortunately, there’s an easy fix to this problem.
In this post, we’ll show you how to split a DKIM record so you add it to your DNS irrespective of the DKIM key length.
In This Article
How to Split a DKIM Record
Most DNS providers set a maximum limit of 255 characters for their TXT record field. This isn’t a problem when you have a 1024-bit DKIM key since it can fit within the allowed character limit easily.
However, entering a DKIM value with a 2048-bit key can be a problem. That’s because a 2048-bit key contains more than 255 characters.
The easy workaround to this problem is to split your DKIM value into multiple chunks of 255 characters.
To make this easy, you can use this DNS record splitter tool. Open the tool and simply insert your DKIM value into the textbox. It will then split your record into two lines.
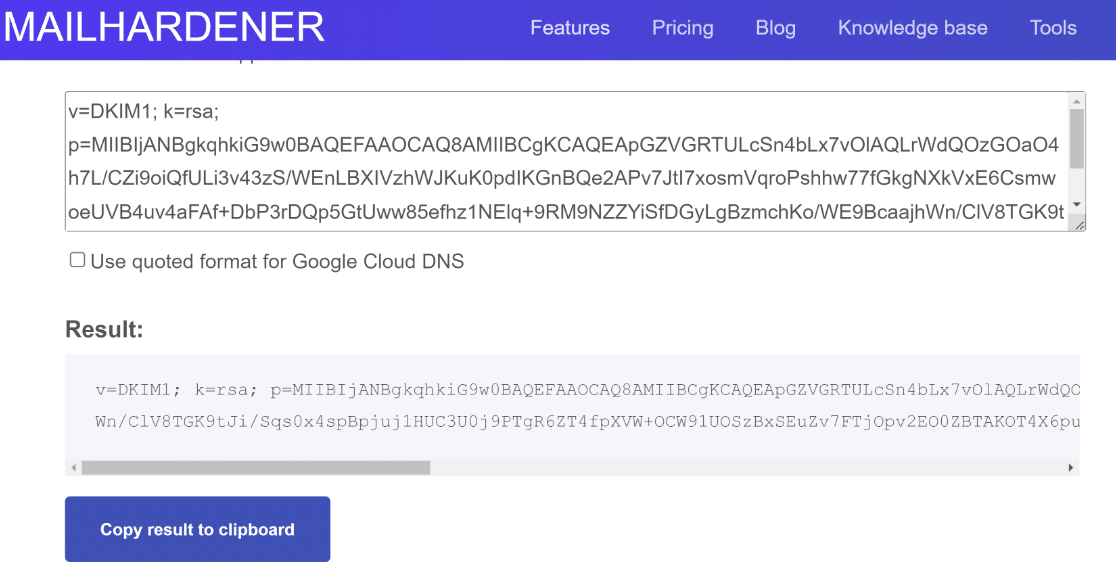
Now, all you have to do is enclose the two text strings in double quotes.
For instance, if your original DKIM record is this:
"v=DKIM1; k=rsa; p=MIIBIjANBgkqhkiG9w0BAQEFAAOCAQ8AMIIBCgKCAQEApGZVGRTULcSn4bLx7vOlAQLrWdQOzGOaO4h7L/CZi9oiQfULi3v43zS/WEnLBXIVzhWJKuK0pdIKGnBQe2APv7JtI7xosmVqroPshhw77fGkgNXkVxE6CsmwoeUVB4uv4aFAf+DbP3rDQp5GtUww85efhz1NElq+9RM9NZZYiSfDGyLgBzmchKo/WE9BcaajhWn/ClV8TGK9tJi/Sqs0x4spBpjuj1HUC3U0j9PTgR6ZT4fpXVW+OCW91UOSzBxSEuZv7FTjOpv2EO0ZBTAKOT4X6pugx8LVmYDbnwsLScUHDNJW3PFiDljfs95MbBIdfuyV5hP5KlmQEdcjicXUSQIDAQAB"
After splitting it into two chunks of less 255 characters, this will become:
"v=DKIM1;k=rsa;p=MIIBIjANBgkqhkiG9w0BAQEFAAOCAQ8AMIIBCgKCAQEApGZVGRTULcSn4bLx7vOlAQLrWdQOzGOaO4h7L/CZi9oiQfULi3v43zS/WEnLBXIVzhWJKuK0pdIKGnBQe2APv7JtI7xosmVqroPshhw77fGkgNXkVxE6CsmwoeUVB4uv4aFAf+DbP3rDQp5GtUww85efhz1NElq+9RM9NZZYiSfDGyLgBzmchKo/WE9BcaajhWn"
         "/ClV8TGK9tJi/Sqs0x4spBpjuj1HUC3U0j9PTgR6ZT4fpXVW+OCW91UOSzBxSEuZv7FTjOpv2EO0ZBTAKOT4X6pugx8LVmYDbnwsLScUHDNJW3PFiDljfs95MbBIdfuyV5hP5KlmQEdcjicXUSQIDAQAB"
Now, you should have no problem adding this TXT record to your DNS, regardless of the 255-character limit.
This method doesn’t apply only to DKIM records. You can also use the splitting technique for SPF records if necessary. But normally, it’s DKIM records that tend to be longer in length.
Why DKIM Is Important for Your Email Domain
DKIM is an important component of email security. Simply put, DKIM allows receiving servers to verify the authenticity of an incoming email. When you have DKIM set up for your email domain, the server can check if your message was tampered with during transit.
This is hugely beneficial for preventing spammers from sending malicious emails by forging your domain. Hackers can easily hijack a domain unprotected by DKIM to launch phishing attacks.
Not only is this dangerous for the company whose email domain is spoofed but also for their customers, who can be deceived by fake emails sent in the company’s name.
By setting up DKIM, you can prevent your email domain from being used for phishing. At the same time, it helps improve your deliverability because an authenticated email is unlikely to be sent to the spam folder.
Where to Find the DKIM Records for Your Domain
DKIM records are unique to every email domain. Your email service provider will provide you with the DKIM record for your domain that you can then add to your DNS host.
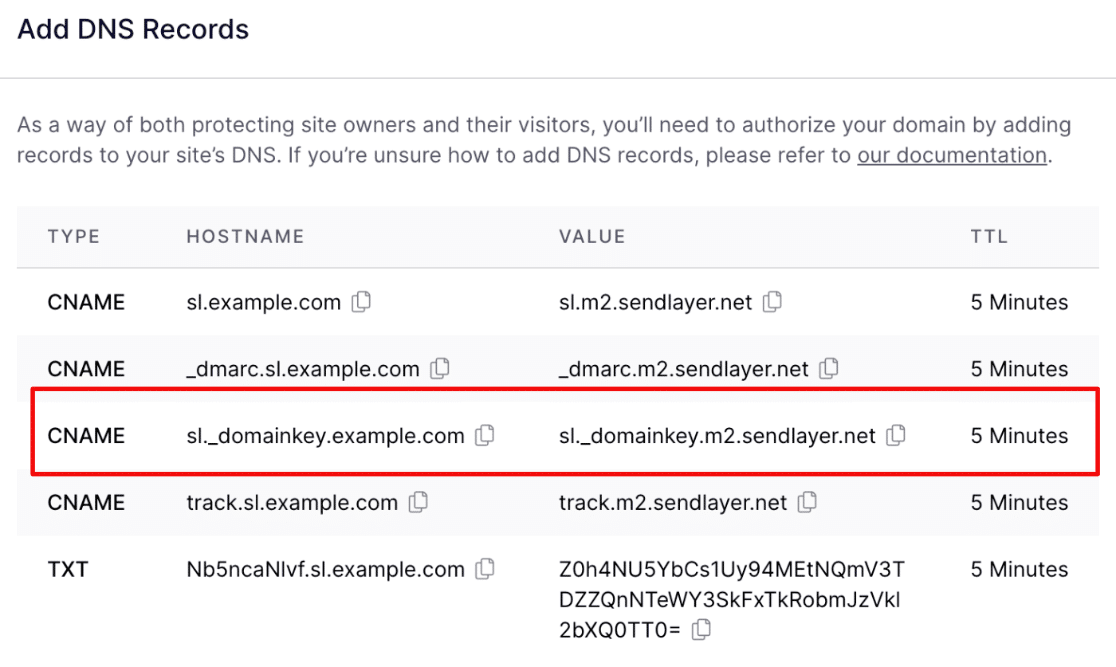
Some email providers don’t require you to set up DKIM. While it’s necessary to have DKIM set up in order to send and receive emails, we strongly recommend implementing this protocol to protect your domain from being forged by hackers and avoid deliverability issues.
Which Mailer Should You Use for DKIM?
It’s important to choose a mailer service that encourages you to use three extremely important DNS records: DKIM, DMARC, and SPF.
These records complement each other and provide the details that mailing servers need to authenticate emails sent by you.
Top-quality mailers email service providers require you to add these 3 DNS records as part of your sign up and domain authorization process.
If you’re looking for an affordable mailer that encourages you to implement DKIM, DMARC, and SPF as part of the domain authorization process, we recommend SendLayer.
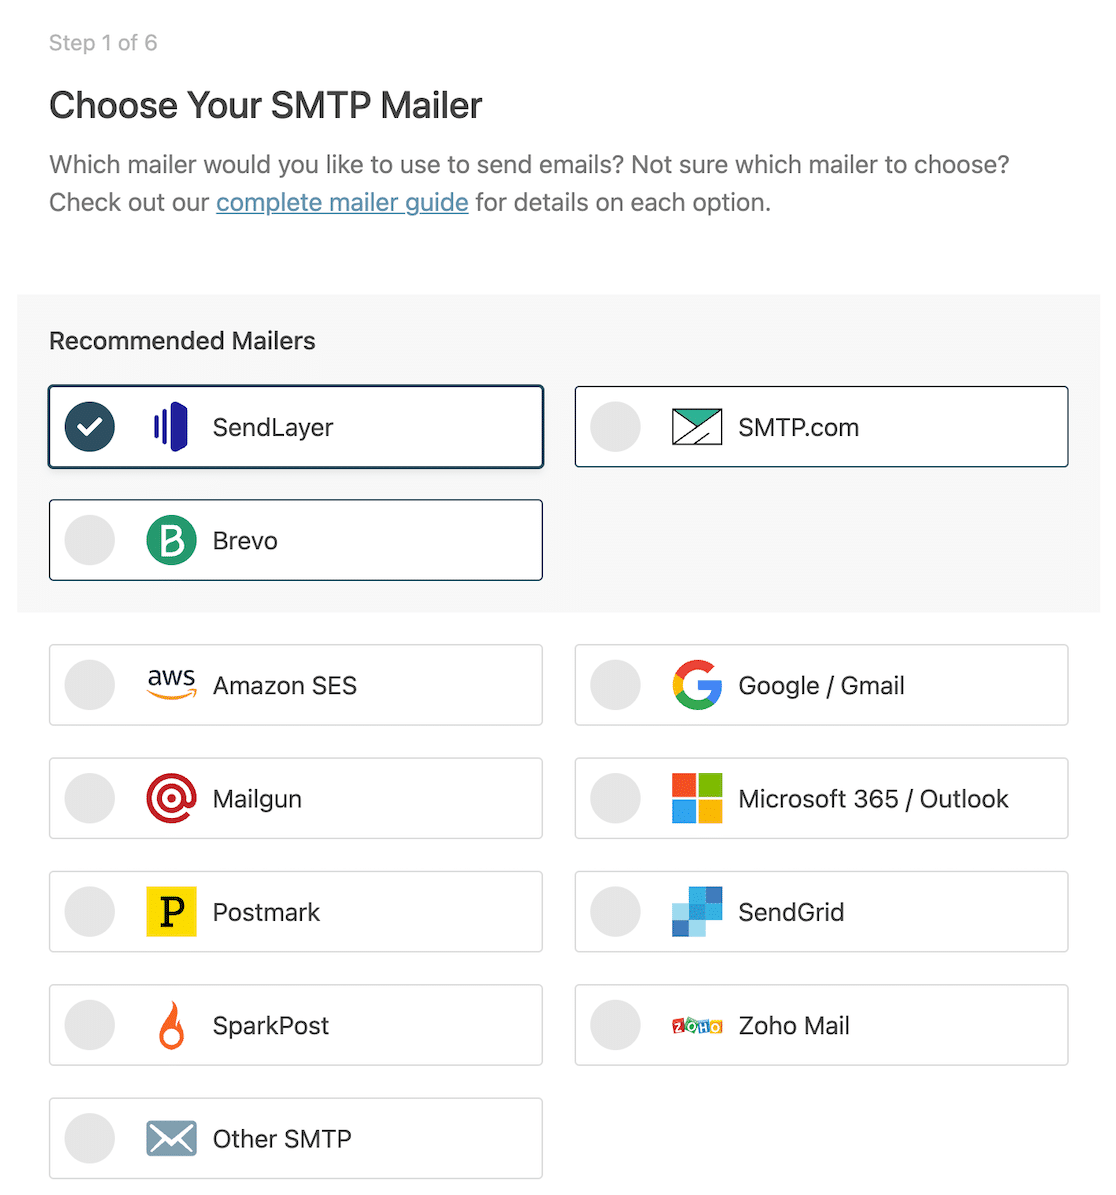
SendLayer is also one of the easiest mailers to integrate with your WordPress site using WP Mail SMTP.
If you want to get rid of email deliverability problems in WordPress and minimize the risk of hackers forging your domain, using WP Mail SMTP with SendLayer is your best bet.
And that wraps it up.
We hope you can now easily split a DKIM record and copy it to your DNS settings to ensure your domain remains protected.
Next, Fix WordPress PHPMailer
WordPress is notorious for email delivery problems because it uses the PHPMailer library to handle your email. Thankfully, you can fix PHPMailer issues in WordPress in a few simple steps.
If you sell digital products on your online store, we recommend checking our out list of the best digital download plugins for WordPress.
Ready to fix your emails? Get started today with the best WordPress SMTP plugin. If you don’t have the time to fix your emails, you can get full White Glove Setup assistance as an extra purchase, and there’s a 14-day money-back guarantee for all paid plans.
If this article helped you out, please follow us on Facebook and Twitter for more WordPress tips and tutorials.

