AI Summary
Would you like to be notified of email failures on your WordPress site? With WP Mail SMTP, you can receive various alerts for emails that fail to send from your site.
This tutorial will show you how to set up email alerts on your site with WP Mail SMTP.
Before getting started, you’ll first need to make sure WP Mail SMTP is installed and activated on your WordPress site and that you’ve verified your license.
What Are Email Alerts?
WP Mail SMTP email alerts inform you of email failures on your WordPress site through multiple different services. For example, if your website is unable to send emails, you’ll automatically receive text messages for every failure.
Alerts help catch any misconfigurations in your WP Mail SMTP settings.
Note: If you’re encountering failing emails, check out our troubleshooting guide for WP Mail SMTP.
Setting Up Alerts
To begin setting up email alerts from the WordPress dashboard, go to WP Mail SMTP » Settings and click on the Alerts tab.

By default, you’ll get notified through the channels you’ve configured whenever your site fails to send an email. If you enable The deliverability verification process detects a hard bounce, you’ll get notified when an email fails to send due to permanent reasons.

Below the Notify when section, you can select any of the available service integrations to deliver your email alerts:
You’ll need to set up integration with at least one of these services to enable email alerts on your site. In the following sections, we’ll guide you through setting up each service.
Note: We recommend enabling Email Logging on your site to get further information about the errors referenced in each alert.
With the Email option, email alerts are delivered to up to 3 email addresses. These alerts are sent via a secure API and do not rely on your site’s email configuration.
As a result, you’ll still get alerts even if your site cannot send emails.
Unlike the other service integrations, Email notifications will only be sent once every 30 minutes. As a result, if you have multiple failed emails within this period, you’ll only be notified of the first one.
Note: To view all failed emails, you need to enable Email Logging in WP Mail SMTP.
Setting Up Email Integration
To enable email alerts, ensure the Email Alerts option is toggled to the on position.

Type the intended recipient address into the Send To field to set an address.

If you’d like to add another address, click the Add Another Email Address button.

Next, enter the additional email into the second Send To field.

When you’re finished setting up email integration, you can either save your settings right away or continue to add other integrations.
Slack
With Slack integration, alerts are sent to your Slack workspaces or individual members of your team. Similar to the Email integration, you can have as many Slack configurations as you need. Slack integration utilizes a webhook to facilitate communication.
To use Slack integration, you’ll need to create a Slack app and add its webhook URL to your site. Before doing this, set the Slack Alerts option to the on position.

Note: For details on how to create a Slack app and retrieve your Webhook URL, please see our Setting up Slack alerts tutorial.
Discord
With our Discord integration, alerts are sent to your Discord servers or to individual channels on your Discord server. Similar to the Slack integration, you can have as many Discord webhook connections as you need.
To get started, you’ll need to create a webhook connection on your Discord server. Then, use the webhook URL to establish a connection between your site and Discord.
To do this, toggle the Discord Alerts option to the ON position.

Note: For details on how to create and retrieve your Webhook URL, please see our Setting up Discord alerts tutorial.
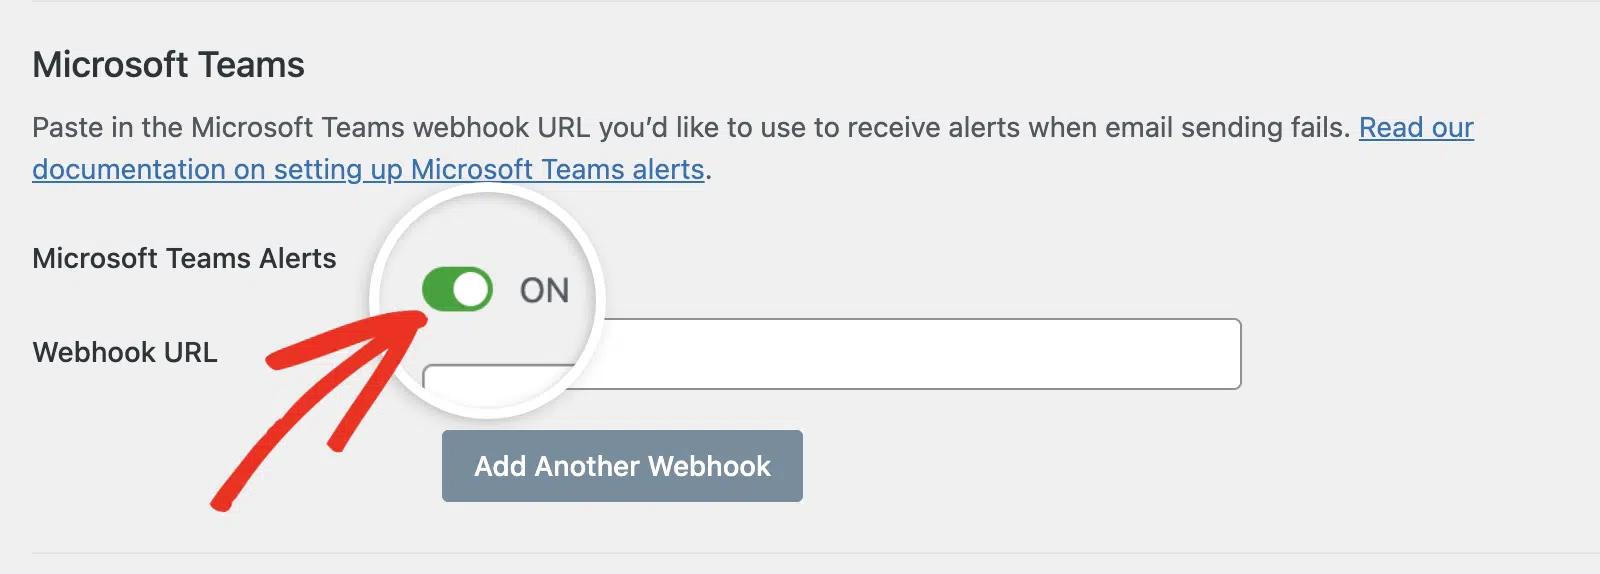
Microsoft Teams
If your team uses Microsoft Teams, you can configure alerts for individual channels on your team’s workspace.
Like the Slack integration, you can have as many Microsoft Teams configurations as needed. The Microsoft Teams integration uses webhooks to facilitate communication.
To use the Microsoft Teams integration, you’ll need to configure a webhook connection on the channel you’d like to receive the alert. Then, add the webhook URL you generated from Microsoft Teams to your site.
Start by toggling the Microsoft Teams Alerts option to the ON position.
Note: For details on how to create and retrieve your Webhook URL, please see our Setting up Microsoft Teams alerts tutorial.
SMS via Twilio Alerts
With Twilio integration, email alerts can be sent from your site to any mobile device. SMS alerts are sent via your Twilio phone number. As with other integrations, there is no limit on the number of Twilio connections.
To set up Twilio integration, ensure that you have the SMS via Twilio Alerts option toggled to the on position.

Note: For details on how to configure your Twilio integration, please see our setting up SMS alerts via Twilio tutorial.
Webhooks
With the Webhook integration, your site can send notifications through any service with webhooks support. As with the Slack and Twilio integrations, there’s no limit on the number of webhooks integrations.
First, to integrate Webhooks with your site, set the Webhook Alerts toggle to the on position.

Note: For details on adding Webhook integrations, please see our setting up webhook alerts tutorial.
Push Notifications
With push notifications, you’ll be able to receive native alerts about your site’s email status from the browser you enabled the feature in. You can enable it on any browser or device you’d like, including mobile devices.
WP Mail SMTP lets you set up an unlimited number of push notification alerts for your site.
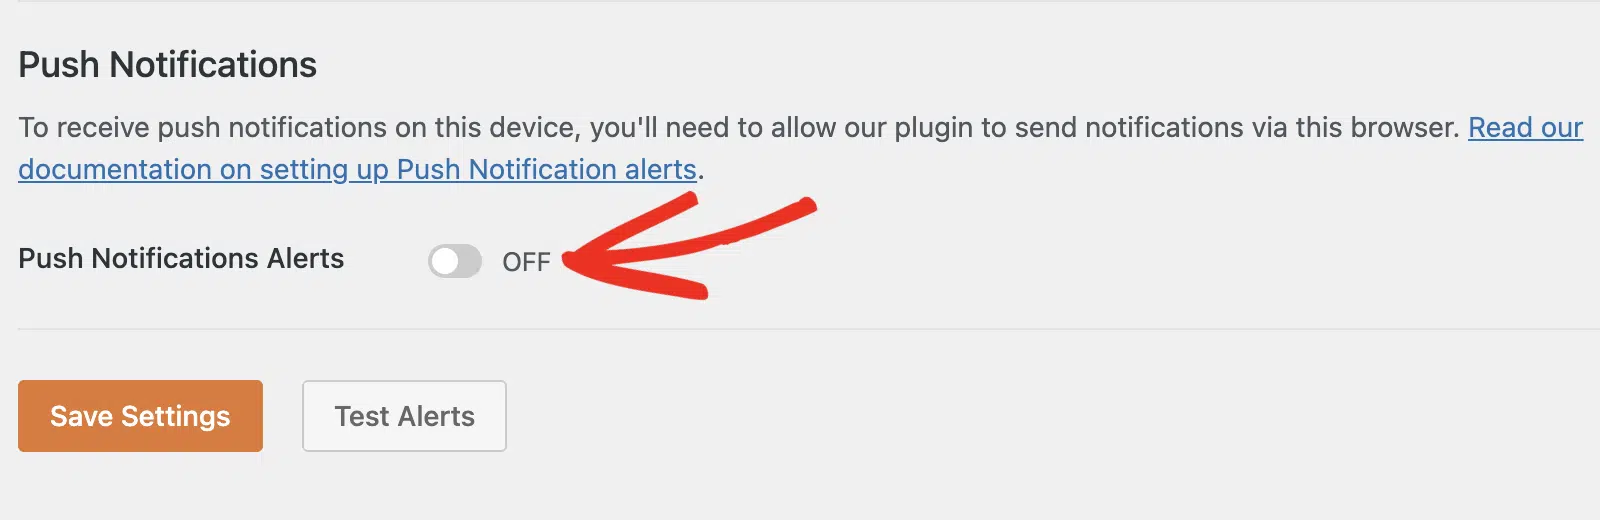
To set up push notifications, you’ll first need to toggle the Push Notifications Alerts option to the ON position.
Note: For details on adding push notifications, please see our setting up push notification alerts tutorial.
With our WhatsApp integration, you’ll be able to connect WP Mail SMTP to your WhatsApp account and receive notifications for failed emails on your website.
Similar to most of our other integrations, you can have as many WhatsApp configurations as needed. The WhatsApp integration uses Meta’s WhatsApp API and Webhook connection to facilitate communication.
To use the WhatsApp integration, you’ll need to create a custom app on the Meta developer dashboard. Then, enable WhatsApp connection for the app you created and retrieve the authentication details.
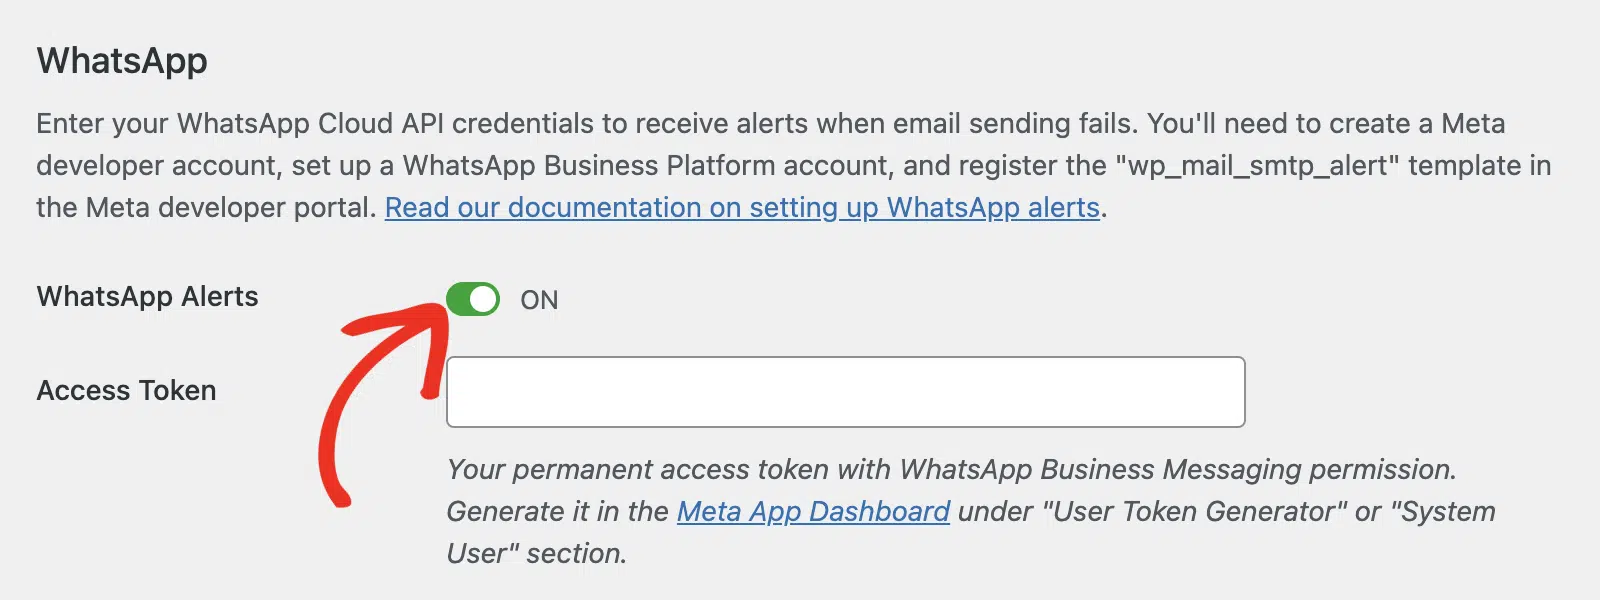
Start by toggling the WhatsApp Alerts option to the ON position.
Note: Please see our tutorial on setting up WhatsApp alerts for details on creating a Meta app and generating other config details.
Saving Your Settings
Once you’ve added the services you’d like to use, you’ll need to save your changes to complete the setup.

To do this, click the Save Settings button at the bottom left of the interface.
Testing Email Alerts
After saving your settings, you can test the services you configured to ensure they work correctly. To do so, click the Test Alerts button next to Save Settings.

You should see a success notification after clicking on this button.

The alert test will trigger all the services you configured. So, if you set up email alerts, for example, you’ll receive an email with the test results in the email address(es) you added.
That’s it! Now you know how to set up Alerts on your site with WP Mail SMTP.
Next, would you like to easily track how emails are performing on your site? Learn more in our complete guide to email reports in WP Mail SMTP.