AI Summary
Do you suspect you’re suffering domain blacklisting?
Email deliverability is essential for businesses and organizations that rely on email marketing, transactional emails, and regular communication with their audience. But if your sending domain or IP address is blacklisted, your emails may not land with your recipients.
To make sure your emails reach inboxes, you need to know how to check if your domain is blacklisted and take action if it is. In this guide, I’ll walk you through the key steps to verify your domain’s reputation, restore deliverability, and safeguard against future domain blacklisting.
How to Check if Your Sending Domain Is Blacklisted
Use Online Blacklist Check Tools
Blacklisting can happen for various reasons, such as receiving too many spam reports, sending bulk emails without verifying email lists, or accidental reputation issues.
Online blacklist check tools make it easy to see if your domain or IP is flagged on any major blacklists. These tools are typically free and scan a range of databases to determine if any blocking lists include your domain.
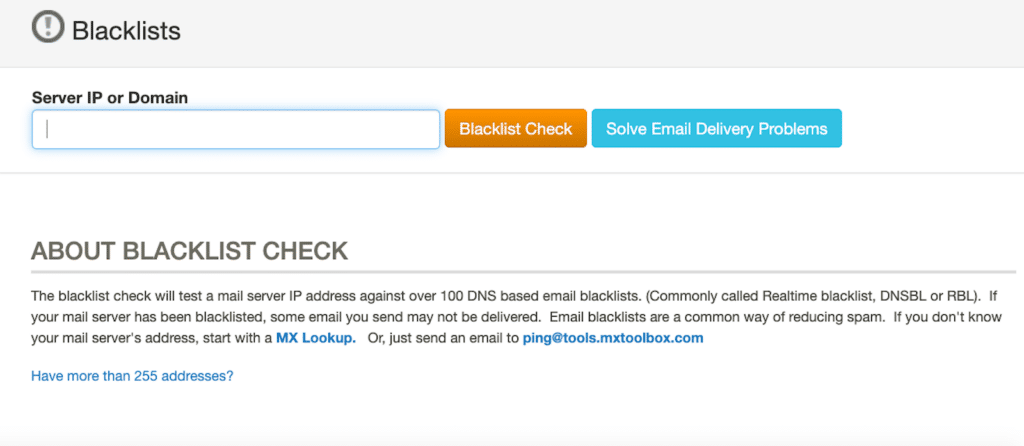
Here are some popular options:
- MxToolbox: Enter your domain or IP, and it will scan it against over 100 blacklists.
- Spamhaus: Known for their widely used block lists.
- MultiRBL: Checks across multiple RBLs (Real-time Blackhole Lists).
- Talos Intelligence: Provides insights and reputation scores for domains and IPs.
By regularly checking these tools, you can check your domain reputation and catch potential blacklisting issues before they impact your deliverability.
Check Google Postmaster Tools
If you frequently send emails to Gmail accounts, using Google Postmaster Tools can help you monitor your reputation with Google.
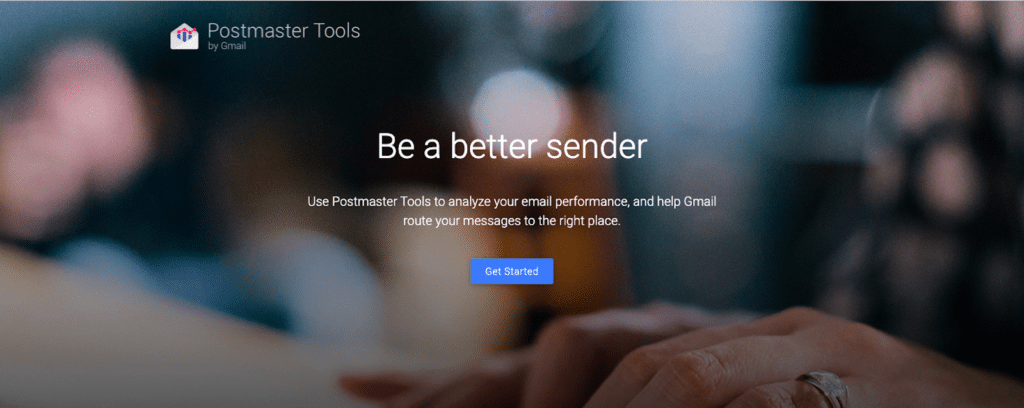
This free service provides a domain reputation report, showing whether your domain has a high, medium, or low reputation with Gmail users. You’ll need to verify domain ownership to access these reports, but once set up, you can gain valuable insight into your Gmail-specific deliverability and monitor any red flags that might cause blacklisting issues.
Using Google Postmaster Tools is especially helpful for maintaining a good sender reputation because it also offers data on delivery errors, spam rates, and feedback loop information.
Look for Email Bounceback Messages
One often-overlooked source of information is the bounceback messages you receive when emails fail to reach a recipient.
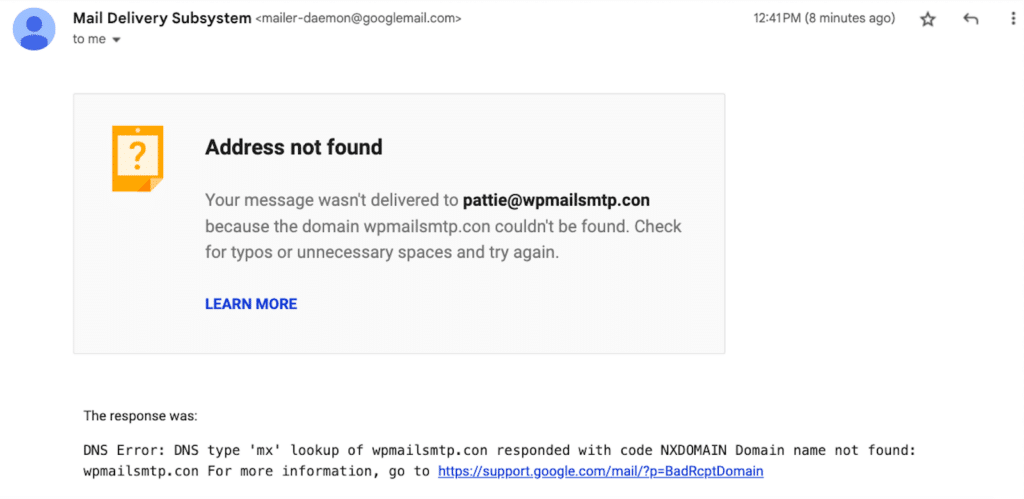
Types of bounces your email could be subjected to include:
- Soft Bounce: A soft bounce indicates a temporary issue preventing email delivery. Common reasons include the recipient’s mailbox being full, the server being temporarily unavailable, or the email size exceeding the recipient’s limit. Emails that soft bounce can sometimes be retried for delivery after some time.
- Hard Bounce: A hard bounce signifies a permanent delivery failure. This usually occurs when the recipient’s email address is invalid, the domain does not exist, or the recipient has blocked your email. Hard bounces require immediate attention, as they indicate an issue that won’t resolve itself.
- Technical Bounce: Technical bounces occur due to problems on the server side, like server overload, connection issues, or temporary technical errors. These can often be resolved automatically after some time but may require monitoring if they persist.
- Delayed Bounce: A delayed bounce happens when an email is held temporarily and not returned immediately. This can occur when the recipient’s server is busy or experiencing issues. The email may eventually be delivered or result in a soft or hard bounce if it remains undelivered for too long.
- Spam Bounce: A spam bounce indicates that the recipient’s server has blocked the email, usually because it has flagged it as spam. This can happen if your domain has a poor reputation or if the content of your email triggers spam filters.
Many internet service providers and email service providers include reasons in bounceback messages, specifying if your email was rejected due to blacklisting.
Reviewing these messages carefully can provide direct clues about which providers may have flagged your domain or IP. Look for keywords such as “blocked,” “blacklist,” or “spam” in these messages to identify potential issues.
Then, regularly checking and analyzing bounceback reports can help you proactively address any red flags in your email-sending behavior.
Also Read: Email Delivery Statuses Explained
Contact Your Email Service Provider
If you’re using an email marketing service or dedicated email service provider like SendLayer, Brevo, or any other reputable provider, reach out to their support team if you suspect blacklisting.
Many service providers offer reputation management services and actively monitor for blacklisting issues. They might notify you of reputation-related issues or, in some cases, assist you in delisting your domain if it’s blacklisted.
Additionally, some providers offer built-in tools that monitor your reputation and can help identify potential issues before they escalate. Working with your provider can save time and help resolve blacklisting issues quickly since they often have direct relationships with internet service providers and can offer valuable assistance.
Use WP Mail SMTP
If you’re using WordPress to send emails, plugins like WP Mail SMTP provide helpful diagnostics and integrate with tools to monitor your domain’s IP health.
WP Mail SMTP, in particular, can work with various email service providers to help guarantee proper authentication and configuration, reducing the likelihood of blacklisting.
WP Mail SMTP’s White Glove Setup service is especially valuable if you want additional support setting up your domain and IP configuration correctly. By configuring the correct SMTP settings, you can greatly enhance your deliverability and avoid common mistakes that could lead to blacklisting.
So, with WP Mail SMTP, you can monitor and improve your email-sending practices — strengthening your domain reputation and avoiding blacklist triggers.
Maintaining email deliverability is vital to the success of your email marketing efforts and communication strategies. By regularly checking your sending domain’s status and reputation, you can avoid common issues that lead to blacklisting and ensure your messages reach their intended audience. But if you discover your domain is blacklisted, act quickly to resolve it!
With the steps I’ve shared here, you can stay proactive and keep your email communications on track.
FAQs — How to Check if Your Sending Domain Is Blacklisted
Looking for something specific? Click through our frequently asked questions to see if the answer is here.
What does it mean if my domain is blacklisted?
When your domain is blacklisted, it means that it has been identified as a source of spam or malicious emails by certain organizations or email service providers. This can lead to your emails being blocked or sent directly to recipients’ spam folders, severely impacting your email deliverability.
What should I do if I find my domain is blacklisted?
If you find your domain is blacklisted, you should take immediate action to identify the cause. Review your email practices, clean your email list, and reach out to your email service provider for assistance. You can also request removal from the blacklist if you believe the issue has been resolved.
How can I prevent my domain from being blacklisted in the future?
To prevent your domain from being blacklisted, be sure to follow best practices for email marketing, such as obtaining explicit consent from recipients, regularly cleaning your email list, monitoring your sending reputation, and using authenticated sending methods. Additionally, using tools like WP Mail SMTP can help maintain your email health and deliverability.
Next, Check Out These Common Issues
Now that we’ve covered the topic of domain blacklisting, it’s time to check out a few common issues that might arise when using WP Mail SMTP. Take a look at our easy guide for simple troubleshooting tips.
Ready to fix your emails? Get started today with the best WordPress SMTP plugin. If you don’t have the time to fix your emails, you can get full White Glove Setup assistance as an extra purchase, and there’s a 14-day money-back guarantee for all paid plans.
If this article helped you out, please follow us on Facebook and Twitter for more WordPress tips and tutorials.

