


AI Summary
A WordPress site that can’t send email loses password resets, receipts, and every form notification. Mailgun fixes that, and it’s one of the more reliable ways to do it.
But Mailgun won’t send a thing until you’ve verified a sending subdomain in your DNS.
In this post, you’ll learn how to connect Mailgun to WordPress using the WP Mail SMTP Setup Wizard, which fills most of those fields for you.
You’ll also learn which of Mailgun’s 3 API keys to use, and what to check when the test email fails.
Let’s get started.
What Is Mailgun, and Why Use It for WordPress Email?
Mailgun is an email delivery service that routes your site’s mail through its own authenticated servers rather than your web host’s.
That matters because WordPress has no mail server of its own. It hands every message to PHP’s mail() function, which most hosts throttle, block, or leave unauthenticated. Inbox providers then treat those messages as suspicious.
Here’s what you get with Mailgun:
- Authenticated sending. Your domain’s DNS records prove the mail is really from you.
- Delivery logs. You can see whether a message was accepted, deferred, or bounced.
- A free tier. Free accounts send up to 100 emails per day. Adding a credit card removes that daily limit.
Mailgun does ask for more setup than most mailers. You need DNS access, and you need to verify a subdomain before anything sends. That’s the trade-off for its deliverability.
How to Create a Mailgun Account
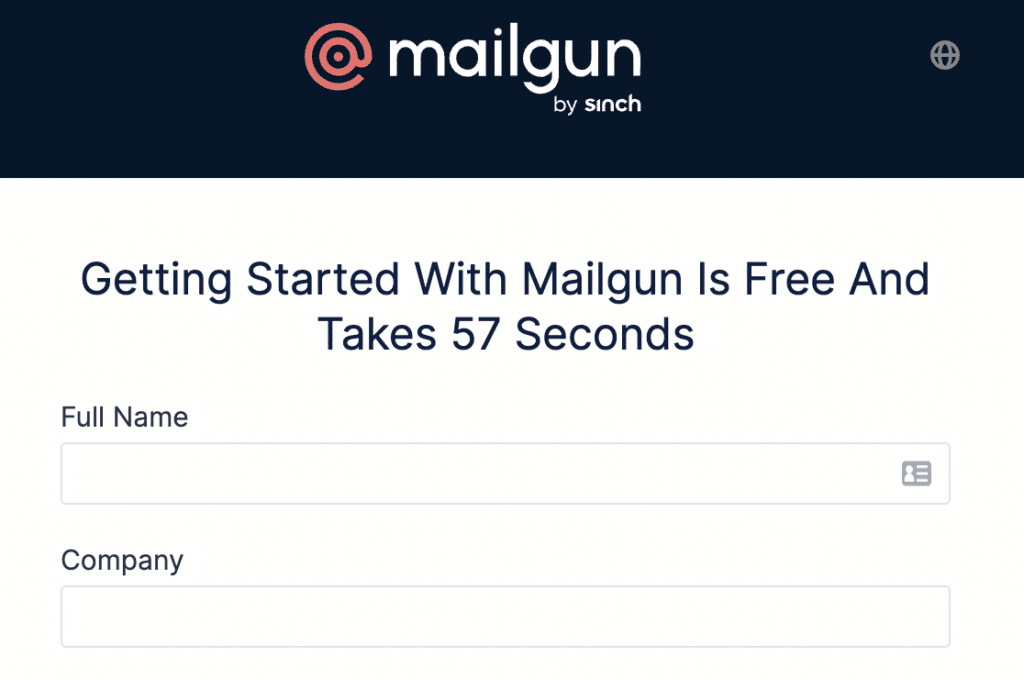
Sign up on Mailgun’s website, then complete both verification steps.
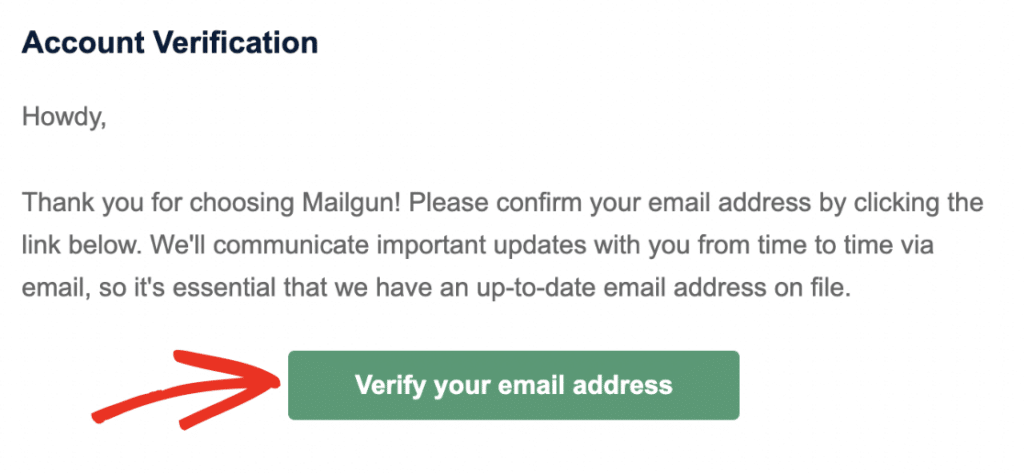
After the signup form, Mailgun emails you a confirmation link. Click Verify your email address to continue.
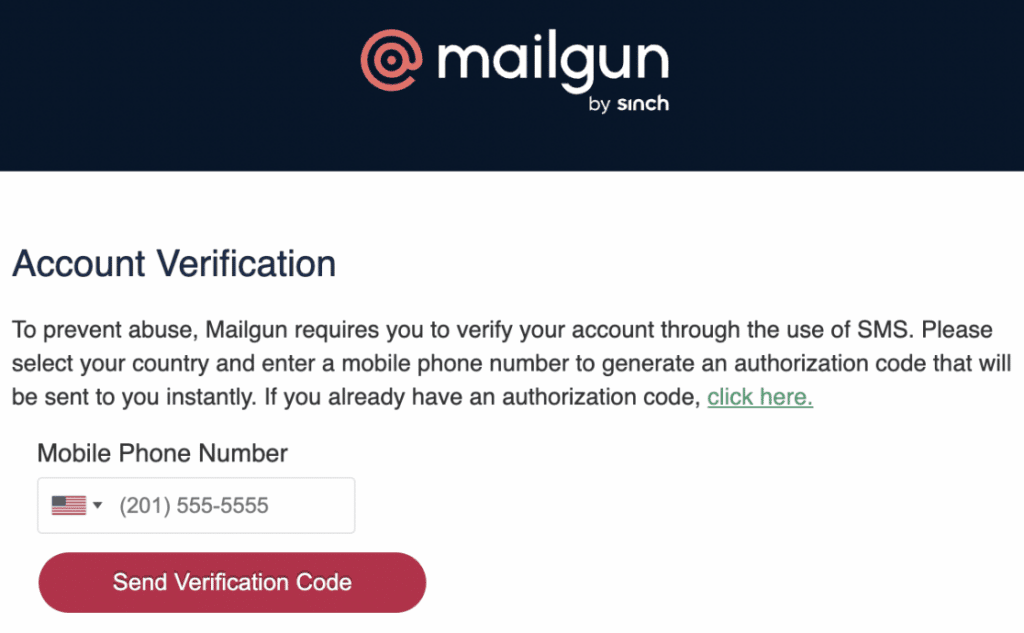
Next, Mailgun asks you to verify a phone number. Both checks help keep spammers off its sending IPs, which is part of why its delivery rates hold up.
How to Add Your Sending Domain in Mailgun
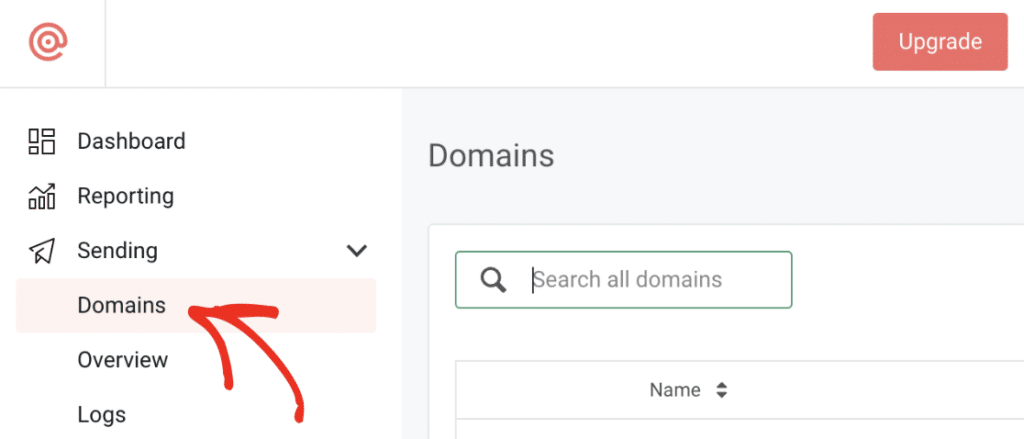
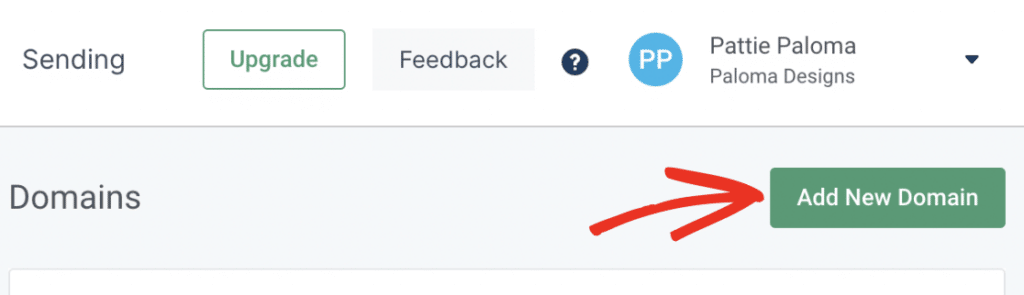
From your Mailgun dashboard, go to Sending » Domains, then click Add New Domain.
Why Does Mailgun Need a Subdomain?
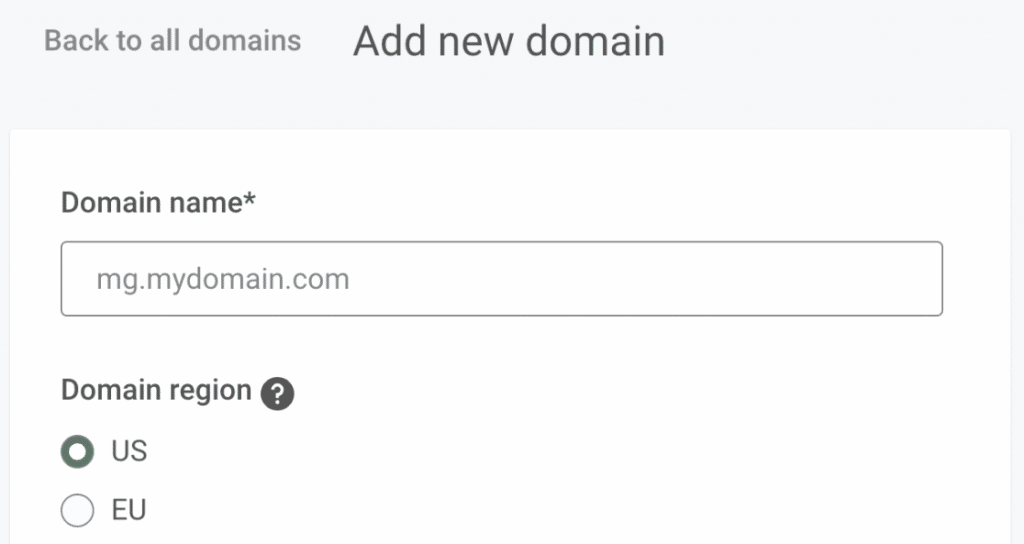
Mailgun asks for a subdomain so your sending reputation stays separate from your main domain.
A subdomain replaces the “www” in your address, like mg.example.com. Mailgun only uses it to send mail. It never shows up on your site.
Enter something clear, such as mg.example.com. I’d suggest avoiding mail.example.com, as it might be in use by your web host.
Which Mailgun Region Should You Choose?
Pick EU only if your site is hosted in the European Union. Everyone else leaves the default US option.

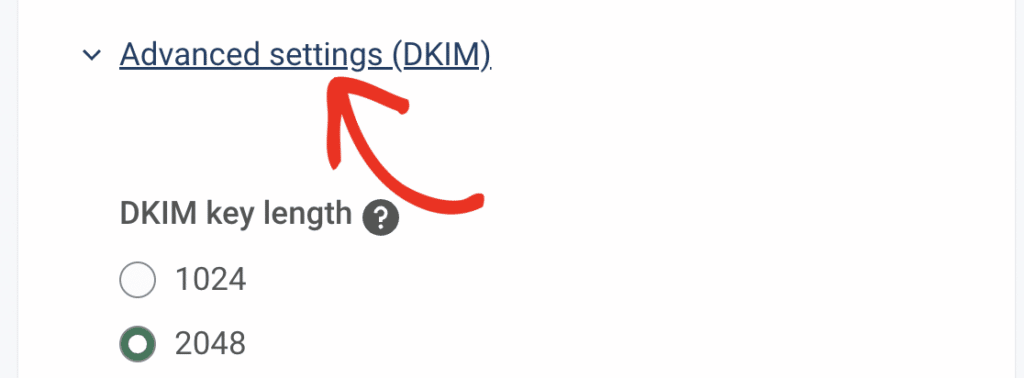
Now open the Advanced settings (DKIM) dropdown. Choose 2048, which creates a longer DKIM key and adds a layer of spam protection.
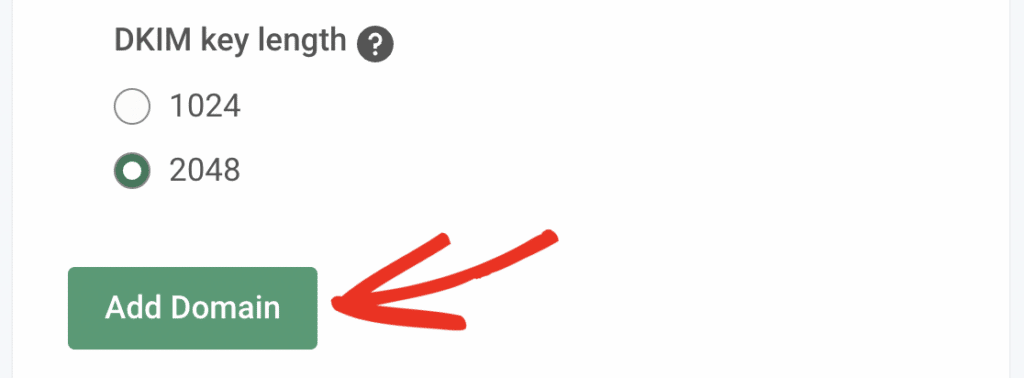
Click Add Domain to finish. Keep this tab open, because you’ll need the DNS values next.
How to Verify Your Domain With DNS Records
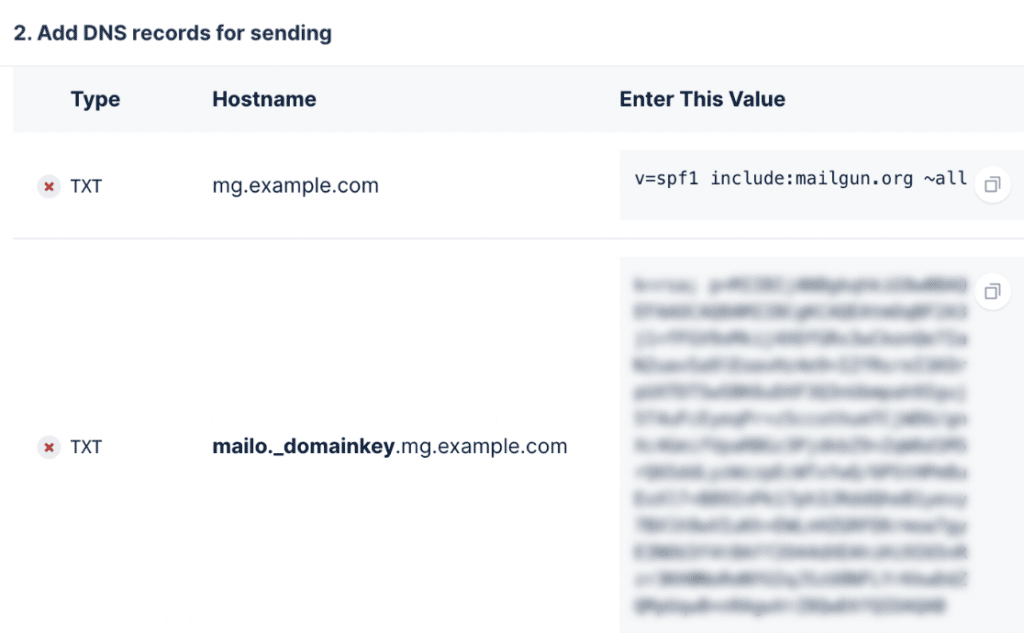
Mailgun verifies your domain when you add its TXT and MX records to your DNS.
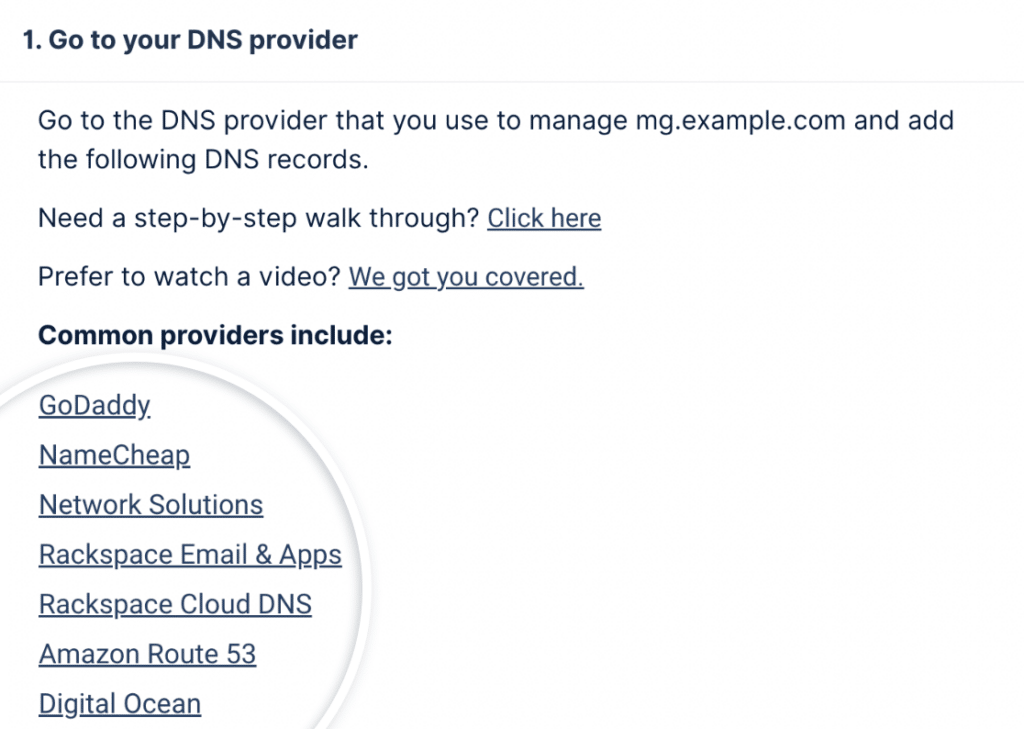
Open your site’s DNS settings first. Mailgun links to setup guides for common providers right on the page where you added the domain.
Add the 2 TXT records exactly as Mailgun shows them. Copy the values carefully, since a single wrong character stops verification.
Then add the MX records the same way. Add them for the subdomain you created, not your main domain.
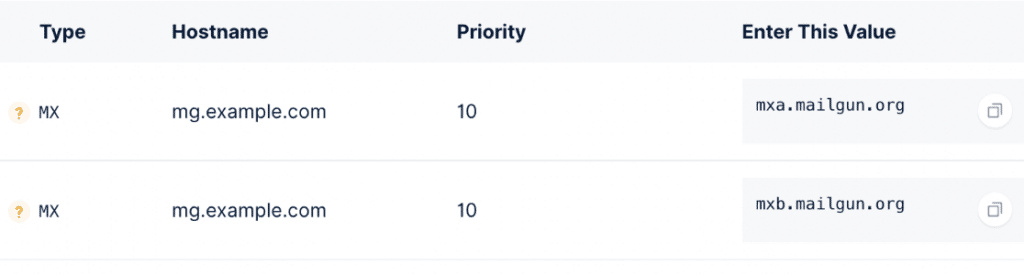
If your DNS panel offers a TTL field, set it to one day (86400 seconds).
Mailgun also shows a CNAME record. You can skip it, since it only matters for tracking, not sending.
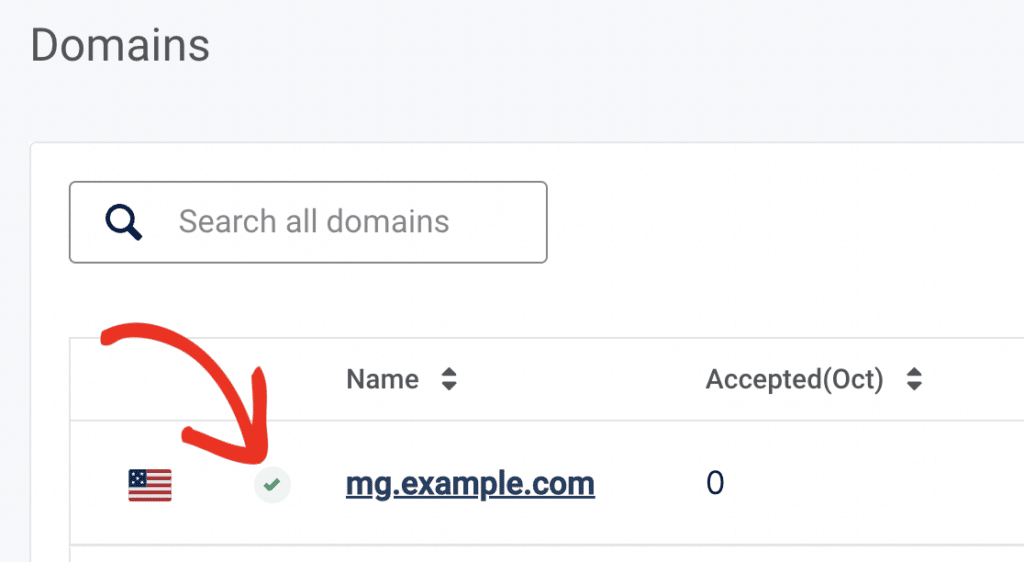
Back in Mailgun, click Verify DNS settings to check your work.
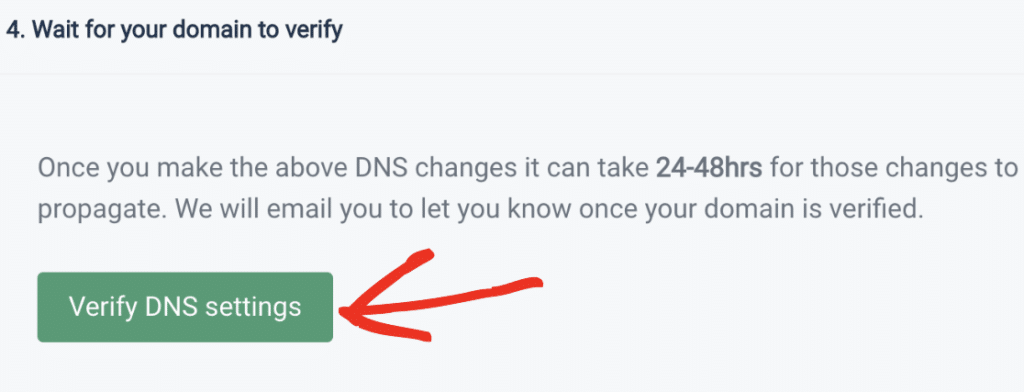
Once the records propagate, your domain shows as active. However, DNS record propagation can take 24 to 48 hours, so don’t wait on it. Carry on with the next step.
Where to Find Your Mailgun API Key
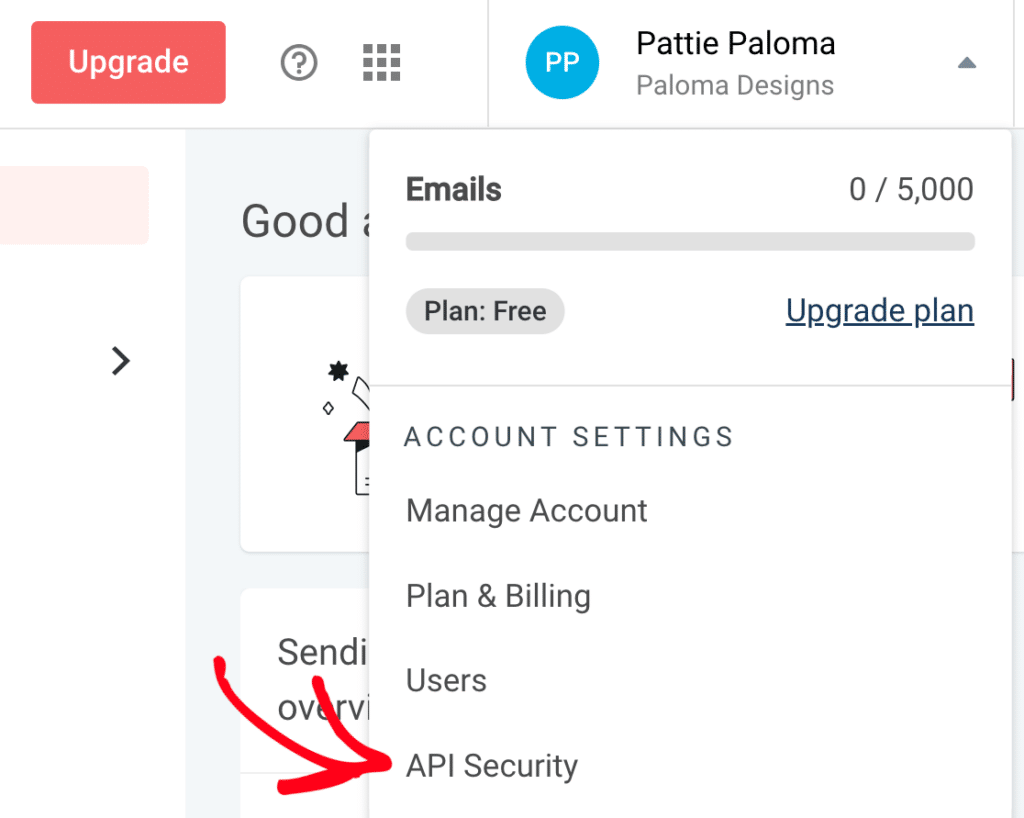
Click the circle with your initials in the top right of Mailgun, then select API Security.
Which of Mailgun’s 3 API Keys Should You Use?
Use the Mailgun API key. Not the Verification Public key, and not the HTTP Webhook Signing key.
That’s the single most common mistake in a Mailgun setup. All 3 keys sit on the same page, and picking the Verification Public key causes deliverability problems that are hard to trace.
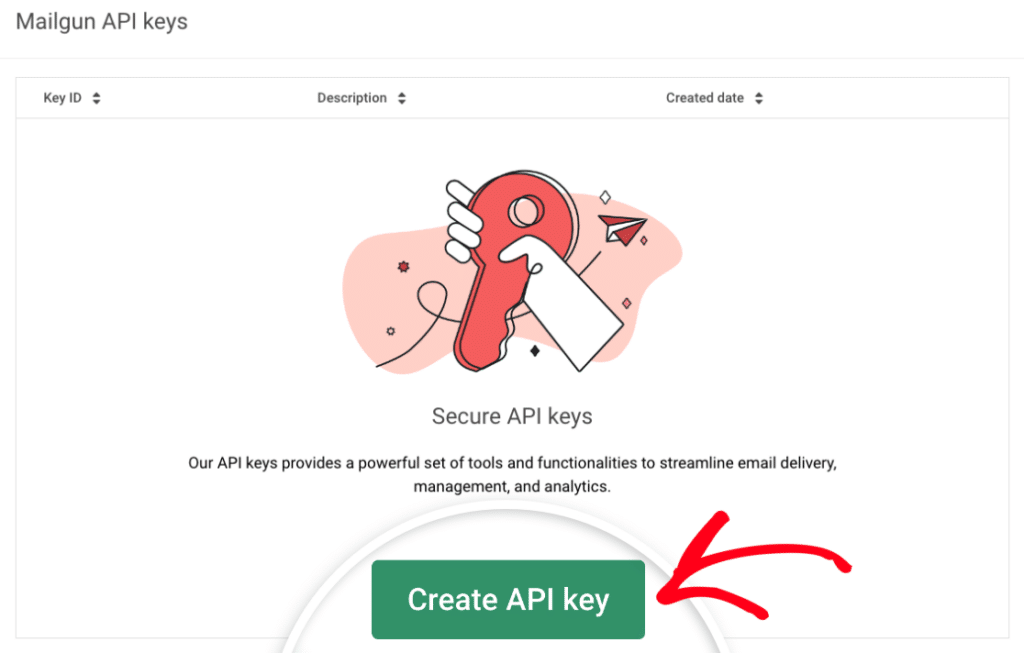
Scroll to the Mailgun API keys section and click Create API key.
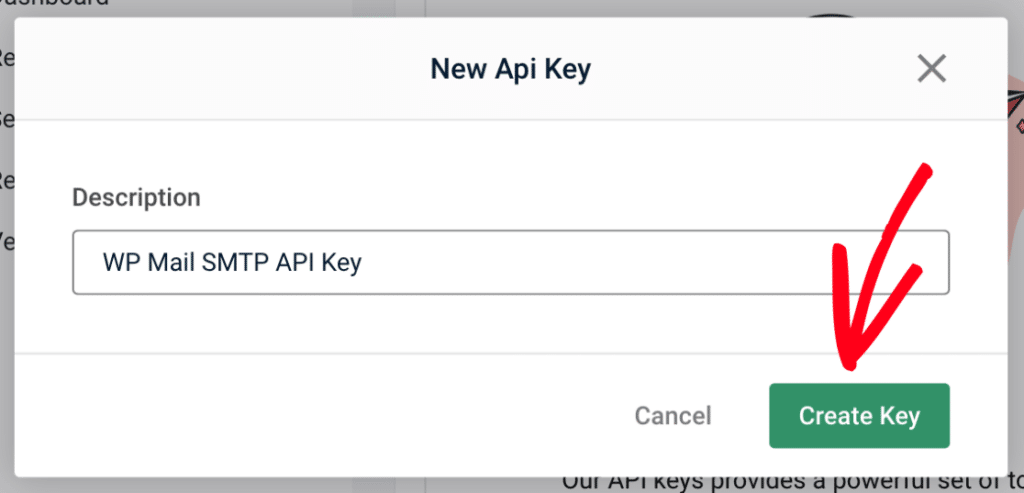
Add a description you’ll recognize later, then click Create Key.
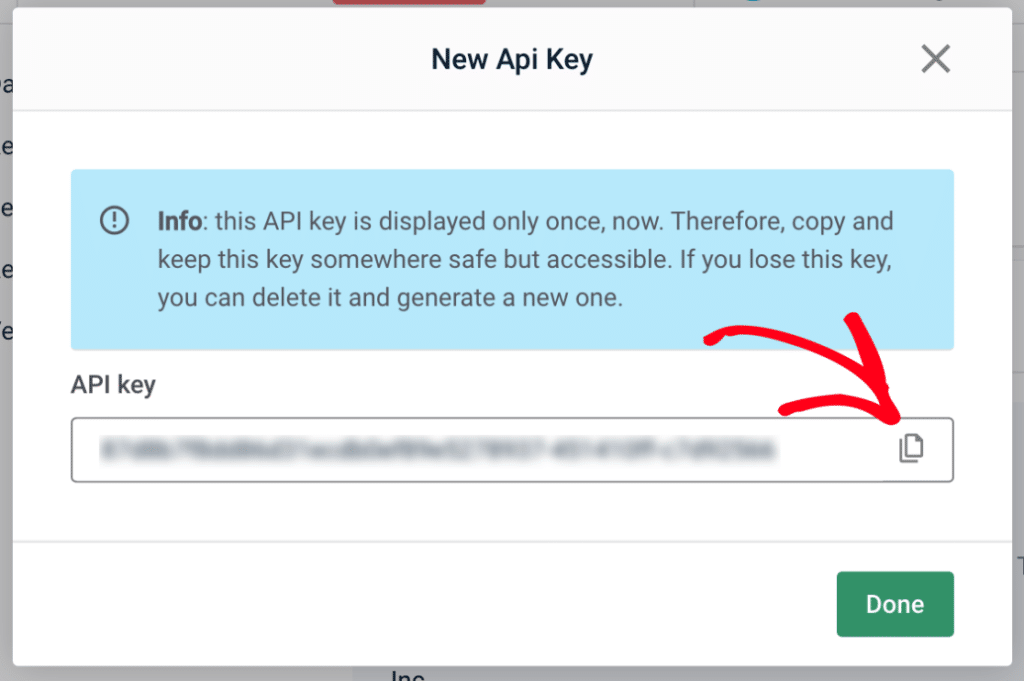
Copy the key with the copy icon and store it somewhere safe.
How to Connect Mailgun to WordPress Using WP Mail SMTP
The Setup Wizard walks you through the plugin side in 5 steps and fills in the settings as you go.
Step 1: Install WP Mail SMTP
If you want to use Mailgun in WordPress, you need WP Mail SMTP. It’s the best SMTP plugin for WordPress, making the whole process super easy.
To install the WP Mail SMTP plugin, log in to your WordPress admin area and navigate to Plugins » Add Plugin. Once here, type “wp mail smtp” in to the search bar and

Then click Install Now next to the WP Mail SMTP plugin.

Once the installation completes, the button changes to “Activate”. Click on it to activate the plugin.

You should be directed to the Setup Wizard after activating the plugin.
Step 2: Launch the Setup Wizard
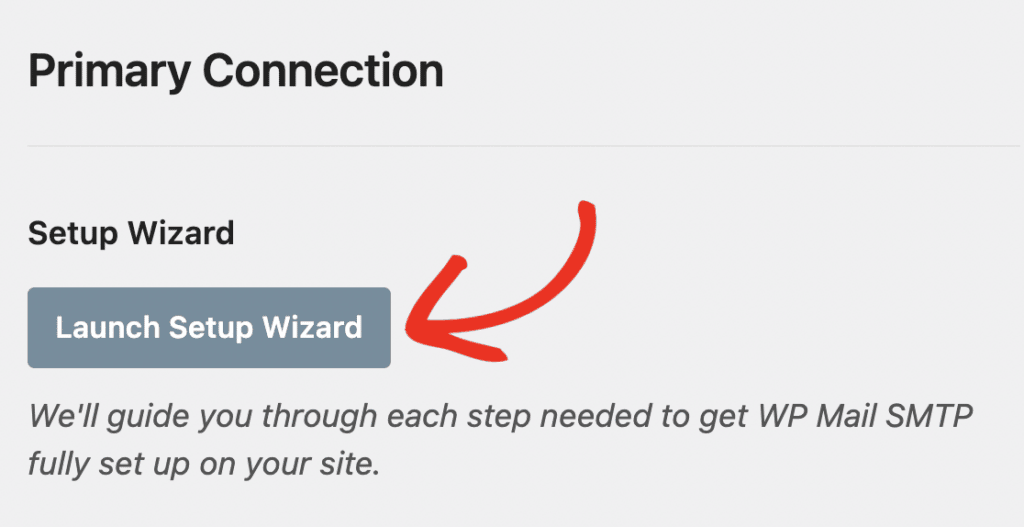
Alternatively, you can access the setup wizard by navigating to WP Mail SMTP » Settings. Once here, click Launch Setup Wizard below the Primary Connection section.
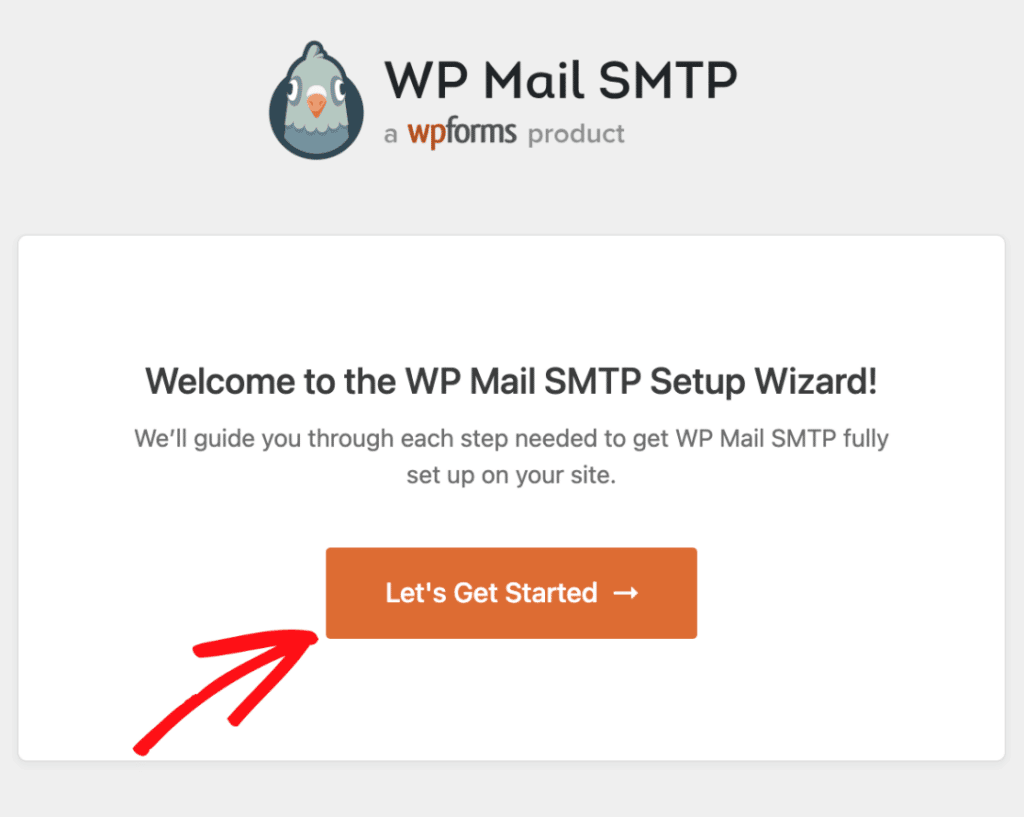
Click Let’s Get Started to begin.
Step 3: Select Mailgun as Your Mailer
Click Mailgun in the mailer grid, then click Save and Continue.

How to Enter Your Mailgun Settings
The wizard now shows only the fields Mailgun needs. There are 5, in this order:
- Mailgun API Key. Paste the key you copied earlier.
- Domain Name. The subdomain you created in Mailgun, such as
mg.example.com. - Region. Match what you chose in Mailgun. Outside the EU, that’s US.
- From Name. The sender name on your site’s emails. Turn on Force From Name to apply it across the board.
- From Email. An address on the domain you verified, like
[email protected]. Turn on Force From Email so every email uses it.

Click Save and Continue when you’re done.
Step 4: Enable Email Features
Leave Improved Email Deliverability and Email Error Tracking on. They’re both on by default and can’t be turned off.
The rest are worth a look:
- Detailed Email Logs. A record of every email your site sends.
- Complete Email Reports. Deliverability stats over time. Needs logs enabled.
- Weekly Email Summary. A weekly digest of your sending. Needs logs enabled.
- Instant Email Alerts. Notifies you by email, SMS, Slack, or webhook when a send fails.
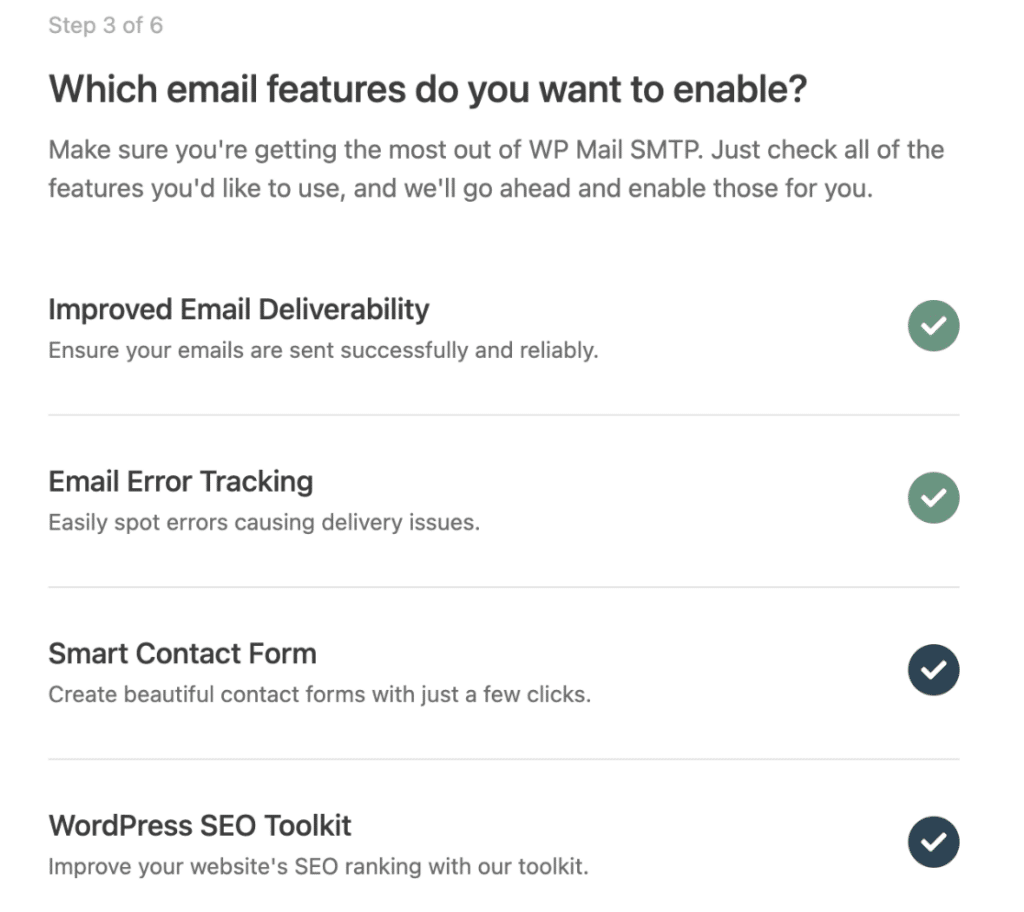
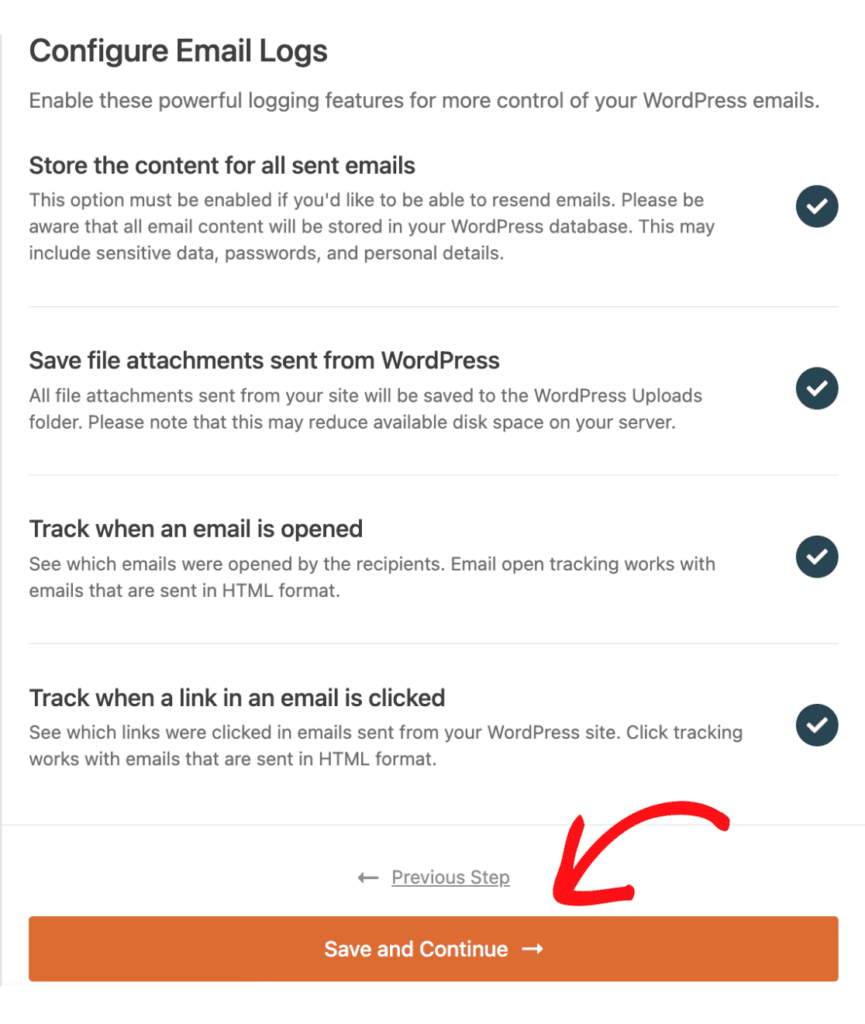
If you enabled logs, the next screen asks what to store. Pick your options and click Save and Continue.
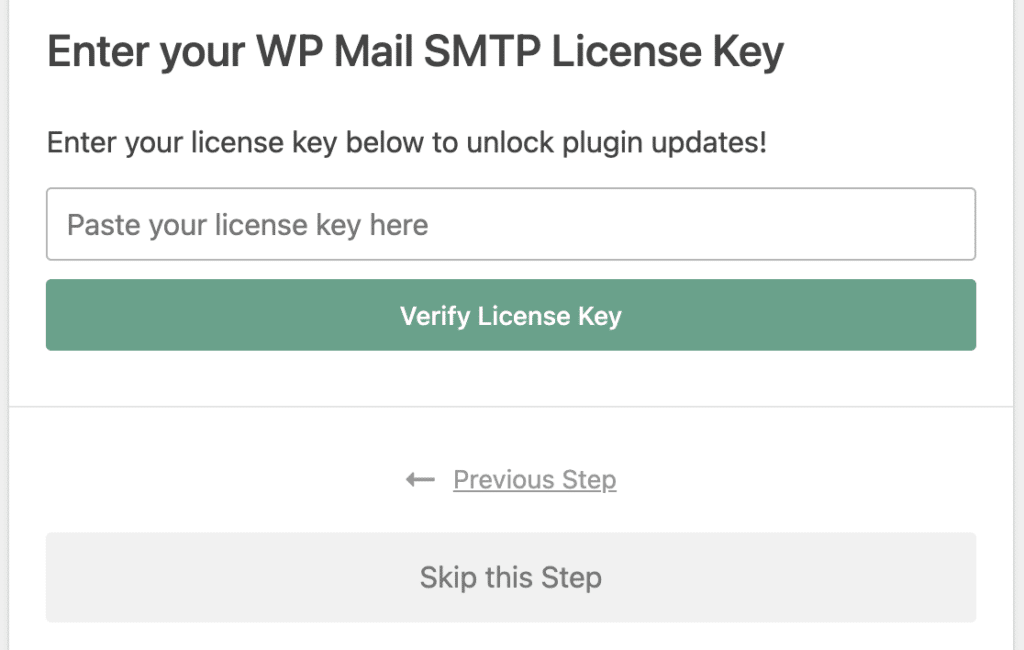
Lastly, paste your license key and click Verify License Key. Or click Skip this Step to do it later.
How to Send a Test Email
The wizard sends one for you automatically at the end.
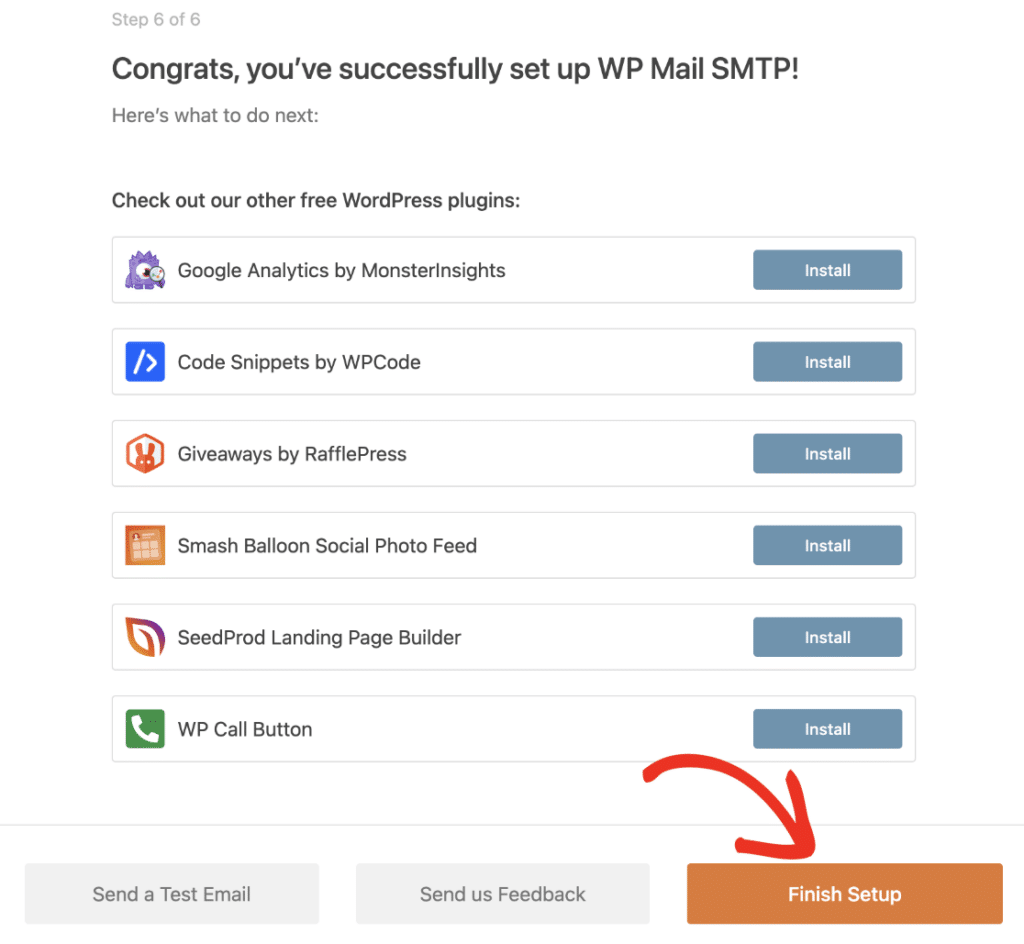
If it works, you’ll see “Congrats, you’ve successfully set up WP Mail SMTP!” Click Finish Setup and you’re done.
You can send more tests any time from WP Mail SMTP » Tools » Email Test.
What to Do if Your Mailgun Test Email Fails
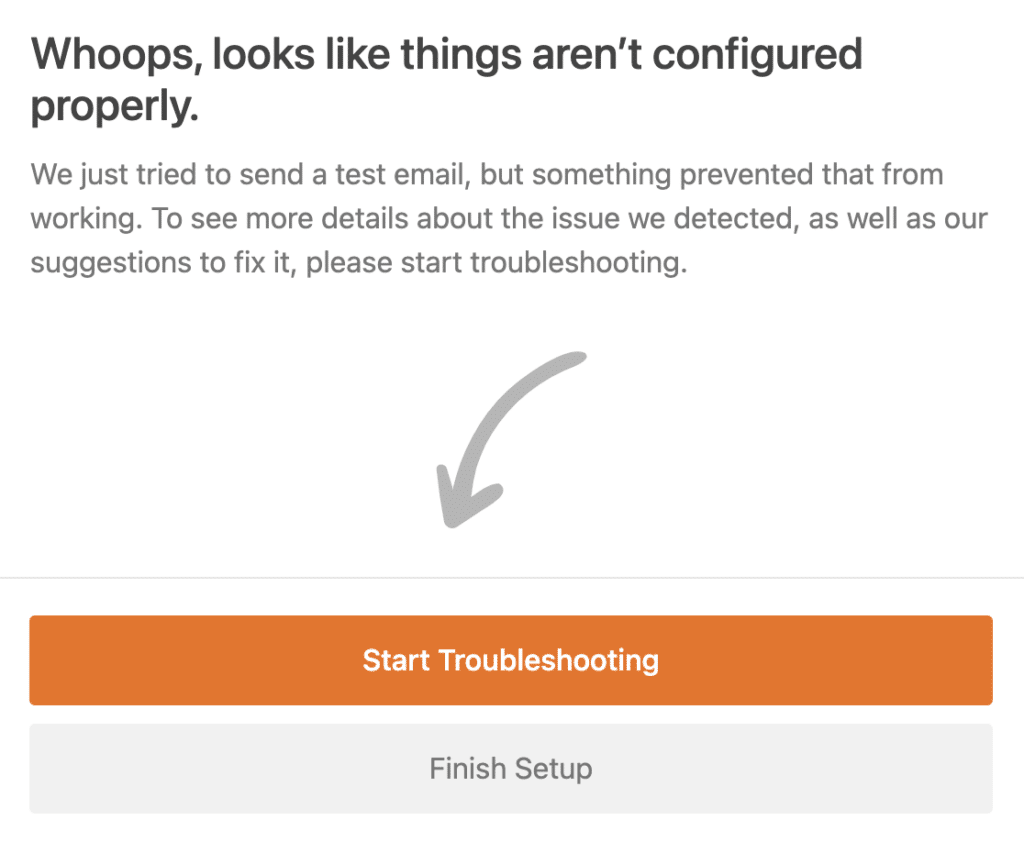
Click Start Troubleshooting on the wizard’s error screen to see the actual error message.
In my experience, 4 causes cover nearly every failure:
| What went wrong | How to fix it |
| DNS hasn’t propagated | Wait up to 48 hours, then click Verify DNS settings in Mailgun again |
| Region mismatch | Make the plugin’s Region match your Mailgun domain’s region |
| Wrong API key | Use the Mailgun API key, not the Verification Public key |
| Domain mismatch | The plugin’s Domain Name must be the subdomain, not your root domain |
Older accounts have a fifth cause: a missing key- prefix on the API key.
Still stuck? Our guide to WP Mail SMTP not sending test emails covers the less common errors.
Frequently Asked Questions
Is Mailgun free for WordPress?
Yes, up to a point. Free accounts send up to 100 emails per day. Adding a credit card removes that daily limit, and you still won’t be charged on the free tier.
Do I need a plugin to use Mailgun with WordPress?
Yes. WordPress can’t talk to Mailgun’s API on its own. SMTP plugins like WP Mail SMTP handle the connection and route every wp_mail() call through Mailgun.
Why is Mailgun not sending my WordPress emails?
Check your domain’s verification status in Mailgun first. After that, check 3 things: a region mismatch, the wrong API key, or a Domain Name set to your root domain.
Do I have to use a subdomain with Mailgun?
It’s what Mailgun recommends, and it’s the safer choice. A subdomain keeps your sending reputation separate from your main domain, so a deliverability problem doesn’t follow your whole site.
Should I choose the US or EU region?
Choose EU if your site is hosted in the European Union. Otherwise choose US. The setting has to match in both Mailgun and WP Mail SMTP.
Next, Set Up SPF, DKIM, and DMARC Records
Now that Mailgun is sending your email, I’d tighten up your domain’s authentication next. Our guide to SPF, DKIM, and DMARC records explains what each record does and walks you through adding them. Getting all 3 right is what keeps your mail out of the spam folder. It also builds directly on the DNS work you just finished.
Ready to fix your emails? Get started today with the best WordPress SMTP plugin. If you don’t have the time to fix your emails, you can get full White Glove Setup assistance as an extra purchase, and there’s a 14-day money-back guarantee for all paid plans.
If this article helped you out, please follow us on Facebook and Twitter for more WordPress tips and tutorials.
