
AI Summary
According to consumer research, 49% of shoppers trust reviews as much as personal recommendations. If you run a WooCommerce store, you probably already know this and have experienced how a few good reviews can boost sales,
But many small eCommerce businesses aren’t actually asking their customers for reviews. They send order confirmations, shipping updates, maybe a “thanks for your purchase” email. Meanwhile, customers move on with their lives and forget about leaving a review.
The solution is straightforward:
- Get your email foundation right (so customers actually receive and trust your emails)
- Ask for reviews with emails that work
- Automate the process so it happens consistently
WP Mail SMTP handles that first step. When your transactional emails are reliable and professional-looking, customers trust your brand more. And when they trust you, they’re much more likely to take a few minutes to write a review when you ask.
Fix Your WooCommerce Emails Now
Then it’s just a case of setting up your WooCommerce store with the right email templates and plugins to request reviews on auto pilot.
- Why Your WooCommerce Store Needs More Product Reviews
- Why WooCommerce Review Emails Fail (And How WP Mail SMTP Fixes Them)
- Step 1: Set Up Reliable Email Delivery for WooCommerce
- Step 2: Write Review Request Emails That Actually Work
- Step 3: Automate Your WooCommerce Review Requests
- Make the Most of Your Reviews Once You Get Them
Why Your WooCommerce Store Needs More Product Reviews
The numbers are clear: displaying reviews can increase conversion rates by up to 270%, according to Spiegel Research Center. Even a single review makes a difference.

Reviews also boost your SEO. When you have review schema markup on product pages, those star ratings appear in Google search results, increasing click-through rates and bringing more qualified traffic to your store.
Plus, customers who leave reviews tend to make repeat purchases and spend more per order. They’re more invested in your brand and more confident buying additional products.
Bottom line: every review you don’t collect is leaving money on the table. Let’s fix that.
Why WooCommerce Review Emails Fail (And How WP Mail SMTP Fixes Them)
Even when you start asking for reviews, you might run into issues that tank your results. Here are the big ones:
Your emails have terrible open rates. If you’re using your web host’s default mail server, your emails might be getting filtered as spam or bouncing entirely. Customers can’t review products if they never see your request.
Emails end up in promotions folders. Gmail and other providers often treat review requests like marketing emails, burying them in tabs that customers rarely check.
You have no idea what’s working. Without email tracking, you can’t tell if your review requests are being delivered, opened, or clicked. You’re flying blind.
WP Mail SMTP solves these problems by routing your emails through reliable mail services like SendLayer, Brevo, or SMTP.com. You get better deliverability, detailed logs of what’s happening with your emails, and the ability to track opens and clicks (with the Pro version).

When your emails consistently reach the inbox and look professional, customers are much more likely to respond when you ask for a review.
Step 1: Set Up Reliable Email Delivery for WooCommerce
Before you write a single review request email, you need to fix your email foundation. Most WordPress sites use the default PHP mail function, which is unreliable and often gets flagged as spam.
Install and Configure WP Mail SMTP
First, install the WP Mail SMTP plugin from your WordPress admin or download it first from your account if you’ve opted for the Pro version. The free version handles basic SMTP routing, while the Pro version adds email logging and tracking features that are incredibly useful for review campaigns.
After installation, you’ll need to choose an email service. We recommend SendLayer, Brevo, or SMTP.com for WooCommerce stores. For detailed setup instructions and comparisons of all supported mailers, check out our complete mailer guide.

Once you’ve chosen a service, add your API or SMTP credentials in the WP Mail SMTP settings.
Verify Your Domain Authentication
This step is crucial but often skipped. You need to add SPF, DKIM, and DMARC records to your domain’s DNS settings. These records tell email providers that you’re authorized to send emails from your domain.
Your email service will provide the exact DNS records to add. Yes, it’s a bit technical, but it makes a huge difference in deliverability. We provide step-by-step guides to DNS setup for the most popular providers, but If you’re not comfortable with DNS changes, ask your web developer or hosting provider for help.
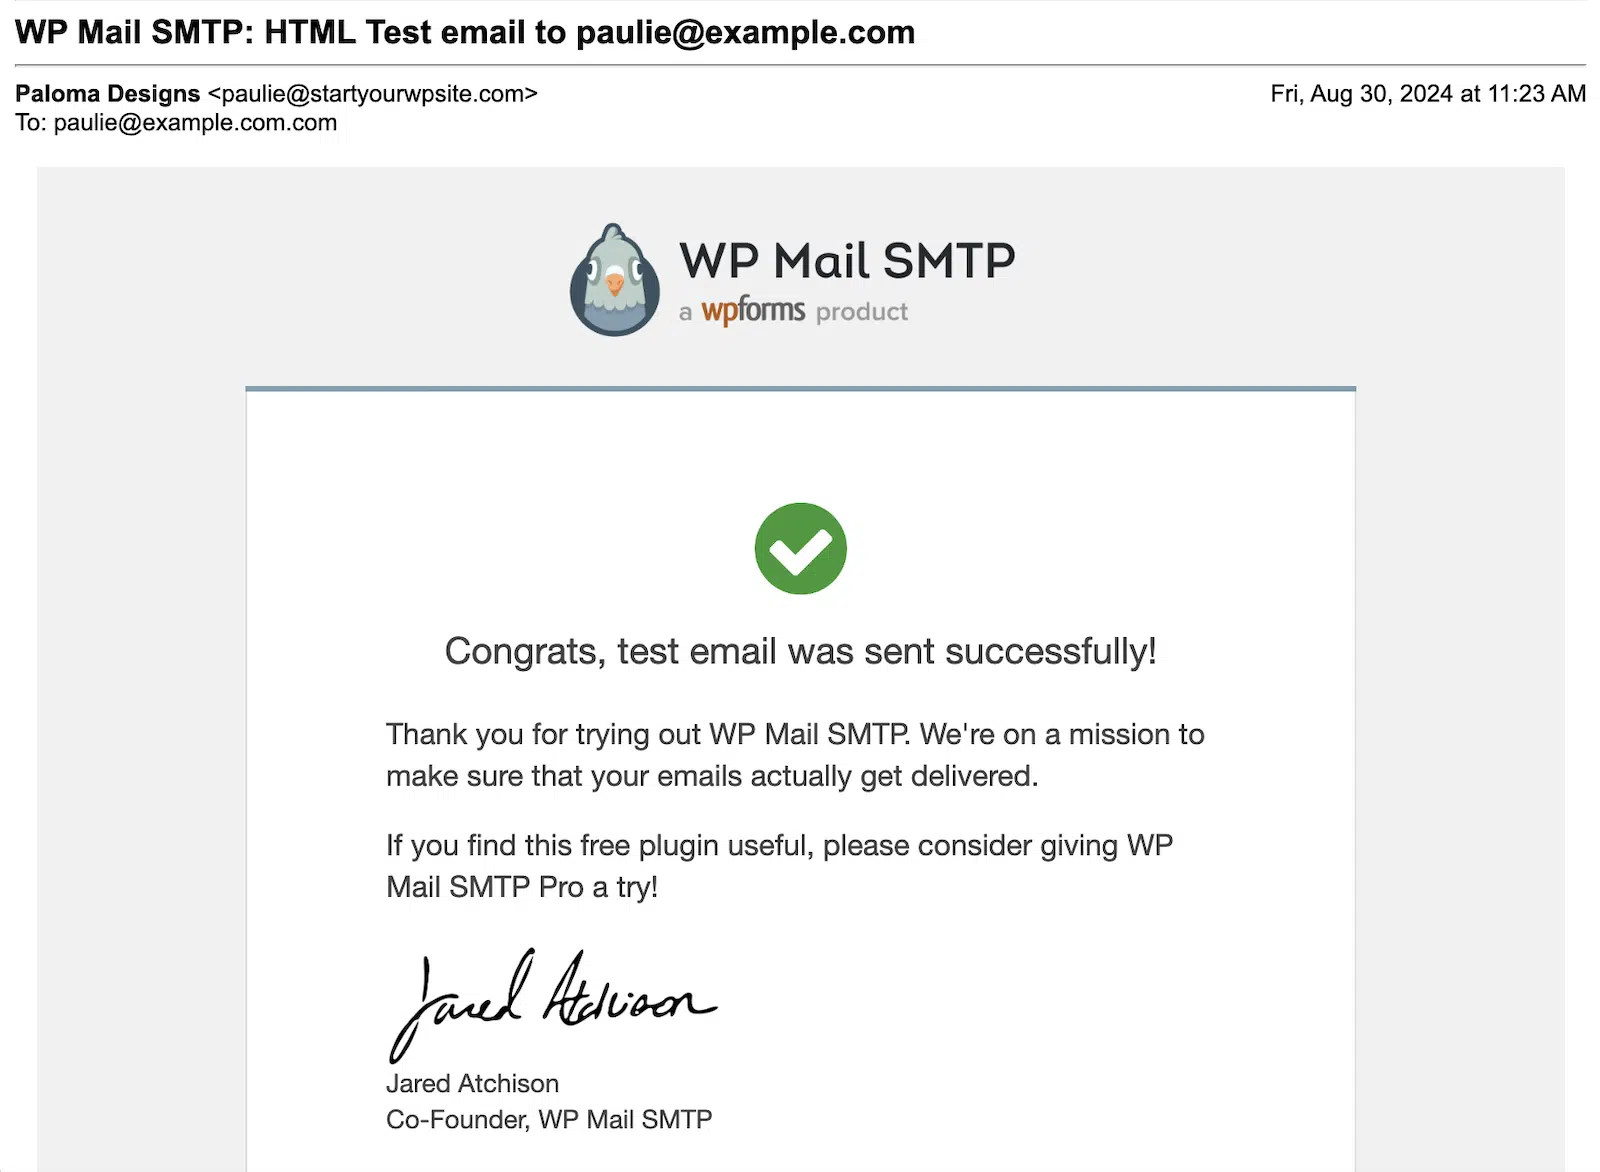
After setting up authentication, send a test email from your WP Mail SMTP settings page. Check that it arrives in your inbox to confirm it’s not being marked as spam
Enable Email Logging and Tracking (Pro Feature)
If you upgrade to WP Mail SMTP Pro, enable email logging immediately. This feature tracks every email your site sends, showing delivery status, open rates, and click rates.

For review campaigns, this data is gold. You can see which customers received your review requests, who opened them, and who clicked through to leave a review. If emails are bouncing or going to spam, you’ll know right away and can fix the issue.
The logs also let you resend emails to customers who didn’t receive them initially so it’s super easy to send out review requests again if they failed the first time for any reason.
Step 2: Write Review Request Emails That Actually Work
Now that your emails will reach the inbox reliably, it’s time to craft requests that customers actually respond to. Most review emails fail because they’re either too pushy or too generic.
Timing: When to Send Your Review Requests
Don’t ask for a review immediately after purchase. Your customer hasn’t even received the product yet. Instead, wait until they’ve had time to use what they bought.
For most physical products, send your first review request 7 days after the order shows as delivered. This gives customers time to unpack, try the product, and form an opinion.
For digital products or services, you can ask sooner – maybe 3-5 days after purchase, once they’ve had a chance to experience what they bought.
Subject Lines That Get Opened
Your subject line makes or breaks your email. Skip the generic “Please review your recent purchase” and try something more personal:
- “How’s your [Product Name] working out?”
- “Quick question about your [Product Name]”
- “Got a minute to help future customers?”
The key is making it feel like a genuine question, not a marketing blast. Including the specific product name helps customers immediately understand what you’re referring to.
Email Copy That Converts
Keep your email short and focused. Here’s a template that works:
“Hi [Customer Name],
How are you enjoying your [Product Name]? We hope it’s everything you expected.
If you have a minute, would you mind sharing your experience with a quick review? Your feedback helps other customers make confident purchases and helps us improve our products.
[Review Button: “Share Your Experience”]
Thanks for choosing [Store Name]!
[Your Name]”
Notice what this email does right: it’s personal, acknowledges the specific product, explains why reviews matter, and keeps the ask simple. The call-to-action button should link directly to the product’s review section, not your homepage.
Make It Easy to Leave a Review
This is where many stores lose customers. Don’t make people hunt for where to leave a review. Your email should link directly to the review form for that specific product.
If possible, include quick star rating links in the email itself. Some customers will click a 5-star button right from their inbox, while others prefer to write detailed reviews on your site.
Step 3: Automate Your WooCommerce Review Requests
Manually sending review emails is a recipe for inconsistency. You’ll forget, get busy, or just lose track of which customers need follow-ups. Automation fixes this.
Use ShopMagic for Review Request Automation
ShopMagic is a powerful (and free) automation plugin that makes setting up review requests straightforward. Here’s the complete setup process:
In your WordPress admin, go to Plugins » Add Plugin and in the search bar, type “ShopMagic”
Look for “Free Follow-Up Emails & Marketing Automation for WooCommerce – ShopMagic” by WP Desk

Click Install Now and then Activate once installation completes
You’ll see a new “ShopMagic” menu item appear in your WordPress admin sidebar. Click on it to expand the submenu.
Click on Automations, and on the ShopMagic Automations page, click Add New.

Next, fill in the automation details:
You can name your automation anything you want but I suggest something like “Review Request Email.”
From the Event dropdown choose Order Completed. This WooCommerce status is only set when an order has been fully processed, shipped and delivered so you can ensure your customer has the item they purchased from your store before requesting an email.

If you’d like to set a one-week (or any set time delay) before sending out the email, you can upgrade ShopMagic to the pro version, which includes Delayed Actions to delay sending any of your WooCommerce emails by any number of minutes, hours, days, or weeks.
If you wish, you can add a filter to your action, for example only sending a review request email for certain order types.
Next, scroll down to Actions, click the Add Action button, and choose Send Email from the dropdown.

Here you need to fill in the email content you decided on earlier or use this example template:
The {{ }} placeholders automatically pull in customer names, product details, and direct review links, making each email personal and easy to act on.
Once you’ve written your review request email, review all your settings to ensure they’re correct, click the Save button, and set the automation to Published.

To test your email, create a test order on your store, then go to WooCommerce » Orders and manually change the test order status to “Completed.” The email should be triggered and sent to you. You can also use ShopMagic’s preview feature to send a test email to yourself immediately.
If you don’t receive the email, check the WP Mail SMTP email log to make sure it was sent successfully.
Make the Most of Your Reviews Once You Get Them
Collecting reviews is only half the battle. You need to showcase them effectively to maximize their impact on your sales and SEO.
Enable WooCommerce Review Schema
WooCommerce automatically adds review schema markup to your product pages, which helps those star ratings appear in Google search results. Make sure this feature is enabled by going to WooCommerce > Settings > Products and checking that “Enable reviews” is turned on.
Those star ratings in search results can significantly boost your click-through rates, bringing more traffic to your store.
Display Top Reviews on Your Homepage
Don’t hide your best reviews on individual product pages. Create a testimonials section on your homepage featuring your most compelling 5-star reviews.
You can do this manually by copying standout reviews, or use a plugin that automatically pulls and displays recent reviews. This gives visitors immediate social proof when they land on your site.
Sync Reviews to Google Shopping
If you use Google Shopping ads, make sure your product reviews sync to your shopping feed. This adds star ratings to your shopping ads, which can improve click-through rates and ad performance.
Most WooCommerce Google Shopping plugins include review sync as a feature, but double-check that it’s enabled in your settings.
Frequently Asked Questions
Many of our users ask us for advice about sending emails and requesting reviews with WooCommerce. Here are some of the most common questions we receive:
How do I ask for reviews without annoying customers?
Keep your request genuine and helpful. Focus on how their feedback helps other customers make decisions, rather than how it benefits your business. Send only one or two emails, spaced at least two weeks apart, and always make it easy to unsubscribe.
Why are my WooCommerce review emails going to spam?
This usually happens when you’re using your web host’s default mail server instead of a dedicated email service. Install WP Mail SMTP and configure it with a service like SendLayer, Brevo, or SMTP.com. Also make sure you’ve set up SPF, DKIM, and DMARC records for your domain.
Can I offer a discount for leaving a review legally?
In most places, yes, but you need to be transparent about it. The FTC requires that you disclose any incentives clearly in your review request. Something like “Leave a review and get 10% off your next order” is fine, but avoid anything that could be seen as paying specifically for positive reviews.
What’s the best time of day to send review requests?
Email timing matters less than you might think, especially for review requests. These aren’t urgent emails, so customers will open them when convenient. That said, Tuesday through Thursday between 10 AM and 2 PM typically see good open rates for most businesses. More important is waiting the right amount of time after purchase (about 7 days for physical products).
And that’s it! Now you know how to get more WooCommerce product reviews with the help of some clever email automation.
Don’t forget to make sure you have WP Mail SMTP installed and configured with a reputable transactional email service to make sure those important review requests hit the inbox.
Fix Your WooCommerce Emails Now
Next, Test Your WooCommerce Emails
Want to make sure your WooCommerce emails are reaching the inbox and look the way you intended? Follow our guide to testing WooCommerce emails, which includes two methods to make sure your emails hit the mark.
Ready to fix your emails? Get started today with the best WordPress SMTP plugin. If you don’t have the time to fix your emails, you can get full White Glove Setup assistance as an extra purchase, and there’s a 14-day money-back guarantee for all paid plans.
If this article helped you out, please follow us on Facebook and Twitter for more WordPress tips and tutorials.