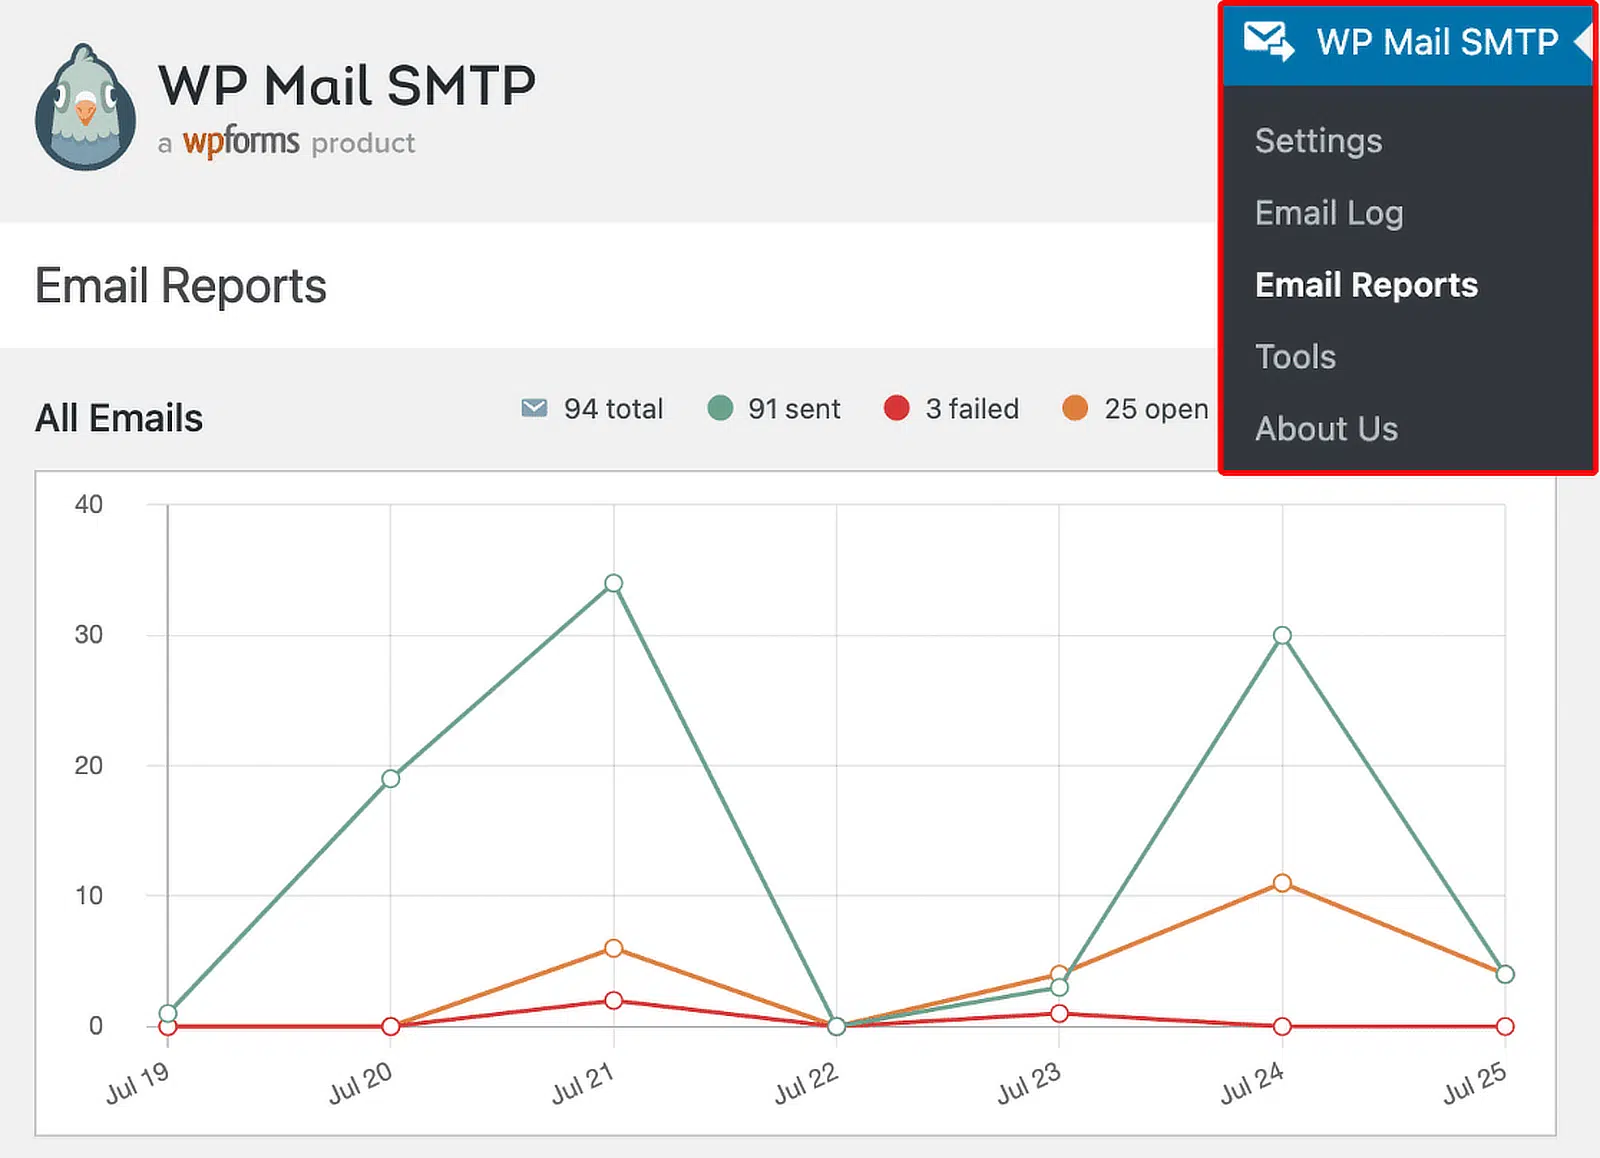
AI Summary
Do you want to enable WordPress email tracking on your site?
Email tracking lets you see whether your recipients are receiving and opening your emails from WordPress.
In this article, I’ll explain how to track email opens in WordPress so you can get these extra insights.
Track Your WordPress Emails Now! 🙂
Do I Need an Email Log Plugin to Track Emails?
No. If you have WP Mail SMTP Pro, you don’t need a separate email log plugin to track opens and clicks. WP Mail SMTP lets you track all sent emails when you enable email logging.
It makes sense to use 1 plugin for WordPress SMTP and tracking so you avoid any plugin conflicts that might affect email deliverability.
How Does Email Tracking Work in WP Mail SMTP?
WP Mail SMTP adds an invisible 1×1 pixel image to the email content so that it can detect when it’s opened. This link points back to a WP REST API endpoint on your WordPress site.
In less technical terms, that means your WordPress site receives a signal when the email is opened. That’s what updates the open tracking data. The image won’t elevate your email spam score.

WP Mail SMTP click link tracking works by replacing your website links with a unique, trackable URL automatically. This allows the plugin to detect the click, and it won’t interfere with the functionality of your website.
Link tracking doesn’t replace special links (like mailto: links for email addresses).
How To Enable WordPress Email Tracking
If you already have WP Mail SMTP Pro installed, you can skip right to the enable email tracking section.
1. Install WP Mail SMTP Pro
First, you’ll want to install WP Mail SMTP. To track your WordPress emails, you’ll need the Pro license or higher. The Pro version includes email logging.
It works like a Sent folder for WordPress emails and lets you optionally save the content and copies of email attachments sent from WordPress.
If you want someone to set everything up for you, the Elite license is a better choice because it includes White Glove Setup.
That means an expert from the WP Mail SMTP support team will set up SendLayer, SMTP.com, or Brevo (formerly Sendinblue) for your site.

I took this screenshot during a sale. Click here to see if these prices are still available!
If you’re ready to install the plugin by yourself, first grab the plugin zip file from the Downloads page in your WP Mail SMTP account. Click the orange Download WP Mail SMTP button to save a copy to your computer.

Next, open your WordPress dashboard and head to Plugins » Add New.

Now click the Upload Plugin button at the top of the screen.

Click Choose File to select the plugin zip file from your Downloads folder. Then click Install Now to install it.

Once you’ve installed and activated the plugin, the WP Mail SMTP Setup Wizard will open.
If you want to come back to this tutorial later, you can head to WP Mail SMTP » Settings and click the Launch Setup Wizard button to open the Setup Wizard manually.

Now we’re ready to choose an email service provider for your WordPress site.
2. Choose an Email Provider
Before you go ahead with the Setup Wizard, it’s worth thinking about the features you want from your email service provider. Click Let’s Get Started to view the options.

WP Mail SMTP will display a list of email providers supported in the plugin.

Before choosing one, let’s define what we mean by ’email tracking’ so you can make the right choice here. WP Mail SMTP supports 2 different types of tracking for your sent emails:
- Open and click tracking tells you if your emails are being opened and the links are being clicked. This works with all mailers in WP Mail SMTP Pro.
- Delivery status tracking tells you if the email was successfully sent. In addition, transactional mailers can also tell you if it was Delivered.
To make this clear, here’s a chart to illustrate the delivery statuses you’ll be able to see.
| Email Service | Failed | Sent | Waiting | Delivered |
|---|---|---|---|---|
| SendLayer | ✓ | ✓ | ✓ | ✓ |
| SMTP.com | ✓ | ✓ | ✓ | ✓ |
| Brevo | ✓ | ✓ | ✓ | ✓ |
| Amazon SES | ✓ | ✓ | ||
| Gmail / Google Workspace | ✓ | ✓ | ||
| Mailgun | ✓ | ✓ | ✓ | ✓ |
| Microsoft 365 / Outlook.com | ✓ | ✓ | ||
| Postmark | ✓ | ✓ | ✓ | ✓ |
| SendGrid | ✓ | ✓ | ||
| SparkPost | ✓ | ✓ | ✓ | ✓ |
| Zoho Mail | ✓ | ✓ | ||
| Other SMTP | ✓ | ✓ |
So for the best possible visibility, we recommend one of the following:
- SendLayer
- SMTP.com
- Brevo
- Mailgun
- Postmark
- SparkPost
If you go with a different mailer (like Gmail or Other SMTP), your tracking link and email open tracking will still work fine. You’ll just miss out on being able to see if emails were Delivered.
All set? When you’re ready to proceed, click the mailer you want to use. You can follow our documentation to complete the connection to your chosen SMTP server or API.
| Mailers available in all versions | Mailers in WP Mail SMTP Pro |
|---|---|
| SendLayer | Amazon SES |
| SMTP.com | Microsoft 365 / Outlook.com |
| Brevo | Zoho Mail |
| Google Workspace / Gmail | |
| Mailgun | |
| Postmark | |
| SendGrid | |
| SparkPost | |
| Other SMTP |
If you have any trouble, check out this guide on how to configure your WordPress SMTP settings.
Once you’ve chosen your mailer, you’ll be asked to select which features you want to enable in WP Mail SMTP. Improved Email Deliverability and Email Error Tracking are required and turned on automatically.
You’ll need to make sure Detailed Email Logs is selected here.

Turning on this feature will automatically turn on Complete Email Records as well. You can choose to turn on the Weekly Email Summary option if you want to receive a report with an overview of your email logs each week.
The Instant Email Alerts option will notify you if an email fails to send from your WordPress site. Once you’ve enabled all the features you want to use, move to the next step in the Setup Wizard.
3. Enable WordPress Email Tracking
Once you’ve turned on email logging, you’ll be able to see if your emails delivered successfully.
However, there are a few more options you can enable to make your logs even more useful. In the next step of the Setup Wizard, you have the option to:
- Store the content for all sent emails. This saves the content of your WordPress emails in your site’s database and lets you resend emails.
- Save file attachments sent from WordPress. Enable this to save file attachments in your WordPress site’s Uploads folder.
- Track when an email is opened. This feature lets you see when recipients open your emails.
- Track when a link in an email is clicked. Turn on this option to see when recipients click on the links in your emails.

Once you’ve configured these settings, you can finish the Setup Wizard. If you ever need to change your email log settings, go to WP Mail SMTP » Settings.

Then click the Email Log tab at the top of the Settings screen to open your email logging settings.

One option that isn’t available in the Setup Wizard is the Log Retention Period, which lets you choose how long sent emails should be saved. If you’re concerned about the email log taking up disk space, change this setting here.

If you set any Log Retention Period other than Forever, your email logs will be deleted after your chosen amount of time to avoid taking up space. Keep in mind that this also deletes any attachments associated with them.
Now click Save Settings at the bottom to enable WordPress email logging on your site. That’s it! From this point on, every HTML email that’s sent will be tracked. Next, we’ll put it to the test.
4. Check Email Tracking Analytics in WordPress
Now we’ve set up email tracking in WordPress, your email log is logging open and click activity using an invisible image.
To see how this works, you can send an HTML test email from WP Mail SMTP, or fill in your contact form. When you receive the email, open it up in your email application.
Now let’s check your open and click analytics in WordPress.
See Opens and Clicks in the Email Log
You can view email open and click analytics right from the Email Log page. This gives you a quick overview of audience engagement. Head to WP Mail SMTP » Email Log in the admin dashboard.

You’ll now have 2 new columns for open and click tracking. This gives you a handy overview of email interaction at a glance.

Remember, if you see N/A here, the email was text-only rather than HTML.
See Opens and Clicks in the Email Details Screen
Next, we can try opening up any email log in its own window to see the email tracking information. This is a super convenient way to get all of the information about an email in 1 place.
Everything’s listed on the right-hand side:

Remember how we talked about the Delivered status? This email log shows us that information with a color-coded icon.
Export Email Opens and Click Data From WordPress
Finally, here’s an awesome feature that’ll really help you out if you want to analyze your opens and clicks in a 3rd party dashboard. You can export email log data from the Tools menu in WP Mail SMTP.

From the tabs across the top, click Export.

EML export will export a copy of the email itself (including the body and attachments if you’re logging those).
So to export the open and click data, you’ll want to choose CSV or XLSX format under Export Type.

Now scroll down and click the checkboxes next to Opened and Clicked.

When you download the file, you can see open and click data in the email log export. Each one is reported in its own column.

And that’s it! Now you know how to track email opens and clicks in WordPress emails and export the data whenever you need to!
FAQs on How to Enable WordPress Email Tracking
WordPress email tracking is a popular topic of interest among our readers. Here are answers to some common queries about it:
How do I track link clicks in WordPress emails?
Turn on Click Link Tracking in WP Mail SMTP » Settings » Email Log. The plugin records each click in the email log for new messages you send.
Can WordPress track email opens without code?
Yes. In WP Mail SMTP, enable Open Email Tracking. The plugin adds a tiny tracking image for you. No coding needed.
How do I turn on open and click tracking in WP Mail SMTP?
Go to WP Mail SMTP » Settings » Email Log and switch on Enable Log, Open Email Tracking, and Click Link Tracking. Save, then send a test email.
How can I see if an email was delivered, failed, or bounced in WordPress?
Open WP Mail SMTP » Email Log. You’ll see status for each message (sent or failed). Full bounce details come from your mailer’s dashboard (e.g., SendLayer, SES, SendGrid).
Does email tracking work with WooCommerce order emails?
Yes. Once tracking is on, WooCommerce emails are logged like any other WordPress email. You’ll see opens, clicks, and status in the log.
Can I export open and click data from WordPress?
Yes. In WP Mail SMTP, go to Tools » Export, download a CSV with subject, recipient, status, opens, clicks, and more. Filter by date or source first if you like.
Why is my email tracking plugin not working in WordPress?
Common causes: tracking was off when the email was sent, the email was plain text, caching rewrote links, or the mailer is misconfigured. Turn tracking on, send a fresh HTML test, and check Tools » Email Test.
How do I track email opens with Google Analytics (GA4)?
GA4 can’t track opens. Use WP Mail SMTP for opens. GA4 is best for tracking what users do after the click on your site.
Do I need Google Tag Manager to track email clicks?
No. WP Mail SMTP tracks clicks in the email itself. GTM is only needed if you want extra on‑site events beyond what GA4/MonsterInsights already record.
Will email tracking slow down my site?
No. Tracking uses small calls and stored logs. For big sites, export or clear old logs on a schedule to keep the database tidy.
How do I test if email tracking is working?
Send yourself a test under WP Mail SMTP » Tools » Email Test. Open the message and click a link, then check the email log for an open and a click.
Can I track emails sent by Contact Form 7, WPForms, and other plugins?
Yes. If the plugin sends mail through WordPress, WP Mail SMTP can log it and record opens and clicks once tracking is enabled.
Is email open tracking accurate with modern inbox apps?
Not always. Some apps cache images or hide opens. Treat opens as a guide and rely on click data when you need a stronger signal.
Next, Check Out the Best WordPress Email Plugins
Do you want to improve email deliverability or send newsletters from WordPress? We put together a list of the best email plugins that you should definitely check out!
Ready to fix your emails? Get started today with the best WordPress SMTP plugin. If you don’t have the time to fix your emails, you can get full White Glove Setup assistance as an extra purchase, and there’s a 14-day money-back guarantee for all paid plans.
If this article helped you out, please follow us on Facebook and Twitter for more WordPress tips and tutorials.