


AI Summary
Do you want to fix your WordPress email issues with the SendGrid provider?
Connecting SendGrid to WordPress used to be the default free fix for email problems. It isn’t free anymore, and that’s worth knowing before you start.
In this guide, you’ll learn how to connect SendGrid to WordPress with the WP Mail SMTP Setup Wizard.
What Is SendGrid, and Is It Still Free?
SendGrid is an email delivery service that sends your site’s mail through its API instead of your web host’s mail server. And no, it’s no longer free permanently.
Twilio retired SendGrid’s free plan on May 27, 2025. What’s left is a 60-day trial that sends up to 100 emails a day. After that, you move to a paid plan or you stop sending.
That’s the honest starting point. Here’s what you get for it:
- API-based sending. More secure and more reliable than plain SMTP.
- Domain authentication. DNS records prove your mail is really from your domain.
- Delivery activity. You can see what was delivered, deferred, or bounced.
- Scale. SendGrid handles volume that shared hosting can’t.
SendGrid needs DNS access to set up properly, and it needs an email address on a domain you own. Addresses at @gmail.com or @yahoo.com aren’t suitable here.
How to Create a SendGrid Account
Sign up on SendGrid’s pricing page and pick the plan that fits your sending volume.
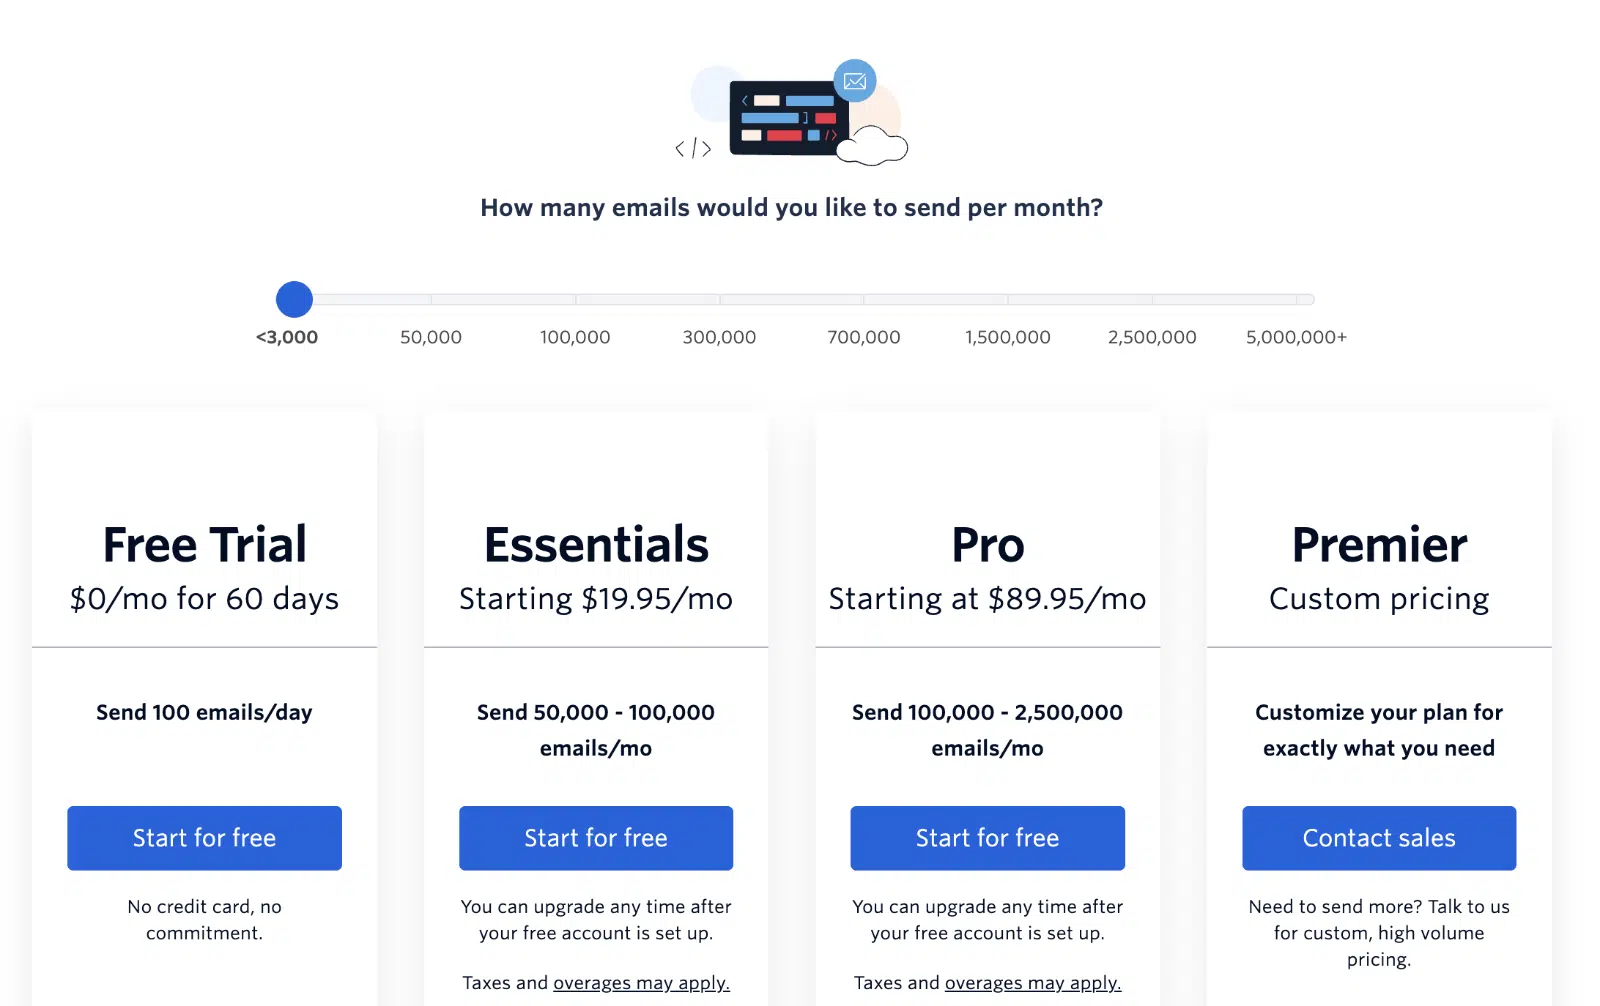
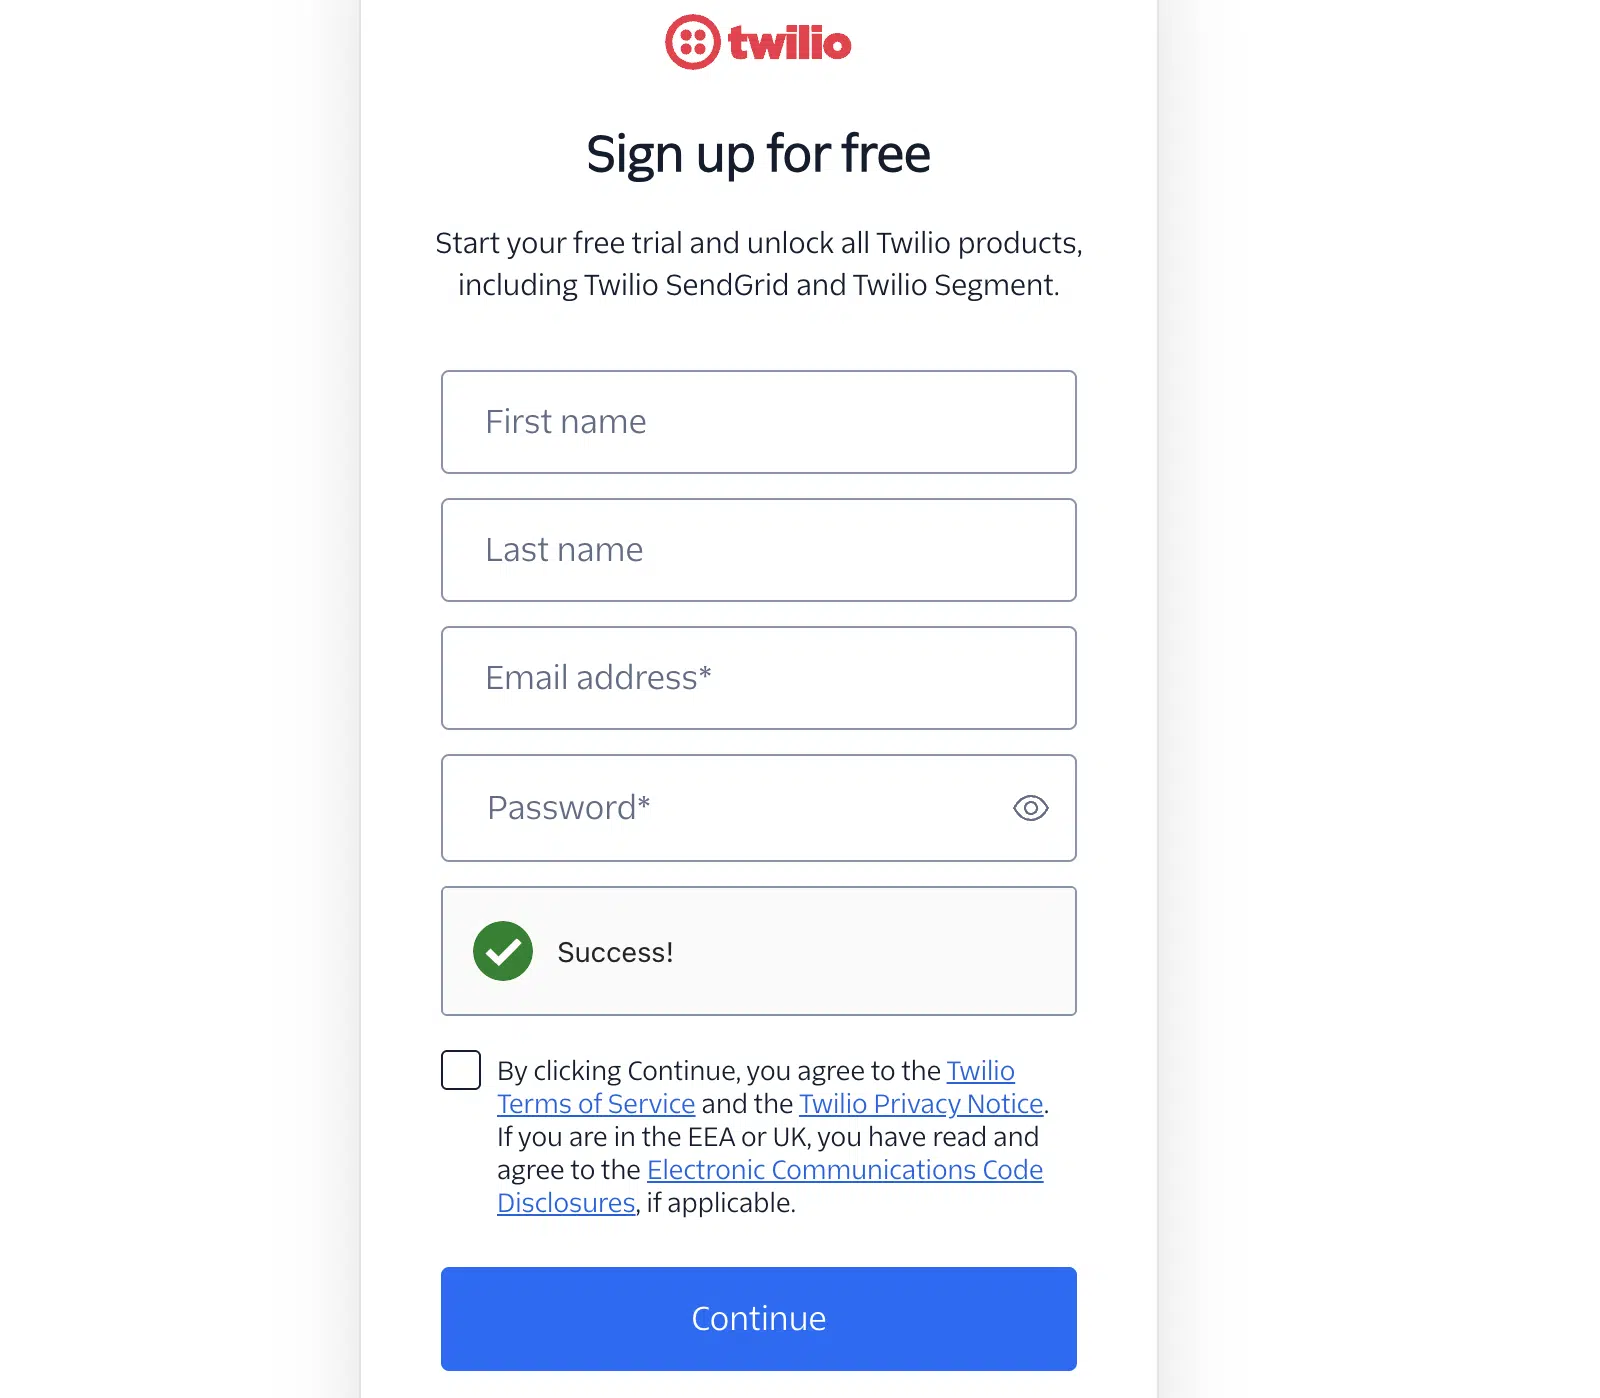
The steps below are the same regardless of which plan you choose. Next, create your username and password.
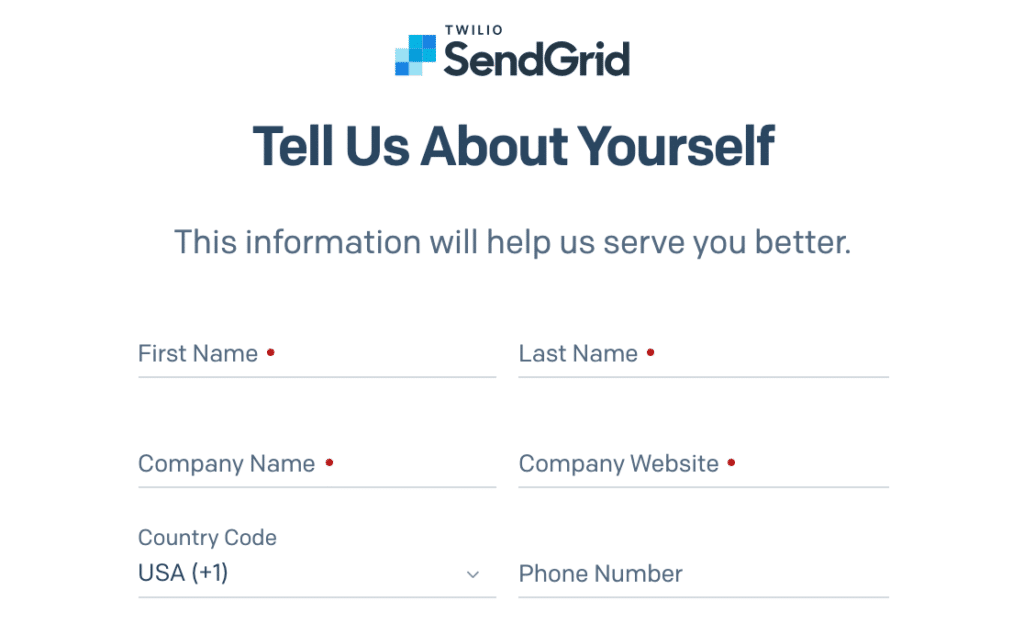
SendGrid then asks a few questions about your business. Fill in the required fields and click Get Started!
How to Authenticate Your Domain in SendGrid
Before you can start sending emails with SendGrid, you’ll need to verify your sending domain.
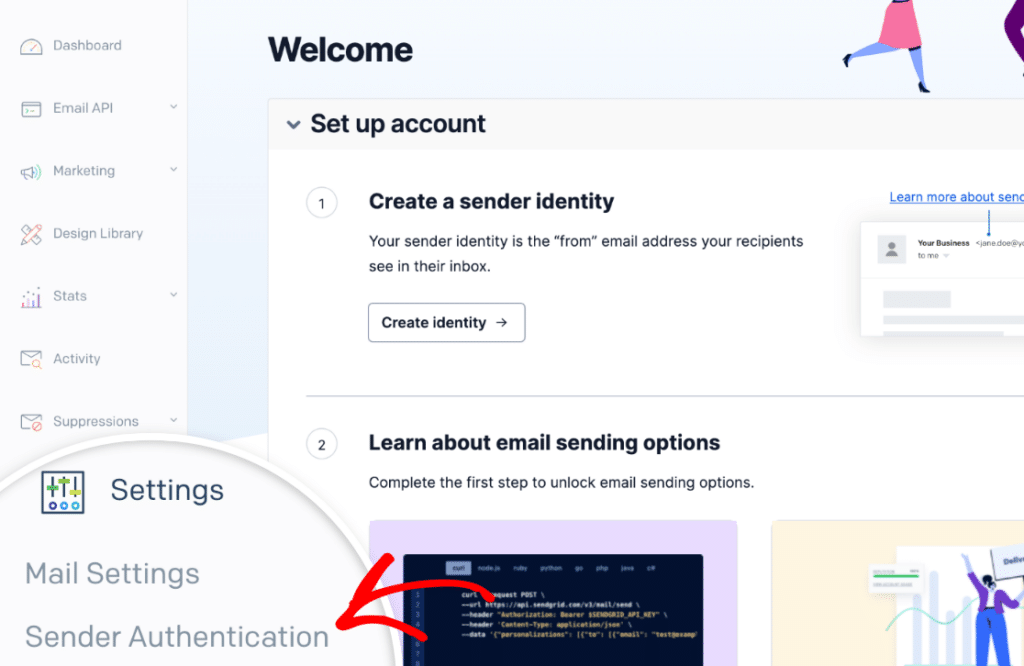
For this, log in to your SendGrid account and navigate to Settings » Sender Authentication. Then start Domain Authentication.
Single Sender or Domain Authentication: Which Should You Use?
Use domain authentication. A single sender gets you sending faster, but it won’t hold up.
| Single sender | Domain authentication | |
| Setup time | 2 minutes | 15 minutes plus DNS wait |
| Needs DNS access | No | Yes |
| Removes “via sendgrid.net” | No | Yes |
| Reliable delivery | No | Yes |
| Good for | A quick test | A live site |
A single sender verifies one address and nothing more. Domain authentication proves you own the whole domain, which is what inbox providers actually check.
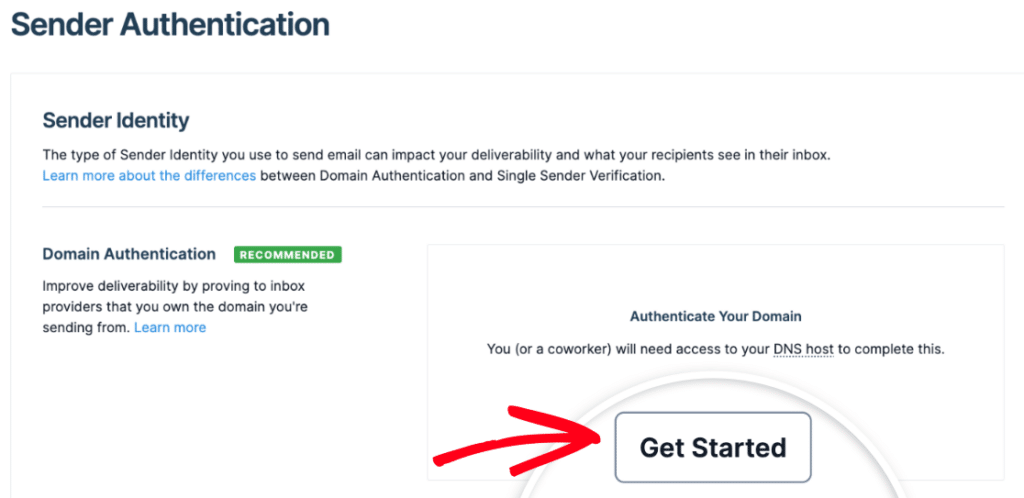
In the Domain Authentication section, click Get Started.
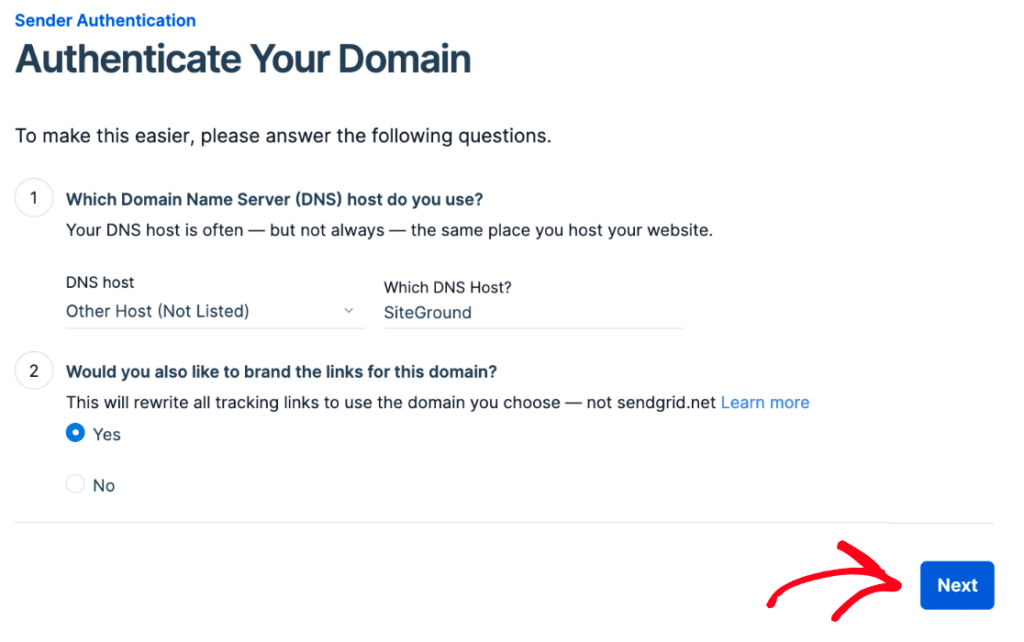
SendGrid asks 2 questions. Pick your DNS host from the list, or choose Other Host (Not Listed). Then answer yes to branding your links, so links in your emails use your domain instead of SendGrid’s.
Click Next.
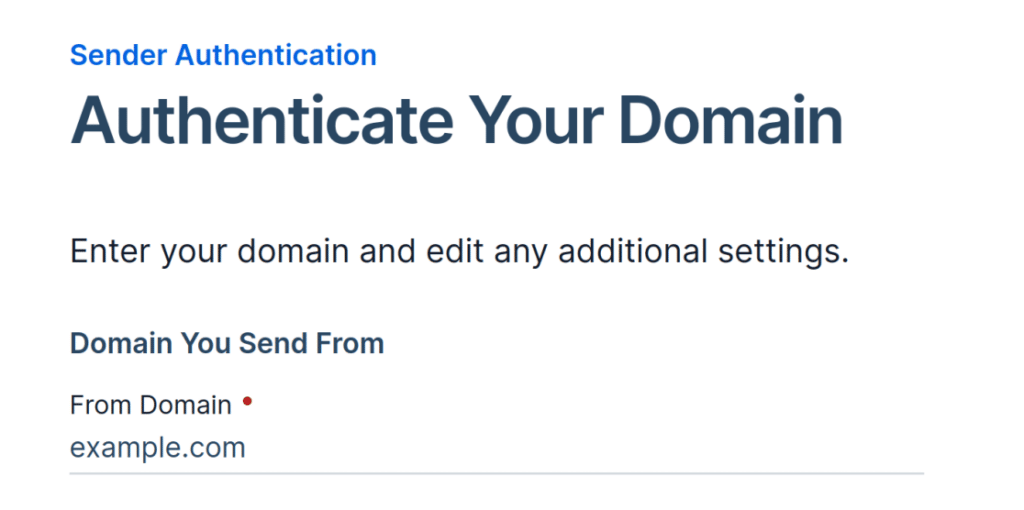
Enter your site’s domain, like example.com.
Which Advanced Settings Do You Need to Change?
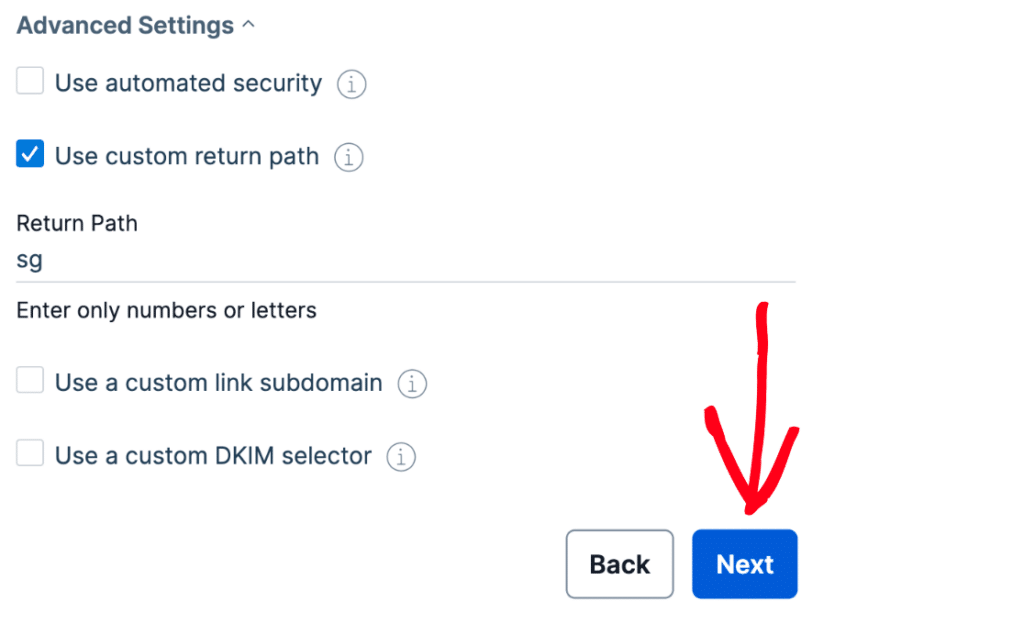
Open Advanced Settings and change 3 things. Skip this and your DNS records won’t verify the way WP Mail SMTP expects.
- Uncheck Use automated security.
- Check Use custom return path.
- Enter a subdomain in the Return Path field.
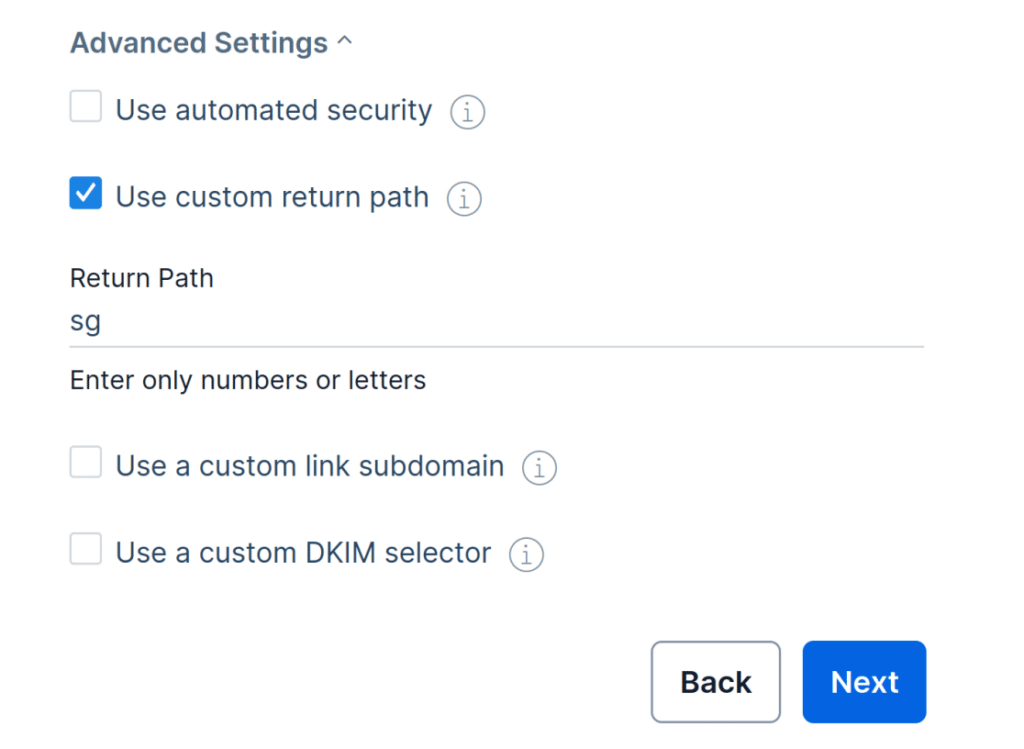
A subdomain replaces the “www” in your address. SendGrid only uses it to send mail, so it never appears on your site.
Use sg unless you have a reason not to. SendGrid recommends avoiding mail, since many hosts already use it, and avoiding underscores, which some DNS providers reject.
Click Next to continue.
How to Add SendGrid’s DNS Records
SendGrid shows you a list of records to add to your DNS.
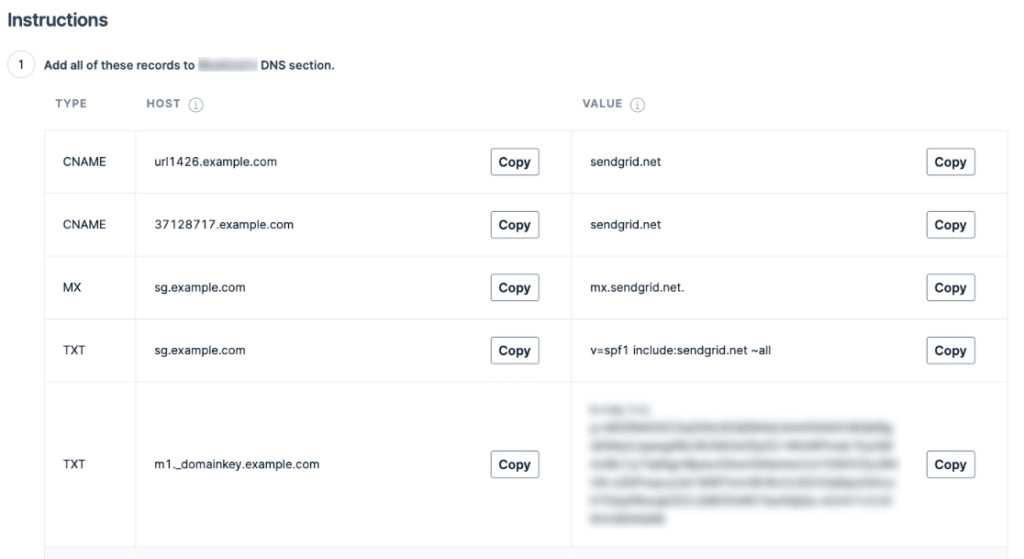
Open your DNS settings and add each record exactly as shown. Copy the values carefully, since one wrong character stops verification.
If there’s a TTL field, set it to one day (86400 seconds).
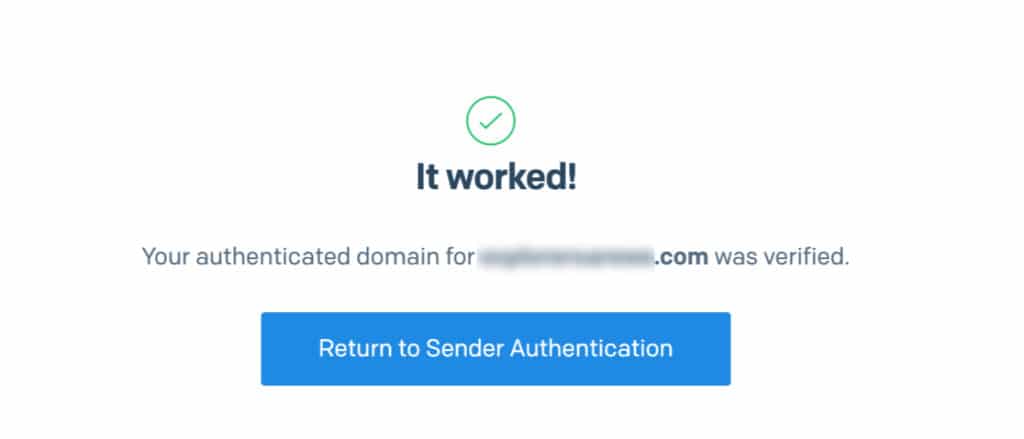
Back in SendGrid, check the box labeled I have added these records, then click Verify.

DNS changes can take up to 48 hours. When they land, you’ll see a success message.
How to Create a SendGrid API Key
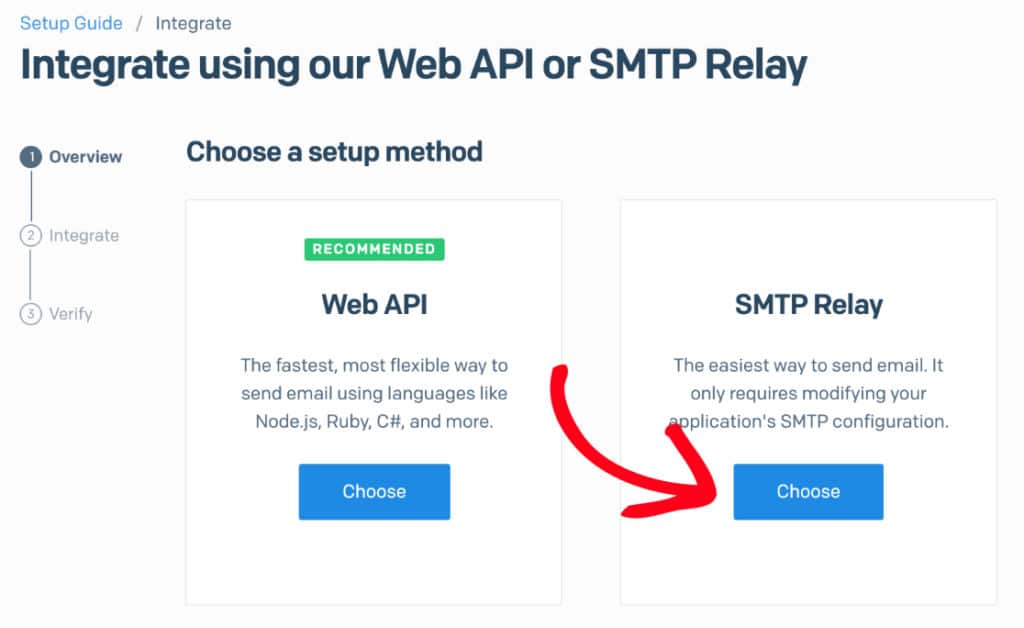
In SendGrid, click Email API » Integration Guide in the left menu.

Click Choose under SMTP Relay.
Name your key, then click Create Key.
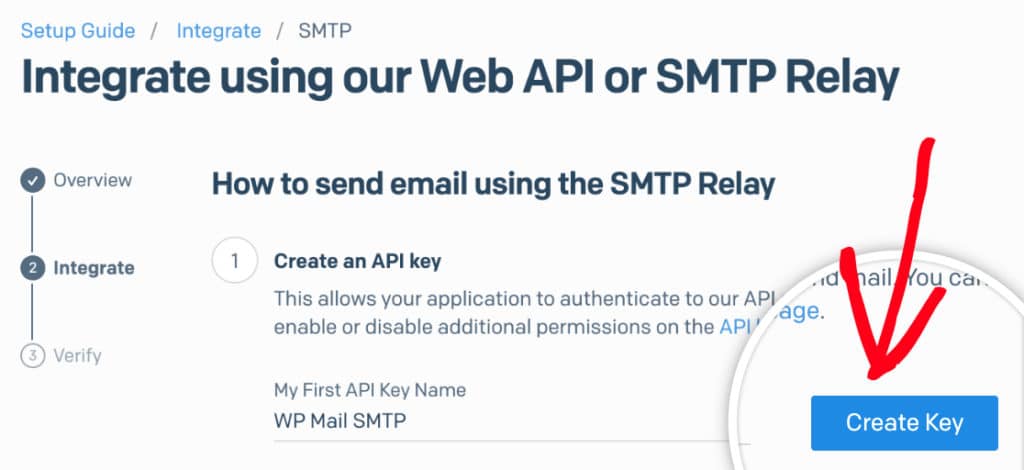
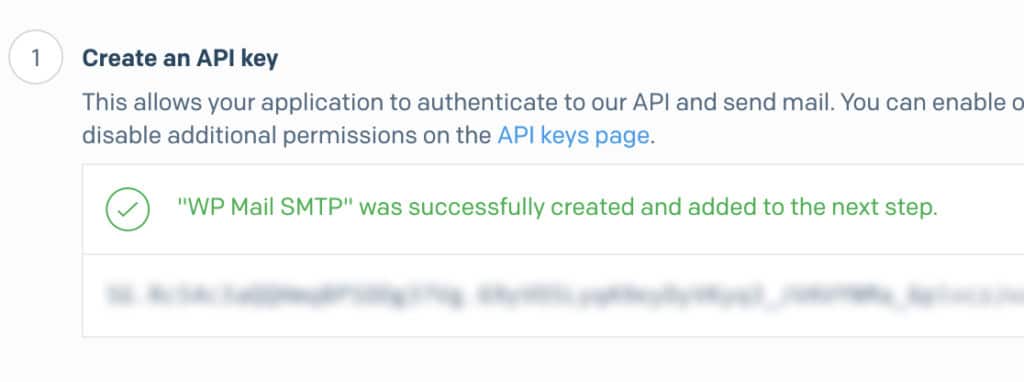
SendGrid generates the key. Leave this page open because you’ll paste it into WordPress next.
How to Connect SendGrid to WordPress With the Setup Wizard
The Setup Wizard walks you through the plugin side in 6 steps and fills in the settings as you go.
Step 1: Launch the Setup Wizard
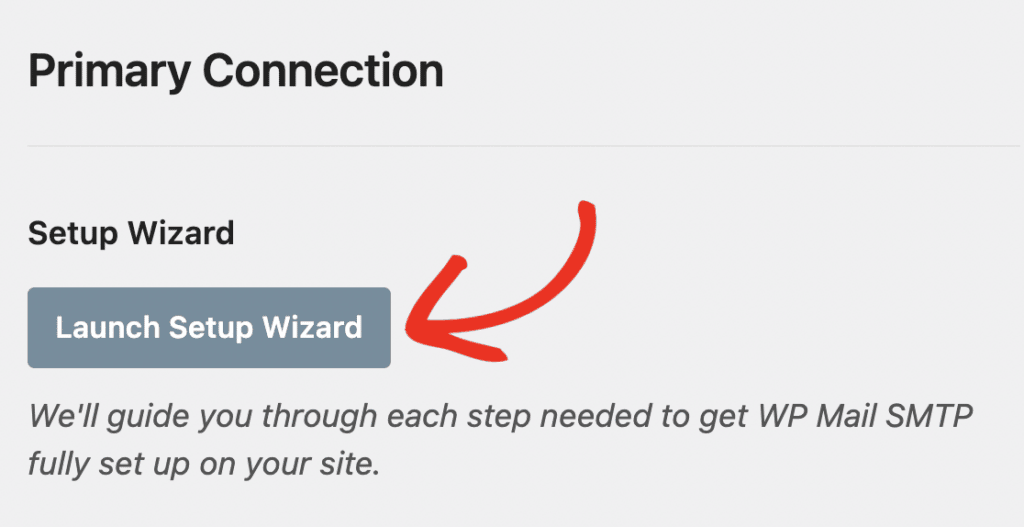
Go to WP Mail SMTP » Settings in your WordPress dashboard. Click Launch Setup Wizard below the Primary Connection section.
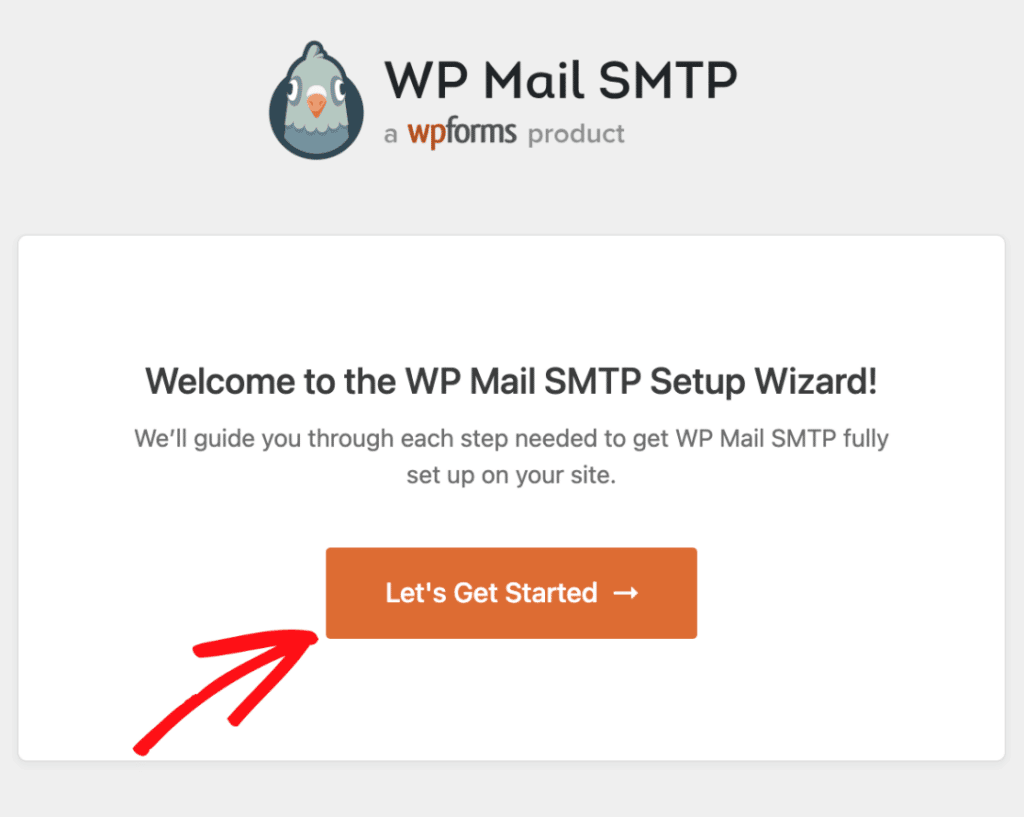
Click Let’s Get Started.
Step 2: Select Your Mailer
Click SendGrid in the mailer grid, then click Save and Continue.

Step 3: Enter Your SendGrid Settings
The wizard shows only the fields SendGrid needs. There are 4, in this order:
- API Key. Paste the key from SendGrid.
- Sending Domain. The full subdomain you authenticated, such as
sg.example.com. - From Name. The sender name on your site’s emails. Turn on Force From Name to apply it everywhere.
- From Email. An address on the domain you authenticated, like
[email protected]. Turn on Force From Email so every email uses it.

Click Save and Continue.
Step 4: Enable Advanced Email Features
Leave Improved Email Deliverability and Email Error Tracking on. They’re on by default and can’t be turned off.
The rest are worth considering:
- Detailed Email Logs. A record of every email your site sends.
- Complete Email Reports. Deliverability stats over time. Needs logs enabled.
- Weekly Email Summary. A weekly digest of your sending. Needs logs enabled.
- Instant Email Alerts. Notifies you by email, SMS, Slack, or webhook when a send fails.
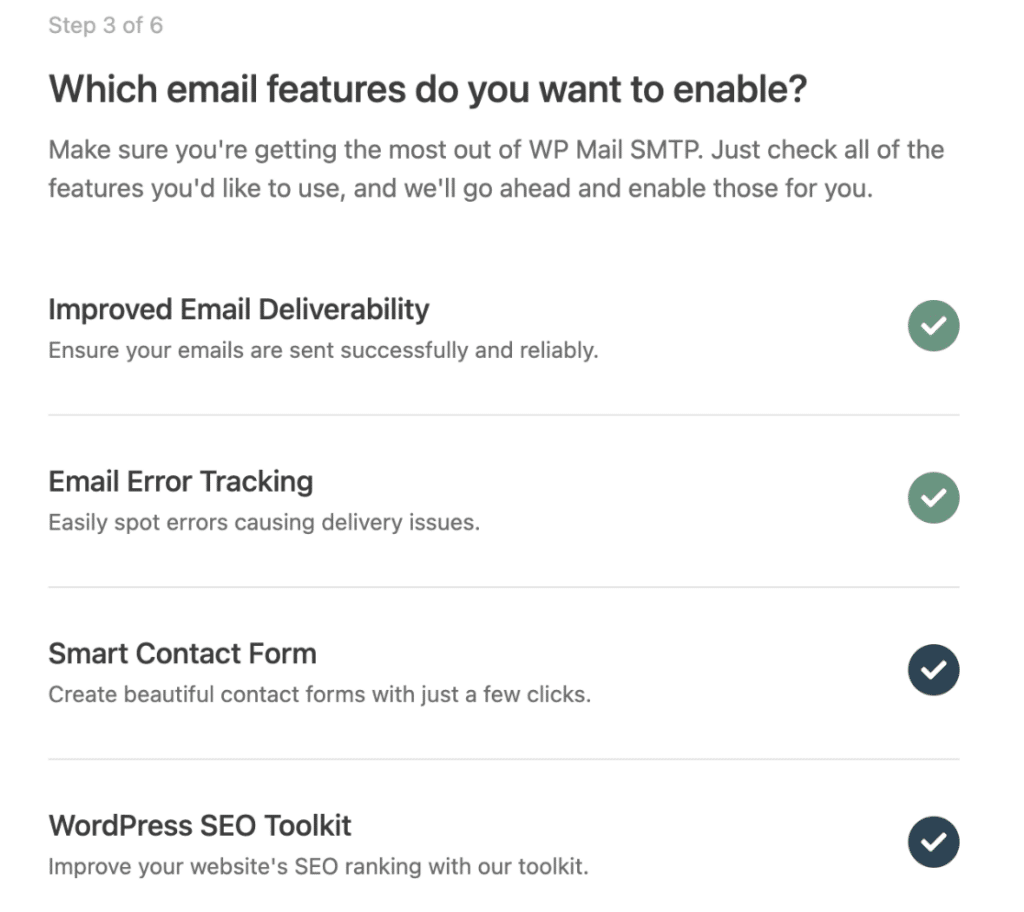
If you turned on logs, the next screen asks what to store. Choose your options and click Save and Continue.
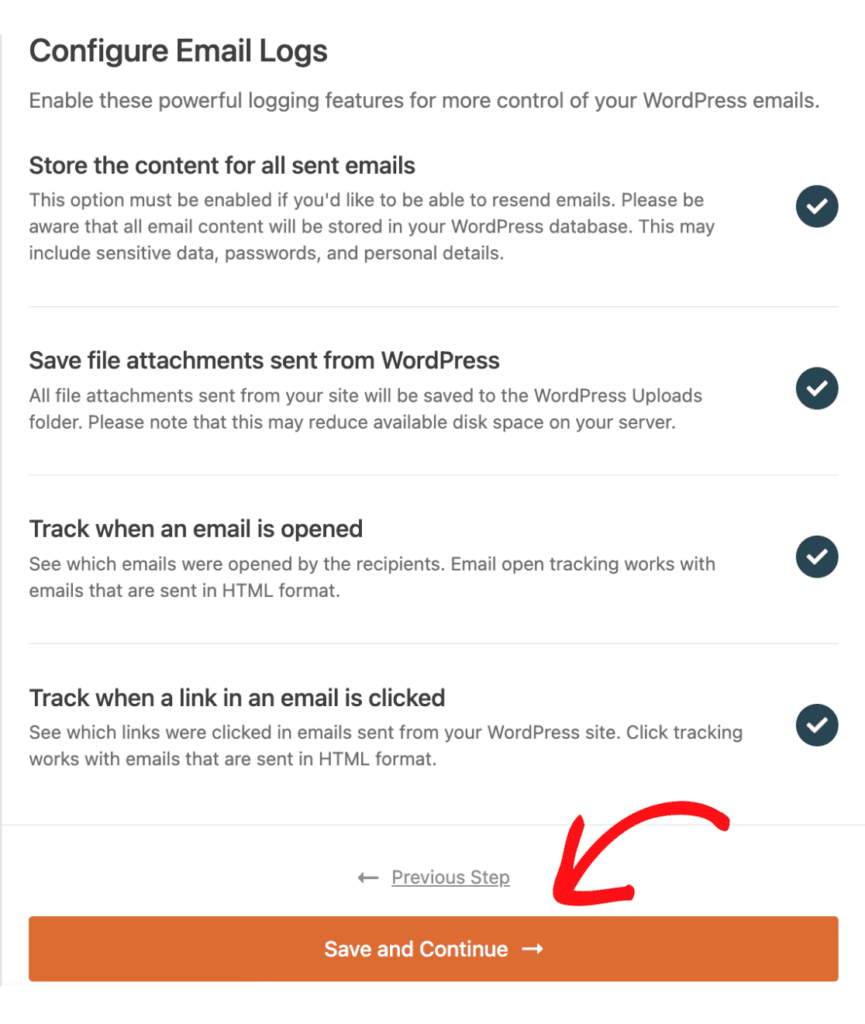
Step 5: Verify Your License (Optional)
Finally, paste your license key and click Verify License Key. Or click Skip this Step and do it later.
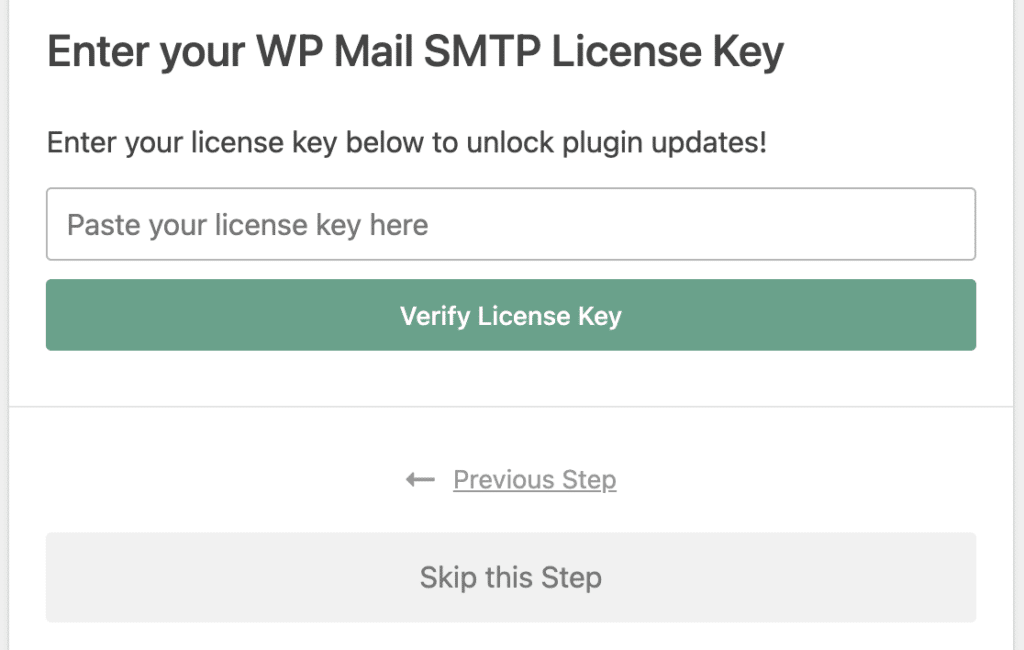
If you’d like to access automatic updates and advanced features, a valid license key is required.
How to Send a Test Email
The wizard sends one automatically at the end of setup.
If everything’s right, you’ll see “Congrats, you’ve successfully set up WP Mail SMTP!” Click Finish Setup.
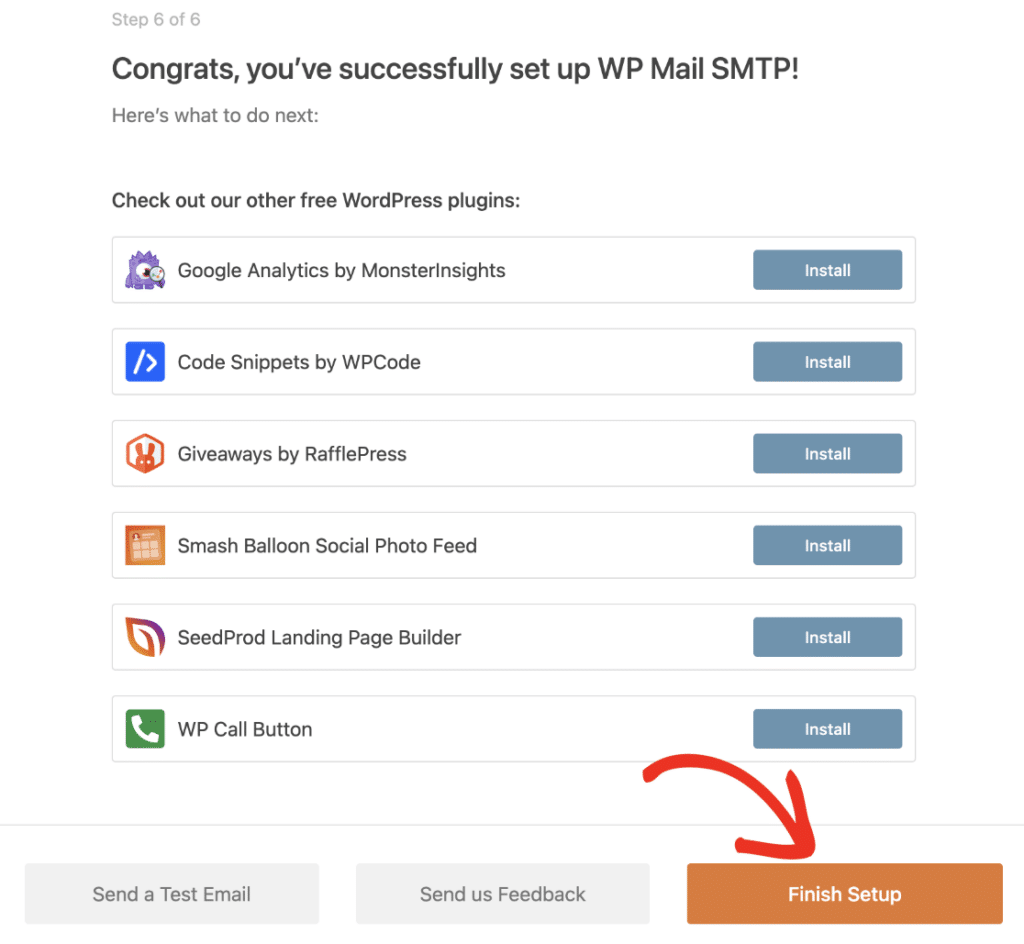
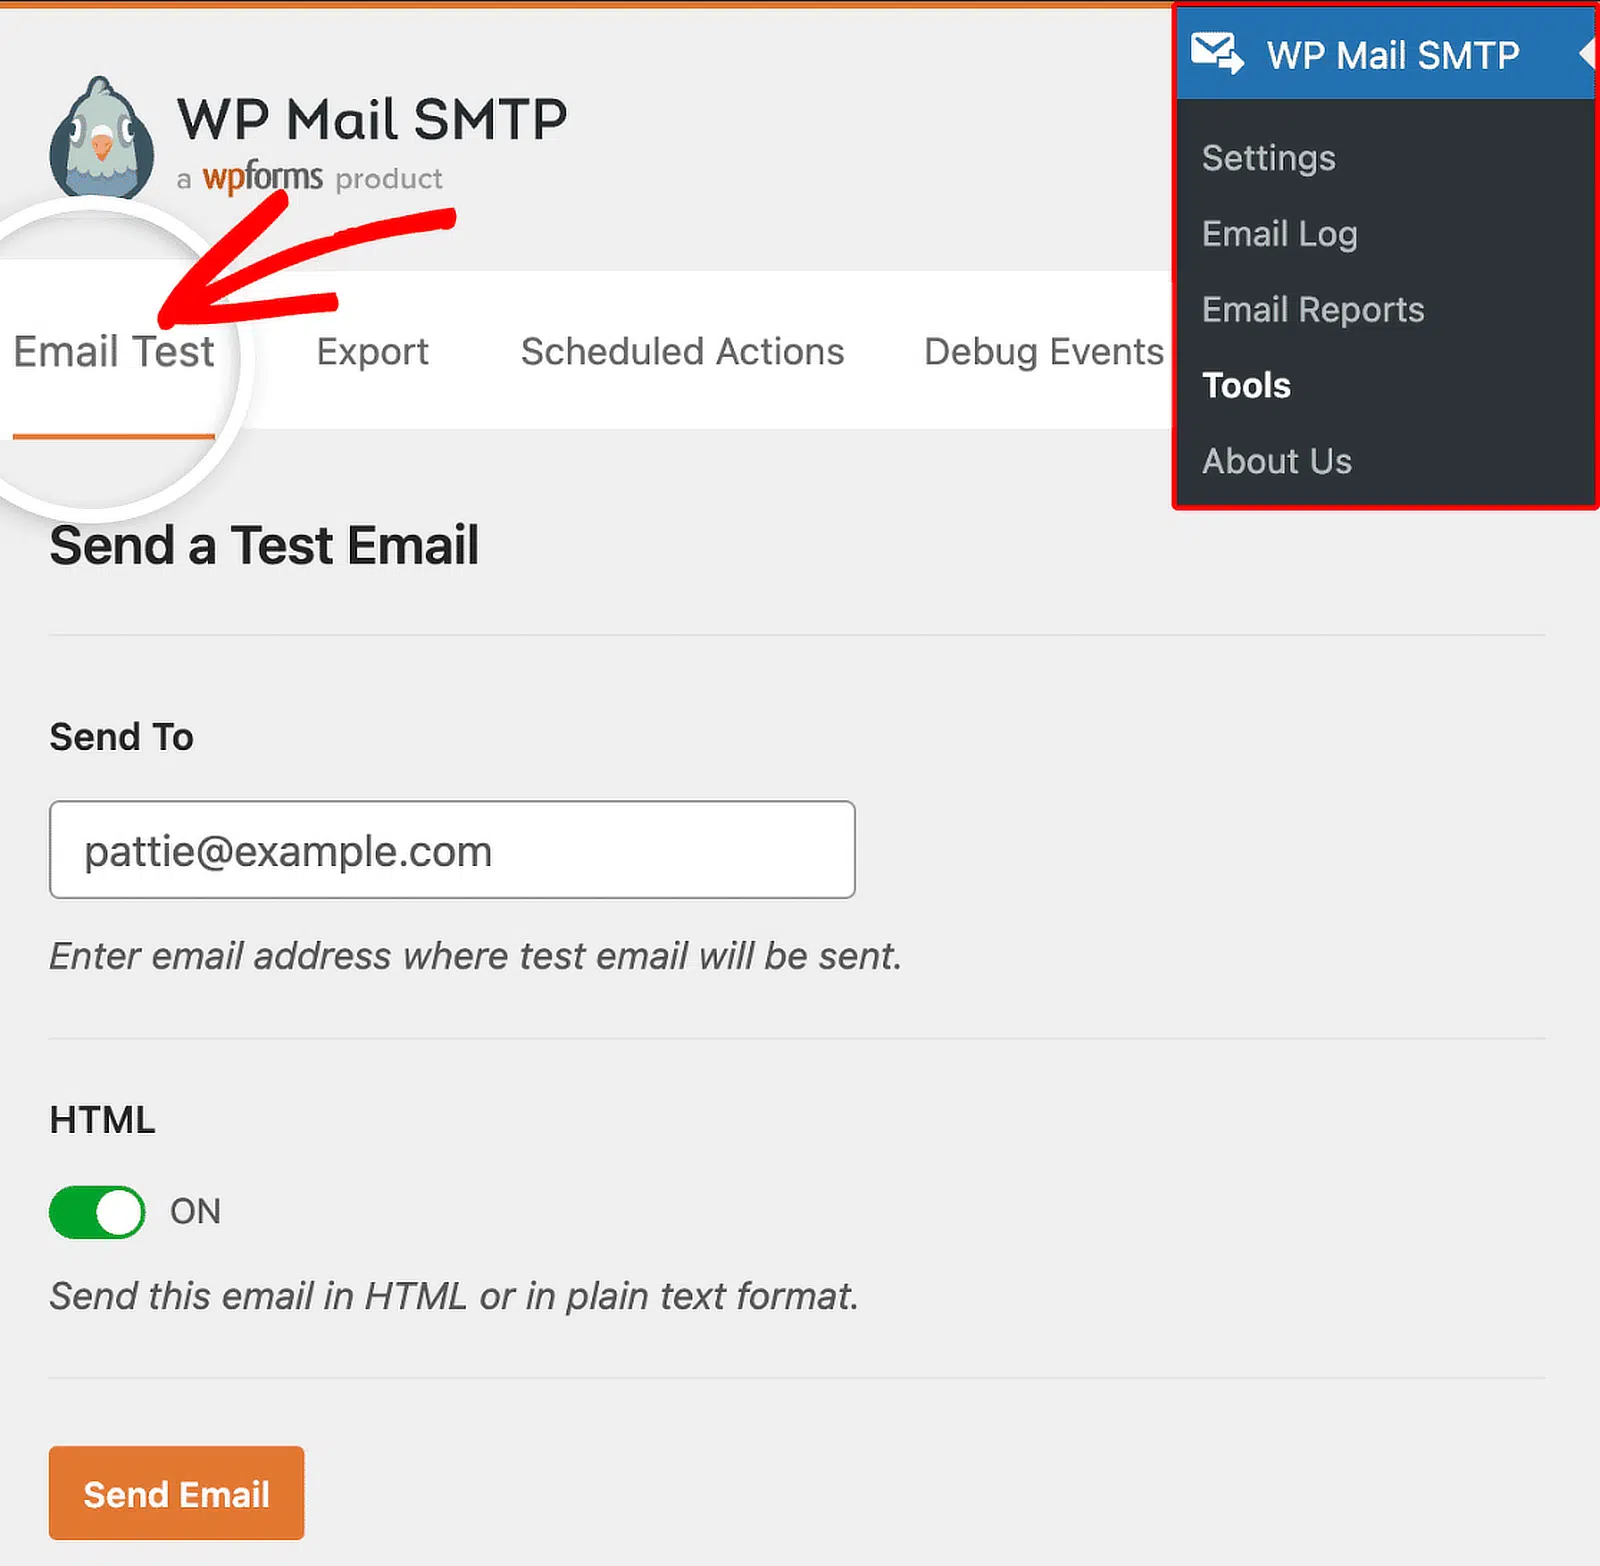
You can run more tests any time from WP Mail SMTP » Tools » Email Test.
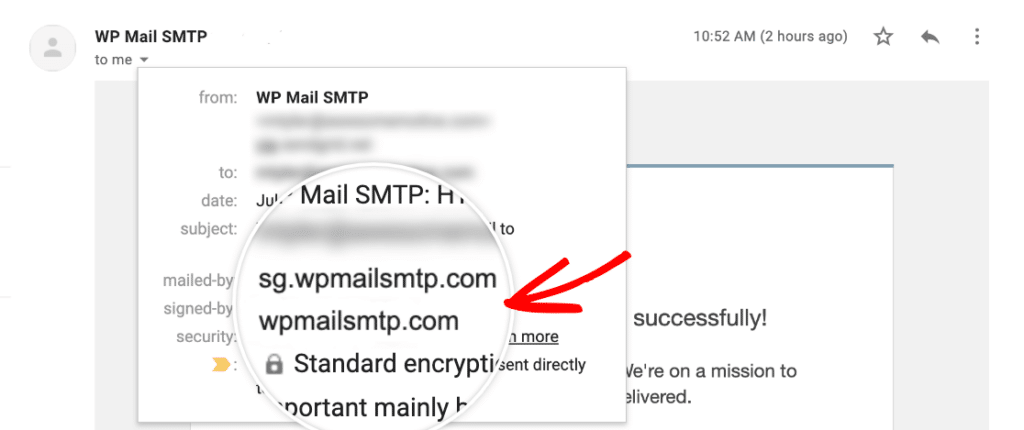
Want to confirm that the authentication worked? Send yourself a test, open it in your email client, and expand the sender details. A properly authenticated domain won’t show “via sendgrid.net”.
What to Do if Your SendGrid Test Email Fails
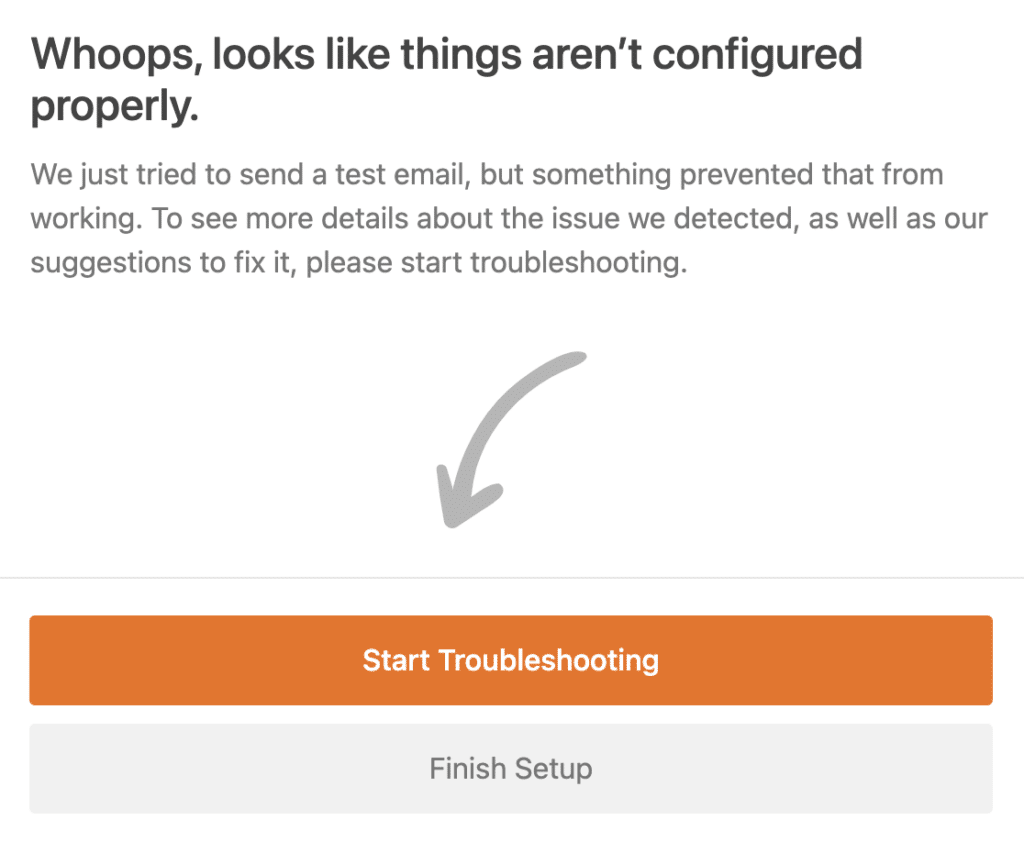
Click Start Troubleshooting on the wizard’s error screen to see the real error message.
Four causes account for nearly every failed SendGrid setup:
| What went wrong | How to fix it |
| DNS hasn’t propagated | Wait up to 48 hours, then click Verify in SendGrid again |
| Sending Domain mismatch | Use the full authenticated subdomain, like sg.example.com |
| API key lacks Mail Send | Create a new key through Email API » Integration Guide |
| Old TLS version | Ask your host to move you to TLS 1.2 or above |
A fifth one catches people out: leaving Use automated security checked during domain authentication. That produces a different set of DNS records than the ones this setup expects.
Still stuck? Our guide to WP Mail SMTP not sending test emails covers the rarer errors.
Frequently Asked Questions
Is SendGrid still free for WordPress?
No. Twilio retired SendGrid’s permanent free plan on May 27, 2025. New accounts get a 60-day trial with up to 100 emails per day, then must switch to a paid plan.
Do I need a plugin to use SendGrid with WordPress?
Yes. WordPress can’t access SendGrid’s API on its own. SMTP plugins like WP Mail SMTP make the connection and route every wp_mail() call through SendGrid.
Why are my SendGrid emails not sending in WordPress?
Check your domain authentication status in SendGrid first. After that, check 3 things: a Sending Domain missing its subdomain, an API key without Mail Send access, or an old TLS version.
What’s the difference between a single sender and domain authentication?
A single sender verifies one email address. Domain authentication verifies your whole domain with DNS records and removes the “via sendgrid.net” label. It’s the only one of the two that delivers reliably.
What are the best SendGrid alternatives for WordPress?
WP Mail SMTP supports 17 mailers, so you have options if the pricing no longer works. Mailgun, Brevo, Postmark, and Amazon SES are all common switches. Our best SMTP servers guide compares them on price and deliverability.
Next, Learn WordPress Email Deliverability Best Practices
With SendGrid connected, the next thing I’d read is our guide to WordPress email deliverability best practices. It covers the habits that keep your sending reputation healthy: list hygiene, bounce handling, and the records inbox providers check. Domain authentication got you to the inbox, and that post is how you stay there.
Ready to fix your emails? Get started today with the best WordPress SMTP plugin. If you don’t have the time to fix your emails, you can get full White Glove Setup assistance as an extra purchase, and there’s a 14-day money-back guarantee for all paid plans.
If this article helped you out, please follow us on Facebook and Twitter for more WordPress tips and tutorials.
