AI Summary
Are you trying to fix issues with forms and emails on GoDaddy Managed Hosting?
Perhaps you’ve noticed that your emails aren’t sending, and the forms on your site are timing out?
In this post, we’ll explain how to fix this on your GoDaddy Managed Hosting WordPress site.
In This Article
Why Are My Forms and Emails Failing on GoDaddy Managed Hosting?
GoDaddy Managed Hosting customers have reported issues like:
- Forms that are slow to submit with long timeouts or latency
- Email notifications not being delivered
- Emails timing out or failing completely
If you’re using PHPMailer to send emails, you may also see this error:
PHPMailer was able to connect to SMTP server but failed while trying to send an email
This is happening because the GoDaddy Managed Hosting plugin causes a problem with PHPMailer, and that breaks email sending.
Emails won’t send from WordPress, and contact forms appear to hang or time out.
Fortunately, you can install WP Mail SMTP to bypass PHPMailer entirely. This will fix the issue and get your emails and forms working again.
Note: It’s very important that you install WP Mail SMTP and set up a mailer. Using the default mailer setting (PHPMailer) won’t fix the problem.
How to Fix Emails Not Sending on GoDaddy Managed Hosting
Installing WP Mail SMTP only takes a few minutes.
1. Install WP Mail SMTP

To begin, download the WP Mail SMTP plugin and install it on your WordPress site.
If you need help installing the plugin, check out this beginner’s guide to installing WordPress plugins.
You can purchase White Glove Setup along with your license if you’d like. White Glove Setup means that a member of the WP Mail SMTP team will take care of configuring the plugin and setting up your mailer.
If you’d feel better having some help, adding White Glove Setup to your cart is a smart move.
If you’d prefer to go ahead and configure the plugin yourself, no problem! We’ll guide you through that process now.
2. Configure Your Mailer in WP Mail SMTP
After you’ve installed and activated your WP Mail SMTP plugin, you can run the setup wizard to help you configure your SMTP mailer. This will bypass the problematic PHPMailer on GoDaddy.
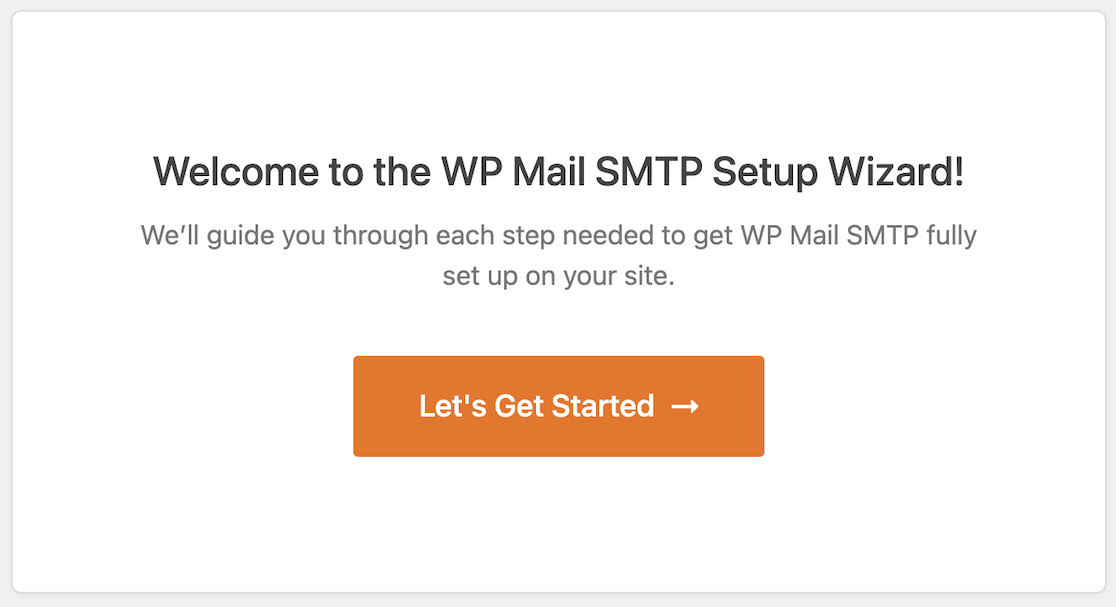
There are several mailer options available to replace PHPMailer. Our top recommendations are SendLayer, SMTP.com, or Brevo (formerly Sendinblue).
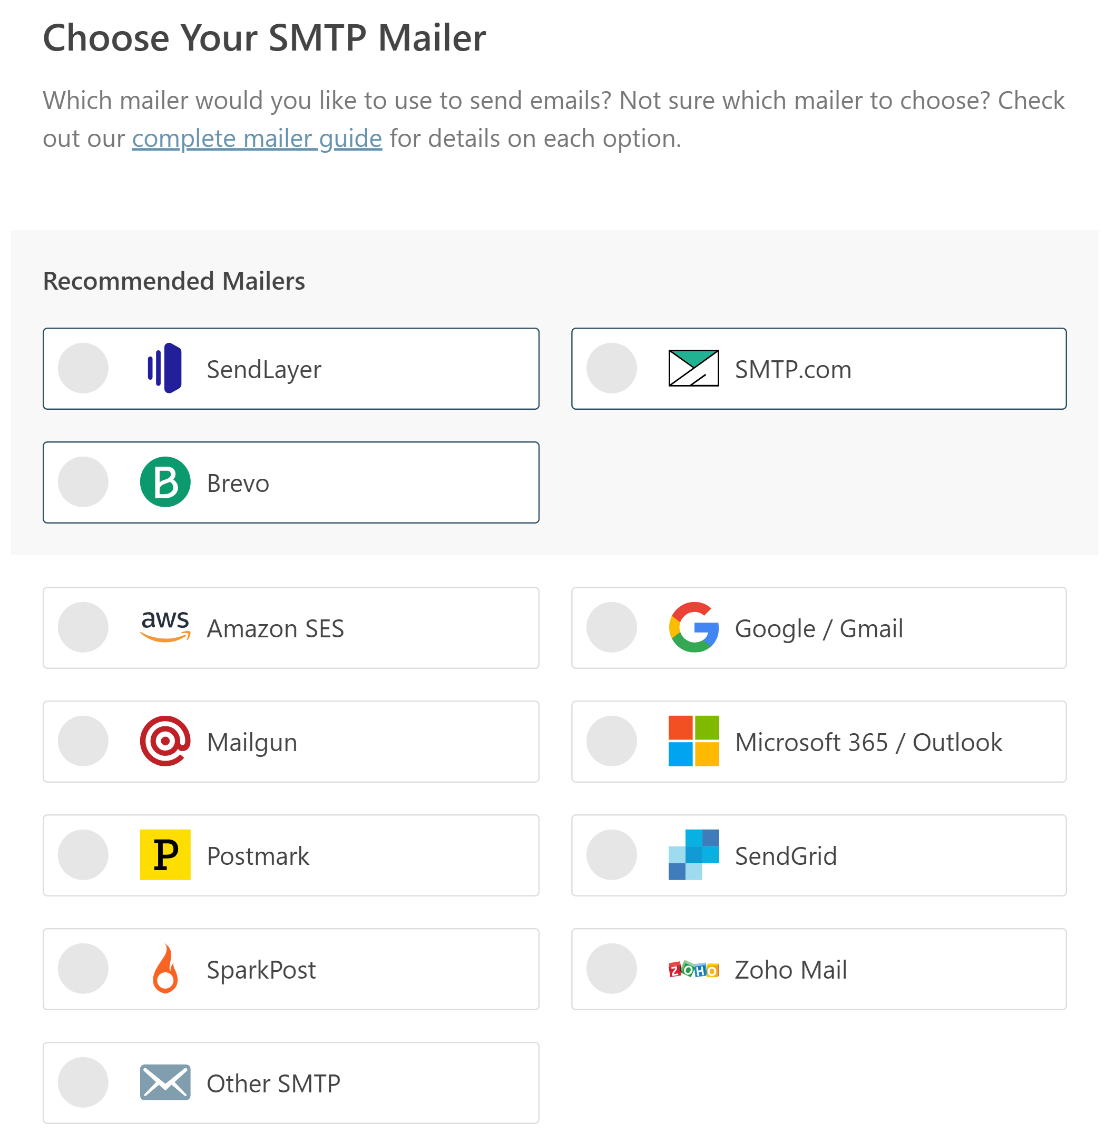
We recommend SendLayer because the setup process is a lot easier than some of the other mailers.
With SendLayer, you get 200 emails for free. Pricing starts at $5/mo after that.
After you’ve chosen a mailer in WP Mail SMTP, open its documentation from the table below. That documentation will take you through the steps to complete the connection to your chosen mailer.
| Mailers available in all versions | Mailers in WP Mail SMTP Pro |
|---|---|
| SendLayer | Amazon SES |
| SMTP.com | Microsoft 365 / Outlook.com |
| Brevo | Zoho Mail |
| Google Workspace / Gmail | |
| Mailgun | |
| Postmark | |
| SendGrid | |
| SparkPost | |
| Other SMTP |
Once you’ve followed the steps on the individual mailer documentation, continue with this tutorial by following the steps below.
3. Enable Email Features to Improve Deliverability
The next screen you’ll see in the setup wizard allows you to enable different email features. This is an optional step, but it can help improve email deliverability from your WordPress site.
Improved Email Deliverability and Email Error Tracking are selected by default. This means that WP Mail SMTP will route all of your emails through this mailer, and the error tracker will alert you to any issues with your DMARC, SPF, or DKIM records.
You can then select the other features you want.
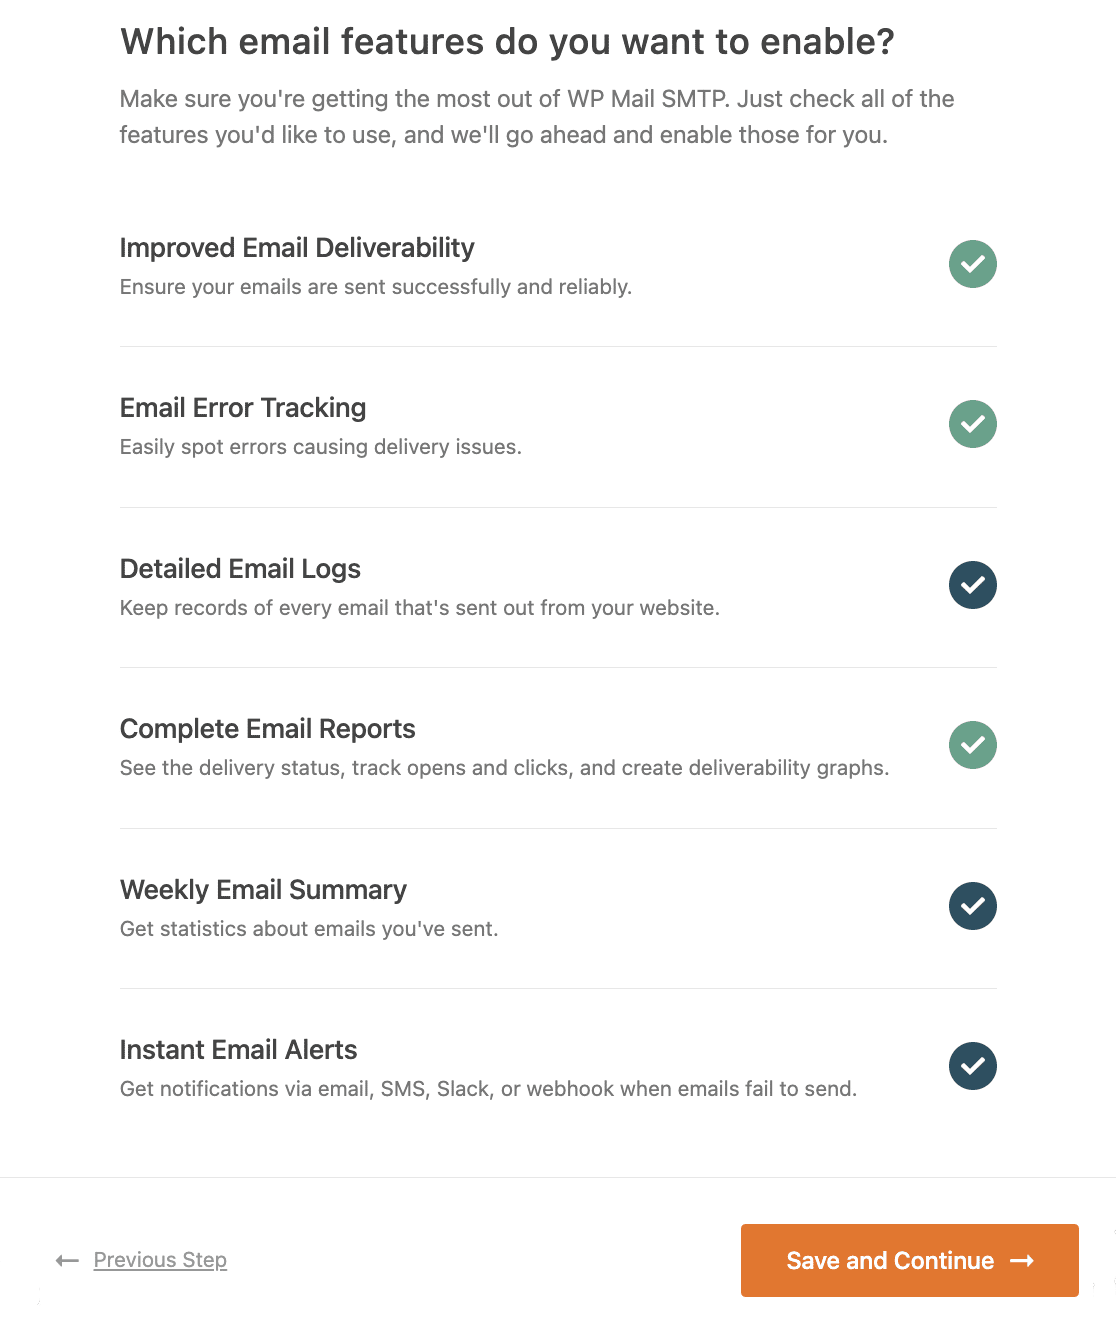
Detailed Email Logs are available to WP Mail SMTP Pro users to keep track of all the emails your site sends. If you enable this feature, it will automatically enable Complete Email Reports.
From there, you can enable the Weekly Email Summary and/or Instant Email Alerts if you like.
On the next screen, you can configure your email logs.
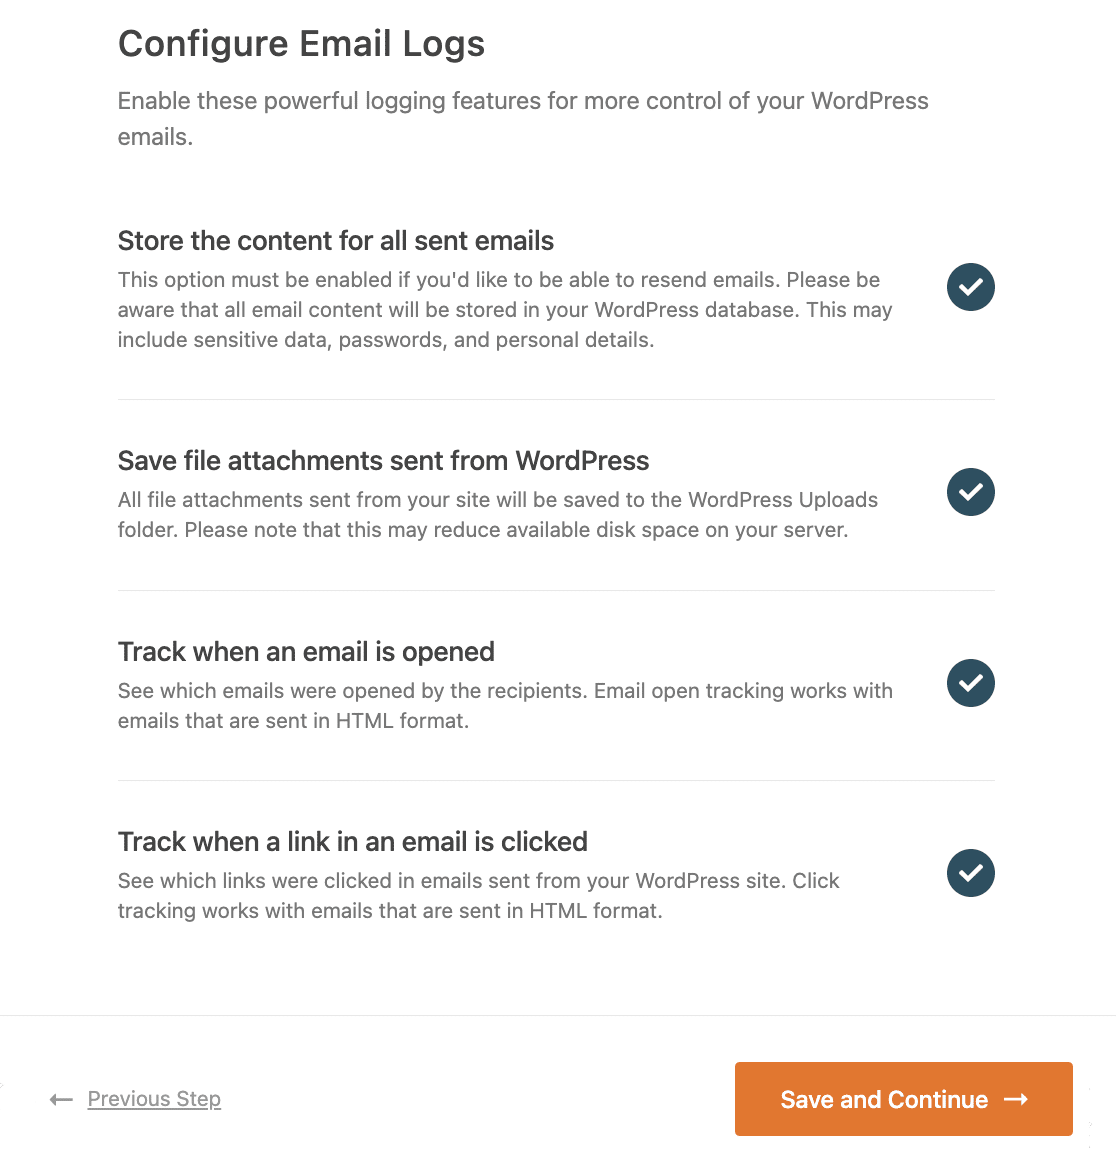
It’s a good idea to log your emails if you’re worried about this issue recurring in the future. Once you have a log of all of your sent items, it’s easy to resend emails that fail.
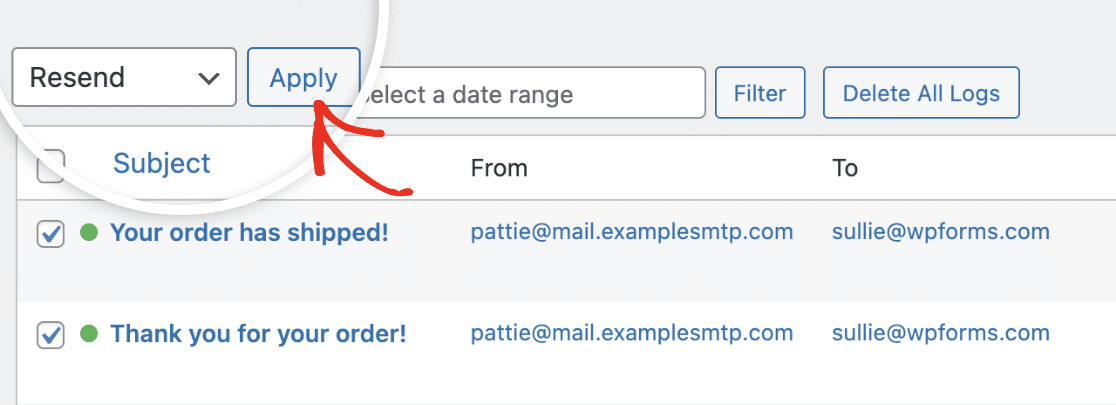
For more information on your options for configuring email logs, check out this guide to setting up WordPress email logging.
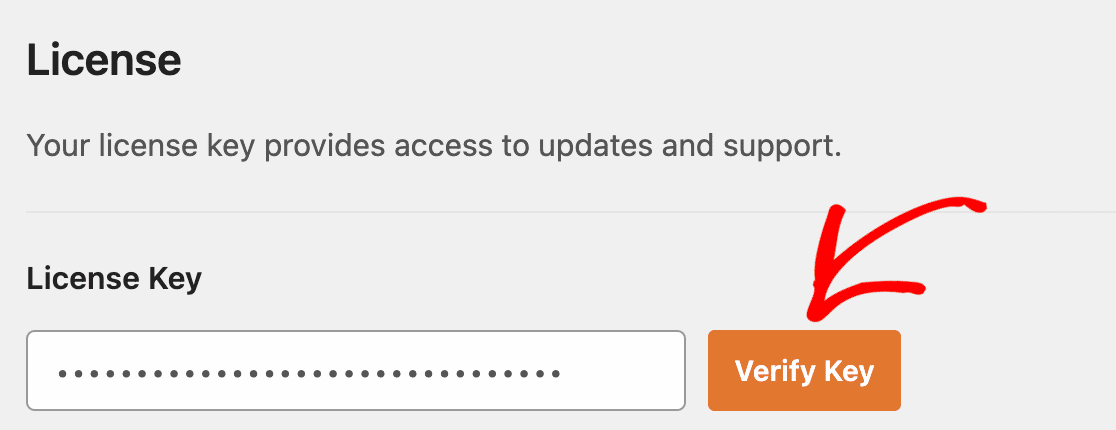
At this point, you’re almost finished setting up your mailer. There’s just one more important step! If you’re using WP Mail SMTP Pro, don’t forget to head over to your account page and grab your license key.
Enter your license key in your WP Mail SMTP account and click Verify Key to activate it.
And that’s it!
We hope this helps you to fix issues with emails not sending on GoDaddy Managed Hosting.
If you need help at any stage, please remember that our support team is standing by.
FAQ on GoDaddy Managed Hosting Email Issues
We’ve had a ton of questions from our customers on GoDaddy’s Managed Hosting plugin, so we’ve shared a few answers here.
1. Why Use WP Mail SMTP With GoDaddy Hosting?
GoDaddy’s default settings can lead to issues with email deliverability. Emails might not be delivered at all, while others could end up in spam. When you use WP Mail SMTP, you can configure SMTP settings and improve deliverability from your WordPress site.
2. Does WP Mail SMTP Work With the GoDaddy Email Accounts?
No, GoDaddy emails won’t work. You’ll need to connect to an external SMTP service to improve email deliverability.
3. Will WP Mail SMTP Resolve All GoDaddy Email Issues?
Though there could be extenuating circumstances from time to time, using WP Mail SMTP will resolve most email deliverability issues and significantly improve email deliverability.
4. Where Do I Enter My WP Mail SMTP Credentials On My GoDaddy Control Panel?
WP Mail SMTP is configured in WordPress, so you don’t add anything to your GoDaddy control panel.
5. Can I Use an External SMTP Provider Instead of GoDaddy’s SMTP?
Yes, you can use dedicated email service providers (ESPs) with plugins like WP Mail SMTP and it will improve your GoDaddy site’s email deliverability.
Fix Your Slow Forms and Failing Emails Now
Ready to fix your emails? Get started today with the best WordPress SMTP plugin. WP Mail SMTP Elite includes full White Glove Setup and offers a 14-day money-back guarantee.
If this article helped you out, please follow us on Facebook and Twitter for more WordPress tips and tutorials.

