Are you wondering how to use WP Mail SMTP with Mailchimp to improve your email deliverability?
WP Mail SMTP and Mailchimp together form a powerhouse team, ensuring that your emails are sent successfully and land in the right inboxes.
In this guide, we’ll dive into the steps of setting this integration between WP Mail SMTP and Mailchimp to revolutionize your website’s email experience.
Use WP Mail SMTP With Mailchimp
Why Use WP Mail SMTP With Mailchimp?
To truly harness the potential of your website’s email system, it’s crucial to understand the benefits of integrating WP Mail SMTP with Mailchimp.
- Improved Deliverability: One major hurdle websites face is emails landing in the spam folder. By using WP Mail SMTP with Mailchimp, you ensure that your emails are recognized by email servers, which boosts the chances of them reaching the primary inbox.
- Easy Management: With this combination, you get the simplicity of WP Mail SMTP and the robust features of Mailchimp’s email marketing. This means less hassle in setup and management, allowing you to focus more on creating engaging content for your readers.
- Detailed Analytics: Mailchimp is known for its comprehensive analytics. By connecting with WP Mail SMTP, you can access insights about who’s opening your emails, which links they’re clicking, and much more. This data helps refine your email strategies over time.
- Cost-Effective Solution: Instead of juggling multiple plugins or services, integrating these two can save you time and money. You get the best of both worlds in functionality without breaking the bank to help improve the email deliverability of your eCommerce store.
In the next section, you’ll find steps to combine these tools efficiently. However, since this integration cannot be done with a regular Mailchimp account, be sure you have an account with Mailchimp Transactional (formerly Mandrill).
How to Use WP Mail SMTP With Mailchimp
The easiest way to use Mailchimp’s SMTP servers is by deploying Other SMTP for WP Mail SMTP. Follow the steps below to get started:
In This Article
1. Prepare Mailchimp’s SMTP Details
Before you can dive into the SMTP configuration, you need to have the following SMTP details of your Mailchimp account.
- SMTP Host: This is the server your SMTP email service mentions for outgoing emails.
- Encryption: The method used to secure the SMTP connection (can be TLS, SSL, or none).
- SMTP Port: The specific number your service designates for SMTP connections.
- Authentication:This switch enables or disables verification. Usually, it’s advised to keep it active.
- SMTP Username: Typically, this is your email ID.
- SMTP Password: You’ll need to generate an app password for your account, as detailed later in this tutorial.
To get this information, it goes without saying that you need a Mailchimp account (required for accessing Mandrill – the transactional email provider).
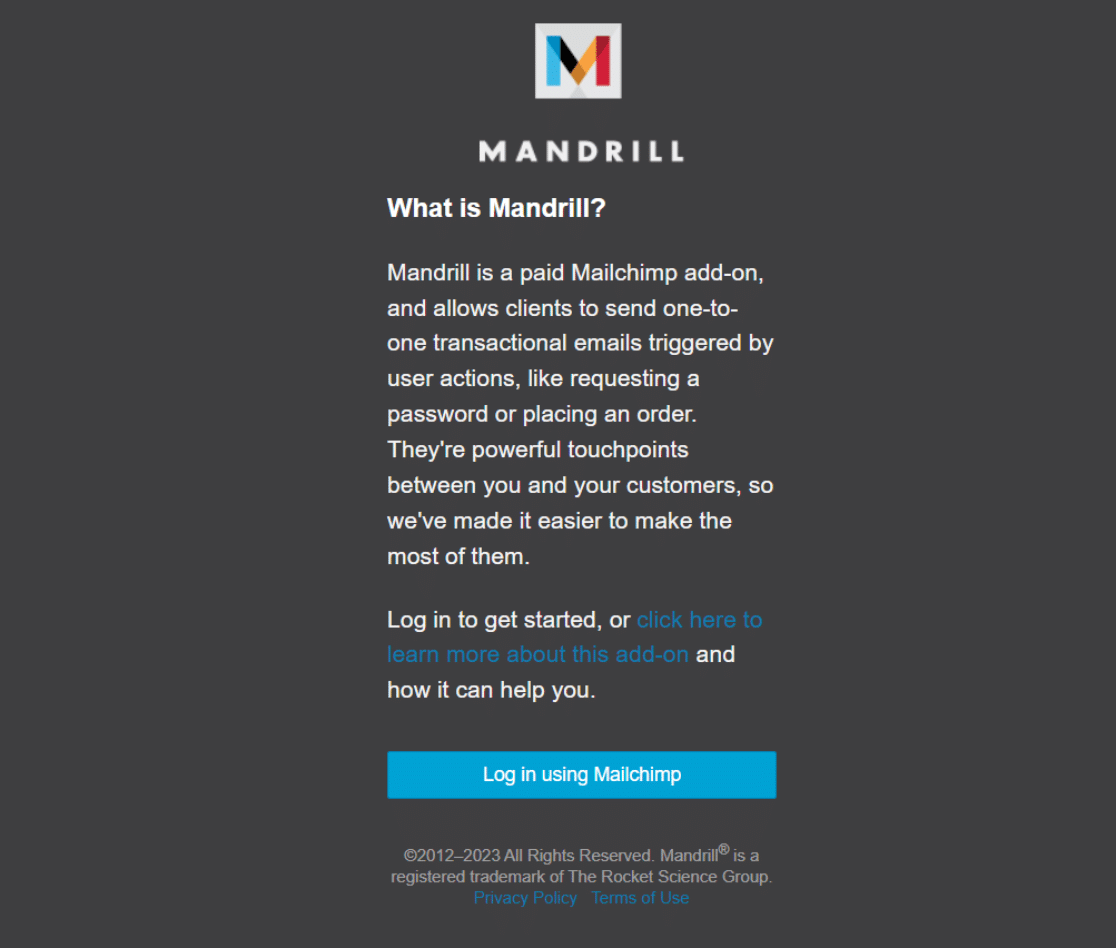
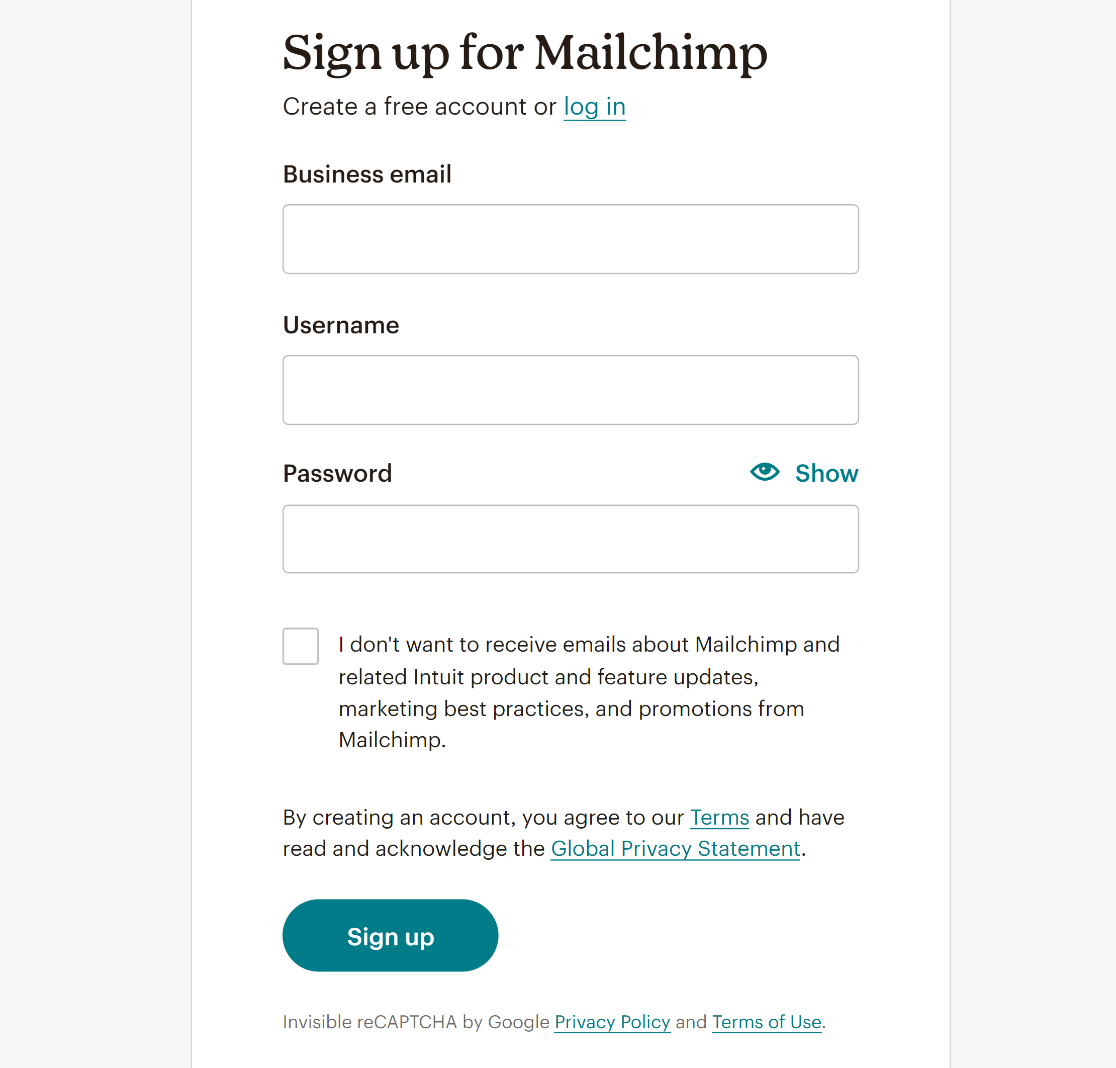
Therefore, if you haven’t already signed up for a Mailchimp account, now is the right time to create one for yourself to use SMTP servers of Mailchimp.
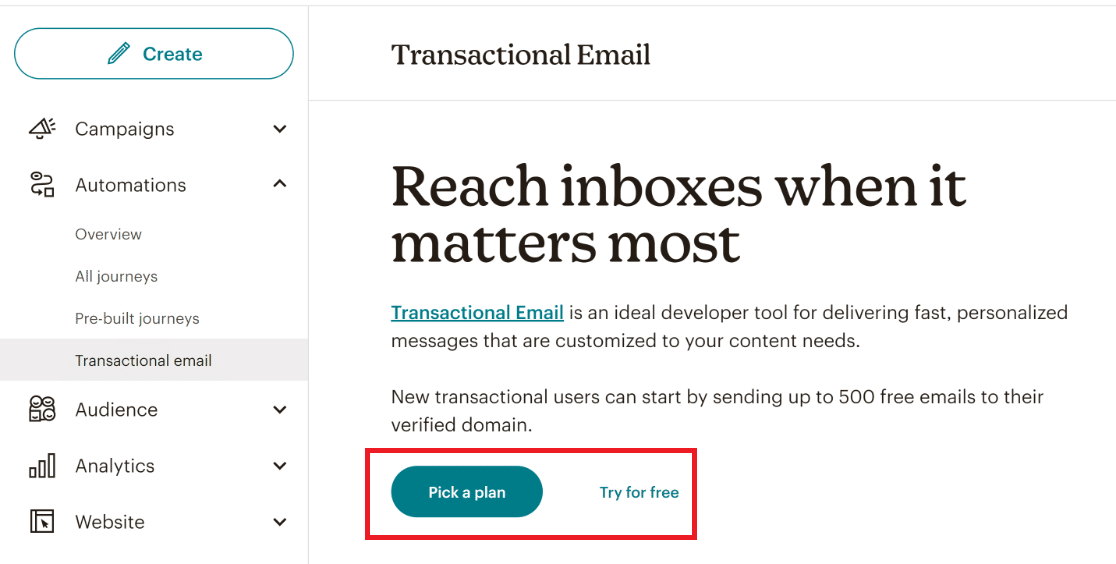
Once you’ve created an account, simply navigate to Automations » Transactional Email from the Mailchimp dashboard.
From there, you can click on Pick a plan if you have needs above 25,000 emails a month or hit the Try for free option to test and send up to 500 free emails.
1.1. Configure DNS Records
For this tutorial, we’ll select the Try for free option. Then, we’ll click on the Launch App button at the top right corner of the page.
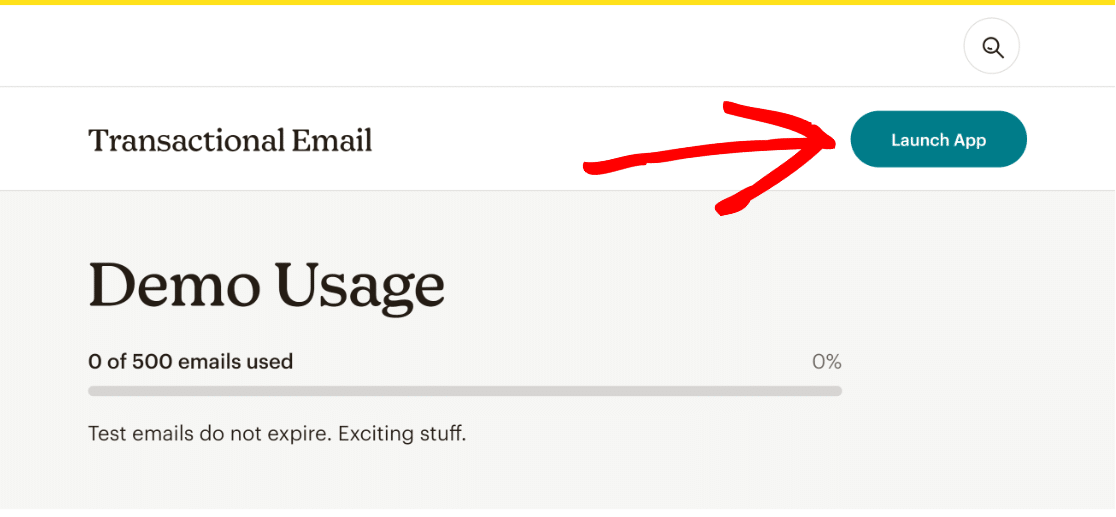
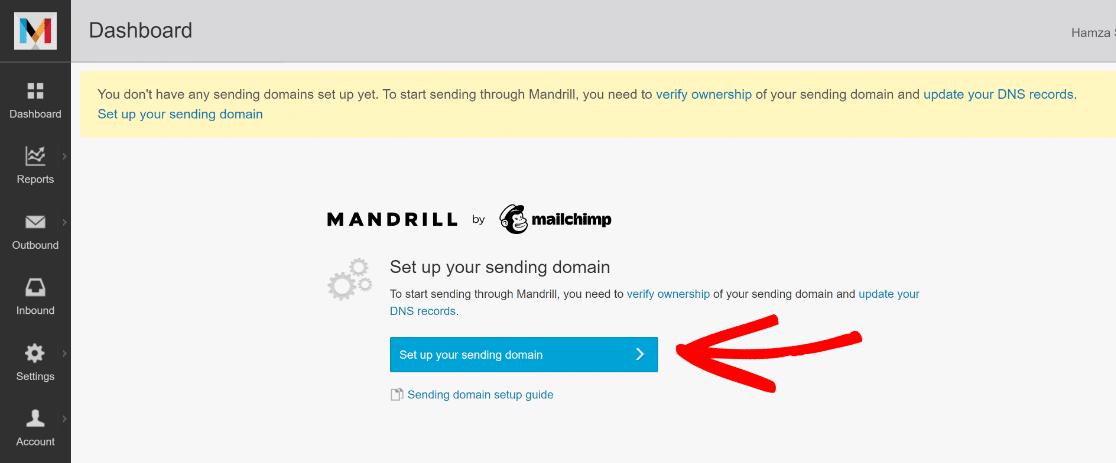
This will redirect you to the Mandrill dashboard, where you will be prompted to verify ownership of your sending domain and update your DNS records.
Depending on the hosting you’re using, the process of updating your DNS records will vary, as every hosting provider has a different interface.
To verify domain ownership and update your DNS records, click on the blue Set up your sending domain button.
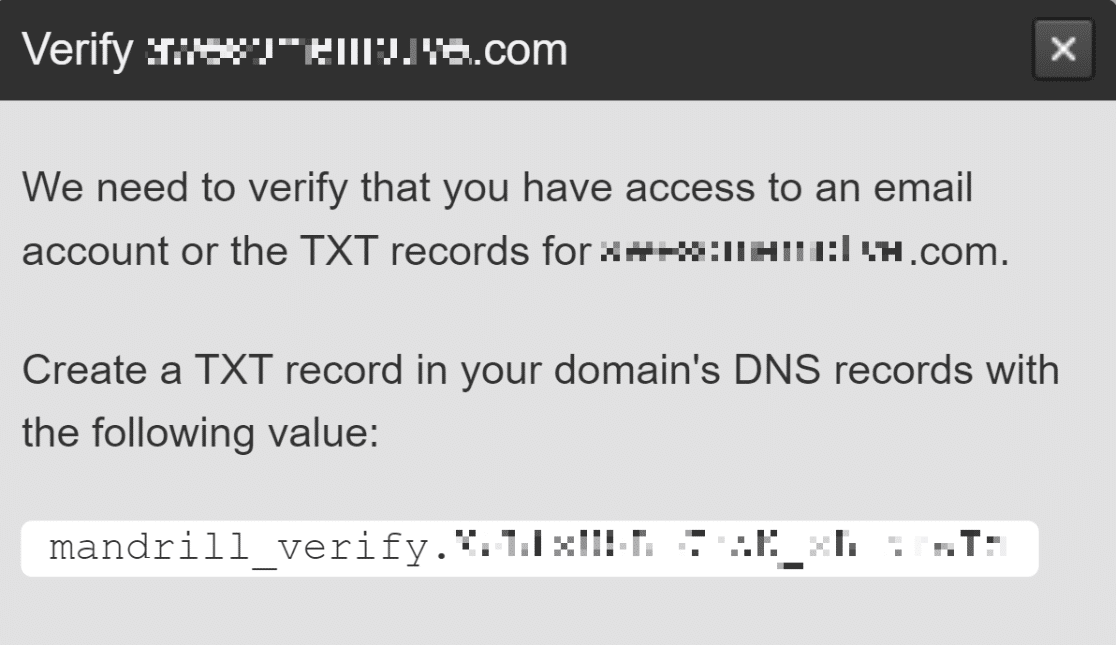
From here, click on the View details link from the Verified Domain column and copy the value for creating a TXT record in your domain’s DNS record.
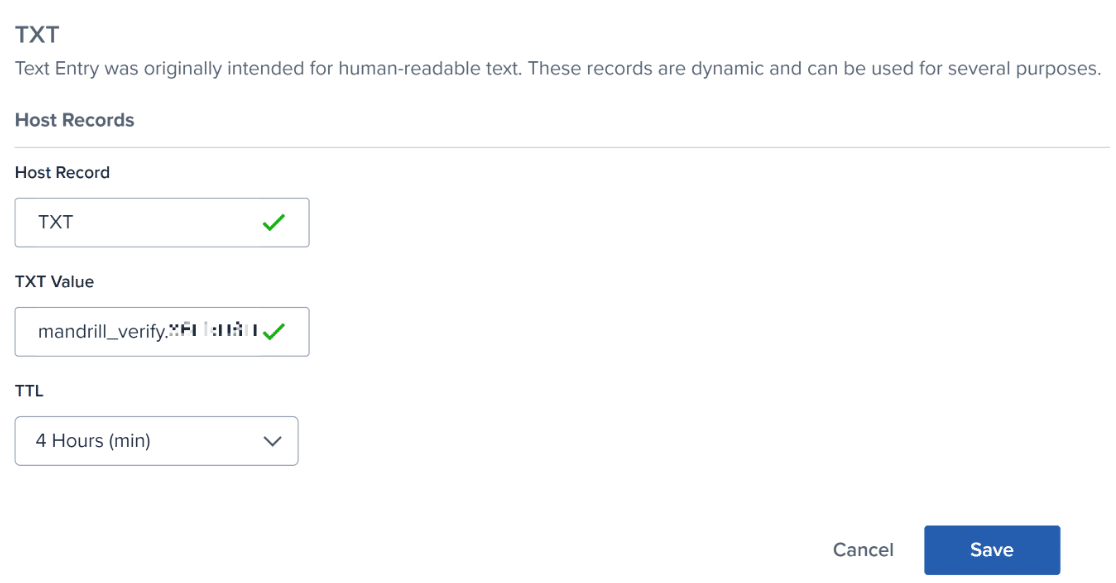
As mentioned earlier, the process and interface differ for each hosting provider, but you’ll need to paste the value in your domain’s DNS records.
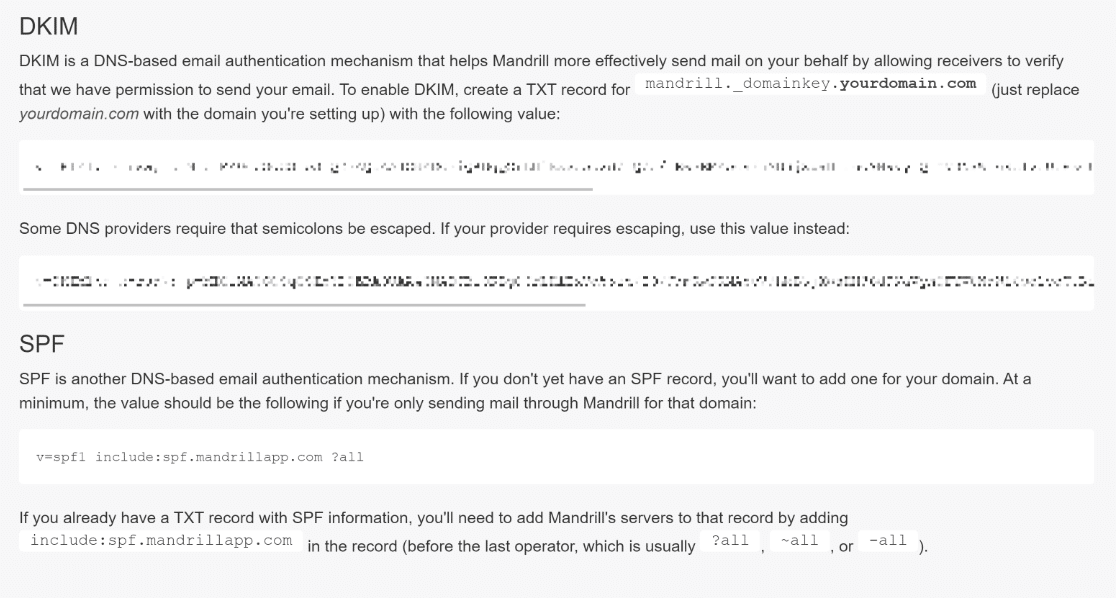
Once done, return to the Domains tab in Mandrill and click on the View DKIM/SPF Setup Instructions button.
Now, copy and paste the DKIM and SPF records into the DNS settings of your hosting provider.
Next, return to the Domain tab in the Mandrill dashboard, and you should see green ticks in front of Verified Domain, DKIM Settings, and SPF Settings.

1.2. Generate Transactional API Key
From the Mandrill dashboard, navigate to the Settings tab from the left-hand menu and click on the + Add API Key button.
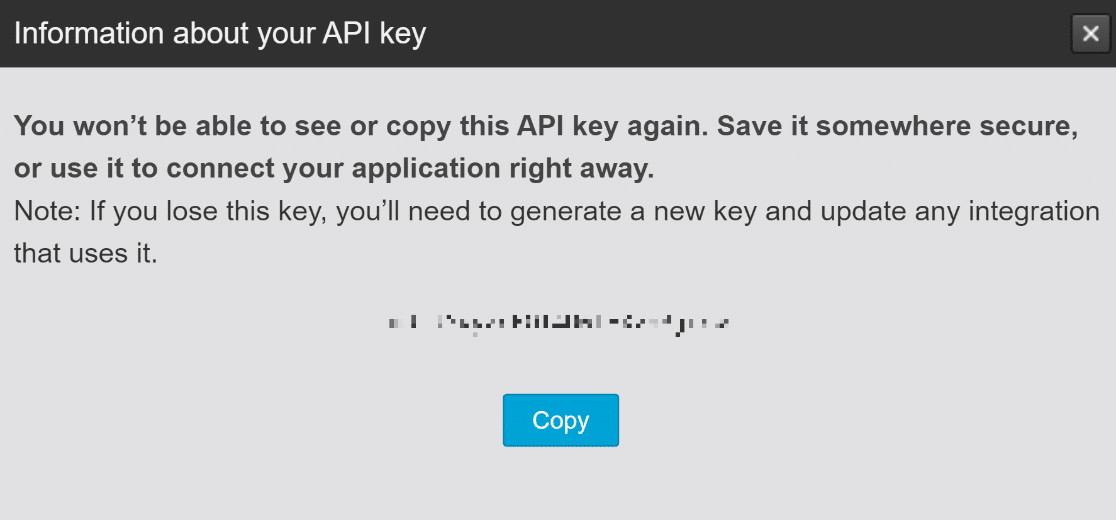
A popup will now appear, prompting you to save this API key somewhere safe. Hit the Copy button and store this API key for later.
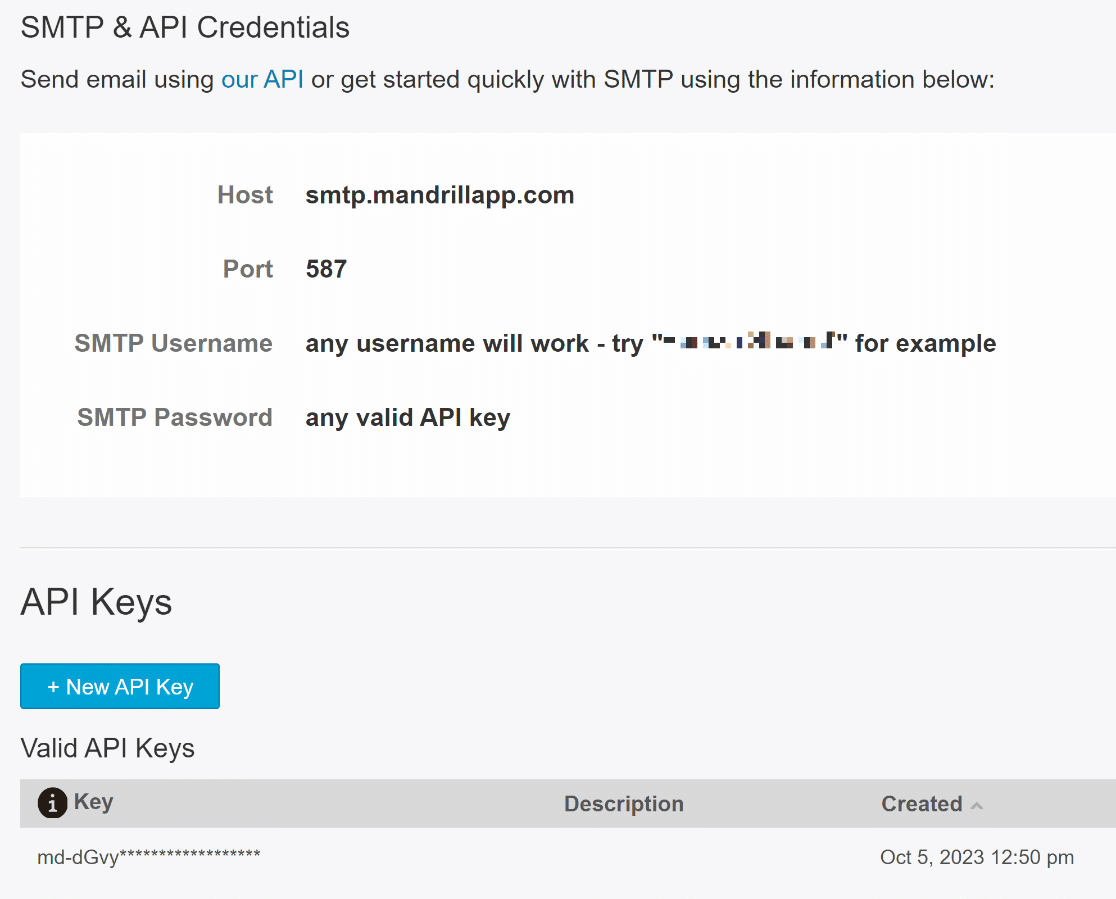
You will now have all the vital SMTP and API details for configuring the SMTP server using WP Mail SMTP, such as:
- SMTP Host: smtp.mandrillapp.com
- Encryption: TLS
- SMTP Port: 587 (or 465 using SSL encryption)
- Authentication: On
- Username: Provided in your Mandrill account
- Password: The API key you stored earlier
Great job so far! Now, we’ll need to install and activate WP Mail SMTP, so that we can use the SMTP server details you’ve gathered from Mailchimp.
2. Install and Activate WP Mail SMTP
You’ll need either a paid subscription to WP Mail SMTP or the free version. You can get either to use Mailchimp’s SMTP servers.
However, bear in mind the free version doesn’t have advanced features like weekly email summaries and email logs.
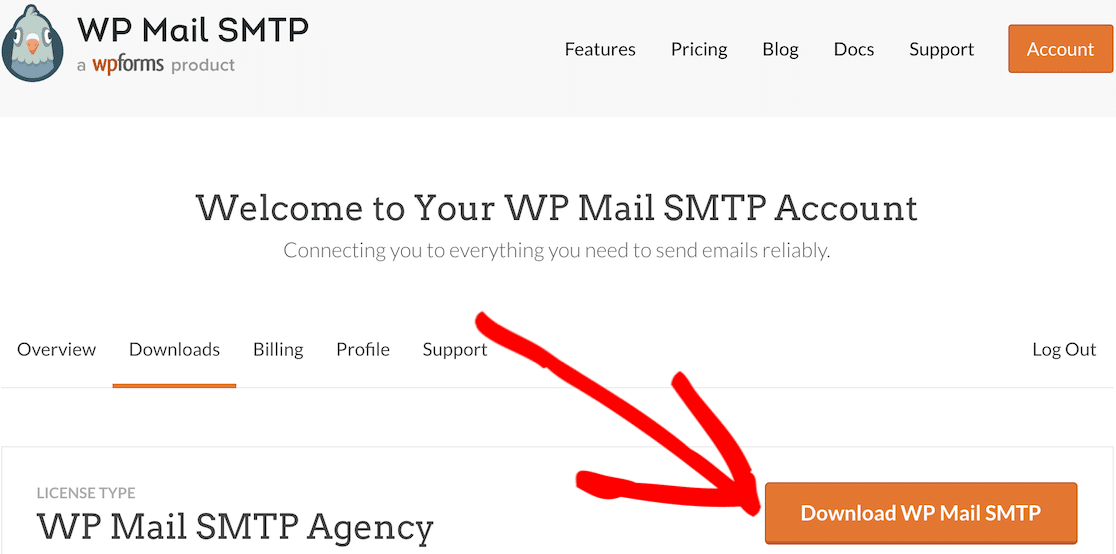
After you’ve purchased your plan, head over to your WP Mail SMTP dashboard and navigate to the Downloads tab to get the .zip file.
Next, open the WordPress dashboard on your website. Select Plugins from the menu bar on the left, and then select Add New.
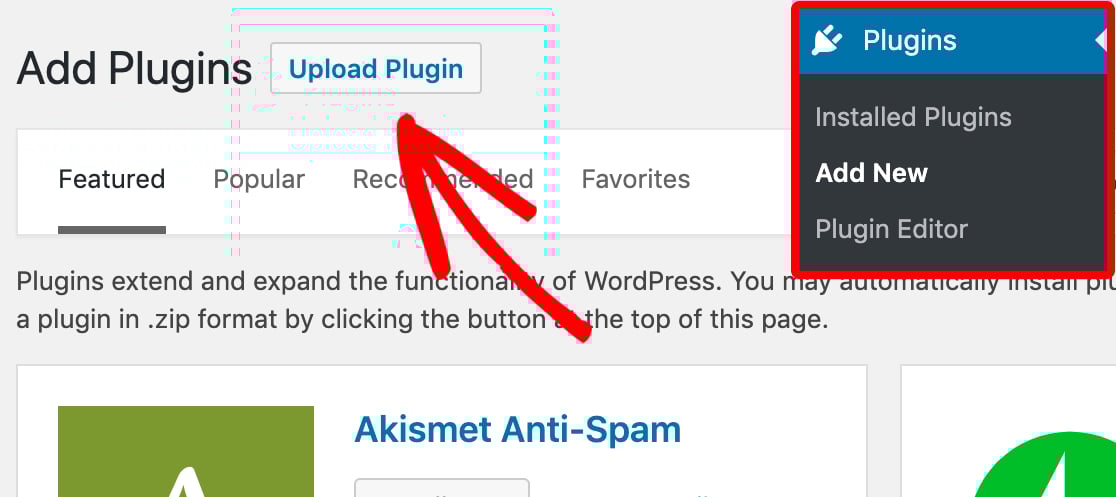
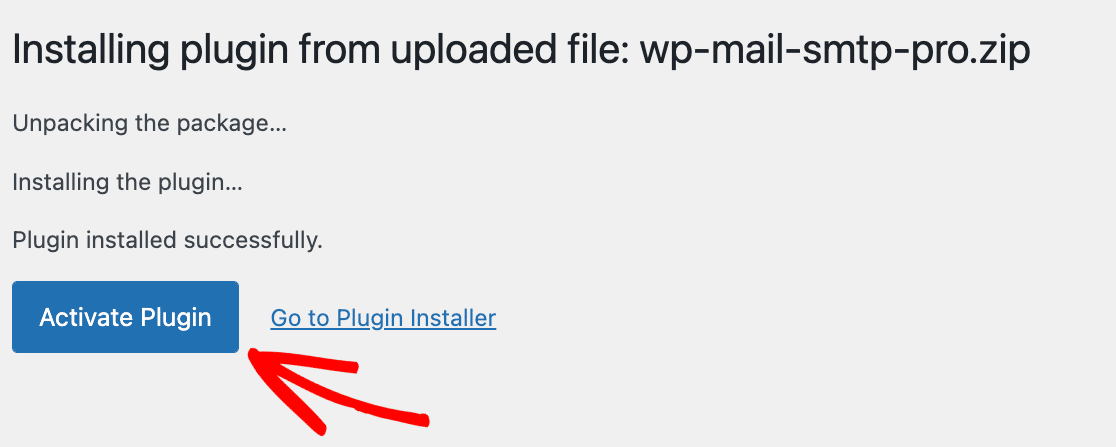
The plugin will now begin installing. Once the installation process is completed, be sure to click on the Activate Plugin button.
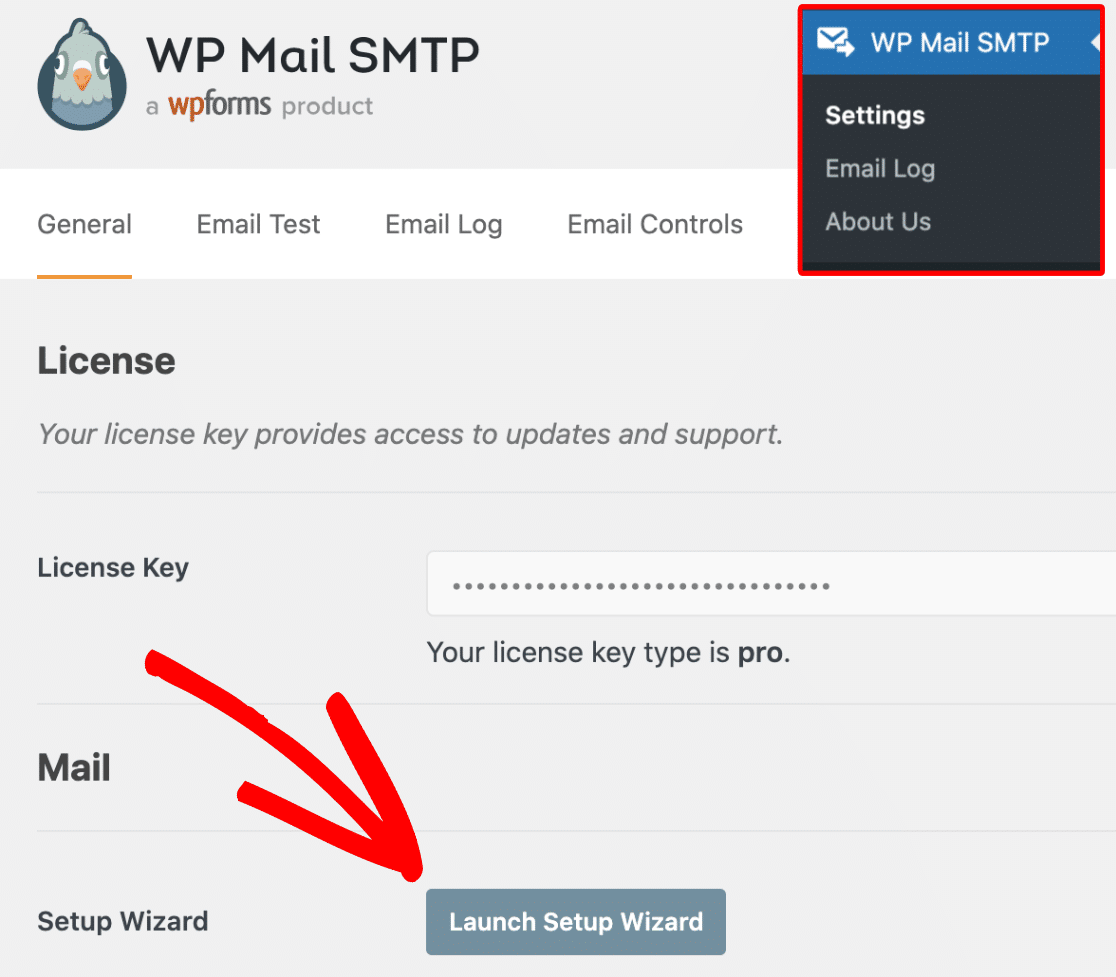
This should launch the Setup Wizard automatically. If it didn’t launch, go to WP Mail SMTP » Settings and press the Launch Setup Wizard button.
Great job! Let’s go ahead now and connect WP Mail SMTP with Other SMTP to use Mailchimp’s SMTP servers.
3. Choose Other SMTP in the Setup Wizard
After installing WordPress Mail SMTP, you must configure it to connect your website to your mailer, in this case, Mailchimp.
If you’d rather have a professional configure WP Mail SMTP for you, our support staff provides a White Glove Setup service for an additional cost.
Or, if you want to set up the mailer yourself, simply click on the Let’s Get Started button in the WP Mail SMTP Setup Wizard.

WP Mail SMTP is compatible with both paid and free email service providers. For this tutorial, we’ll be selecting Other SMTP.
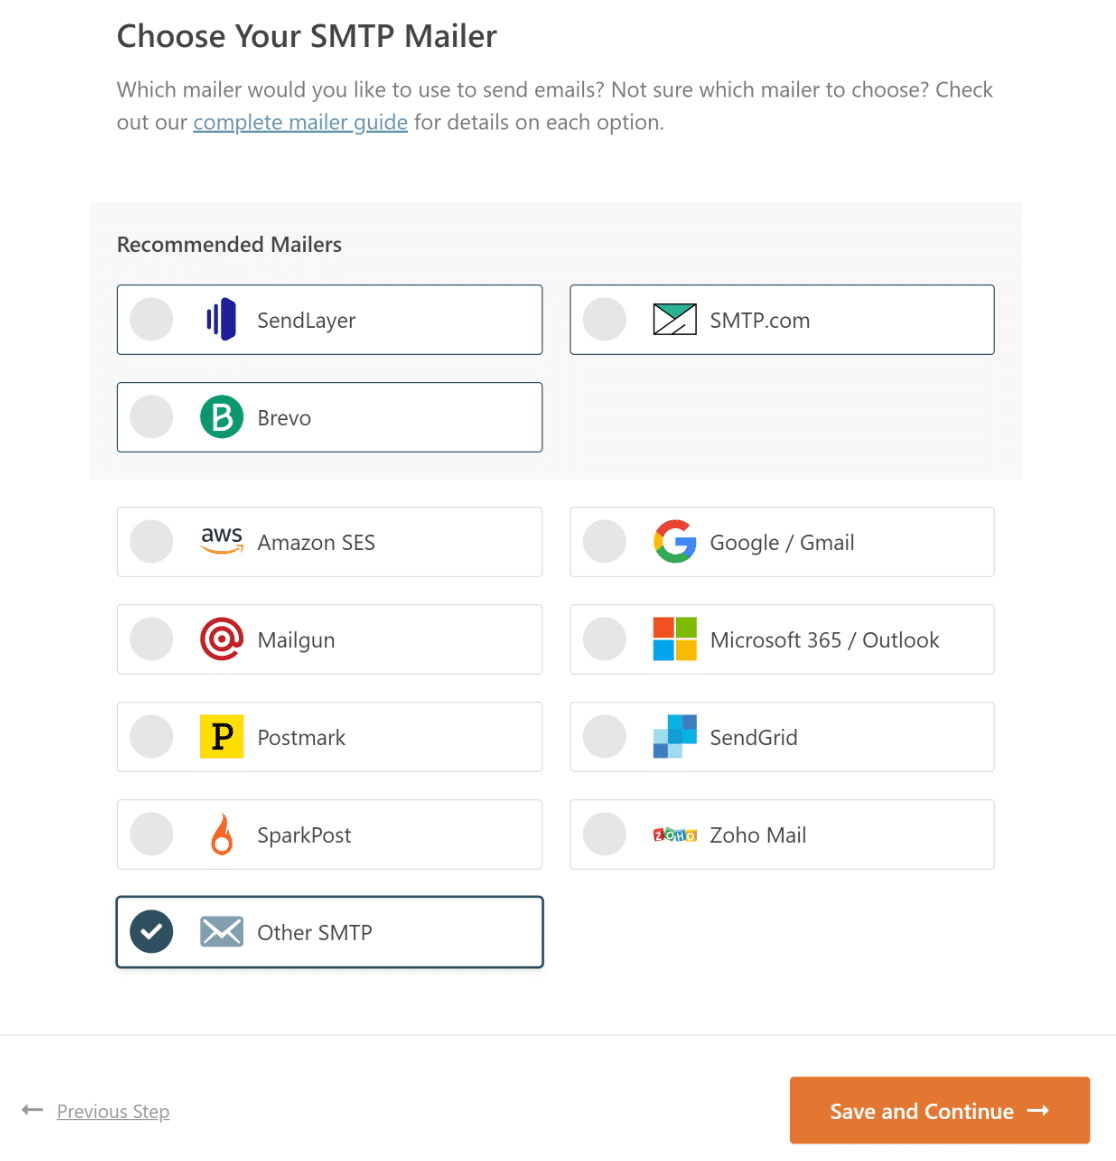
In the next step of the Setup Wizard, you must add the Mailchimp SMTP server details into WP Mail SMTP.
4. Enter Mailchimp’s SMTP Settings
To get started, copy and paste smtp.mandrillapp.com in SMTP Host, select TLS in Encryption, and enter 587 into the SMTP Port.
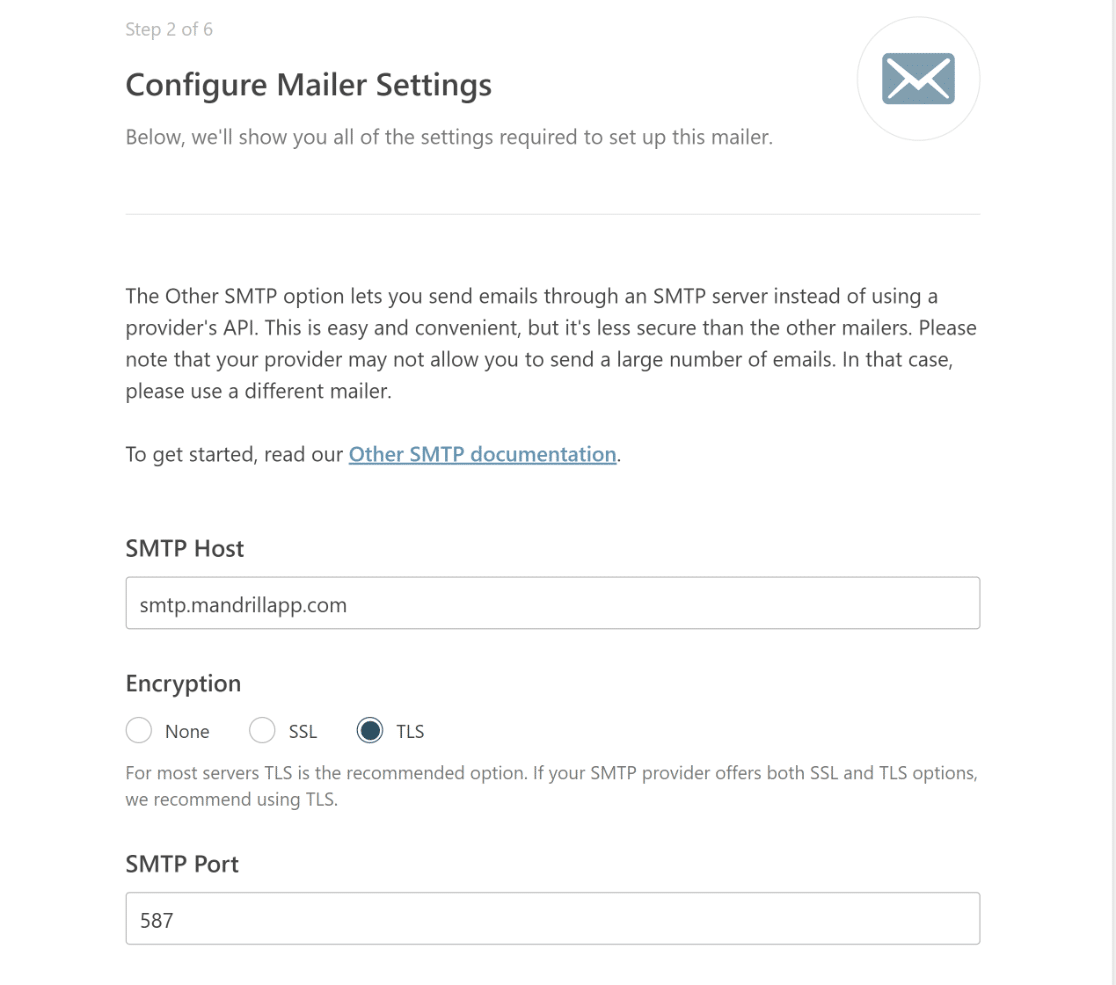
After that, toggle on the Enable Authentication option and enter the SMTP Username and Transactional API key into the SMTP Password field.
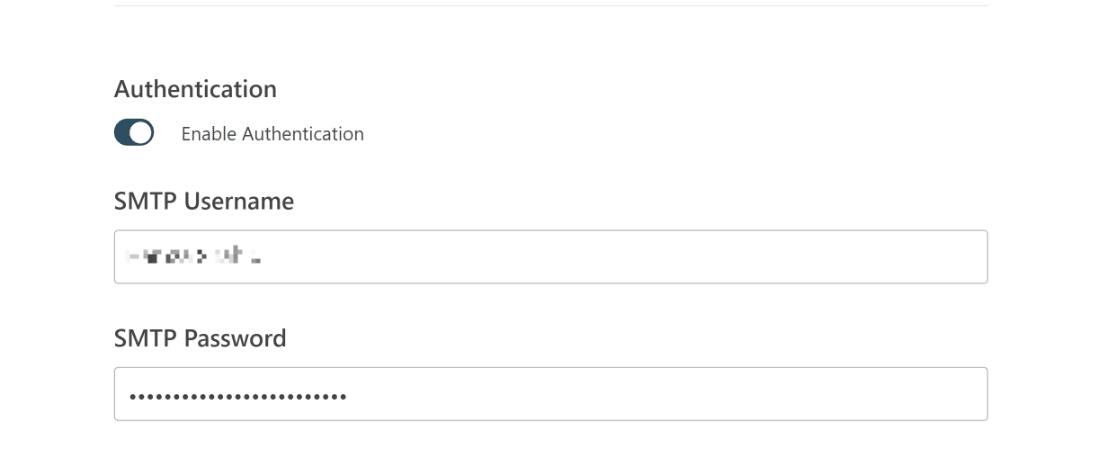
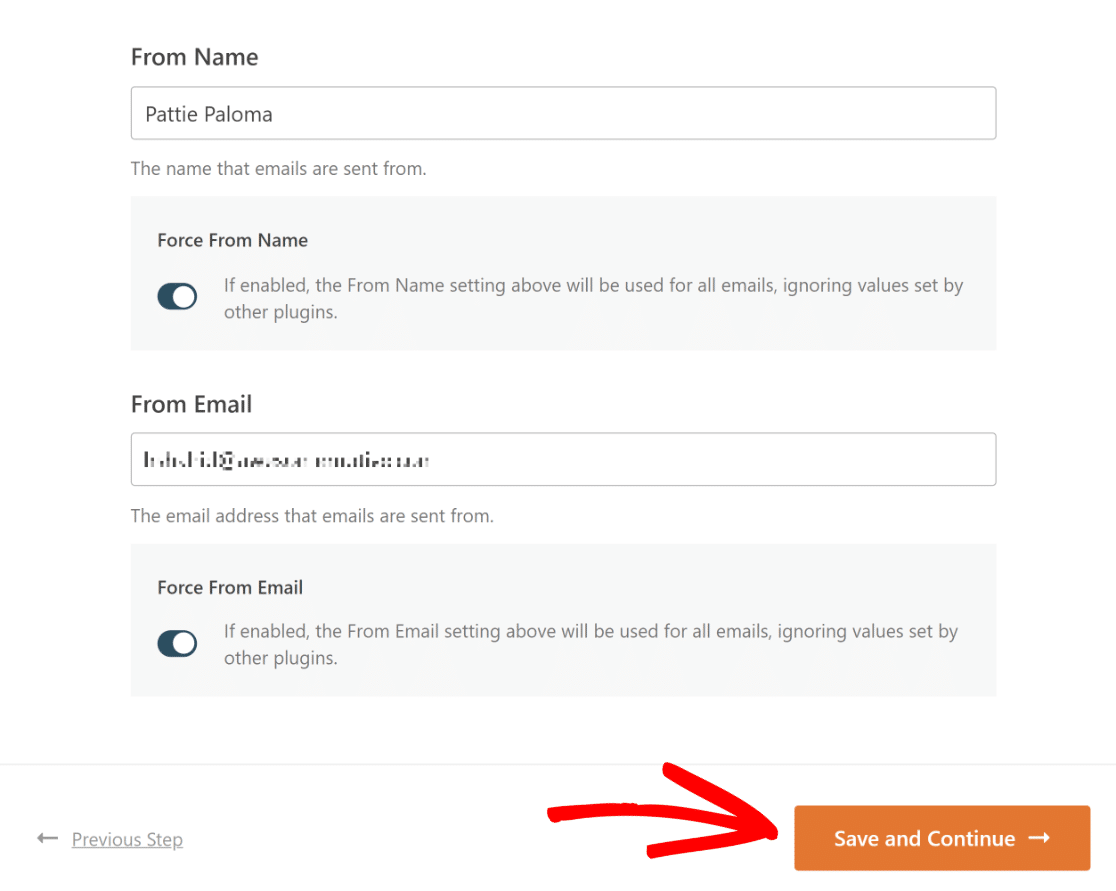
Now, all you need to do is add the name that emails are sent from and toggle on the Force From Name option.
Once this is done, enter the email address that emails will be sent from, and toggle on the Force From Email option, and hit the Save and Continue button.
5. Complete All Steps in the Setup Wizard
After correctly configuring Mailchimp SMTP, you can use WP Mail SMTP’s other features. For instance, be sure to choose the Detailed Email Logs option.
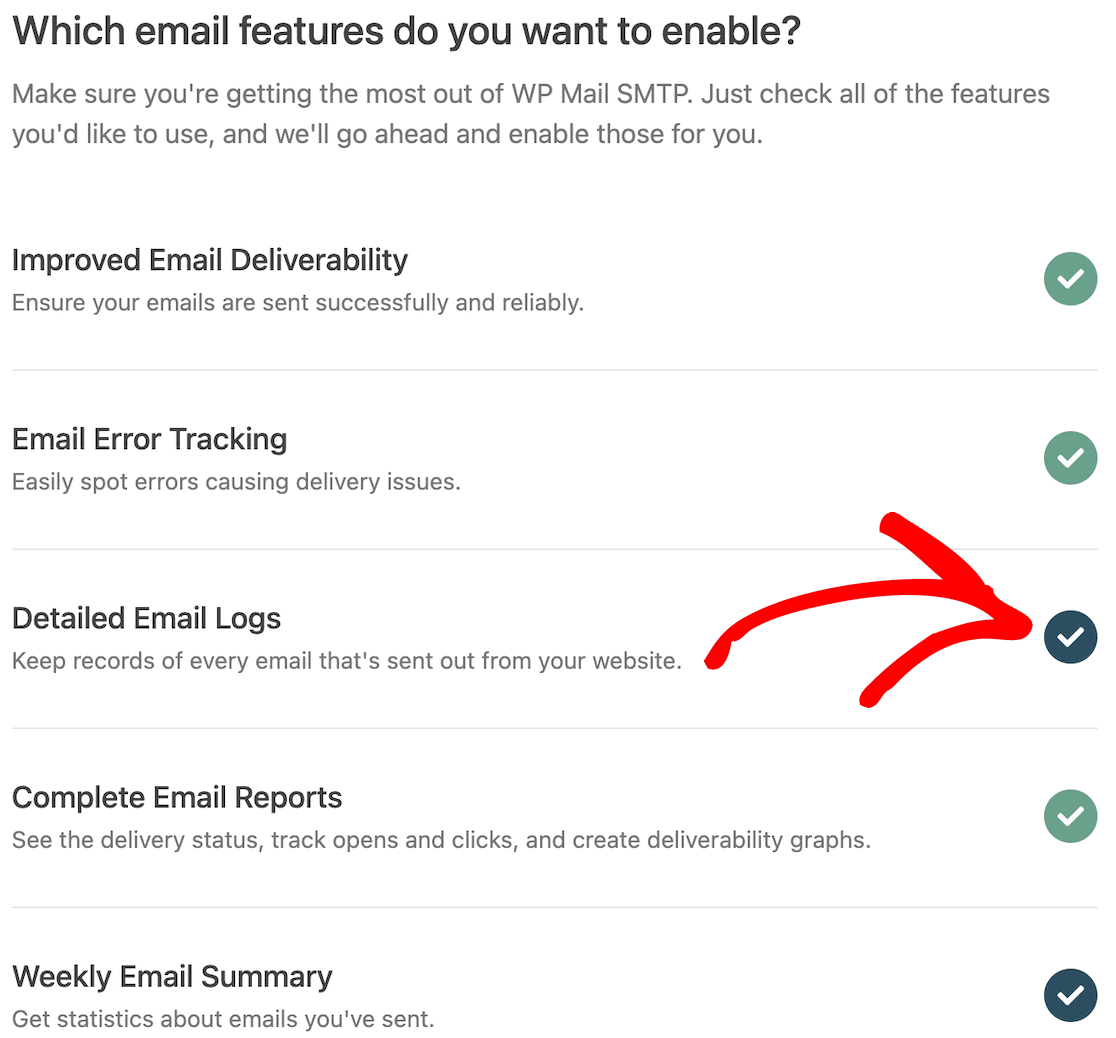
This will turn on Complete Email Reports. You can also get a Weekly Email Summary of your logs and Instant Email Alerts when an email doesn’t send.
After you’ve enabled these options, you’ll be given the opportunity to configure certain advanced email logging features.
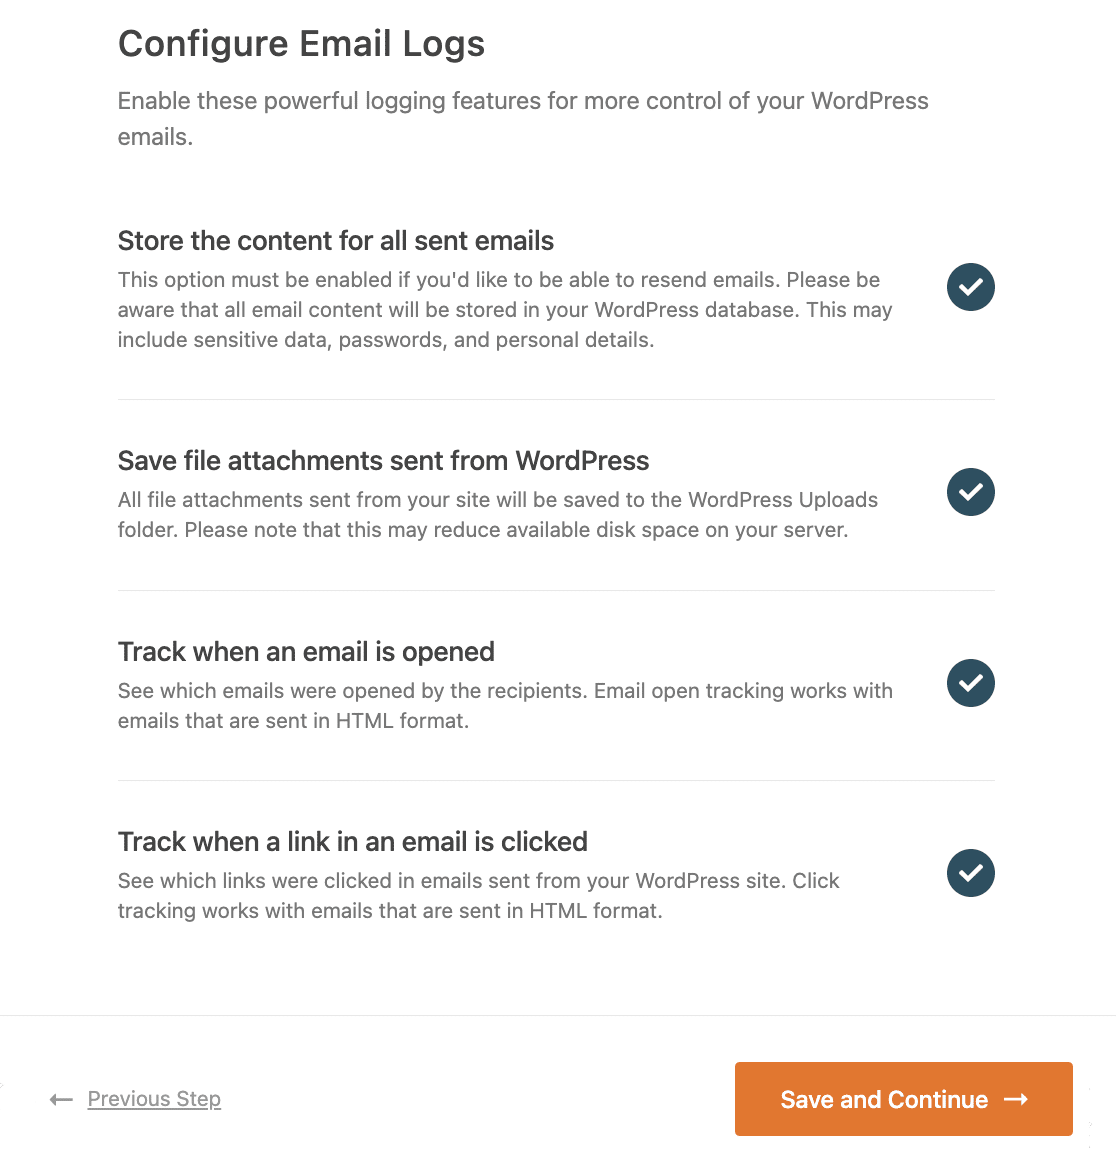
These options include:
- Store the content for all sent emails. Save email content in your site’s database (works with any SMTP mailer).
- Save file attachments sent from WordPress. Save contact form media in your site’s Uploads folder.
- Track when an email is opened. Track and see when recipients open your emails to track email delivery.
- Track when a link in an email is clicked. See when recipients click links in your emails and get notifications.
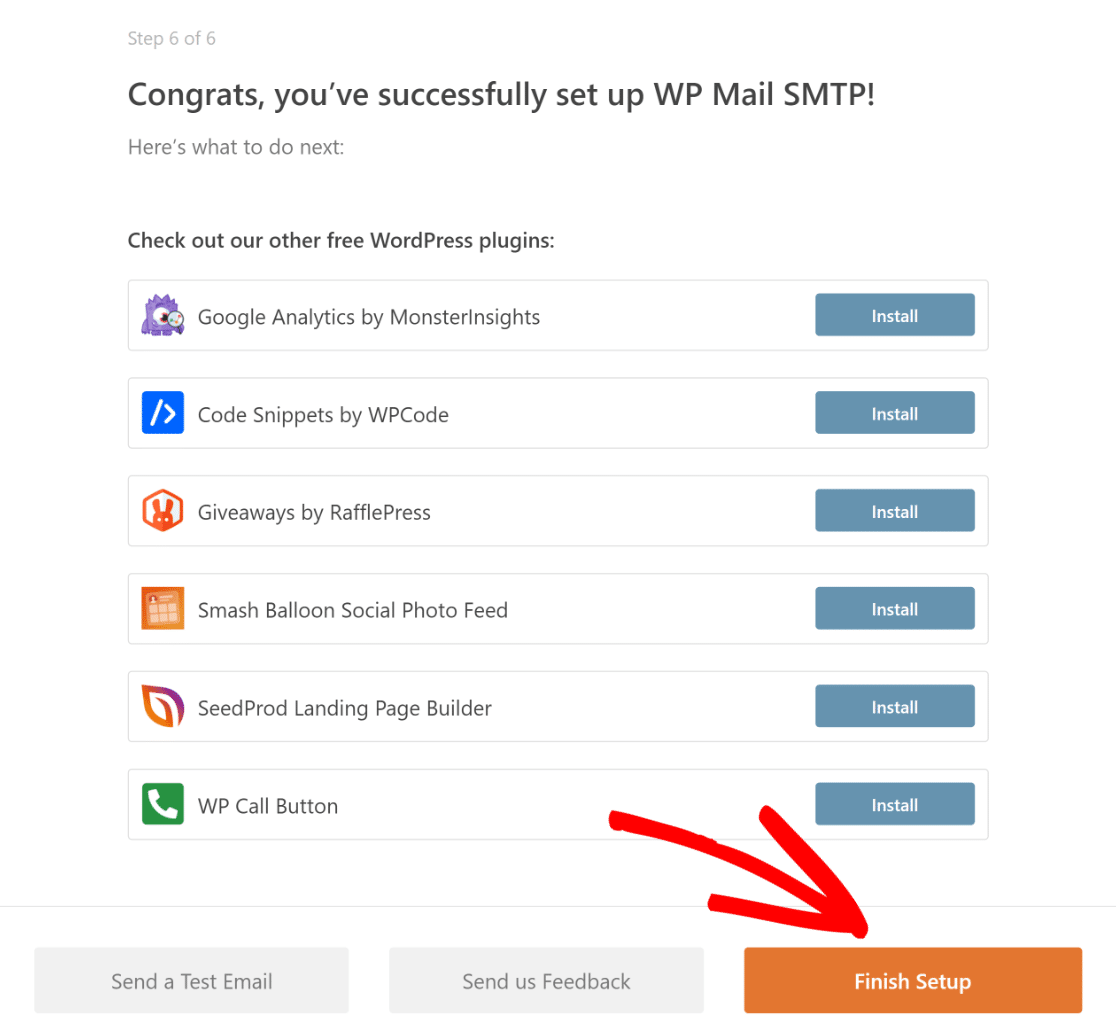
Save your changes and move through to the last step of the Wizard and then click on the Finish Setup button.
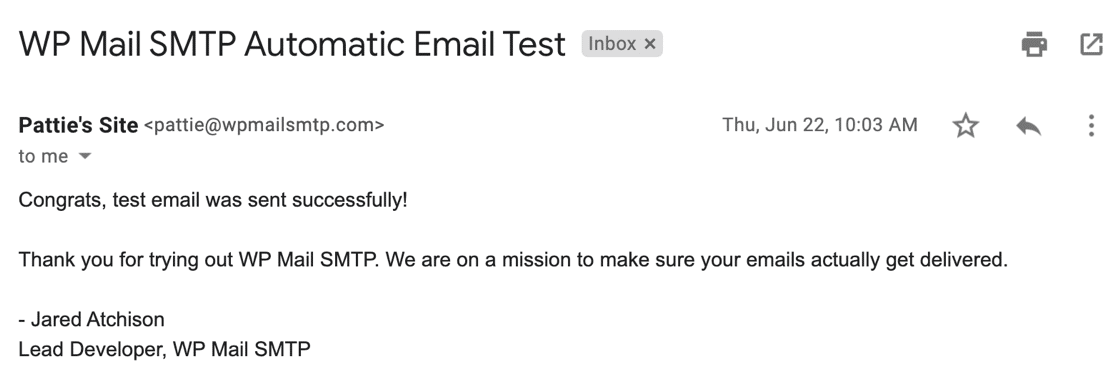
After completing the Setup Wizard, you will receive an automated test email to make sure your new Mailchimp SMTP service is up and running.
To obtain a more accurate understanding of your email deliverability at this point, you should wait until a few order emails have been generated.
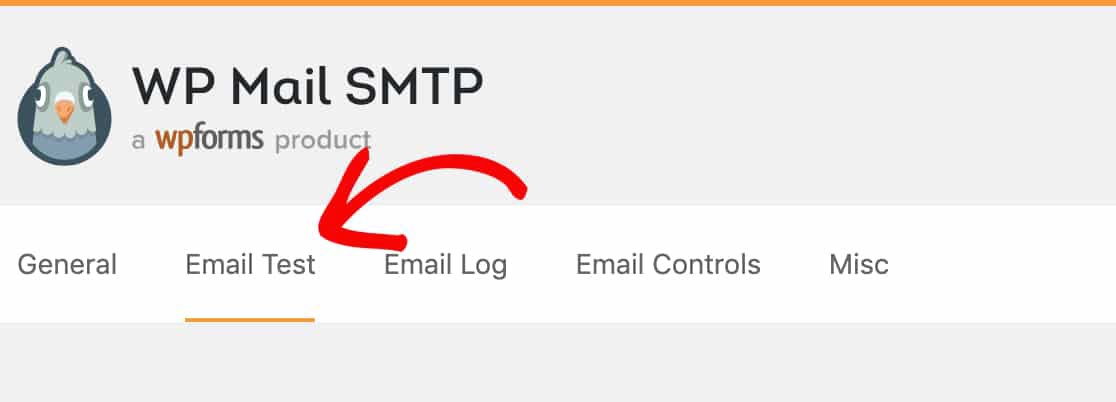
If you don’t want to wait, you can go to WP Mail SMTP » Tools » Email Test to send a few test emails from WP Mail SMTP.
More Questions about Using WP Mail SMTP with Mailchimp
Using WP Mail SMTP with Mailchimp is a popular topic of interest among our readers. Here are answers to some common queries about it.
Can I use Mailchimp for SMTP?
Yes, Mailchimp offers an SMTP service called Mandrill. However, to use it, you’ll need a Mailchimp account and additional setup.
What is WP mail SMTP used for?
WP Mail SMTP is a WordPress plugin that helps ensure emails sent from your WordPress site are delivered to the inbox. It does this by allowing you to use an SMTP service instead of the default PHP mail function.
What is the best SMTP plugin for WordPress?
WP Mail SMTP is one of the most popular and recommended SMTP plugins for WordPress. It’s easy to set up and works with various SMTP providers, including Mailchimp’s Mandrill.
How do I install WP Mail SMTP plugin?
To install the WP Mail SMTP plugin, you can either download the .zip file from the WordPress.org plugin repository or directly from your WP Mail SMTP account page, depending on whether you want to use the Lite or Pro version.
Next, Learn About the Differences between WP Mail SMTP Lite and Pro
Want to know the differences between WP Mail SMTP Lite vs. Pro? Looking for advice on picking the right plan? Check out our comparison of WPForms Lite and WPForms Pro, so you know exactly what you get when you upgrade.
Ready to fix your emails? Get started today with the best WordPress SMTP plugin. If you don’t have the time to fix your emails, you can get full White Glove Setup assistance as an extra purchase, and there’s a 14-day money-back guarantee for all paid plans.
If this article helped you out, please follow us on Facebook and Twitter for more WordPress tips and tutorials.

