AI Summary
Are you looking to add greater security to your WordPress forms? With WPForms’ introduction of Cloudflare Turnstile, WordPress forms are more secure.
In this post, we’ll show you how quick and easy it is to set up Cloudflare Turnstile on your WordPress site.
What Is Cloudflare Turnstile?
Cloudflare Turnstile is a CAPTCHA alternative that eliminates users needing to identify images the way tools like hCaptcha and Google reCAPTCHA do.
It keeps your forms spam-free by quietly rotating browser challenges and running non-interactive JavaScript challenges.
Many argue that it improves the user experience because they’re not slowed down by identifying images in CAPTCHAs.
You don’t need to be a Cloudflare customer to use this service. Any site owner can sign up for free.
How To Add Cloudflare Turnstile to WordPress Forms
Now that you know a bit about this CAPTCHA alternative, let’s look at how you can set up Cloudflare Turnstile to protect the forms on your WordPress site.
In This Article
Step 1: Download & Install WPForms

For this tutorial, you’ll need to have WPForms installed on your WordPress website.
If you need some help with this step, check out this step-by-step guide to installing a WordPress plugin.
Step 2: Create & Configure a Cloudflare Account

After activating WPForms on your website, open a new tab or window and go the Cloudflare website.
On Cloudflare’s site, you should either sign up for an account or log in to an existing one if you have it. Note that it is free to have an account on Cloudflare.
Once you’re logged in and viewing your Cloudflare dashboard, select the Turnstile option in the right sidebar menu and then click Add site.
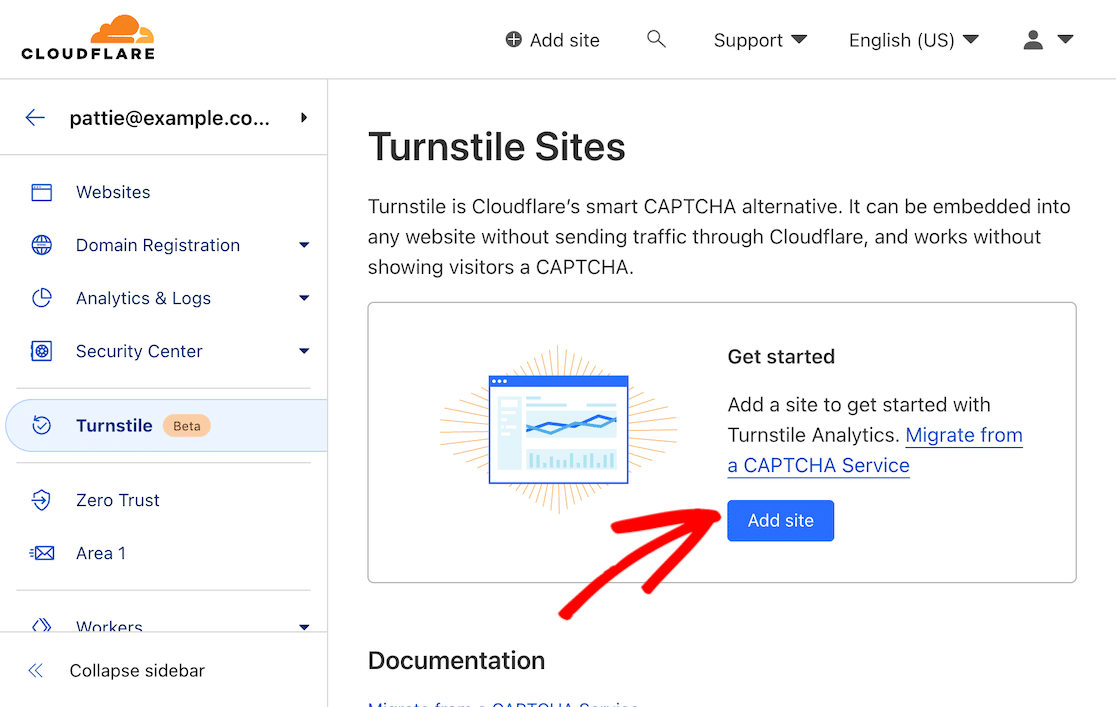
Next, enter a site name. This is for internal use only.
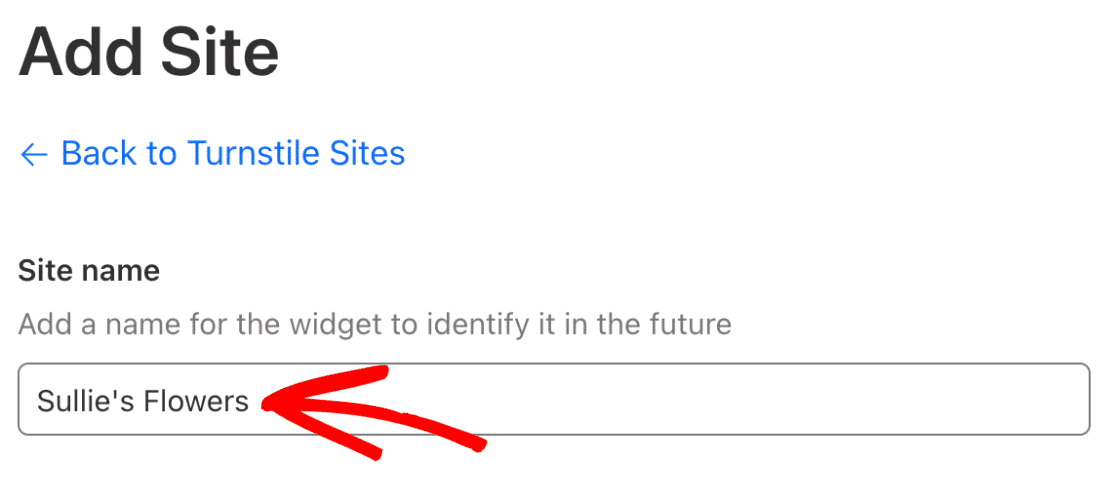
After that, you’ll enter your website’s URL in the Domain field.
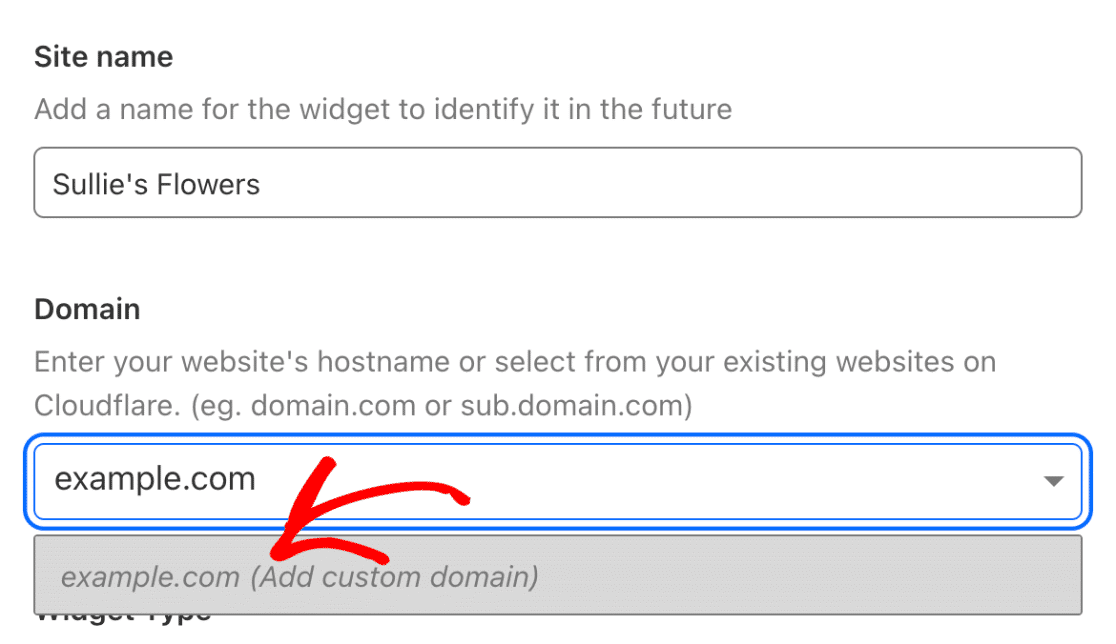
Note that you can enter multiple domains here and use a single set of API keys across all of them.
The final step in setup on Cloudflare’s site is to select a widget type. With these options, you have the ability to choose how Cloudflare should process CAPTCHA requests.
There are 3 options: managed, non-interactive, and invisible
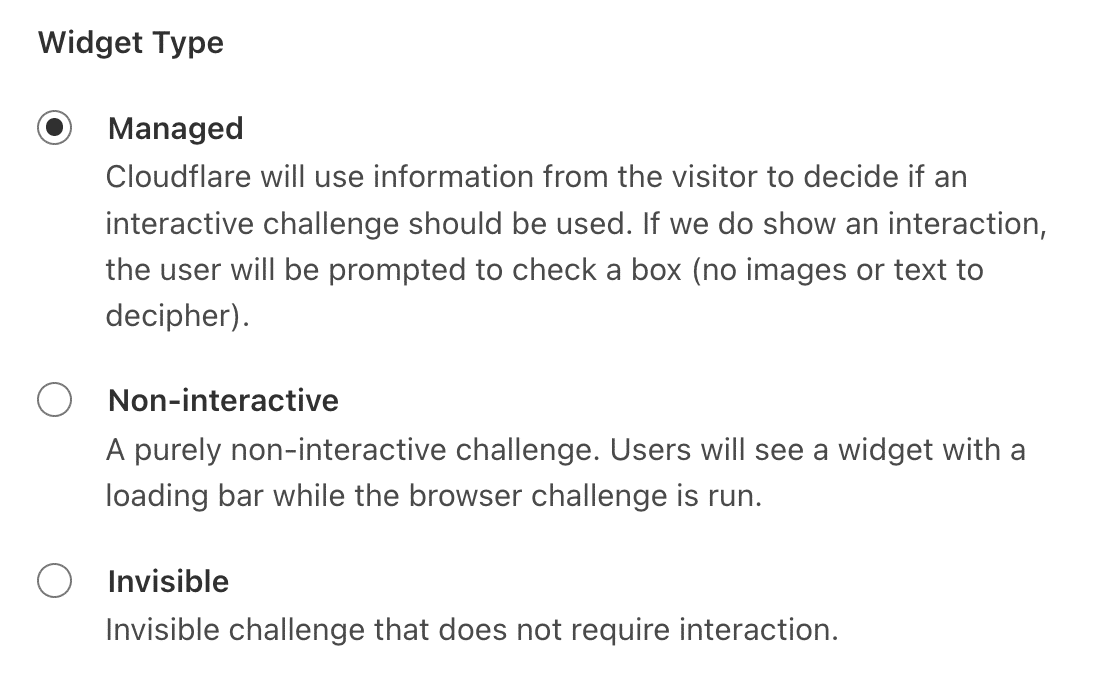
- Managed: This option lets Cloudflare use visitor information to determine whether to show an interactive challenge or to verify automatically based on browser data. The only interactive challenge it shows is a checkbox. No images or text.
- Non-interactive: The user doesn’t interact with this challenge in any way. They only see a widget with a loading bar while the browser challenge runs to verify the user.
- Invisible: This options runs unseen in the background and requires no interaction from the user.
After you select your widget type, click the create button.

Doing this will generate a unique set of API keys.
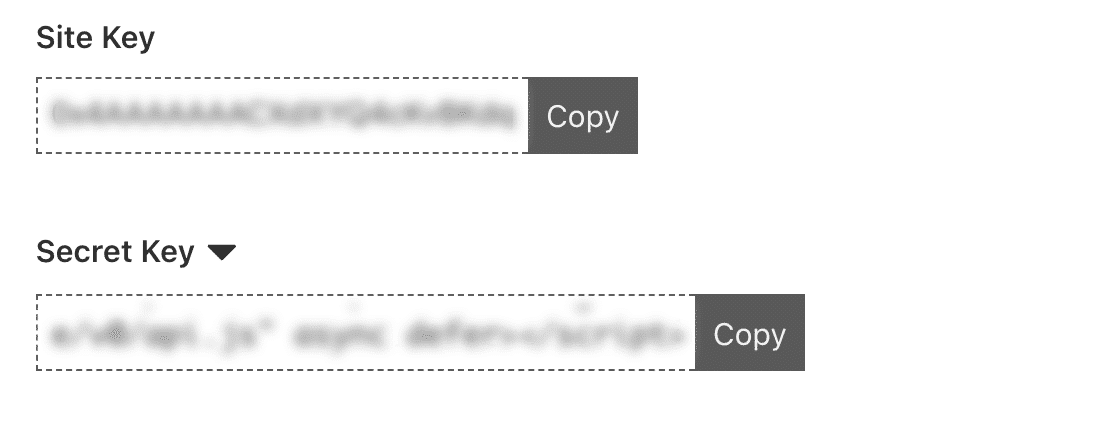
Keep these open in this tab or window and return to the tab or window containing your WordPress dashboard and WPForms account.
Step 3: Configure Cloudflare Turnstile in WPForms
Now it’s time to paste the site key and secret key into WPForms to connect your account.
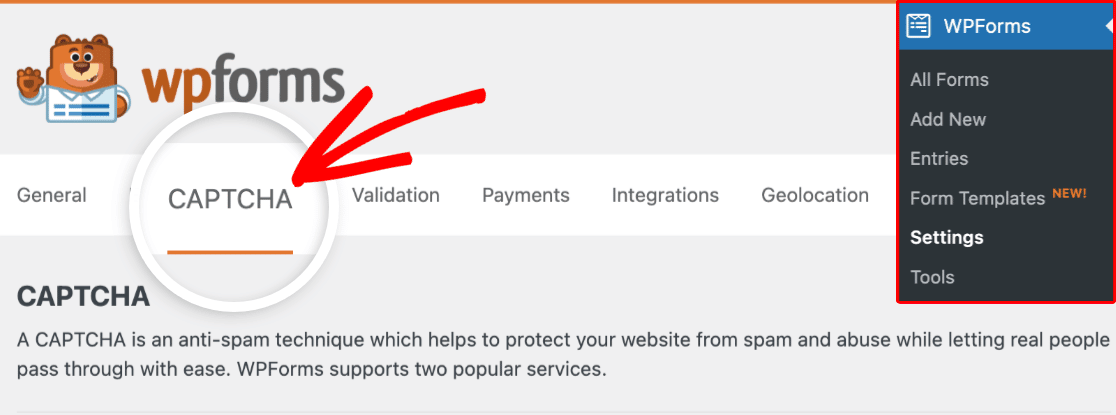
From your WordPress dashboard, click on WPForms » Settings. Then select the tab for CAPTCHA. This is where the Cloudflare Turnstile connection lives.
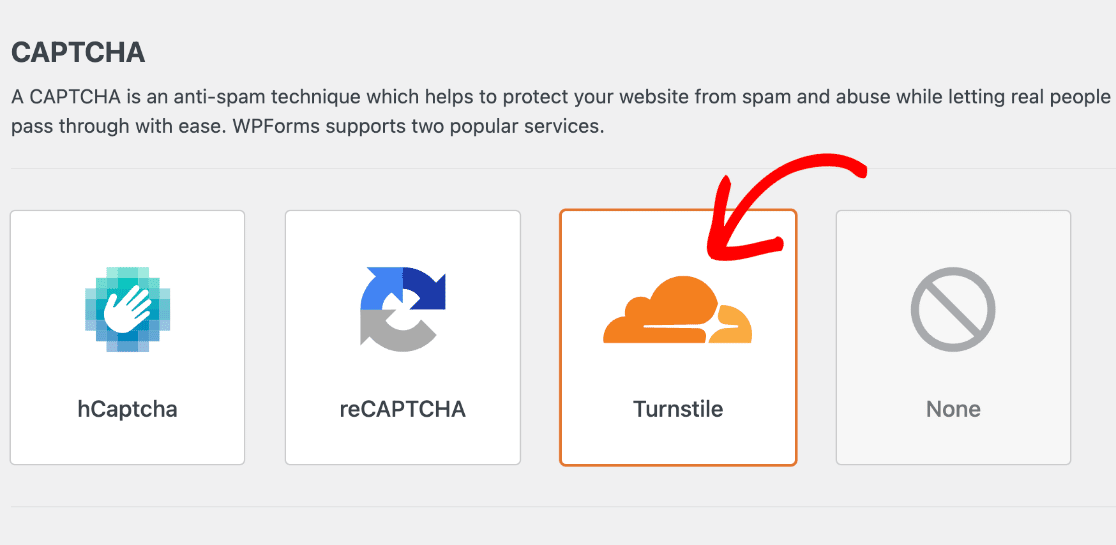
Next, select Turnstile from the options provided.
Below that, you’ll need to enter the Site Key and Secret Key to connect your Cloudflare account to WPForms to prevent form spam.
Copy these values exactly from your other tab with your Cloudflare account open, and paste them into the Turnstile setup in WPForms.
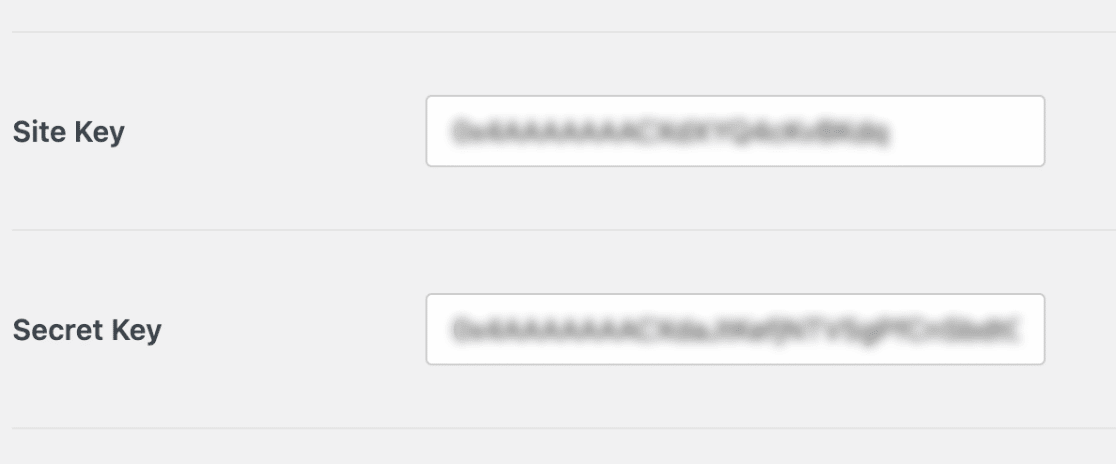
Once you’ve entered both keys, you can configure additional settings.
Fail Message

In this setting, you can customize the message that users will see if they fail the verification process.
Type

The Type settings let you choose from dark, light, or auto to determine the appearance of the Cloudflare widget on your form. If you select auto, it will toggle back and forth based on users’ device settings.
Preview & No-Conflict Mode
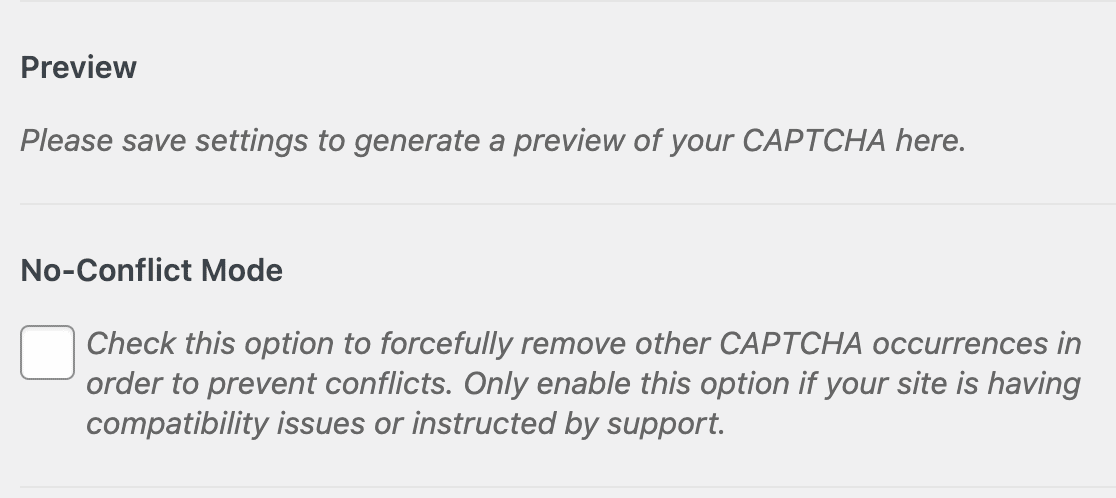
After updating the Type, you’ll see a section previewing the widget. Note that this will update after you save your settings.
Below that is No-Conflict Mode. If Cloudflare Turnstile or any of the CAPTCHA options is loading multiple times on your site, it can present problems that keep your anti-spam option from working properly.
An example of this is if WPForms and your site theme are both using Turnstile.
If you select No-Conflict Mode, it will automatically remove Turnstile code that’s not loaded by WPForms.
If you’re not sure or not comfortable making that call, reach out to the support team and they can help answer your questions.
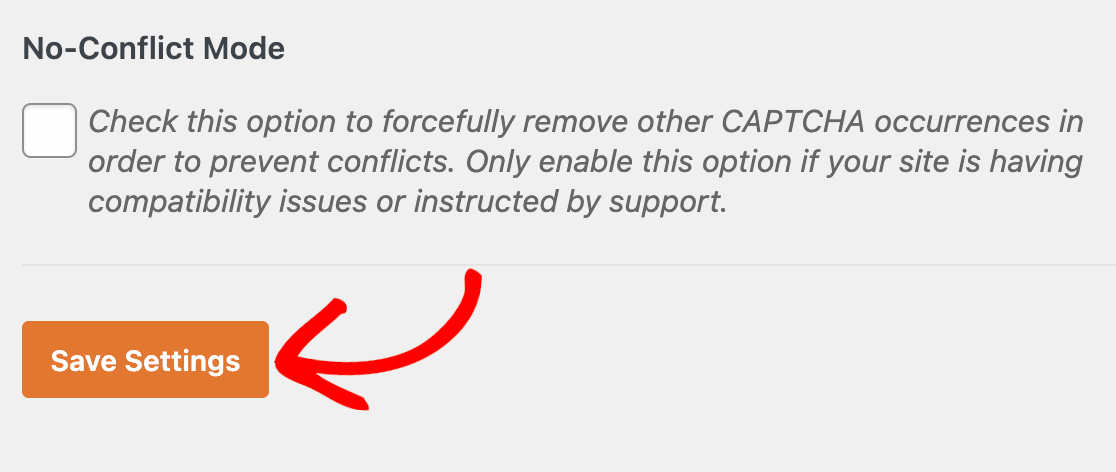
Once you’ve done that, click the Save Settings button.
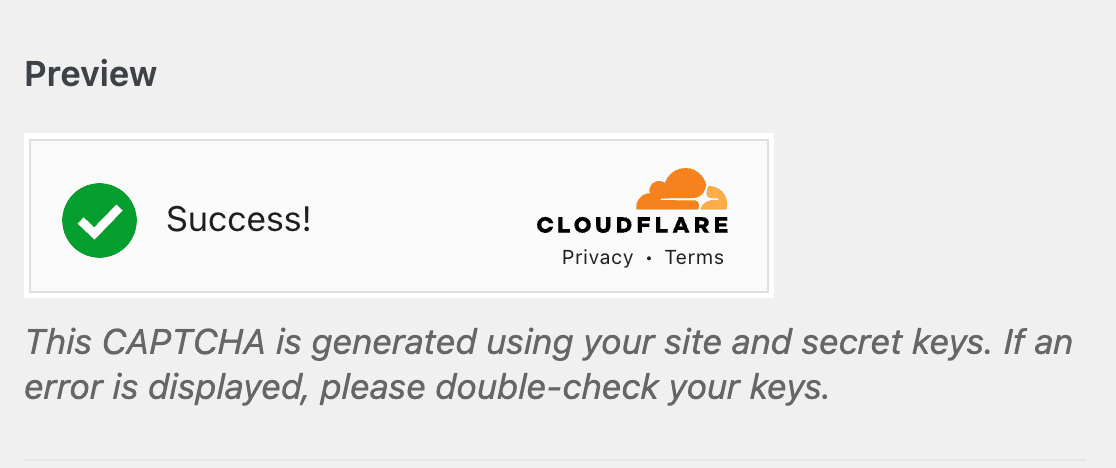
After that, you should be able to see the preview of your Turnstile widget and how it will appear to users.
Step 4: Add Cloudflare Turnstile to a Form in WPForms
Your keys are set up, and your Cloudflare account is linked to WPForms. The next step is to create a form to test it.
For this, open WPForms in WordPress. You can either create a new form or work with an existing one.
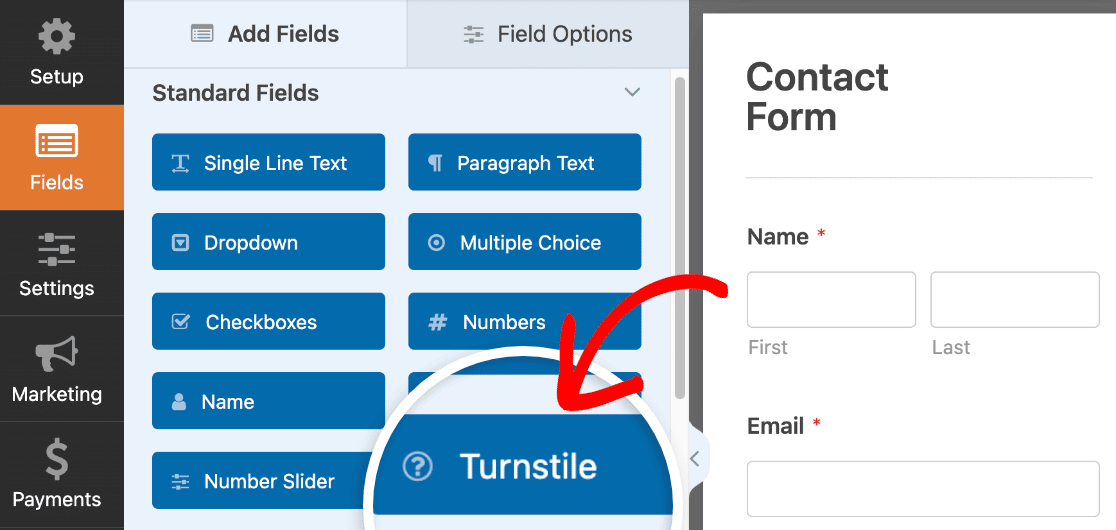
Upon entering the form builder, you should now see a Turnstile option in the Standard Fields. Use this option to add Turnstile to your form.
Once Turnstile is turned on for the form, you can easily turn it off and back on if needed. To do this, go to Settings » Spam Protection and Security.
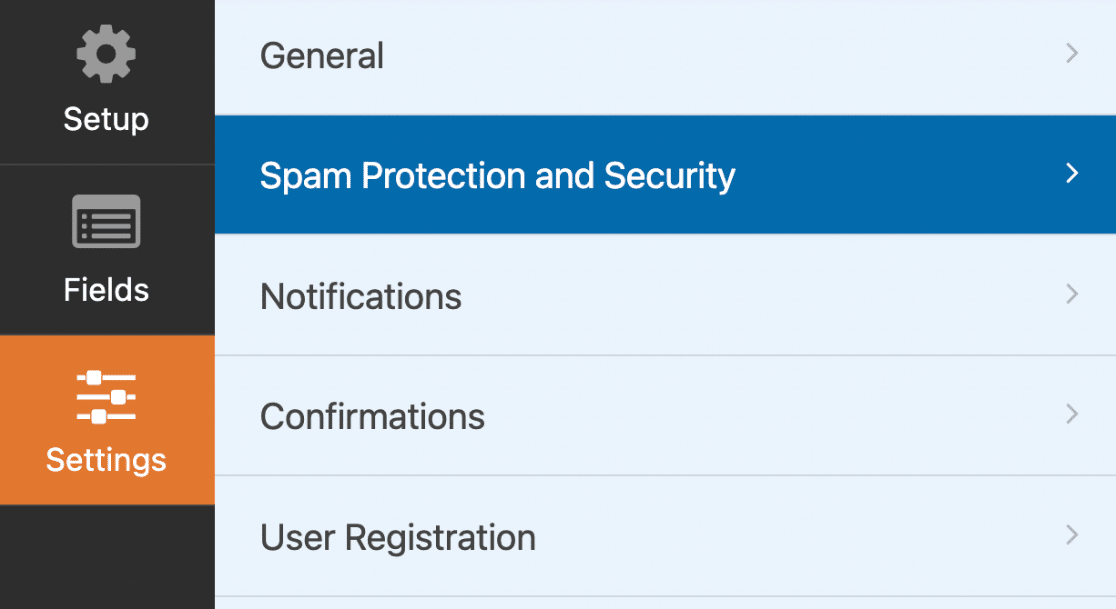
From there, use the toggle switch to enable or disable Turnstile for that particular form.

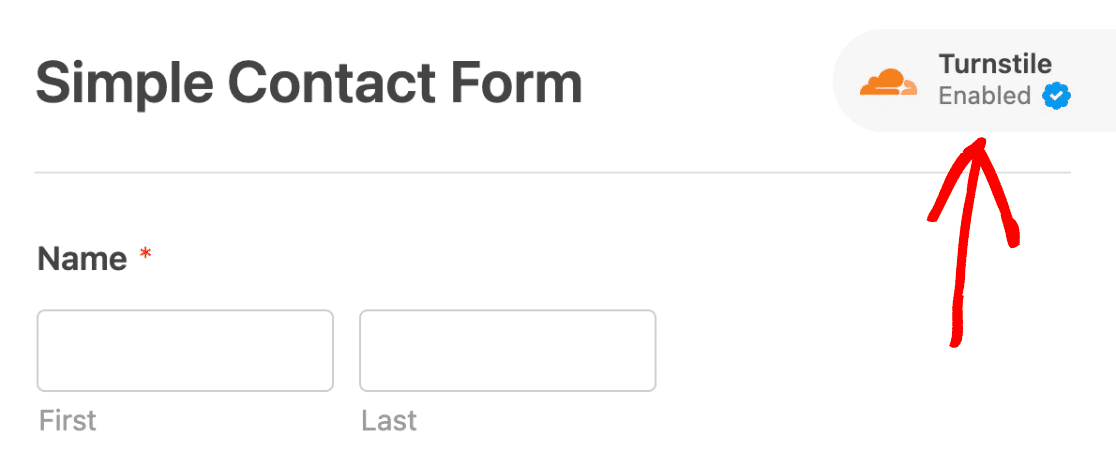
Note that, despite the Turnstile option appearing in the Standard Fields section, there will not be a specific field on your form that displays Turnstile. Rather, once Turnstile is properly enabled on the form, you’ll see a badge in the upper right corner of the form builder.
When your form is complete, publish it so you can run a test to ensure it’s in working order.
Step 5: Test Cloudflare Turnstile
The only thing left to do is test your work! To make sure everything is running as expected, simply submit an entry to your form.
If you’d like more information about testing your forms, check out this full form testing checklist.
Next, Improve Your Email Deliverability
Wondering how to make sure the emails you send from WordPress end up where they’re supposed to be? Check out our article on best practices for WordPress email deliverability.
And don’t forget to read up on how to send test emails from WordPress to be sure you can test your emails properly.
Ready to fix your emails? Get started today with the best WordPress SMTP plugin. If you don’t have the time to fix your emails, you can get full White Glove Setup assistance as an extra purchase, and there’s a 14-day money-back guarantee for all paid plans.If this article helped you out, please follow us on Facebook and Twitter for more WordPress tips and tutorials.

