Wondering how to add CAPTCHA to a contact form in WordPress? CAPTCHA fields are a great way to fight form spam, so this is a smart idea.
There are several tools that can help. Google’s reCAPTCHA might be better known, but hCaptcha and WPForms’ Custom Captcha, are leading CAPTCHA tools that work just as well or better in some cases. The great thing is that you can use all three in WordPress, using WPForms.
In this article, we’ll focus on hCaptcha, showing you how to add hCaptcha fields to a contact form in WordPress. It’s easy and straightforward!
What Is hCaptcha and Why Should You Use It?
hCaptcha is one of the leading alternatives to Google’s reCAPTCHA for fighting form spam.
Some users prefer hCaptcha vs reCAPTCHA because:
- reCAPTCHA can sometimes fail to catch all spam messages; it’s the most popular CAPTCHA, so spam bots have an incentive to figure out how to get around it
- In some cases, reCAPTCHA is too aggressive — this tends to be the case with v3, which can stop legitimate entries getting through
- reCAPTCHA may collect more user data than you might be comfortable with.
- hCaptcha is more privacy-friendly.
Now that we’re all clear on what hCaptcha is and why you might want to use it, let’s get into how!
How to Add CAPTCHA to a Contact Form in WordPress
1. Install WPForms
WPForms Pro is the best WordPress contact form plugin. It supports:
- hCaptcha
- Cloudflare Turnstile
- Akismet
- reCAPTCHA
- Keyword and country filters
- Custom CAPTCHA
- and more!

WPForms can also flag your entries as ‘spam’ rather than discarding them without you seeing them, which can be super helpful if you want the opportunity to screen spam yourself.
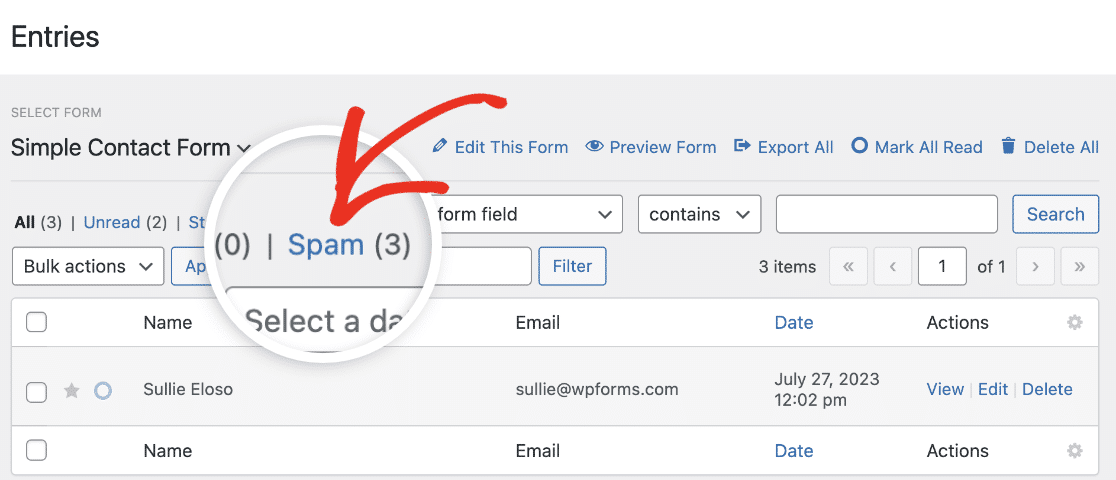
After installing and activating the plugin, go back to your WordPress dashboard and click WPForms » Settings.
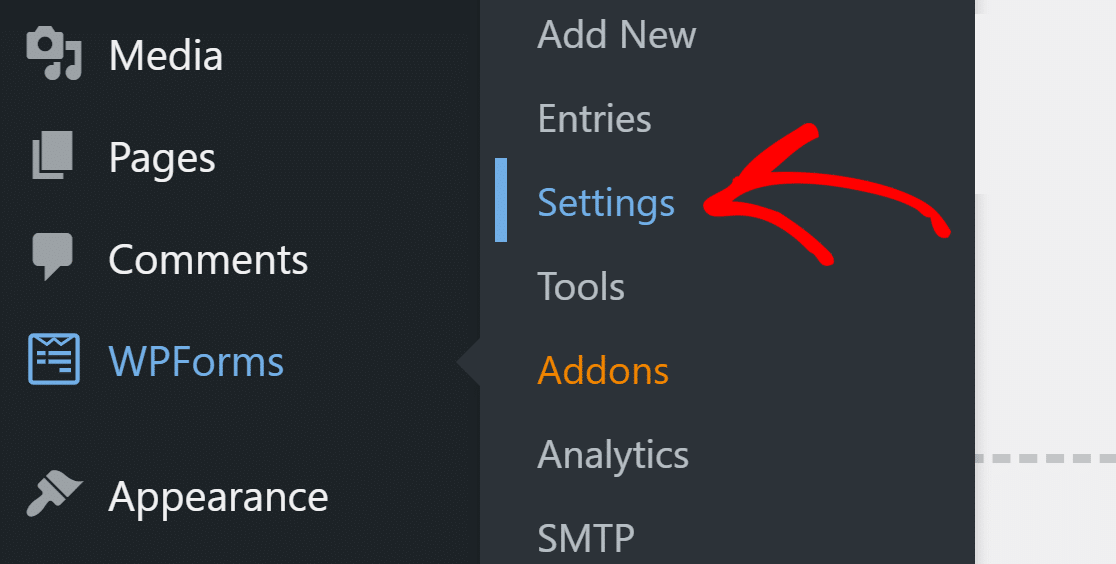
All of the CAPTCHA options are in the same place. Click on the CAPTCHA tab from the tabs across the top to see them.

And now click hCaptcha.
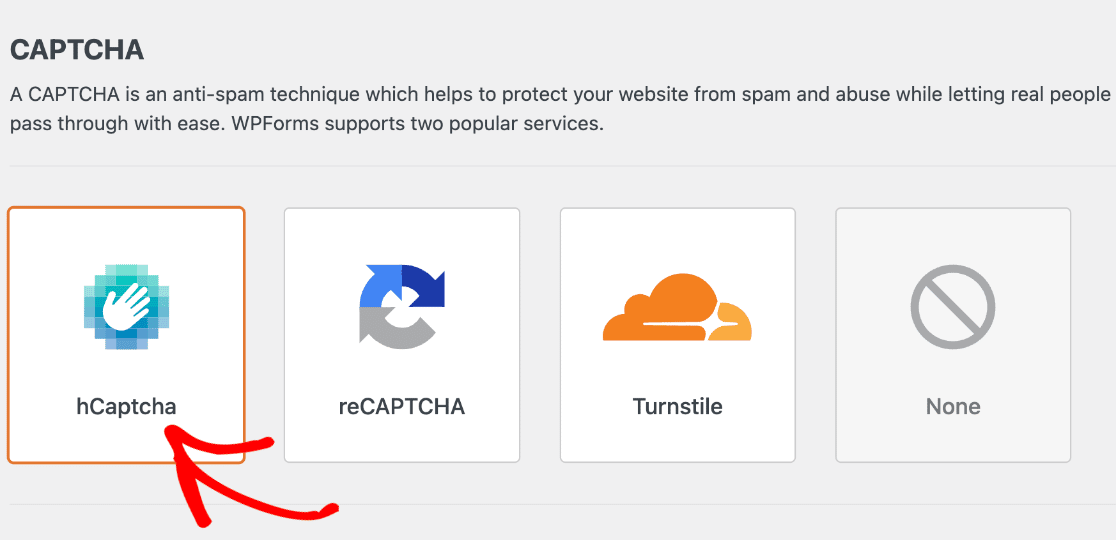
Now we’ll set up the connection between your WordPress site and the CAPTCHA service.
2. Set Up Your Sitekey in hCaptcha
To get hCaptcha keys, open the official hCaptcha site in a new tab and remember to keep open WPForms in another tab.
Log in to your hCaptcha account and click the New Site button.

In the Add New Sitekey section, give your site a name.
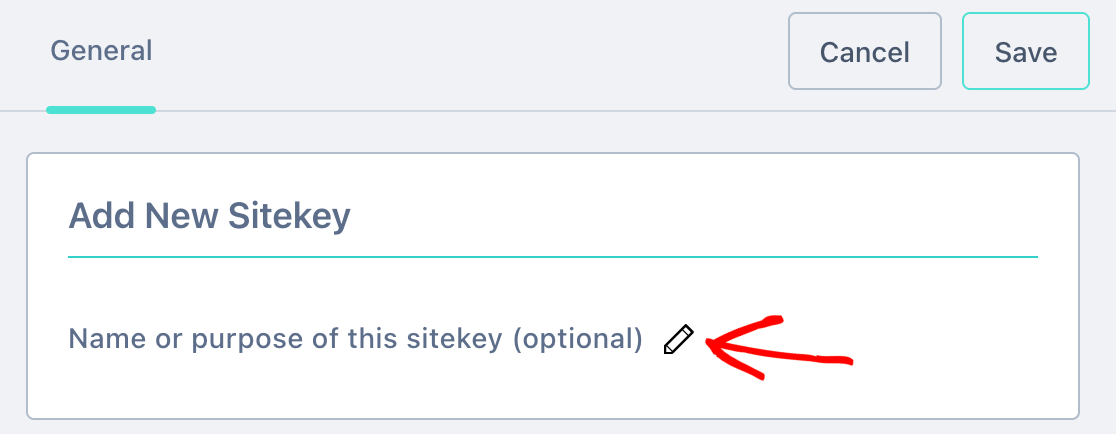
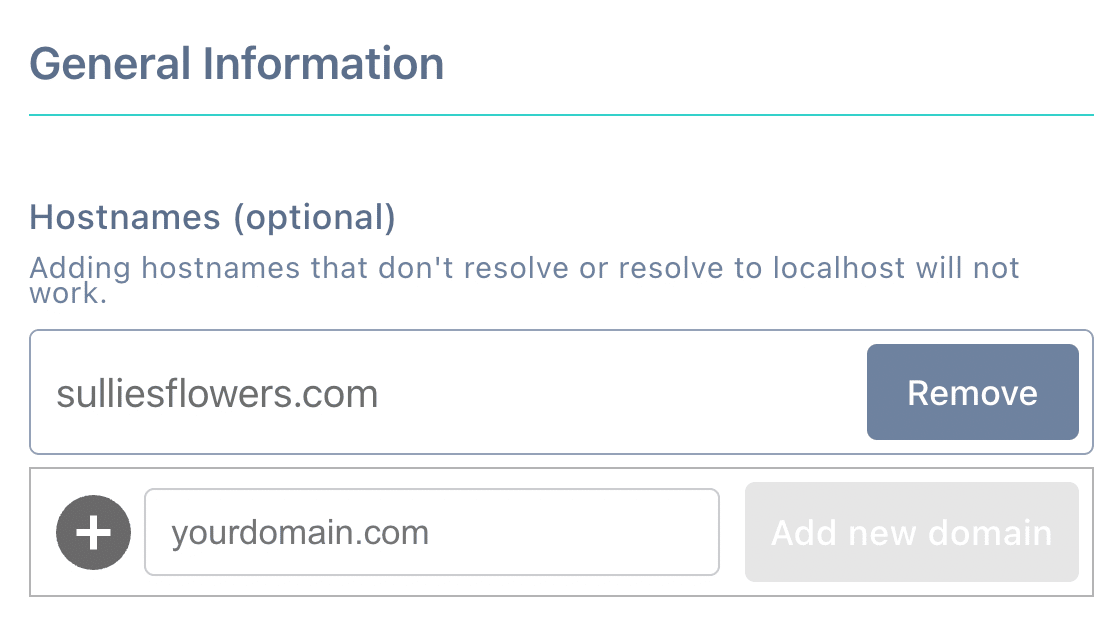
Then, in the Hostnames section, list all of the domain names you want to use this key with.
Next, you’ll want to set the Passing Threshold.
Hard CAPTCHAs are difficult for bots to solve, but they can also be difficult for humans.
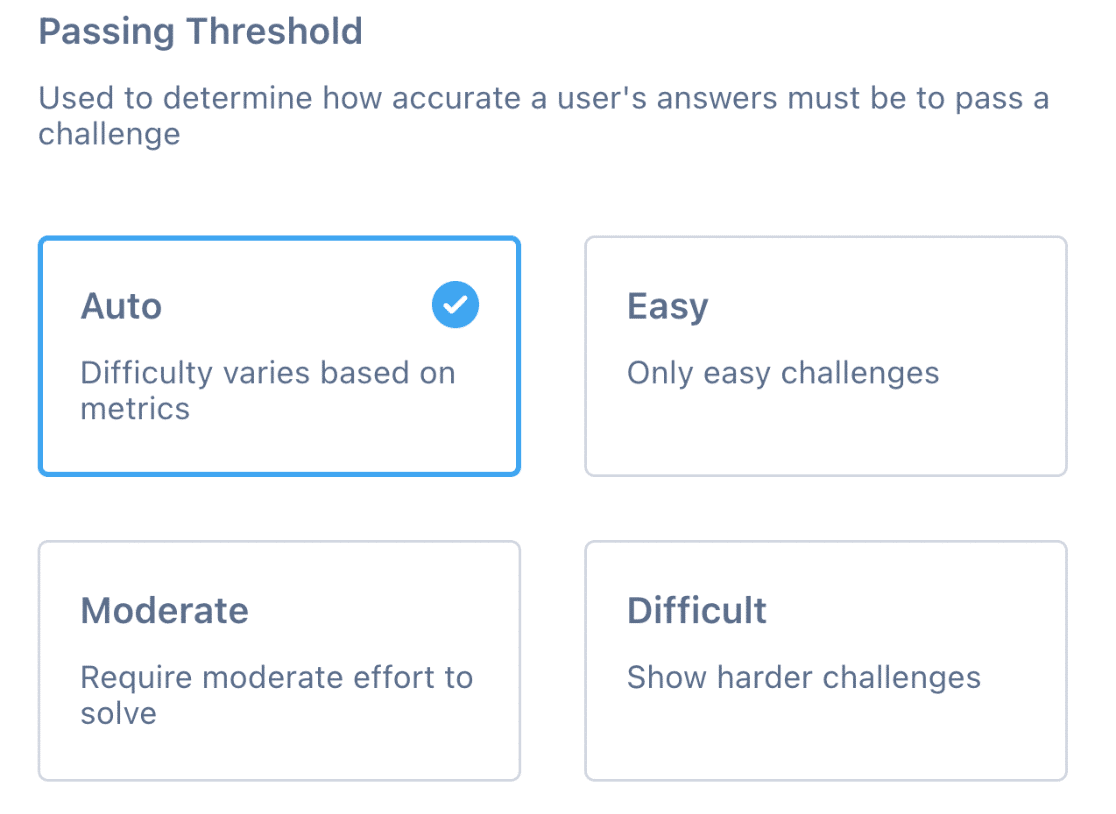
To explain this a little more:
- Easy is the standard CAPTCHA setting.
- Moderate is a good middle-ground if you want to make it easy for humans, but not too easy for spam bots.
- Difficult shows a challenge that is hard to solve. Keep in mind that it will be hard for your human visitors and this could harm your form conversion rates.
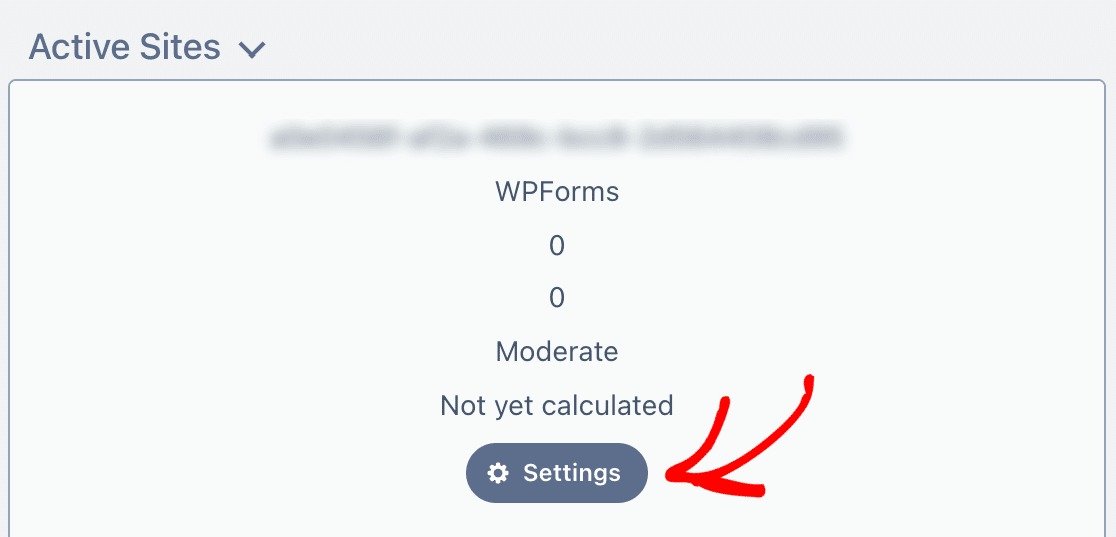
Once that’s done, click Settings.
Now we’re done with hCaptcha, let’s go back to WordPress.
3. Add Sitekey to WPForms
The last thing we need to do is connect your site on the WPForms side.
When we clicked Settings in the last step, you should have been presented with a sitekey.
Copy the sitekey and paste it in to the Site Key field in WPForms.
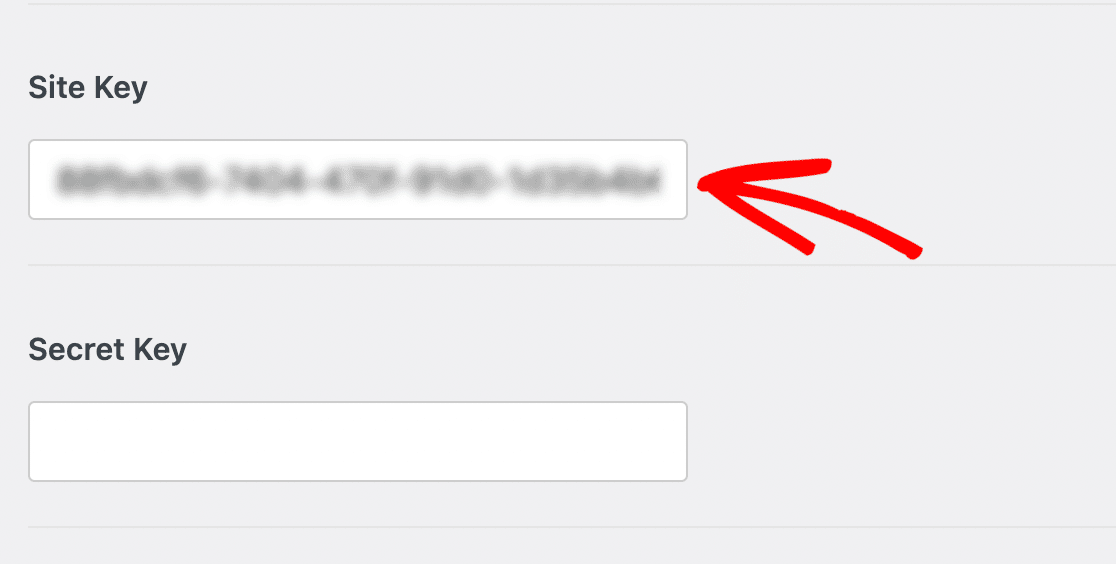
Just one more step: we need the Secret Key.
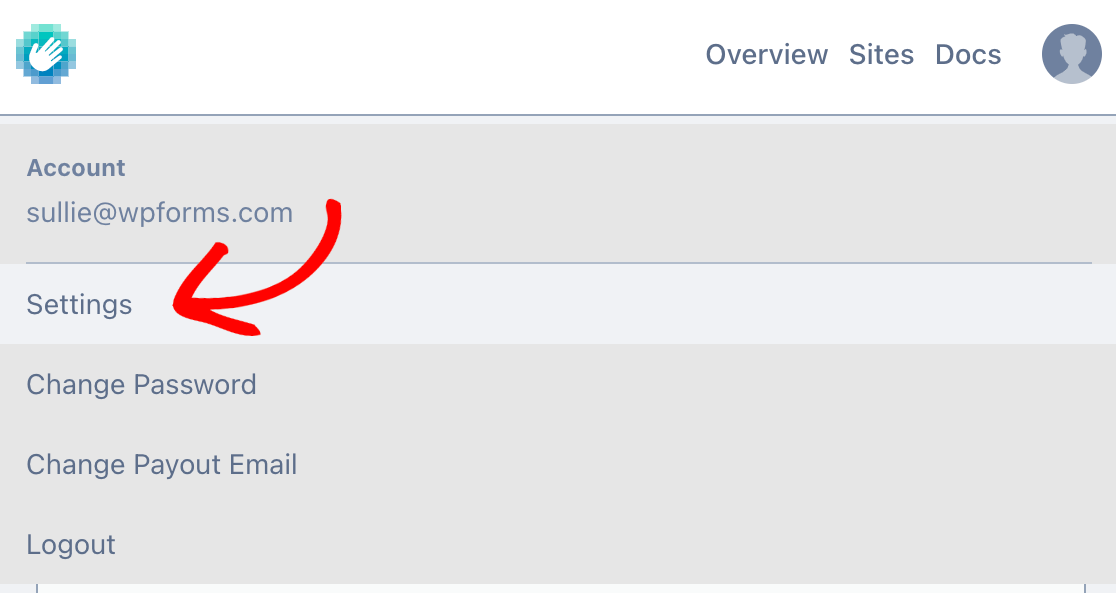
On the hCaptcha site, click your avatar (image), then click Settings.
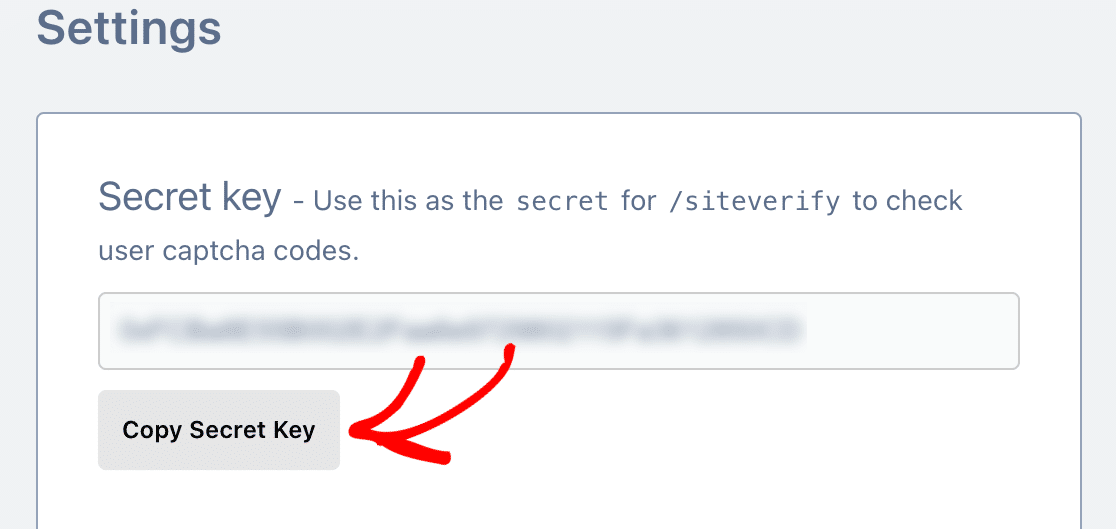
You’ll find your secret key on this page. Click the button to copy it.
And that’s it! Now we can quickly add hCaptcha to your forms in WordPress.
4. Add CAPTCHA to a Contact Form
You can add hCaptcha to a new WPForms form or to an existing one using the form builder. It’s really easy!
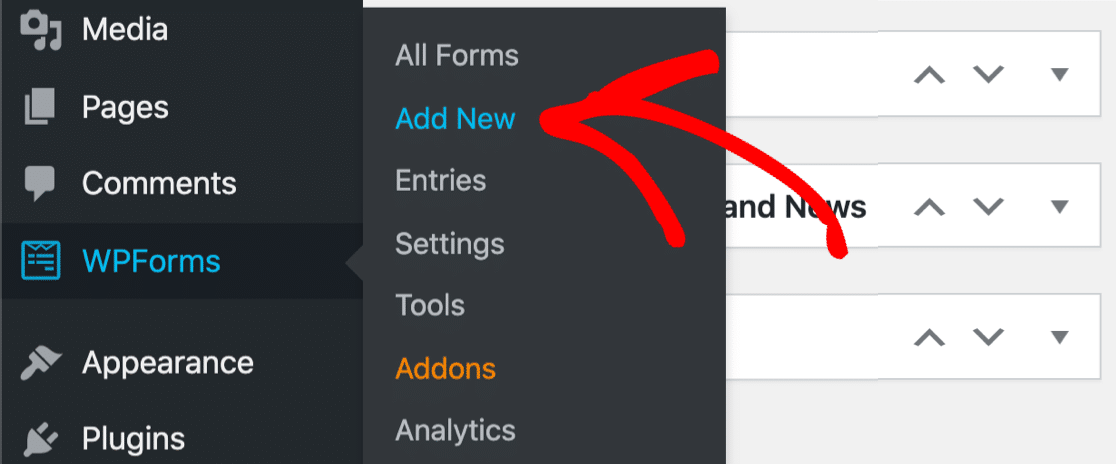
In the WordPress dashboard, click on WPForms » Add New.
Enter a form name and choose from one of 2,000+ WordPress form templates, or select Blank Form to build an entirely new form.
Both options will open up in the form builder. Here, you’ll find the hCaptcha field in the Standard Fields section on the left-hand panel. Click on it to enable it.
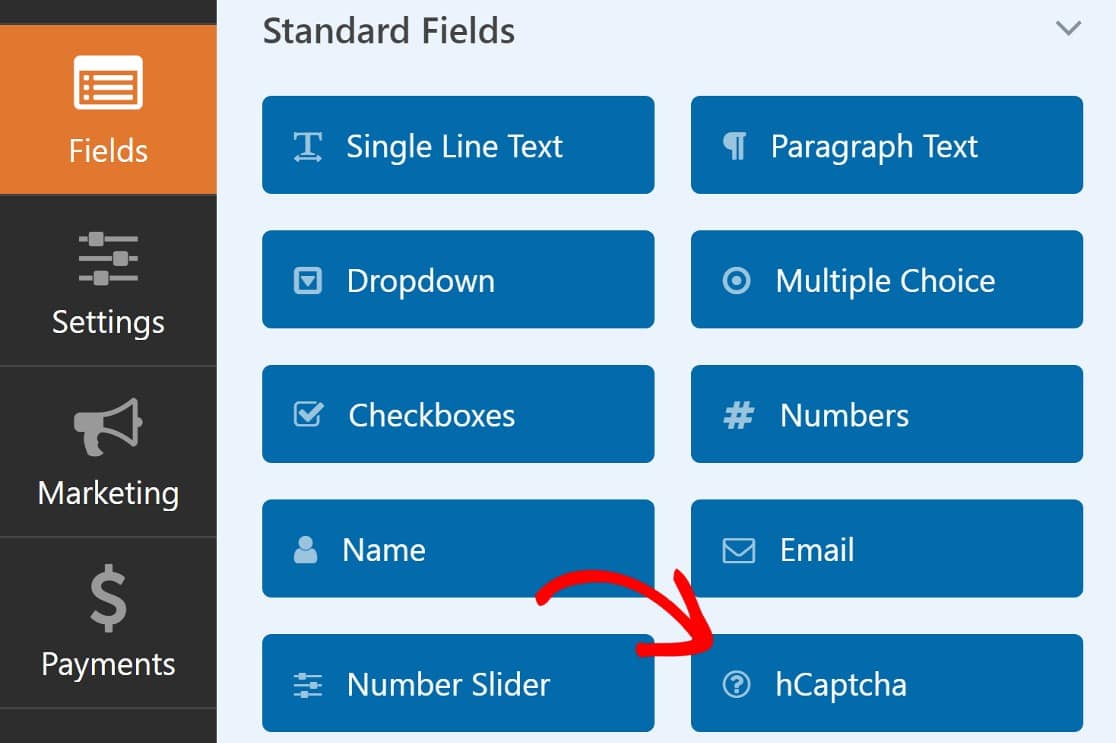
On the top right corner of the page, you should now see a notice showing that hCaptcha has been enabled.
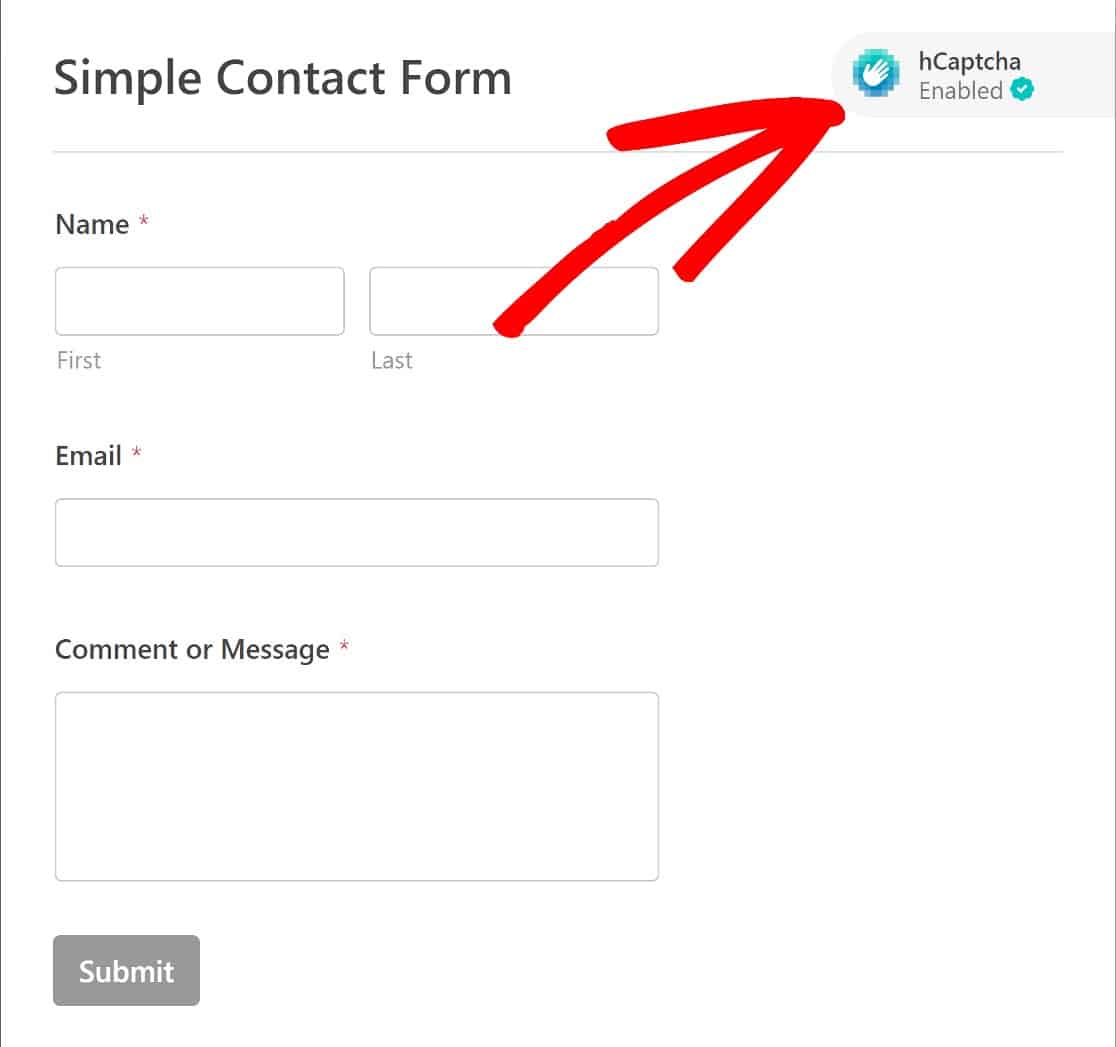
Your new CAPTCHA-enabled form will be ready to embed in any page of your choosing. In embedding the form, you’ll have two options: you can embed the form in an existing page or create a new one.
But first, click Save and then, click Embed.

WPForms will now ask if you’d like to add your form to a new page or include it on an existing page. In this example, we’ll embed the form on a new page.

Now, name your new page and click Let’s Go.

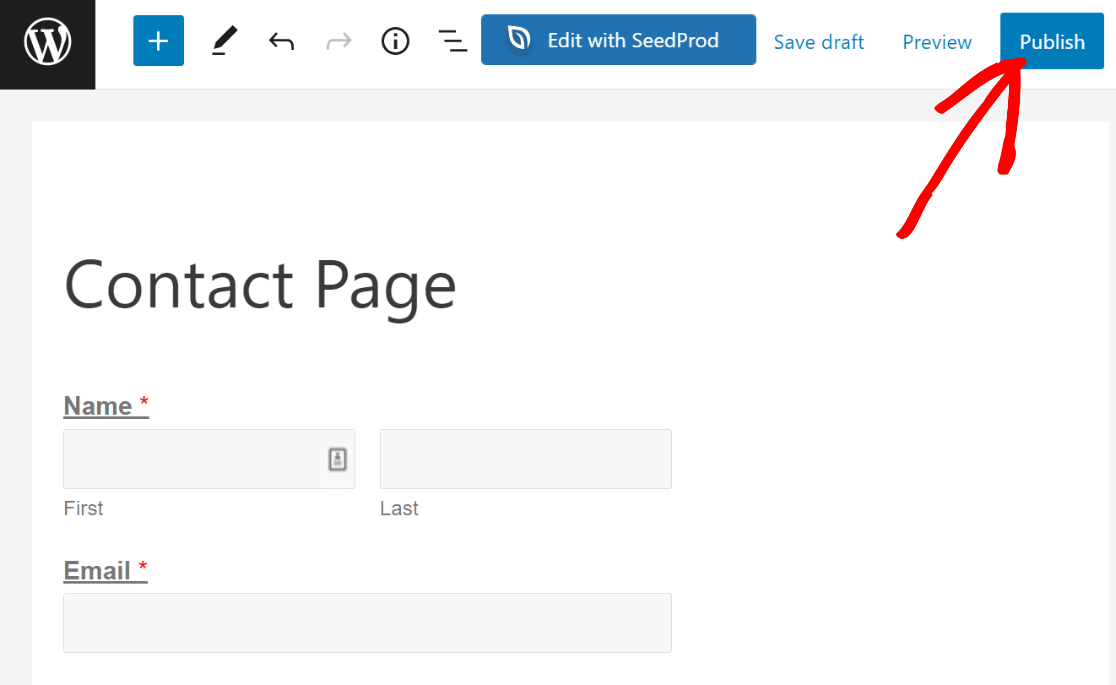
This will automatically create a new page and take you to the WordPress editor with the form already added as a block inside. You can make changes like you normally would for any other WordPress page and press Publish when you’re ready.
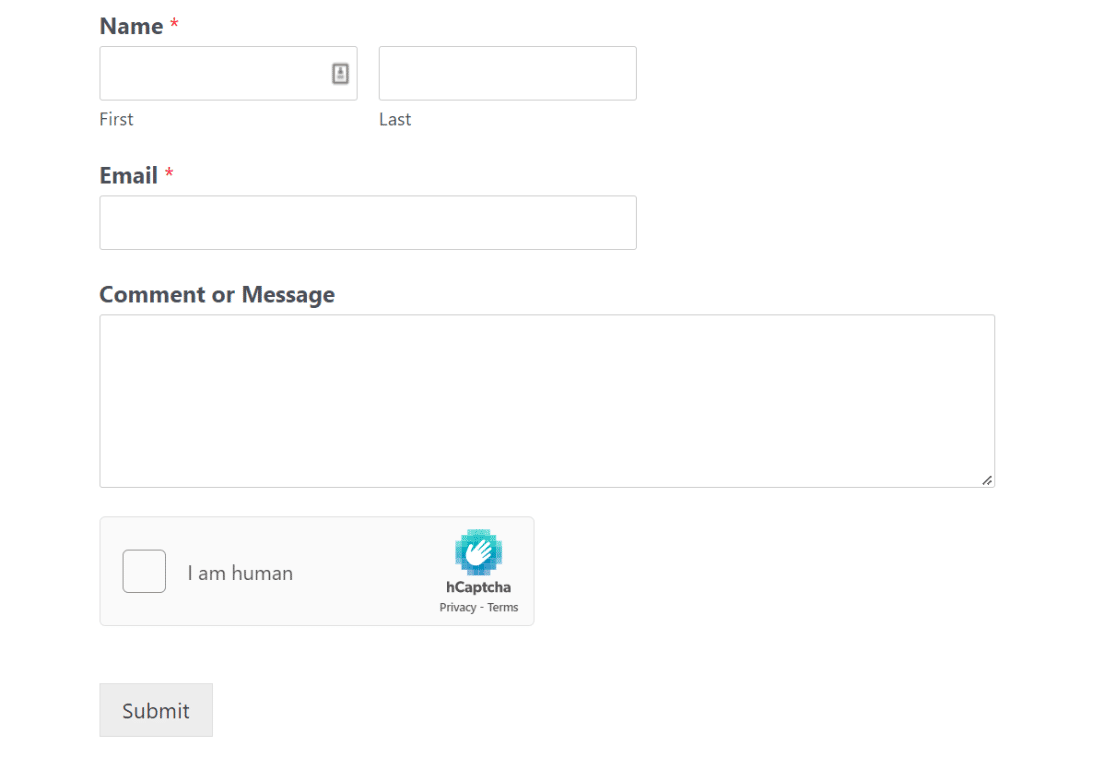
You can now check your newly published form from the frontend of your site. This is what it should look like:
You can also check out our guide on adding a contact form to a page in WordPress for more details.
And that’s all there is to it! Now you’ll be able to add CAPTCHA to a page in WordPress using hCaptcha, whenever you’d like.
Next, Check Out These reCAPTCHA Alternatives
We’ve covered protecting your forms from spam using hCaptcha. While this method works well, there are a few more alternatives to consider. Take a look at the best ones in our guide to the top reCAPTCHA alternatives.
One additional anti-spam method we particularly recommend for WordPress sites is the WPForms Akismet integration. Using Akismet on your forms is an excellent way to filter contact form spam in WordPress.
Ready to fix your emails? Get started today with the best WordPress SMTP plugin. If you don’t have the time to fix your emails, you can get full White Glove Setup assistance as an extra purchase, and there’s a 14-day money-back guarantee for all paid plans.
If this article helped you out, please follow us on Facebook and Twitter for more WordPress tips and tutorials.

