
AI Summary
Are you wondering how to send a test email from WordPress?
Every WordPress site needs to have flawless email delivery. Unfortunately, this can be tricky at first due to the default email settings in WordPress.
This article will help set you on track by showing you an easy way to send emails with WordPress, and to test that it actually works.
Without further ado, let’s get started!
Can WordPress Send Emails?
The short answer is yes, WordPress can send emails. However, you’ll need some plugins and tools to help.
WordPress sends emails using the PHP Mailer function. However, because a lot of spam emails take advantage of the lack of authentication protocols in PHP Mailer, it’s often disabled by web hosts to prevent abuse. This means that your emails won’t send at all.
Even in cases where your web host allows PHP Mailer, the lack of proper authentication means that your email services (like Gmail, Yahoo, Outlook, and so on) will likely treat your emails as spam or simply bounce them back.
Fortunately, this problem is easy to solve. To make sure your emails get to their recipients, you’ll need to use a Simple Mail Transfer Protocol (SMTP) tool like WP Mail SMTP, to help provide the proper authentication details.
In the next section, we’ll walk you through setting the entire thing up and sending a test email to check that it works as it should.
Read on for the step-by-step guide!
How to Send a Test Email From WordPress
1. Set Up WP Mail SMTP

As we’ve mentioned, you’ll need to install an SMTP plugin.
There are a few different SMTP plugins around, but WP Mail SMTP is the industry leader, and that’s what we’ll be using in this tutorial.
You can use WP Mail SMTP for free by downloading it from the WordPress plugin directory. We’d recommend using a paid license, however, as this comes with many more features.
If you aren’t sure how to install a WordPress plugin, take a look at this simple guide to installing Plugins in WordPress.
Once the plugin is installed, you’ll need to configure it. With the helpful installation wizard, getting started will be a breeze.
However, before you get started, you’ll need to authenticate your domain with SendLayer, and get a SendLayer API key.
So, at this point, we’ll hop out of WordPress and into SendLayer, to get things set up there as well.
We recommend that you keep your WordPress tab open while you work in SendLayer, as you’ll need to go back and forth in both for a while.
2. Set Up SendLayer
SendLayer is a powerful mailer, so while there are other options, this is the one we recommend. Sometimes, for example, your web host might block SMTP, but SendLayer is a reliable option for ensuring that your emails still get delivered.
To get started with SendLayer, you’ll need to create a new account. Once you’ve done this, log in to the SendLayer dashboard to set up the mailer.
You’ll need to authorize your domain name to begin with. This is necessary both to prove that you’re the genuine owner of the domain that’ll be sending out emails and that your domain is legitimate.
In your SendLayer dashboard, you’ll see a button labeled Add Domain at the top of the page. Click on this to get started.

This will open up a new page where you can enter the name of your domain. Again, click Add Domain to save this and move on to adding DNS records.

SendLayer will generate DNS records by default, and this happens once you’ve added your domain name. All you have to worry about is grabbing these DNS records and entering them correctly.
Where to enter your DNS records depends on the hosting service you’re using. In most cases, though, there will be a generic domain management option, so look for that. If you still aren’t sure where to look, reach out to your hosting service for guidance.
Once this is done, tick off the box that says I have added DNS Records, and am ready to proceed. Click on the Verify DNS Records button, and that’s it for this stage.

The browser should automatically redirect you to the DNS Records and Settings page where you’ll be able to see the status of your domain authentication.
If it doesn’t, for any reason, you can get there from the SendLayer dashboard by clicking on Settings » DNS Records and Settings.

If the domain authorization has gone well, you’ll now see a green check mark next to each record.

Now, we’ll get back to configuring the WP Mail SMTP Mailer Settings.
3. Configure WP Mail SMTP
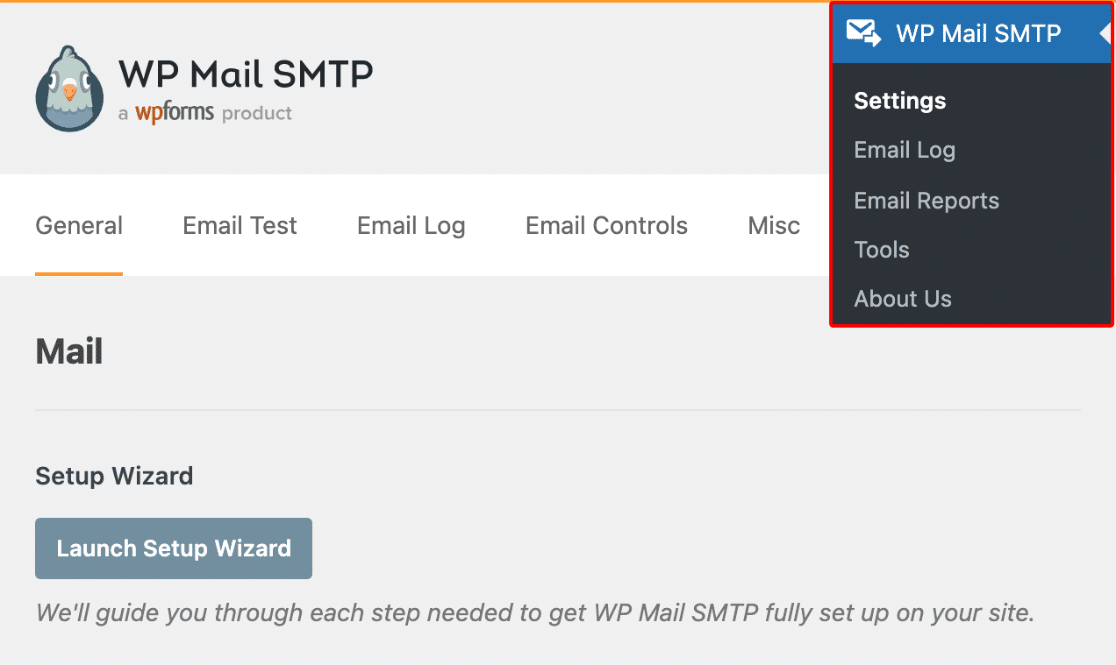
In the first step, we installed WP Mail SMTP, but we didn’t initiate the Setup Wizard. Go ahead and do this now by clicking through WP Mail STMP » Settings » General. Then scroll down to the Mail section and click Launch Setup Wizard.
In the next step, you’ll be prompted to choose a Mailer. There are lots of options but we’re using SendLayer for this guide, so that’s what we’ll choose.

Once you’ve chosen SendLayer, scroll down and click Save and Continue to move on to the next stage. Here, you’ll be prompted to configure mailer settings.
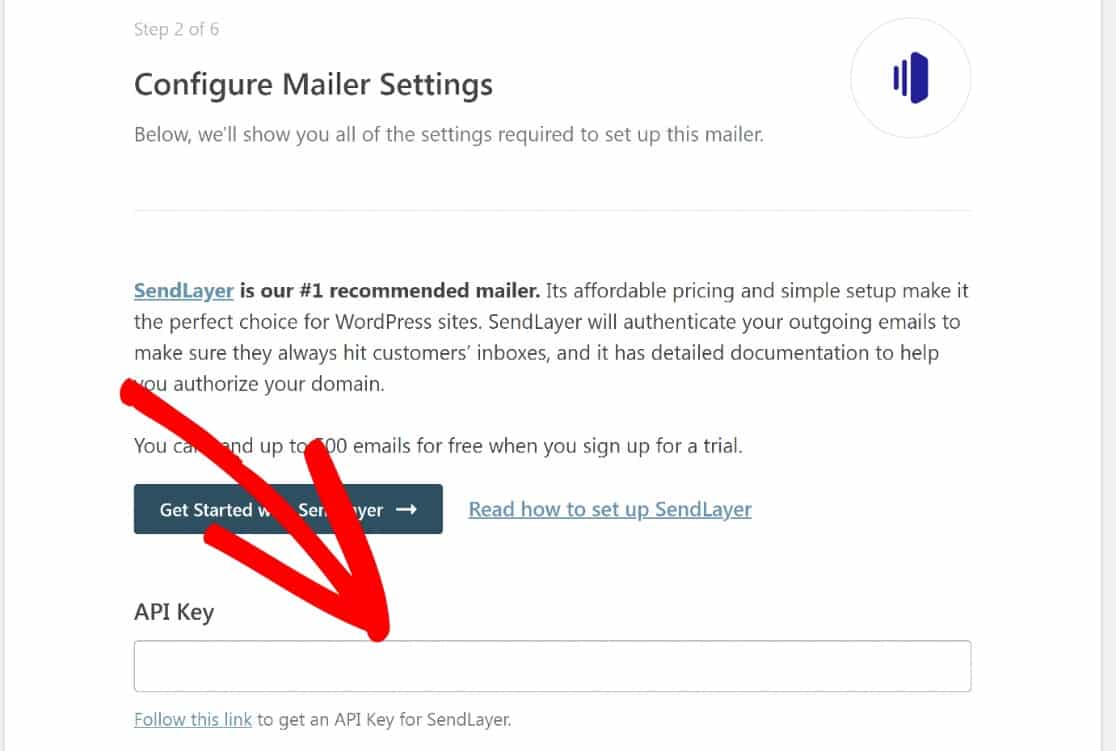
At this point, you’ll need to enter the SendLayer API key for your domain but you won’t yet have one.
Grab SendLayer API Key
You’ll need to hop back into SendLayer to get your API Key. In the SendLayer dashboard, click through Settings » API Keys.

Once you’re there, scroll down and copy the default API key or click Create New API Key.

Give your new API key a name or other identifier and click on Create.

Once your new API key has been created, click on the clipboard icon next to Show API Key to copy your API key and head back into WordPress.

When you’re back to the WP Mail SMTP setup wizard, paste your API key into the API Key field in WP Mail SMTP Mailer Settings.
In the next step, you can set up your sender information.
Enter From Email
This is the address that will appear as the sender of all your emails. Enter an email address at the domain that you’ve authenticated with SendLayer.
If this is not clear, here’s an example. In the email address [email protected], “pattie” is the email address and “example.com ” is the verified domain (once we’ve authenticated it with SendLayer).
You’ll also have the option of enabling Force From Email. This setting overrides the From Email value across all plugins on your site.
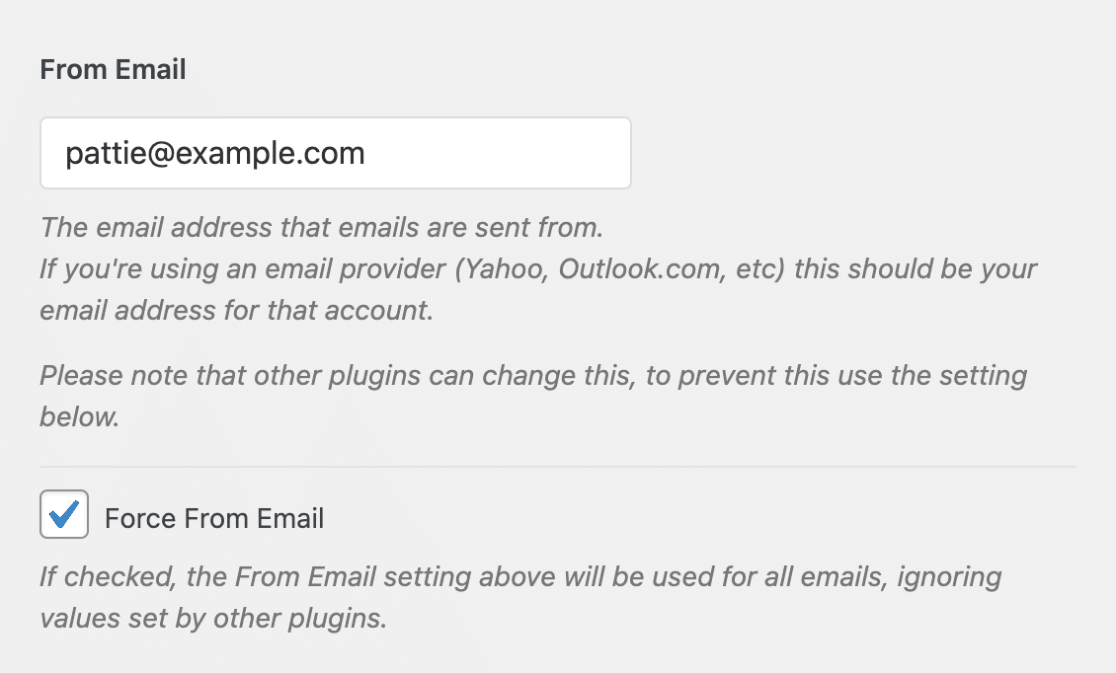
It’s a good idea to enable this option, as it’ll save you much time changing the From Email value for all other plugins on your site.
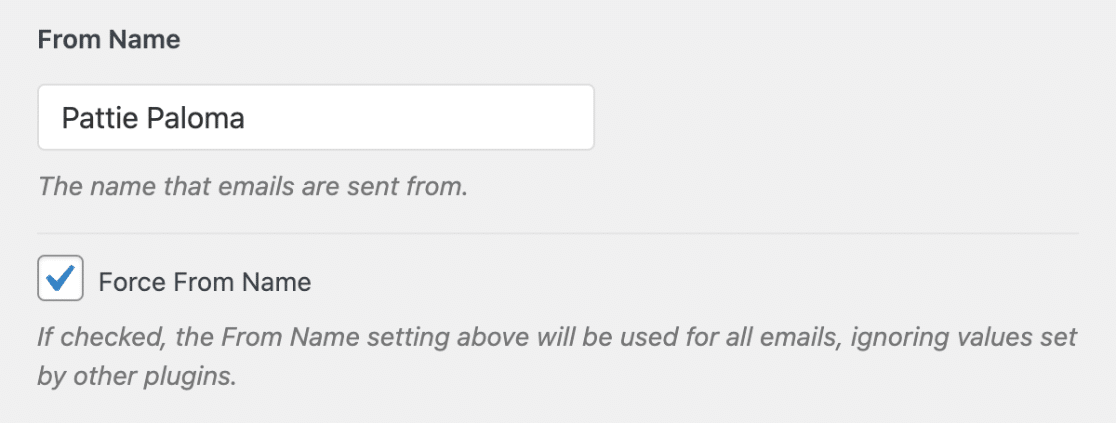
Enter From Name
Just as with the From Email, this is the name that the emails will appear to be from. You may want to set this to your name or the name of your website.
Again, enabling the Force Name option would be a good idea.
Now that everything is set up in WP Mail SMTP and SendLayer, here’s the final step: checking that it works by sending a test email from WordPress.
4. Send a Test Email from WordPress
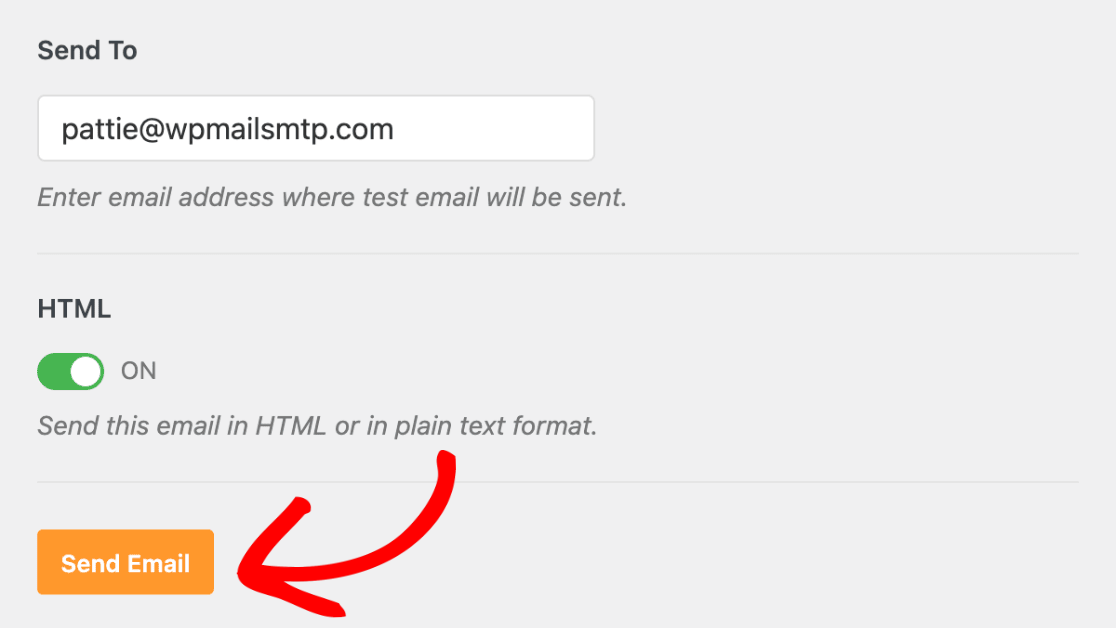
WP Mail SMTP makes this easy to do with its Email Test tool. To get there, click on WP Mail SMTP » Tools » Email Test.

In the new interface, you’ll see a field labeled Send Address. Enter the address of an email account that you have access to and click Send Email.
If everything has worked well, you’ll see a success message.
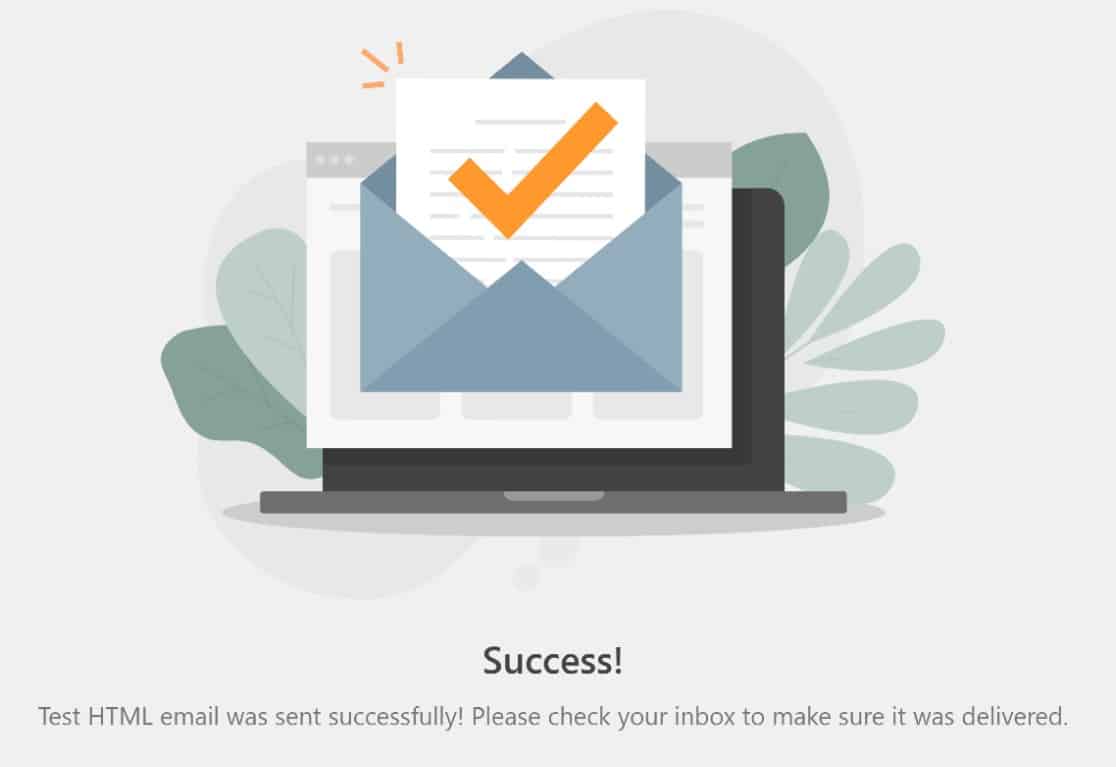
You should then check your inbox to see if you’ve gotten the email.

This is a good way to test your first email out.
If you need to check the delivery status for any individual email sent to your subscribers, you can easily do that using WP Mail SMTP’s Email Logs.
You’ll need to set this up the first time you use it. Our guide on setting up WordPress email logs explains all that you need to know about this awesome feature.

You can confirm these results from SendLayer’s Call Logs section too. To get there, click on Logs from the SendLayer dashboard.

You’ll not only want to be sure your emails are going out, but you’ll probably also want to have some idea of how many people actually engage with them.
If you want to measure the engagement levels (open rate and click rate), WP Mail SMTP is the best WordPress email tracking plugin for that as well.
And that’s all we have for you today! You’re now all set to send a test email from WordPress with WP Mail SMTP.
Next, Notify Authors When Their Posts Get Published
One of the reasons for sending emails from WordPress is to let authors know when their posts are published. This is especially important if you have multiple authors writing and publishing on your website.
Now that you know how to set WordPress up to send emails, here’s how to set up email notifications when a post is published. You may also be interested in learning how to send emails from on localhost with SMTP.
Also, are you using forms for your WordPress site? You might want to see our WPForms review to see if it’s the form builder you need to customize any kind of form for your business.
Ready to fix your emails? Get started today with the best WordPress SMTP plugin. If you don’t have the time to fix your emails, you can get full White Glove Setup assistance as an extra purchase, and there’s a 14-day money-back guarantee for all paid plans.If this article helped you out, please follow us on Facebook and Twitter for more WordPress tips and tutorials.