AI Summary
Are you wondering how to set up your site to fight contact form spam with Akismet?
Contact form spam is a big challenge for WordPress websites, but using Akismet is a great way to get some protection for your forms.
Fortunately, it’s pretty easy to get started with Akismet using the WPForms Akismet integration.
Here’s how to set it up!
How Do I Use Akismet Anti-spam?
Akismet anti-spam is a WordPress plugin that helps to fight spam by vetting your site visitors against its vast database of known spammers and by using powerful analytics tools to analyze user behavior on your web pages.
You can use Akismet as a standalone plugin or in combination with other powerful WordPress plugins like WPForms. It’s one of the most powerful reCAPTCHA alternatives that filters spambots but doesn’t cause any friction in the experience of real users by using any kind of image puzzles.
Fortunately, most WordPress installations come with a default Akismet installation. All you’ll have to do is create an Akismet account and then connect it with your form. We’ve covered all the steps below!
How to Filter Contact Form Spam With Akismet
Step 1: Install WPForms
WPForms is the best WordPress form builder, with a host of helpful features and powerful anti-spam tools. These include the WPForms Akismet integration.
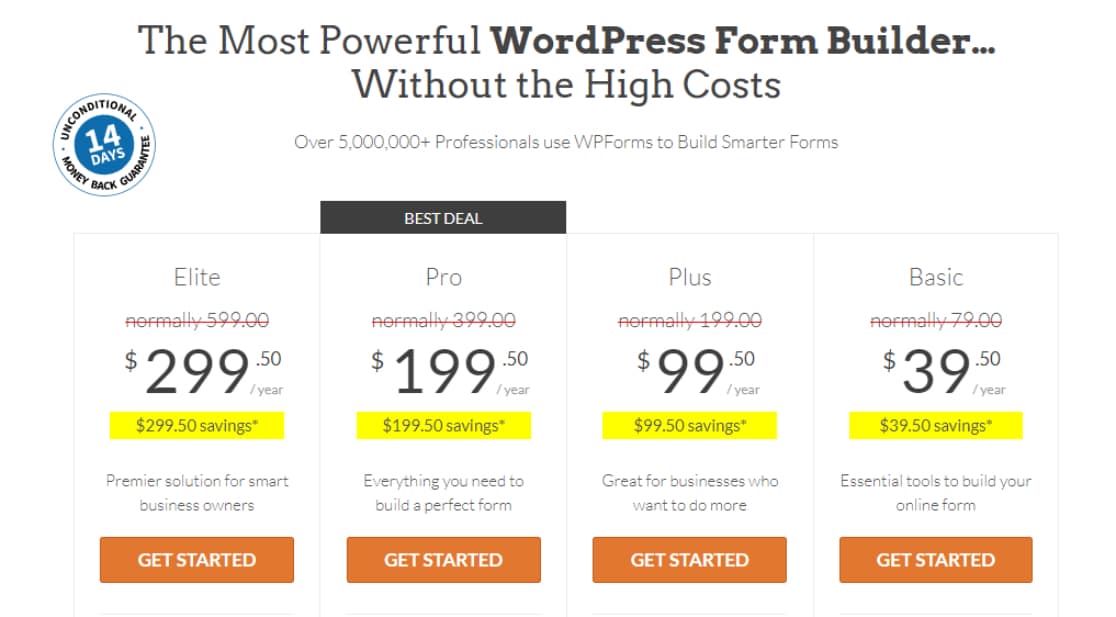
To get started, you’re going to need a WPForms license. For access to the best features at the most competitive pricing, we recommend getting started with the WPForms Pro license.
After you’ve purchased WPForms, go ahead and install WPForms on your site.
Great! Now we’re all set to activate and configure Akismet to keep our forms free from spam.
Step 2: Install Akismet
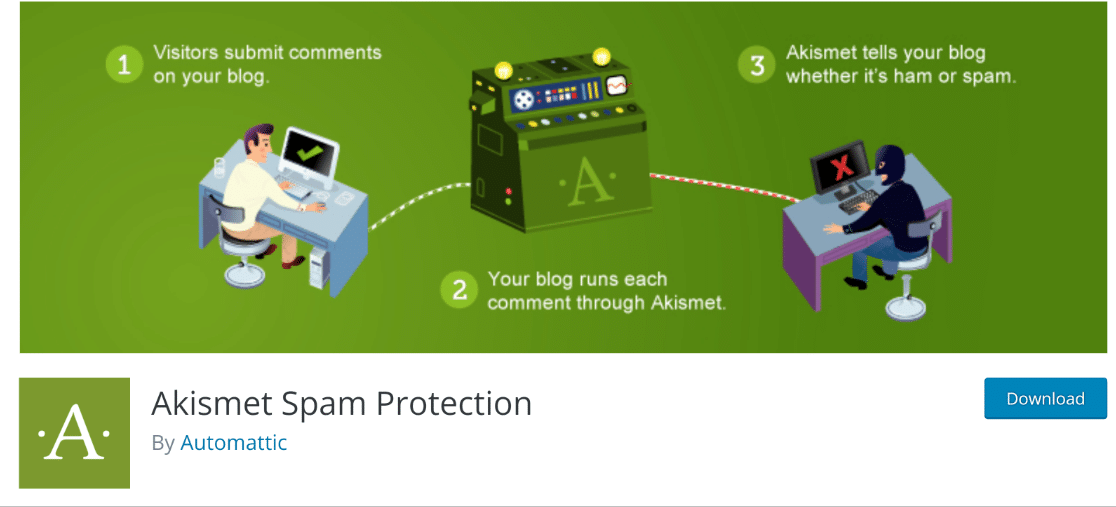
Getting started with Akismet is usually quite straightforward since it usually comes installed on most WordPress sites by default.
If you don’t already have it, you can easily download and install Akismet from the WordPress plugin directory.
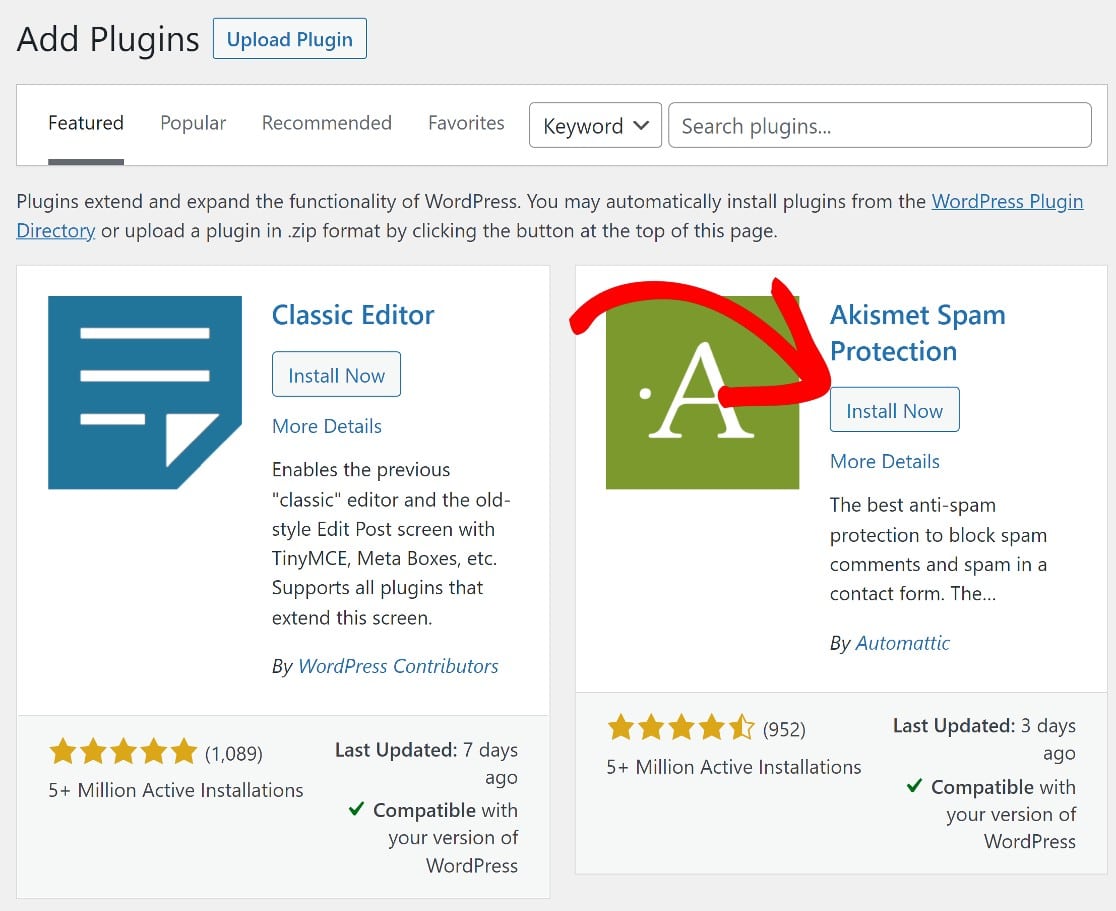
With WPForms Pro and Akismet installed on your website, we’re ready to get started with the really interesting stuff.
First, we’ll configure Akismet, and then we’ll create a WPForms form which we’ll integrate with Akismet.
Step 3: Set Up Akismet Account
Once you’ve activated Akismet, you’ll be redirected to the Akismet settings page. You can also get here by clicking through Settings » Akismet Anti-Spam from the WordPress dashboard.
Once you have, click Set Up Your Akismet Account.
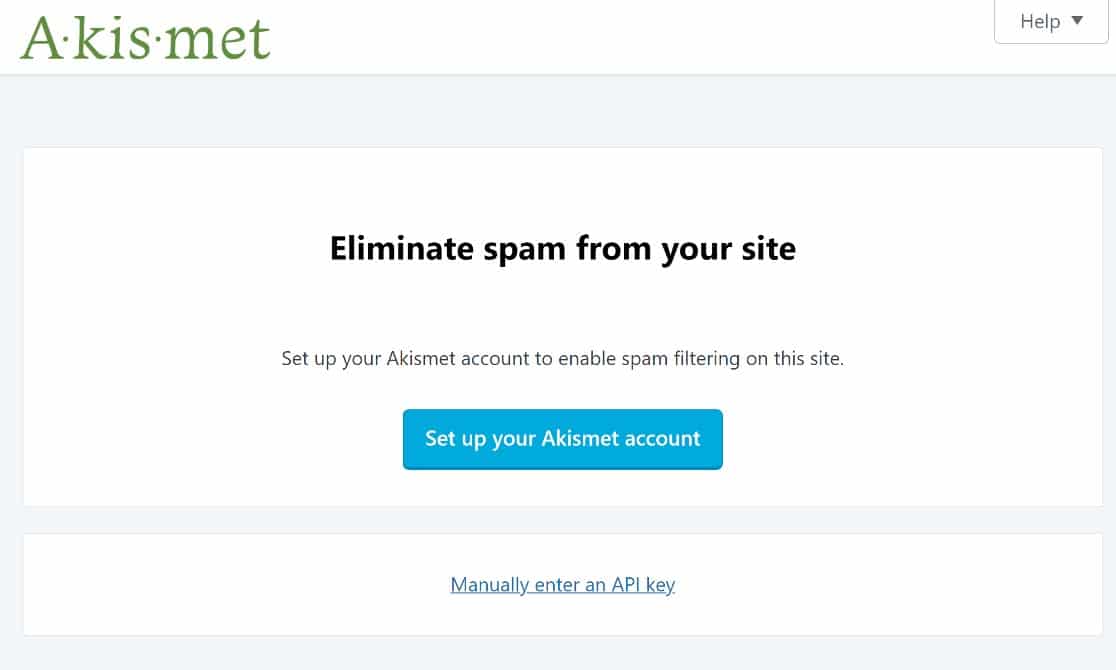
The next step in setting up your Akismet account will be choosing the price you’d like to pay for the service. Akismet uses a unique pricing structure that allows nonprofits to use it for free, while personal sites or blogs can decide what amount they’d like to pay.
More established businesses have to choose a commercial plan, which starts at $8.33 per month, billed annually.
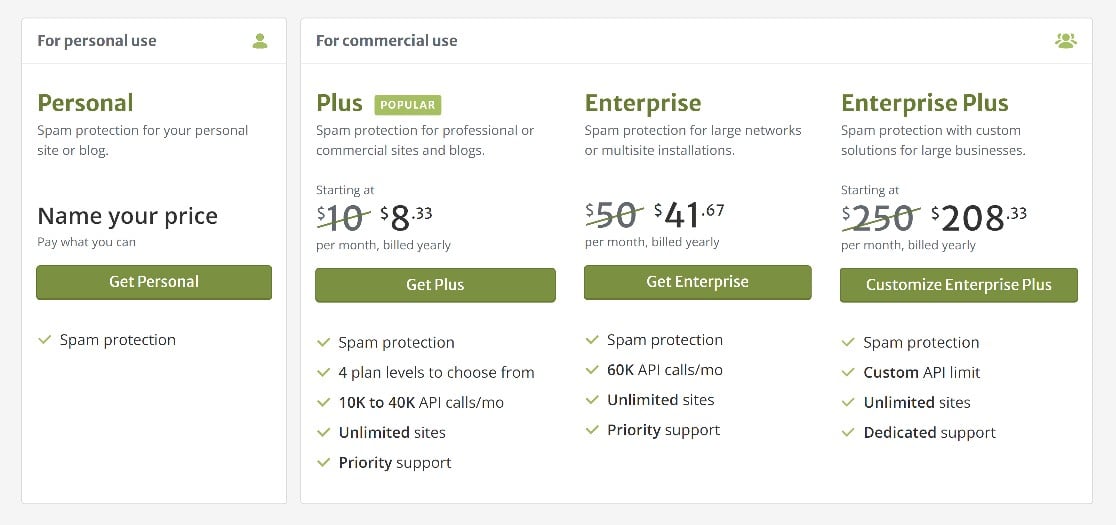
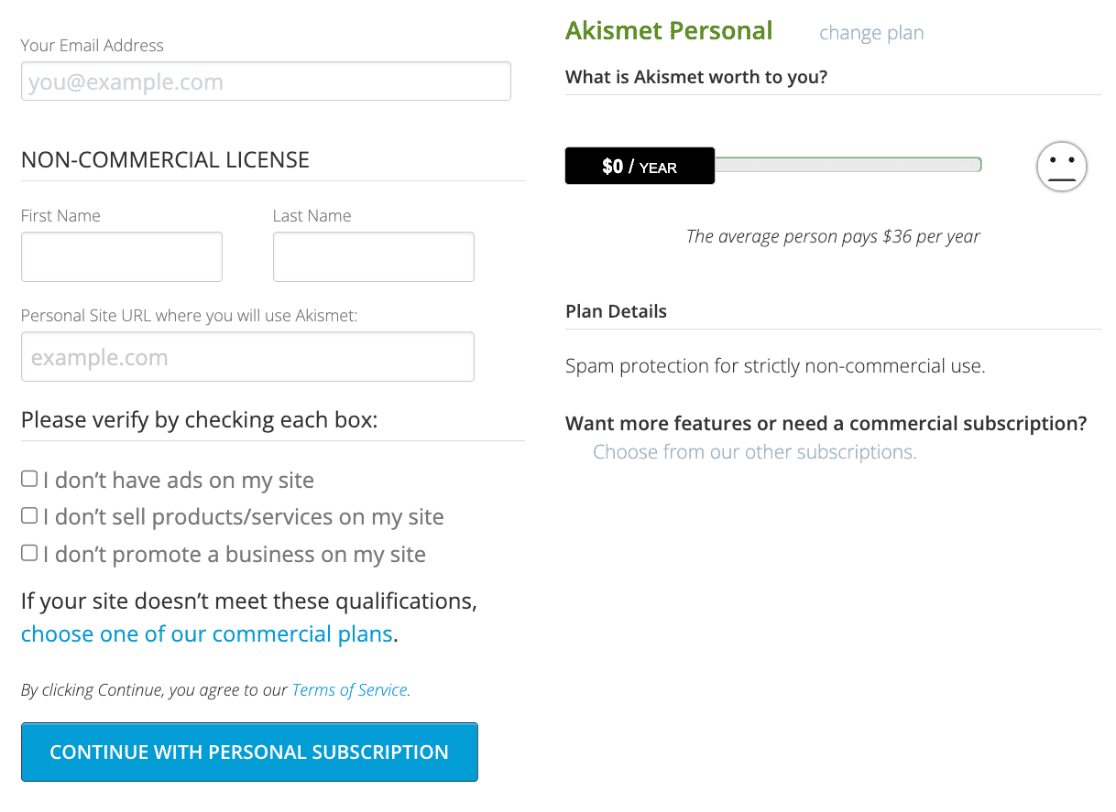
For the purposes of this tutorial, we’ll go with a free plan. But if you’re running a business, go ahead and choose a suitable plan. We’ll click on Get Personal to move along in the setup process.
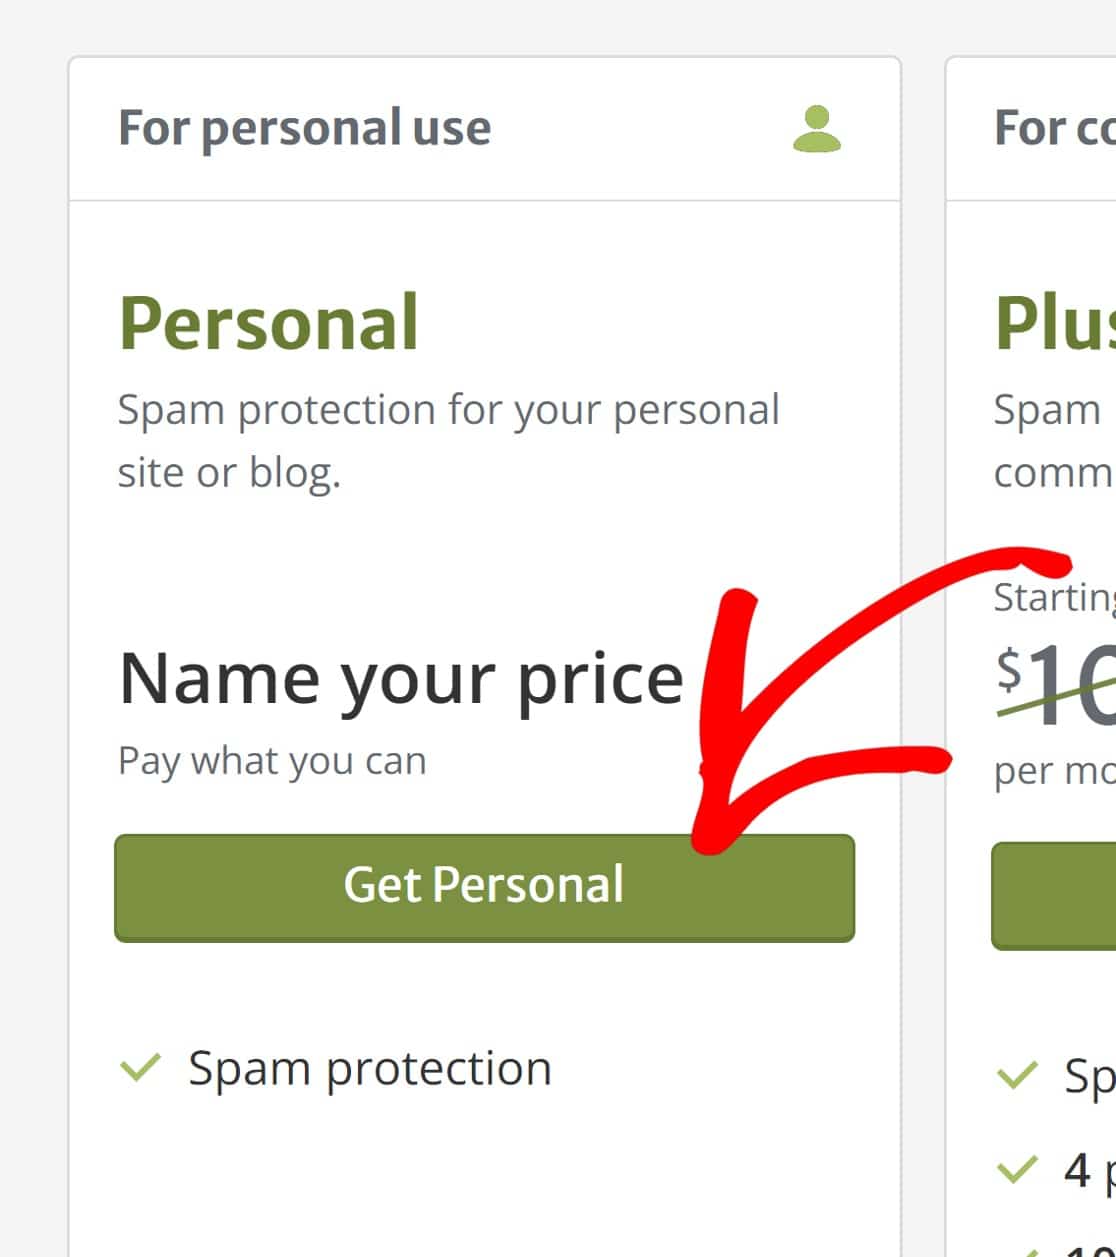
Enter your details and click Continue With Personal Subscription.
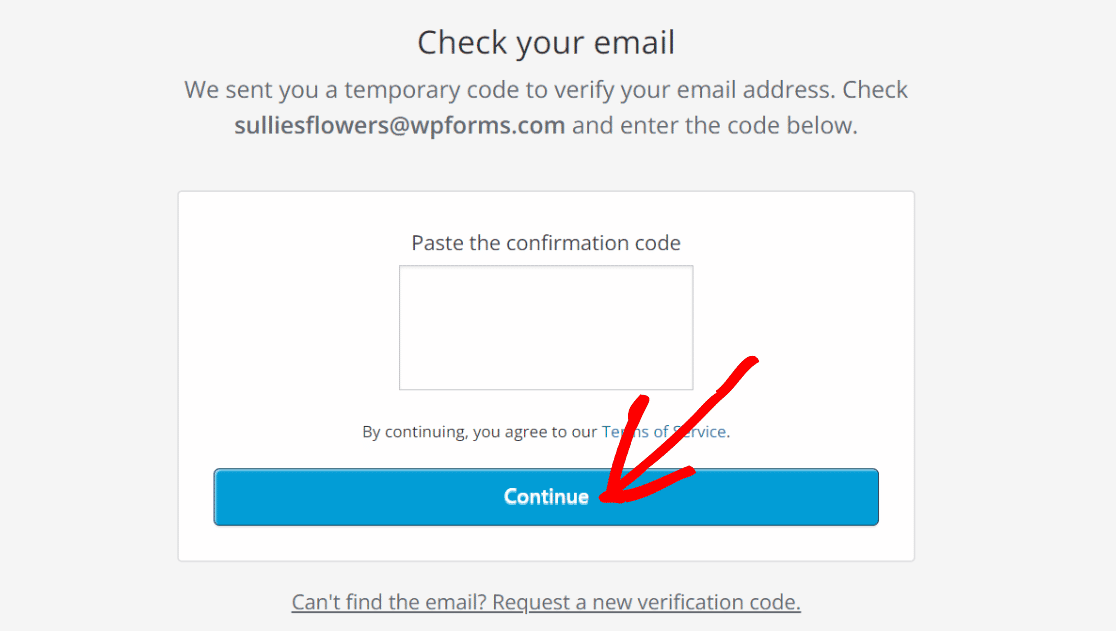
At this point, Akismet will send a confirmation code to your email address. Copy that and paste it. Click continue to move on to the final step here.
Now, you’ll get an Akismet API key in your email. We’re done working on the Akismet website, so you can close this tab and head back into WordPress.
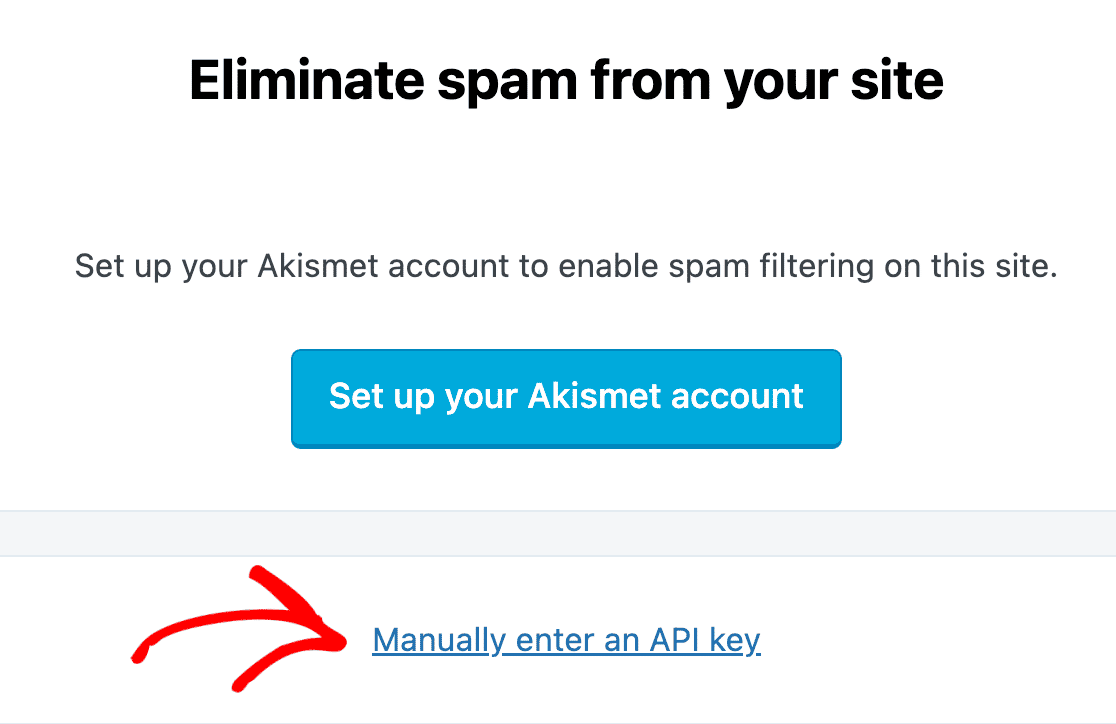
From the dashboard, click through Plugins, then look for Akismet and click on Settings. Once you’re in, click through Settings » Manually Enter an API Key.
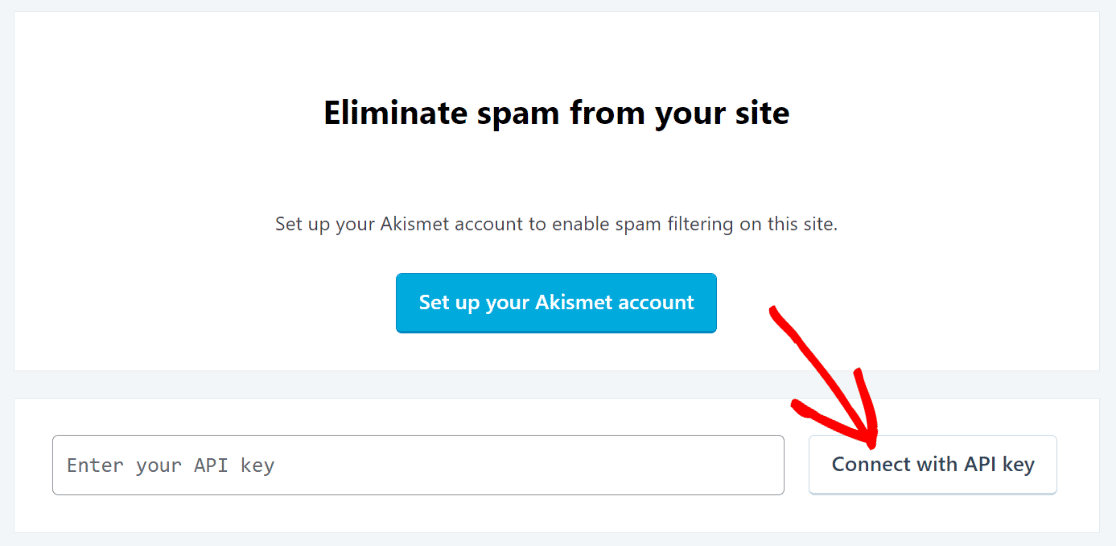
Enter your API key and click Connect with API key.
And that will be it for the basic Akismet setup. There’ll be a few more optional settings, but you can ignore these for now. We already have all the settings we need to protect your forms from spam using Akismet.
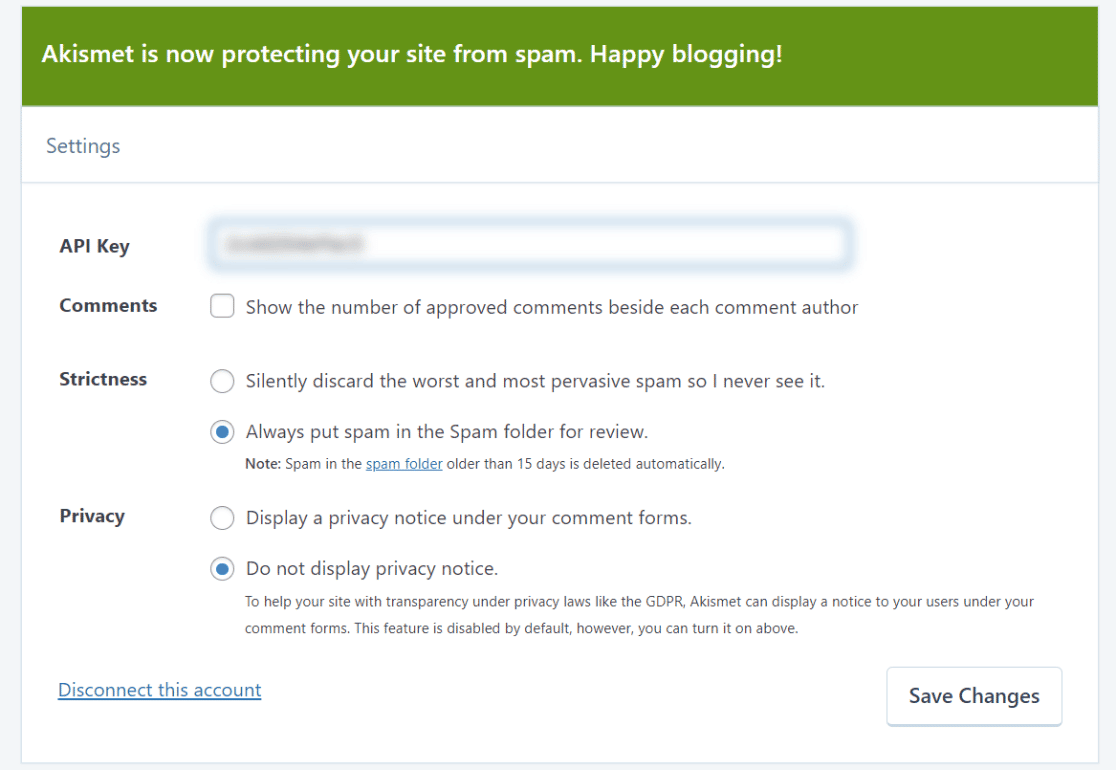
Now we’ll head into the final step: creating a form and integrating Akismet. This part is really easy.
Step 4. Create a Form
You can create a form from scratch using the WPForms form builder, or you can simply use one of the 500+ pre-built form templates offered by WPForms. To get started, from your WordPress dashboard, click WPForms » Add New.

Enter a name for your form, then choose one of the templates or choose Blank Form to build a form from scratch. For this guide, we’ll go with the Simple Contact Form. Click UseTemplate.
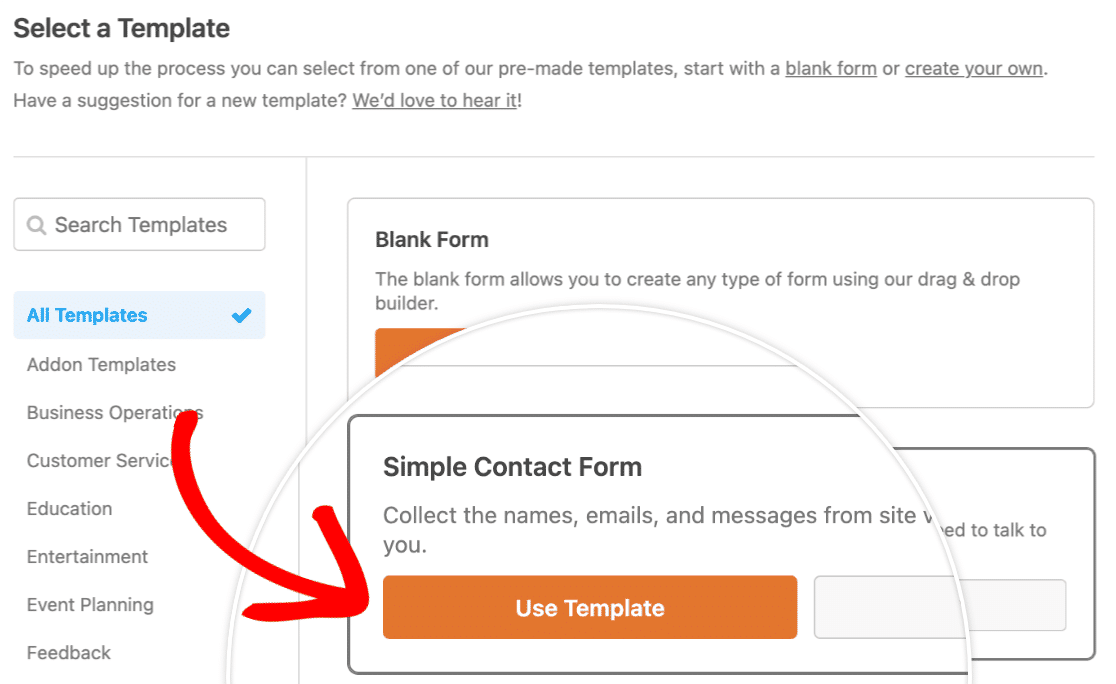
This will open up the form builder, where you’ll see your form template on the right, with the form field panel on the left.
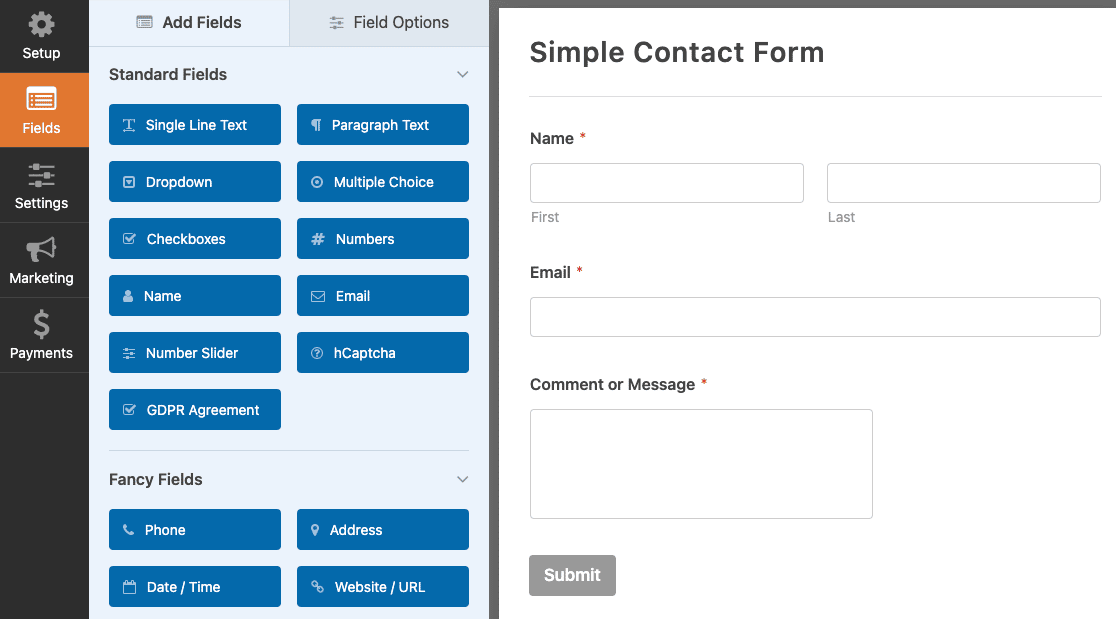
You can customize this form by dragging and dropping form fields onto the form template. For this guide, the simple contact form template is just right. So we’ll move on to integrating Akismet. That’s next!
Step 5: Activate Akismet On Your Form
To activate Akismet on a form, navigate over to the left sidebar and click through Settings » Spam Protection and Security.
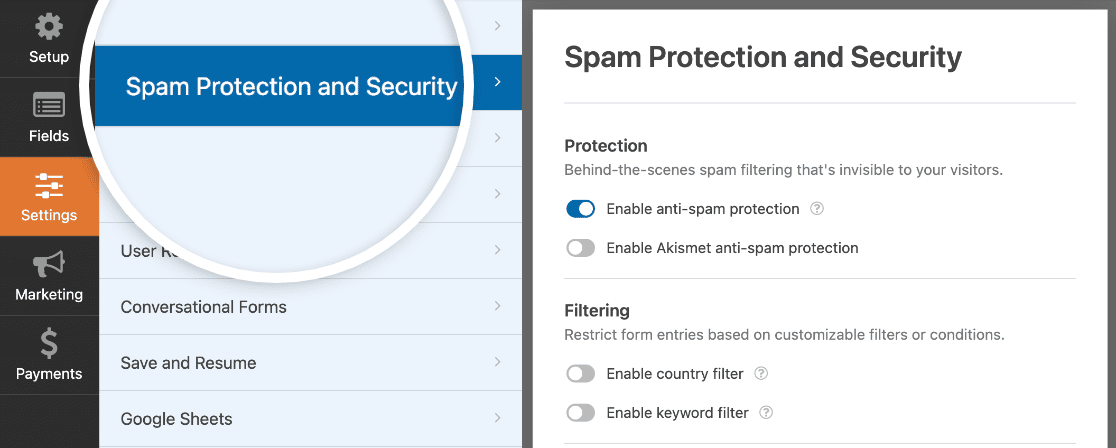
Then toggle the Enable Akismet anti-spam protection button.
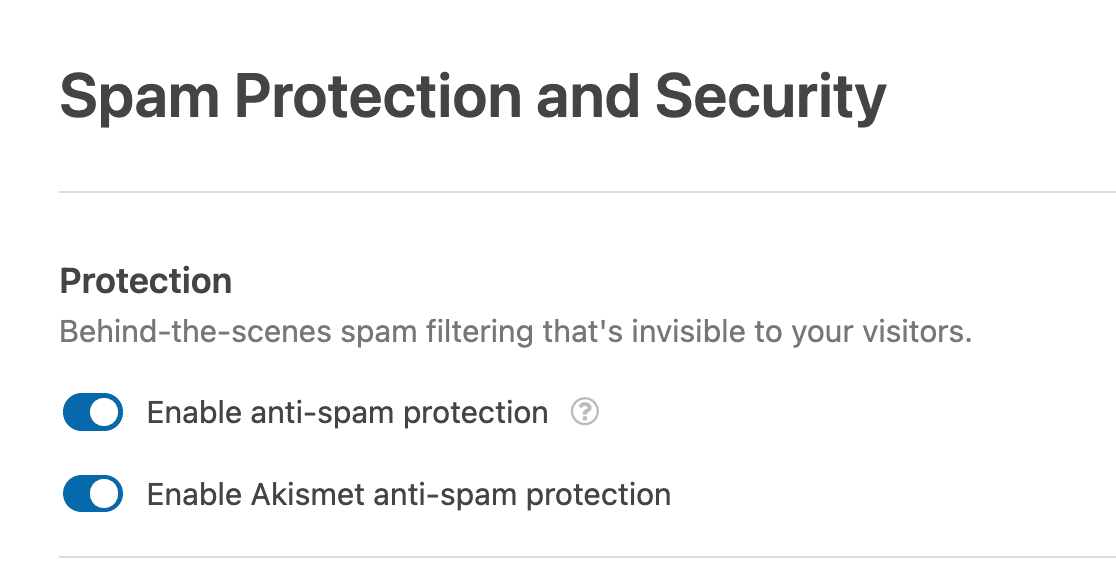
And that’s it! Akismet will now protect this form from spam once you publish it. Go ahead and save these settings by clicking the Save button at the top of the page.
All that’s left to do now is publish the form on a live page. If you’re a beginner, just follow the steps in our guide to adding a contact form to a page in WordPress.
When you publish this form now, it will be fully protected by Akismet!
Next, Add CAPTCHA to a Contact Form in WordPress
In addition to Akismet, there are a few other tools that will come in really handy for fighting spam on a WordPress site. One popular method is to add CAPTCHA to your forms. Check out our guide to adding CAPTCHA to your forms using hCaptcha.
And if you’re looking to add more spam prevention tools to your site, see our roundup of the best honeypot spam filtering alternatives.
Ready to fix your emails? Get started today with the best WordPress SMTP plugin. If you don’t have the time to fix your emails, you can get full White Glove Setup assistance as an extra purchase, and there’s a 14-day money-back guarantee for all paid plans.If this article helped you out, please follow us on Facebook and Twitter for more WordPress tips and tutorials.

