AI Summary
Are Bookly email notifications not working when appointments are made on your website?
Appointment email notifications contain booking information that’s important for your clients. You don’t want them to miss those details.
In this guide, we’ll show you how to easily fix your Bookly emails so that you and your client receive emails whenever a new appointment is made.
How Do Notifications Work in Bookly?
Bookly is an appointment booking plugin that creates an online booking system. Your visitors can book an appointment and the plugin will send an email notification to both you and your visitor.
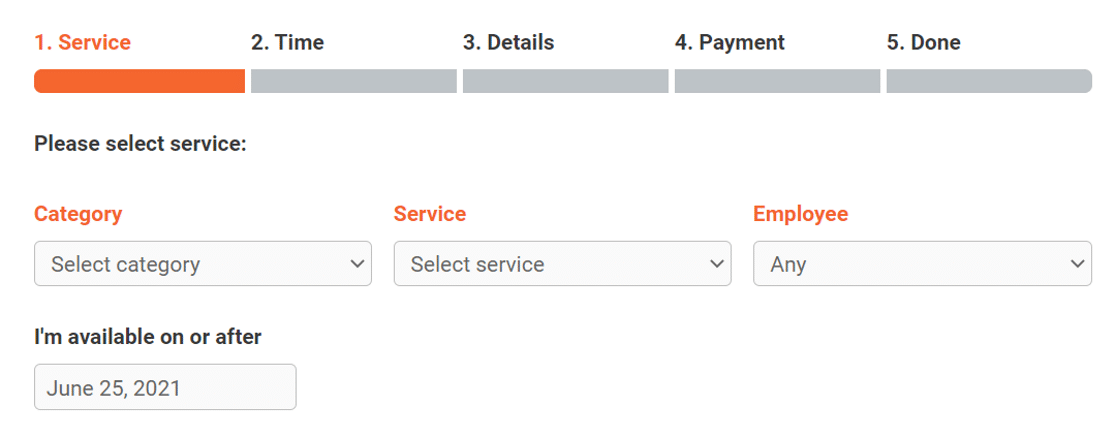
You can set automated appointment approval or assign notifications to staff for manual approval.
The plugin also lets you create automated scheduled notifications that’ll be sent to the client one day prior to the booking date.
How to Fix Bookly Email Notifications Not Working
Ready to fix Bookly email notifications? Let’s first check if you have the email sender settings correctly set up and then follow other troubleshooting steps.
1. Check Email Sender Settings in Bookly
Bookly uses the site name and the admin email address for sending all email notifications. Often, the WordPress site admin email is set to the email address associated with your admin account.
It’s best practice to use a custom email address for sending emails from your website so that your customers can easily reply. To check the settings, log in to your WordPress dashboard and go to Bookly » Email Notifications.
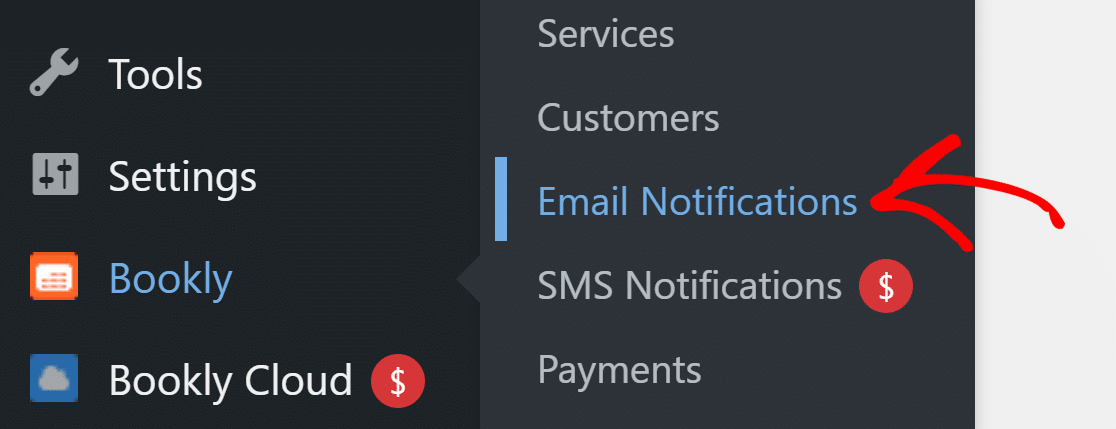
Here, you’ll see all the email notifications listed. In the header, click on the General Settings button.

In the popup, you can set the sender name and email for all notifications from Bookly.
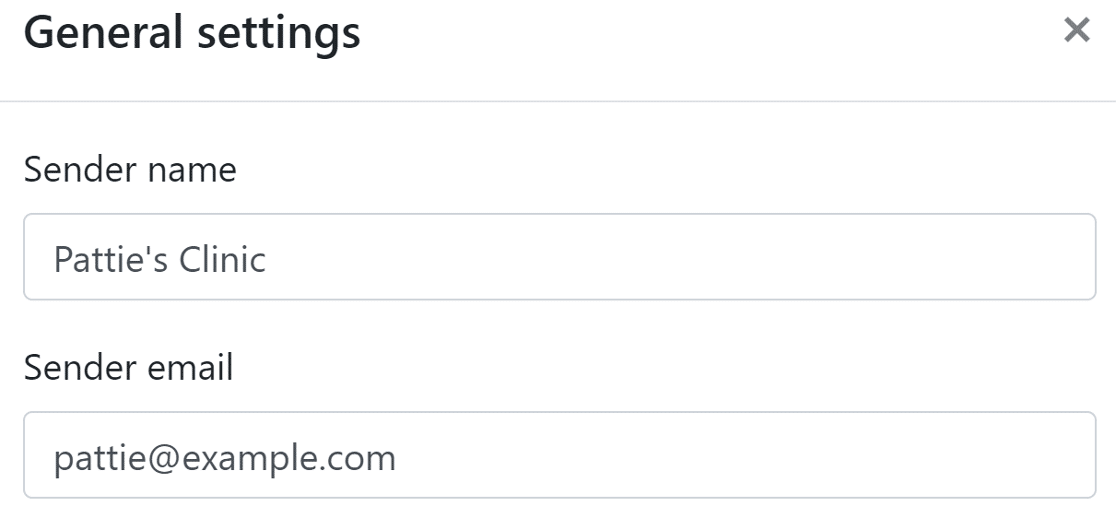
For the sender email, we recommend using an email with your domain extension. You can leave other options as they are. After saving your changes, we can move on to check your notification settings.
2. Check Individual Notification Settings in Bookly
The email notification page has a list of all notifications you have created in Bookly. The first setting we want to check is the state of the notification.
You’ll want to go through the list and check that all notifications have a green Enabled label.
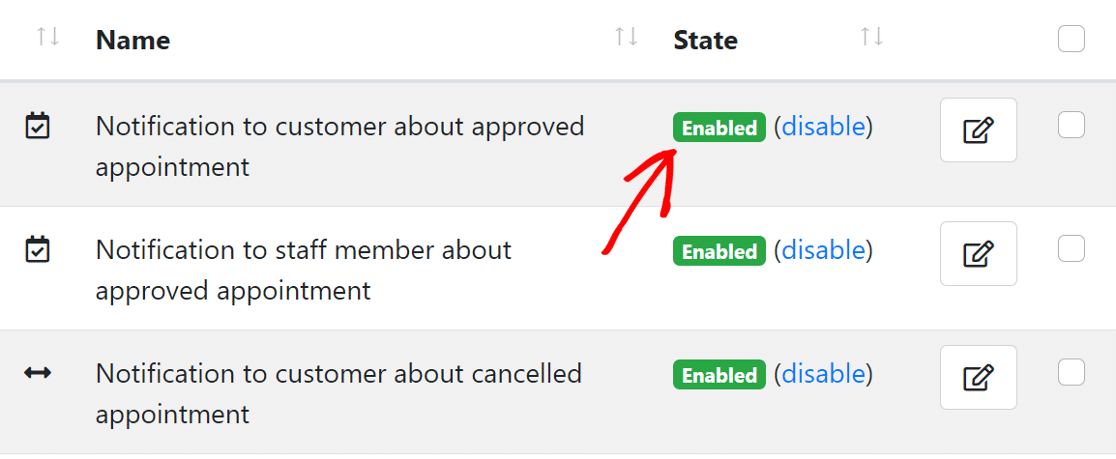
If you see any notification that’s disabled, you can click the enable button next to the label to change its state. The next setting is to check the recipient for each notification. Bookly lets you set the recipient as:
- Client
- Staff
- Admin
- Custom email address
To check the recipient, click the edit icon next to the notification and a popup will appear.

Now, click on the Notification settings to expand it.

Scroll down and you’ll see the Recipients section. Depending upon the notification, if you see that the wrong recipient is selected, you’ll need to change it to the correct one.
You can also add a custom email address if you want or choose multiple recipients.

In a similar way, check the recipients for all other Bookly notifications that are active on your site.Let’s now test the email notifications.
3. Send a Test Email Notification
Bookly lets you send test notifications to check if emails from your website are working.
On the same Email Notification page, scroll down and click the Test email notifications button on the bottom left to open its settings.

On the popup page, enter your email address.
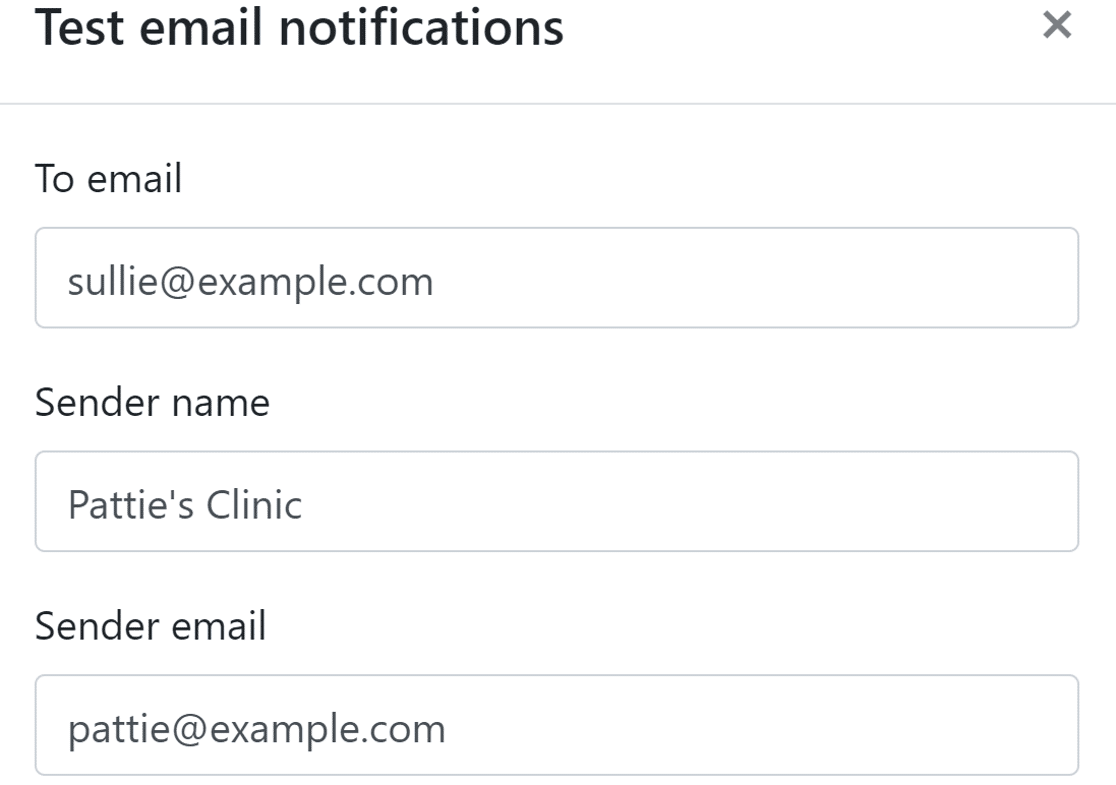
You can type any email here. Just know that using the same email in both fields can trigger a “be careful with this message” warning in your Gmail account.
Scroll down and you’ll see a button to select a notification template. You can choose one or multiple templates and the plugin will send those notifications.
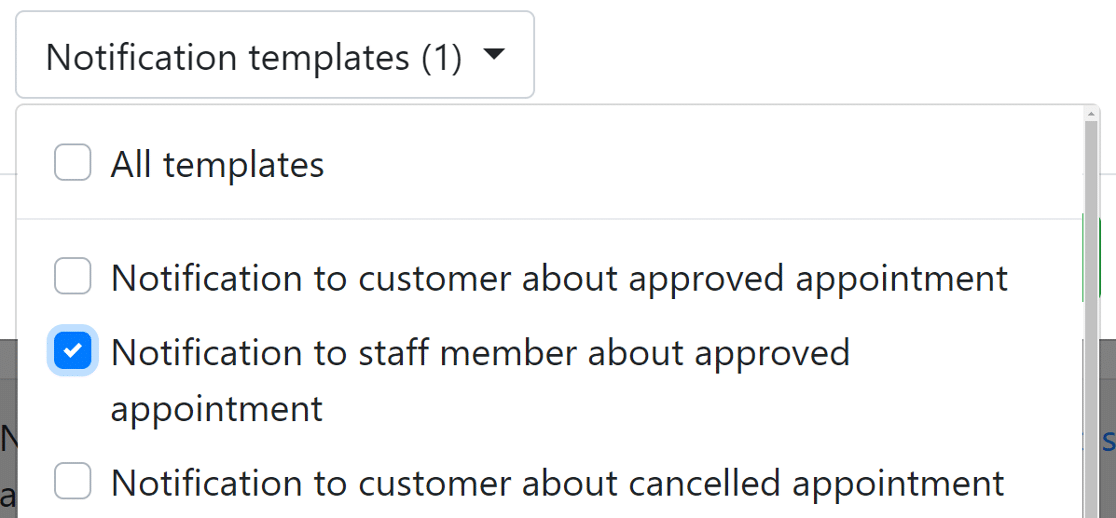
Click on the Send button and check your inbox to see if you have received an email from your site. If you didn’t receive the email, we need to install WP Mail SMTP.
4. Install the WP Mail SMTP Plugin
WP Mail SMTP is the best SMTP plugin for WordPress. It connects your website to a 3rd party email service that adds authentication to all WordPress email notifications.
This prevents your Bookly emails from getting blocked or being marked as spam.
To download the plugin, go to your WP Mail SMTP account and click the orange button in the Downloads tab to grab the latest version of the plugin file.
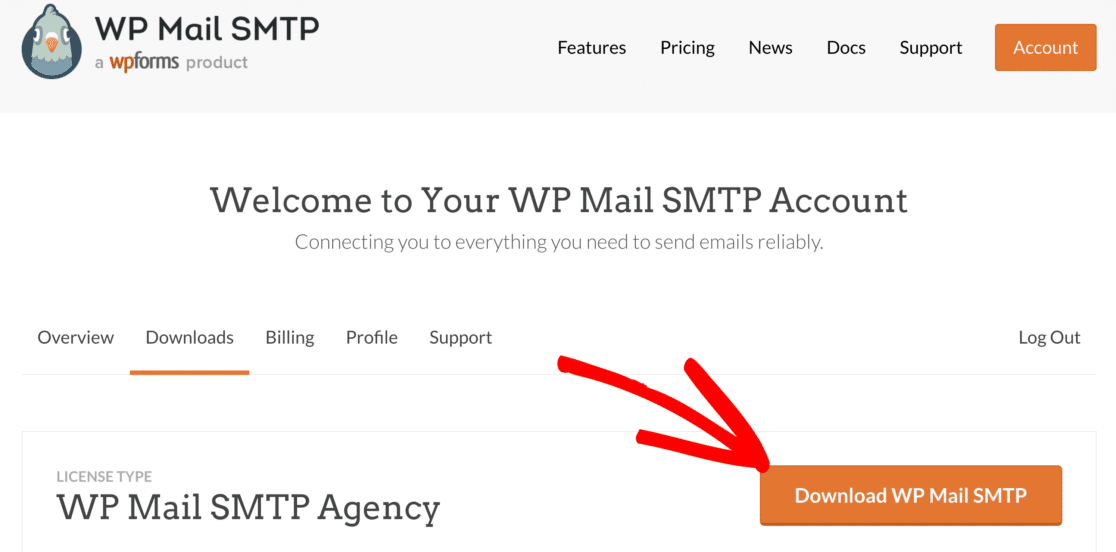
Switch to your WordPress dashboard and upload the zip file to the plugins page. If you need help with this part, check out this guide that explains how to install a WordPress plugin.

Once installed, be sure to Activate the plugin. This will start the Setup Wizard which makes it easy to configure the plugin.
5. Set Up a Mailer Service
In this step, we’ll connect your website to a mailer service. This will help in fixing the issue of Bookly email notifications not working by adding authentication to your messages.
To begin, click the Let’s Get Started button in the wizard.

Now, it’s time to choose the mailer. WP Mail SMTP offers several mailer options, premium as well as free. What you choose here will depend on the type of website you have:
- If you have a big website that takes a high number of bookings, a transactional mailer like SendLayer, SMTP.com, or Brevo (formerly Sendinblue) will work just fine.
- Gmail or Other SMTP can work well for occasional emails.
You can check out our guide on the list of mailer options that WP Mail SMTP supports to get a better idea of the pros and cons.
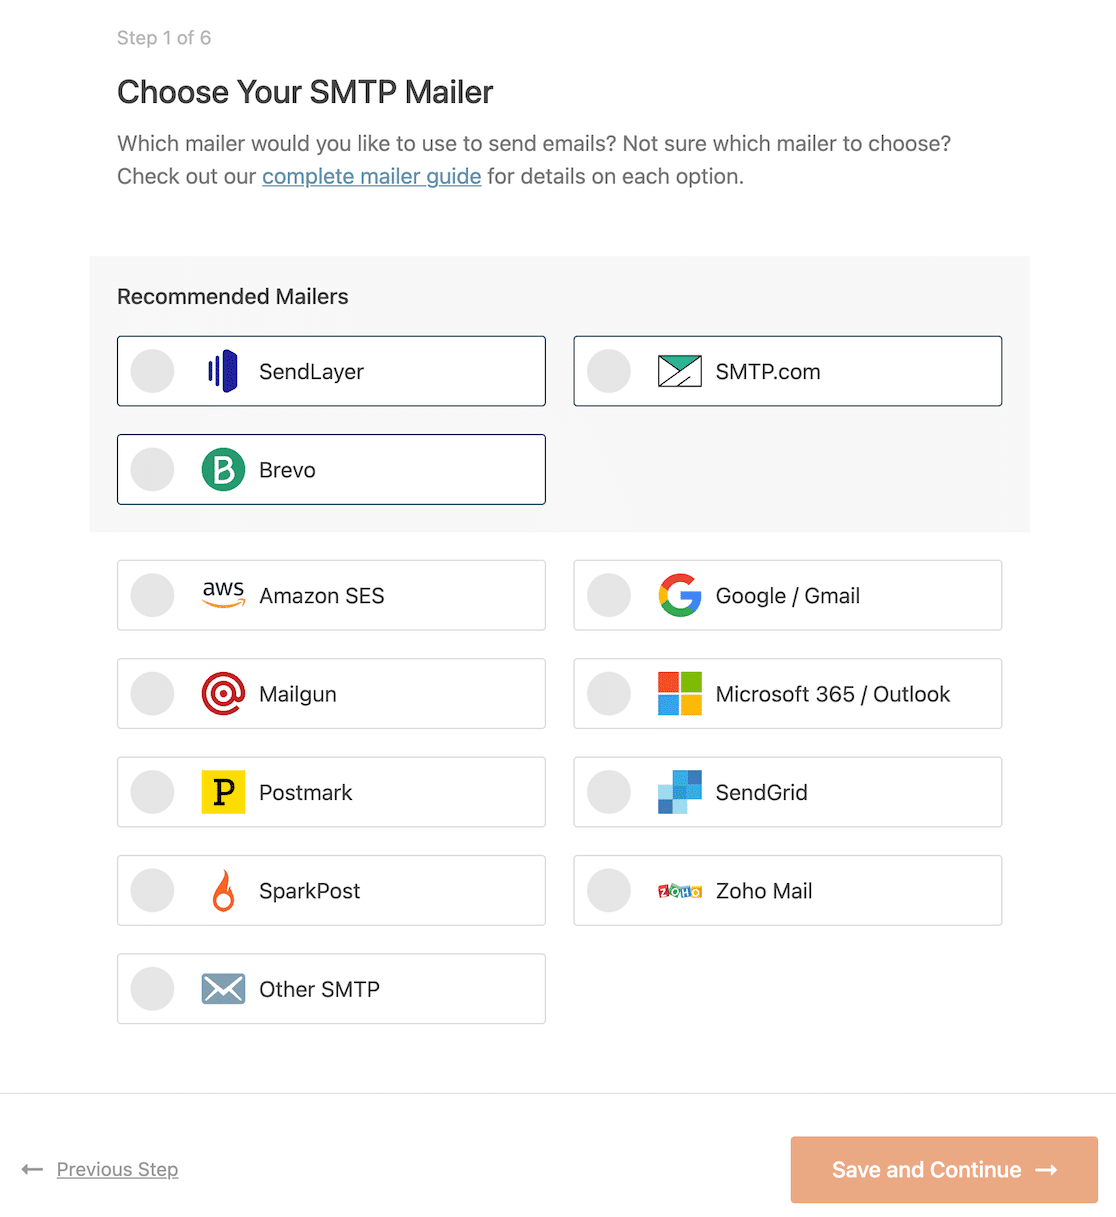
When you’ve chosen your mailer, click the link for it below to open the documentation page in a new tab. The documentation page will help you with the steps to establish a connection with the mailer website.
- SendLayer
- SMTP.com
- Brevo
- Amazon SES
- Google Workspace / Gmail
- Mailgun
- Microsoft 365 / Outlook.com
- Postmark
- SendGrid
- SparkPost
- Zoho Mail
- Other SMTP
If you want to set up multiple mailers, you can do so in the Additional Connections settings once you’ve finished the Setup Wizard. Then you can select a Backup Connection and configure Smart Routing.
Once your website is connected, switch back to this guide to enable email logging.
6. Enable Email Logging (Optional)
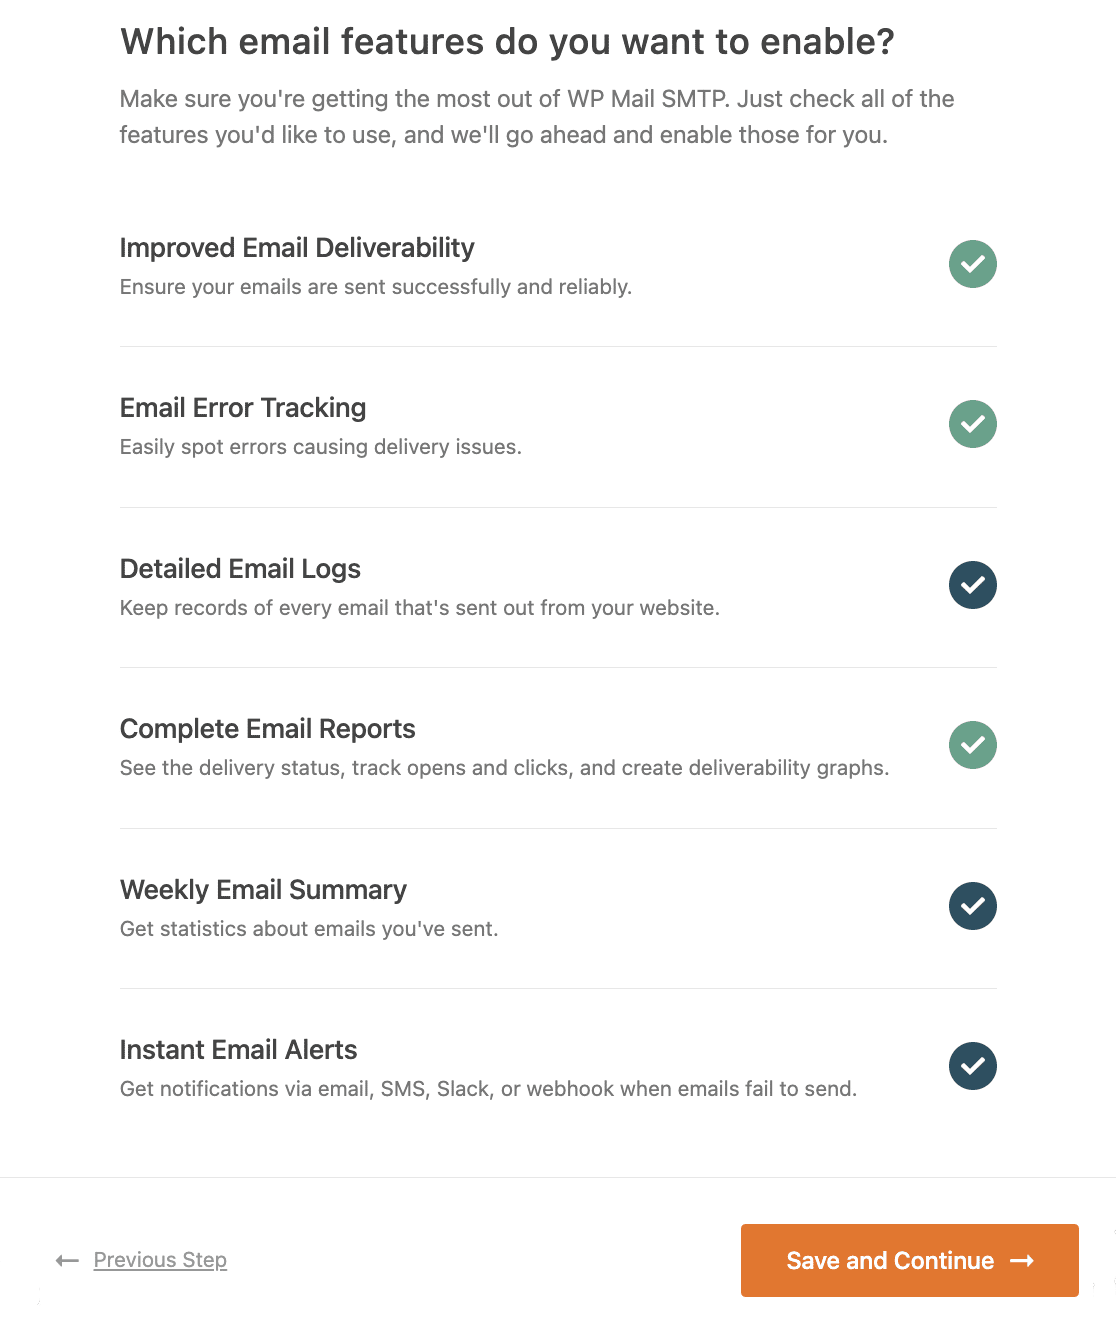
In this step, WP Mail SMTP will ask you which features you’d like to enable. By default, two options will be enabled for you.
- Email Deliverability
- Error Tracking
You can also enable the Detailed Email Logs to track all emails that your website sends. This makes it easy to keep an archive of all emails in one place and to spot any errors with your emails.
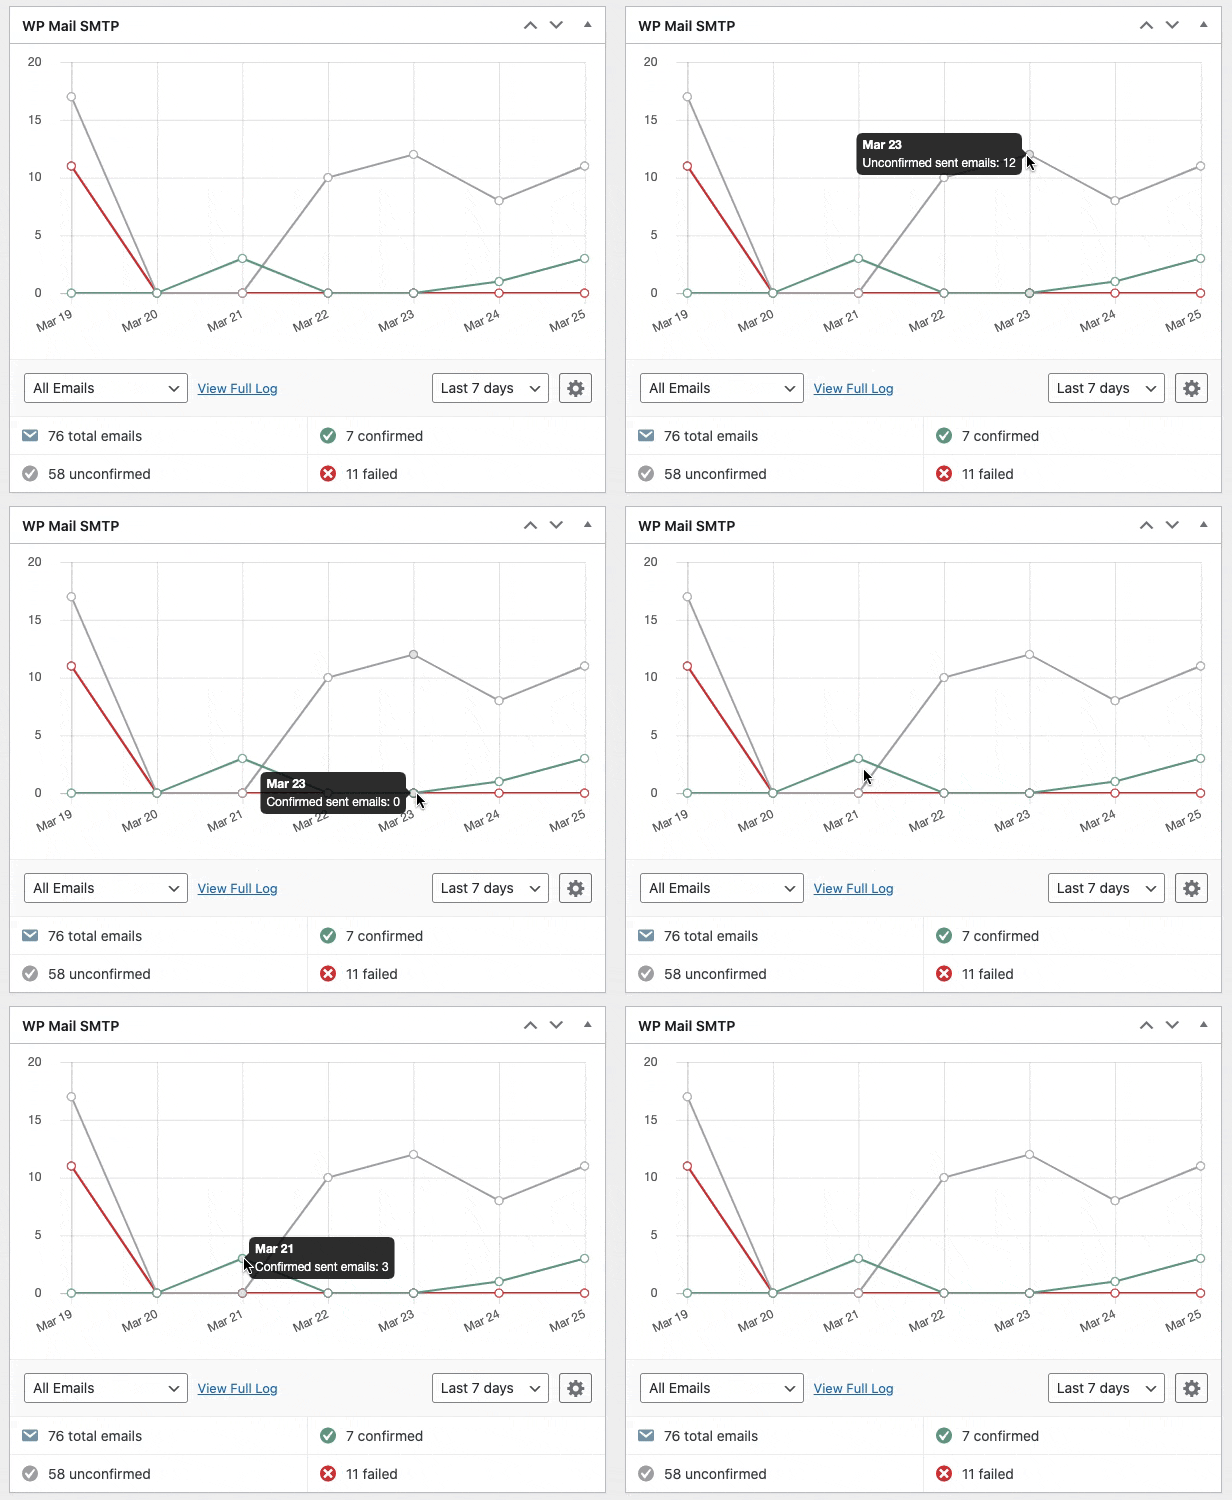
Depending upon the mailer you choose, the email log will show the status as Delivered or Not Sent. You’ll also see a chart that shows any failed emails over a set time period.
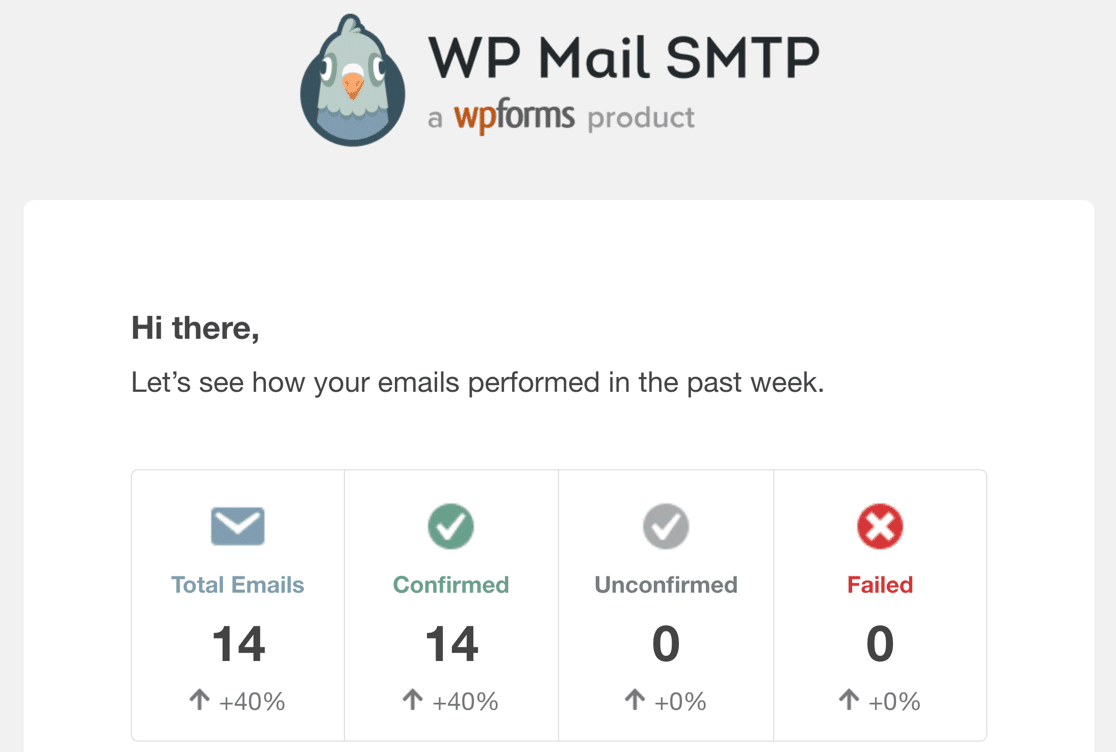
Enabling Detailed Email Logs also turns on Complete Email Reports. If you opt to receive the Weekly Email Summary, you’ll get email delivery stats in your inbox each week.
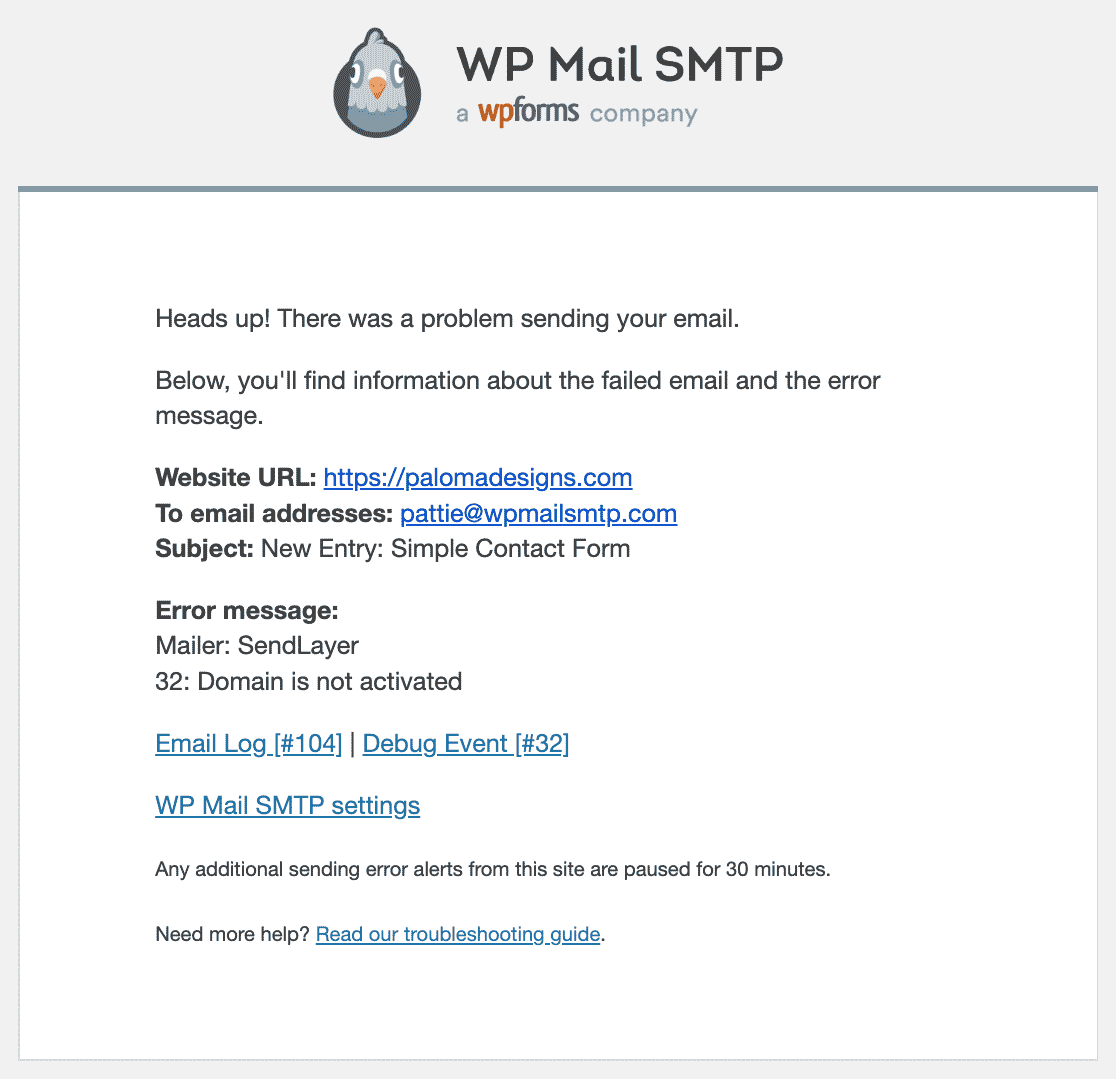
And the Instant Email Alerts feature can tell you when an email fails to send so you can fix the issue.
In the Pro version, you can also:
- Track when your Bookly emails are opened and links are clicked
- Resend Bookly emails that fail
- Forward booking notifications to someone else
- Store attachments along with sent emails
- Export sent emails in different formats
Check out how these features work in our article on how to log your WordPress emails.
For the final step, go to your WP Mail SMTP account and grab the license key from the Downloads tab. Paste it here to enable extra features and automatic plugin updates.

And that’s it! You’ve done everything you need to do to get your Bookly email notifications working.
FAQs on How to Fix Bookly Not Sending Email Notifications
Bookly not sending email notifications is a popular topic of interest among our readers. Here are answers to some common queries about it.
Why is my Bookly plugin not sending email notifications?
Bookly email notifications typically fail due to WordPress’s default mail function being unreliable on most hosting providers.
The wp_mail() function that Bookly uses often gets blocked by hosting security measures or marked as spam. Installing WP Mail SMTP and configuring proper SMTP settings resolves this issue in 95% of cases.
How do I configure email notifications in Bookly WordPress plugin?
To configure Bookly email notifications, go to Bookly » Notifications in your WordPress dashboard. Here you can customize confirmation emails, reminder emails, and cancellation messages.
However, if emails aren’t being delivered, you’ll need to fix the underlying WordPress email issue with an SMTP plugin like WP Mail SMTP before these notifications will work properly.
Does Bookly work with all WordPress themes and hosting providers?
Bookly is compatible with most WordPress themes and hosting providers, but email delivery varies significantly by host.
Premium hosting providers usually have better email delivery, but configuring SMTP is still recommended for reliable booking notifications.
What’s the difference between Bookly free and Bookly Pro?
Bookly’s free version includes basic appointment booking functionality, while Bookly Pro adds features like recurring appointments, group bookings, and advanced integrations.
However, both versions use the same email system, so if notifications aren’t working in the free version, upgrading to Pro won’t solve email delivery issues. You’ll still need proper SMTP configuration.
Can I use Bookly with Microsoft Outlook or Teams integration?
Yes, Bookly offers Microsoft Outlook integration in their premium version, and some users integrate it with Microsoft Teams for appointment notifications.
However, these integrations still rely on WordPress email functionality for notifications, so you’ll need WP Mail SMTP configured properly for reliable email delivery to Outlook or Teams.
Is Bookly documentation helpful for troubleshooting email issues?
Bookly’s official documentation covers plugin features but doesn’t deeply address WordPress email delivery issues.
Most email problems with Bookly are actually WordPress configuration issues rather than Bookly-specific problems, which is why using WP Mail SMTP documentation alongside Bookly’s guides provides better troubleshooting results.
How much does Bookly cost and is it worth it?
Bookly offers a free version with basic features, while their premium plans start at $49.00/year depending on features needed.
The investment is worthwhile for businesses relying on online booking, but remember that reliable email notifications (which require SMTP setup) are essential regardless of which Bookly version you choose.
Next, Create Booking Forms Using WPForms
Bookly is a great solution for creating booking appointment forms. But if you’re looking for a fast way to create booking appointment forms, check out WPForms.
Once you’ve gotten your Bookly email notifications working, you might also be interested in learning how to get email open notifications in Slack, or how to send a test email from WordPress.
WPForms also lets you create an online booking form and add it to any page on your website. Check out this video to see how to create a booking form in WordPress:
Ready to fix your emails? Get started today with the best WordPress SMTP plugin. If you don’t have the time to fix your emails, you can get full White Glove Setup assistance as an extra purchase, and there’s a 14-day money-back guarantee for all paid plans.
If this article helped you out, please follow us on Facebook and Twitter for more WordPress tips and tutorials.

