Is Caldera Forms not sending email when you get form submissions?
There are 3 reasons why Caldera Forms users have trouble with email notifications.
In this article, we’ll explain how to check and fix these issues so you never miss a contact form notification.
Fix Your Caldera Forms Emails Now
Where Are Caldera Forms Email Settings?
Caldera Forms has an email template for each form and a general email settings panel for the whole plugin.
It’s easy to accidentally disable email sending in the plugin, so we’ll show you how to check that in the steps below.
We’ll also show you how to install WP Mail SMTP. This will make sure that your email notifications don’t get filed as spam.
Note that Caldera Forms has been discontinued and is no longer available to download as of April 2022. This means that if you’re still using it, you won’t have access to new features, security updates, or support. We recommend finding an alternative form builder plugin and switching to it instead.
How to Fix Caldera Forms Not Sending Email
In This Article
Step 1: Check Your Caldera Forms Notification Settings
First, let’s check your form notification settings to make sure your notifications are correctly set up.
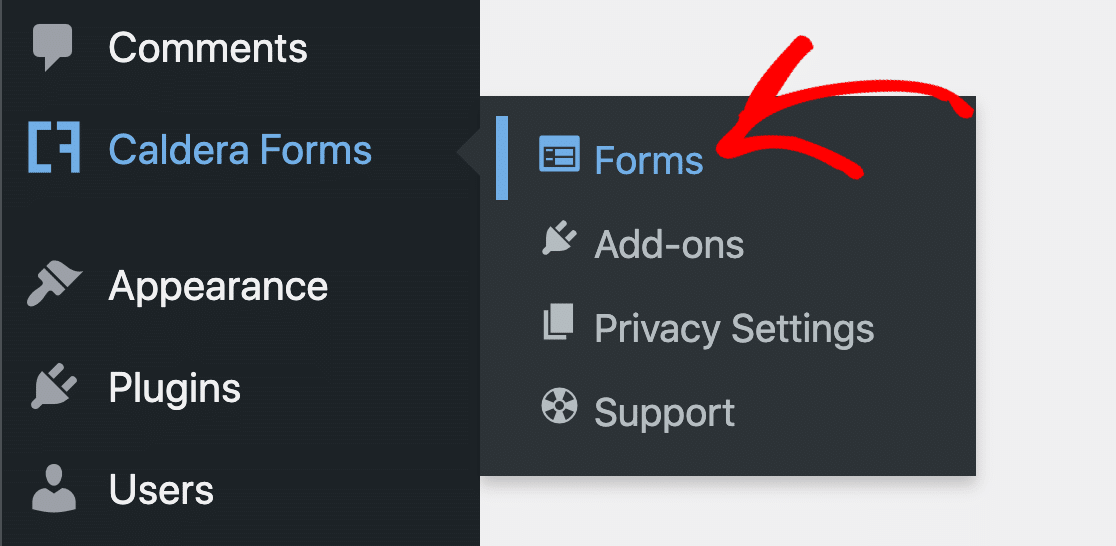
To start, open up the Caldera Forms settings. You’ll want to hover over Caldera Forms in the WordPress navigation menu and click Forms.
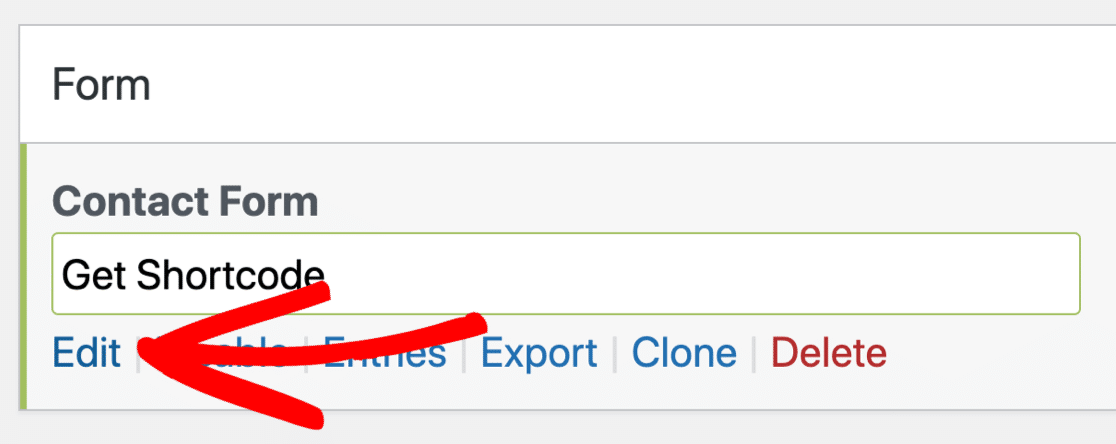
Next, find the form you want to check. Hover over the field here until you see the links appear underneath, then click Edit.
Next, let’s look closely at the form notification template.
By default, Caldera Forms uses a fake email address as the From email.

You’ll want to change this so that the recipient sees a genuine address as the sender. This can also help your emails to look less spammy.
Caldera Forms supports magic tags like {user:user_email} to dynamically change your form notifications. However, you can’t use a magic tag in the From Email field, so you’ll want to type in a real address here instead.
Next, you’ll want to scroll down and check the recipient settings. This is the address to which the form notifications will be sent.
You have 3 options here:
- Type in 1 email address to receive notifications
- Add multiple email addresses, taking care to separate them with a comma
, - Paste in a magic tag

Save your settings here and you’re done!
If you have more than 1 form, you’ll want to set these details for every notification you’ve set up. In Step 4, we’ll show you an easy way to force the sender address to be the same on all your notifications, which can help to save some time.
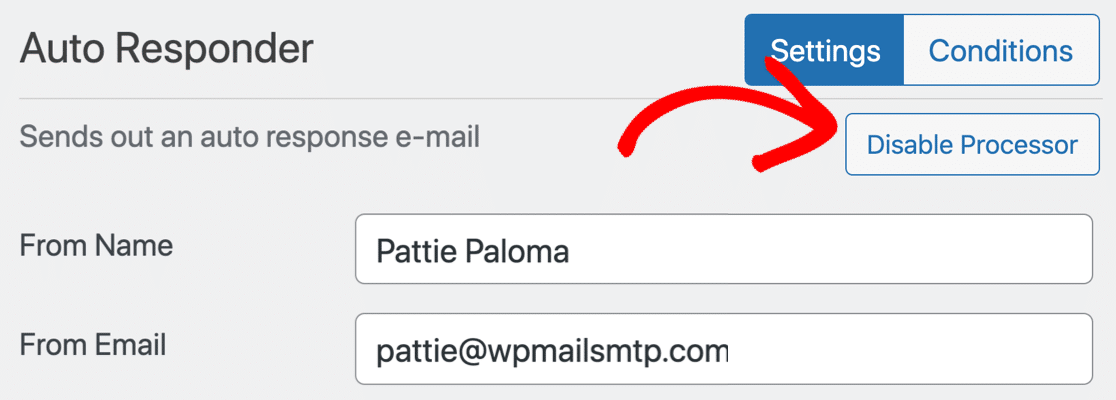
Finally, if you have an autoresponder processor set up, you’ll want to check that as well. Click Processors in the tabs at the top of the notification settings.
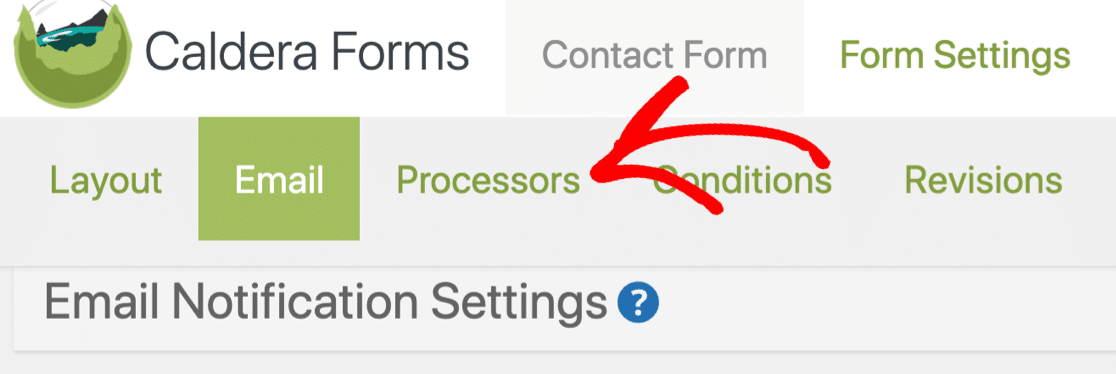
Check the settings here to make sure any autoresponder processors are sending emails to the right address.
Also, it’s super important to check that you haven’t disabled the autoresponder email. This can be the cause of Caldera Forms not working as expected.
Ready to move on? There’s 1 more setting to check before we set up WP Mail SMTP.
Step 2: Enable WordPress Email Sending
We’re going to set up WP Mail SMTP in Step 3.
But first, we need to enable WordPress email sending in Caldera Forms.
We need Caldera Forms to use the default setting so that WP Mail SMTP works. If you select a different email system here, your emails might not be sent via the right plugin.
To find the mailer setting, open up the global email options by clicking the Email Settings button at the top of the settings page.
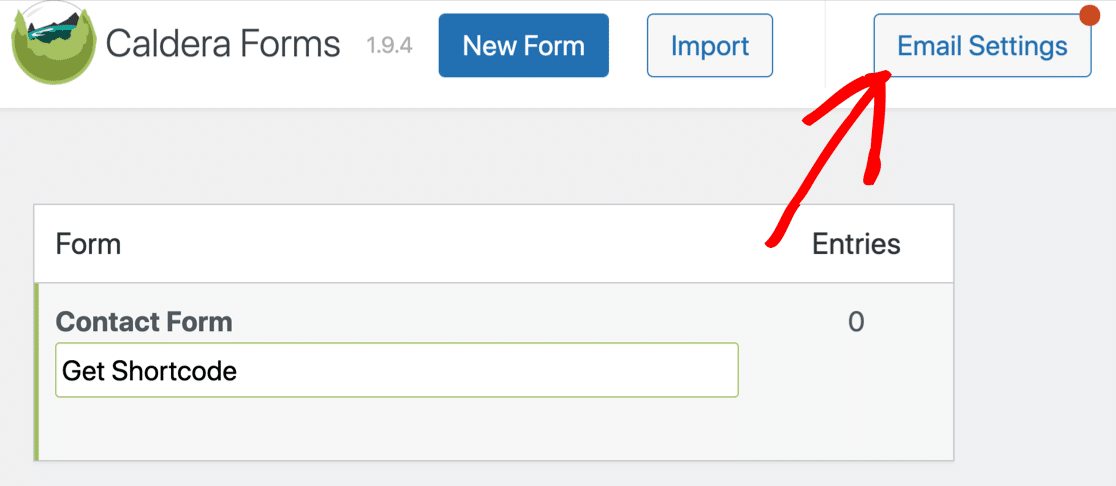
If your mailer is disabled, you’ll want to turn it on now.

Next, be sure to select WordPress from the Email System dropdown here.

This setting will force Caldera Forms to use the wp_mail() function in WordPress. In the next step, we’ll set up WP Mail SMTP so that it takes over wp_mail() with its own mailer functionality.
Step 3: Install the WP Mail SMTP Plugin
WP Mail SMTP is the best SMTP plugin for WordPress.
It solves email delivery problems by sending WordPress emails through reliable mailers like SendLayer.
Hosting servers can’t add full authentication to emails. So by routing your email through a separate provider, you can solve email delivery problems.
With WP Mail SMTP, you can also use an external SMTP server that you already have access to. For example, if your site doesn’t send tons of emails, you can use the SMTP server provided by your ISP.
Getting Started
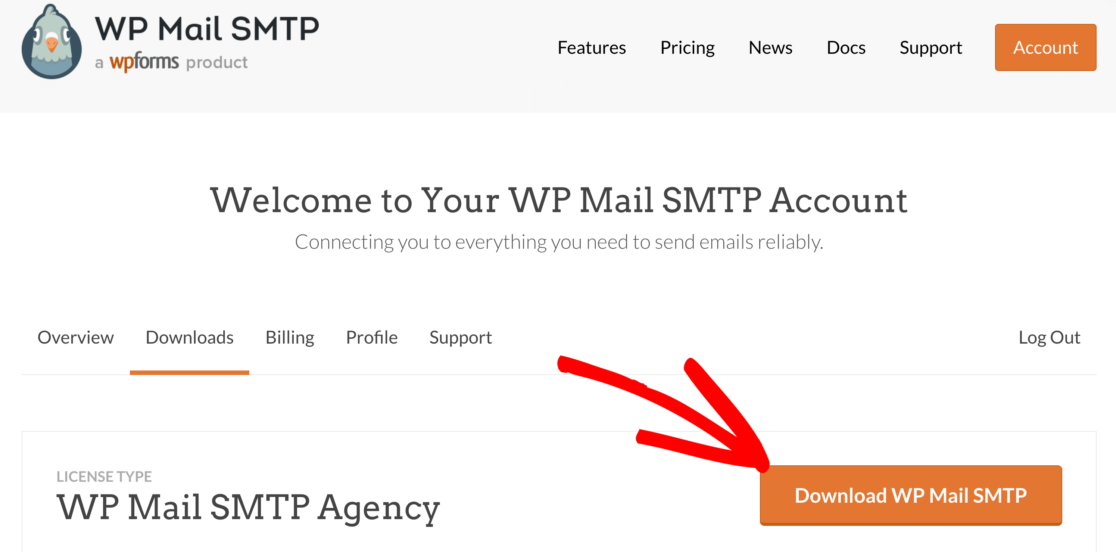
To begin, you’ll want to download the WP Mail SMTP plugin.
Log in to the WP Mail SMTP website using the user account details you received when you signed up.
You’ll find the latest version of the plugin in the Downloads tab.
Upload the plugin to your WordPress site and activate it.
If you need help with this, jump over to this guide to installing a WordPress plugin.

As soon as you activate WP Mail SMTP you’ll see the Setup Wizard open up in your browser. If you need to start the wizard manually at a later time, you can open it up by clicking the Launch Setup Wizard button in the WP Mail SMTP settings.
If you already have a mailer set up on your site, running the wizard again will remove your existing mailer.
Set Up SMTP for Caldera Forms
In this step, we’ll choose a mailer service to fix Caldera Forms not sending email.
If you’d like some help from our team, you’ll get White Glove Setup with the Elite license. But if you want to set up the plugin yourself, we’ll walk you through it step by step.
To start setting things up, click the Let’s Get Started button in the wizard.

On the next screen, you’ll see a list of email providers.
If you’re not sure which email provider to pick, we recommend SendLayer, SMTP.com, or Brevo (formerly Sendinblue). All 3 of these mailers are reliable and will work just fine with any kind of website.
Check out our list of mailer options along with some information on pricing.
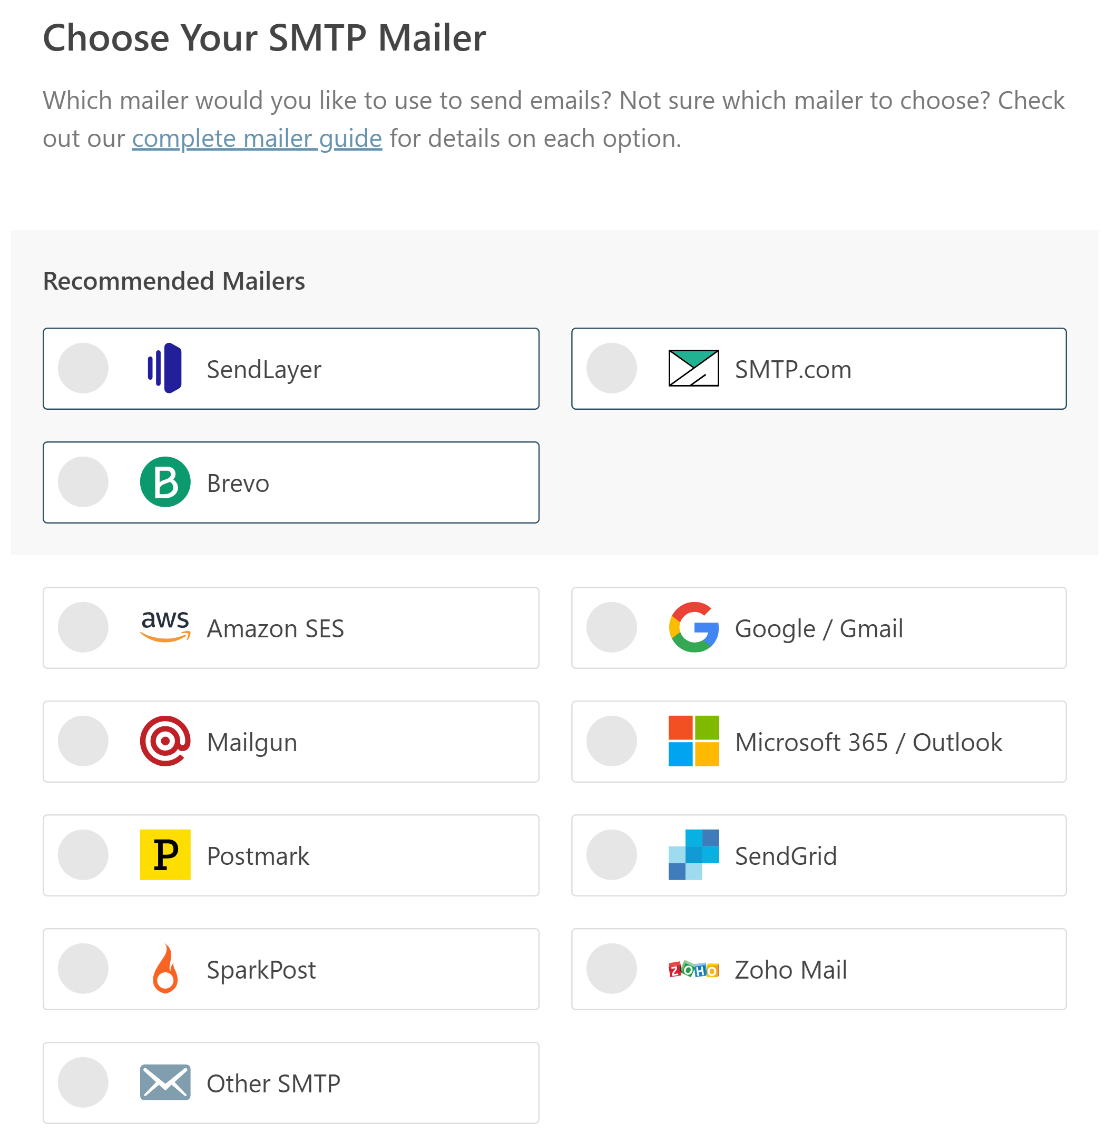
When you’ve chosen your mailer, open up the documentation below in a new tab. The doc will show you exactly what you need to do on the email provider’s side to get everything working:
| Mailers available in all versions | Mailers in WP Mail SMTP Pro |
|---|---|
| SendLayer | Amazon SES |
| SMTP.com | Microsoft 365 / Outlook.com |
| Brevo | Zoho Mail |
| Google Workspace / Gmail | |
| Mailgun | |
| Postmark | |
| SendGrid | |
| SparkPost | |
| Other SMTP |
Want to set up multiple mailers? You can do so in the Additional Connections settings once you’ve finished the Setup Wizard. Then you can select a Backup Connection and configure Smart Routing.
Just 1 more thing. At the end of the wizard, 2 settings will be automatically enabled:
- Improved Email Deliverability
- Email Error Tracking
If you want, you can also turn on Detailed Email Logs so you can see the email headers, subject line, and other information for each message sent.
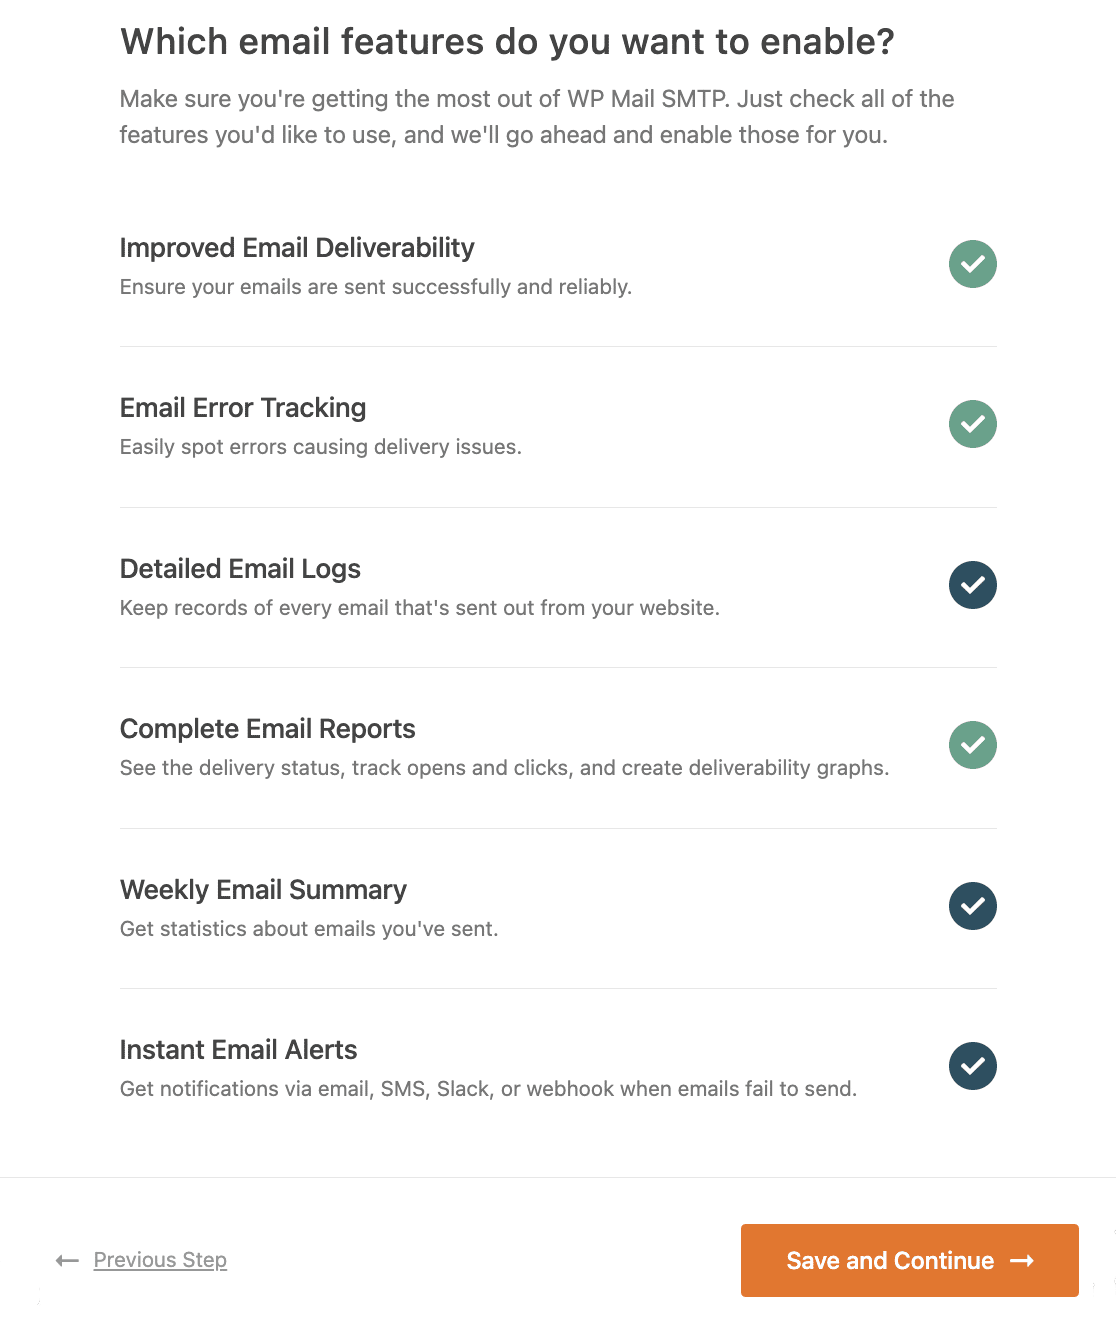
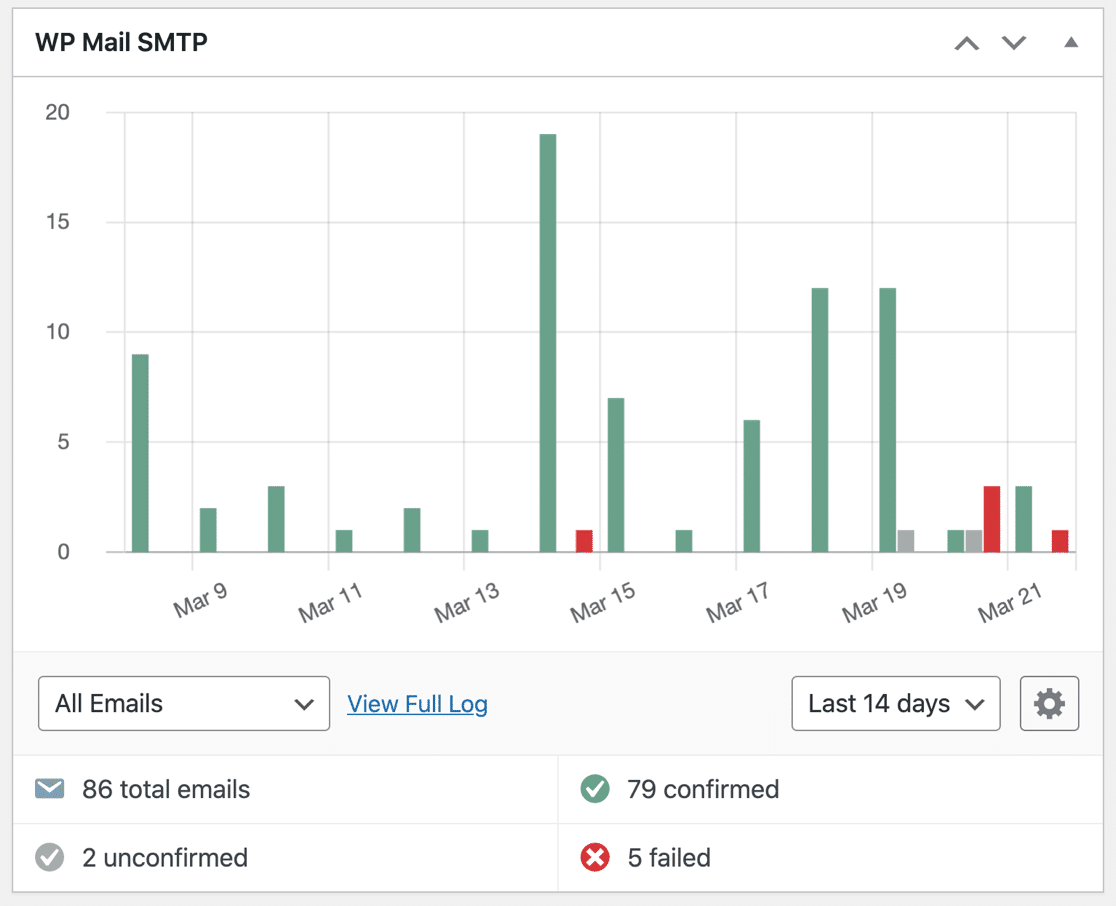
In WP Mail SMTP Pro, this information is shown on a chart on the WordPress dashboard as well as in Complete Email Reports. If Caldera Forms isn’t working, this could help to figure out why.
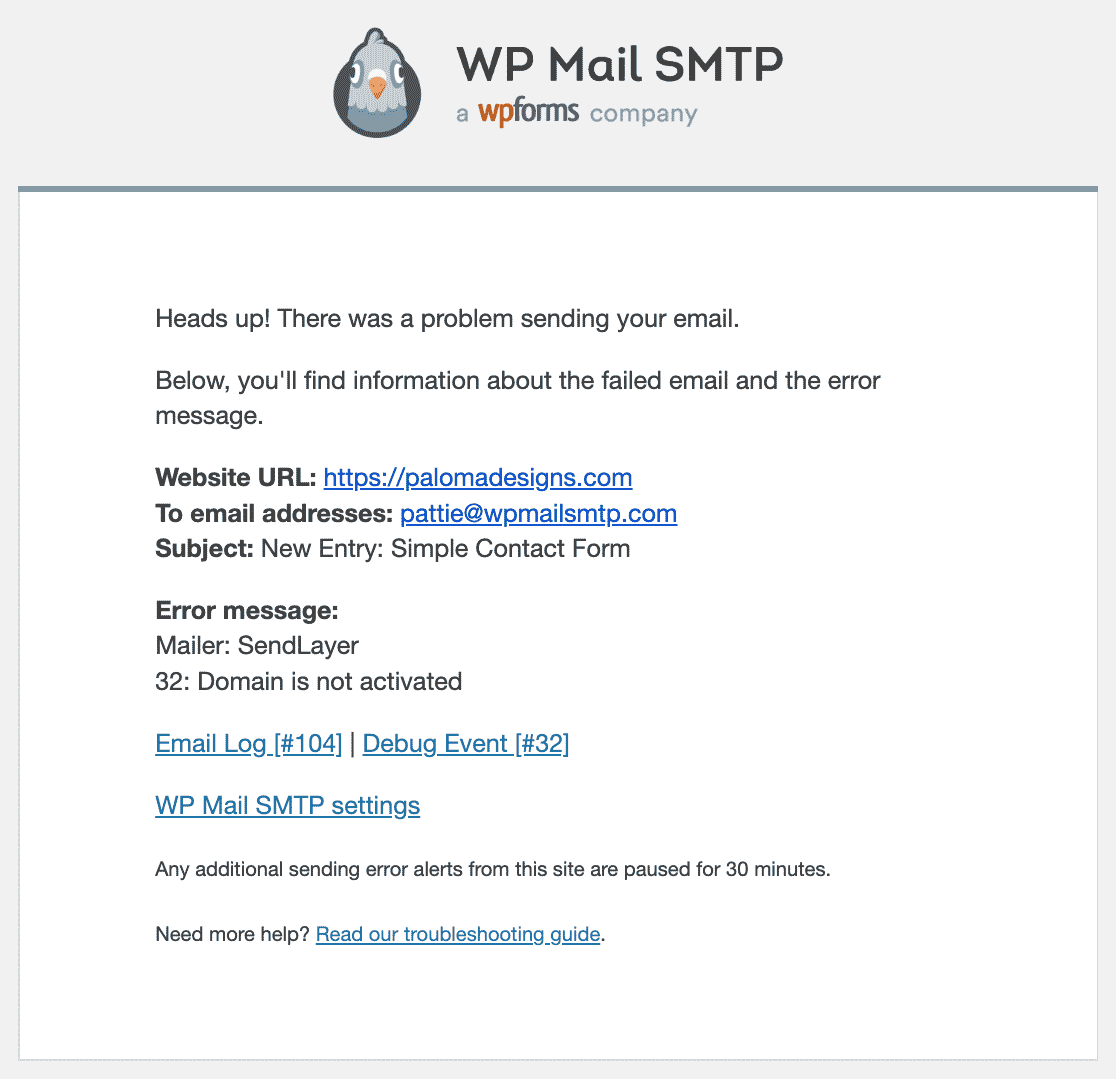
You may also want to opt in to the Weekly Email Summary so you can see your latest email delivery stats each week.
The last option listed here is Instant Email Alerts. These are notifications that go out if your site fails to send an email. That way you can look into the problem and fix it quickly.
On the last screen of the Setup Wizard, you’ll have the option to turn on a few more email logging features.
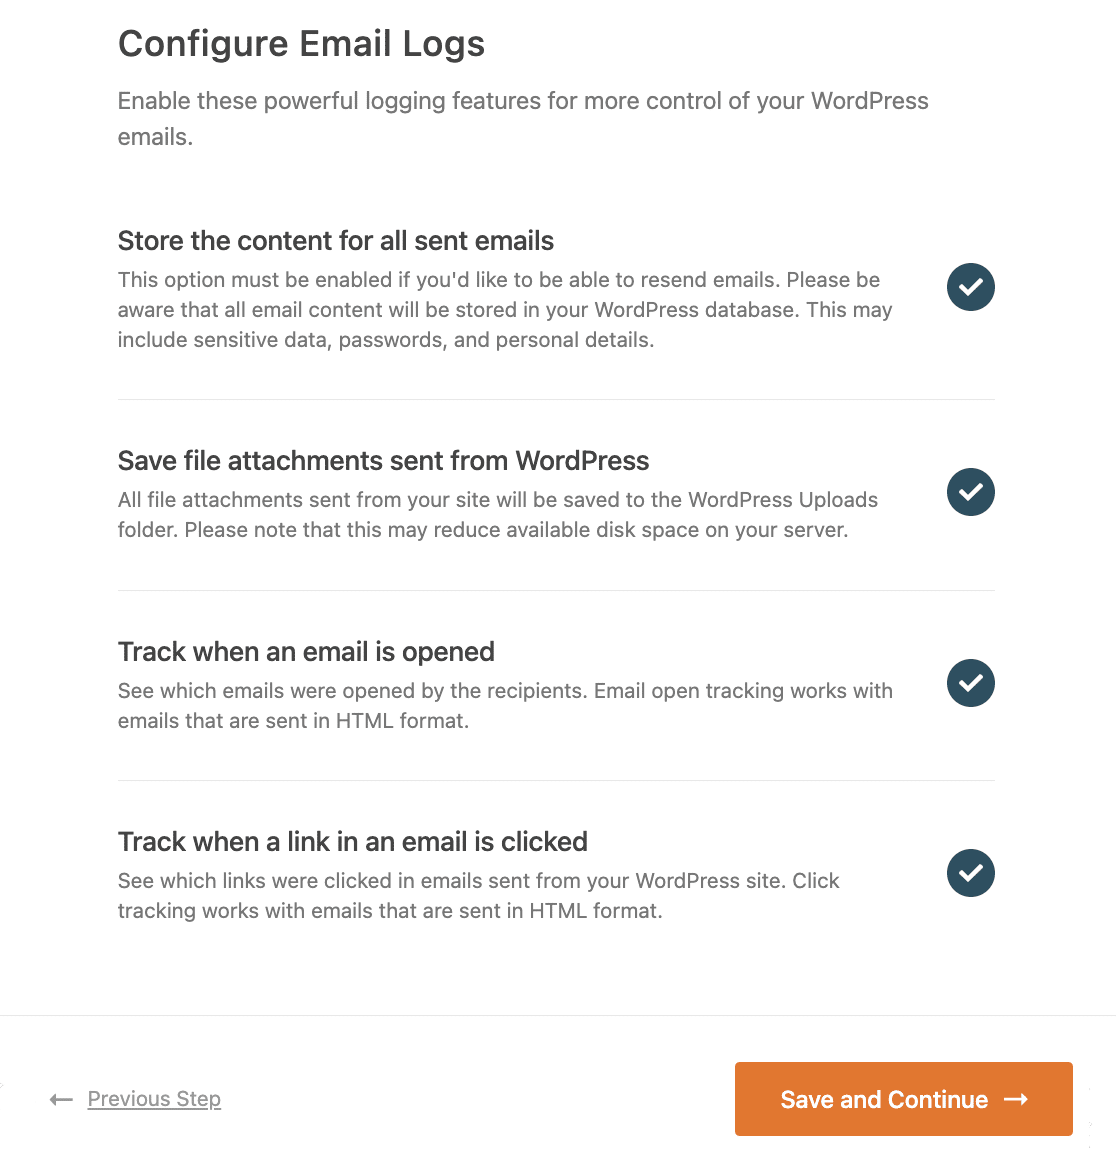
These options let you store email content so you can resend emails, save and print attachments, and track how many recipients open your emails and click links in your emails.
Check out how this works in our article on how to log your WordPress emails.
Don’t forget to paste in your license key at the end of the wizard to activate all of the features and updates.

In the final step, we’ll show you how to set the sender address on all of your notifications.
Step 4: Automatically Set the Sender Address
If you have lots of different forms or plugins sending email, it can be a hassle to go through and manually change the sender email in each one.
The Force From Email setting is a powerful feature that forces every plugin or form to use the same sender.
If you check these boxes, all of the plugins on your website will use the same From address and email. This overrides the ‘From’ details in each plugin or form setting.
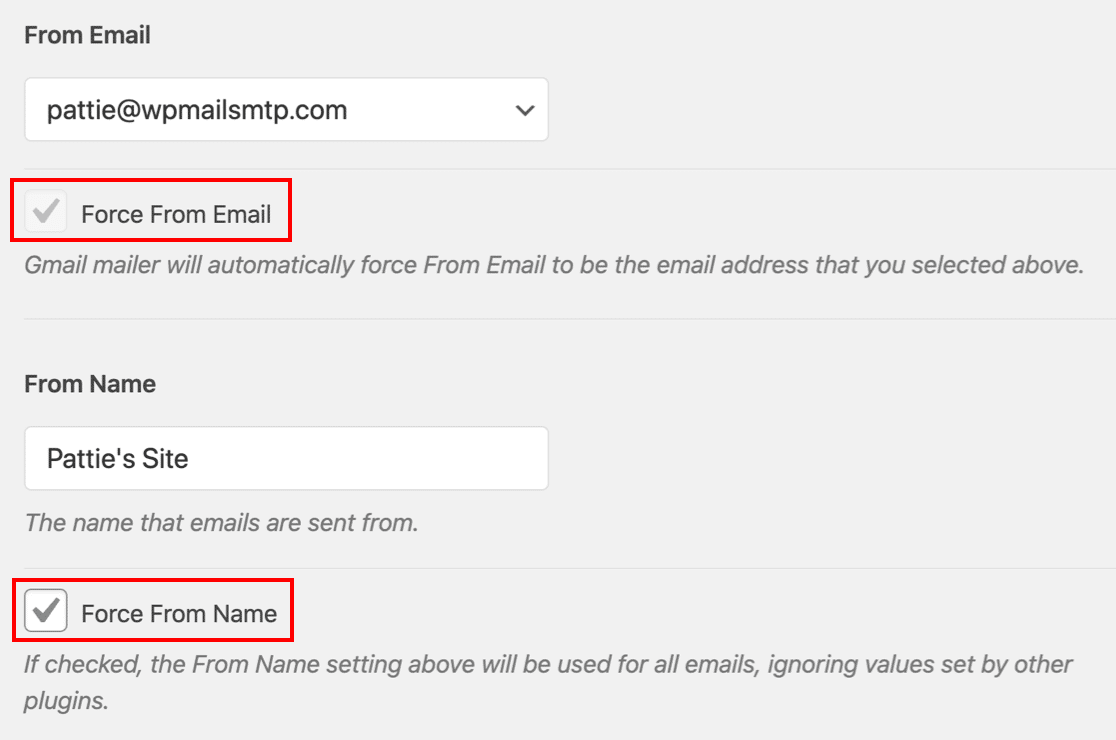
Some mailers need you to use this setting all the time. So if you’ve chosen a mailer that only allows you to use 1 From email address, the plugin will automatically turn this setting on and gray out the checkbox.
Fix Your Caldera Forms Emails Now
Next, Check Out This Caldera Forms Alternative
Did you know that Caldera Forms was retired in 2022? If you’re using it for important forms on your website, you’ll want to switch to a new contact form plugin before support is phased out.
Check out this list of the best Caldera Forms alternatives to make sure you pick the right replacement.
Ready to fix your emails? Get started today with the best WordPress SMTP plugin. If you don’t have the time to fix your emails, you can get full White Glove Setup assistance as an extra purchase, and there’s a 14-day money-back guarantee for all paid plans.
If this article helped you out, please follow us on Facebook and Twitter for more WordPress tips and tutorials.

