AI Summary
Are you wondering how to encourage users to fill out a form requiring their email to download a file?
Offering a lead magnet on your WordPress website in exchange for an email address is a great way to expand your mailing list and gather new subscribers.
In this guide, we’ll walk you through the steps to create a form that requires an email address to share a download link.
In This Article
How to Require an Email Address to Download a File
To set up a file download form with a required email address field, you can use WPForms. Follow the steps below to get started:
Step 1. Install the WPForms Plugin
As the best form builder WordPress plugin, WPForms allows users to create contact forms, order forms, calculator forms, and even lead generation forms that require users to provide their email addresses before downloading.
WPForms also comes with 2,000+ WordPress form templates that make form creation a breeze, and if you upgrade to the Pro License, you can even take advantage of features like premium addons, conditional logic, and reports.

“WPForms is hands down the best form builder in the market. It can help you create gated content that requires an email address to download a file easily. It also comes with loads of other powerful features that make it an undebatable solution in the market.”
With the Pro license, you also have access to everything you need to operate an eCommerce site on WordPress, like payment processors on order forms, coupon fields, and more.
For this tutorial, we’ll be creating a multi-step lead form, so you will have to get the WPForms Pro license. Once done, follow the steps in this guide to learn how to install a plugin in WordPress.
Step 2: Get the Lead Forms Addon
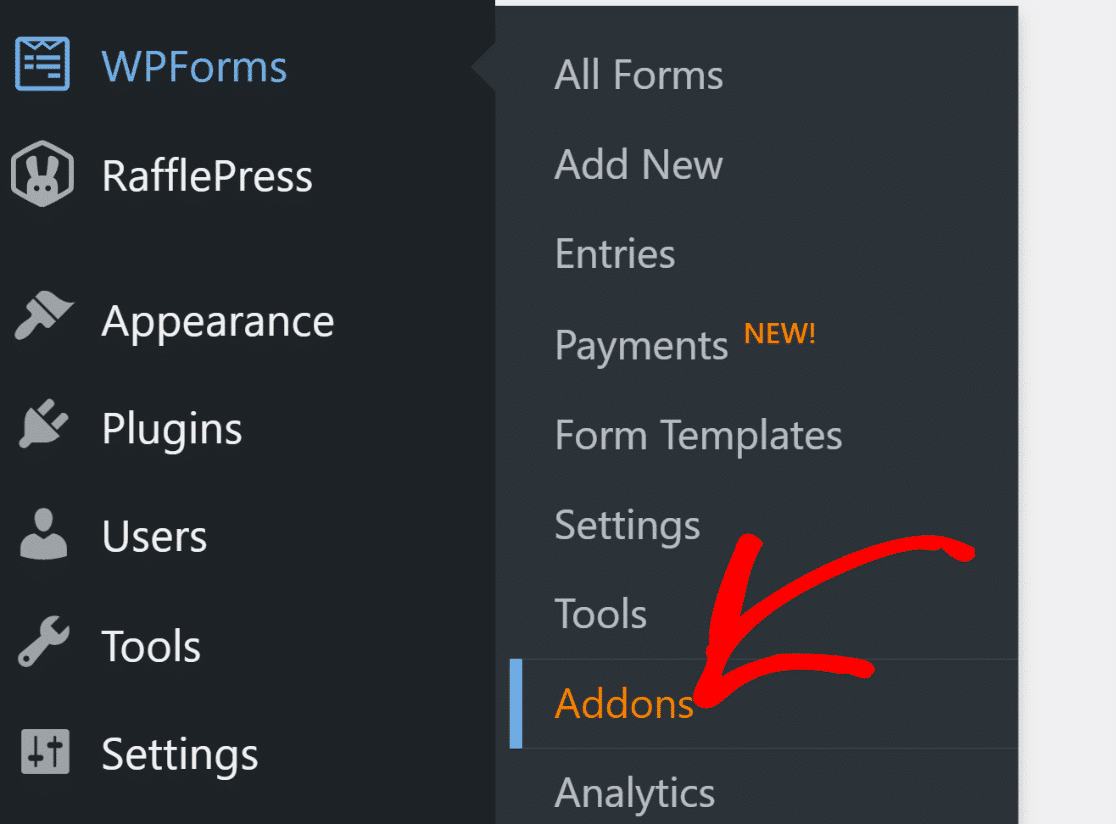
The Lead Forms Addon is available for Pro and above users. To install this addon, open your WordPress dashboard and go to WPForms » Addons.
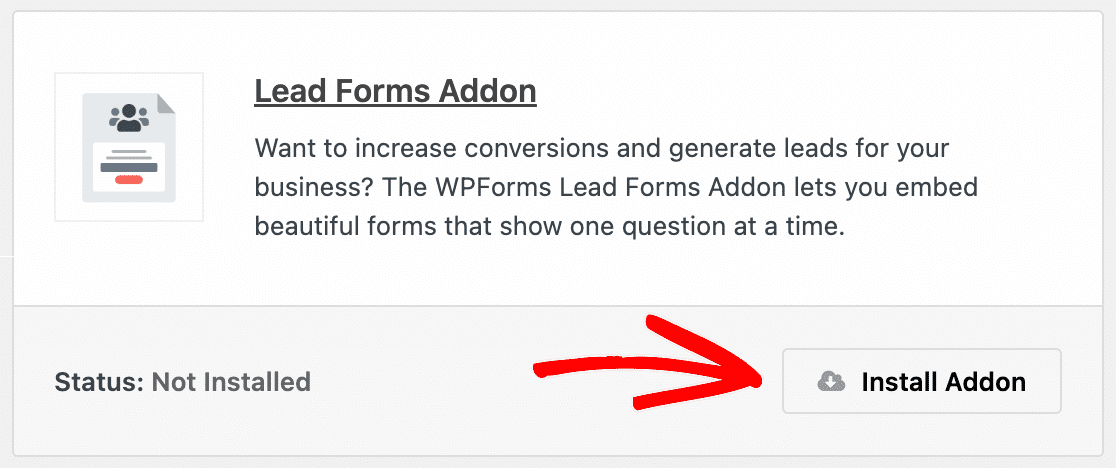
Next, scroll down to the Lead Forms Addon on the Addons page or search for it using the search bar. Then, press the Install Addon button.
Wait a few seconds for the addon to install, then click on the Activate button. You’re all set now to create your download form!
Step 3: Create Your File Download Form
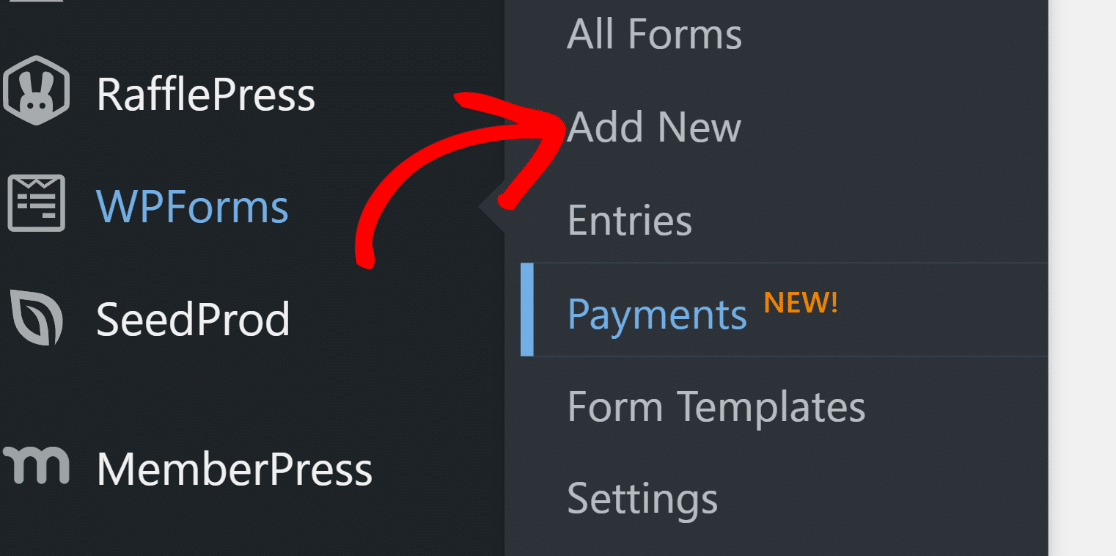
Let’s create your form now. From your dashboard, go to WPForms and click on the Add New button to begin creating your download form.
You will now be redirected to the next screen. Give your form a name here. For instance, we’ll call ours “Download Form”.

Next, use the Search Templates field and type in “Content Download Form Template“. Then, click on the Use Template button to import it.
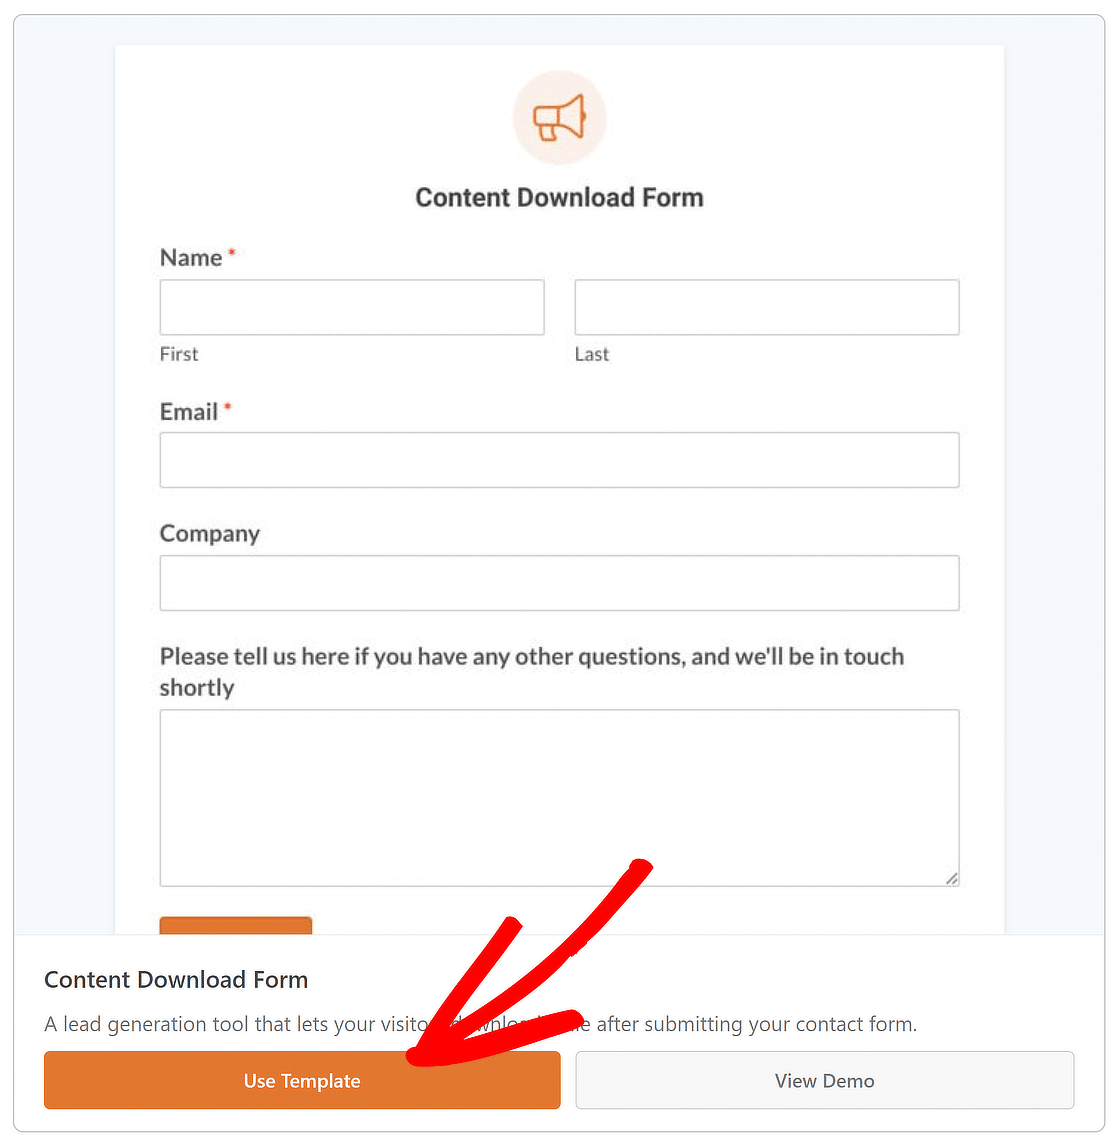
The following form fields are included in this template for the purpose of collecting personal information:
- Name
- Company
- Comments
Feel free to add, rearrange, or change the fields by using the many options available in the Add Fields menu.
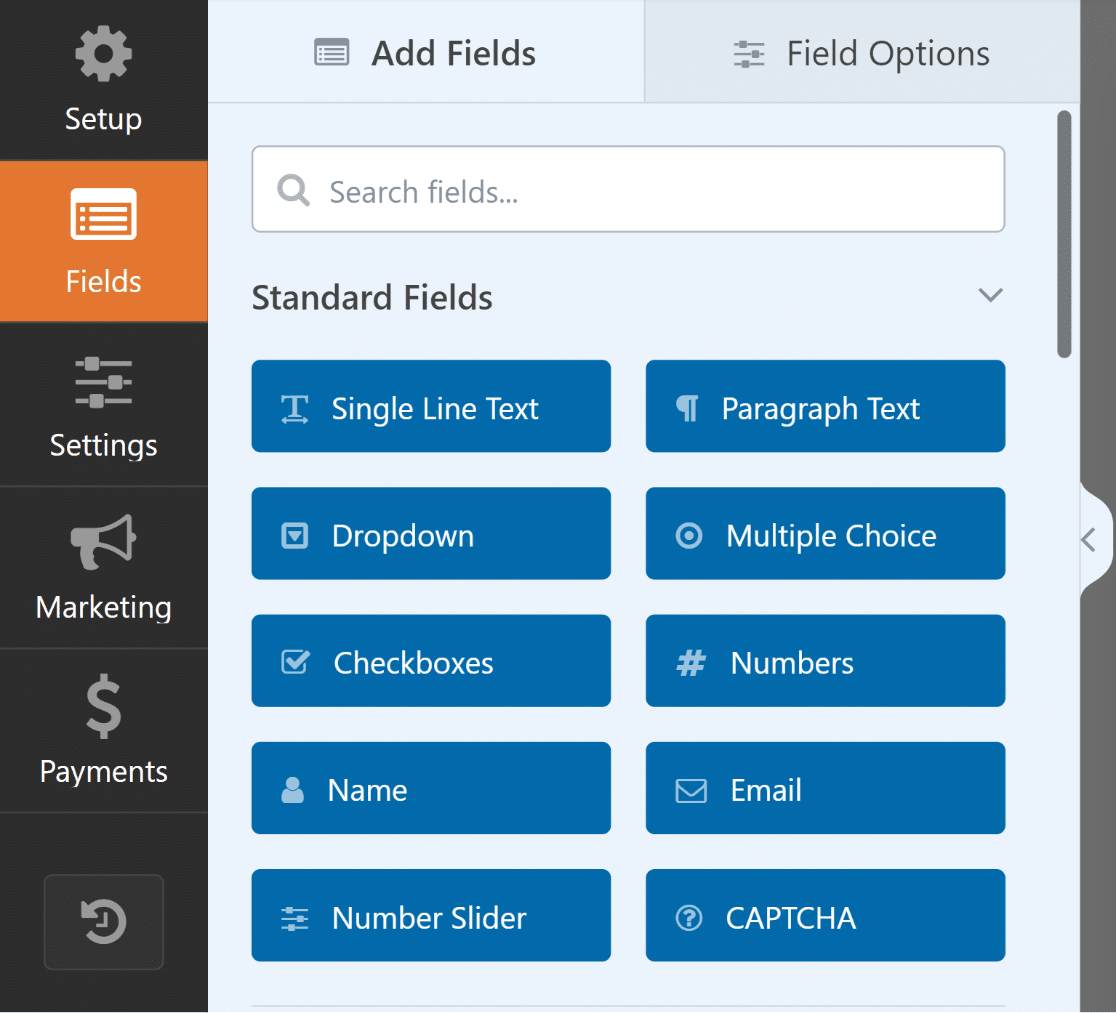
Great job so far! Now, we’re going to customize your form a bit. WPForms makes this super easy, thanks to its many customization options!
Step 4: Customize Your File Download Form
If you’re using this form to generate leads, there are plenty of ways you can customize it to make it more appealing to your audience.
For instance, you can mark the email field as required, add a download button, and convert your form into a multi-step lead form. Below are the steps for each.
Mark the Email Field as ‘Required’
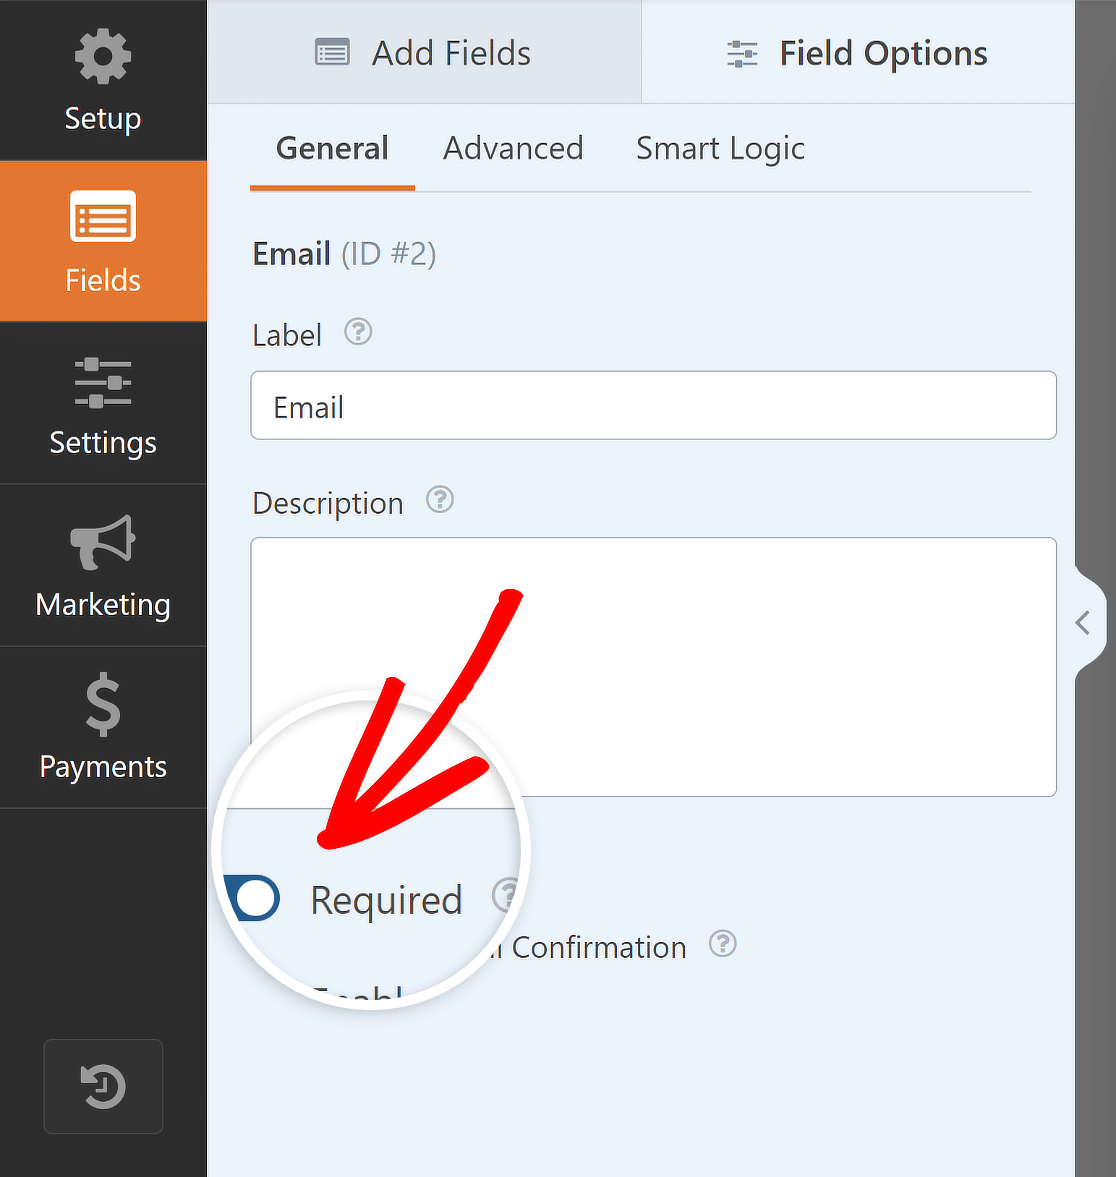
To do this, simply click on the Email field in the form preview screen on the right side to open up its options.
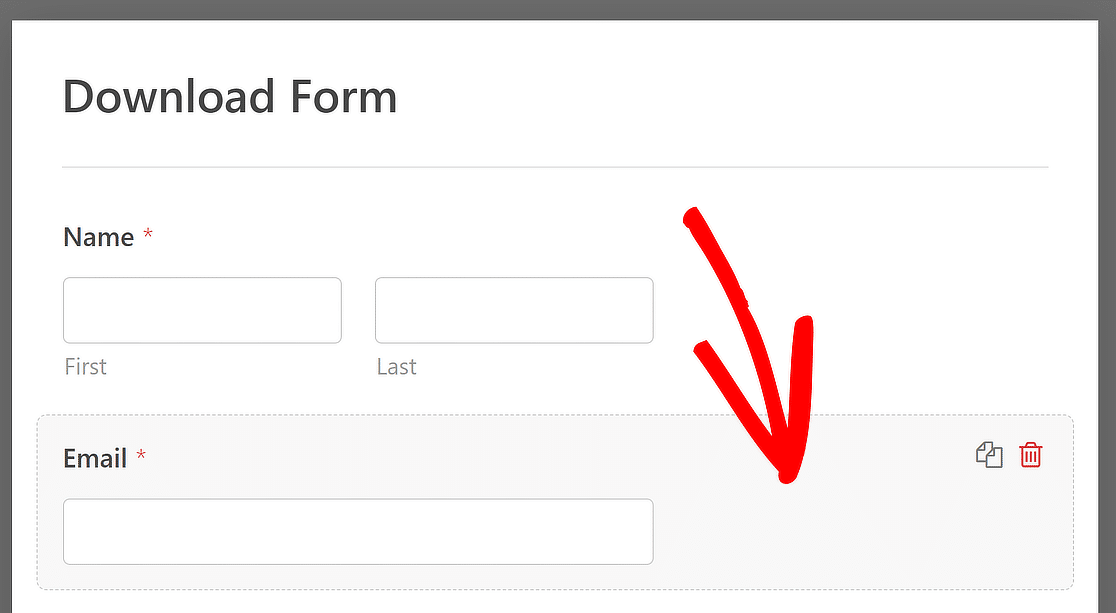
In the Field Options menu, simply toggle ON the Required option to mark the Email field as required in your form.
Change the Submit Button Text
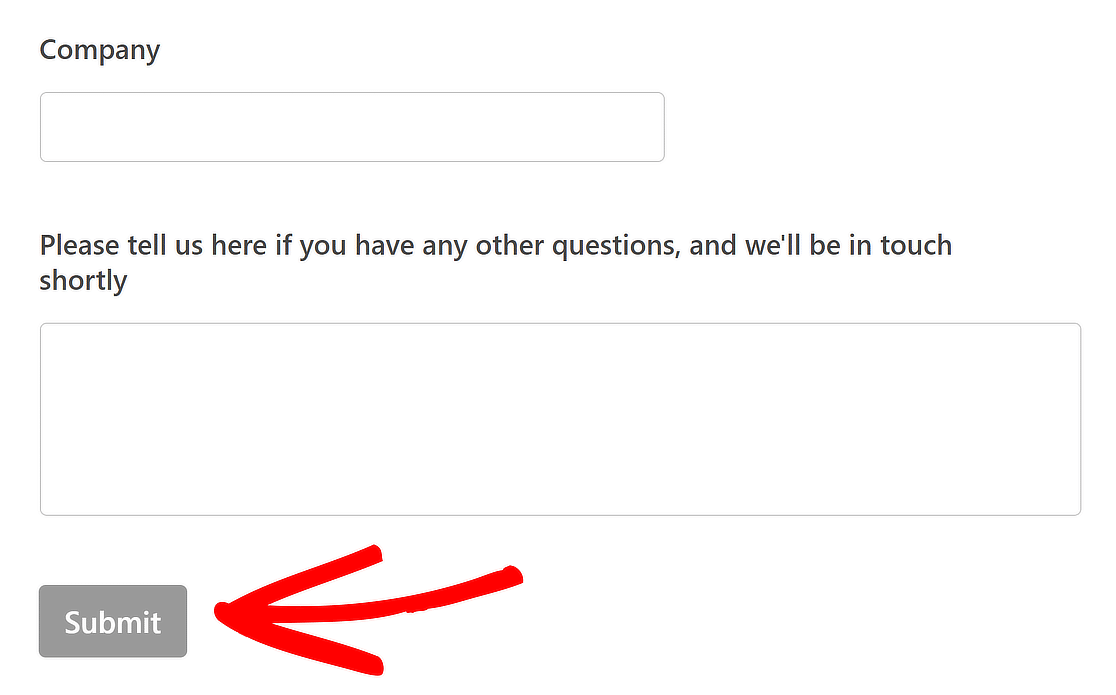
Another great customization option WPForms offers is the ability to modify the submit button text to make the form relevant to your audience.
To do this, simply click on the Submit button at the bottom of the form on the right side of the screen to open up its options.
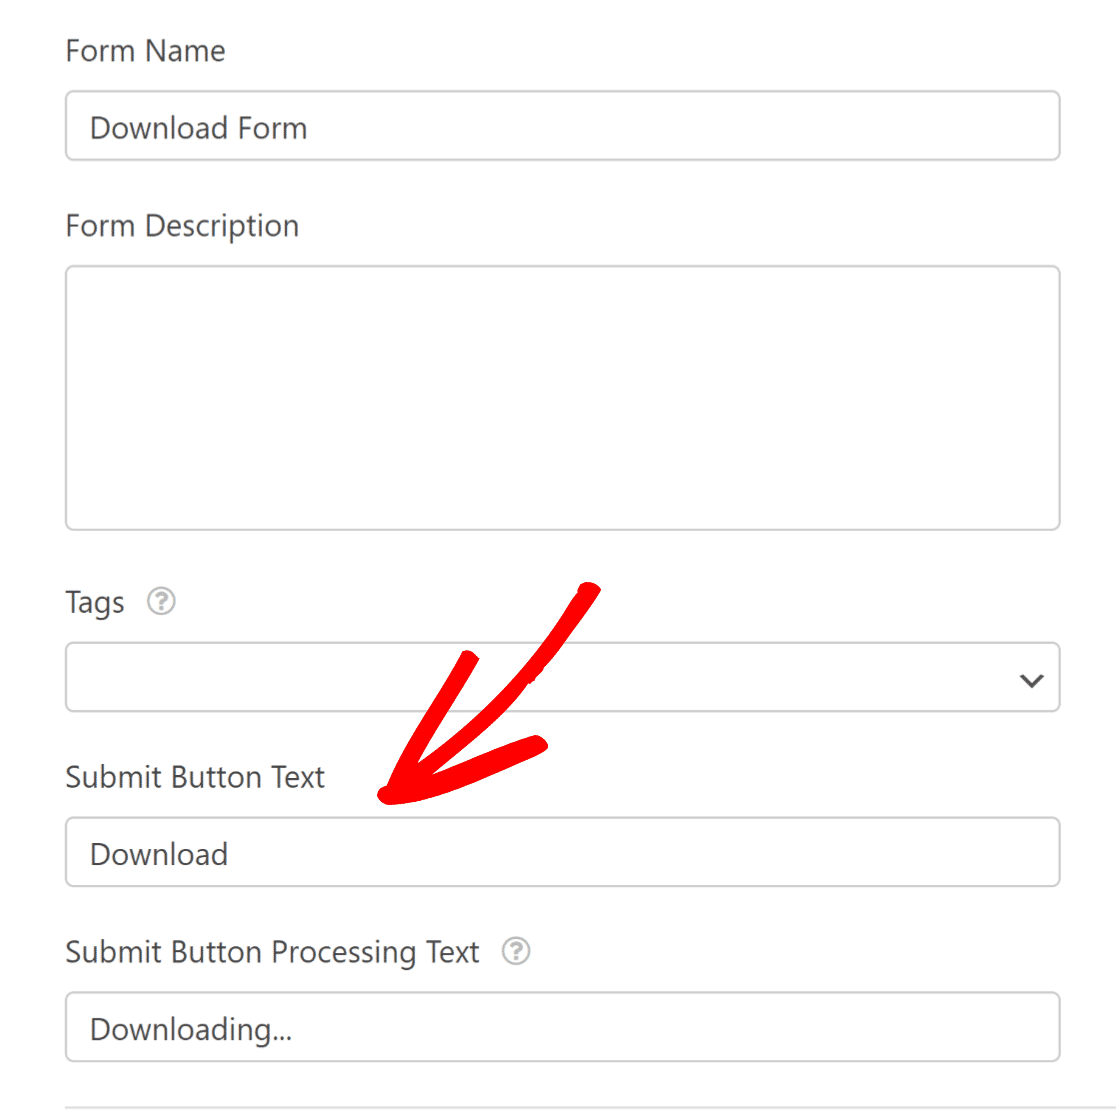
Now, you can change the Submit Button Text to “Download” and the Submit Button Processing Text to “Downloading…” to make it more relevant.
You can also customize the confirmation email that your user receives after submitting a form. Take a look at our tutorial to learn how.
Break Fields Into Multiple Steps
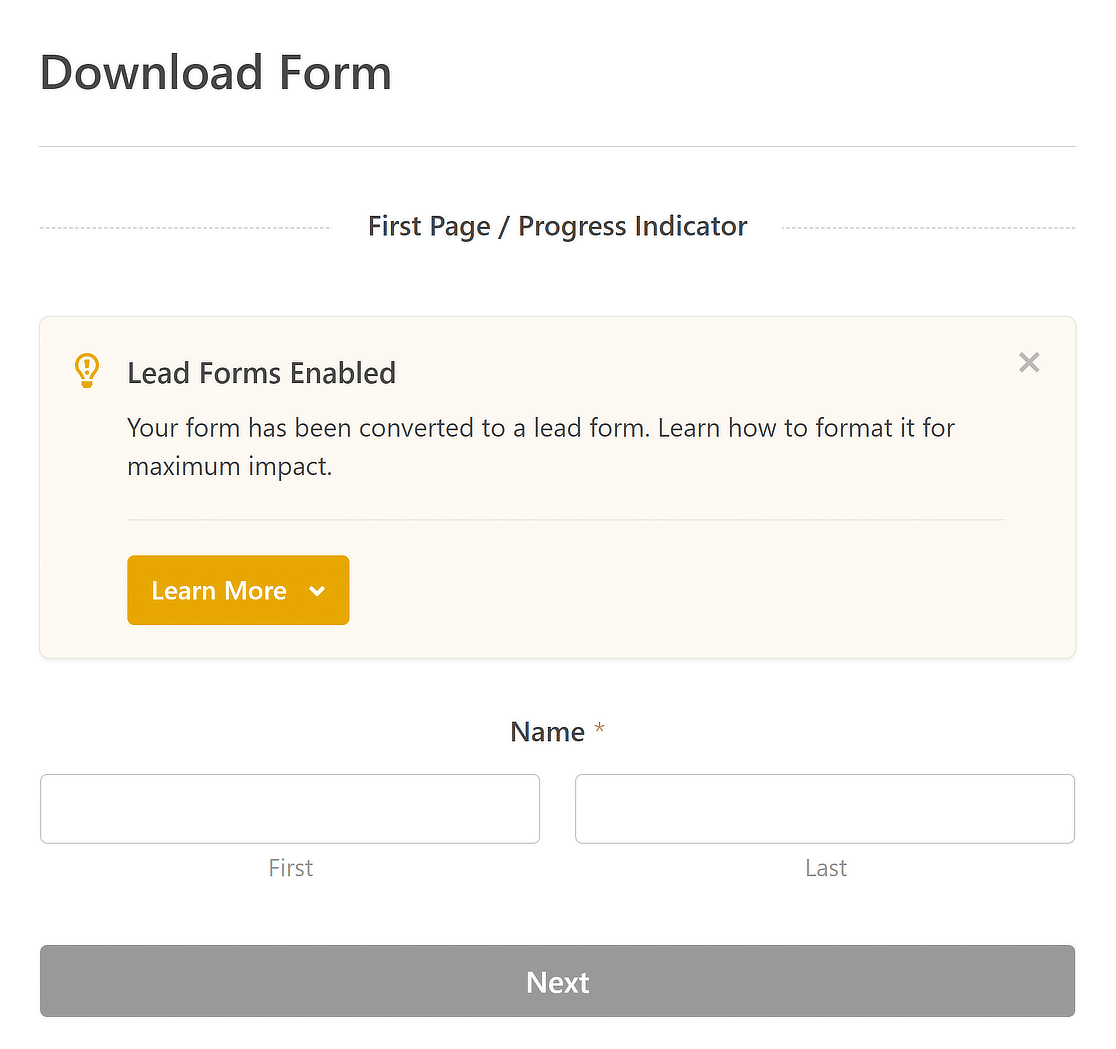
To break your download form into multiple steps, go to Settings » Lead Forms. Then, click the Enable Lead Forms button.
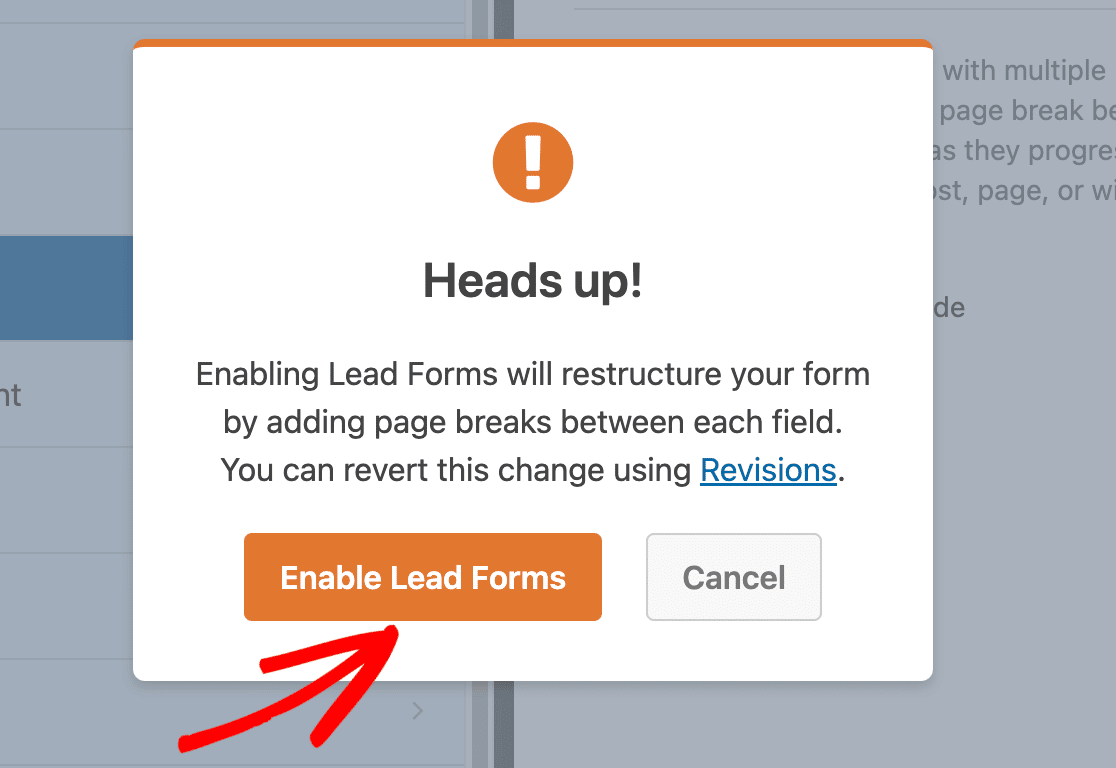
Now, the forms plugin will turn your fields into a Lead Form on its own. This should only take a few seconds unless you have a lot of fields.
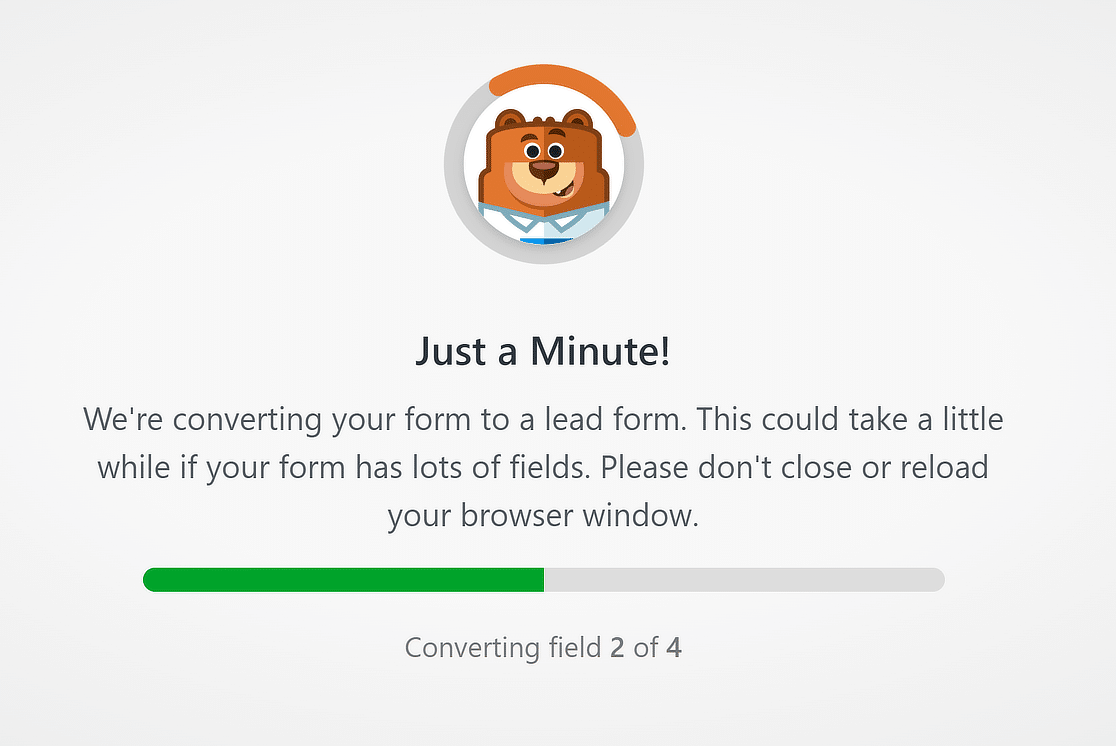
Once done, each of your fields will be divided into a separate step with a Next button underneath it.
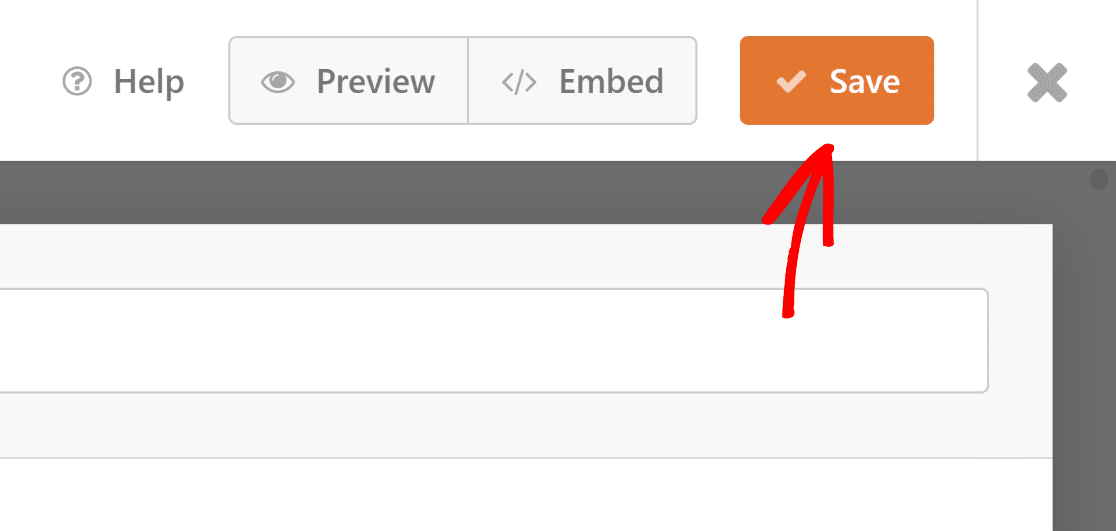
Once you are done making changes, click the Save button to save all your form customizations.
Step 5: Add the Download Link to Your Form
Go to the page or post where you want to add the link to the download. Then, press the plus sign (+) to open the block menu, and look for the File block.
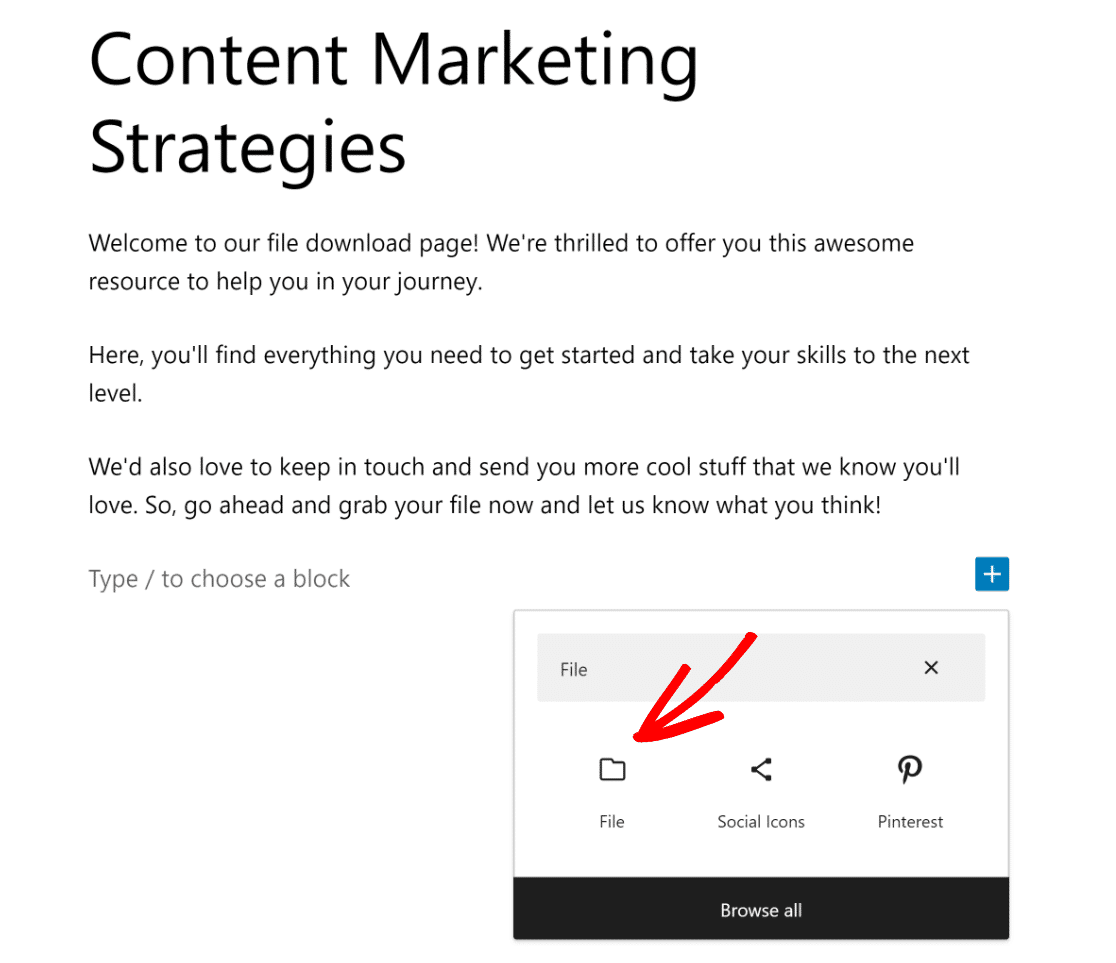
You can now click the file Upload button and pick a file from your computer or your Media Library that you’ve already uploaded.
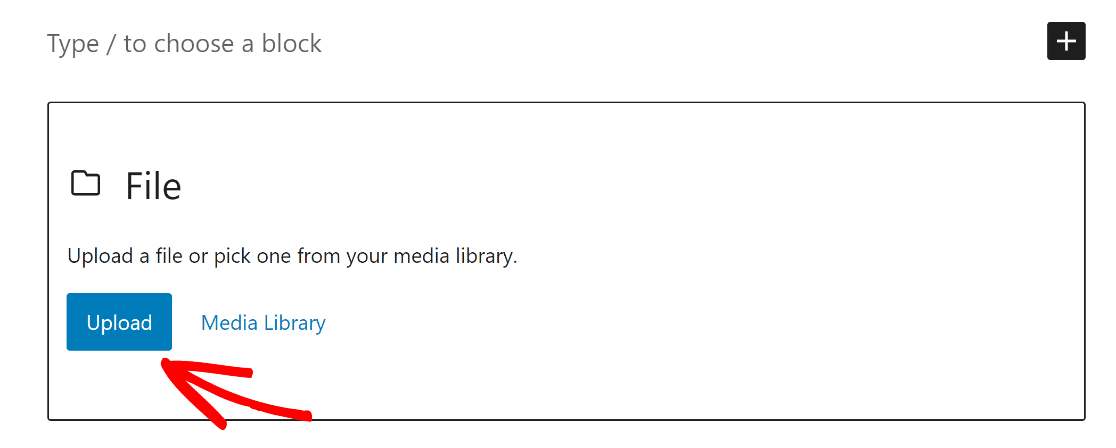
There you have it! The link to download your file is ready. The file will start downloading as soon as someone clicks on this link.
Next, go back to the form builder, open the Settings tab, and click on the Confirmations option to set up what your users see after filling out the form.
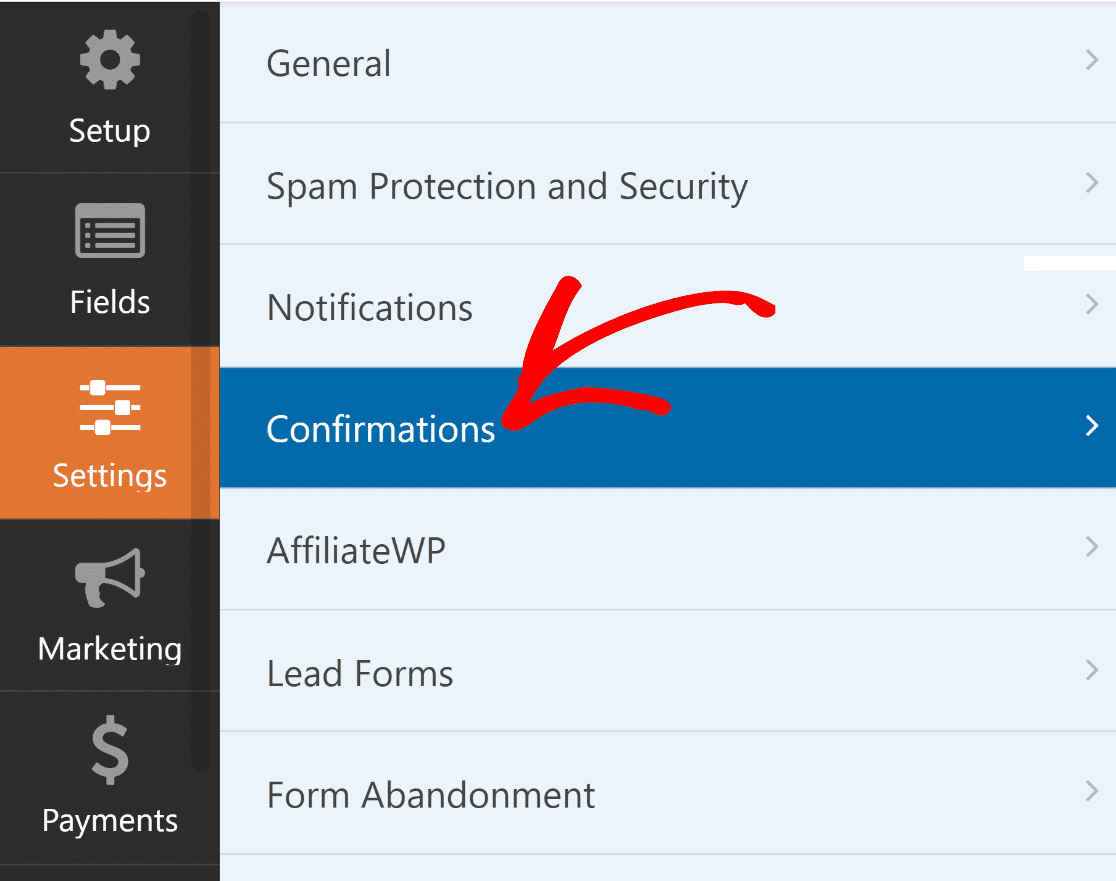
After that, click the dropdown next to Confirmation Type and choose Show Page. Then, select the page where you put the link to download the file.
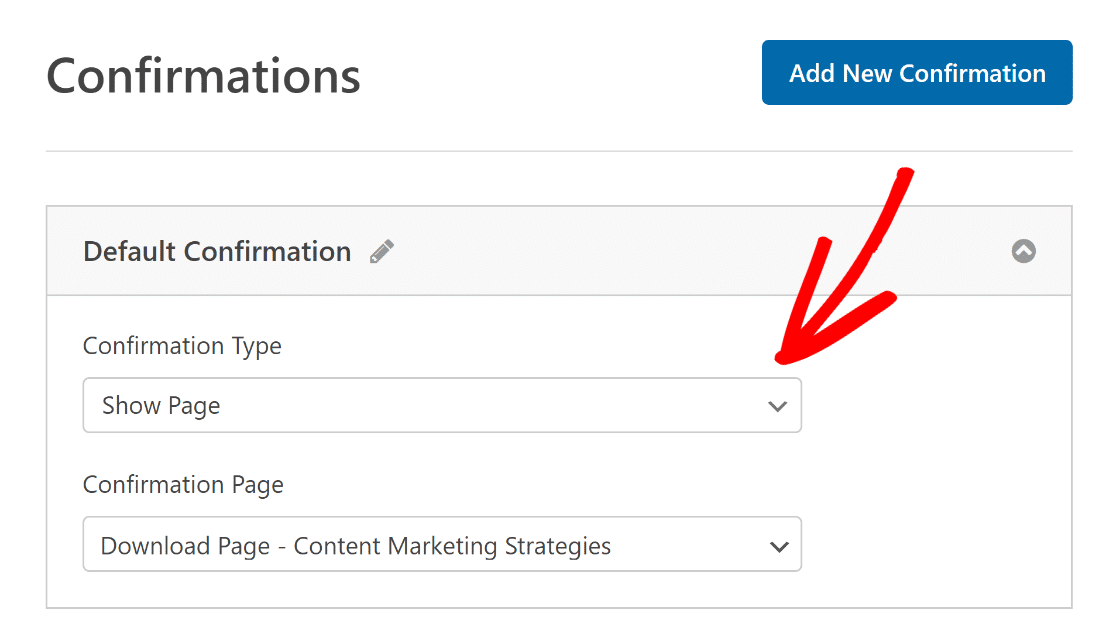
To let people download a file, you can also use the Message or Go to URL form submission confirmation types to send them to the file download URL.
Because WordPress notification emails are configured to use PHP, many inboxes may label your emails as spam. To avoid this, consider configuring your SMTP settings for improved email delivery.
Step 6: Publish Your Content Download Form
Now you just need to publish your form. To do this, click on the Embed option at the top right of the form builder.

If you want to create a new page for your form, click on the Create New Page option and give your page a name.
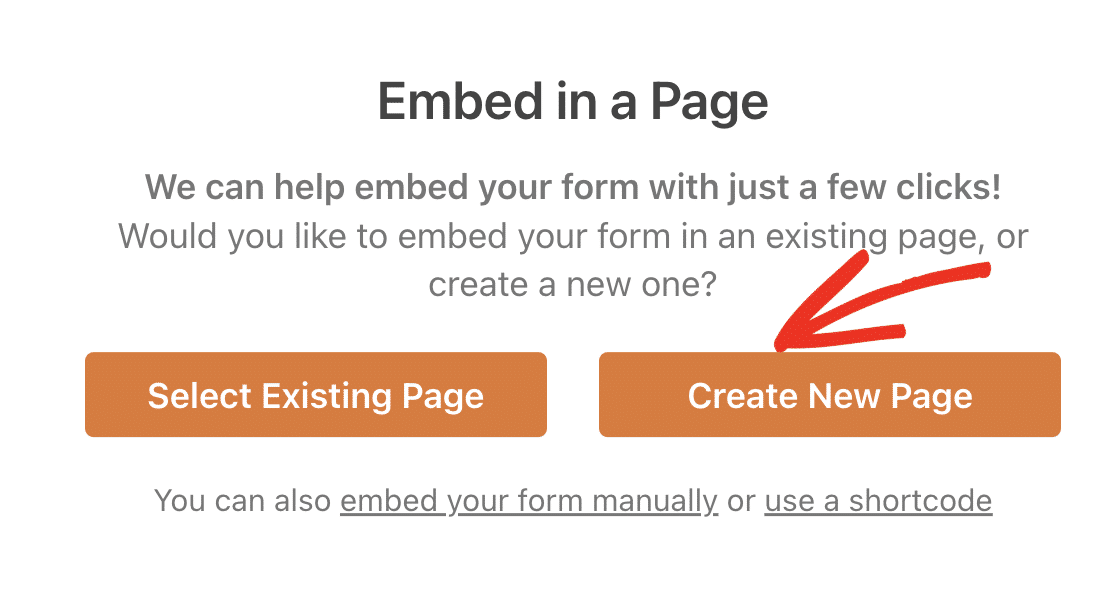
You will then be redirected to the WordPress block editor. Simply click on the Publish button to take your content download form live!
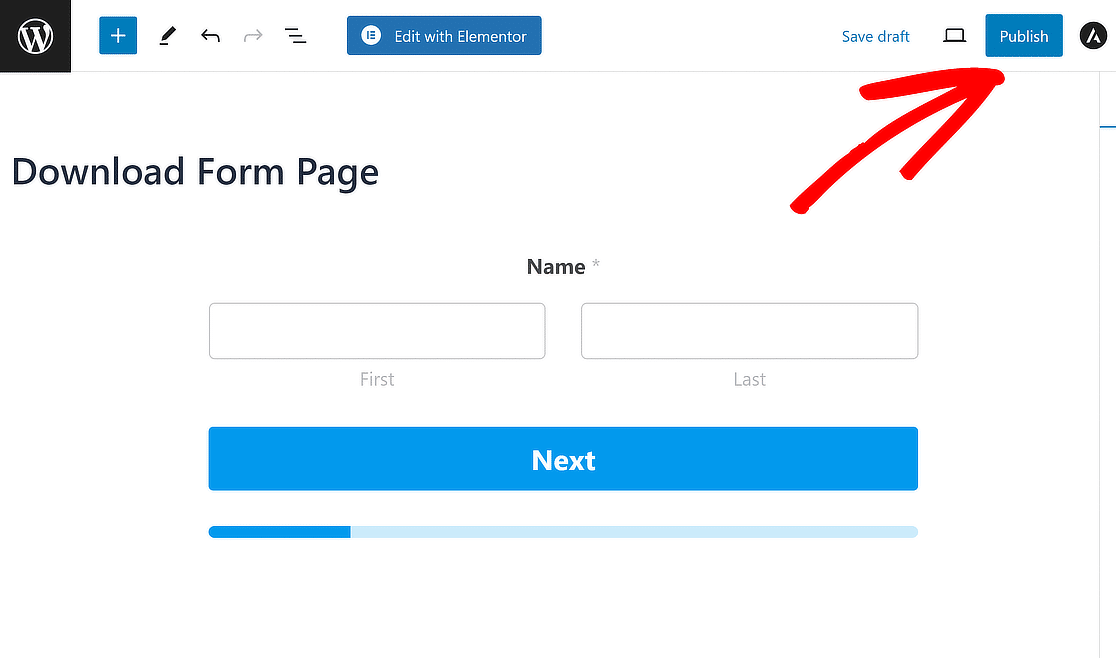
Lastly, it’s important to test the embedded form on the front end and make sure it works as expected to ensure there are no problems.
FAQs about Forms that Require Email to Download File
Looking for answers to your questions? Check out some of the most frequently asked questions we receive about forms that require email to download file:
How to require an email to download files in WordPress for free?
To collect emails before allowing file downloads on your WordPress site for free, you can use WPForms Lite. First, create a new form and add an Email field. Then, set up a Confirmation Message or a page that includes the download link after submission.
Remember to enable Email Notifications to collect the users’ email addresses. This ensures you gather leads while providing your audience with the files they need, helping you expand your email list.
How do I make a WordPress file downloadable?
To make a file downloadable in WordPress for your email marketing purposes by collecting user email addresses, start by uploading the file to your Media Library. Once uploaded, click on the file to view its details and copy the file URL.
Next, create a new post or page, or edit an existing one, and insert a link to the file using the copied URL. You can customize the link text to prompt users to download the file. Save or publish the post/page, and your file will be downloadable to your visitors.
How do I make a downloadable PDF in WordPress?
Creating a downloadable PDF in WordPress is straightforward. First, upload the PDF file to your Media Library. After uploading, click on the file to get its URL. Then, go to the post or page where you want the PDF to be downloadable. Use the WordPress editor to add a link by selecting the text you want to link from and pasting the PDF URL.
Next, Learn How to Make a Calculator Form in WordPress
Offering a way for your website visitors to make calculations directly on the form is a great way to engage with them. Check out this guide to learn how to create a calculator form in WordPress using WPForms!
Ready to fix your emails? Get started today with the best WordPress SMTP plugin. If you don’t have the time to fix your emails, you can get full White Glove Setup assistance as an extra purchase, and there’s a 14-day money-back guarantee for all paid plans.
If this article helped you out, please follow us on Facebook and Twitter for more WordPress tips and tutorials.

