AI Summary
Do you want to send WordPress emails on localhost with SMTP? A localhosted WordPress site is unable to send emails because your site isn’t online yet.
But you can enable email functionality on your WordPress site by using the right plugin, even if you don’t have a web host yet or if your site is still offline.
In this guide, I’ll show you a fairly method to set up SMTP on localhost and enable outgoing WordPress emails through the WP Mail SMTP plugin!
- 1. Install the WP Mail SMTP Plugin
- 2. Select an SMTP Mailer in the Setup Wizard
- 3. Add a Domain to Brevo
- 4. Get the Brevo API Key
- 5. Complete WP Mail SMTP Configuration
- 6. Send a Test Email From WordPress on Localhost
- 7. Disable WordPress Email Notifications on Localhost (Optional)
How Do I Send an Email From WordPress on Localhost?
You can send emails from WordPress on localhost with WP Mail SMTP. The plugin takes over the default email sending function in WordPress so that your emails are routed through an SMTP provider instead.
That means you’ll receive plugin messages and contact form tests from your staging site, even if it’s not live on the internet.
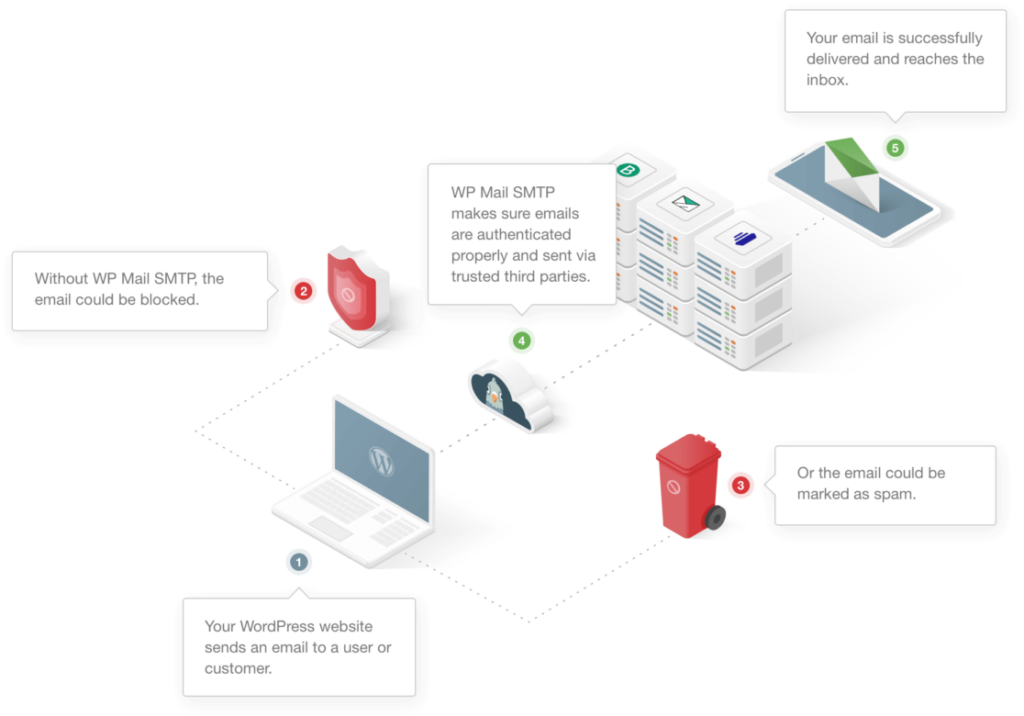
WP Mail SMTP makes it easy to use SMTP on localhost so you don’t get the Could not instantiate mail function error. It supports many free providers that are ideal for trying things out before you launch.
I’ll walk you through the setup steps and recommend some free providers you can use while testing your new website.
How to Get WordPress Emails on Localhost With SMTP
The following steps will work with any localhost installation, including:
- Local WP (formerly Local by Flywheel)
- DevKinsta
- WAMP/ MAMP/ LAMP/ XAMPP
1. Install the WP Mail SMTP Plugin
WP Mail SMTP is the plugin you’ll need in order to send emails from your WordPress localhost installation.
If you haven’t installed WP Mail SMTP yet, you’ll want to download the zip file from your WP Mail SMTP account. You’ll find it in the Downloads tab:
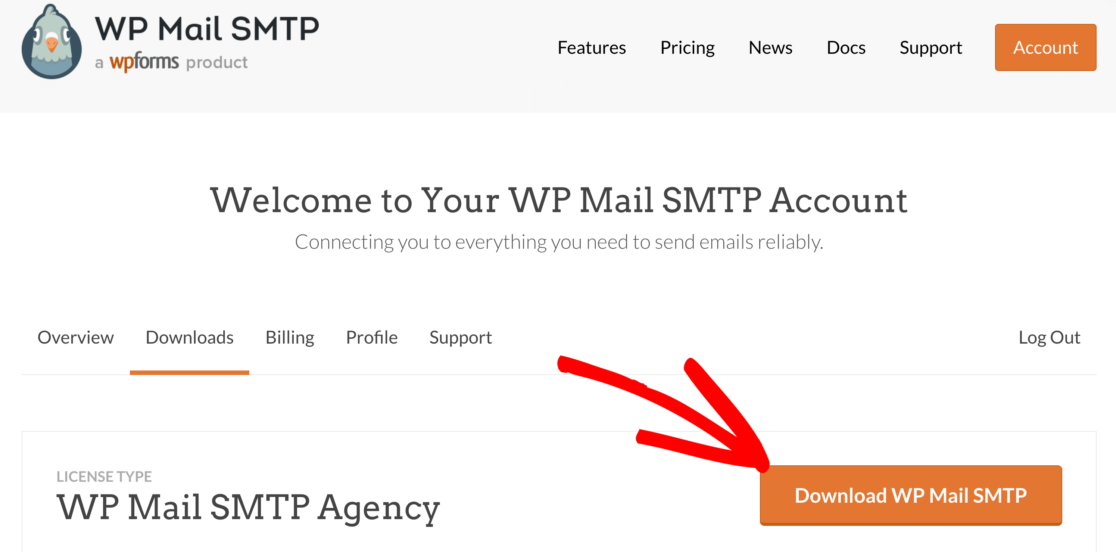
Next, open up your WordPress dashboard. Head to the Plugins page and browse for the zip file. Click Install Now to install it on your local site.

As soon as you activate the plugin, the WP Mail SMTP Setup Wizard will open.
2. Select an SMTP Mailer in the Setup Wizard
To start configuring an SMTP mailer for your Localhost site, click on the Let’s Get Started button on the welcome screen of the WP Mail SMTP Setup Wizard.
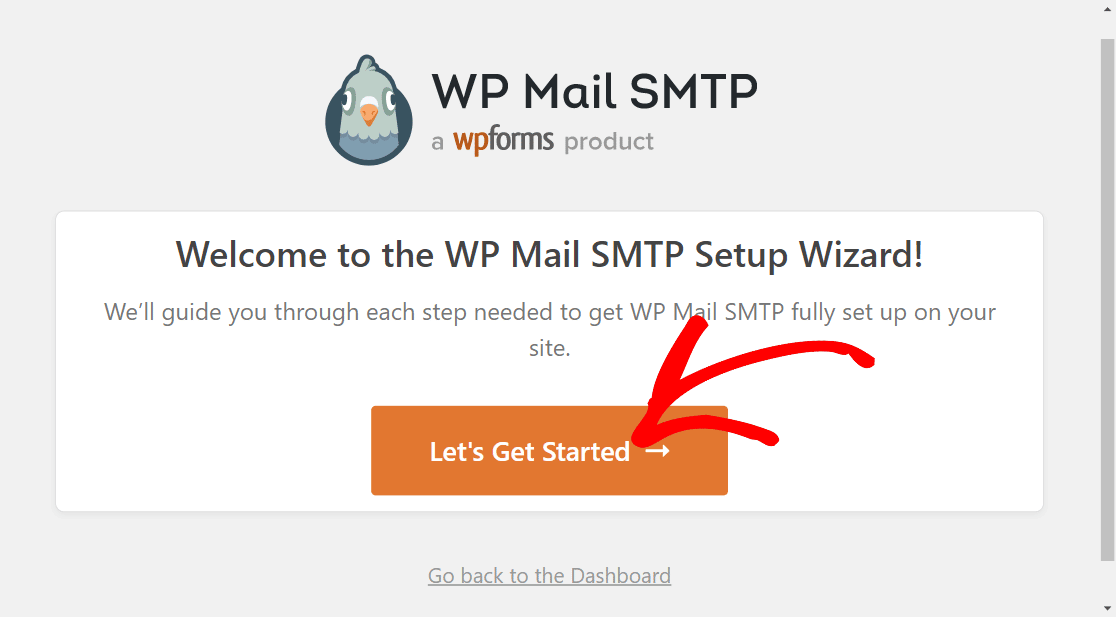
WP Mail SMTP supports all the top mailing services. For this tutorial, we’ll choose Brevo (formerly Sendinblue) because it’s free and is the easiest to set up for a Localhost site.
Press Save and Continue on the bottom right after choosing Brevo as your mailer.
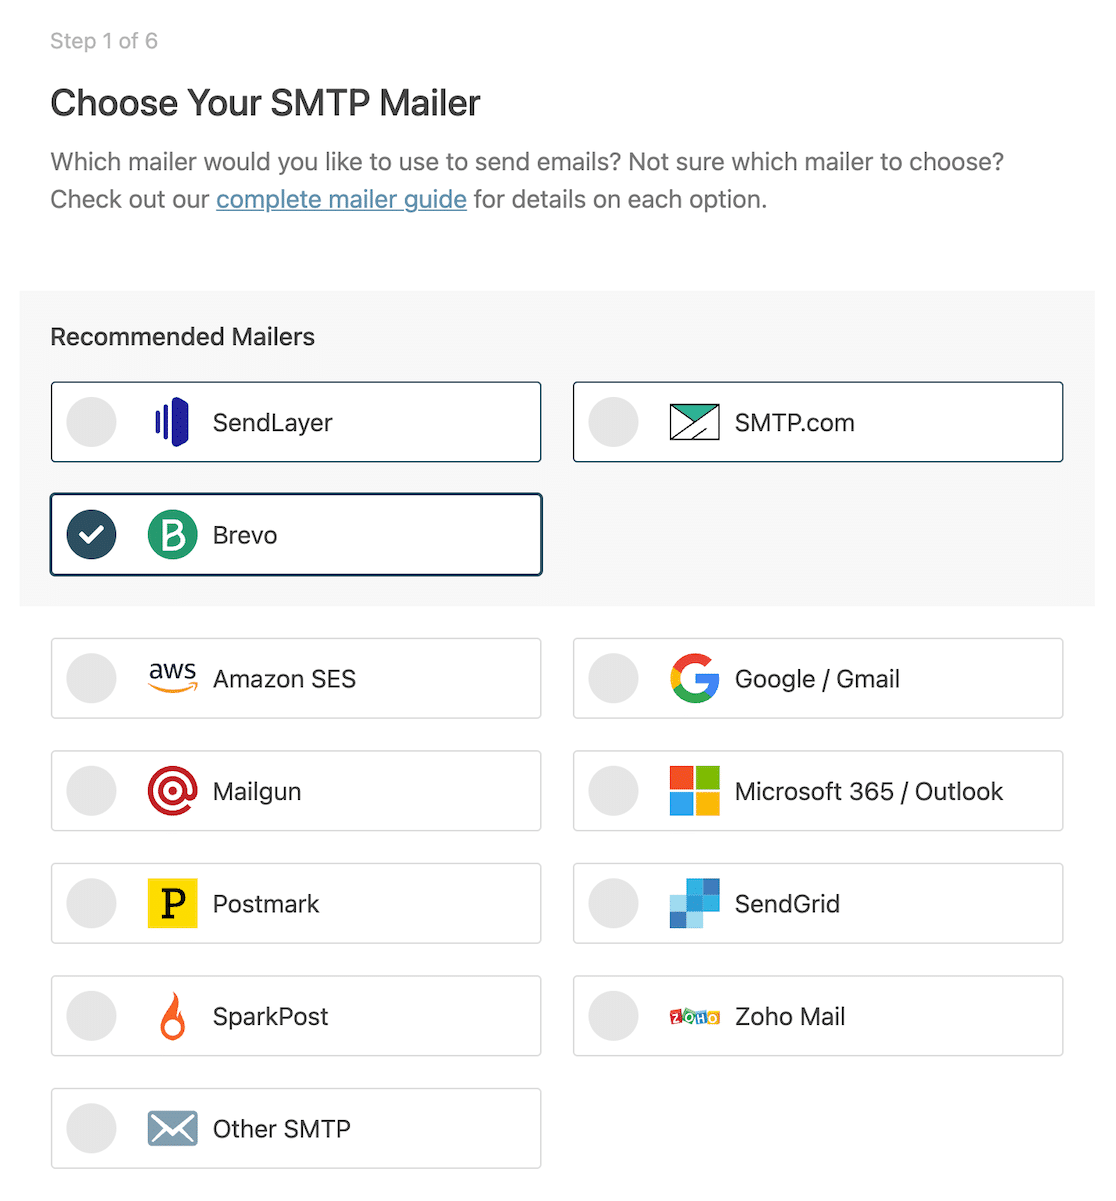
Now, you’ll need to enter an API key for your Brevo account and a domain that’s configured with Brevo.

If you don’t already have a Brevo account, you can get started for free without even needing to enter any credit card info.
Go to Brevo on a new tab (make sure to leave the current WP Mail SMTP Setup Wizard open in another tab or window).
Just enter your contact information to create a new Brevo account. Once your account is ready, move on to the next step.
3. Add a Domain to Brevo
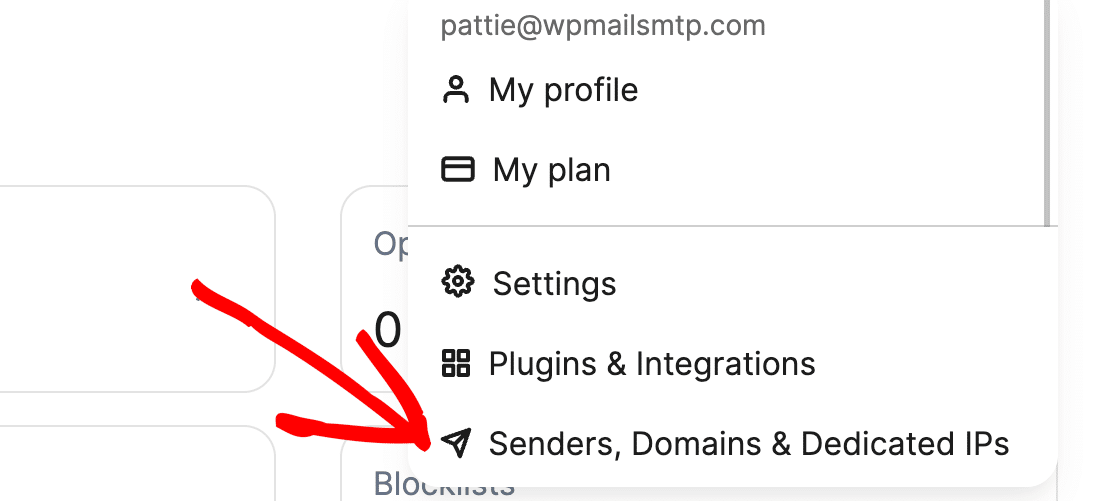
To add a domain to your Brevo account, open your Brevo dashboard. Click on your profile on the top-right and then select Senders & IP.
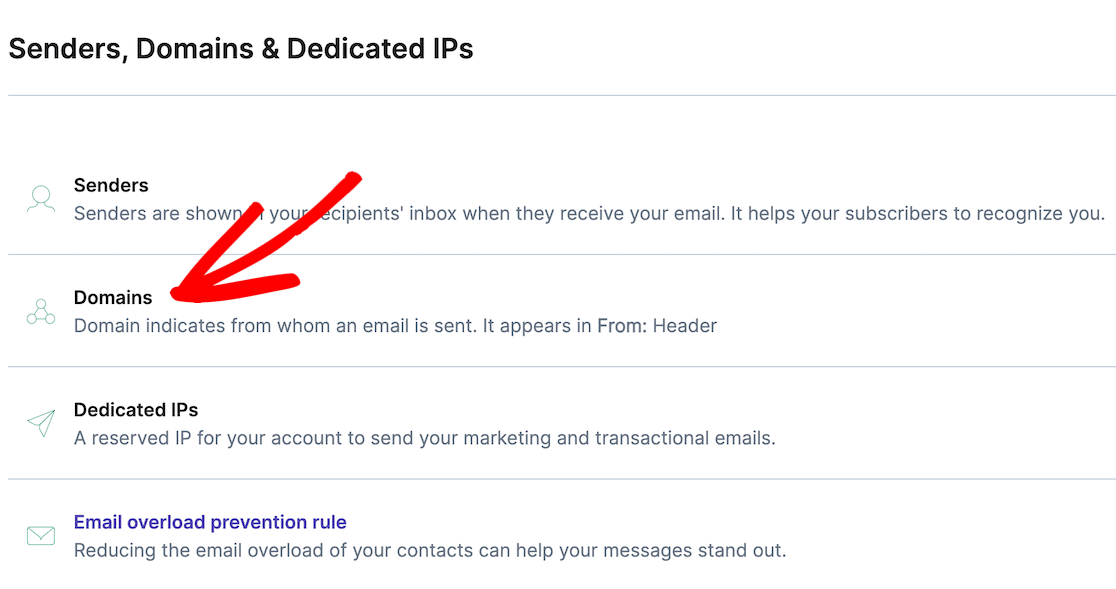
On the next screen, click on the Domains option.
Then, click on the Add a Domain button.

The domain name isn’t important for a Localhost installation. You can enter anything that you’d like to be your domain name. For this tutorial, we’re just going to call our domain “exampledomain.”

As you press Save, a new screen will open asking you to verify and authenticate your domain by adding various different DNS records.
But since you only want to send emails from a Localhost WordPress installation, you don’t need to perform any authorization steps. You can skip that part and click on I’ll do it later at the bottom.

Great! Now we just need to grab an API key, as shown in the next step.
4. Get the Brevo API Key
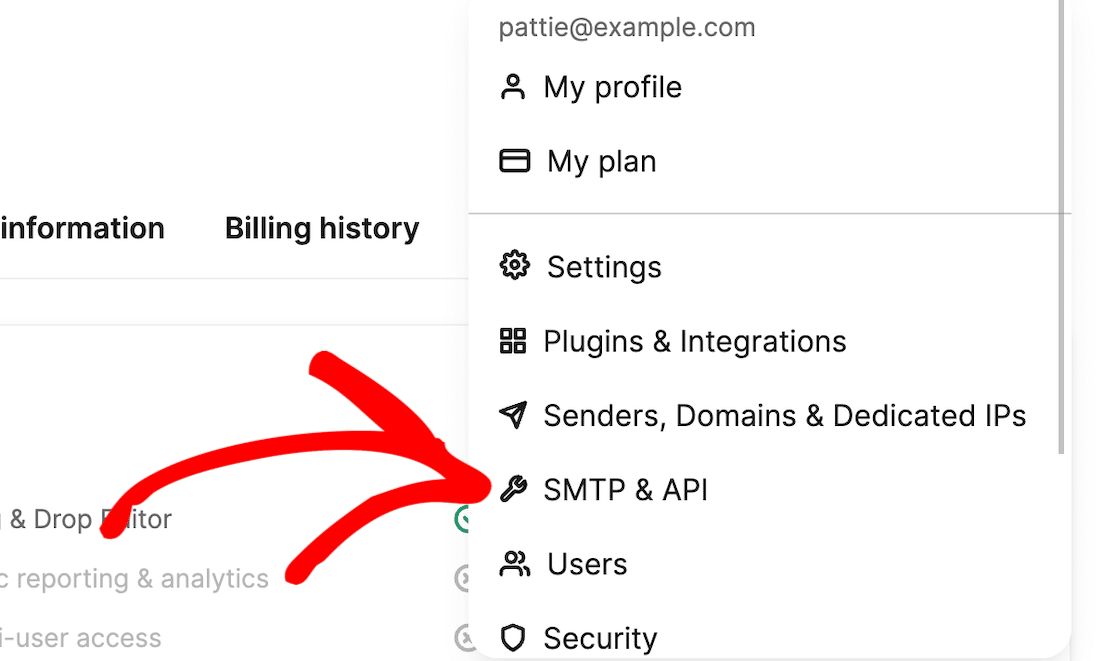
Click on your profile icon on the top-right again and select SMTP & API from the menu.
On the next page, click on the Generate a new API key button.

Enter a name for your key and then click on Generate.
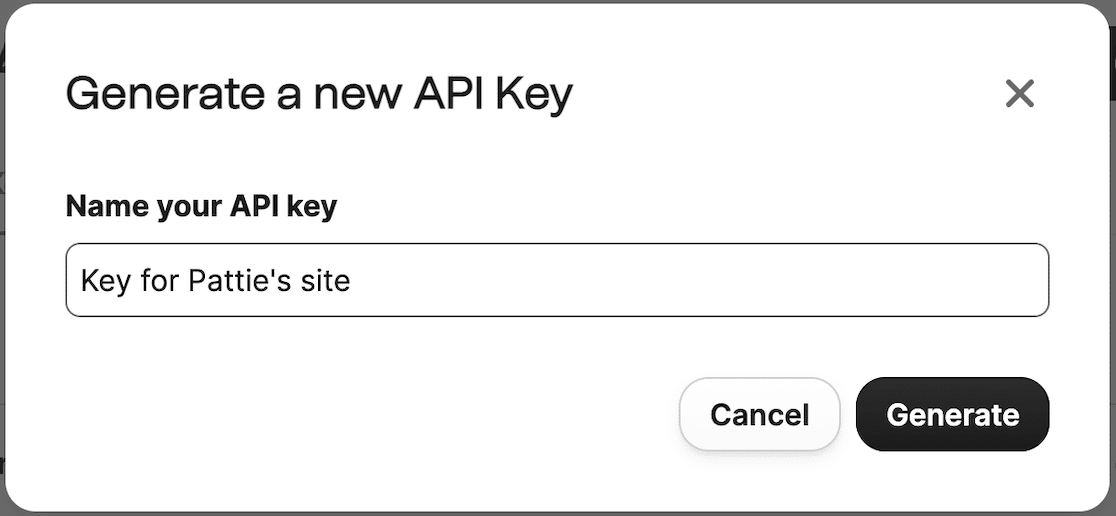
As soon as you press Generate, Brevo will create a new API key for you.
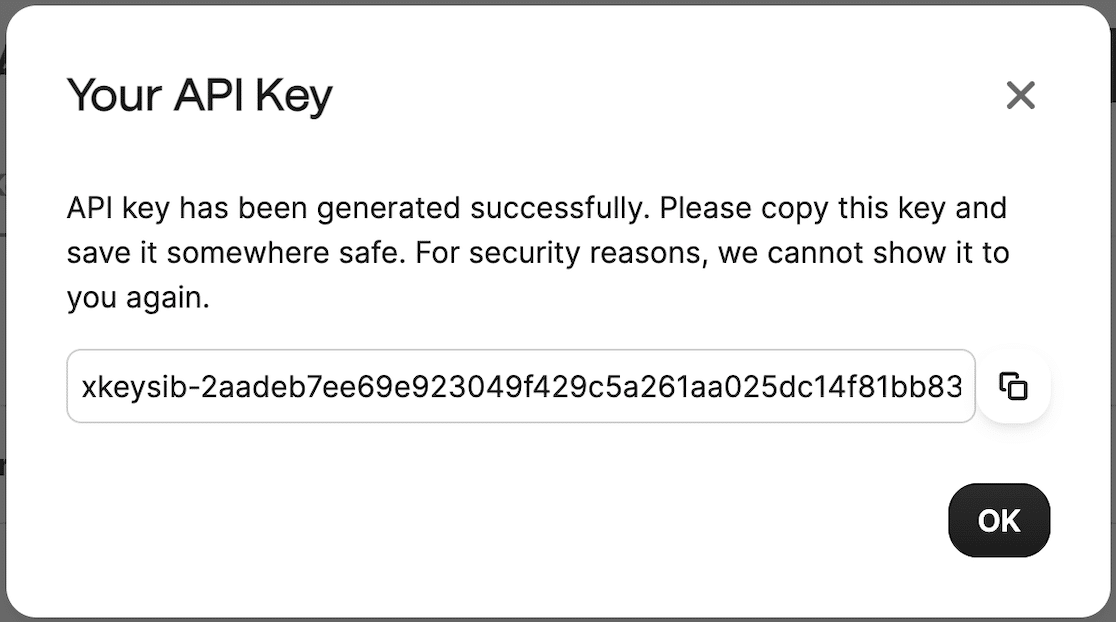
Copy the key and press OK. Now, we have everything we need to complete our SMTP configuration for a Localhost WordPress site.
5. Complete WP Mail SMTP Configuration
Return to the WP Mail SMTP Setup Wizard tab. First, we’re going to paste the API key we just created and copied from the API field in Brevo.

Scroll down and enter the domain that you previously added in step 3 in the Sending Domain field. Enter a name in the From Name field. This is the name that will appear for your outgoing WordPress emails.
After that, enter a from email. This can be anything as long as you make sure your sending domain is the same as you entered above.
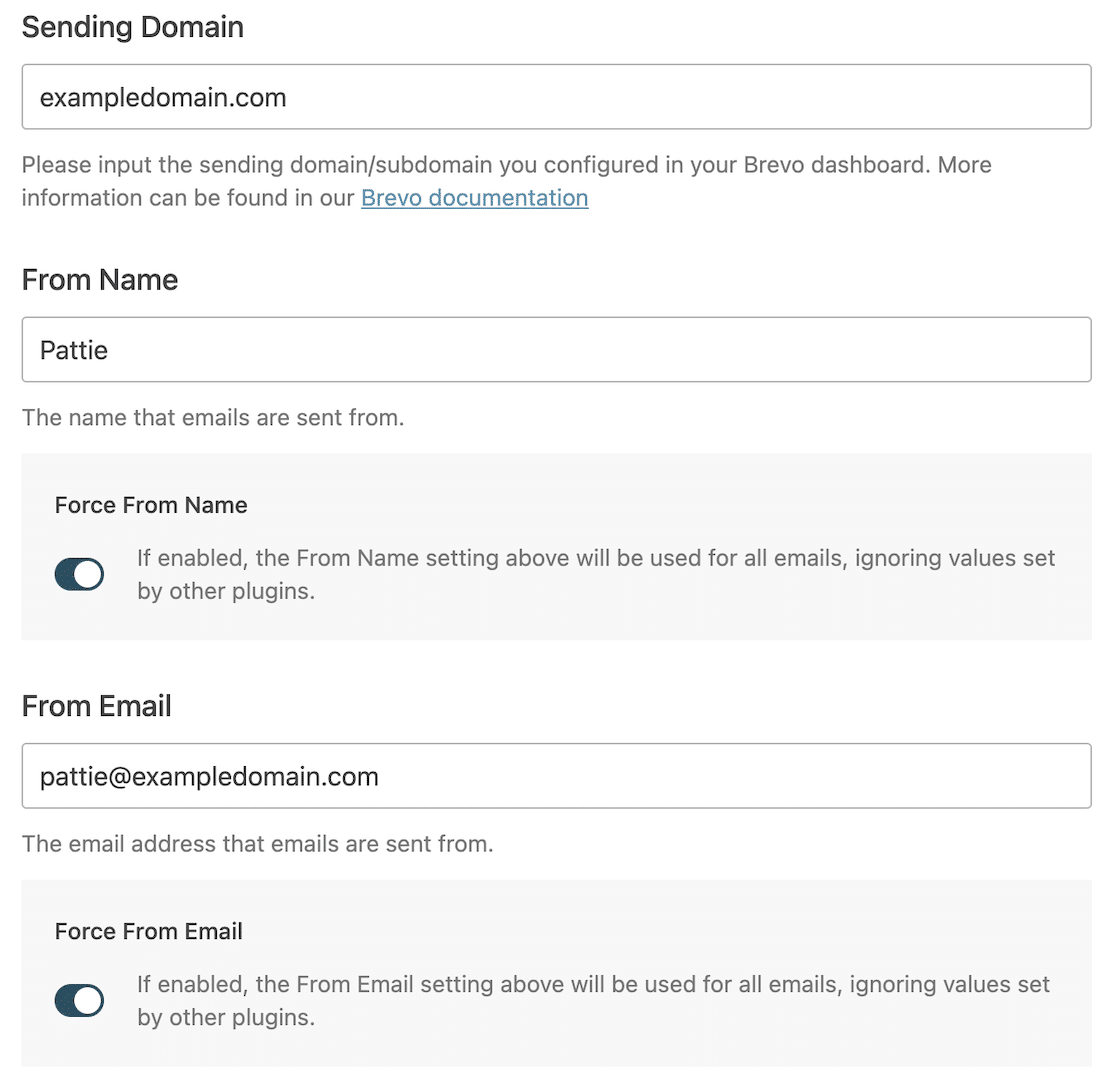
Then press Save and Continue to go to the next step.
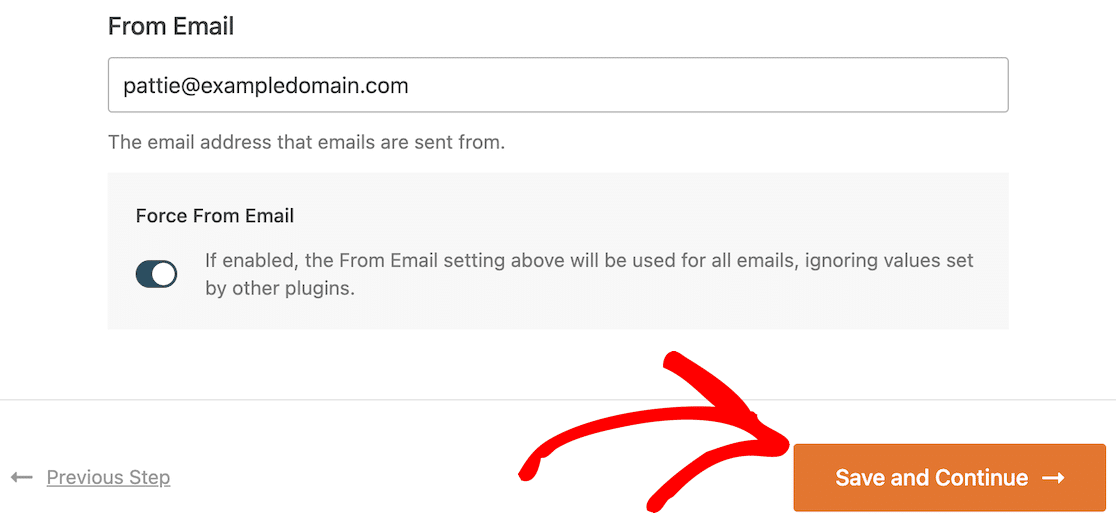
On the next screen, choose the features that you want to enable for WP Mail SMTP and then press Save and Continue again.
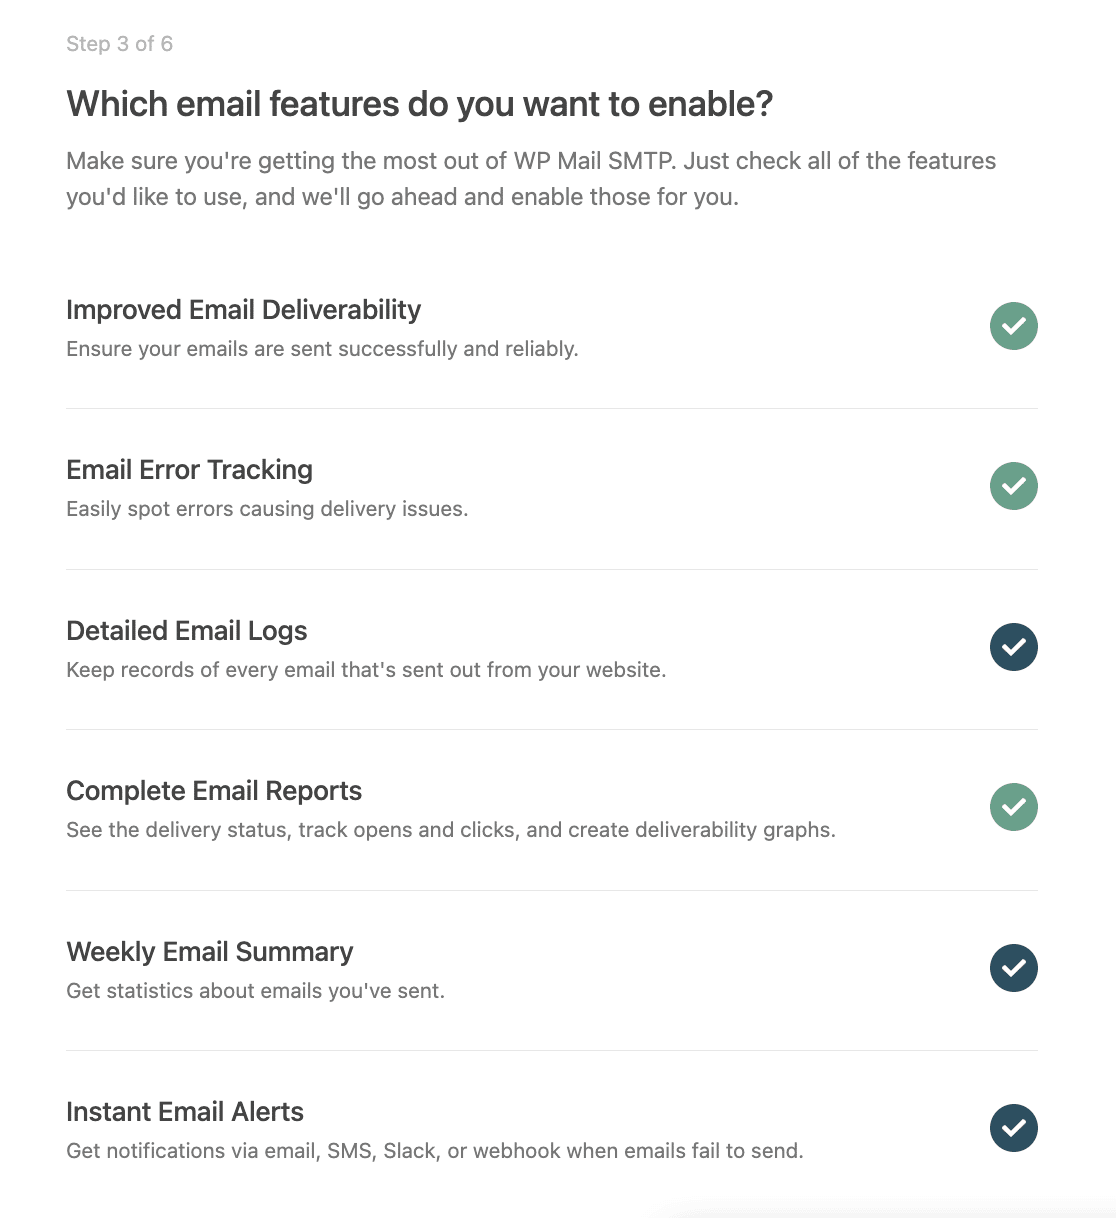
You can either skip or save all the next steps from where. On the final step, WP Mail SMTP will check your configuration and display a success message if everything was set up properly.
Note: If you’re a Windows user, you might get an error message at this stage (cURL error 60). Unfortunately, this is a known issue on Windows and requires editing some code to get it working. Jump to this section for instructions on resolving this error.
Click on Send a Test Email to run a test yourself and make sure emails are sending from your localhost site.
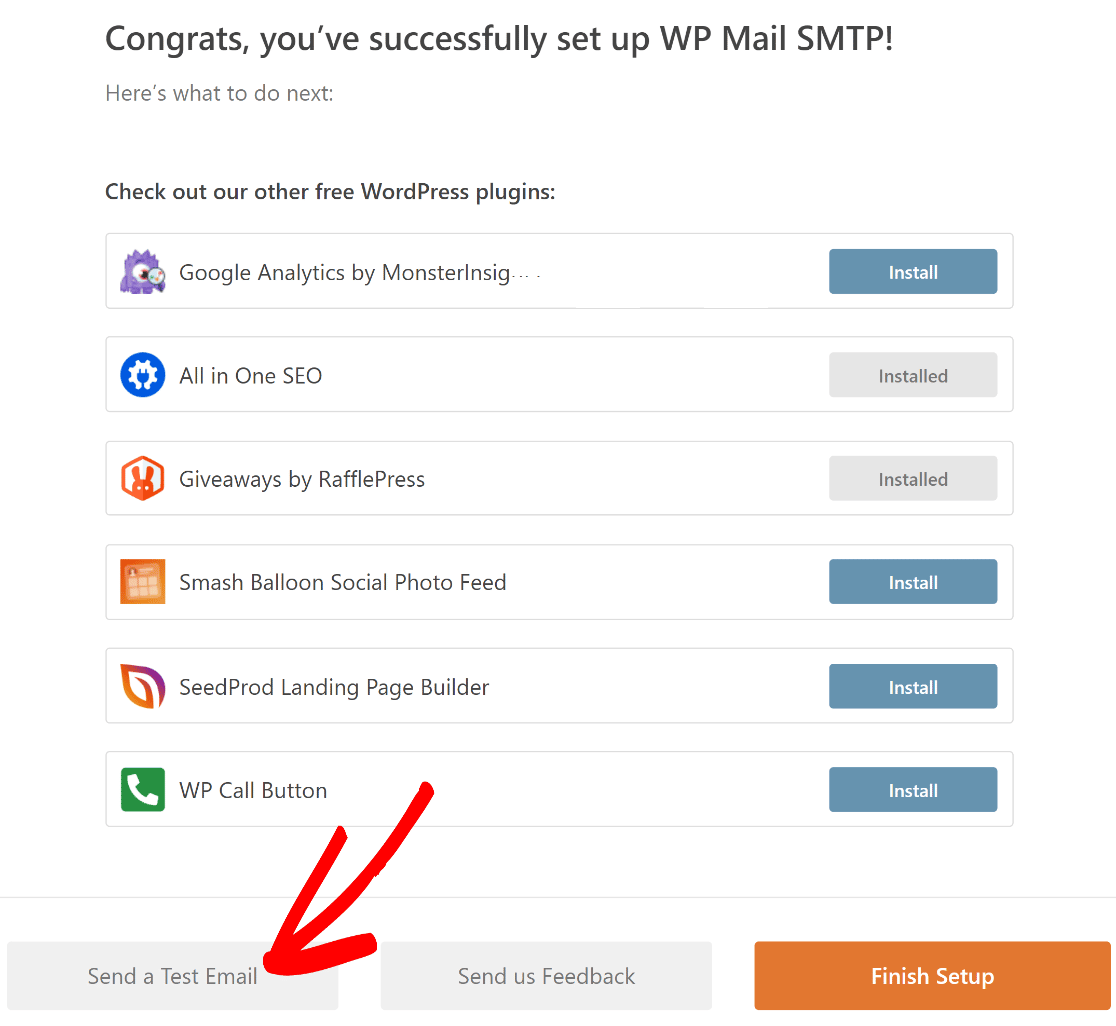
The next step covers how you can send a test email.
6. Send a Test Email From WordPress on Localhost
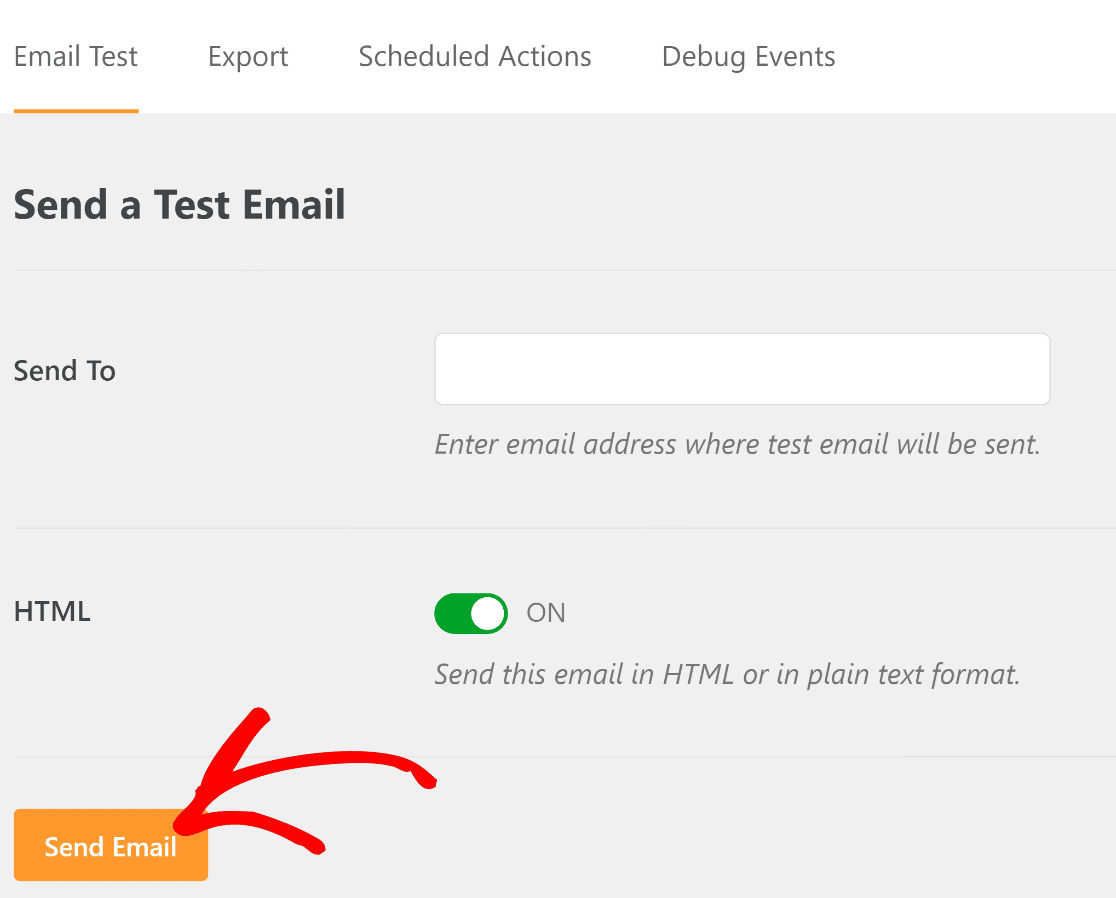
On the test email screen, enter an email address that you have access to, and press Send Email.
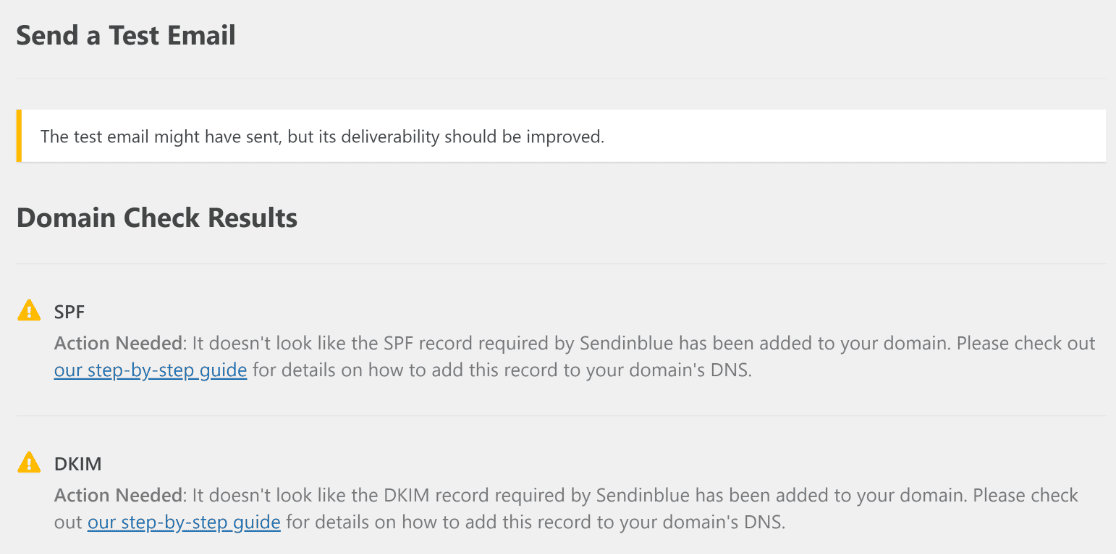
You’ll get a message suggesting that your email might have been sent, but deliverability should be improved. This is because you skipped those steps in Brevo since it’s just a test.
Now, head over to your inbox, and you should see the test email. Bear in mind that it sometimes takes a few minutes for the email to arrive. You should also check your spam folder if the email doesn’t appear in your inbox after a few minutes.
Also, the images in the test email might be broken. This is because they’re loaded from your website. So if your website isn’t live on the internet, the images won’t be accessible.
Instructions for Windows Users
When setting up SMTP localhost on a Windows machine, many users get this error:
cURL error 60: SSL certificate problem: unable to get local issuer certificate
This is a known issue. But thankfully, it’s not that hard to fix. The fix involves downloading a small file and adding a single line of code to your localhost installation’s php.ini file.
To start, go to this page and download the cacert.pem file.
After the download is finished, you’ll have to locate the php.ini file for your localhost WordPress installation in your system. You should be able to find this from:
C:/Users/Local Sites/conf/php/php.ini.hbs
Open the php.ini.hbs file using a code or text editor (Notepad will work just fine too). Then, enter this line of code anywhere within the file:
curl.cainfo=”/path/to/downloaded/cacert.pem”
In the code above, just replace the “/path/to/downloaded/” part with the actual location of the cacert.pem file in your computer. When you’re done, save the php.ini file with your new changes and close it.
Now, restart your localhost WordPress server and visit your site. Go to WP Mail SMTP » Settings » Email Test, and run the email test again.

If the changes you made were correctly saved, you should see this message:

Excellent! Just head over to your inbox to find the test email.
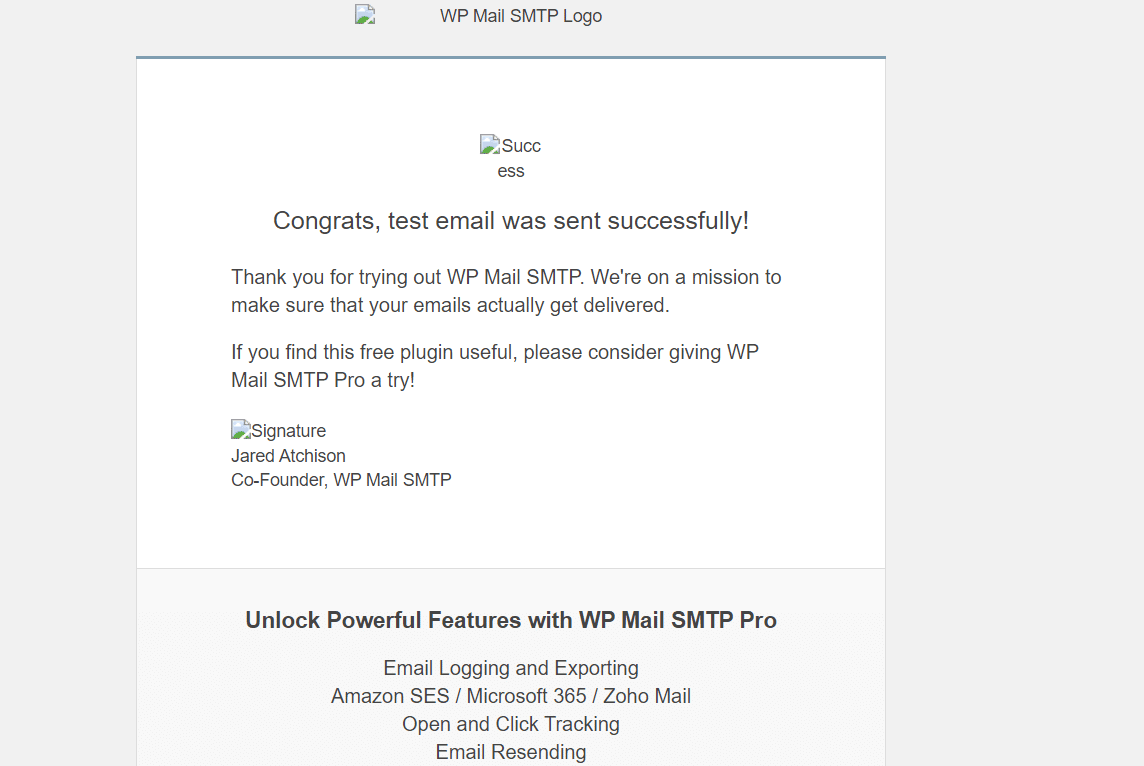
Congratulations! That finishes the SMTP setup for your localhost WordPress site. But to get even more value out of WP Mail SMTP, here’s an optional step you might want to take.
7. Disable WordPress Email Notifications on Localhost (Optional)
Now you’ve got your WordPress SMTP working on localhost, you’ll start to receive automated email notifications from WordPress for things like:
- Plugin updates
- Theme updates
- Core updates
- Site admin email changes
- Password resets
- New user registrations
- And more.
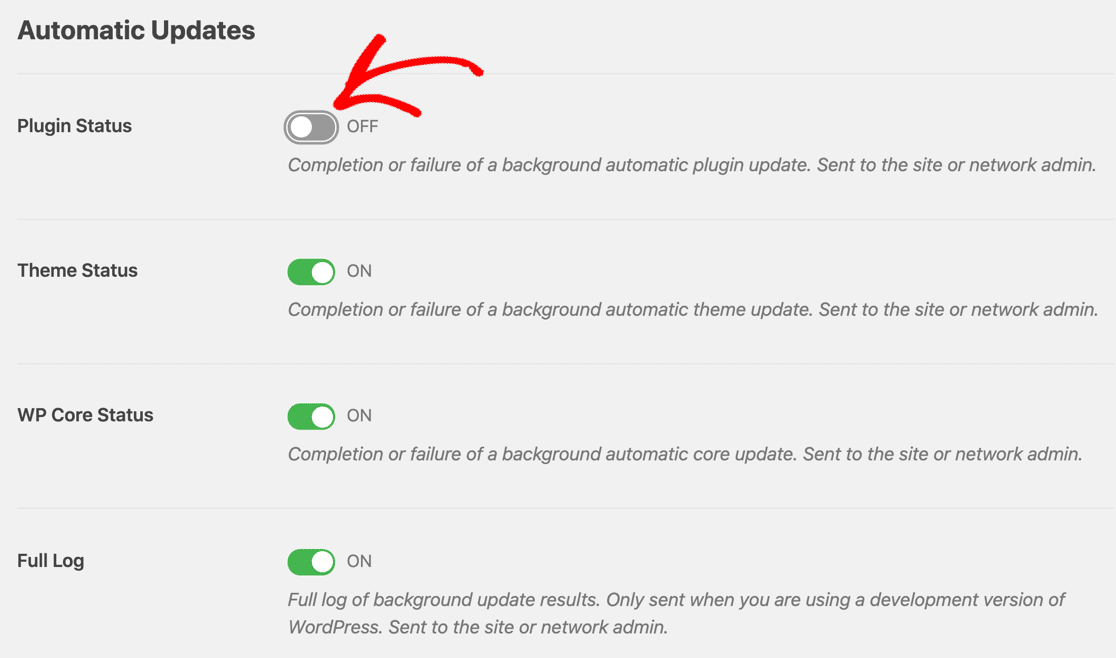
While you’re developing your site and testing things out, you might want to disable automatic update emails in WordPress.
WP Mail SMTP has a set of configuration options that let you easily turn emails on or off without diving into code. This is an awesome way to stop your localhost sites from sending tons of emails that you don’t want.
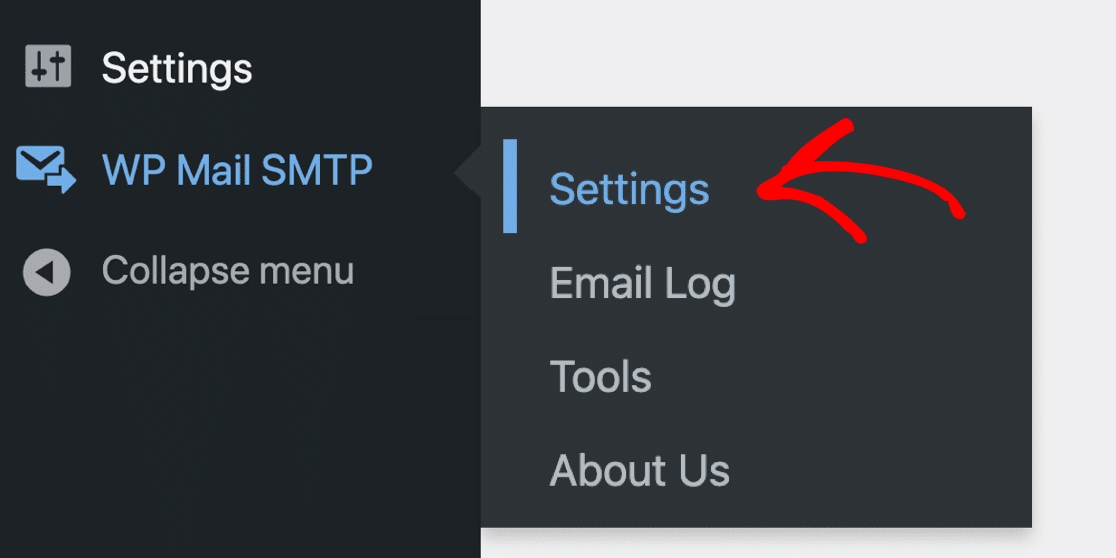
But remember, you’ll need a Pro license to access this feature. To control your localhost emails, head to WP Mail SMTP » Settings.
And now click Email Controls from the tabs across the top.

Now you can easily disable any WordPress emails that you don’t want to receive.
And that’s it! You can now get WordPress emails on localhost with SMTP. If you face any issues with emails not sending due to a host error, check out this comprehensive guide on resolving the ‘could not connect to SMTP host’ in WordPress guide.
FAQs on How to Send WordPress Emails on Localhost
Learning how to send WordPress emails on Localhost is a popular topic of interest among our readers. Here are answers to some common queries about it:
How do I send emails from WordPress on localhost?
To send emails from WordPress on localhost, you need an SMTP plugin like WP Mail SMTP. It connects your local site to a real email service so that your messages don’t get blocked. After installing the plugin, add your email service details, and your forms or system emails will start working.
What SMTP settings should I use for localhost WordPress?
It depends on the email service you’re using. For Gmail, you’ll enter smtp.gmail.com as the host, use port 587, and pick TLS. You’ll also need to add your Gmail login and app password. WP Mail SMTP helps you enter these settings without editing files.
Can I test WordPress email locally without a mail server?
Yes, you can use tools like Mailhog or Mailpit. These catch your site’s emails so you can read them in your browser without sending them out. WP Mail SMTP works with these tools by letting you set the SMTP host to localhost and using port 1025.
How do I set up Mailhog (or Mailpit) with WP Mail SMTP?
First, run Mailhog or Mailpit on your machine. Then go to WP Mail SMTP settings and choose the “Other SMTP” option. Use localhost as the SMTP host and 1025 as the port. Leave the username and password fields blank and save your settings.
Why does wp_mail fail on XAMPP or MAMP?
On local setups like XAMPP or MAMP, the wp_mail function often fails because no email service is connected. PHP’s mail function doesn’t work well on localhost. Using WP Mail SMTP connects wp_mail to an email server that actually sends messages.
How do I connect Gmail SMTP while working on localhost?
Install WP Mail SMTP and pick Gmail as your mailer. Then follow the steps to create a Gmail API app, copy the Client ID and Secret into WP Mail SMTP, and connect your Google account. This way, Gmail handles your emails even from localhost.
Is there a free SMTP service for local WordPress testing?
Yes, you can use Mailgun or Brevo’s free tier. Both work with WP Mail SMTP and give you enough emails for basic testing. Just enter your SMTP details in the plugin and start sending.
How do I troubleshoot email errors in WP Mail SMTP on localhost?
Use the test email tool in WP Mail SMTP to check if your settings work. If the email doesn’t send, check your SMTP host, port, and any firewall or antivirus blocking it. The plugin also shows detailed error messages to help fix the issue.
Next, Pick a Transactional Email Provider
Will your new website send a lot of emails? You’ll want to pick a provider that can handle high volumes of WordPress emails and deliver them without delays.
We’ve got a guide to transactional email providers that’ll help you decide which one to use when you launch. You can also set up SMTP for your localhost site using WP Mail SMTP alternatives.
Ready to fix your emails? Get started today with the best WordPress SMTP plugin. If you don’t have the time to fix your emails, you can get full White Glove Setup assistance as an extra purchase, and there’s a 14-day money-back guarantee for all paid plans.
If this article helped you out, please follow us on Facebook and Twitter for more WordPress tips and tutorials.

