Is Sucuri not sending email alerts from your WordPress site?
It’s super important that you always get emails when suspicious activity is detected.
In this guide, we’ll show you how to check your Sucuri alert settings. We’ll also show you how to install WP Mail SMTP to make all of your WordPress emails are reliably delivered.
What Email Alerts Does Sucuri Send?
Sucuri sends emails when security events or suspicious activity is detected on your WordPress website.
Here’s an example of a Sucuri email when it detects a new plugin has been activated:
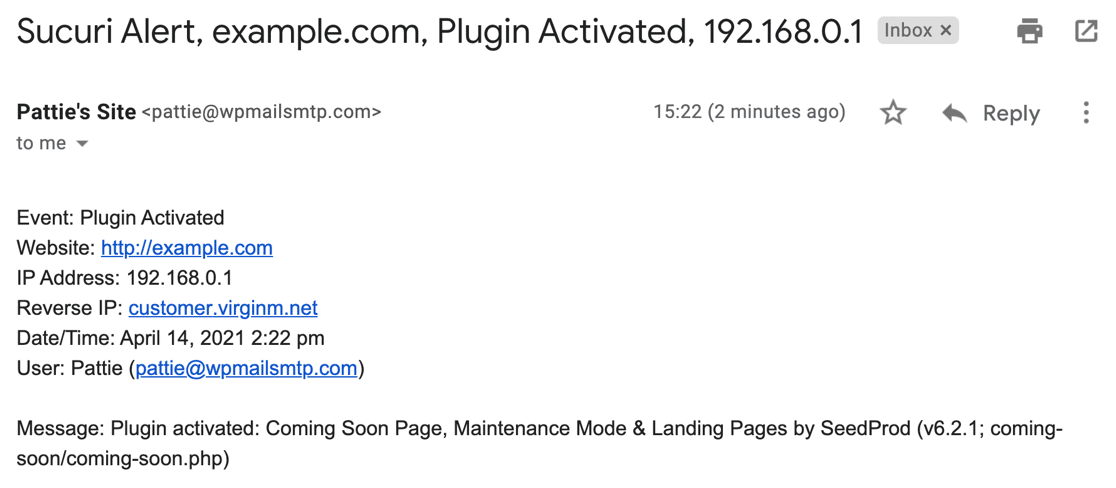
Getting these alerts is super important if you want to actively monitor WordPress security. If you don’t receive security notifications, you might miss an important hacking attempt or security threat.
There are many email settings in Sucuri that could prevent alerts from being sent on time, and sometimes the emails can go to spam.
We’ll show you how to troubleshoot both of these email issues in the steps below.
How to Fix Sucuri Not Sending Email Alerts
Check Sucuri Email Alert Settings
First, let’s troubleshoot the email alert settings in the Sucuri plugin.
1. Send a Sucuri Test Email
To start, open up Sucuri’s Settings page from the menu on the left in your WordPress dashboard.
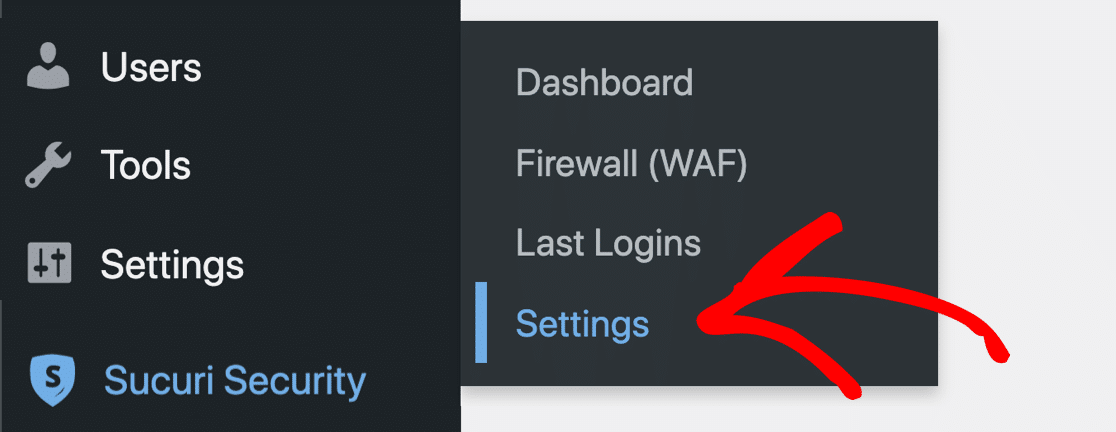
From the tabs across the top, let’s click Alerts.

There’s a Test Alerts button that you can click if you want to send a test email from Sucuri.
By default, the email address here will be the admin user in WordPress, but we’ll show you how to change it in a moment.
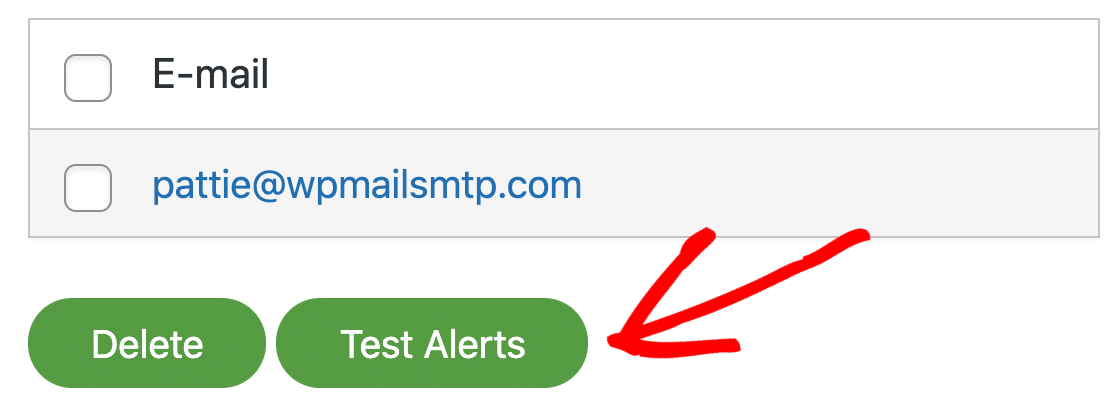
Unfortunately, this email test is super basic. When you click the button, there’s no indication of what’s happening behind the scenes, and no way to check deliverability.
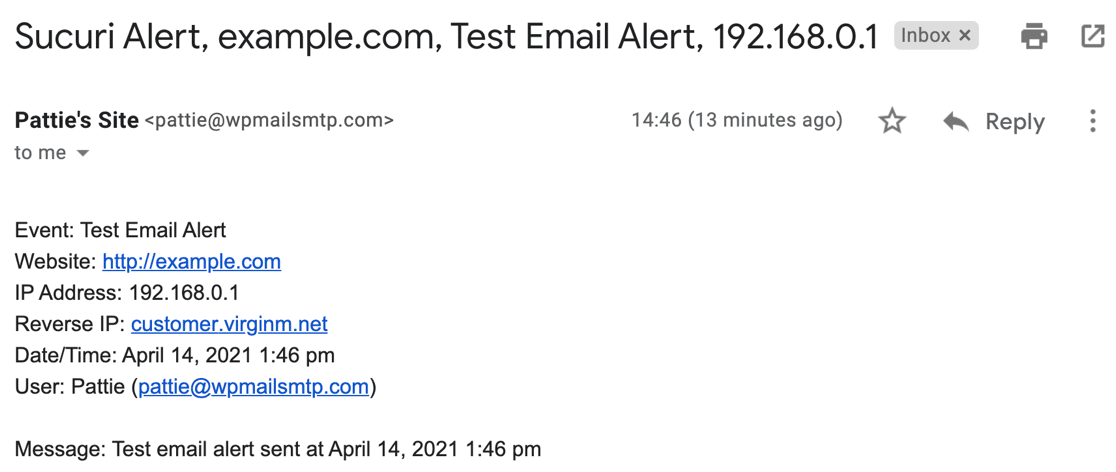
So to check the result, all you can do is check your email, and your Junk Mail or spam folder. If the email is sent successfully, you should get a test email alert like this one.
2. Add a New Recipient for Alerts
If you don’t receive the test email, let’s try adding another recipient to the list and testing again.
To have the best chance of receiving the test email, add an email address at a different domain. Just type the new address into the field and click Submit to add it.
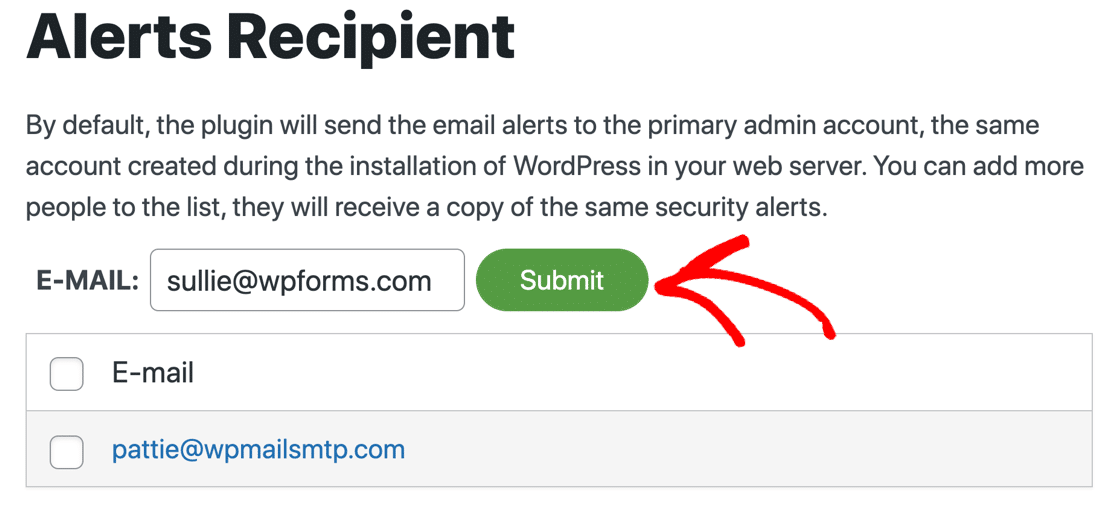
Now check both email inboxes, and their respective spam folders, to see if you get the alert.
You can also use this process to change the default email for your alerts. Just check the box next to emails you don’t want to use and remove them.
Moving on, let’s check some of the other settings that can stop Sucuri from sending emails when you expect it to.
3. Remove Trusted IP Addresses
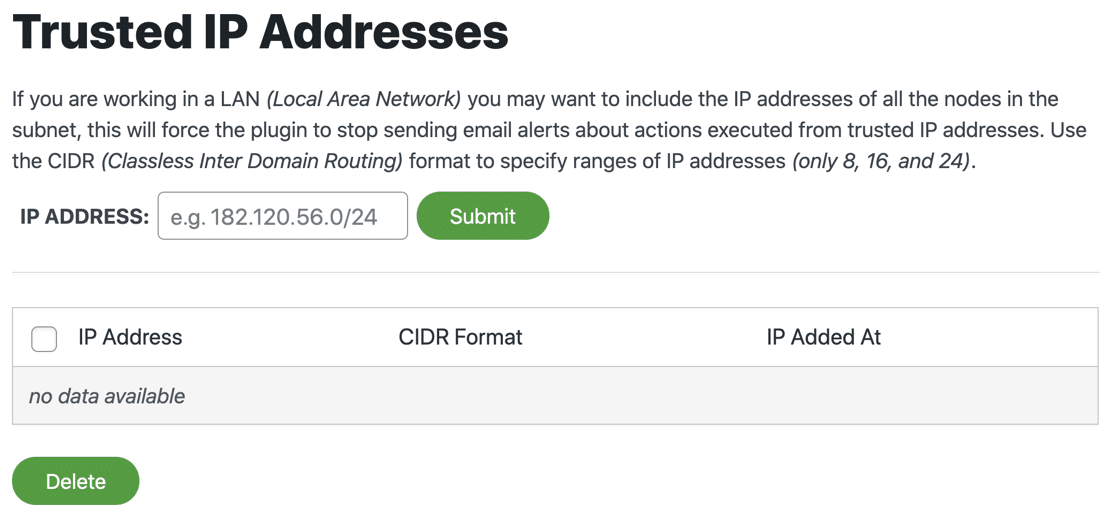
Sucuri won’t send alerts if it detects activity for a trusted IP. Check the Trusted IP addresses list to see if there are any entries.
For now, remove all of the trusted IPs.
4. Increase the Alerts Per Hour Setting
Scrolling down, we can also change the Alerts Per Hour setting.
The default setting is a maximum of 5 alerts per hour. If you’re actively working on your website, you’ll easily exceed this, so the email notifications from Sucuri will appear to be broken.
For now, we can set this to a high number, or Unlimited Alerts Per Hour.

5. Decrease the Logins Per Hour Setting
Now let’s scroll down again to the Brute Force Attacks setting. If this number is set too high, Sucuri won’t warn you when someone’s trying to guess your password.
So for now, let’s set this to 30 failed logins per hour, which is the lowest setting.

6. Turn on Email Security Alerts
Finally, let’s review all of the Security Alerts. Be sure to review all lines that begin ‘Receive Email Alerts for…’ to make sure that the notifications you need are enabled.
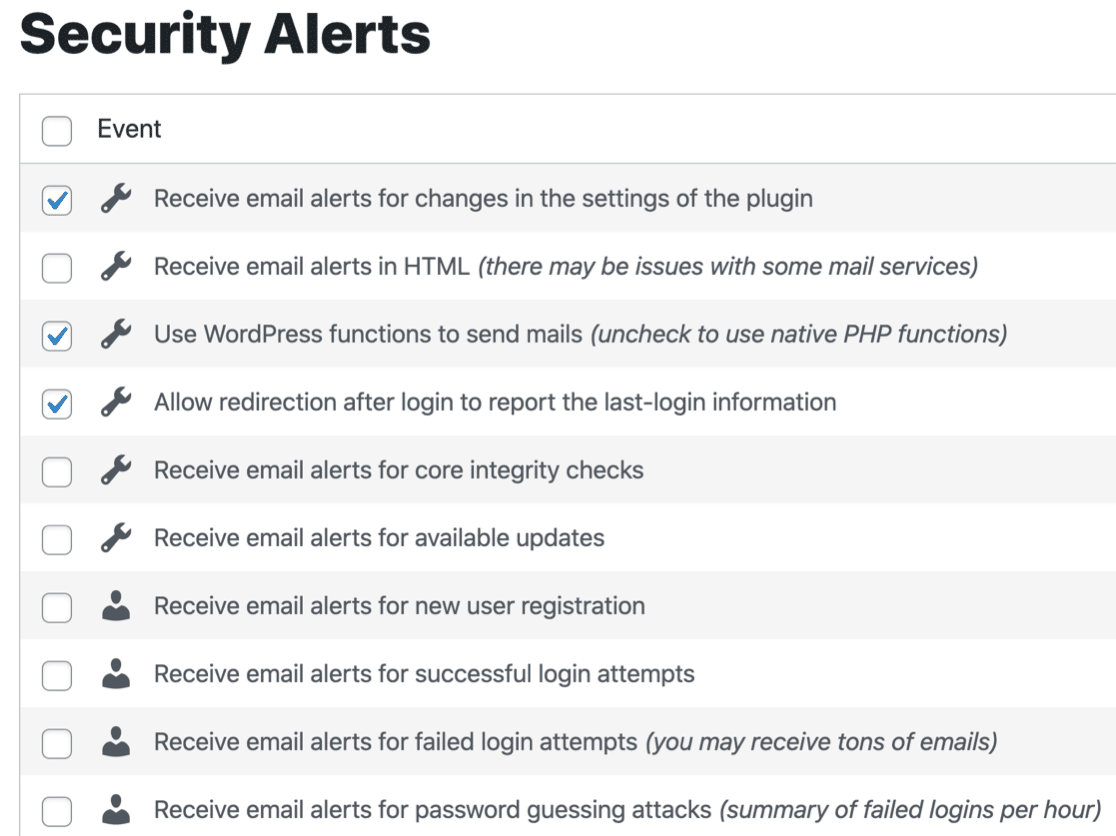
Now we’re done checking our settings in Sucuri, let’s install WP Mail SMTP to make sure all of your emails are delivered.
Send Sucuri Email Alerts With SMTP
By default, Sucuri sends emails using the wp_mail() function. This method is super basic, and the emails aren’t authenticated when WordPress sends them.
That’s why Sucuri alerts get lost (or filed in the Junk Mail).
It’s easy to solve this problem with the WP Mail SMTP plugin. WP Mail SMTP will send your WordPress emails through a separate email service like SendLayer instead of relying on your hosting server.
That will add the authentication your emails need to pass spam checks.
Let’s install the plugin now to solve the email deliverability problem you’re having.
1. Install WP Mail SMTP
To start, download the zip file from your WP Mail SMTP account so you can install it on your website. You’ll find it in the Downloads tab.
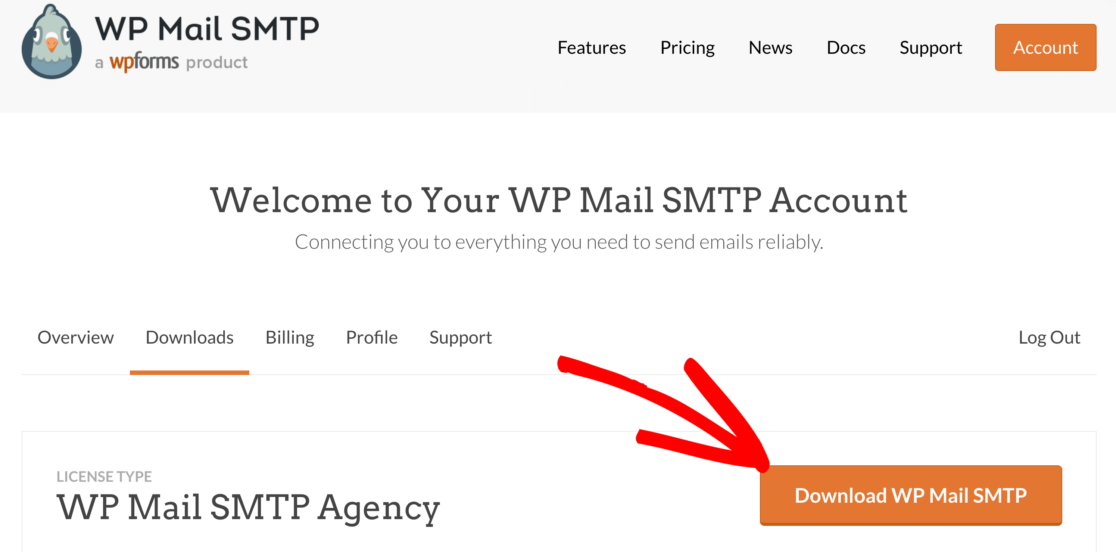
Next, open up your WordPress dashboard. Head to the Plugins page and upload the plugin to your WordPress site.
If you’re not sure how to do this, check out this guide to installing a plugin in WordPress.

As soon as you activate the plugin, the WP Mail SMTP Setup Wizard will open.
You can also re-start the wizard at any time by clicking the Launch Setup Wizard button in your WP Mail SMTP settings. Just know that re-starting the wizard later might reset your SMTP settings.
2. Choose an Email Service Provider
Now we can choose a new provider to handle outgoing WordPress emails. WP Mail SMTP will guide you through this using a simple interface.
Click the Let’s Get Started button to begin.

On the next screen, click the mailer you want to use from the list.
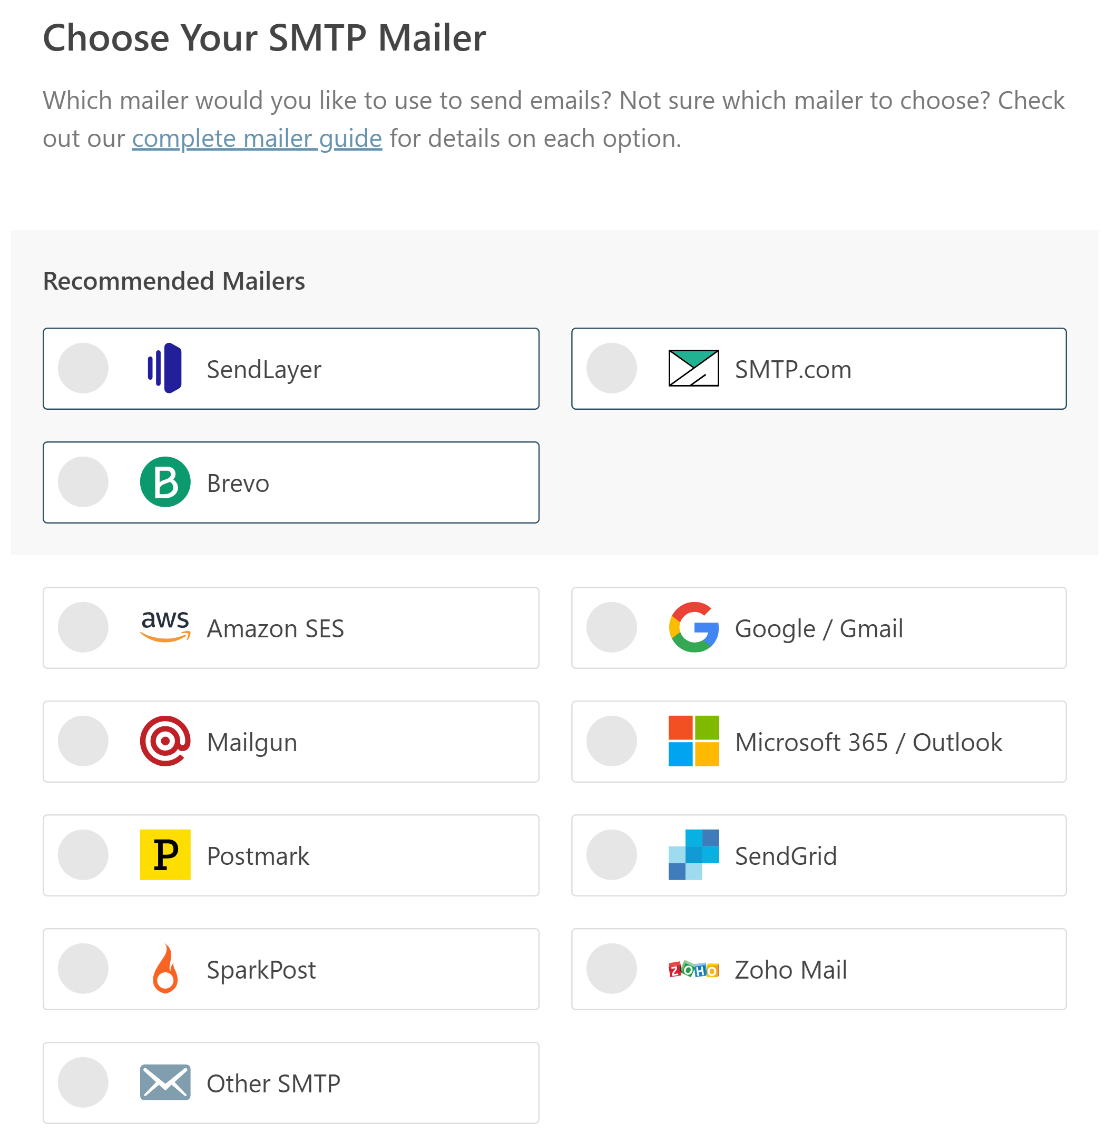
WP Mail SMTP lets you choose from different free or paid email providers here.
Wondering which one to use?
Keep in mind that some email providers will limit the number of emails you can send each day. So:
- If you have a small site, you can use Gmail or Other SMTP, but those mailers might not be able to handle many hundreds of emails from a busy website. If you’ve set up Sucuri to send Unlimited Notifications Per Hour, and you’re actively working on your site, you might have issues.
- For a busy site, you’ll want to pick a transactional mailer that has a high enough sending limit to handle hundreds of alerts, contact form emails, WooCommerce orders, and website notifications. We recommend SendLayer, SMTP.com, or Brevo (formerly Sendinblue) for this.
When you’ve chosen your mailer, open up our documentation to complete the setup steps on the provider’s side:
- SendLayer
- SMTP.com
- Brevo
- Amazon SES
- Google Workspace / Gmail
- Mailgun
- Microsoft 365 / Outlook.com
- Postmark
- SendGrid
- SparkPost
- Zoho Mail
- Other SMTP
It’s best to open the documentation in a new tab so you can easily jump back to this guide.
Want to set up multiple mailers? You can do so in the Additional Connections settings once you’ve finished the Setup Wizard. Then you can select a Backup Connection and configure Smart Routing.
3. Turn On Email Logging
In the next step, WP Mail SMTP Pro customers will get the option to turn on Detailed Email Logs in the plugin.
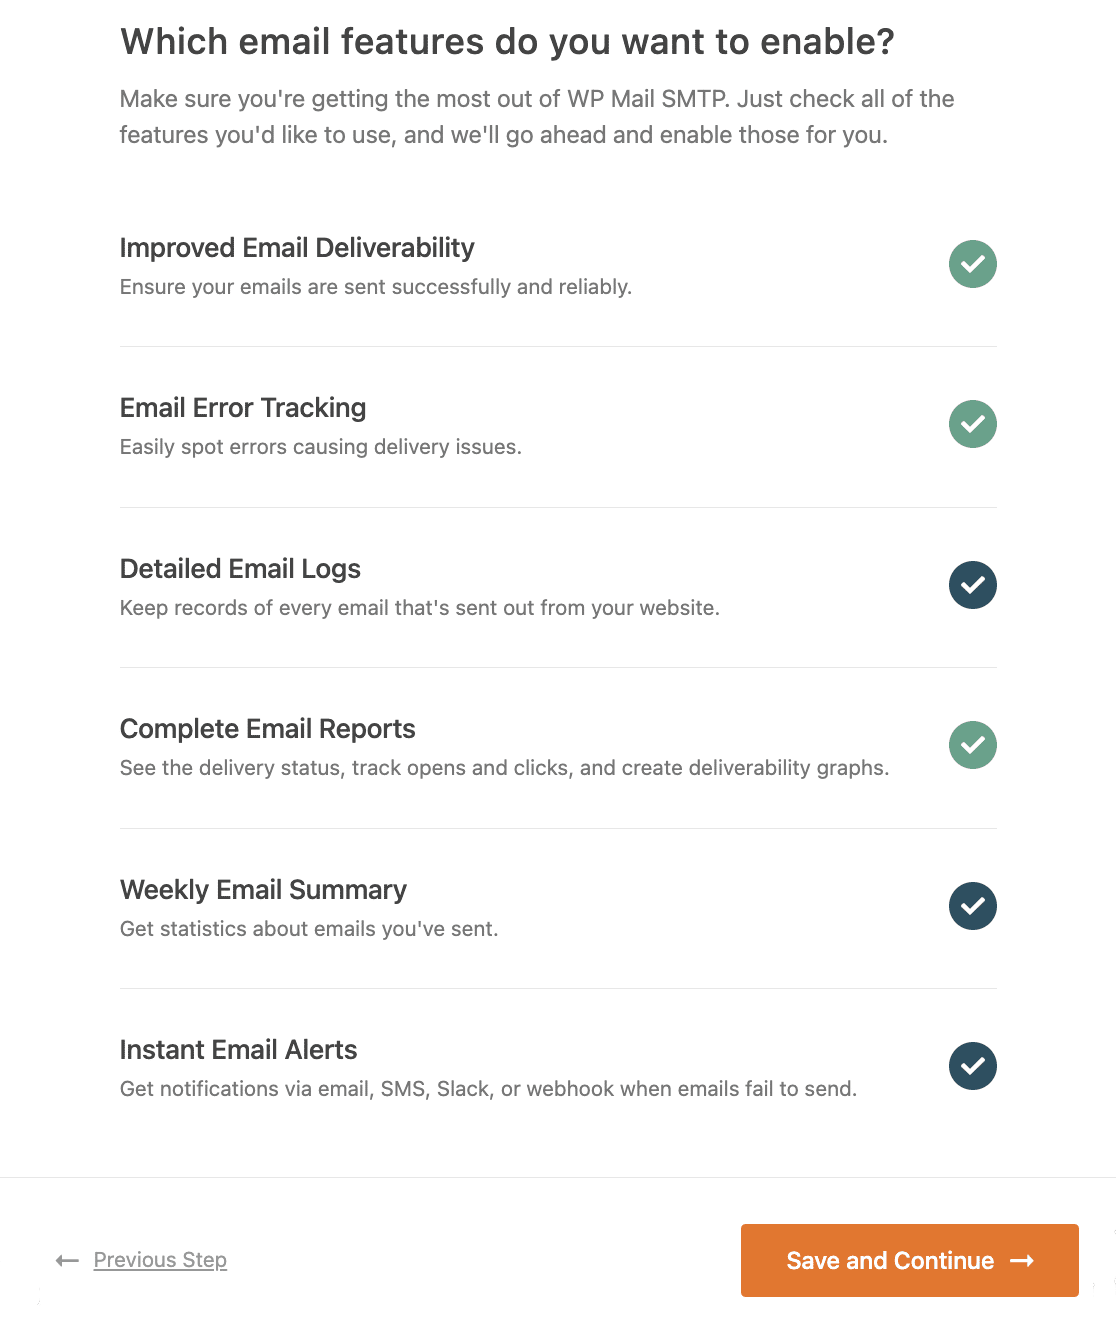
We highly recommend that you turn on Detailed Email Logs and Complete Email Reports so that WP Mail SMTP can track the status of every email your site sends.
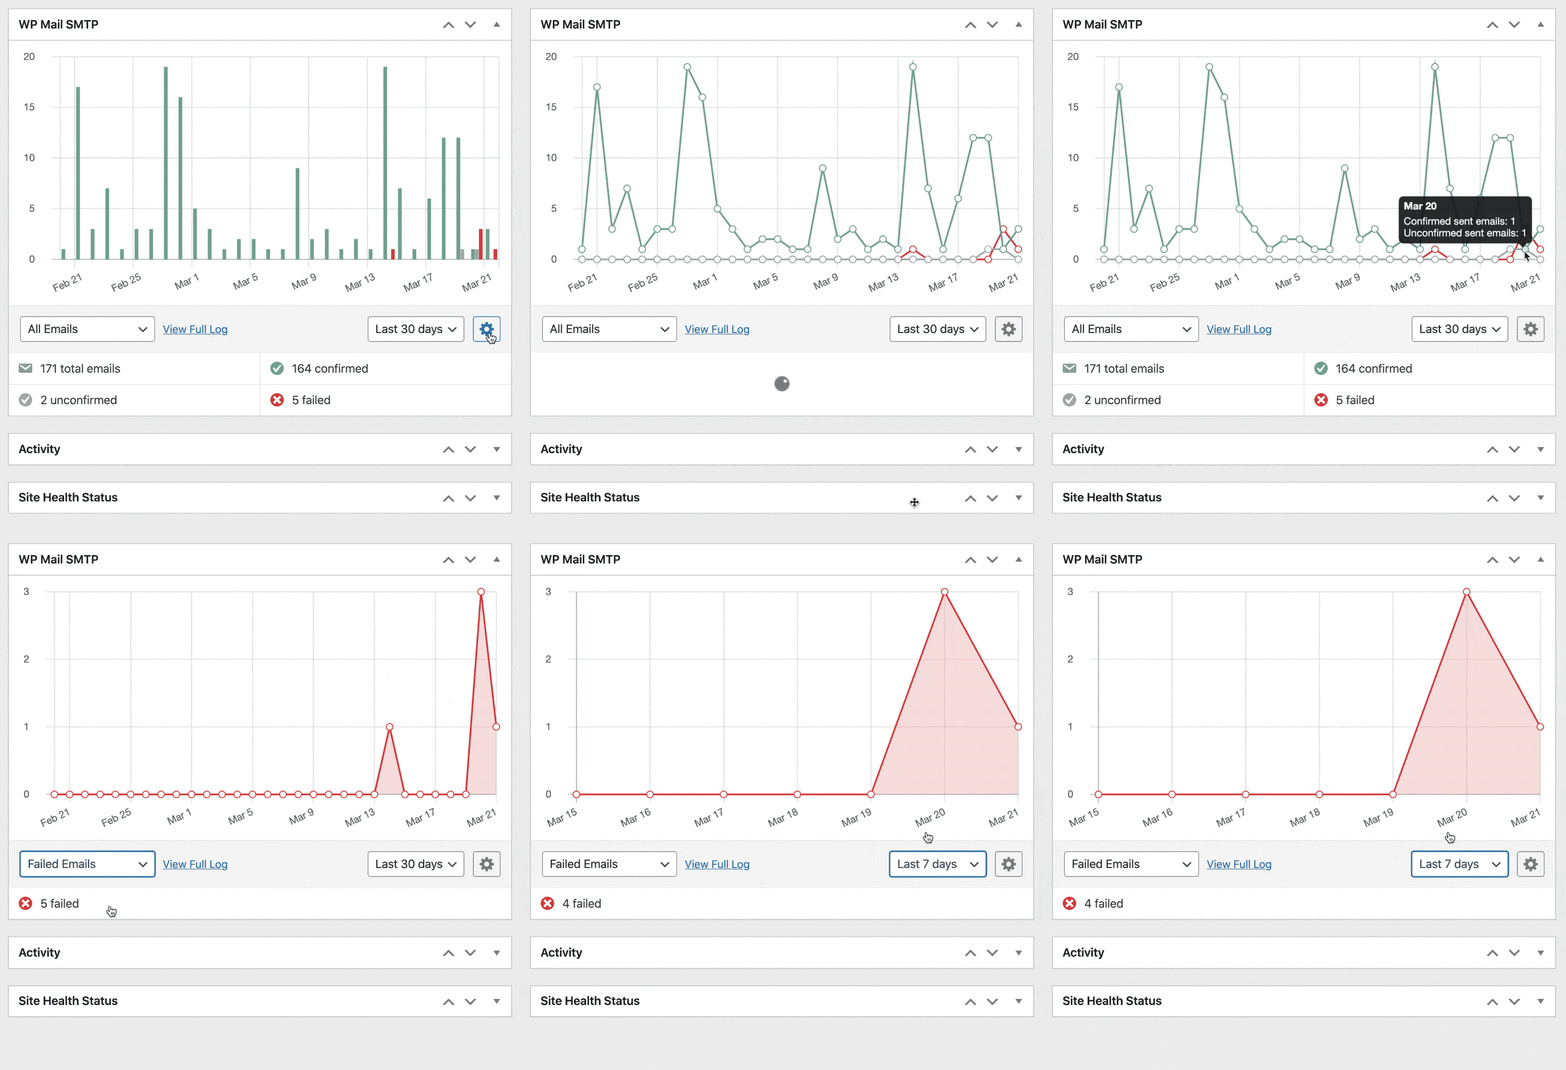
The Pro plan also lets you view the status of all your emails in the WordPress dashboard so you can easily spot any deliverability problems.
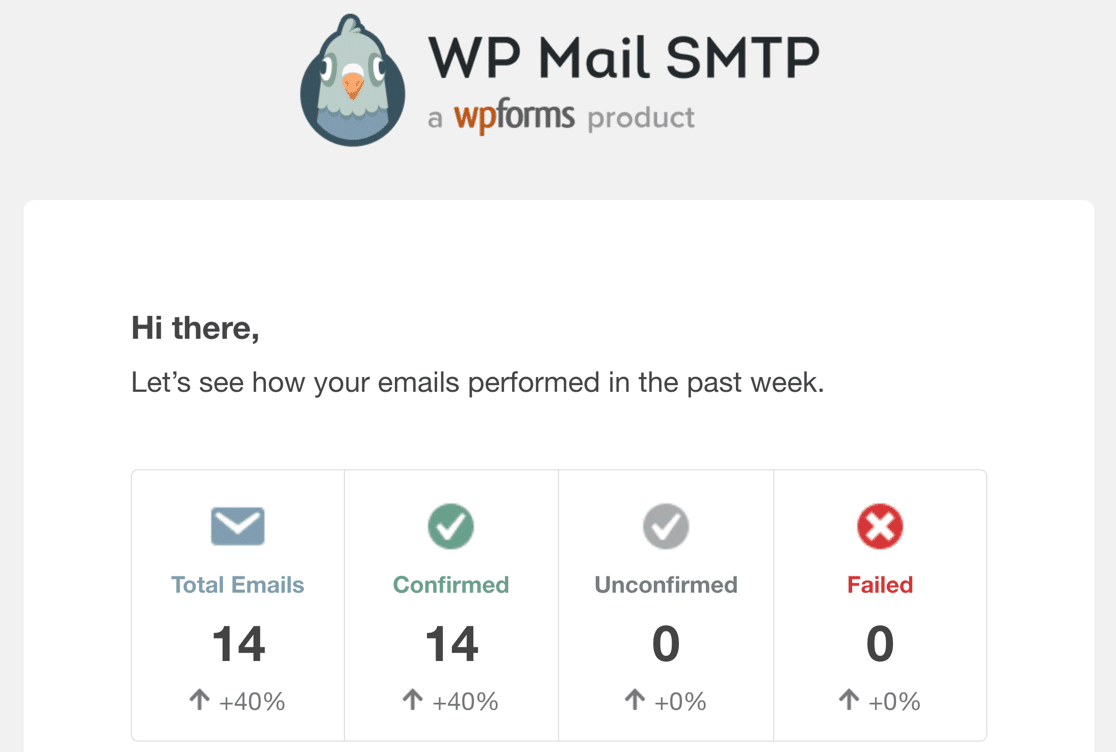
You may also want to enable the Weekly Email Summary so you can see you latest email delivery stats in your inbox.
The other feature you can enable here is Instant Email Alerts. These notifications let you know if an email fails to send from your site.
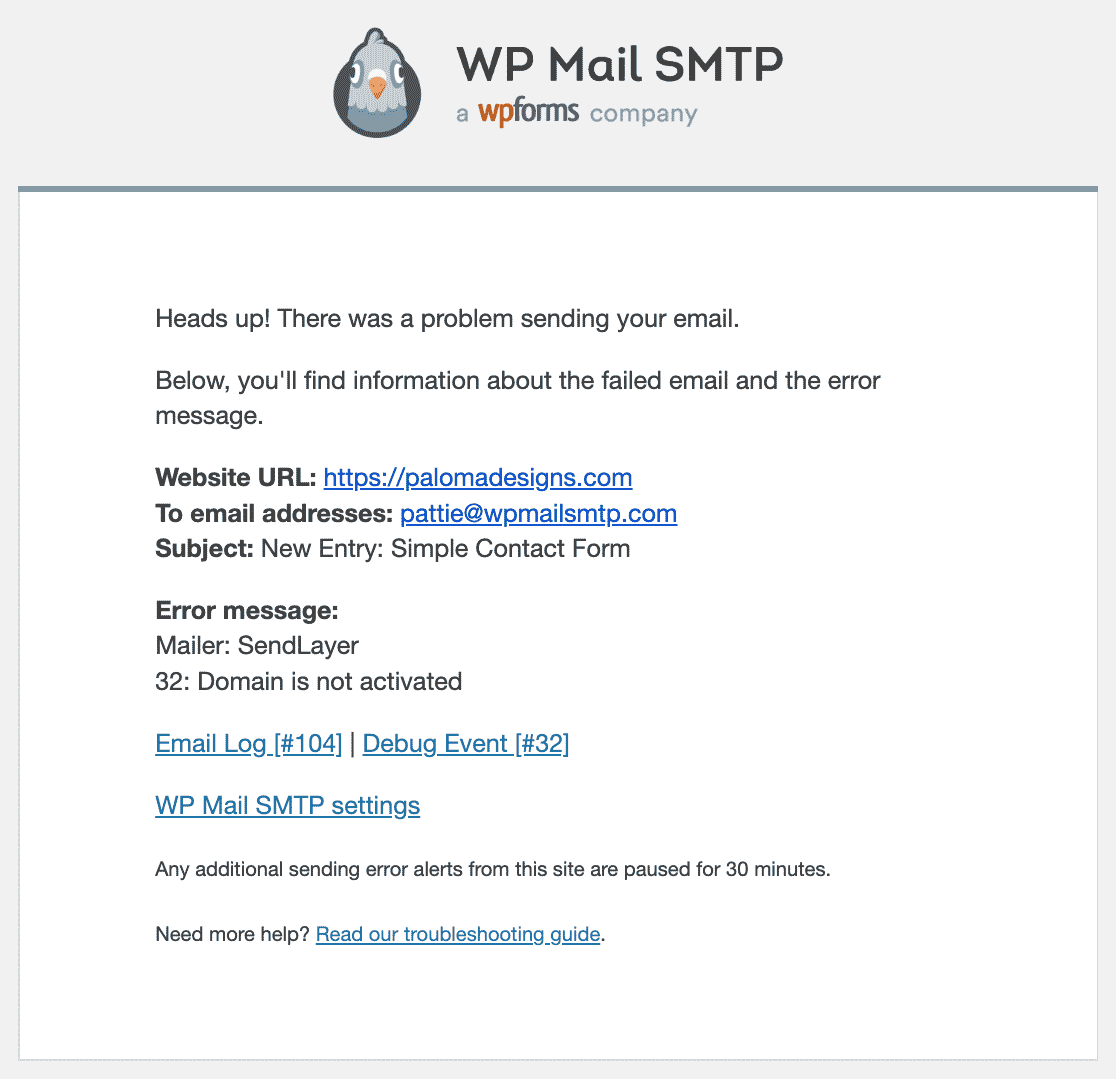
Then you can quickly work out a solution so your users don’t miss any important emails.
If you enabled email logging, there are a few more options for you on the next screen.
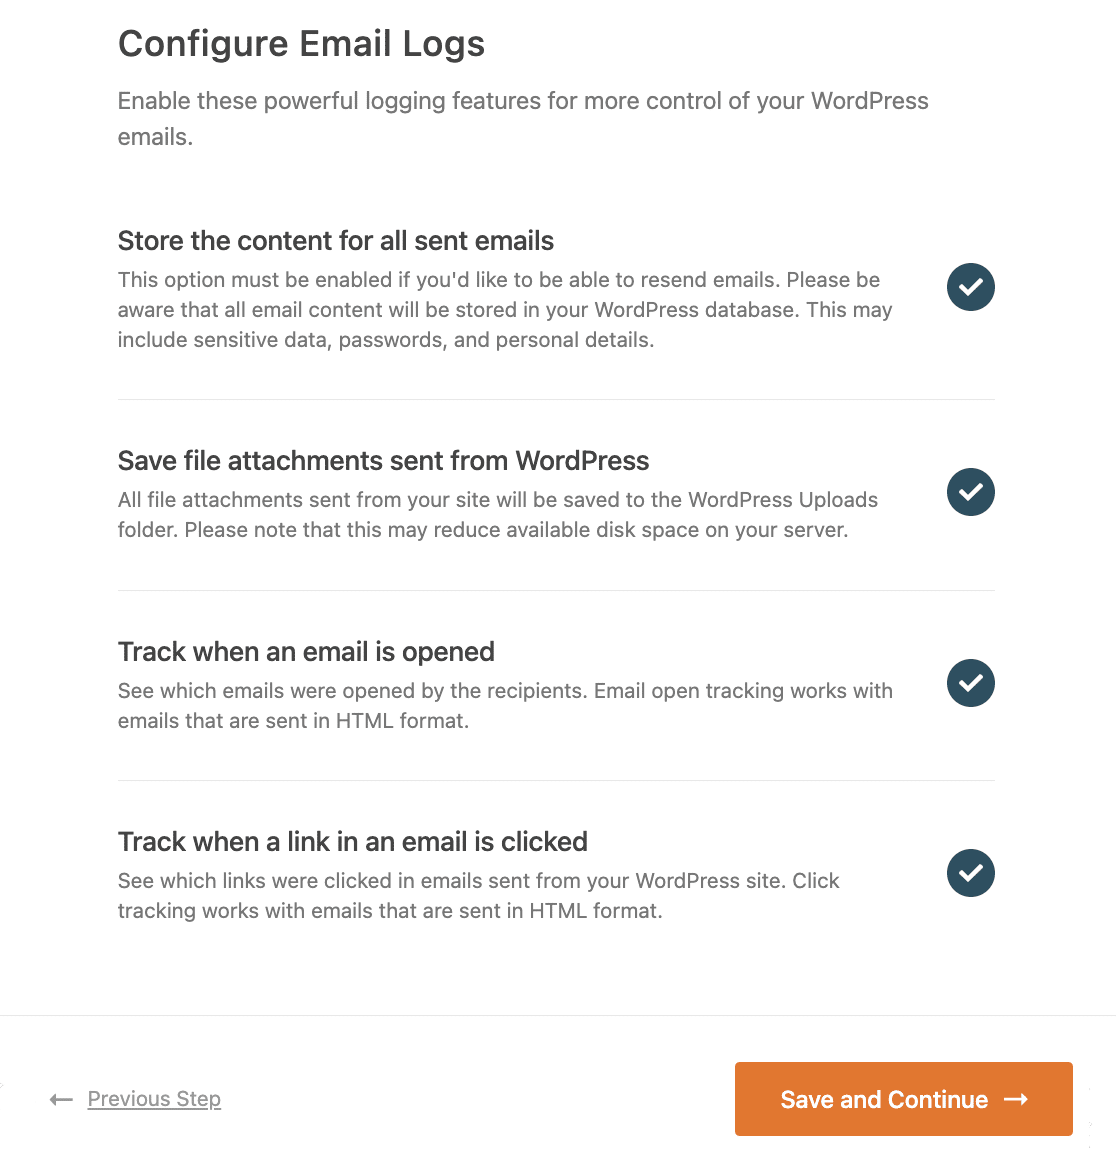
These settings let you save email content and attachments and track behavior such as email opens and link clicks. You’ll also be able to print logs and resend emails if you need to.
All set? There’s 1 more thing to do. Now we have WP Mail SMTP, we can use a much more sophisticated email test to check your Sucuri emails are working.
4. Send a Test Email From WP Mail SMTP
Remember how we used Sucuri’s email test at the start? It was too basic to report problems with email deliverability.
Now we can use the more advanced email test in WP Mail SMTP!
In WP Mail SMTP, go to Tools and click the Email Test tab to start.
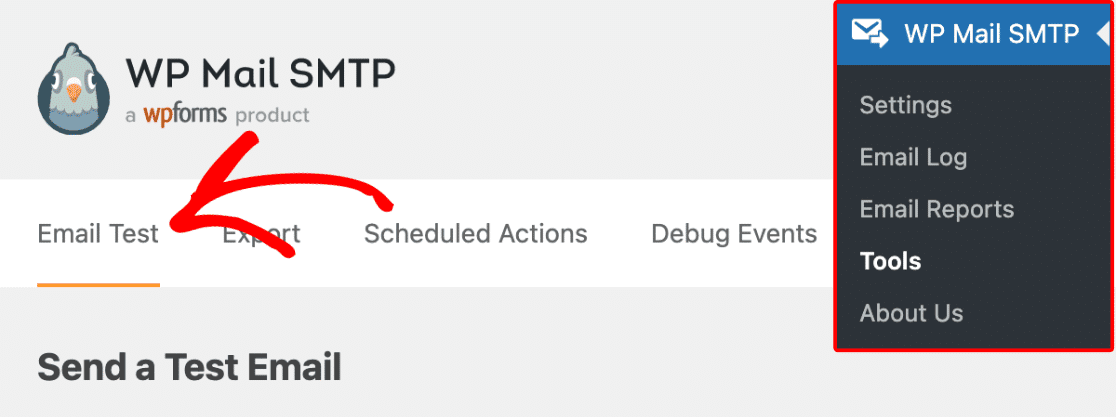
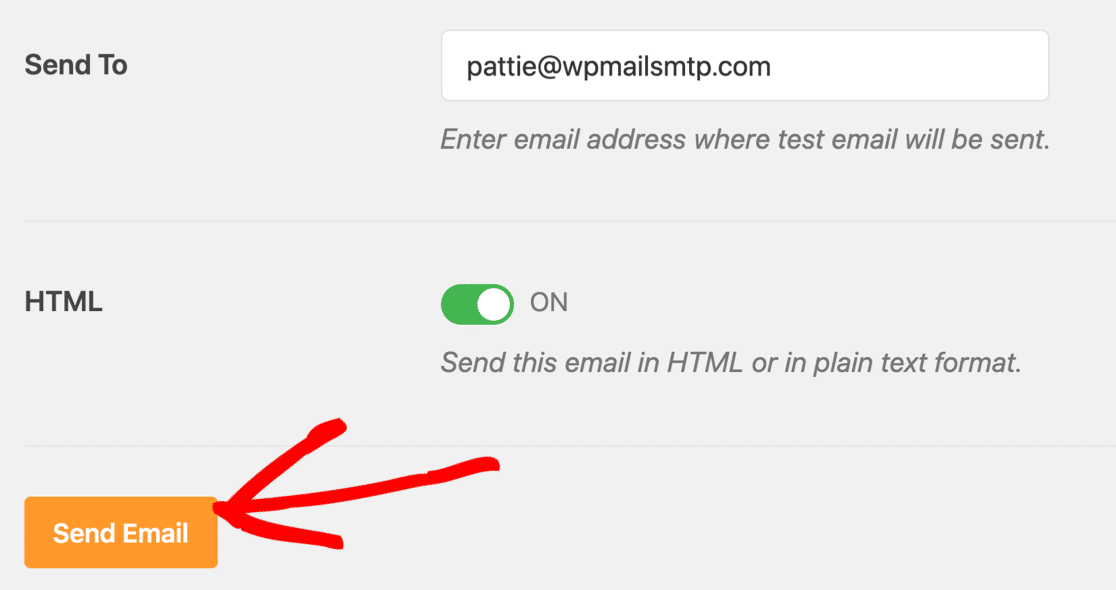
On this screen, customize the recipient address for your test email and hit Send Email.
If everything’s set up correctly, you’ll see a green message.

If WP Mail SMTP detects any issues, it’ll show a warning.

Underneath the warning, you’ll see some information on the steps you need to take to improve it.
And that’s it! Now you’ll always get your Sucuri email alerts on time.
Next, Learn More WordPress Security Tips
And that’s it! Now you’ve fixed Sucuri not sending email.
To keep your site secure, we also strongly recommend that you avoid pirated software. Check out why you should never use WP Mail SMTP Pro Nulled.
Ready to fix your emails? Get started today with the best WordPress SMTP plugin. If you don’t have the time to fix your emails, you can get full White Glove Setup assistance as an extra purchase, and there’s a 14-day money-back guarantee for all paid plans.If this article helped you out, please follow us on Facebook and Twitter for more WordPress tips and tutorials.

