AI Summary
Is WP Cerber Security not sending email notifications about activities on your site?
You could miss an important security issue if you aren’t getting these alerts.
In this article, we’ll show you how to make sure you never miss a notification from WP Cerber Security.
Fix Your WP Cerber Security Emails Now
What Is WP Cerber Security?
WP Cerber Security is a WordPress security plugin that lets you monitor potential security problems on your website. For example, it will block login attempts and automatically detect malware.
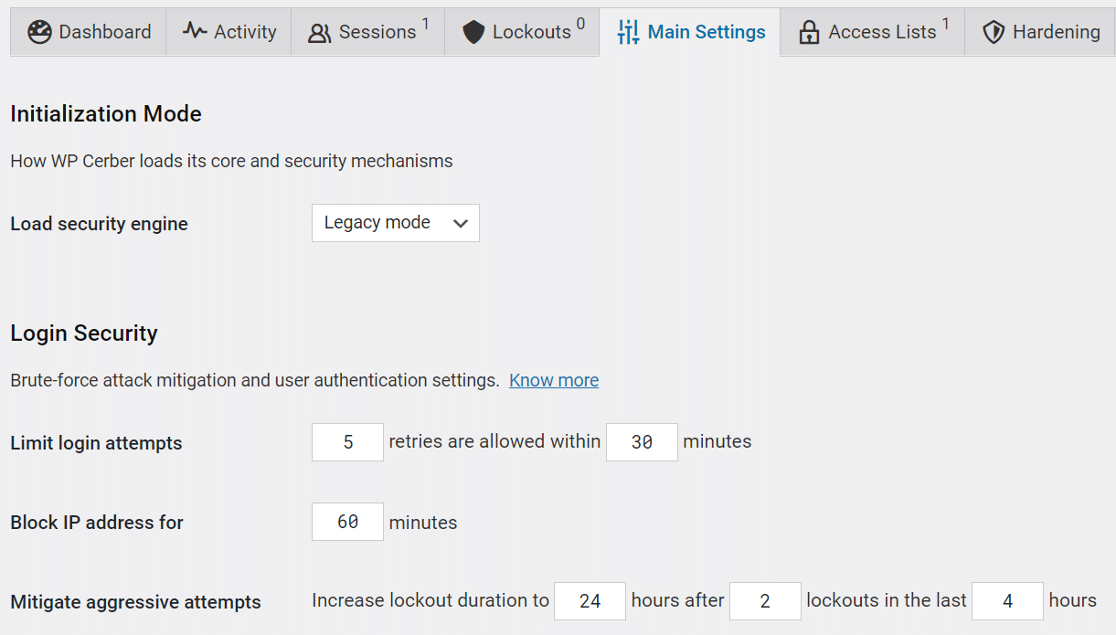
The plugin has some extra security monitoring features for WooCommerce, so that might be helpful if you’re looking for a WooCommerce plugin that can track customer activity. For example, it has specific anti-spam settings for the checkout page.
As part of its ongoing security monitoring, WP Cerber Security sends email alerts. If those alerts aren’t working, we’ll show you how to fix them.
How To Fix WP Cerber Security Not Sending Email Notifications
In This Article
1. Create Notifications for Security Activities
By default, WP Cerber Security only generates 2 types of emails:
- Lockout alerts
- Weekly security reports
You can set up additional alert emails for custom events. If you do this, it’s important to check that the notifications are correctly configured.
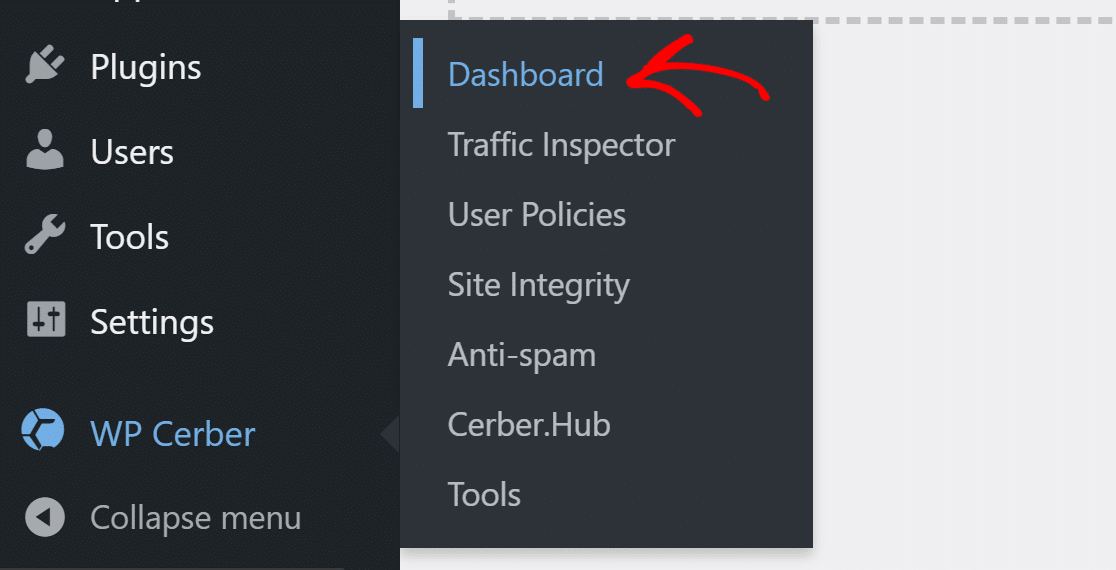
To check these alerts, head to WP Cerber Security » Dashboard.
On the dashboard page, switch to the Activity tab.

The Activity page lists all of the recent security events captured by the plugin. You can create alerts for these events and get email notifications.
To create a new activity alert, select an activity from the dropdown.
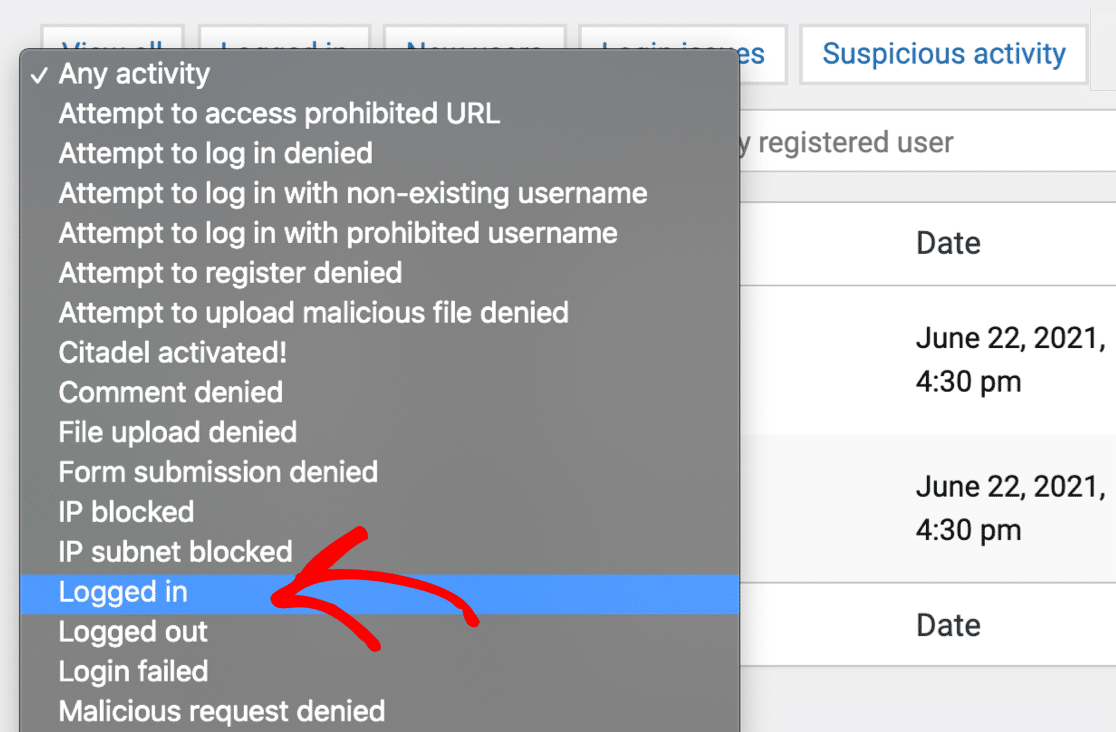
When you click Filter, you’ll see that activity in the log. Click Create Alert to get an email notification for it.

Now we have a custom alert set up, let’s check the email settings.
2. Check Email Settings in WP Cerber Security
By default, WP Cerber Security sends email notifications to the site administrator’s email address in WordPress.
To change that, go to the Notifications tab in the WP Cerber Security dashboard.

Under Email Notifications, type in the email address you want to use instead. This email address will be used for lockout alerts and the custom alert that we created.

It’s a good idea to limit the number of security alerts you get, particularly if you intend to use an SMTP server to send email. Otherwise, the plugin could quickly generate so many alerts that it takes you over your sending limit.

Next, scroll down and find Weekly Reports. If you want to receive these, make sure the toggle here is switched on.

And after that, choose the time and day that you want to receive the weekly email.

Once everything is set, hit the Save button to update the settings. Now let’s fix your WP Cerber security emails.
3. Install the WP Mail SMTP Plugin
WP Mail SMTP is the best SMTP plugin for WordPress. It adds authentication to the emails that WordPress sends so that they don’t end up in your spam folder.
To start, head over to the WP Mail SMTP website and download the plugin. You’ll find the link on the Downloads page.
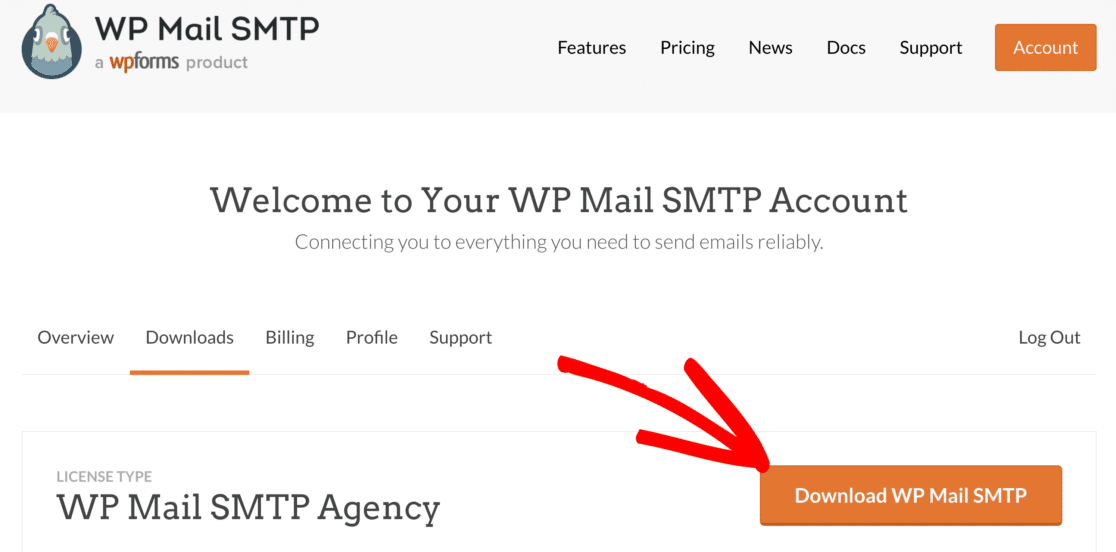
Next, go back to your WordPress dashboard and upload the zip file to the Plugins page. If you need help with this part, you can check out this guide on installing a WordPress plugin.

Once you’ve installed WP Mail SMTP, be sure to activate it. This will start the Setup Wizard in your browser to help you configure the plugin in a few easy steps.
4. Connect WP Mail SMTP to a Mailer Service
Next, we’re going to choose the email provider you want to use in WordPress. This is easy with WP Mail SMTP because there’s a Setup Wizard to guide you.
To begin, click the Let’s Get Started button in the wizard.

Go ahead and choose a mailer that you think is the best fit for your website here.
To get your security alerts instantly, we recommend that you use a transactional email provider like SendLayer, SMTP.com, or Brevo (formerly Sendinblue).
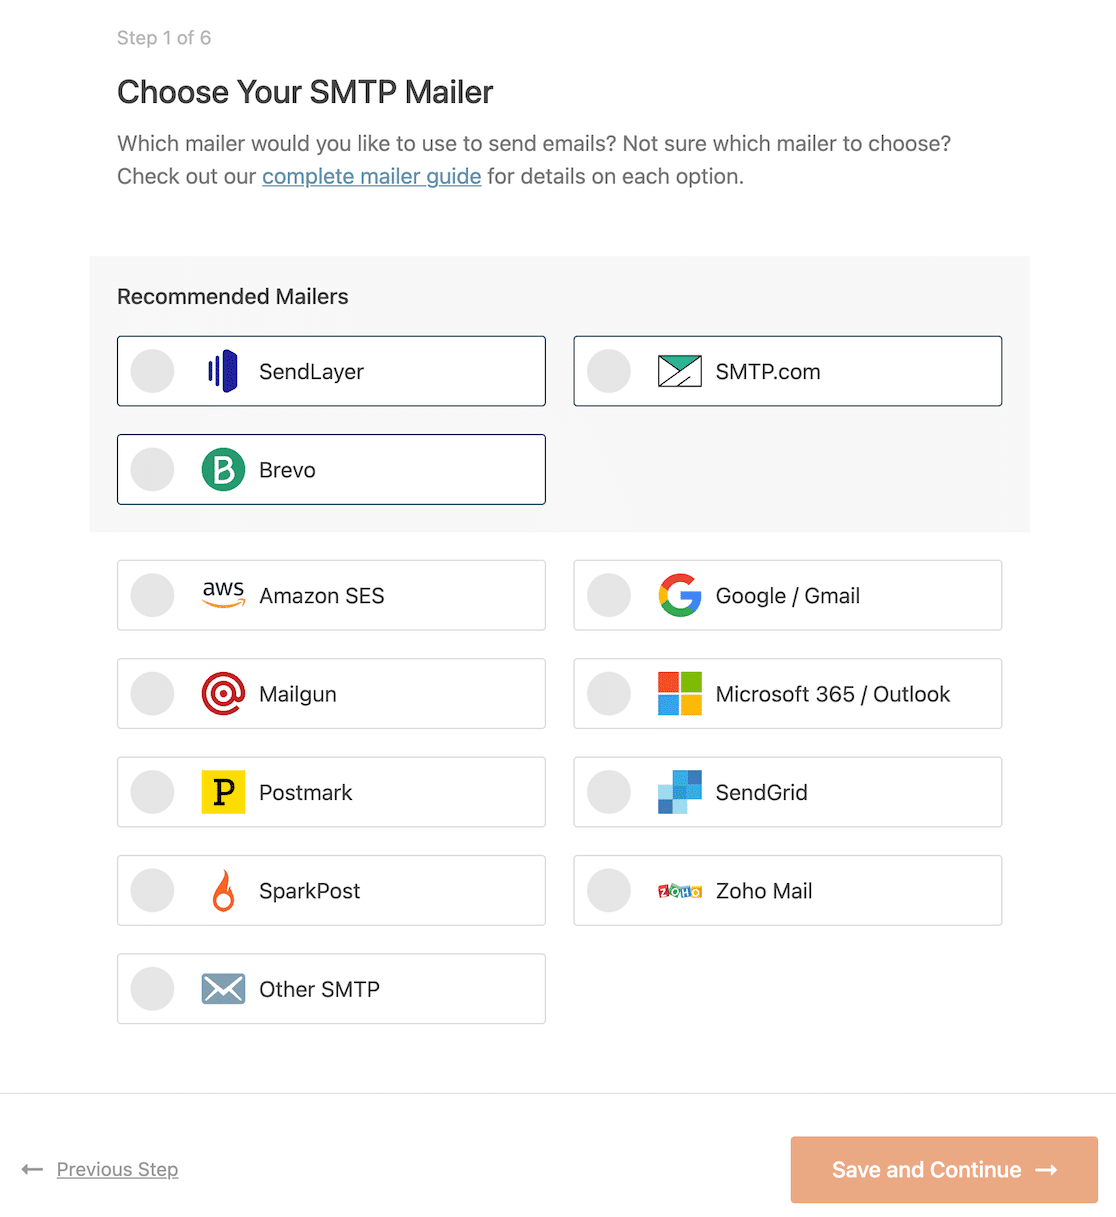
When you’ve chosen your mailer, open up our documentation.
| Mailers available in all versions | Mailers in WP Mail SMTP Pro |
|---|---|
| SendLayer | Amazon SES |
| SMTP.com | Microsoft 365 / Outlook.com |
| Brevo | Zoho Mail |
| Google Workspace / Gmail | |
| Mailgun | |
| Postmark | |
| SendGrid | |
| SparkPost | |
| Other SMTP |
The documentation will help you to create your account and complete the Setup Wizard.
When you’ve set everything up, switch back to this guide to enable email logging. If you want to set up multiple mailers, you can do so in the Additional Connections settings once you’ve finished the Setup Wizard. Then you can select a Backup Connection and configure Smart Routing.
5. Enable Email Logging
As you move on through the Setup Wizard, WP Mail SMTP will ask you which email features to enable.
2 options will be enabled by default:
- Email deliverability
- Error tracking
We highly recommend that you turn on the other options here as well:
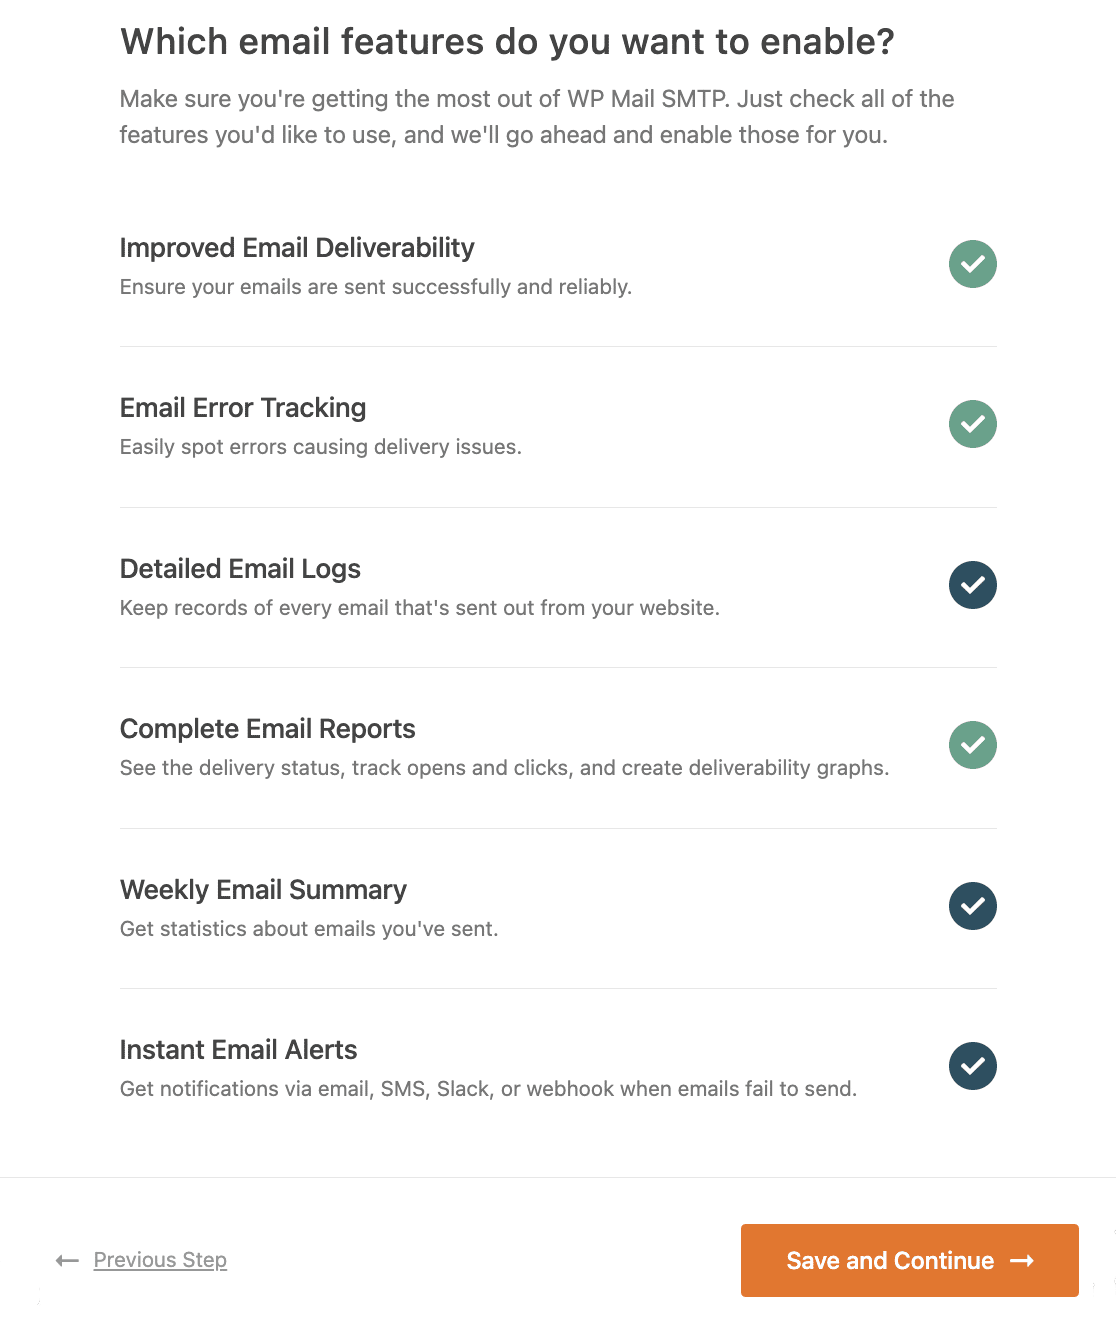
The Detailed Email Logs keep track of basic data about sent emails, including the headers and recipient. When this feature is enabled, it automatically turns on Complete Email Reports as well.
The Weekly Email Summary is a report that shows you statistics about your emails, delivered to your inbox:
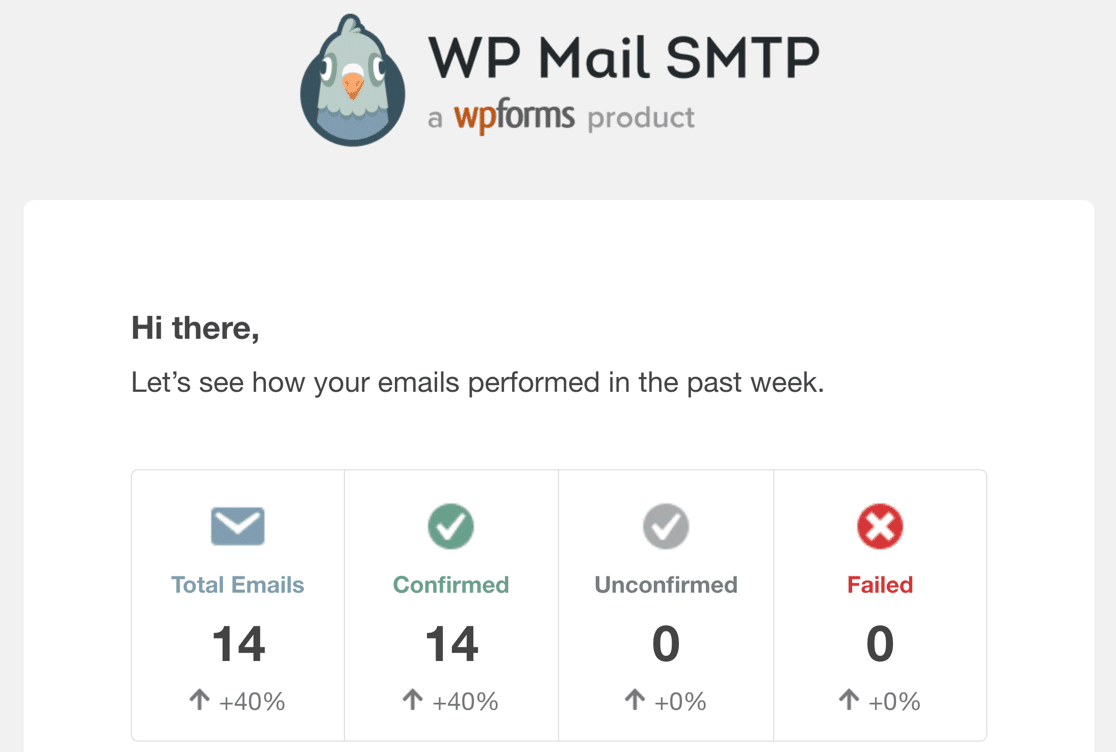
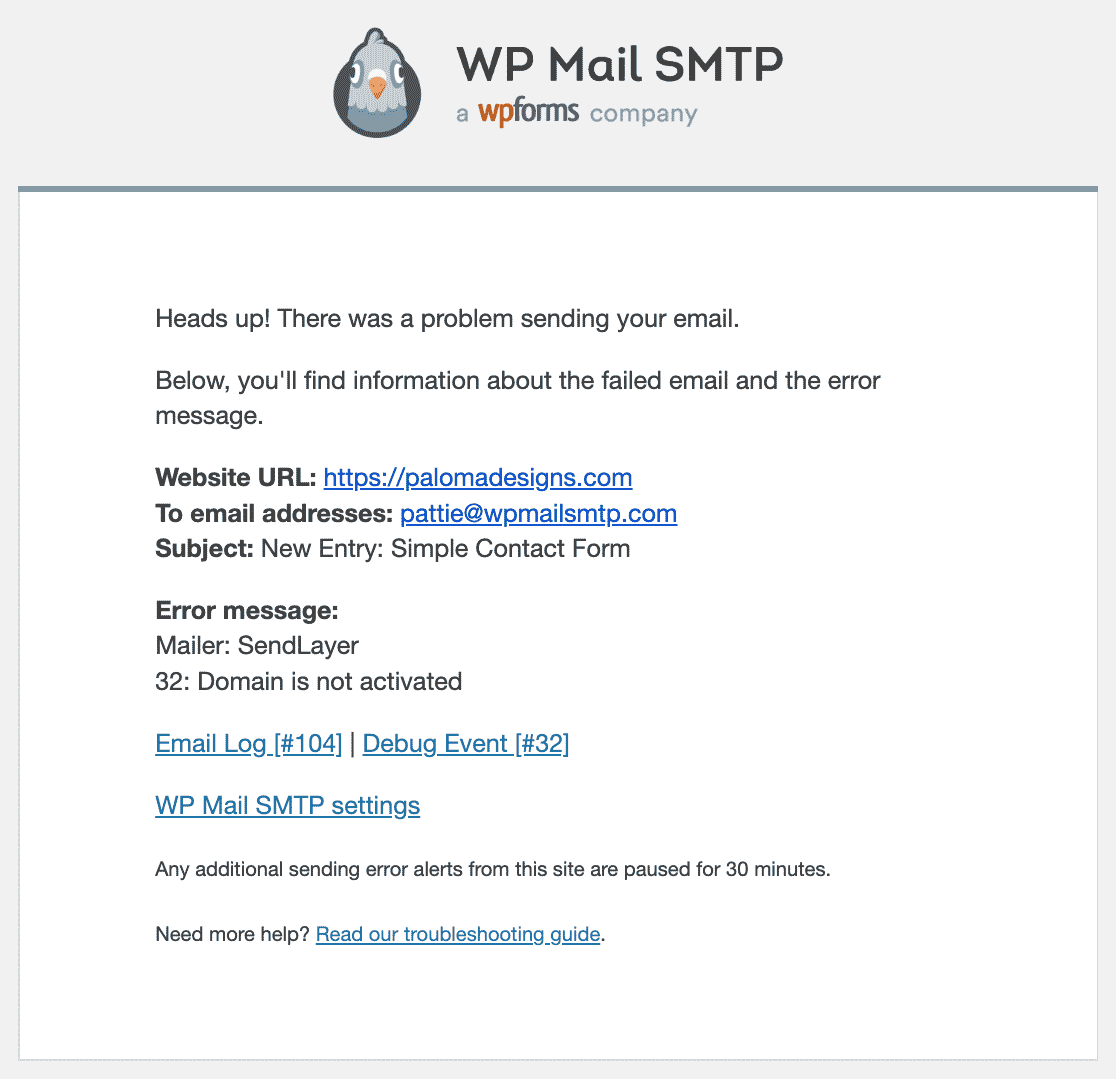
Instant Email Alerts will let you know if an email fails to send from your site. That way you can quickly fix the problem so your emails start sending properly again.
On the next screen, you’ll be able to set up advanced email log features. These let you log the full content of sent emails so you can resend them, save file attachments, and track email opens and link clicks.
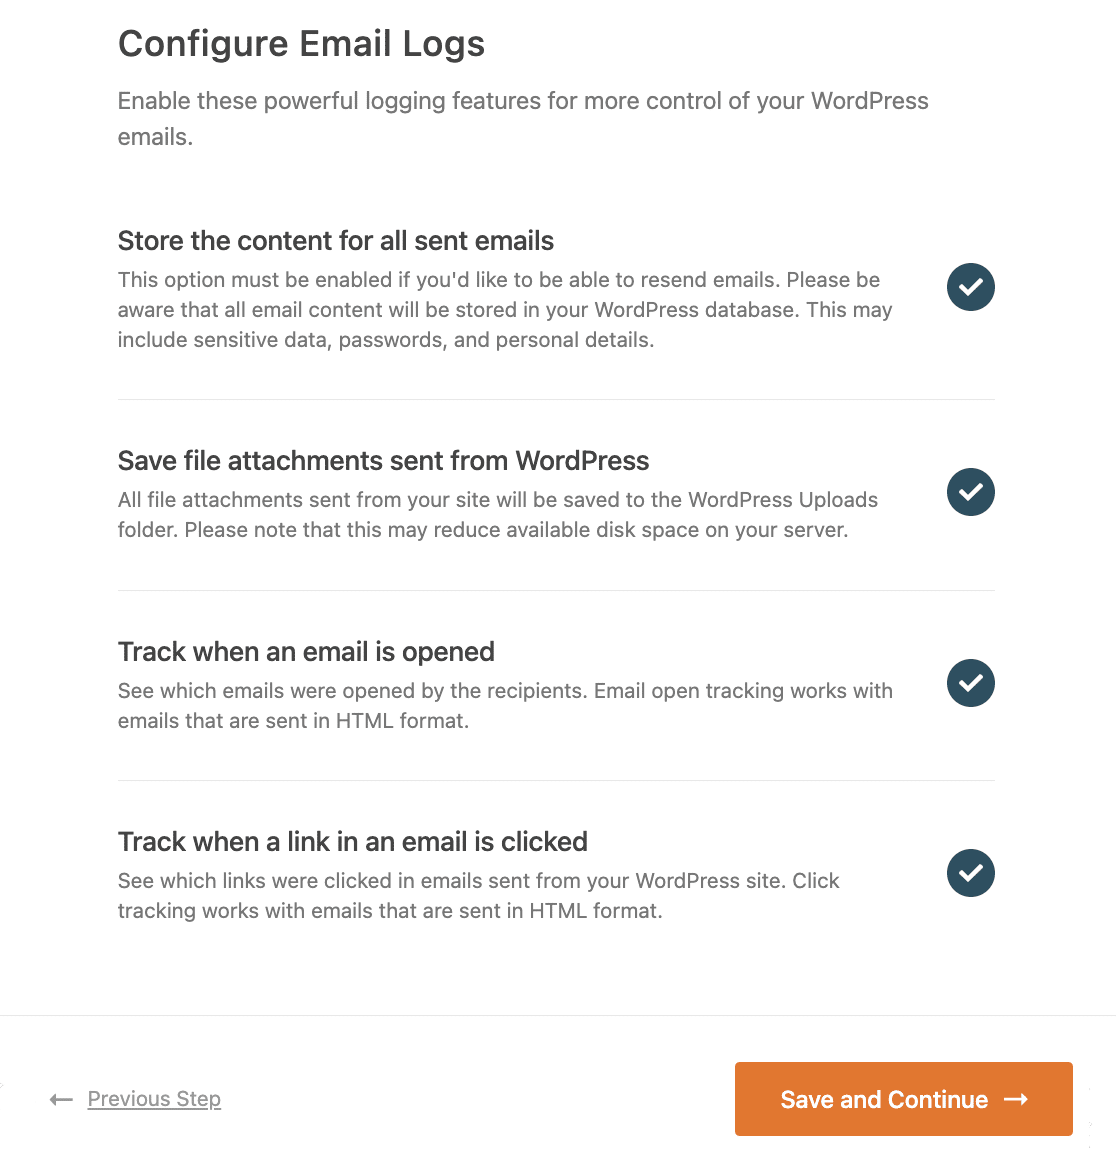
For more information, see our complete guide on how to enable WordPress email logging.
And that’s it! When you complete the Setup Wizard, you’ll receive a test email to confirm that everything’s complete.
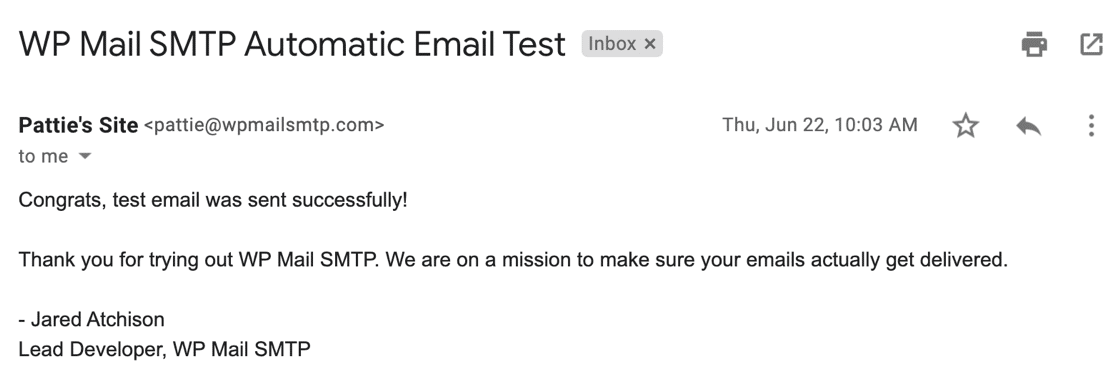
You’ve successfully solved WP Cerber Security not sending email and you’ll now receive your security notifications as soon as they’re sent.
Fix Your WP Cerber Security Emails Now
Next, Stop WordPress Emails Going to Spam
Are your WordPress emails going to spam? Sometimes this can happen even if you’ve installed an email plugin. It usually means that your DNS records aren’t set up correctly.
For more help, check out this guide on how to stop WordPress emails from going to spam.
If you’re an Elementor Forms user and experiencing email errors, don’t forget to read our guide on Elementor Forms not sending email.
Ready to fix your emails? Get started today with the best WordPress SMTP plugin. WP Mail SMTP Elite includes full White Glove Setup and offers a 14-day money-back guarantee.
If this article helped you out, please follow us on Facebook and Twitter for more WordPress tips and tutorials.

