AI Summary
Is WordPress not sending email notifications on AWS?
This is a common problem with WordPress sites on EC2, but it’s easy to fix.
In this article, we’ll show you get emails working reliably with WordPress on EC2.
Why Am I Not Receiving Emails From My WordPress Site?
There are 3 reasons why emails from your WordPress site aren’t sending:
- SMTP is disabled or not configured on your EC2 instance or hosting plan.
- There’s a problem with your plugin notification settings that’s causing emails not to send.
- WordPress is sending emails, but they’re not authenticated, so they’re being caught by spam filters on their way to the recipient.
On AWS, you can ask for email sending limitations on port 25 to be lifted. This allows you to send email from your EC2 instance.
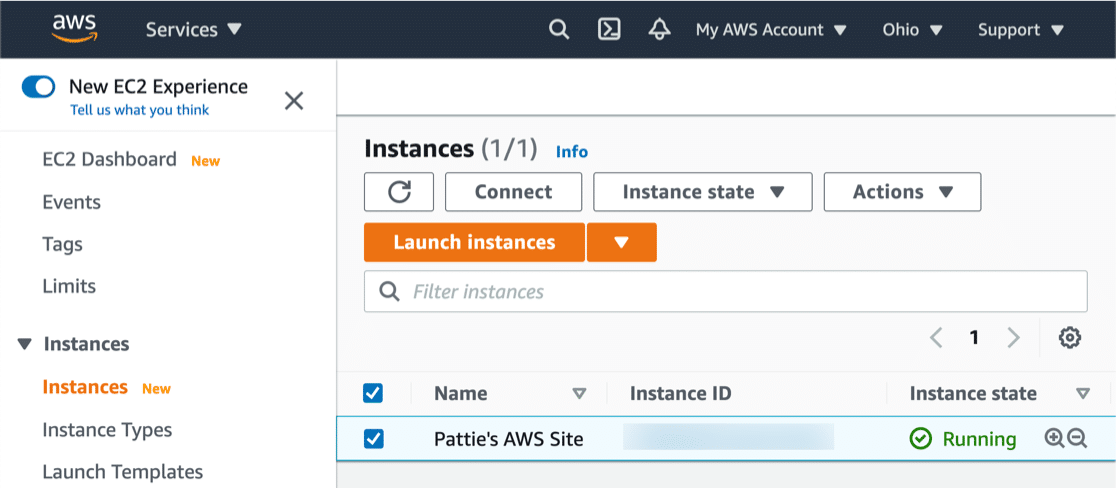
But even then, you’ll likely still run into the issue of WordPress emails going to spam because your emails won’t be authenticated as they’re sent.
In this step-by-step guide, we’ll explain the best way to fix all of these issues with WordPress emails on AWS EC2.
If you’re using Amazon Lightsail, we have a separate guide on how to set up WordPress email on Lightsail.
How to Fix WordPress Not Sending Email on AWS EC2
1. Install WP Mail SMTP on EC2
WP Mail SMTP is the best SMTP plugin for WordPress. It lets you easily send WordPress email through a 3rd party email provider or SMTP server.
This gives you the flexibility to use a free or paid email provider depending on the nature of the emails and the quantity you need to send.
The Bitnami AMI comes with the free version of WP Mail SMTP preinstalled. This is the best choice if you’re just starting out with WordPress on AWS.

Before continuing with the tutorial, be sure to update the pre-installed WP Mail SMTP plugin to the latest version.
If you’re a Pro customer, you’ll want to deactivate the free version on your EC2 instance. Then download the paid version from your WP Mail SMTP account and upload it to your WordPress site on AWS.
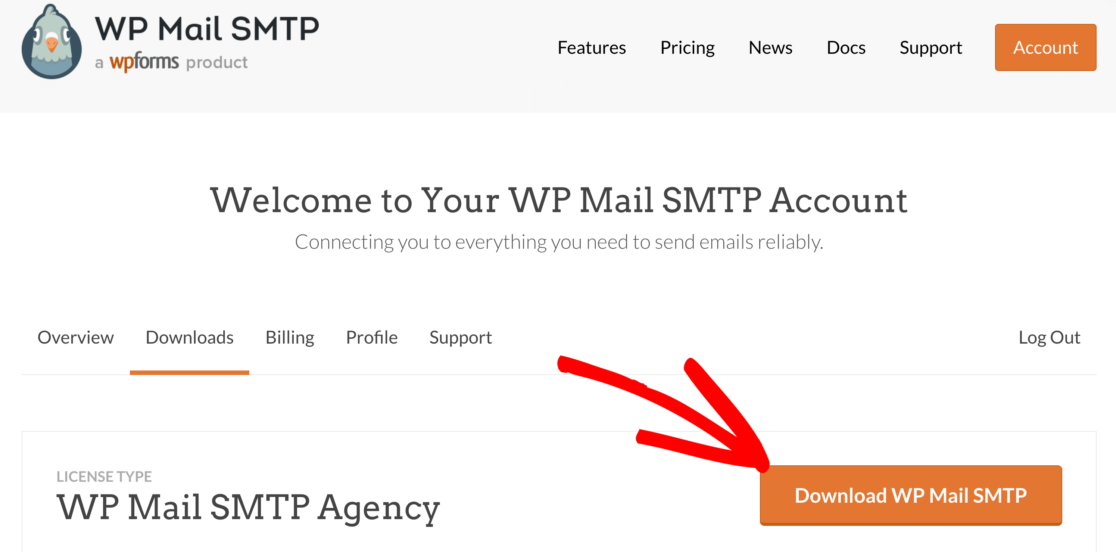
Setting up WP Mail SMTP is straightforward. The Setup Wizard will open as soon as you activate WP Mail SMTP. You can re-start the wizard at any time by clicking the Launch Setup Wizard button in your WP Mail SMTP settings.
Just know that re-starting the wizard after the initial setup might reset your mailer configuration.
2. Configure Email Service Provider or SMTP Server
Now we can choose a new provider to handle outgoing WordPress emails on AWS.
Click the Let’s Get Started button to begin.

On the next screen, click the mailer you want to use from the list. WP Mail SMTP supports free and paid email providers, including:
Most providers have limits, although none are as restrictive as EC2’s default configuration.
Keep in mind that:
- A transactional mailer like SendLayer, SMTP.com, or Brevo will be best for most sites. These providers are able to handle a large volume of emails and are known to be highly reliable.
- Gmail is best for small sites. You may run into issues if you use it for sites that generate a lot of emails, due to Google’s sending limits.
- If you choose Amazon SES, remember that sandbox accounts can send only 200 emails / day and 1 email / sec until you request production access.
- With Other SMTP, you can also use constants to securely enter SMTP connection details if you prefer that method. It’s important to use the correct SMTP port with Other SMTP to avoid connection issues or timeouts.
Security tip: If you choose Amazon SES for your mailer, create a new SMTP user with the console’s Create SMTP credentials button. Since Sept 6 2024, AWS automatically attaches the managed policy AmazonSesSendingAccess; inline IAM policies for SES-SMTP users are now discouraged.
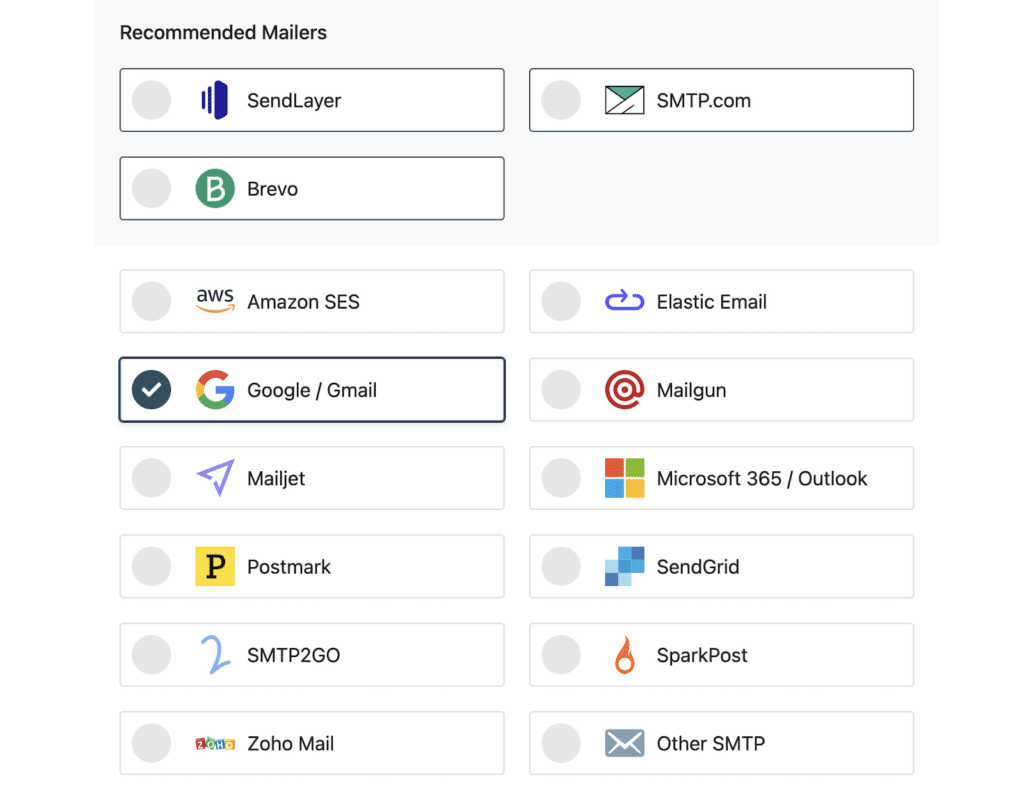
When you’ve chosen your mailer, open up our documentation to complete the setup steps on the provider’s side.
- SendLayer
- SMTP.com
- Brevo
- Amazon SES
- Google Workspace / Gmail
- Mailgun
- Microsoft 365 / Outlook.com
- Postmark
- SendGrid
- SparkPost
- SMTP2GO
- Mailjet
- Elastic Email
- Zoho Mail
- Other SMTP
Want to set up multiple mailers? You can do so in the Additional Connections settings after you finished the Setup Wizard. Then select a Backup Connection and configure Smart Routing.
Once you’re done setting everything up with your mailer, you can come back to this post to finish fixing your AWS emails.
3. Enable Email Logging in WordPress
At the end of the wizard, WP Mail SMTP Pro customers will get the option to turn on email logging and email alerts in the plugin.
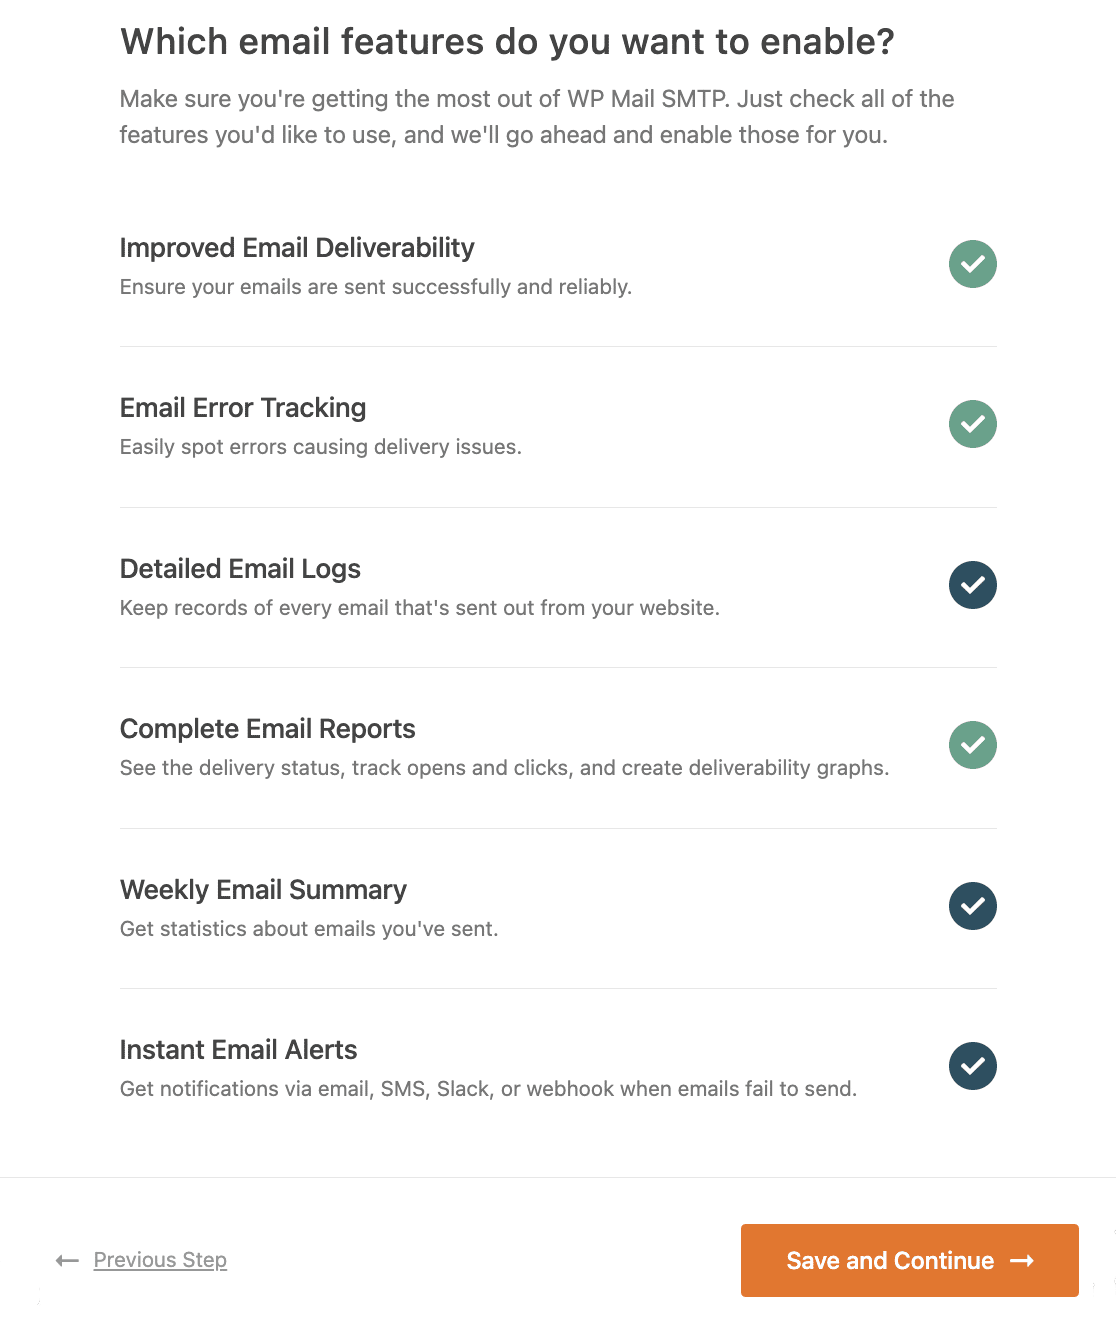
Detailed Email Logs let you easily monitor sent emails to see if they were delivered successfully. You can view logs in a list, or see a chart on the WordPress dashboard.
The exact statuses you see in the email log are dependent on the mailer service you’ve chosen.
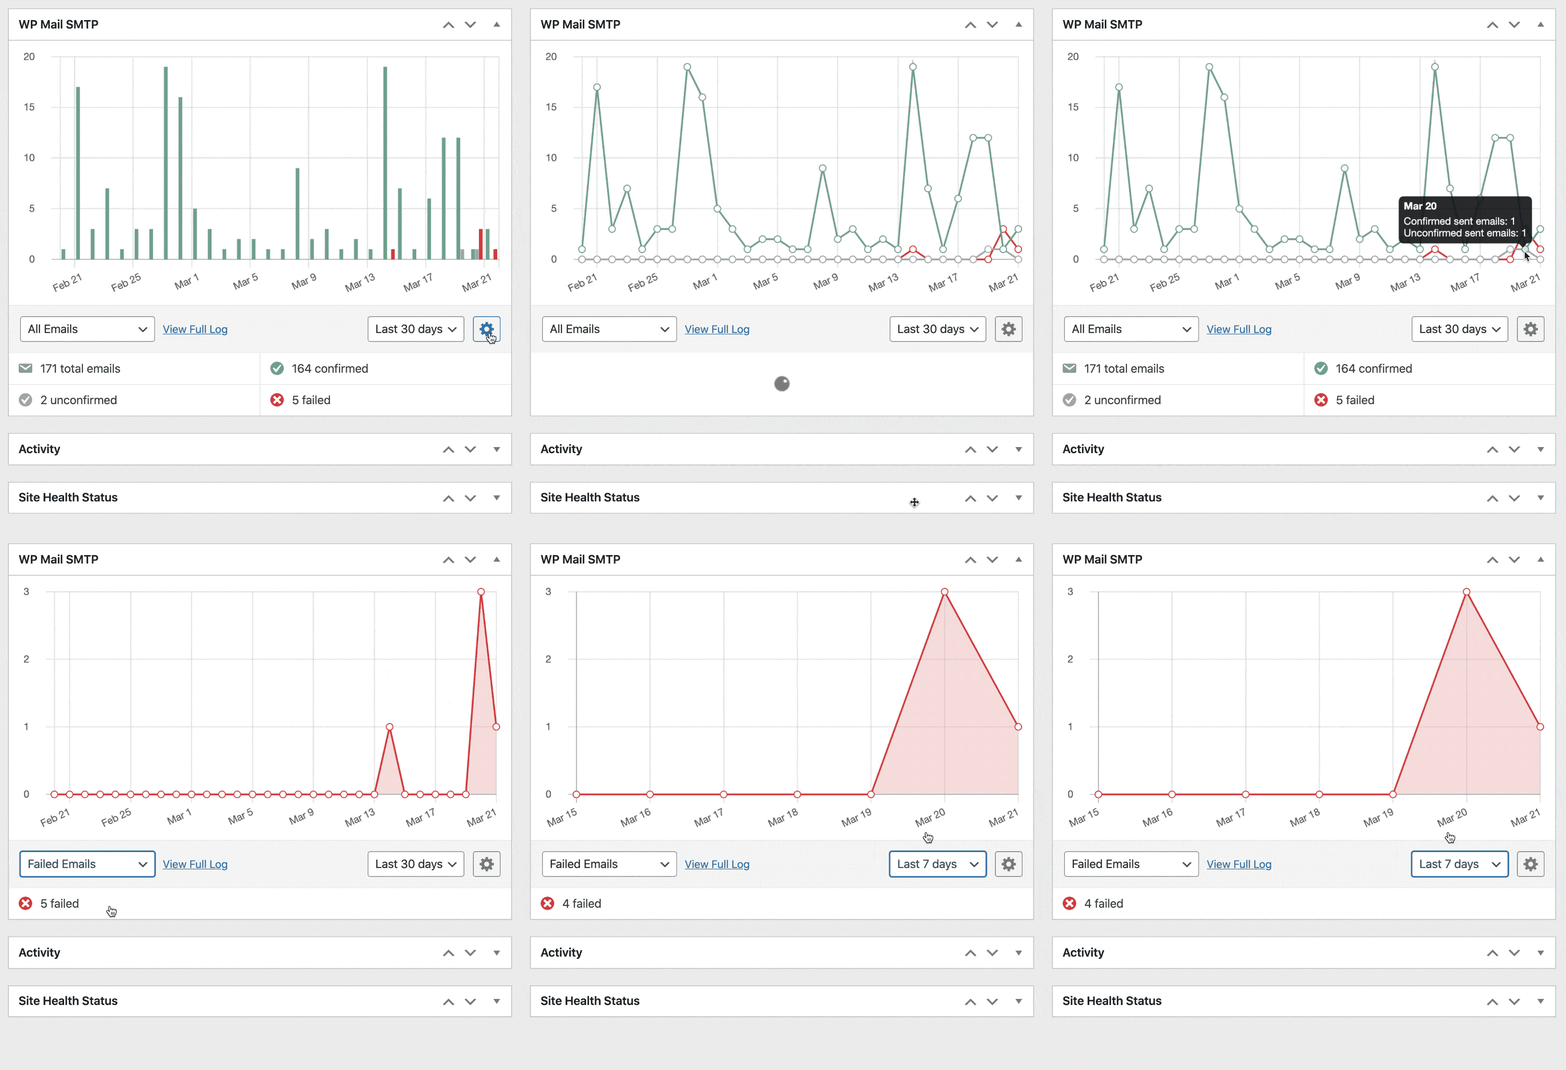
Turning on email logging automatically enables Complete Email Reports, where you can see all kinds of helpful email data. The Weekly Email Summary will deliver the past week’s email delivery stats to your inbox.
Instant Email Alerts notify you if your site fails to send an email. The message will include details to help you fix the problem and get your emails sending properly again.
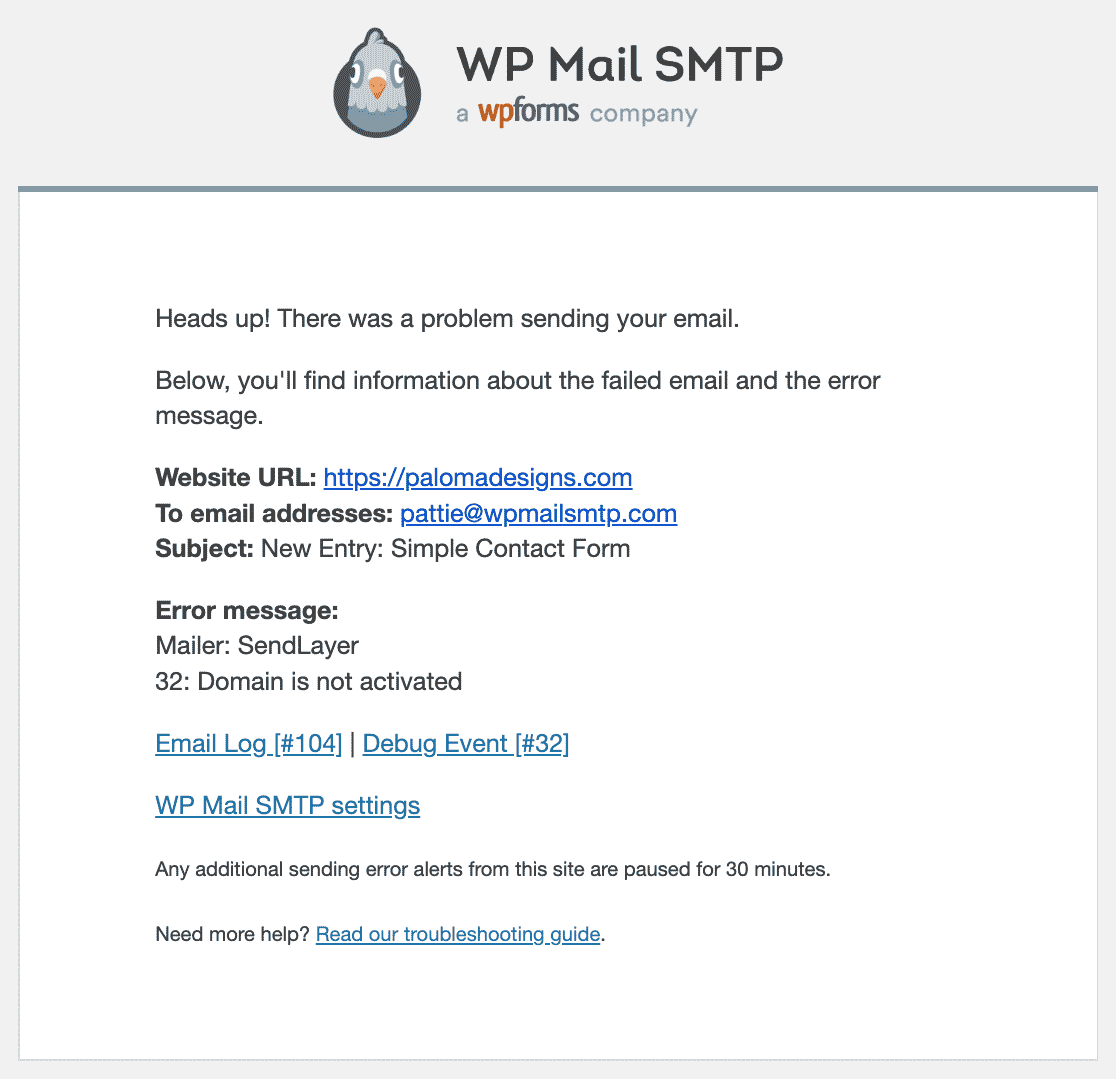
If you enable email logging, then the next scre
This feature also lets you:
- Track email opens and link clicks
- Save attachments
- Export logs to a spreadsheet
- Print logs
- And more
If you’d like to see how this works, check out this guide on how to log your WordPress emails.
Now we can use WP Mail SMTP to check that your DNS is correctly configured.
4. Verify DNS Records in WP Mail SMTP
Depending on your email provider, you may have been asked to create new DNS records to authenticate your emails.
WP Mail SMTP includes a domain checker that will automatically scan your new DNS records for issues.
You can use it by clicking the Email Test tab in the plugin.
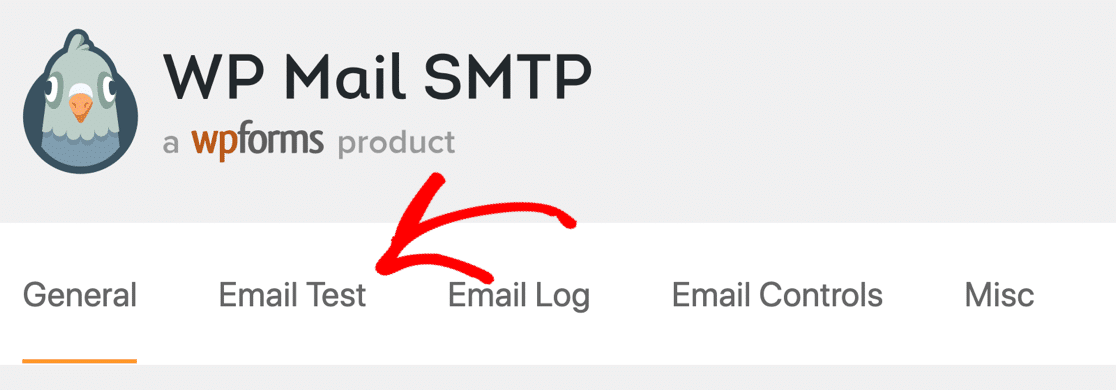
Enter the recipient address for your test email and hit Send Email.
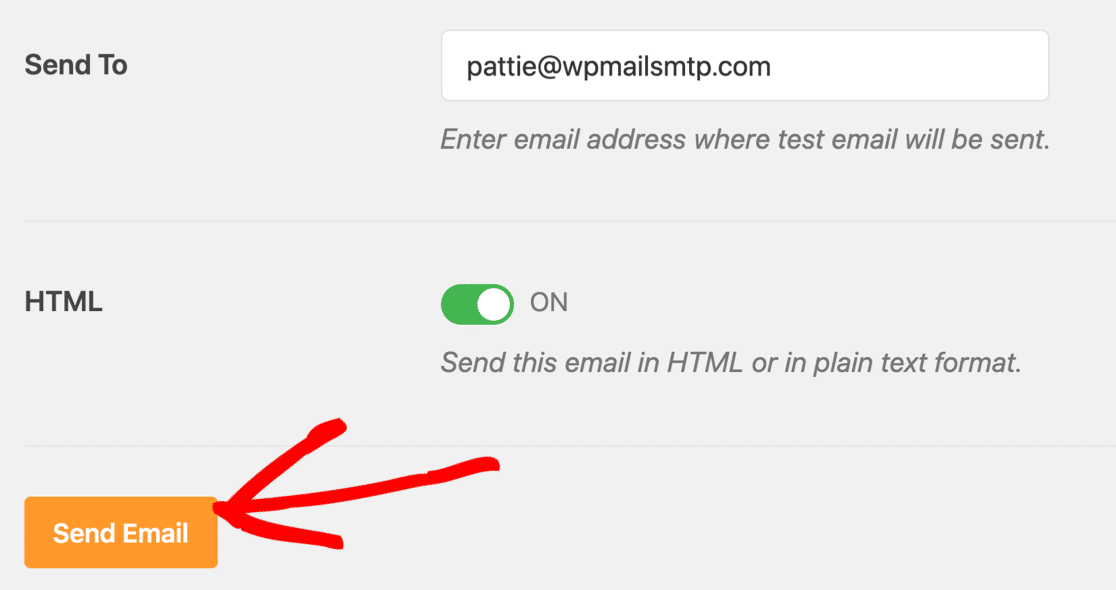
If everything’s set up correctly, you’ll see a green message.

If WP Mail SMTP detects any issues with your DNS, it’ll show a warning.

Along with the warning, you’ll see some information on the steps you need to take to improve email deliverability. We’ve published 2 more guides that’ll help resolve the most common DNS issues:
- How to Create a DMARC Record: This article includes a basic DMARC example that will work on most domains. You can tweak the example if you’d like a more restrictive rule.
- How to Merge Multiple SPF Records: If you already have an SPF record set up, it’s important not to add more. This guide explains how to merge multiple SPF records into 1 line.
Now let’s look at ways to make managing email settings easier across your plugins.
5. Force the Same Sender Email in All Plugins
Many plugins use the site administrator email as the recipient for notifications. WordPress also sends email notifications to this address.
Now everything’s working, you’ll be able to change the site administrator email in WordPress from [email protected] (the EC2 default) to your own address.
On top of that, you may also run into an issue with the sender email address in various plugins.
Each plugin can set its own From email, and if the From Email doesn’t match the one you’ve set up in WP Mail SMTP, those emails will be sent without authentication. So your WordPress emails go to spam (or disappear).
To solve this, WP Mail SMTP lets you force the From email and the name across your entire site. This setting works with all plugins that use wp_mail() to send email.
When one or both of these settings are checked, the sender name or email set in other plugins will be ignored. So this is a quick and easy way to override any contact forms or plugins that might be sending email from unauthenticated addresses.
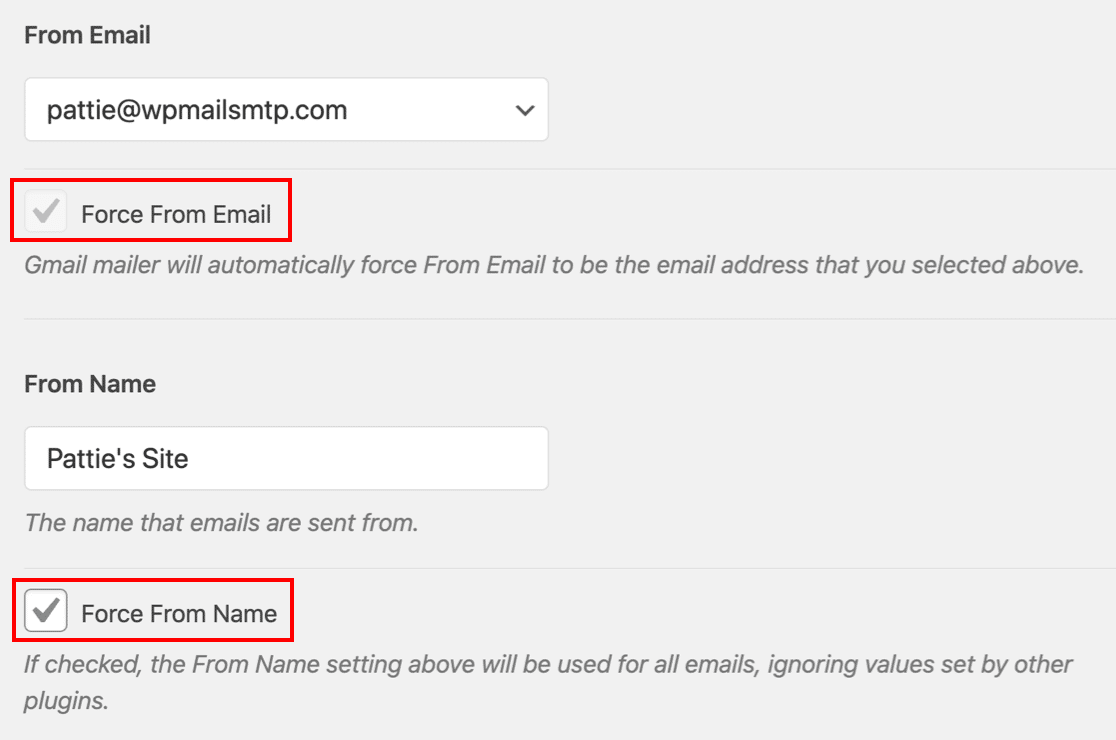
With some email providers, Force From Email is selected by default and grayed out, like in the screenshot above. That’s because the mailer will not allow emails to be sent from other addresses. This requirement varies by provider.
If you want to send emails from more than 1 address in WordPress, you can use multiple Gmail aliases to send emails in WordPress.
6. Control Core Update, Plugin, and Theme Notifications
Here’s a final tip if you’re using WordPress on multiple EC2 instances.
WP Mail SMTP lets you easily control automatic emails from WordPress, including plugin and core update notifications. You’ll find the settings under Email Controls.

From here, you can quickly turn off automatic update emails that you don’t want to receive.
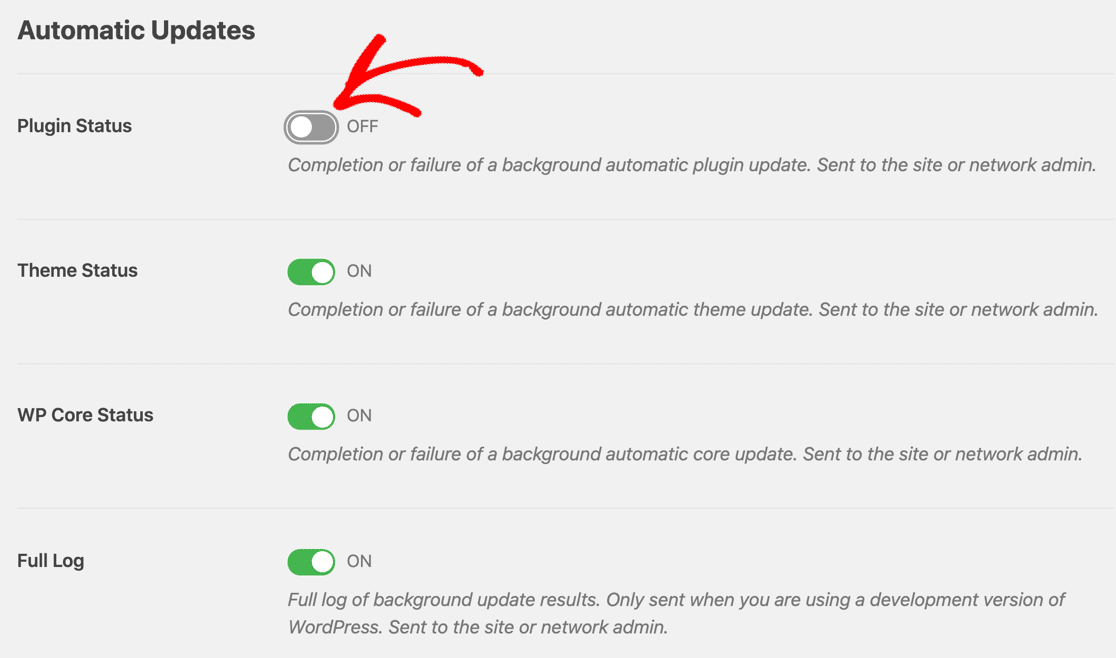
This setting is awesome if you have multiple testing or sandbox sites and you’d like to reduce the number of emails you get from WordPress.
Next, Review Your Plugins’ Email Settings
And that’s it! Now you’ve fixed issues with AWS EC2 not sending WordPress email.
It’s worth checking your email logs in WP Mail SMTP to track down plugins that may be sending emails. To help with that, check out our email configuration guides for:
Ready to fix your emails? Get started today with the best WordPress SMTP plugin. If you don’t have the time to fix your emails, you can get full White Glove Setup assistance as an extra purchase, and there’s a 14-day money-back guarantee for all paid plans.If this article helped you out, please follow us on Facebook and Twitter for more WordPress tips and tutorials.

