AI Summary
Are you looking to send an email with attachments from WordPress?
You might want your site to send file attachments from a contact form or a WooCommerce store.
In this article, we’ll show you how to achieve both and also archive the attachments that are sent.
Can WordPress Send Emails With Attachments?
Yes, WordPress can send emails with attachments. Most contact form plugins have the upload file field, but only a few have the option to send the file as an attachment as well. In this tutorial, we’ll use Formidable Forms and WooCommerce to show you how they generate and send attachments.
How To Send An Email With Attachments From WordPress
Let’s take a look at both use cases one by one:
First, we’ll use a contact form to send a file attachment.
1. Send A File Attachment From a Contact Form
If you want to allow your visitors to send you attachments, we recommend Formidable Forms. It’s a powerful contact form plugin that allows you to receive attachments along with the contact form notification.
The first thing you’ll need to do is to install and activate the Formidable Forms plugin. If you’re new to WordPress, you can take a look at this tutorial on how to install a WordPress plugin.
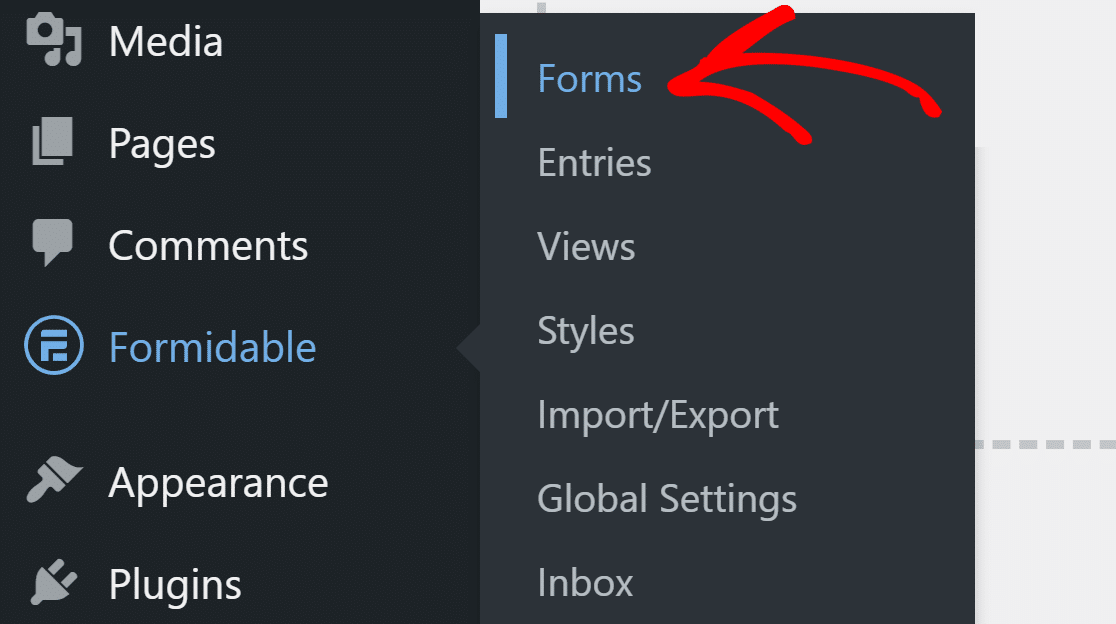
Once the plugin is installed, go to your WordPress dashboard and click on Formidable Forms » Forms.
Click on the Add New button at the top to search for a form template.

For this tutorial, we’ll create a job application form.
Click on the template to select it here:

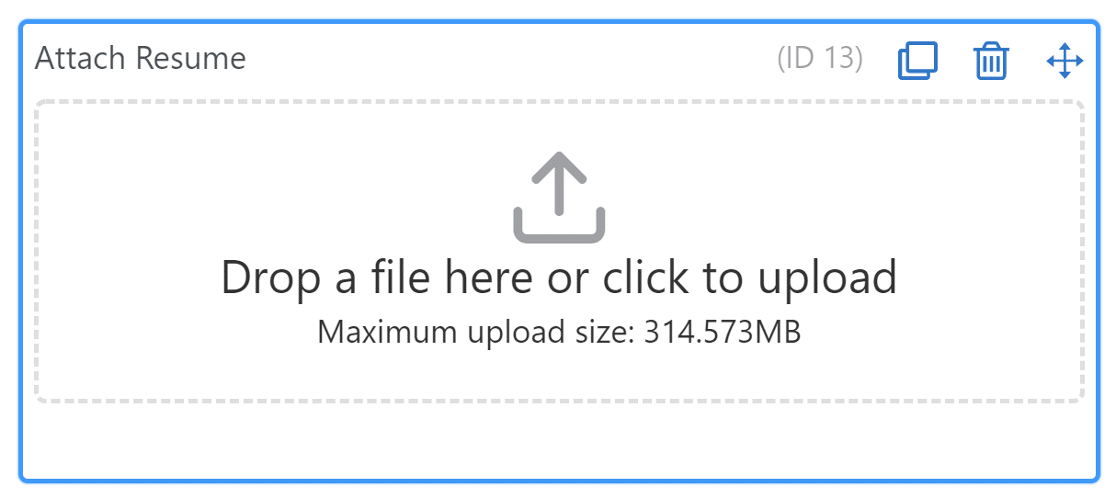
Next, click the File Upload field to configure the settings.
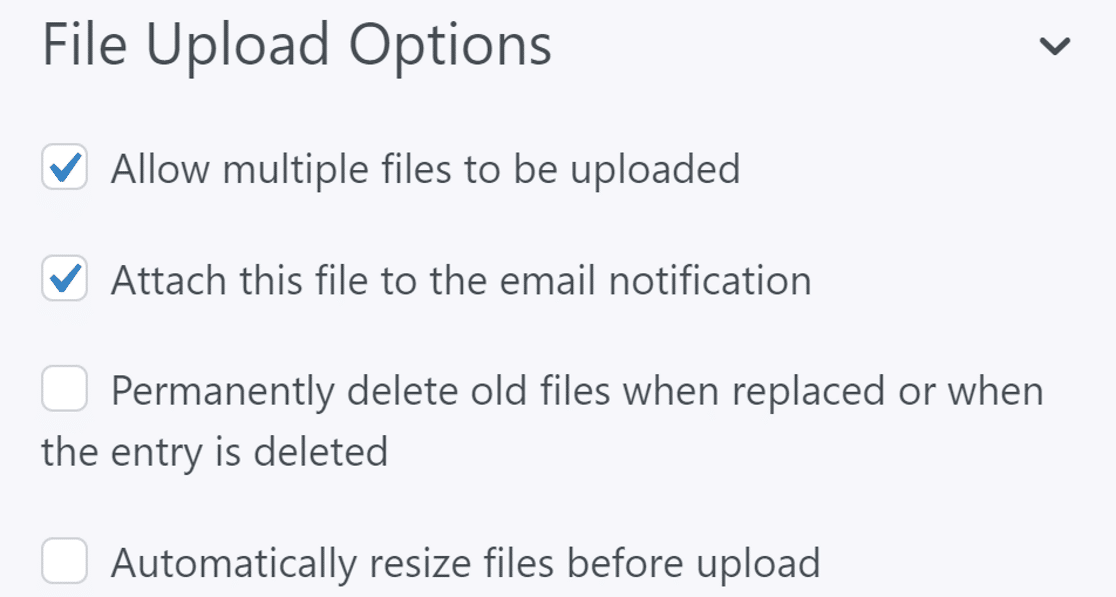
Under the File Upload Options, check the box labeled Attach this file to the email notification. The other settings here are optional:
Now, scroll down and specify the file types that you want to allow. You can set this to specific file extensions or allow all file types that WordPress supports.

Save your form for the changes to take effect.
Let’s now see how we can add the same form to a page.
Add Formidable Forms to a Page
You can add Formidable Forms to a page using a shortcode or a block, so we’ll use a block for this tutorial.
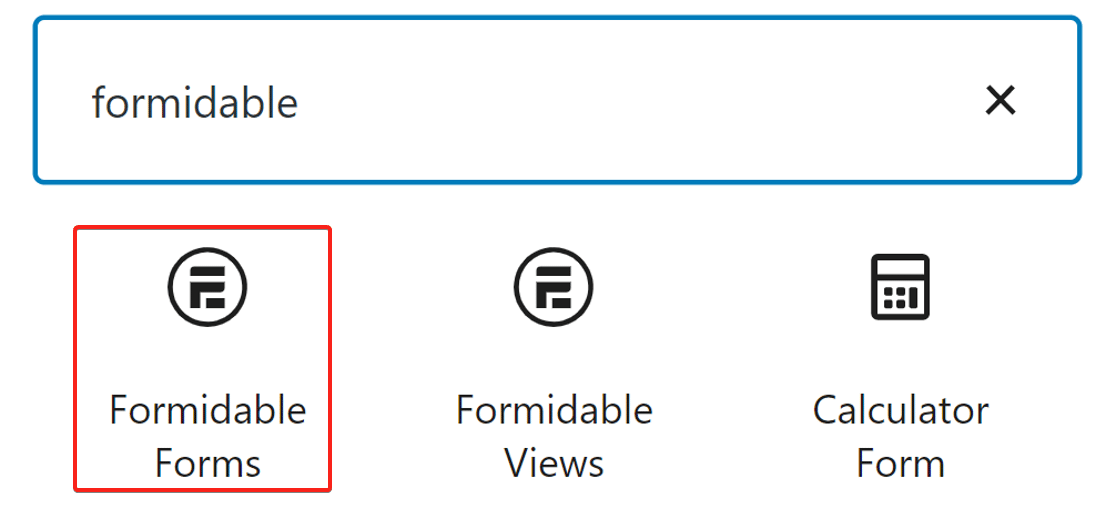
Open up any WordPress page, or search for an existing page. Once you’ve opened it up for editing, search for the Formidable Forms block.
Click on the Formidable Forms logo to add the block to your page:
Next, select the Job Application form you just created.
And that’s it! Publish the page and send a file through the form to test it out.
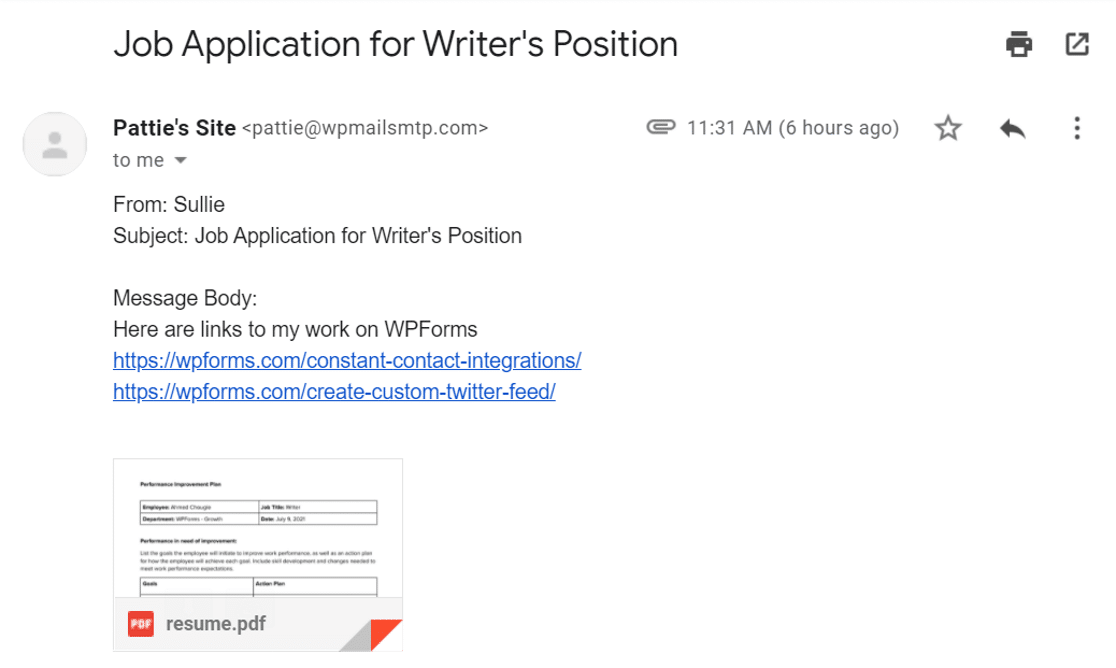
Let’s now see how to view those attachments directly into the WordPress dashboard.
View File Attachments in WordPress
The WP Mail SMTP plugin lets you save every attachment that’s uploaded through your contact form. This is a helpful way to keep a backup, and you can also resend the notification with its attachments if you need to.
If you’re new to WP Mail SMTP, you’ll want to download and install the plugin before continuing with this guide. Note that you’ll need the Pro version to enable attachment logging.
If you need a little help getting set up, check out this guide on how to configure WordPress SMTP settings.
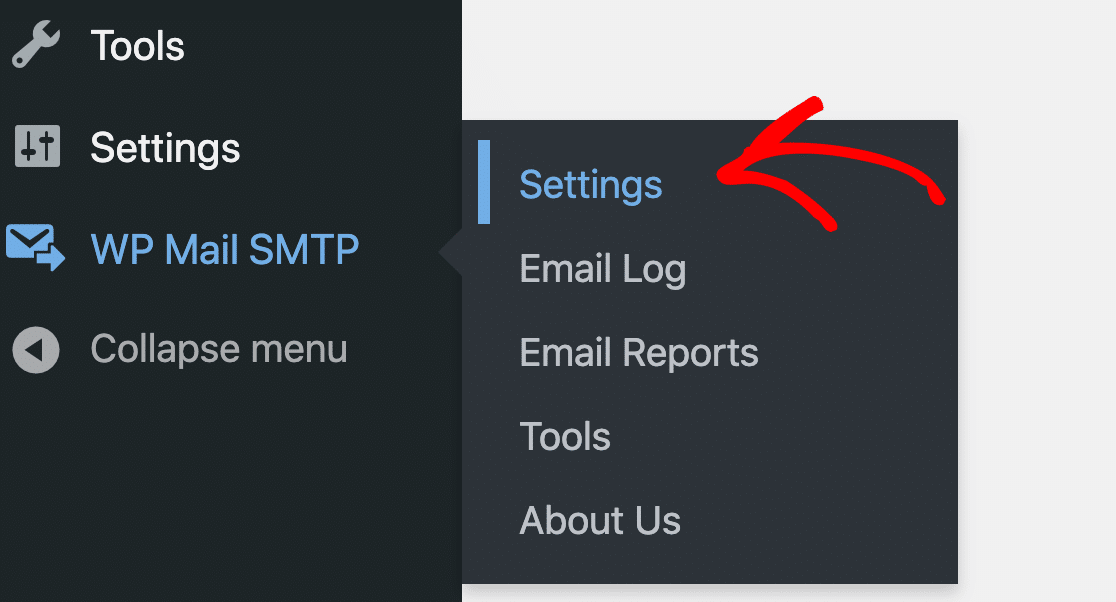
Once you’ve installed the plugin on your website we’ll need to tweak the settings to save attachments in WordPress. To start, head to WP Mail SMTP » Settings.
Next, from the top bar, switch to Email Log.
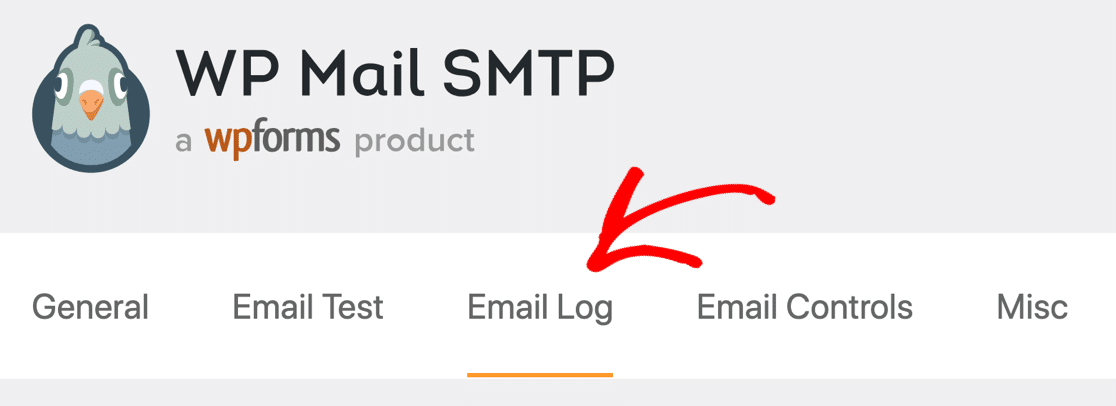
Here, check the checkboxes for Log Email Content and Save Attachments.
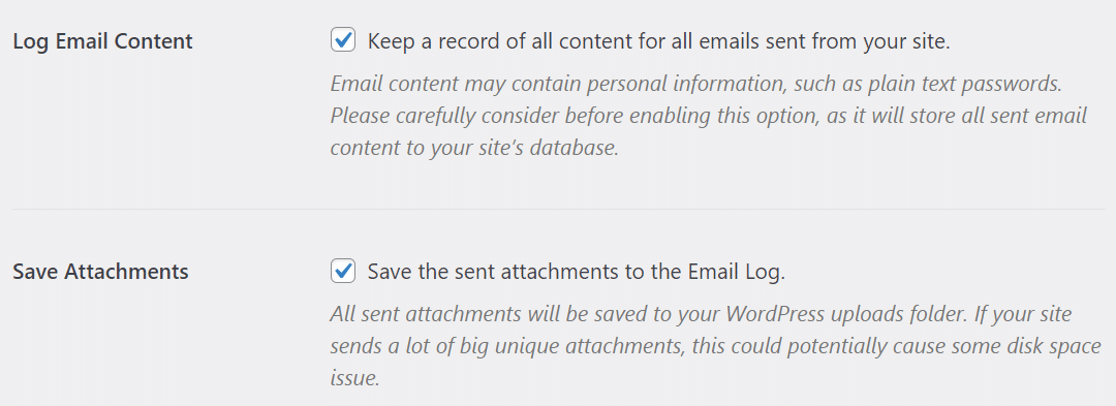
Finally, scroll to the bottom of the page and click Save Settings to apply your changes.
Now every email attachment that’s sent from Formidable Forms will be saved in your email log as well.
To see how it works, you can view the files at WP Mail SMTP » Email Log.
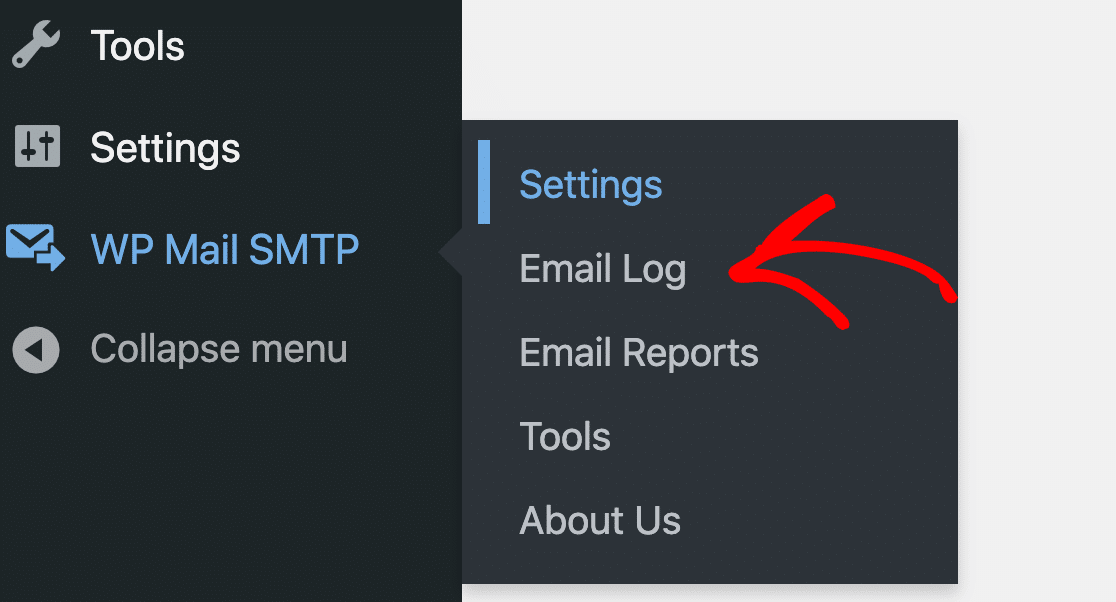
The files that have been uploaded appear in the Attachments section of the log file.
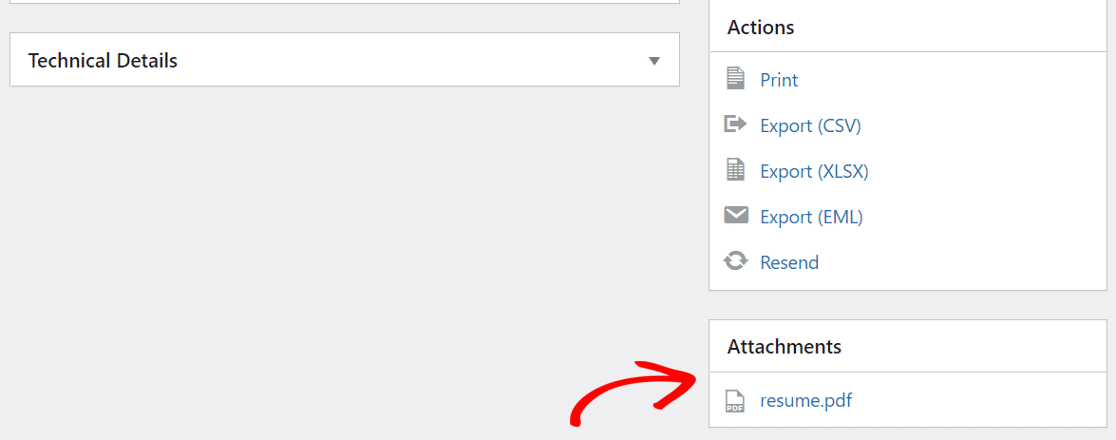
That’s it! Let’s now see how to send an invoice as an attachment in the WooCommerce emails.
2. Send Invoice Attachment From WooCommerce
Do you want to send an invoice to customers after they make a purchase? By default, WooCommerce includes the order information in the body of the email.
To send the invoice as an email attachment, you’ll need to install an additional plugin. Let’s see how it’s done.
Install the WooCommerce PDF Invoices & Packing Slips Plugin
To create an invoice and attach it to your WooCommerce emails, you can install the free WooCommerce PDF Invoices & Packing Slips plugin.
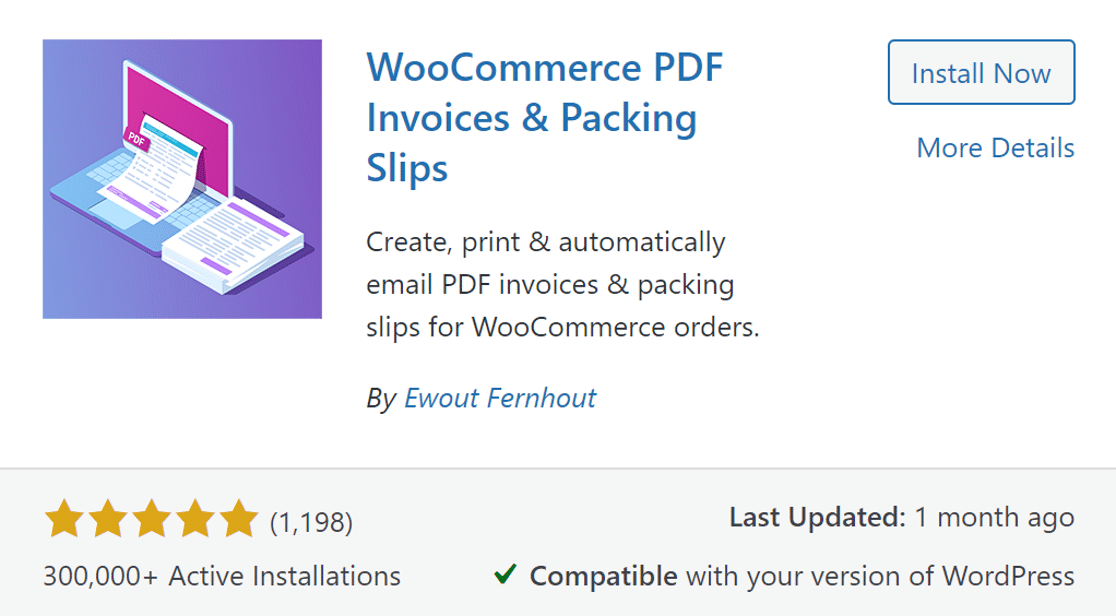
After installing and activating the plugin, click the Run the Setup Wizard button at the top to set it up.

The wizard allows you to:
- Customize the appearance of the invoice that will be added as an attachment
- Choose which emails should have an invoice attached.
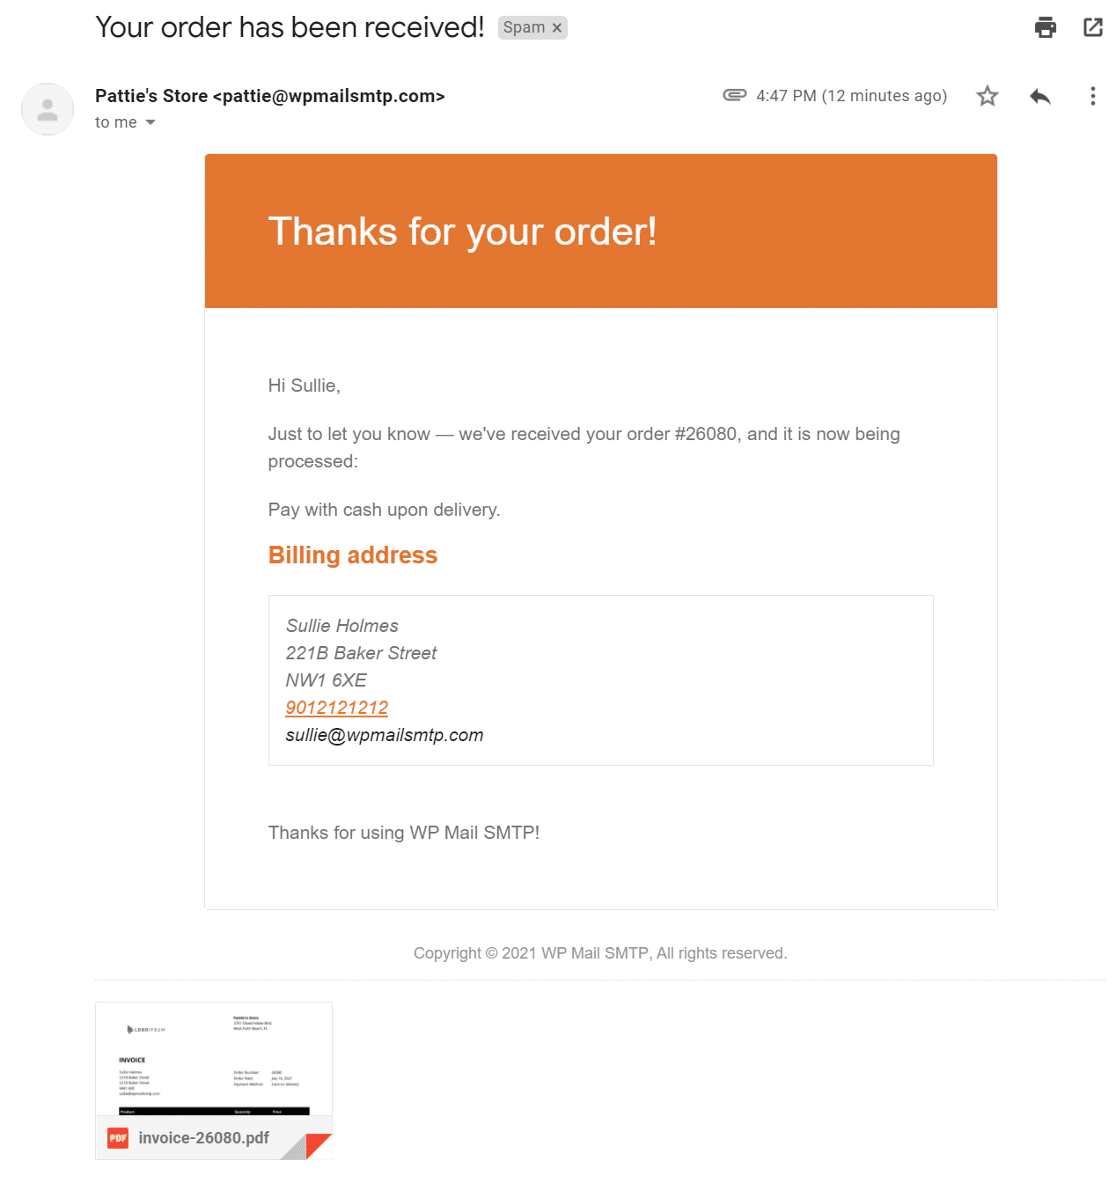
Let’s now see how we can use the same WP Mail SMTP plugin to export all of your invoices at once.
Export Attachments From Your Email Log
Go ahead and install the WP Mail SMTP plugin first. You can use the Setup Wizard to configure your chosen mailer and come back to this guide when you’re done.
In the plugin settings, be sure to check the checkboxes for Log Email Content and Save Attachments.

If you also want to log the content of the email, check that setting too. Then hit Save Settings.
Now you’re logging attachments on your order emails, you can view them in the Email Log in WP Mail SMTP.
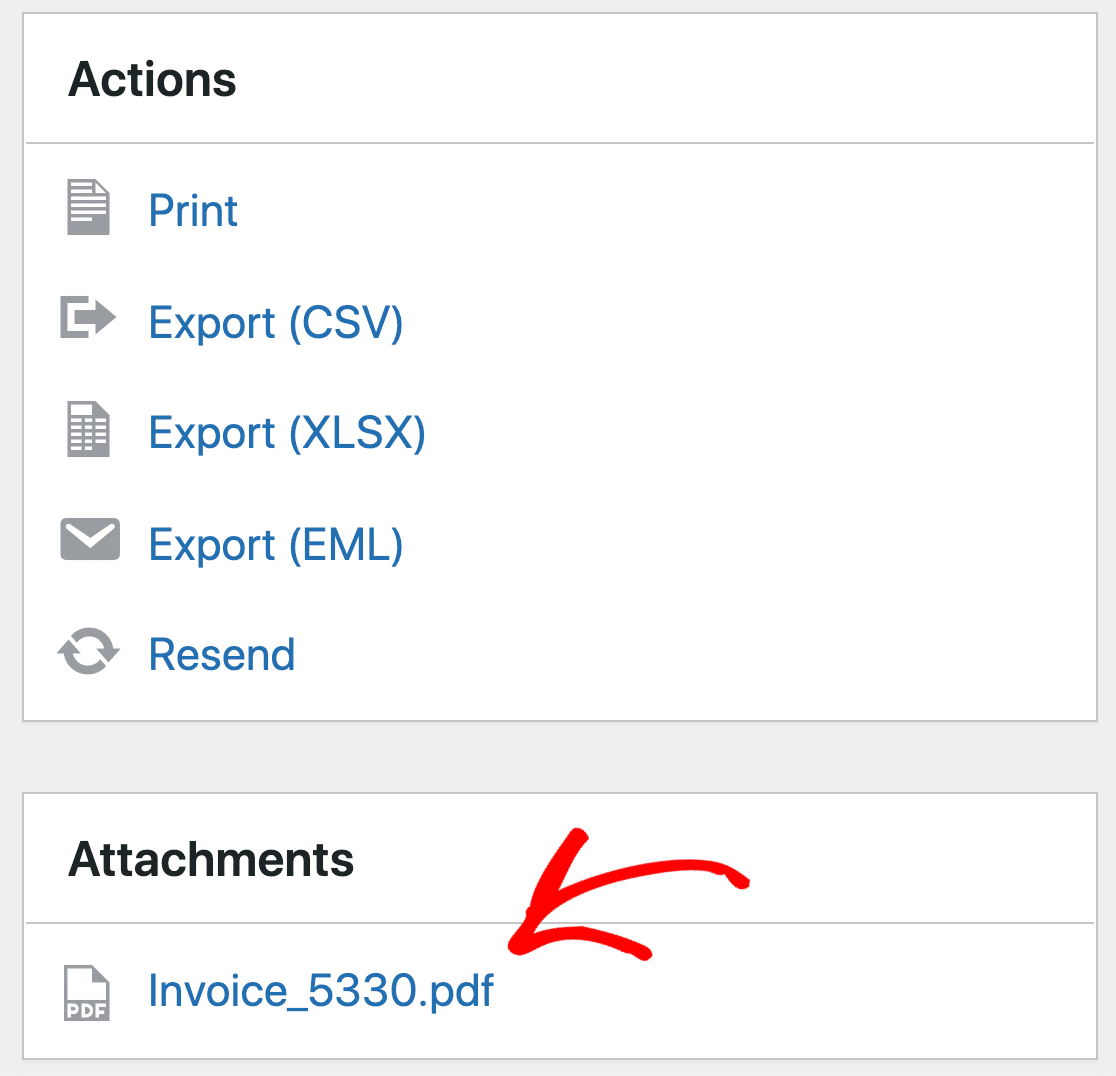
We can also export links to all of these attachments so you can quickly download the ones you need. This is super helpful when you need to complete your accounts.
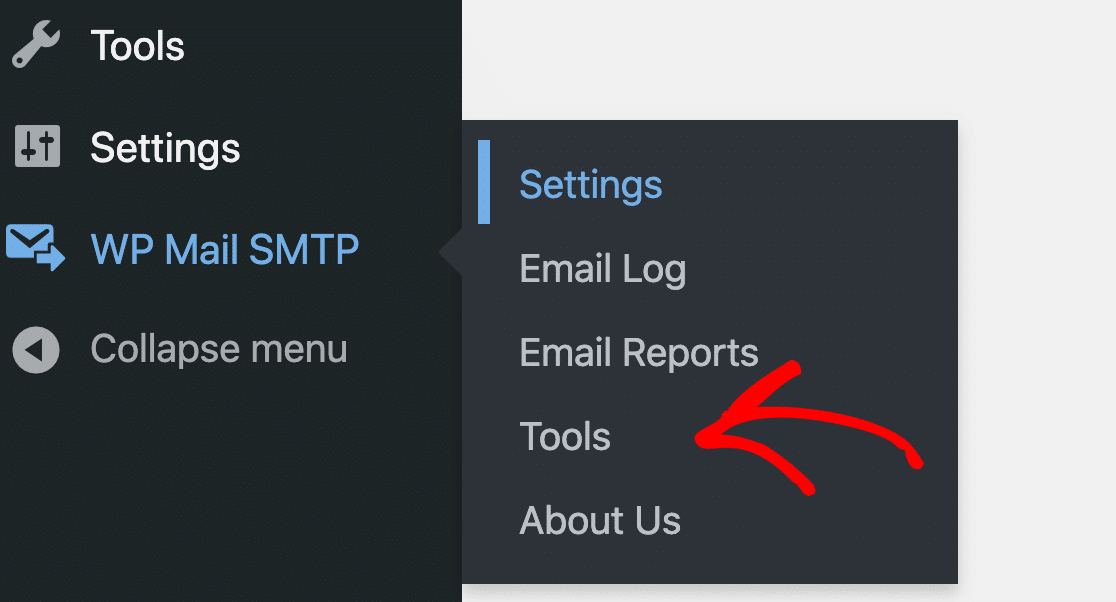
To begin, navigate to WP Mail SMTP » Tools.
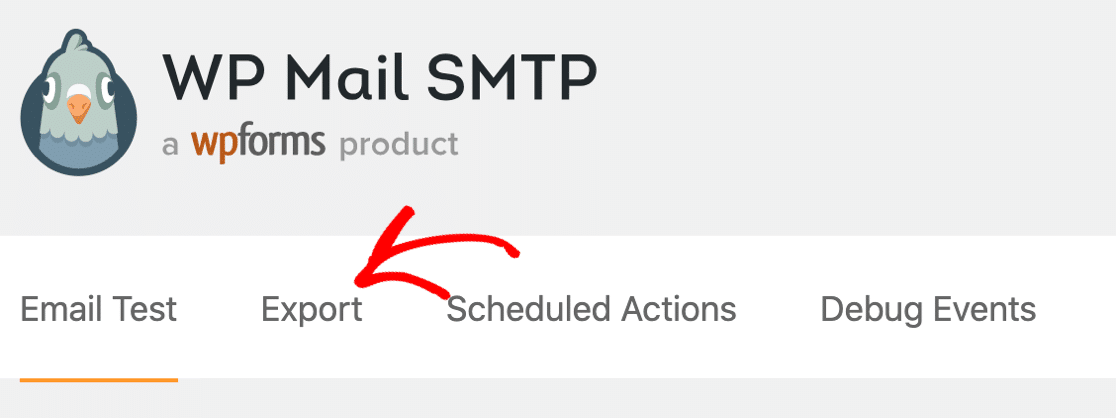
Then switch to the Export tab.
From here, we can create an export file that includes the information you need to refer to.
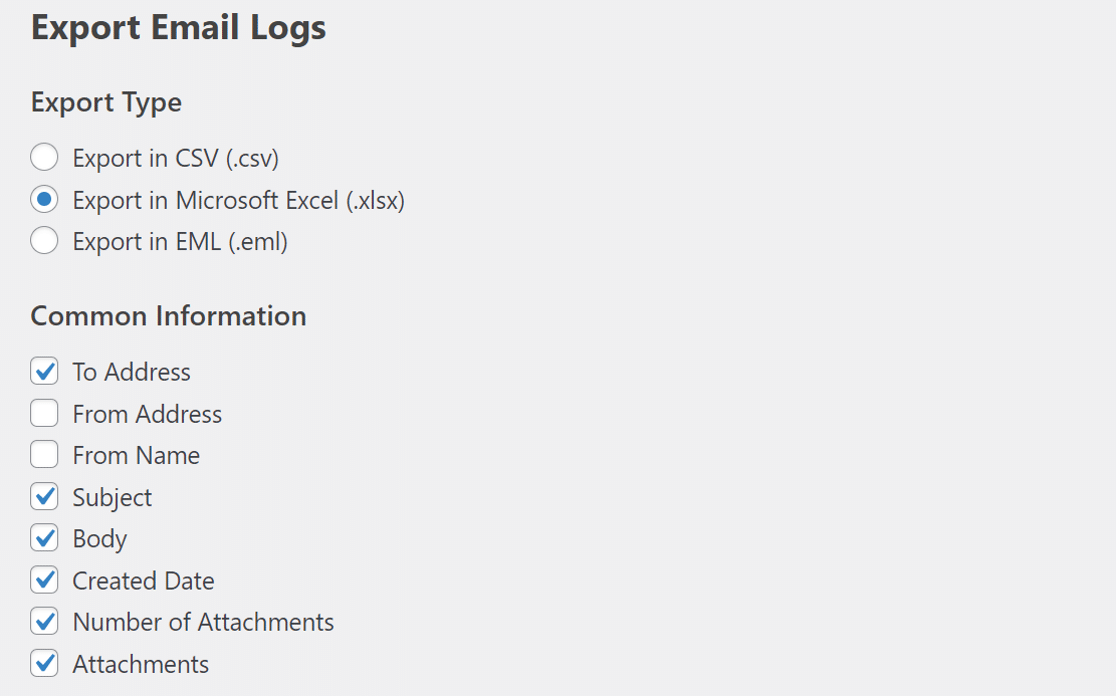
First, under Export Type, you can choose the file format for the email log export.
Note that the CSV and XLSX exports will generate a file with links to all of the attachments that were added to the emails in 1 column. If you choose EML format, you’ll be able to export the entire email as it was originally sent, so it keeps the message content and the attachment in 1 file.
Once you’ve set up the export file, be sure to check the Attachments box right at the end of the Common Information section:
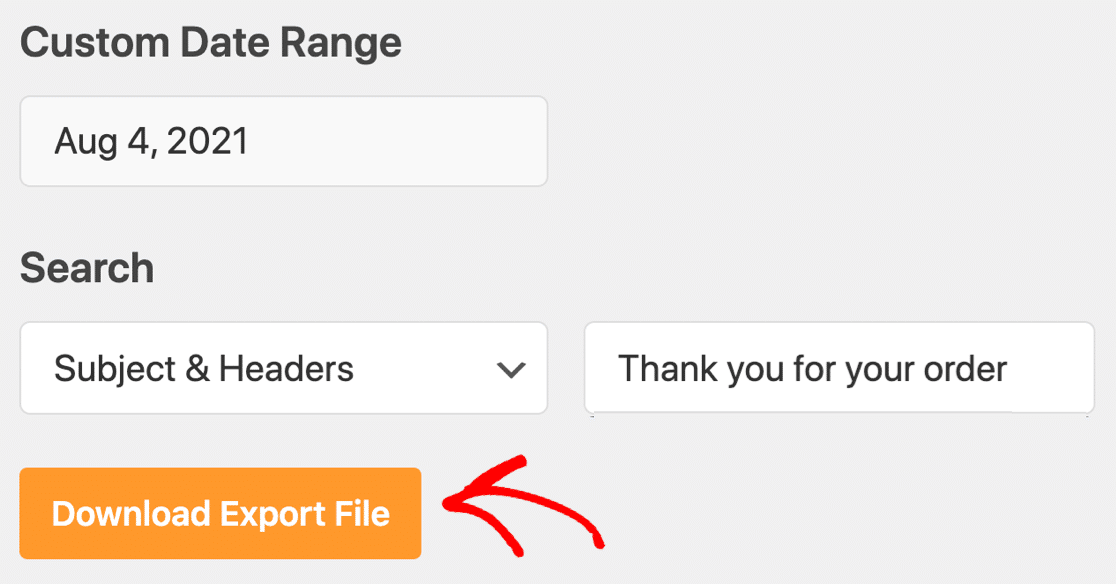
On this screen, you can also:
- Select a custom date range for the export
- Filter the export by a keyword in the subject or headers
All set? Hit Download Export File.
When you download the email logs, all of the links to your attachments will be included. Here’s what the content of the zip file looks like if we export it in EML format:

If you chose to export the file as XLSX or CSV, you’ll be able to download the files by clicking the links in the Attachments column.

And that’s it! Now you know how to send an email with attachments in WordPress and save or archive the files when you need to.
FAQs About Sending Emails With Attachments
Many of our users ask us about sending emails with attachments from WordPress. Here are some of the most common questions we receive:
How do I send an email with attachments in WordPress without a plugin?
You can hook into phpmailer_init and pass an array of file paths to the $mail->addAttachment() method, or use the attachments parameter of wp_mail(). This works, but you must supply working SMTP credentials in the code or the message will fail (often with a 500 error). For non-coders, a plugin is still the safer route.
What is the maximum file size for email attachments in WordPress?
WordPress inherits your server’s upload_max_filesize (typically 4 MB – 128 MB, but some hosts allow up to 500 MB) and then passes the file to your mailer, which may impose a much lower cap. For example, Brevo allows 4 MB, while Amazon SES accepts up to 40 MB but charges per gigabyte.
Why do my WordPress emails with attachments land in spam, and how can SMTP fix that?
PHP mail sends unauthenticated messages, so Gmail and Yahoo’s 2024 DMARC policy often sends them to junk or blocks them completely. Switching to an SMTP plugin like WP Mail SMTP and authenticating each message with SPF/DKIM improves deliverability, even when an attachment is present.
Do SMTP providers limit attachment size?
Yes, limits vary by provider and can override WordPress or server settings. Common caps are Brevo 4 MB, SMTP.com 15 MB, Amazon SES 40 MB (with ~$0.12/GB overage fees), SendGrid 10 GB, and Gmail / Google Workspace 25 GB. Always check your mailer’s current policy before sending large files.
Next: Pick a Transactional Email Provider
If you’re running an online store, you need to make sure that your order emails are delivered instantly. We’ve got a guide that lists the best transactional email provider to help you pick one for your WooCommerce store.
Also, don’t forget to see this tutorial on how to create a custom WordPress sidebar if you’re planning on adding one to your site.
If you’re using a form plugin like Visual Form Builder and experiencing notification issues, check out this troubleshooting guide on Visual Form Builder email not sending.
Ready to fix your emails? Get started today with the best WordPress SMTP plugin. If you don’t have the time to fix your emails, you can get full White Glove Setup assistance as an extra purchase, and there’s a 14-day money-back guarantee for all paid plans.
If this article helped you out, please follow us on Facebook and Twitter for more WordPress tips and tutorials.

