AI Summary
Is your SiteOrigin contact form not sending email?
The SiteOrigin contact form widget can be used to create basic forms for your website. If it’s not set up right, you won’t get the messages you expect.
In this tutorial, we’ll show you how to fix the problem with your SiteOrigin contact form not sending emails.
Fix Your SiteOrigin Contact Form Emails Now
What Is SiteOrigin?
SiteOrigin is the company behind SiteOrigin Widgets and the Page Builder by SiteOrigin. You can use the Widgets with or without the page builder plugin.
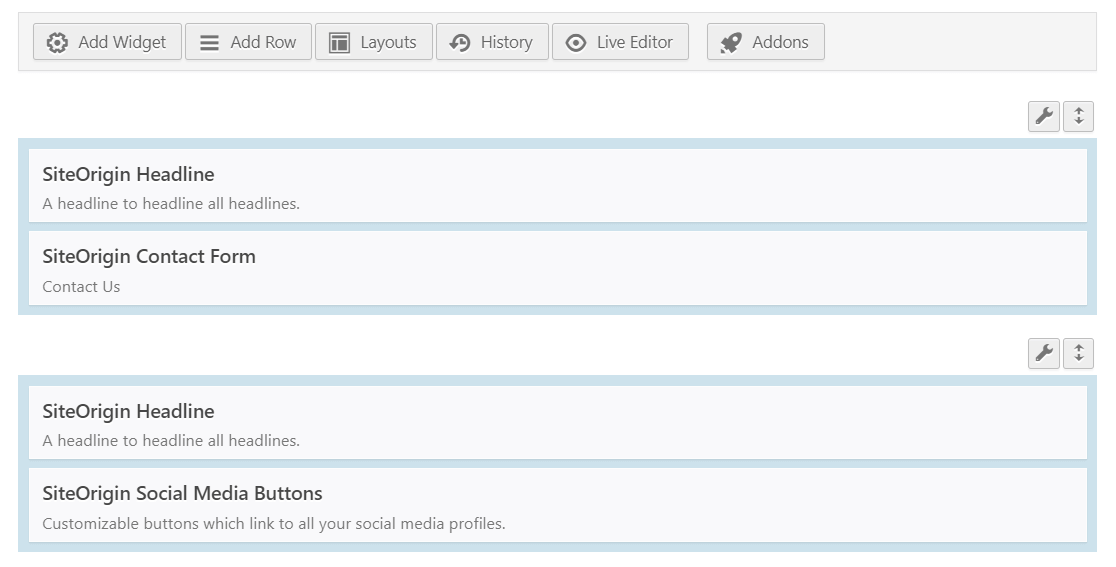
In this article, we’re specifically looking at issues with the contact form widget.
Sometimes, SiteOrigin contact form emails go directly to spam or get lost. That’s because WordPress uses thewp_mail() function to generate and send emails from your website.
Emails that are sent this way lack authentication, and that’s why most email client apps treat them as spam. Sometimes, the emails are blocked completely and don’t even make it to the spam folder.
We’ll show you how to fix this in the steps below.
How to Fix SiteOrigin Contact Form Not Sending Email
In This Article
1: Test SiteOrigin Contact Form Spam Settings
SiteOrigin’s contact form has its own spam protection. If the spam protection settings are not configured properly on the site, it can cause problems while submitting the form.
First, from the WordPress dashboard, open the page on which you have the contact form.
Click on the pencil icon below the title to open the Layout Block settings.
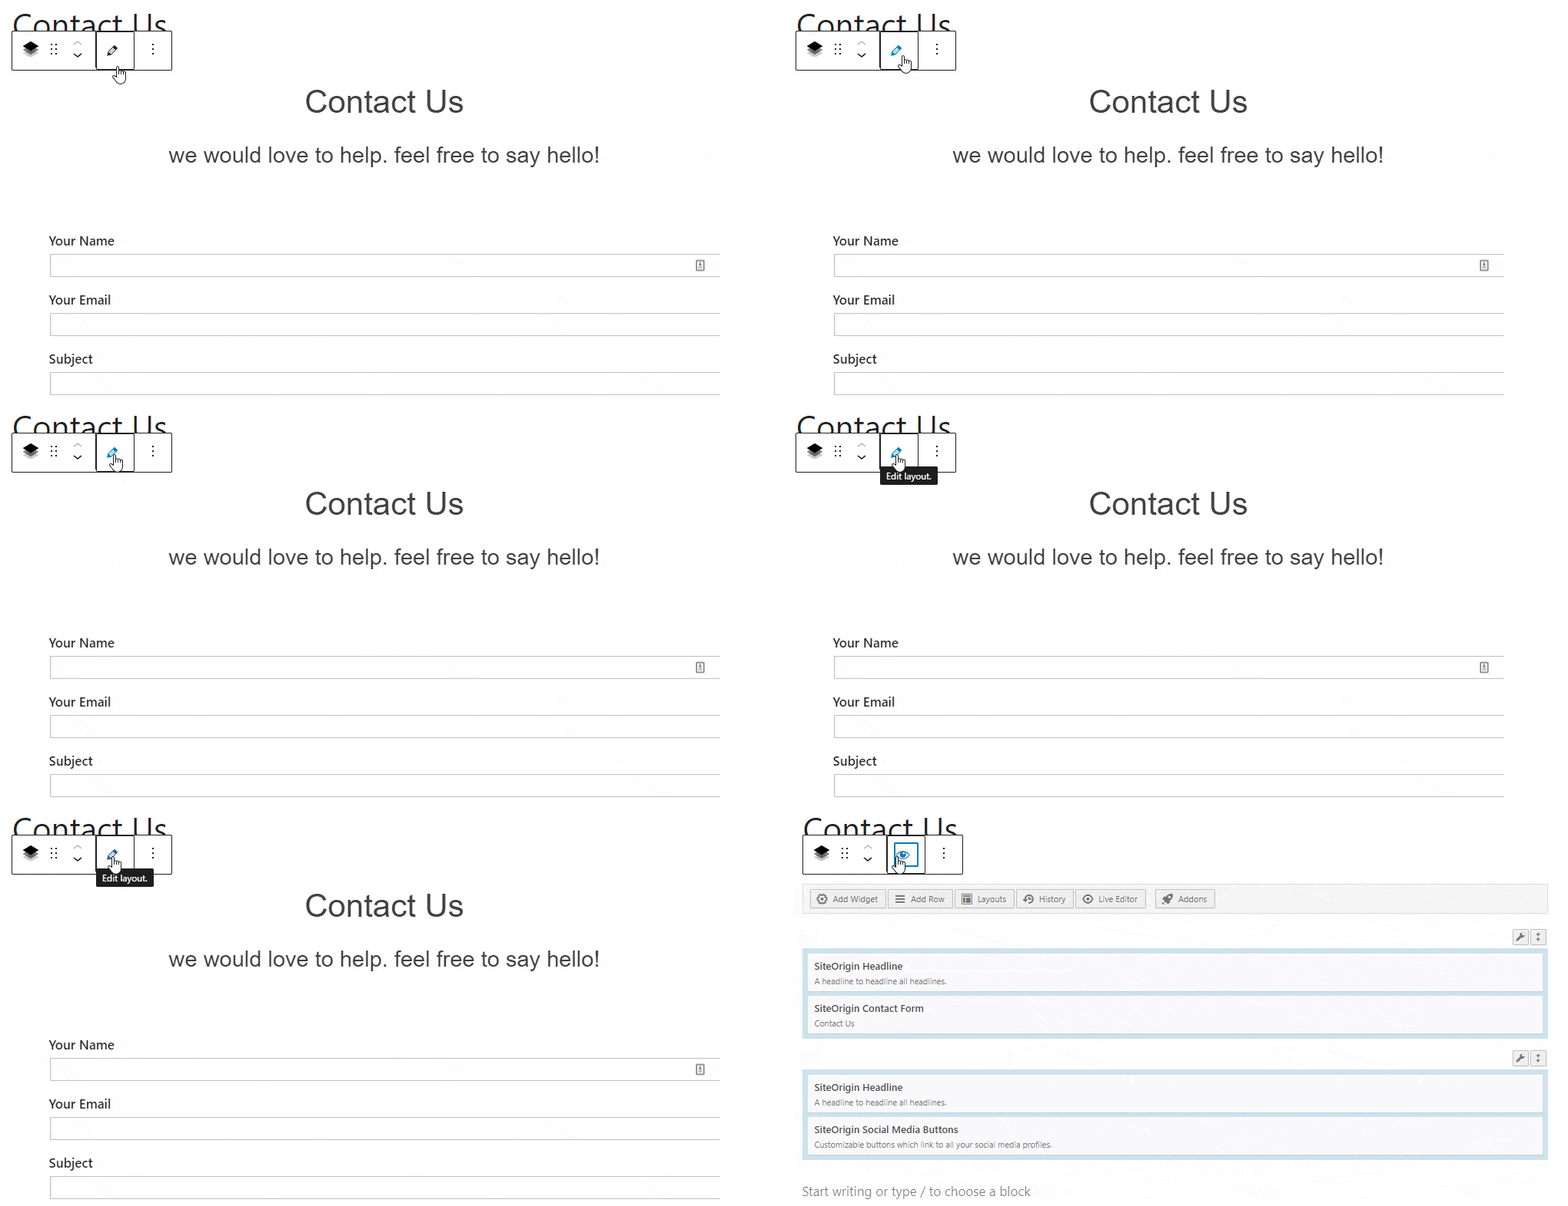
Hover your mouse over the SiteOrigin contact form widget and click on Edit. That’ll open the window with the contact form settings.

Scroll down to the Spam Protection section and click on it to expand it.
Uncheck the boxes for reCAPTCHA v2 and Akismet.
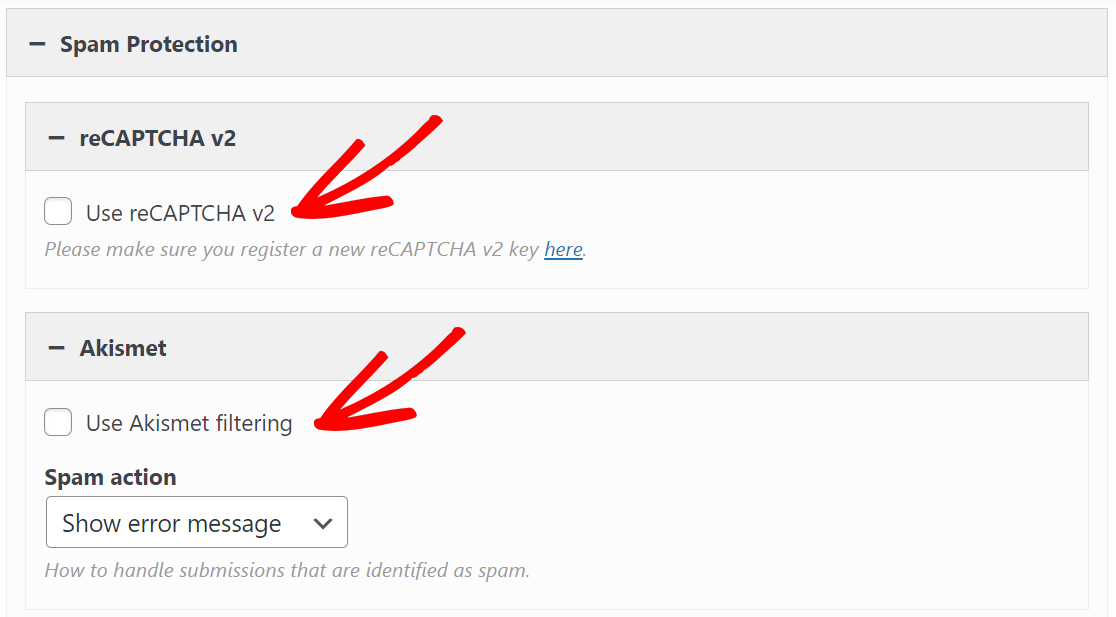
Click on Done to save the settings.
Now, go to the frontend and submit the contact form to check if the problem is fixed. This may help you track down the problem, or at least eliminate the spam protection while troubleshooting.
Next, let’s take a look at the sender and recipient addresses.
2: Change the To and From Email in Settings
Let’s check if the contact form you are using has the notification settings correctly set up.
Similar to the above steps, open the SiteOrigin contact form settings and click on Settings to expand it. You’ll see the option for To and From email settings.

Make sure the email addresses are correct here. If you’re not using a separate email plugin for SMTP, it’s best to use a sender address that matches the website’s domain.
If you don’t want to do this, we’ll show you how to authenticate a different From email using WP Mail SMTP in the next section.
When you’re done editing, click on Done to save the changes. Now test the contact form on the frontend to check if your contact form is sending emails more reliably.
If the above troubleshooting steps don’t help, the next step is to install the WP Mail SMTP plugin.
3: Install the WP Mail SMTP Plugin
WP Mail SMTP is the best SMTP plugin for WordPress.
Instead of relying on your webserver to send emails, WP Mail SMTP connects your website to a dedicated mailer service like SendLayer, SMTP.com, or Brevo (formerly Sendinblue) instead. This vital change will add extra verification so your emails don’t go to spam.
To download the WP Mail SMTP plugin, head over to the Downloads tab in the account area. There, click on the orange button to download the zip file.
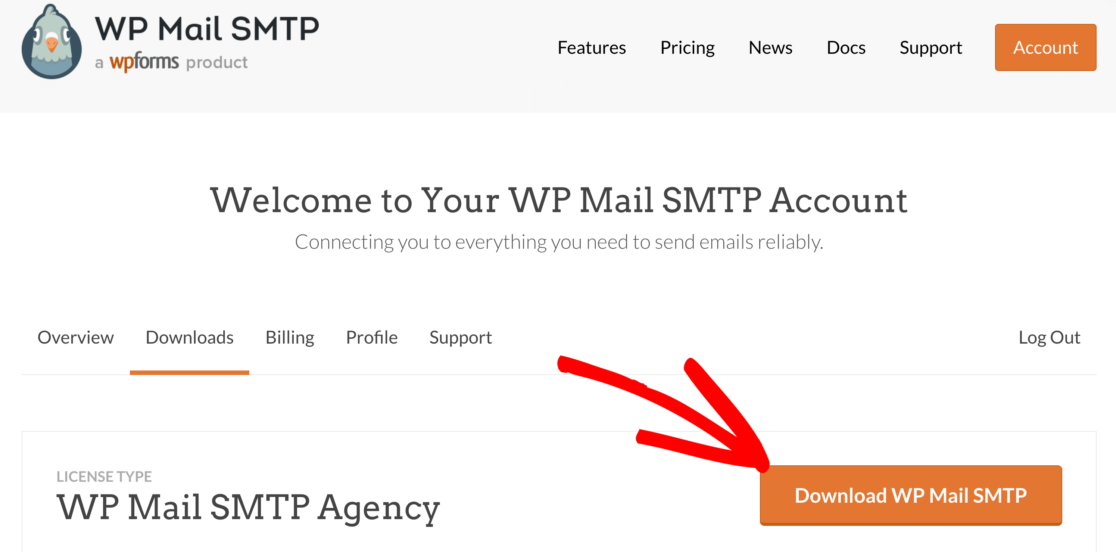
Once you have the zip file, head over to the WordPress dashboard of your website and upload the file. If you are not sure how to, check out our step-by-step guide on how to install a WordPress plugin.

Make sure to Activate the plugin. This will open up the Setup Wizard, which makes configuring the plugin very easy.
Now that we’ve got the plugin active on our website, let’s fix SiteOrigin contact form not sending email.
4: Set Up Your Mailer Service in WordPress
Once you have the Setup Wizard running, click on the Let’s Get Started button.

Next, choose the mailer service you want to use.
We strongly recommend that you use a mailer with an API. In less technical terms, that means you’ll connect to the email provider by adding a secret key, which is a random string of text and numbers.
This is more secure than using an SMTP password, but the option is there if you want to use SMTP instead.
SendLayer, Brevo, and SMTP.com are our recommended mailers. They all offer API connections.
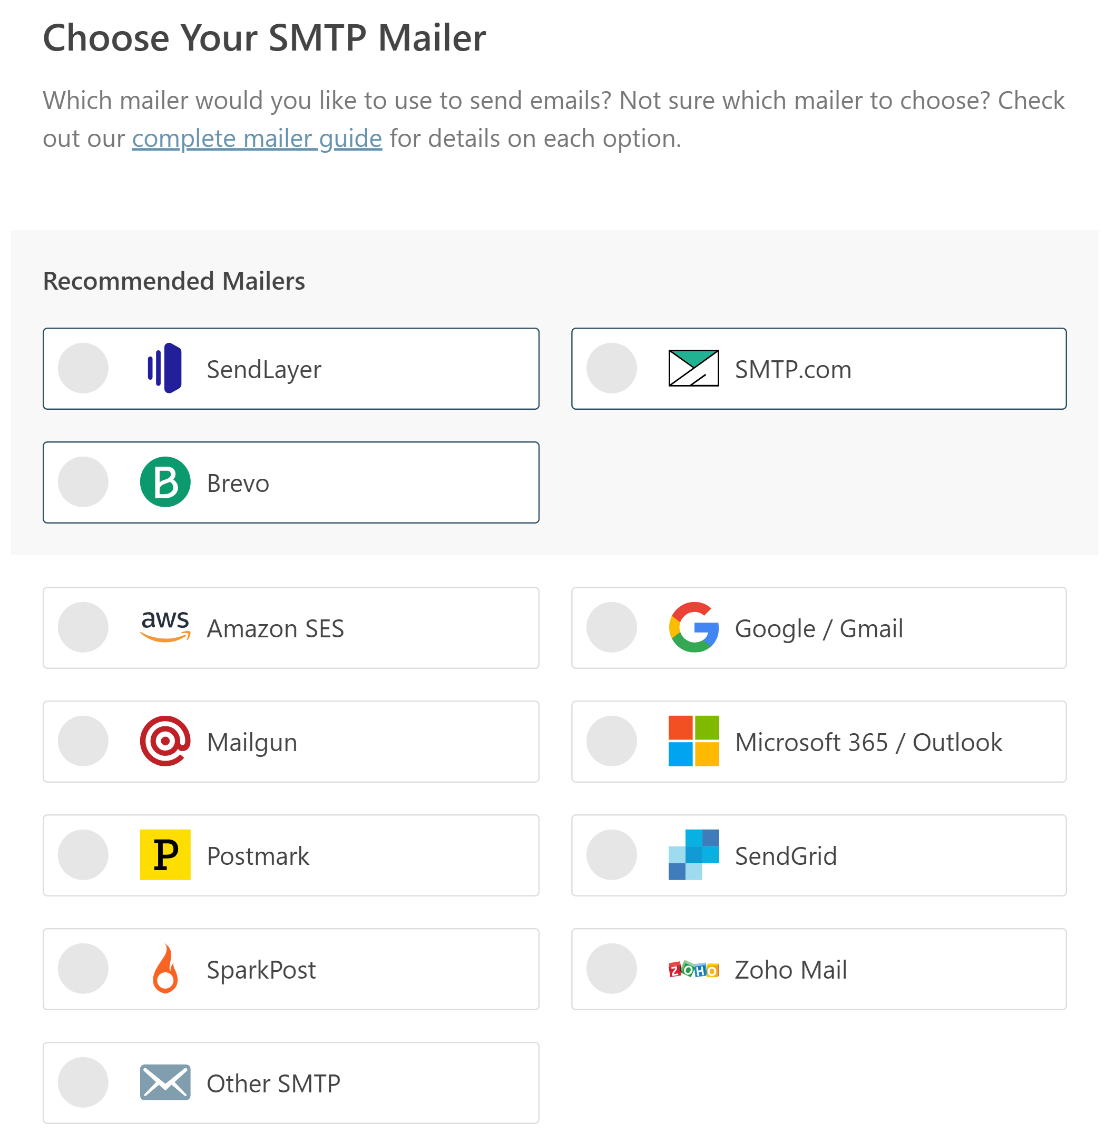
Next, you’ll want to sign up for your provider and connect your site.
This can be a little time-consuming. We put together a doc for each email provider to help you complete this as quickly and smoothly as possible:
| Mailers available in all versions | Mailers in WP Mail SMTP Pro |
|---|---|
| SendLayer | Amazon SES |
| SMTP.com | Microsoft 365 / Outlook.com |
| Brevo | Zoho Mail |
| Google Workspace / Gmail | |
| Mailgun | |
| Postmark | |
| SendGrid | |
| SparkPost | |
| Other SMTP |
If you want to set up multiple mailers, you can do so in the Additional Connections settings once you’ve finished the Setup Wizard. Then you can select a Backup Connection and configure Smart Routing.
Once you’ve followed the full setup process in our doc, switch back to this tutorial.
In the next step, we’ll enable Detailed Email Logs, which is a Pro feature.
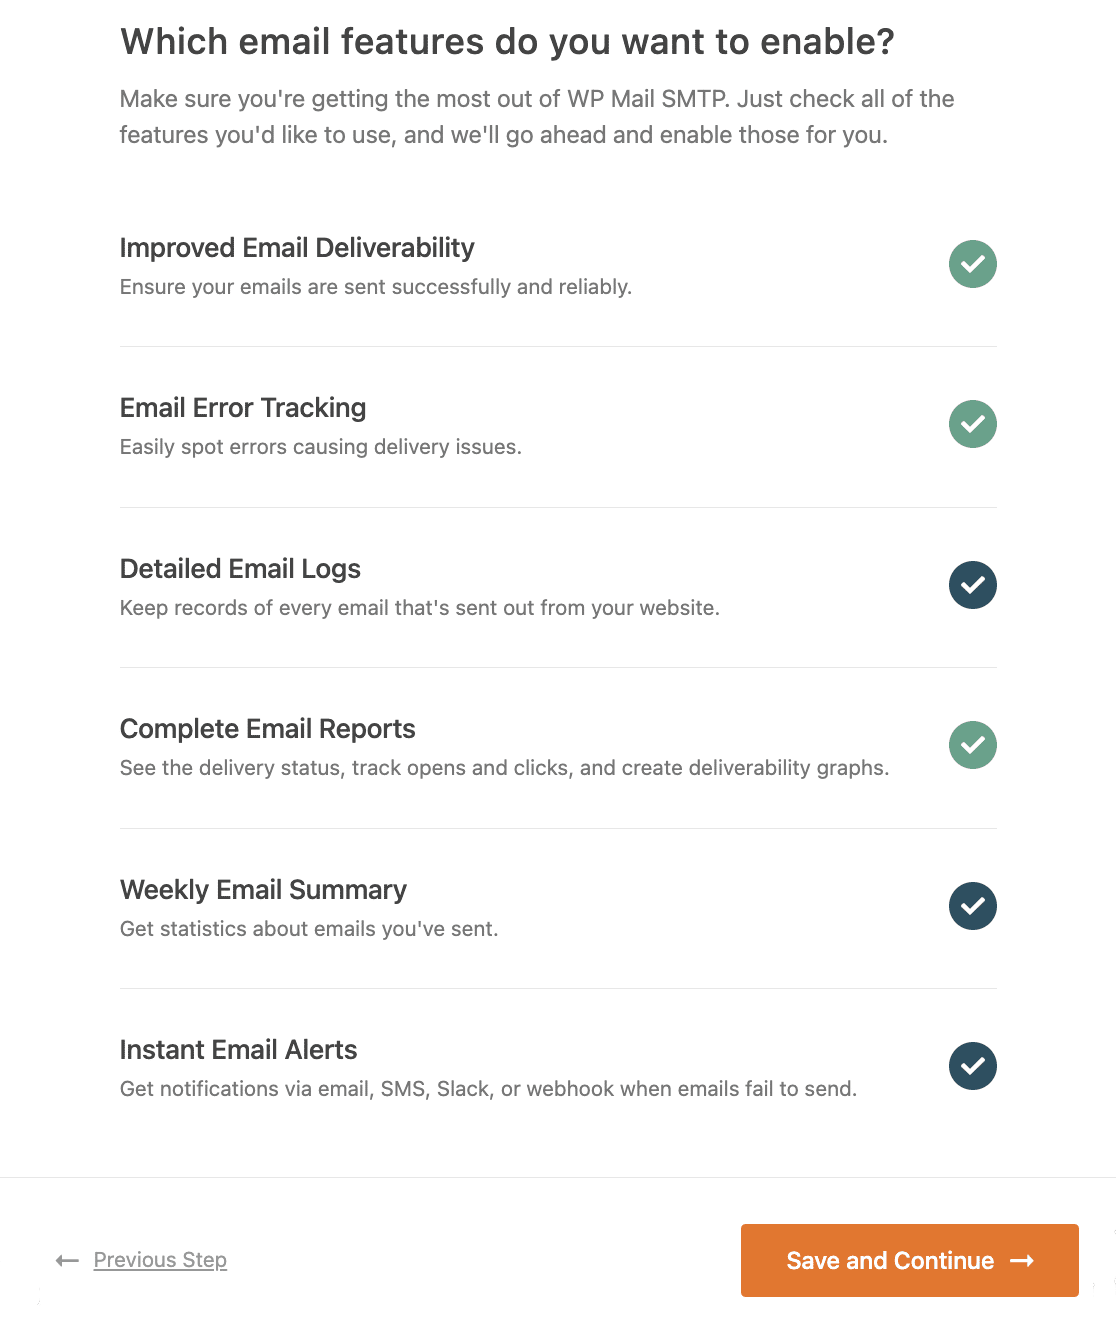
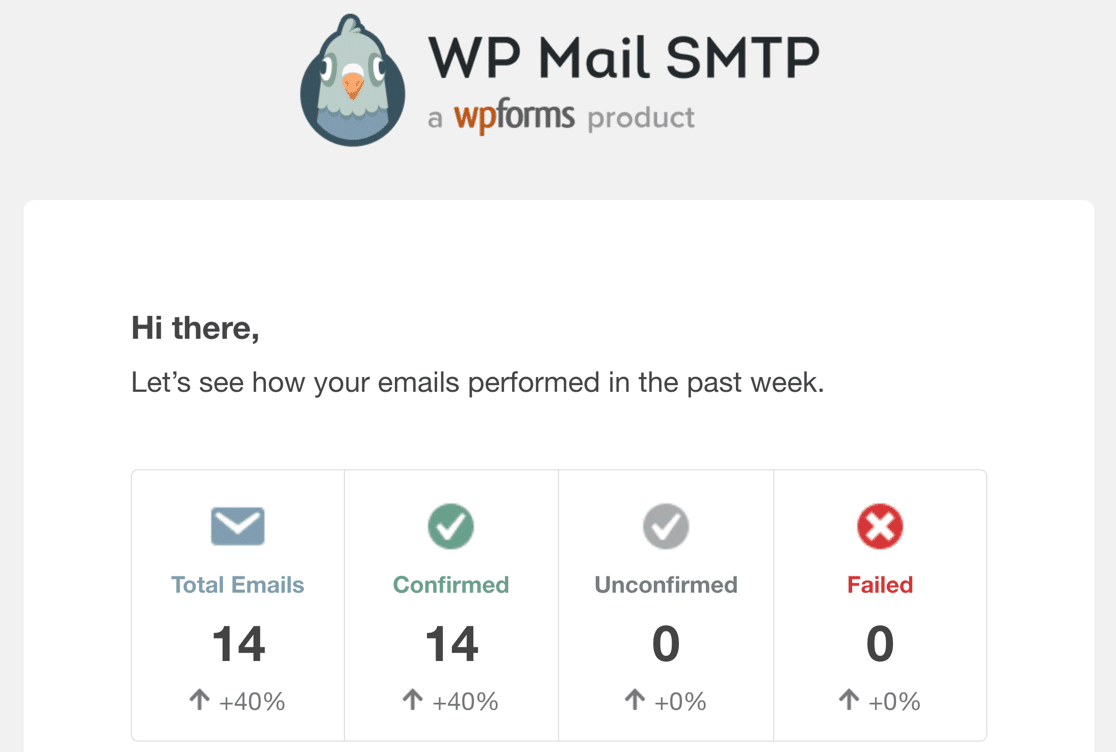
When you enable WordPress email logging you’ll unlock a ton of additional functionality in the WP Mail SMTP plugin. Complete Email Reports will be turned on automatically, and you can also choose to get the Weekly Email Summary, which includes your email delivery stats for the past week.
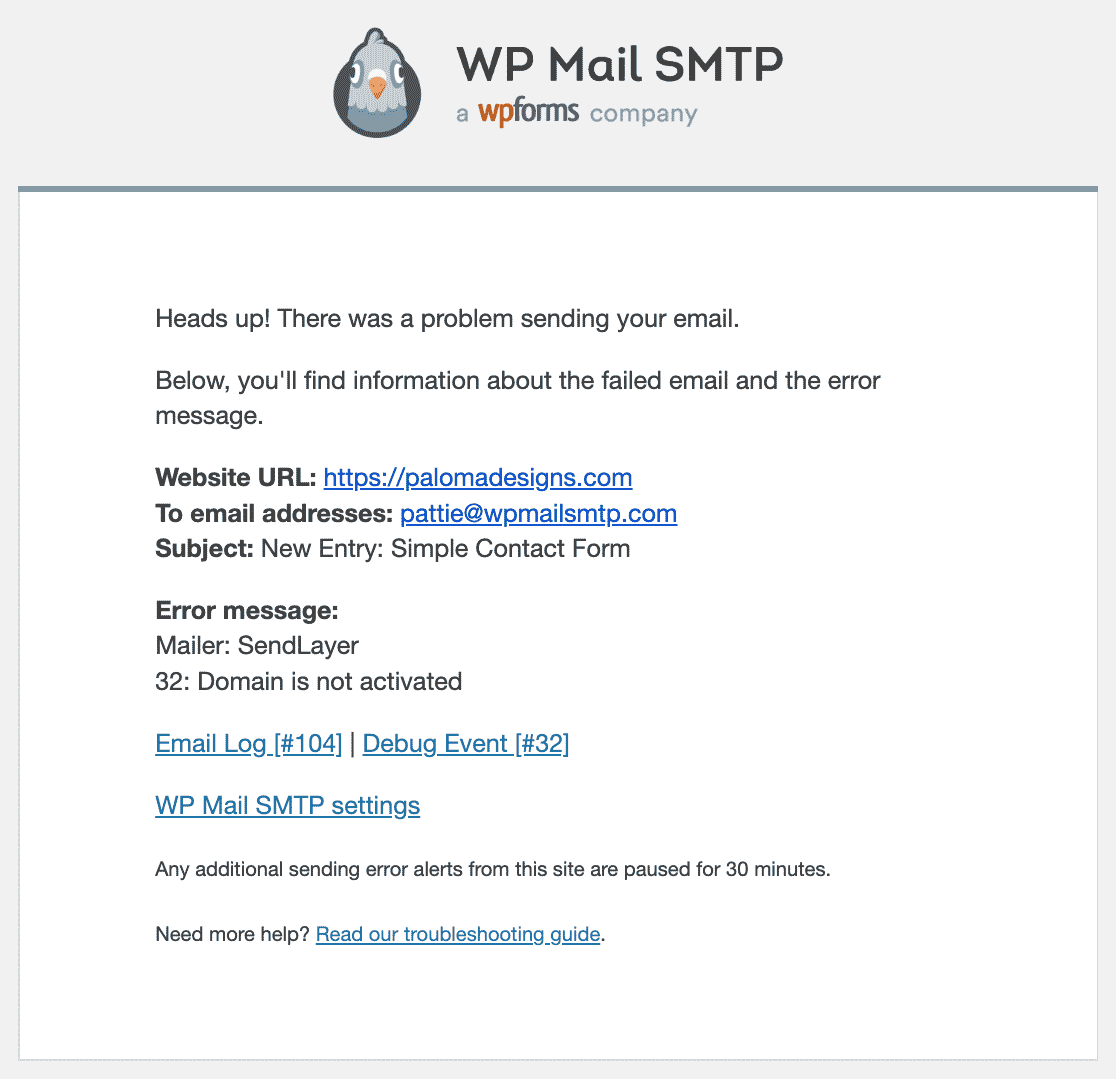
The Instant Email Alerts feature lets you know if your site fails to send an email so you can fix the issue quickly.
On the next screen, there are even more email logging features you can enable.
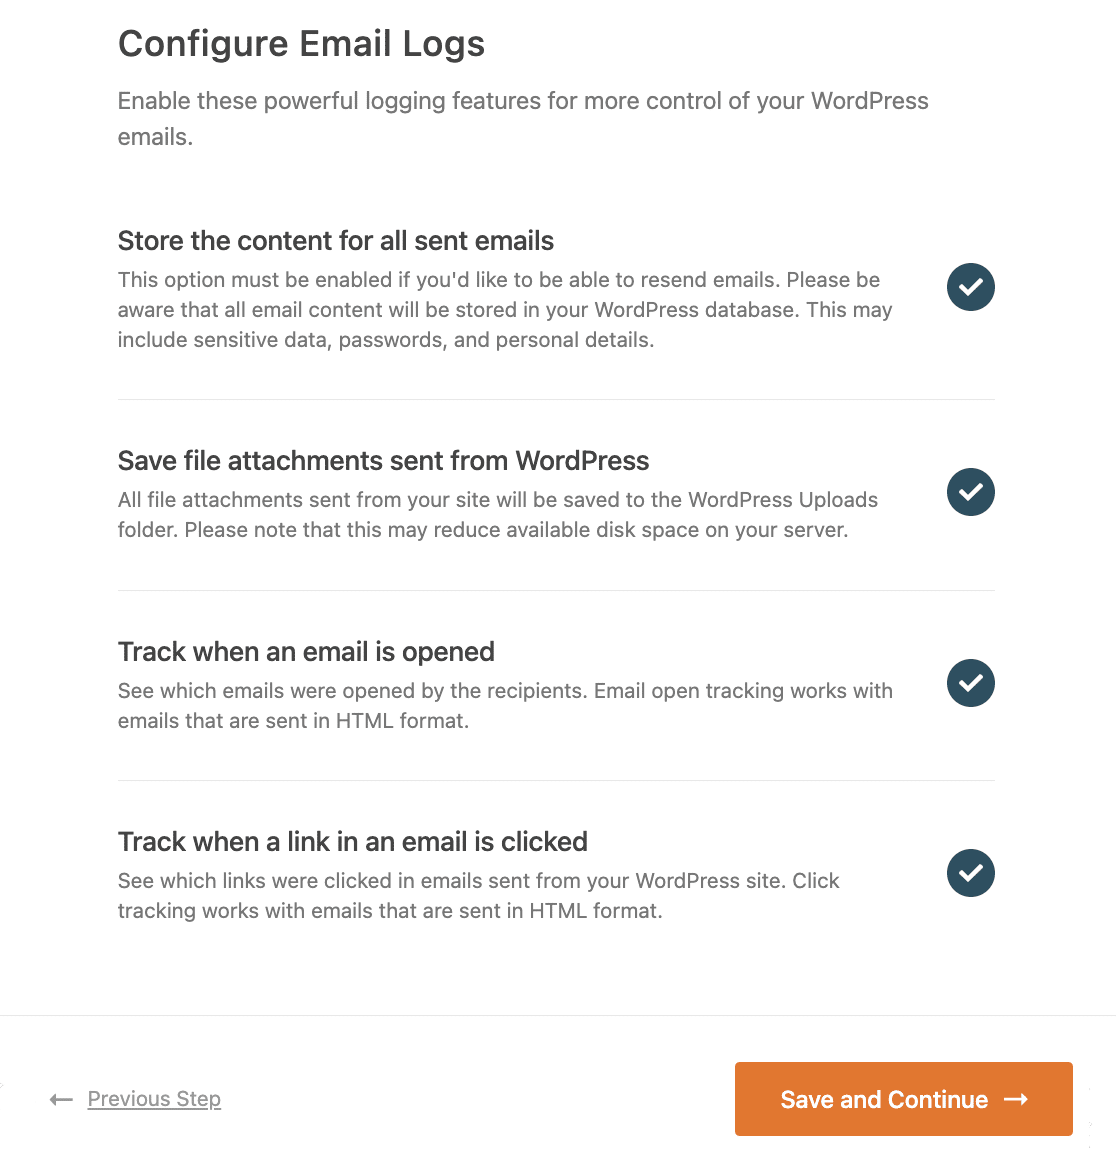
These options include:
- Full email content logging
- File Attachment Storage
- Email open and click tracking, which is an awesome way to track user activity
These features can also be enabled on the plugin’s Settings page.
Now click on Save and Continue to proceed to the next step. Enter your license key when prompted.

And that’s it! WP Mail SMTP will send you an automatic test email so you can check that your WordPress emails are fixed.
Fix Your SiteOrigin Contact Form Emails Now
Next, Set Up Your DNS Zone
Now you know how to fix SiteOrigin contact not sending email. But your emails might still go to the junk folder. You can fix this by following our detailed guide on creating a DMARC record for your domain.
Ready to fix your emails? Get started today with the best WordPress SMTP plugin. If you don’t have the time to fix your emails, you can get full White Glove Setup assistance as an extra purchase, and there’s a 14-day money-back guarantee for all paid plans.If this article helped you out, please follow us on Facebook and Twitter for more WordPress tips and tutorials.

