AI Summary
Is The Events Calendar not sending email from your website?
If event notifications aren’t working, your visitors might miss out on tickets or event notifications.
We’ll show you the easy way to fix email notifications with a plugin. Using this method, you can easily force plugins to send messages from the same email address.
Fix Your Events Calendar Emails Now
How Do I Change WordPress Email Settings?
WP Mail SMTP makes it easy to control your WordPress email settings.
It lets you automatically re-route all of your WordPress emails through a separate email provider like SendLayer, Brevo (formerly Sendinblue), or SMTP.com so that every email has the correct authentication.
Even better, WP Mail SMTP also lets you control the automated emails that WordPress sends, like plugin update notifications and password reset emails.
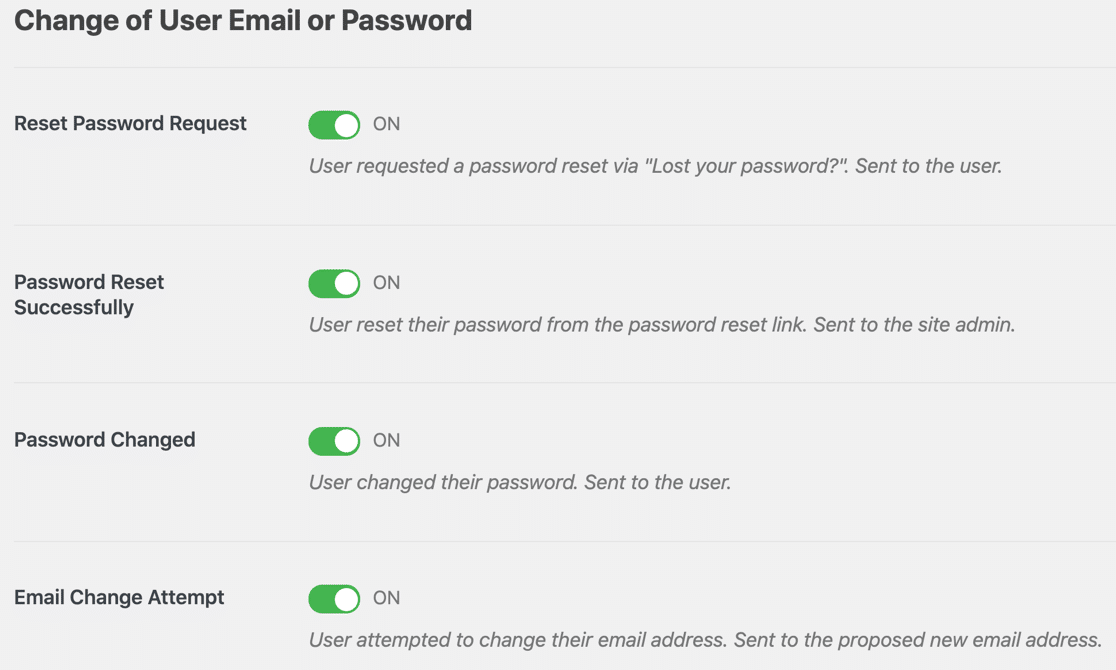
In this tutorial, we’ll show you how to use WP Mail SMTP to fix The Events Calendar not sending email notifications.
That way, you can be sure that your organizers and attendees always have all of the information they need.
How to Fix The Events Calendar Not Sending Email
In This Article
Step 1: Install the WP Mail SMTP Plugin
Let’s start by installing the plugin.
First, download the zip file from your WP Mail SMTP account. You’ll find it in the Downloads tab.
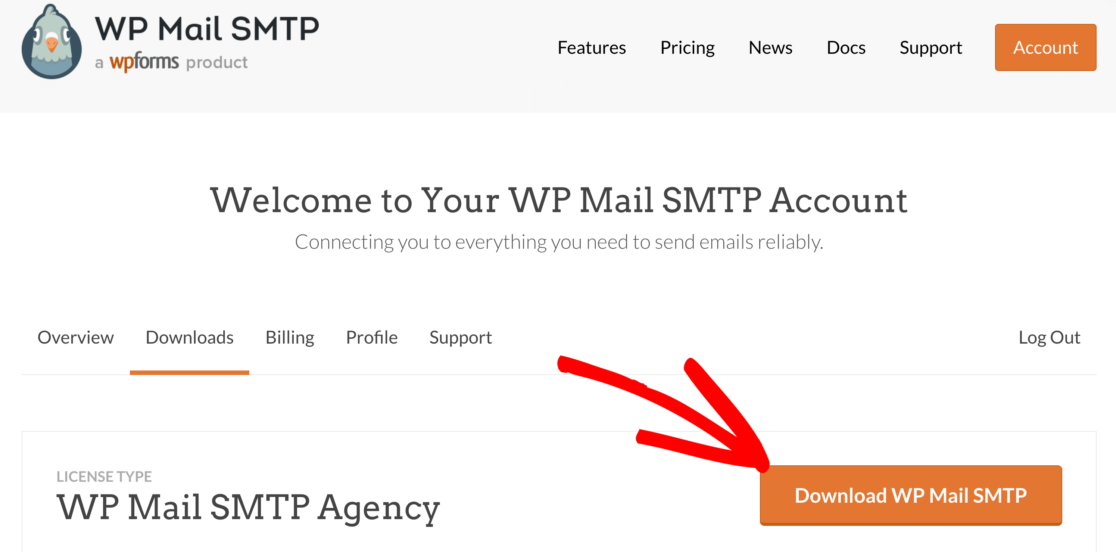
Next, open up the WordPress dashboard and upload the plugin to your WordPress site.
If you need help with this, jump over to this guide to installing a WordPress plugin.

Don’t forget to activate the plugin. As soon as you activate it, the Setup Wizard will open.
If you want to pause here, you can come back and restart the wizard any time by clicking the Launch Setup Wizard button in the WP Mail SMTP settings.
Step 2: Set Up Your Mailer
Now let’s run the Setup Wizard. Remember, if you already have a mailer service set up, running the wizard again might erase your settings.
First, we’ll choose a mailing service to fix The Events Calendar not sending emails. Click the Let’s Get Started button.

Now it’s time to choose your mailer. Here are a few tips to help with that:
- For large sites with a lot of events, SendLayer, SMTP.com, or Brevo are perfect because they’re all super reliable and affordable.
- You can also use one of the other mailers like Mailgun or SendGrid. Check out this complete guide to email providers to find out more about them.
- WP Mail SMTP supports Gmail or Google Workspace. This is a great option for a small site with fairly low traffic. You can also use a Gmail alias to send WordPress emails if you want to.
- We also have an Other SMTP option. You can use this to send emails from The Events Calendar through an SMTP server that you have access to.
Go ahead and select the mailer that you’d like to use.
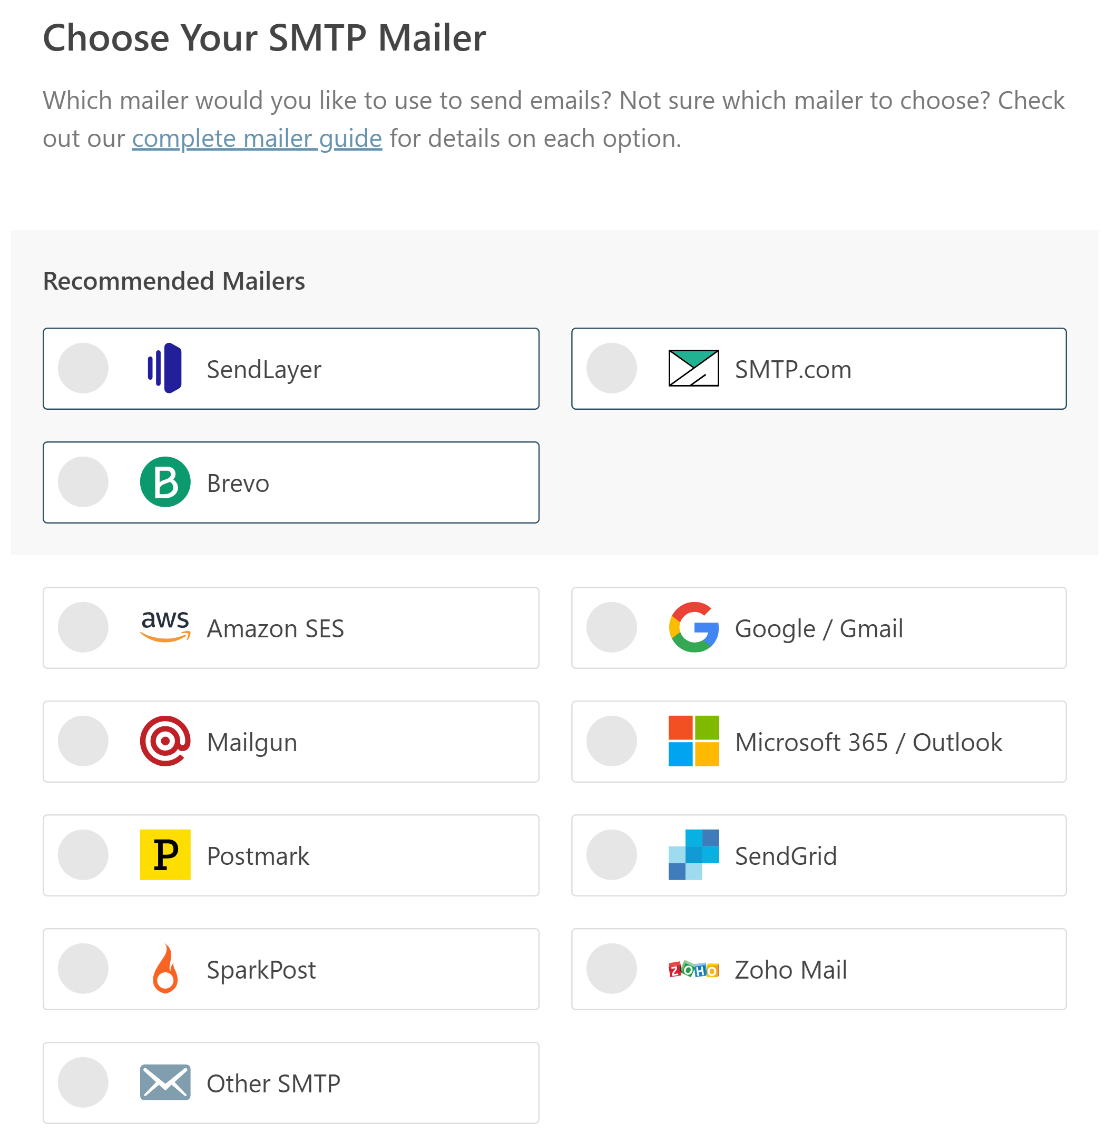
When you’ve chosen your mailer, open up our documentation and follow along to complete the set-up steps:
- SendLayer
- SMTP.com
- Brevo
- Amazon SES
- Google Workspace / Gmail
- Mailgun
- Microsoft 365 / Outlook.com
- Postmark
- SendGrid
- SparkPost
- Zoho Mail
- Other SMTP
Want to set up multiple mailers? You can do so in the Additional Connections settings once you’ve finished the Setup Wizard. Then you can select a Backup Connection and configure Smart Routing.
Setting up your mailer will take just a few minutes. When you’ve set everything up, come back to this guide.
If you’d rather have someone else resolve this for you, a full White Glove Setup service is included with the WP Mail SMTP Elite license.
Step 3: Turn on Email Logging (Optional)
WP Mail SMTP will finish the setup by asking you which features to enable. By default, 2 will already be turned on:
- Improved Email Deliverability
- Email Error Tracking
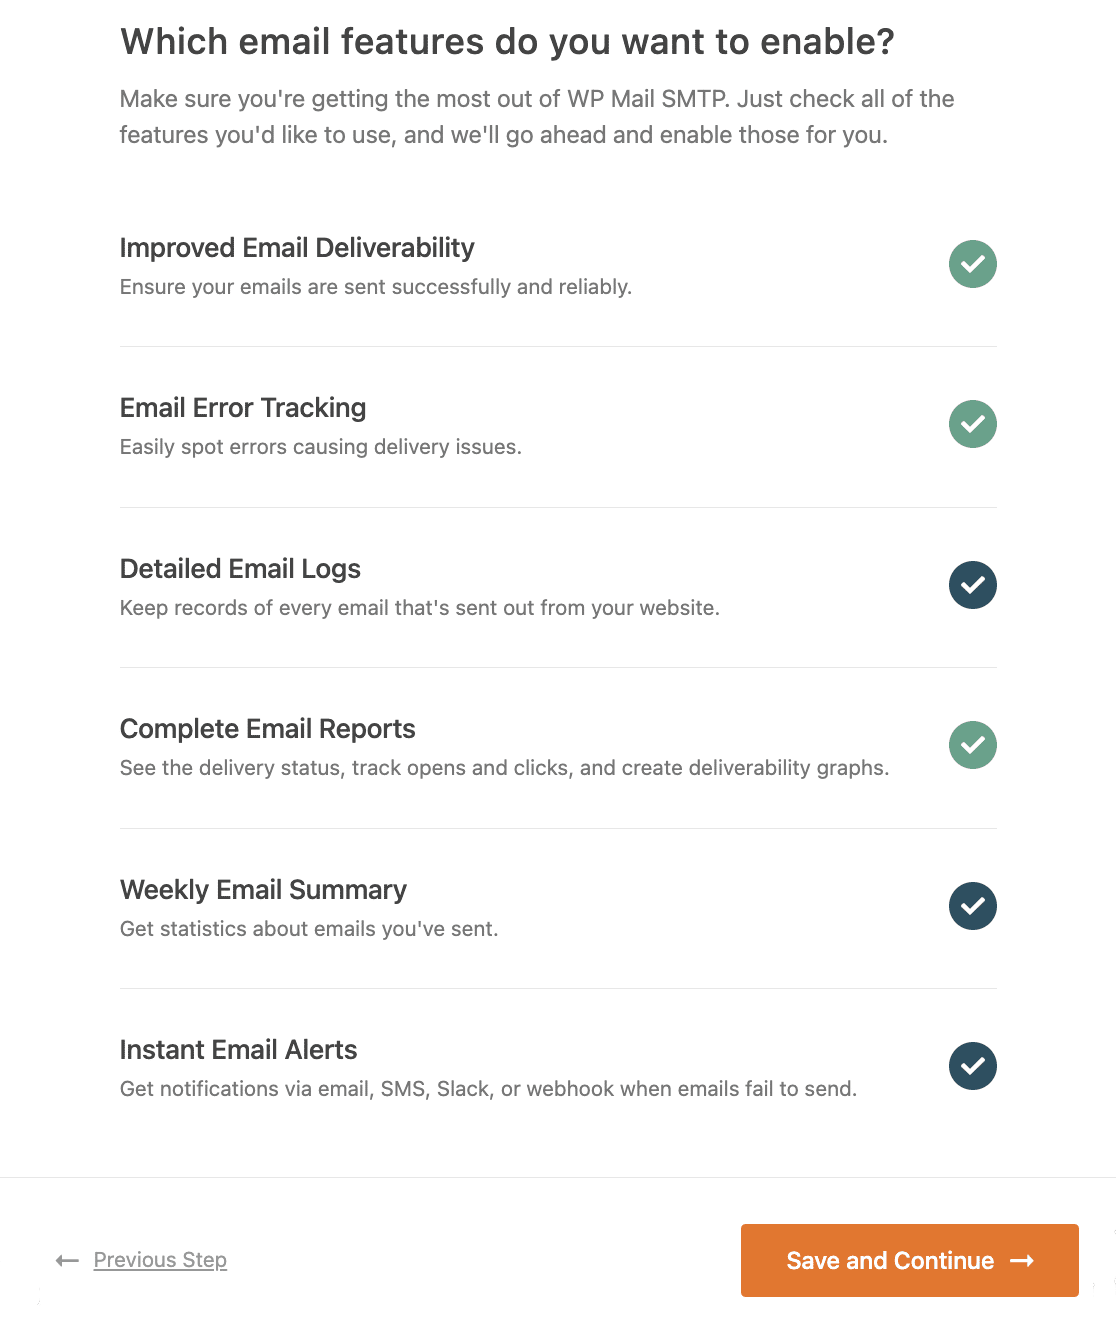
In Pro, you can turn on the Detailed Email Logs setting to log the emails that are sent out from your site.
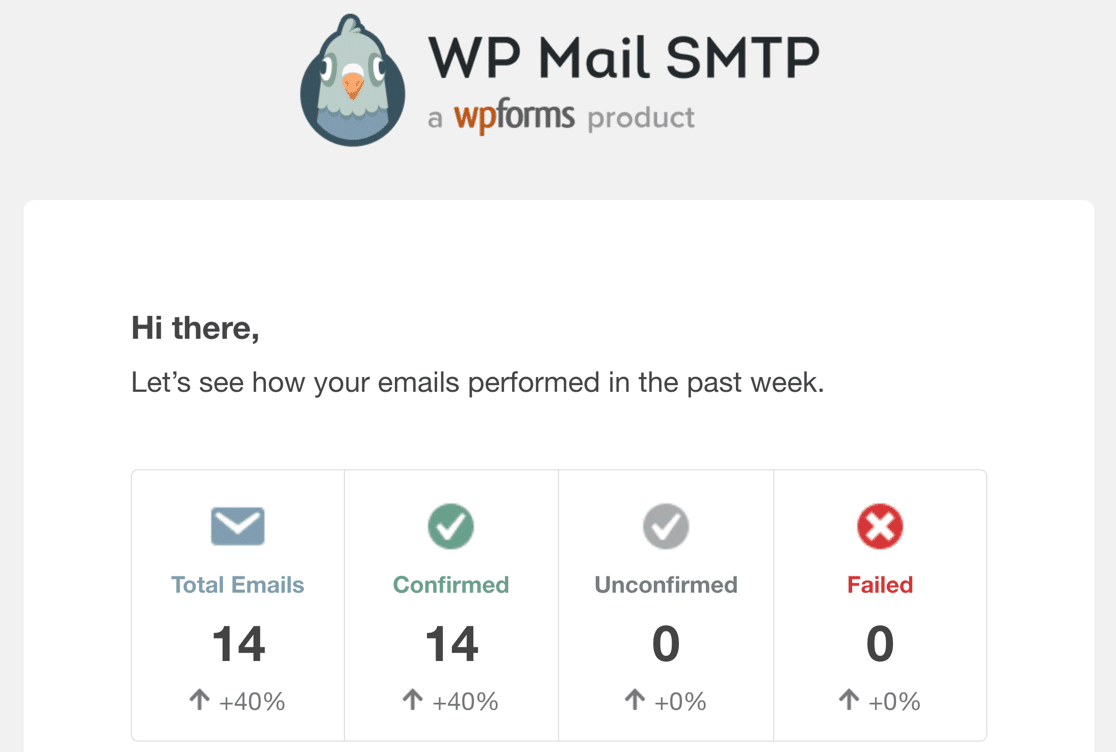
If email logging is enabled, you can view or delete each individual log file in Complete Email Reports. You can also opt in to the Weekly Email Summary to see your latest email delivery stats in your inbox each week.
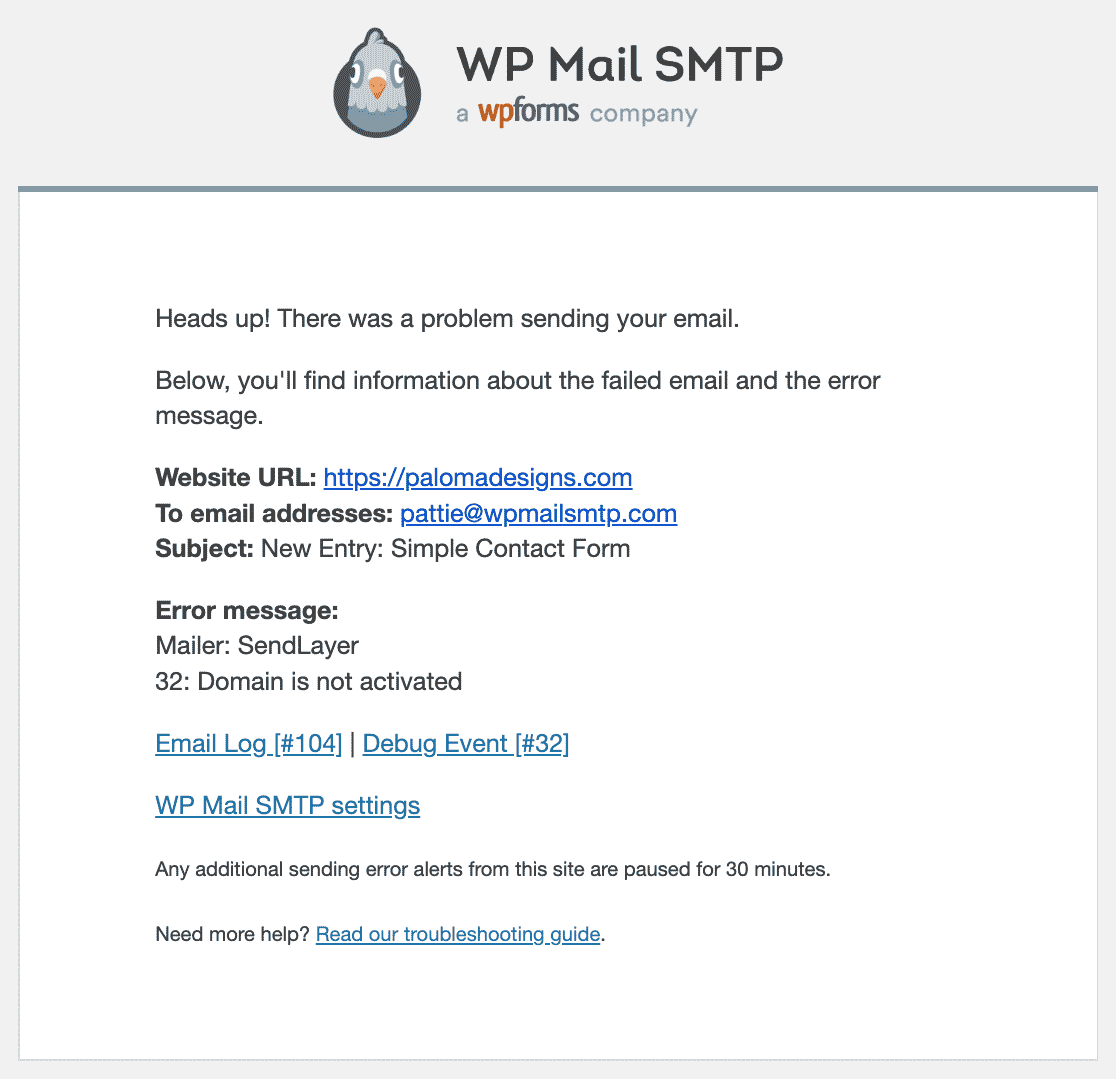
Another helpful feature is the Instant Email Alerts. If your site fails to send an email, you’ll be notified right away so you can fix the issue.
On the next screen there will be additional email logging features you can turn on.
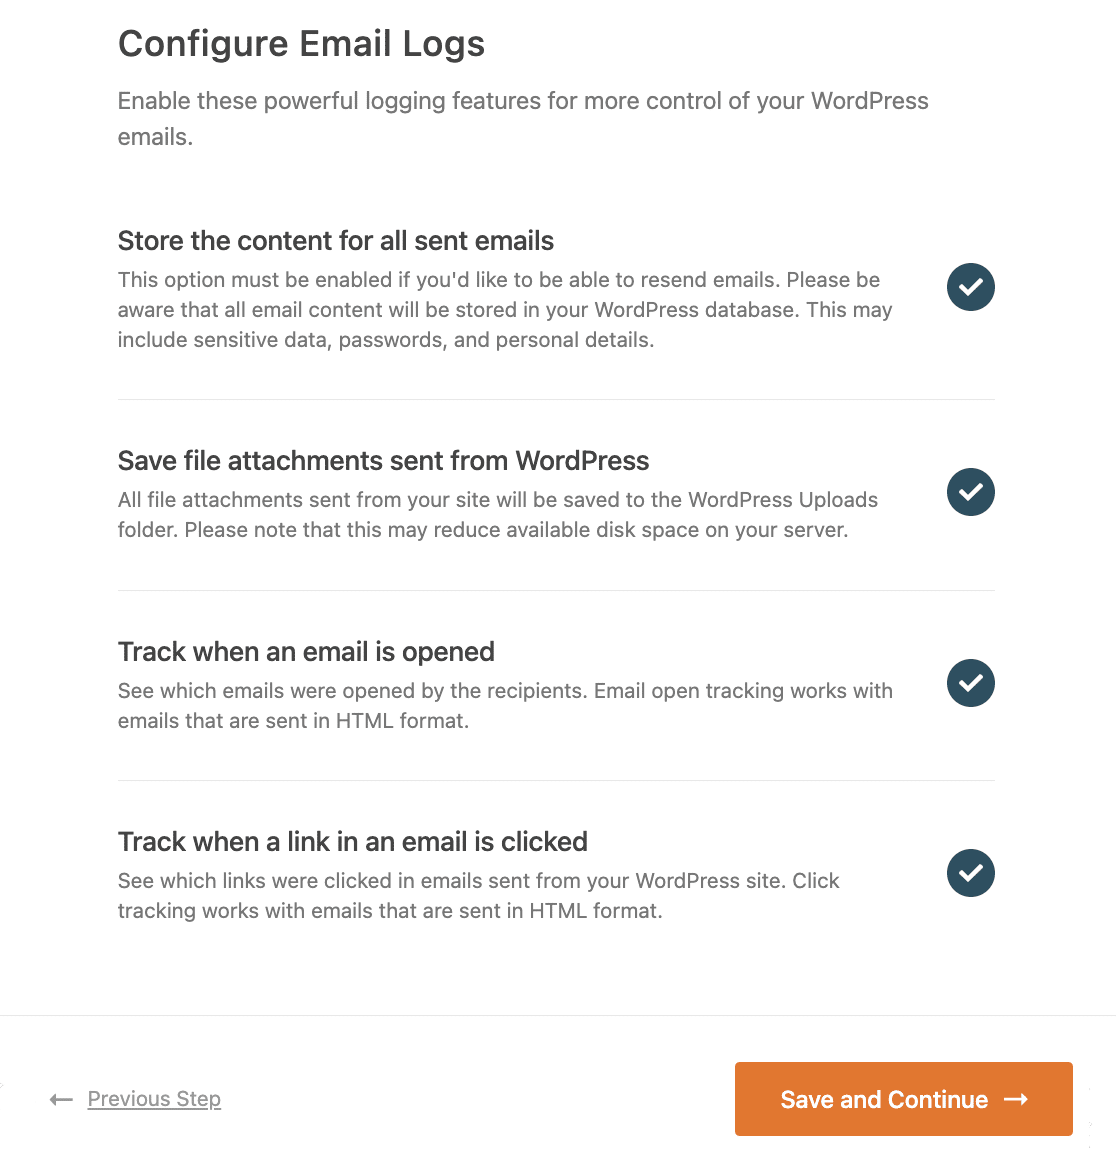
You’ll be able to:
- Save the full content of your emails
- Save attachments
- Track email opens and link clicks
Check out our guide to WordPress email logging to find out how this looks.
At the end of the wizard, paste in your license key. This will unlock access to all of the updates and features in the Pro version.

And that’s it!
Now you can send a test email from WP Mail SMTP to check that everything’s working.
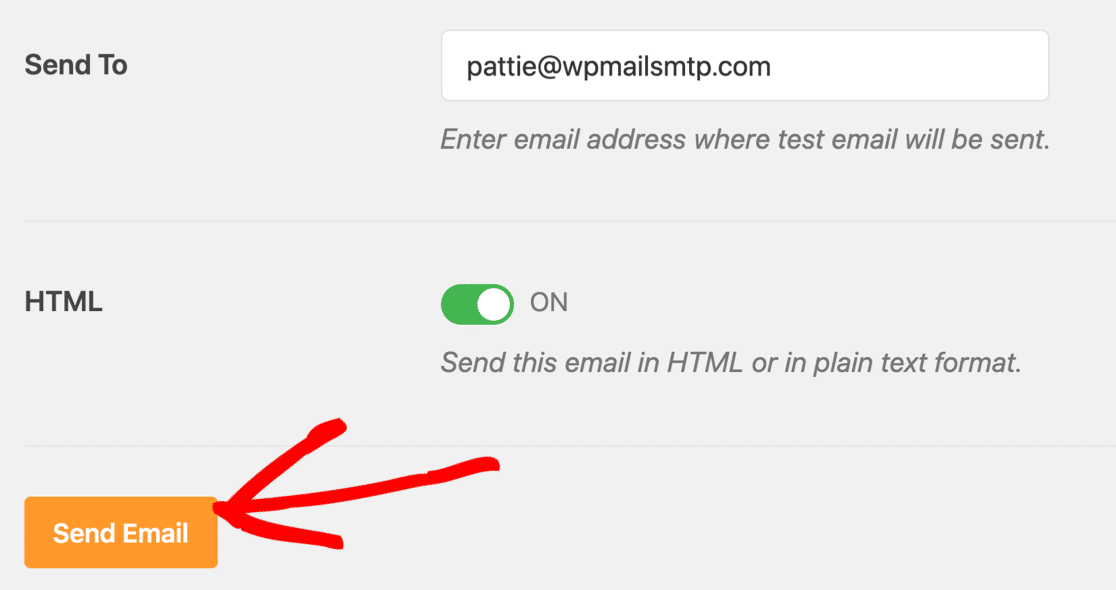
Next, we’ll show you 1 more optional setting that can help to manage your Events Calendar emails.
Step 4: Send All Emails From the Same Address (Optional)
You might have installed different extensions for The Events Calendar to sell different items, like tickets.
With WP Mail SMTP, you can force every plugin on your site to use the same From Email address.
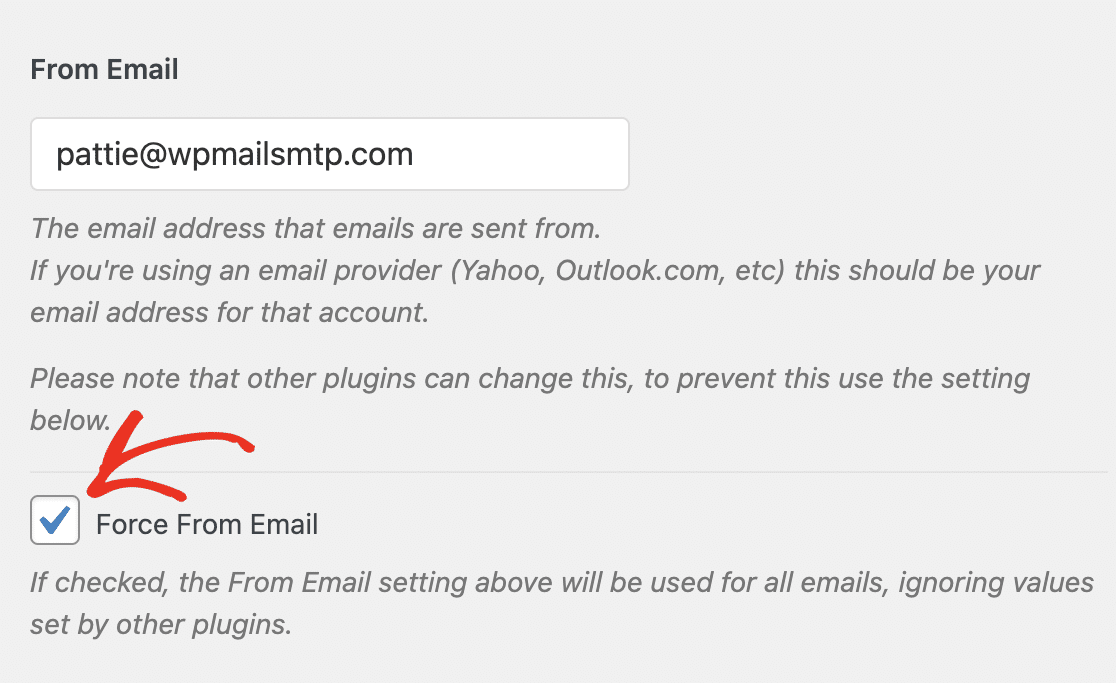
This is an awesome way to make sure all of your emails are being sent from the authenticated email address. It also really helps if you’re using any custom code snippets for The Events Calendar because it’ll force the same From Email for those as well.
And that’s it! You learned how to fix The Events Calendar not sending emails!
Fix Your Events Calendar Emails Now
Next, Let Users Submit Their Own Events
Did you know that you can let users submit their own events to your calendar? You can easily get your visitors to add their own events to create a community calendar.
It’s easy to create a frontend posting form using WPForms. Check out this guide on how to accept user-submitted events in WordPress to learn how to set it up with The Events Calendar.
We also recommend reading our post on best calendar plugins to learn more about ways you can manage events on your site.
Ready to fix your emails? Get started today with the best WordPress SMTP plugin. If you don’t have the time to fix your emails, you can get full White Glove Setup assistance as an extra purchase, and there’s a 14-day money-back guarantee for all paid plans.
If this article helped you out, please follow us on Facebook and Twitter for more WordPress tips and tutorials.

