


AI Summary
Connecting your WordPress site to ChatGPT lets you read your site’s data in plain English. You install a free connector and authorize your site once. Then you ask ChatGPT questions like “show me my email log.” There’s no code and no exports.
Most site owners never look at their email logs or form entries until something breaks. A receipt goes missing, a lead never replies, and you’re left digging through admin screens by hand. A read-only ChatGPT connection turns that dig into a single question.
In this post, you’ll learn how to connect your WordPress site to ChatGPT with WP Mail SMTP and the free WPVibe plugin. Then, I’ll show you two real prompts: one to check your WP Mail SMTP email logs, and one to read your WPForms entries.
- What Can ChatGPT Do With Your WordPress Site?
- What Do You Need to Connect ChatGPT to WordPress?
- Install WP Mail SMTP
- How to Connect Your WordPress Site to ChatGPT
- How to Check Your WP Mail SMTP Email Logs From ChatGPT
- How to View Your WPForms Entries From ChatGPT
- Is It Safe to Connect ChatGPT to Your WordPress Site?
What Can ChatGPT Do With Your WordPress Site?
Once connected, ChatGPT can read your WordPress data and answer questions about it. The access is read-only, so ChatGPT reviews your data but never changes a setting or sends mail.
With WP Mail SMTP and WPForms installed, ChatGPT can read 3 things:
- Email logs: every email your site sent, with status, mailer, date, and recipient.
- Sending stats: success rates, totals, and trends over any date range.
- WPForms entries: form submissions, with names, emails, and dates.
Here’s how that maps to real questions:
| What you want | Example prompt | What ChatGPT reads |
|---|---|---|
| Review recent sends | “Show me my email log for the last 7 days.” | WP Mail SMTP email log |
| Check deliverability | “What’s my email success rate this month?” | Sending stats |
| Read new leads | “List my form entries from the last 3 days.” | WPForms entries |
| Spot spam submissions | “Do any recent entries look like spam?” | WPForms entries |
What Do You Need to Connect ChatGPT to WordPress?
You need 5 things to connect ChatGPT to your WordPress site. Each one is quick to set up, and most sites already have some in place.
- WordPress 6.9 or later. That version added the Abilities API that plugins use to expose data.
- WP Mail SMTP 4.9 or later. The Email Log and Reports come with WP Mail SMTP Pro.
- WPForms (optional). You need it only for the form entries use case.
- The WPVibe plugin. It’s a free connector that links your site to ChatGPT.
- A ChatGPT account. The free plan works fine.
Install WP Mail SMTP
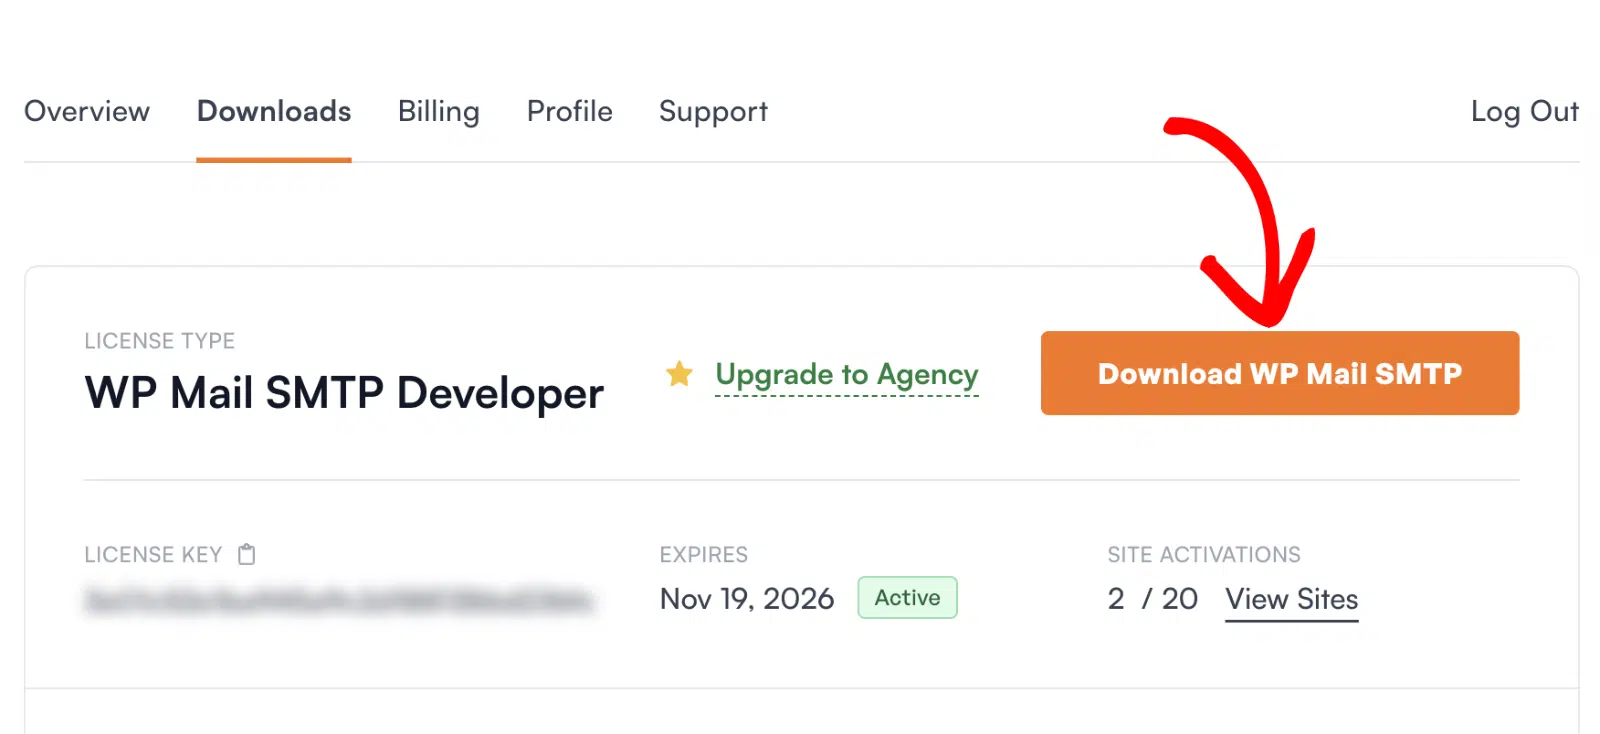
To download the Pro version, head to your WP Mail SMTP account. Click on the Downloads tab and download the latest version to your desktop.
Next, open up your WordPress dashboard and upload the zip file to install the plugin.
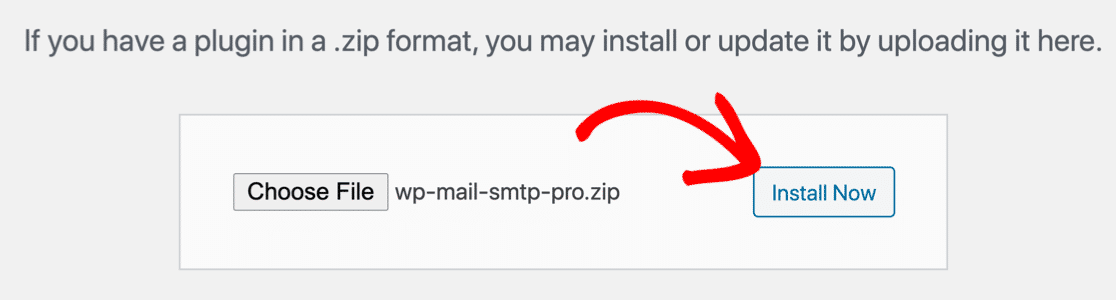
Once the plugin has been uploaded, hit Activate.
Note: If you need help with this part, see this guide to installing WP Mail SMTP.
The Setup Wizard walks you through connecting a mailer. We won’t cover that here, but you can pick from a wide range of options:
How to Connect Your WordPress Site to ChatGPT
You connect your site through the free WPVibe plugin, which handles the secure link to ChatGPT. Setup takes about 5 minutes and needs no code. Follow the 3 steps below.
Step 1: Open the AI MCP Tab and Install WPVibe
With WP Mail SMTP installed and activated, navigate to WP Mail SMTP » Tools, then open the AI MCP tab.
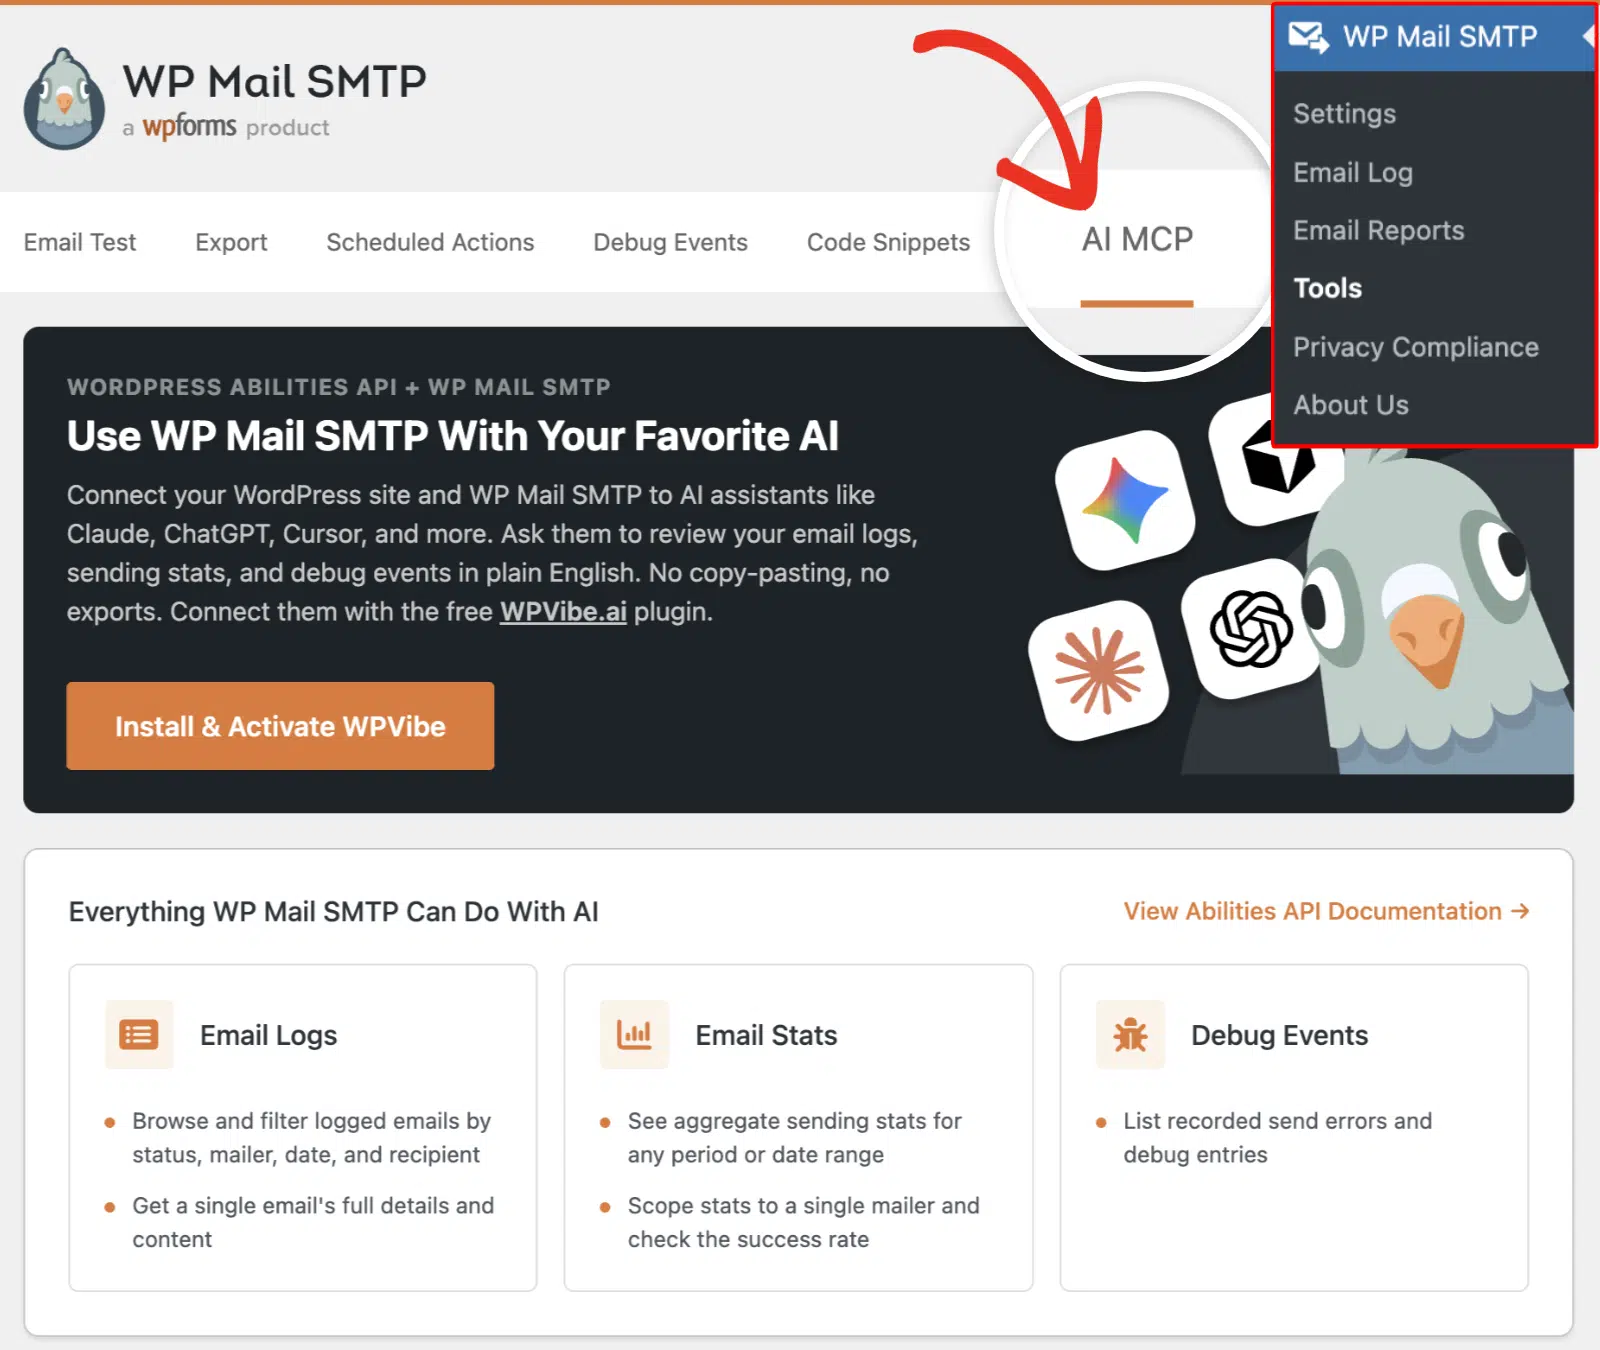
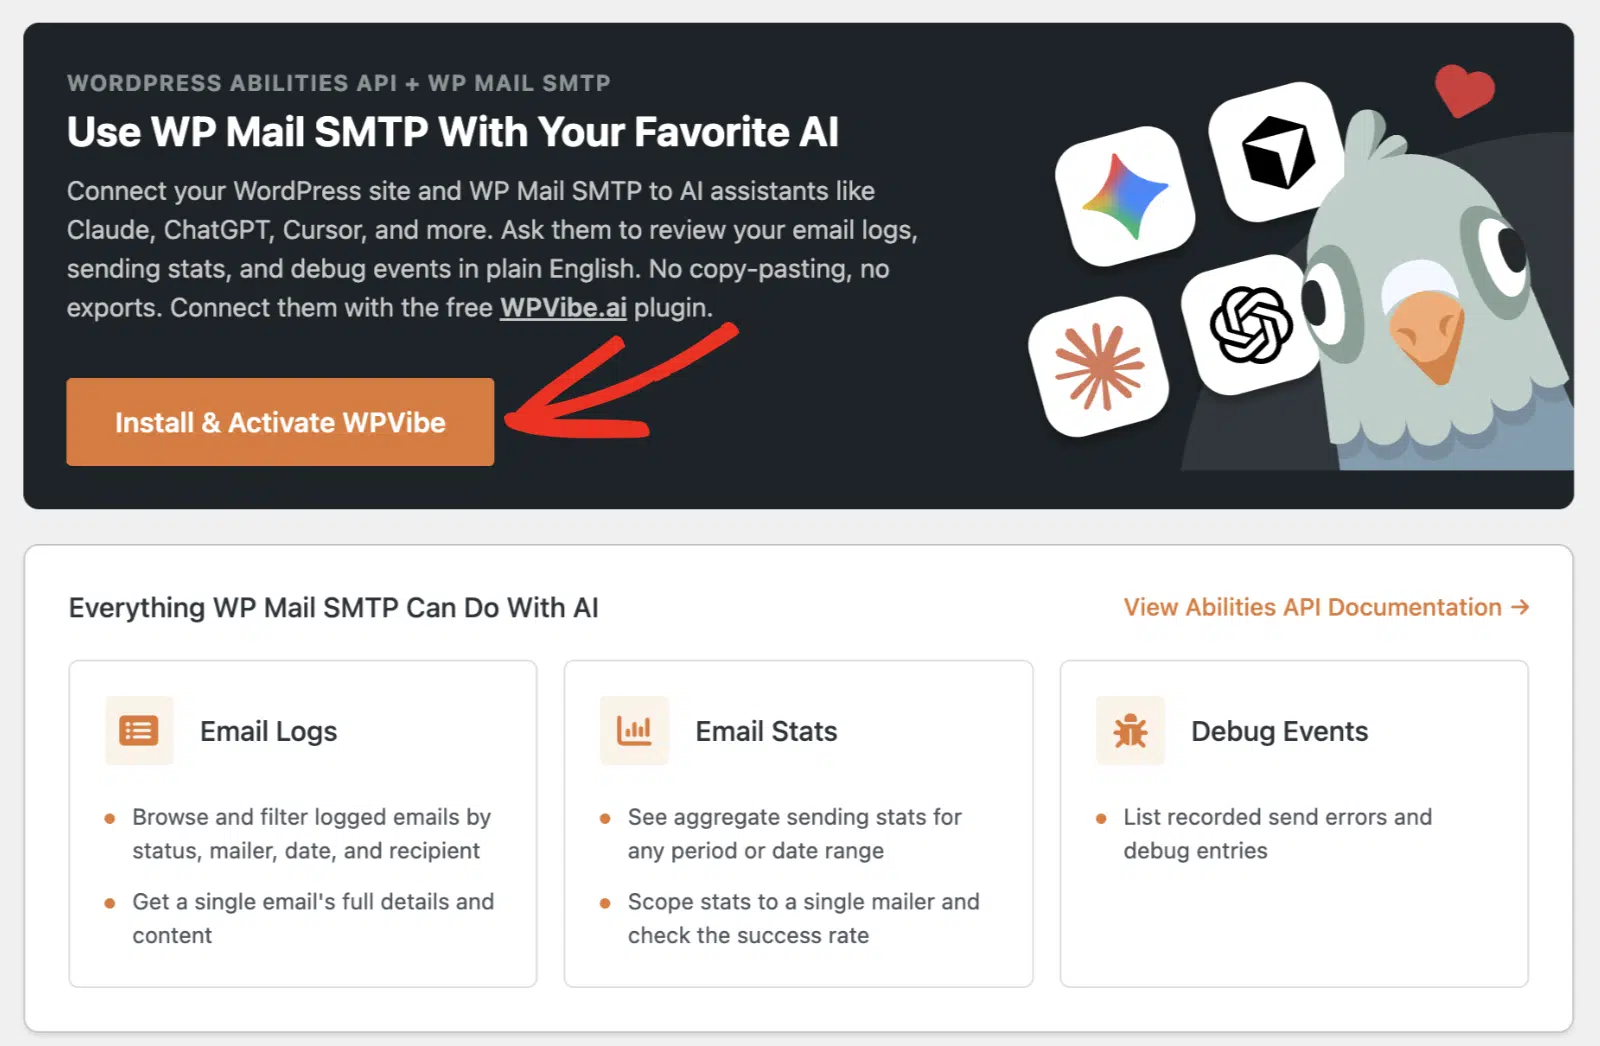
Once there, click Install & Activate WPVibe to add the connector plugin. WPVibe is free, and it powers the secure link between your site and ChatGPT.
Step 2: Add WPVibe in ChatGPT
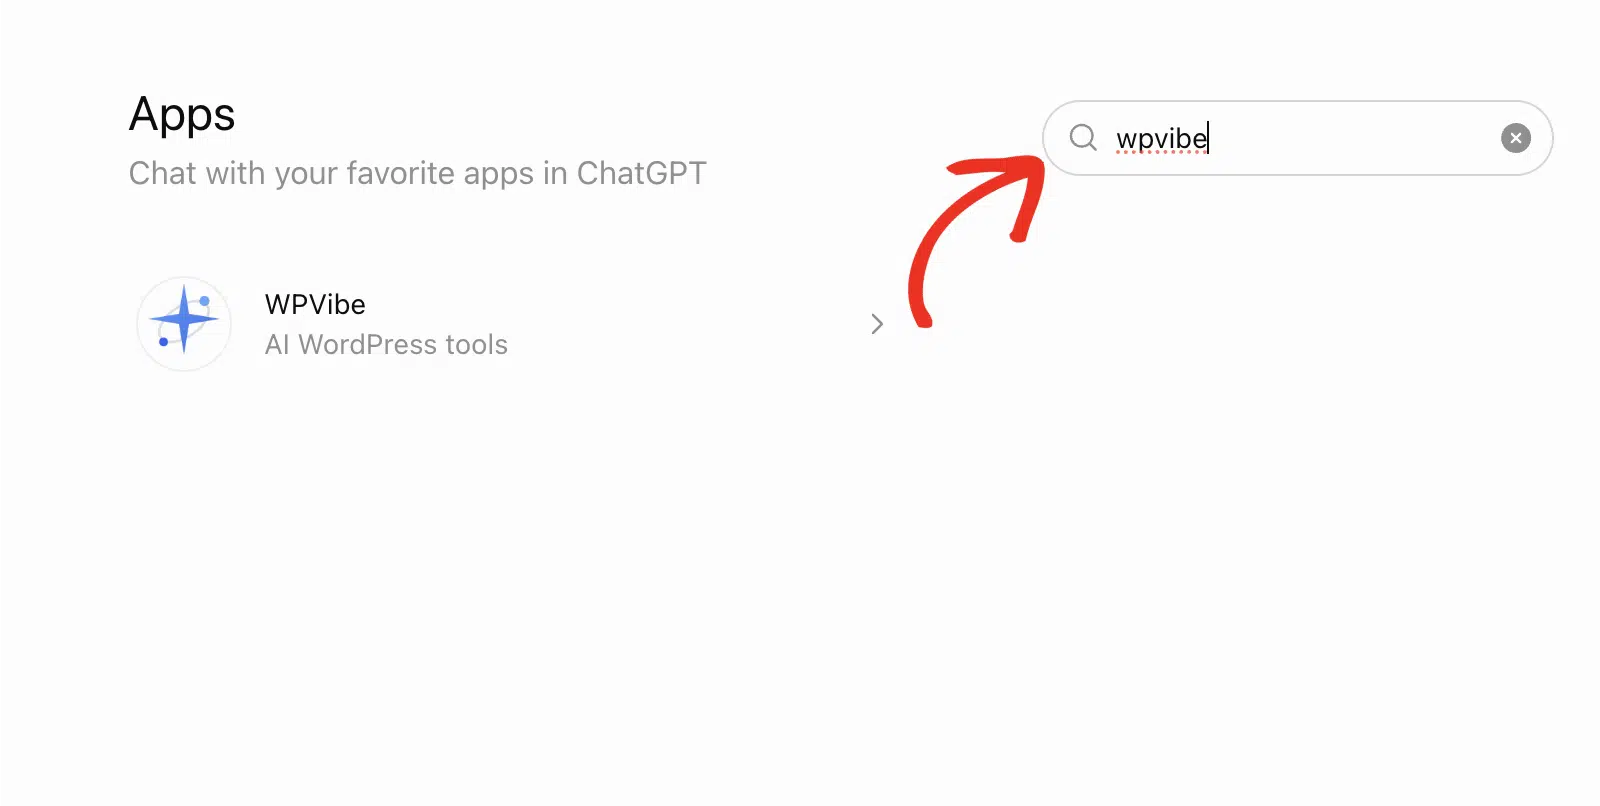
Next, open ChatGPT and go to your apps. Search for wpvibe in the Apps directory.
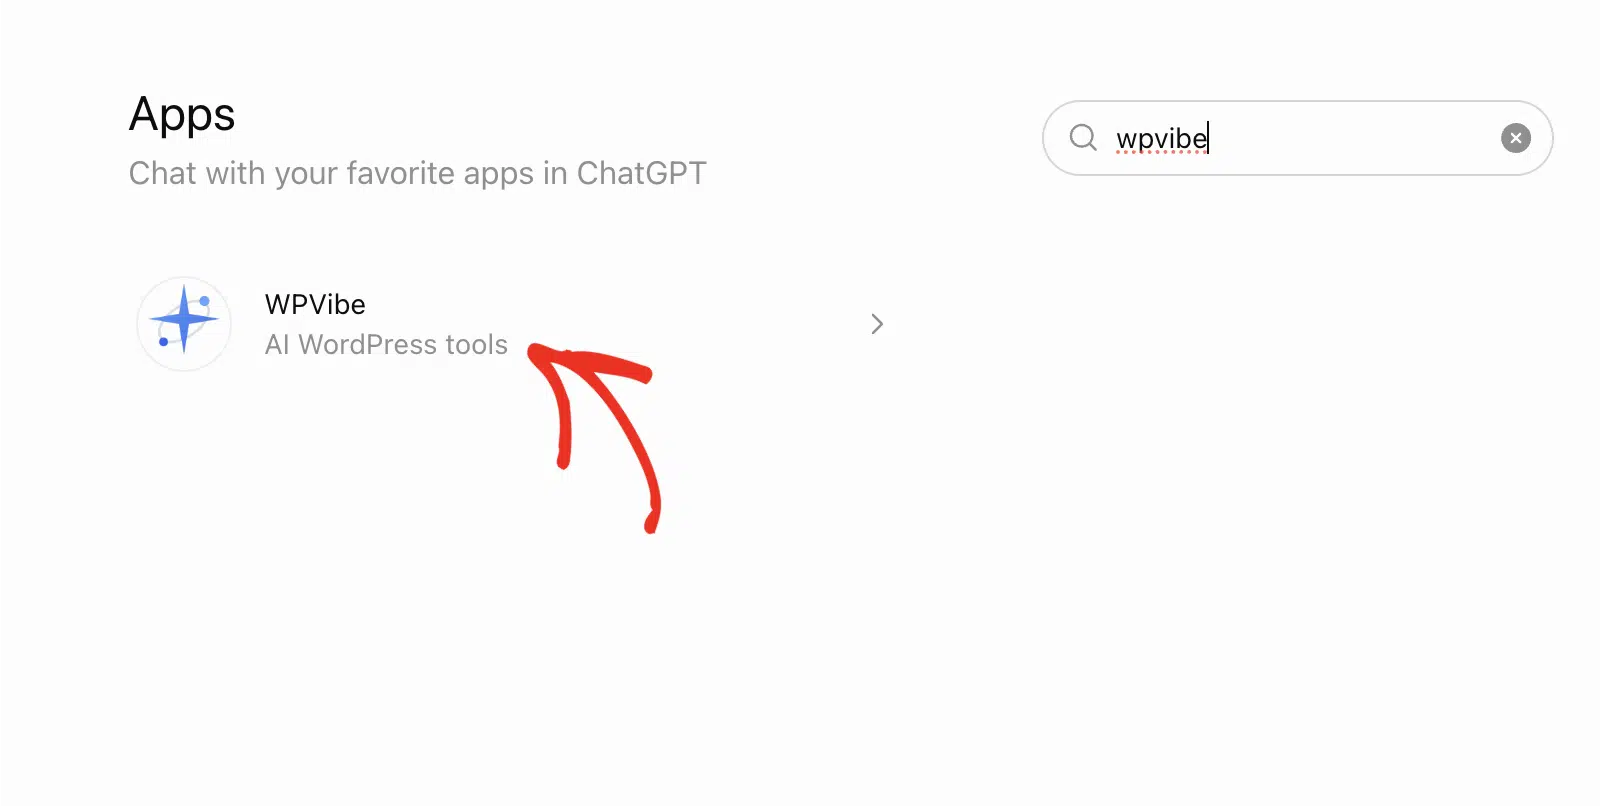
Select WPVibe from the results to open its page.
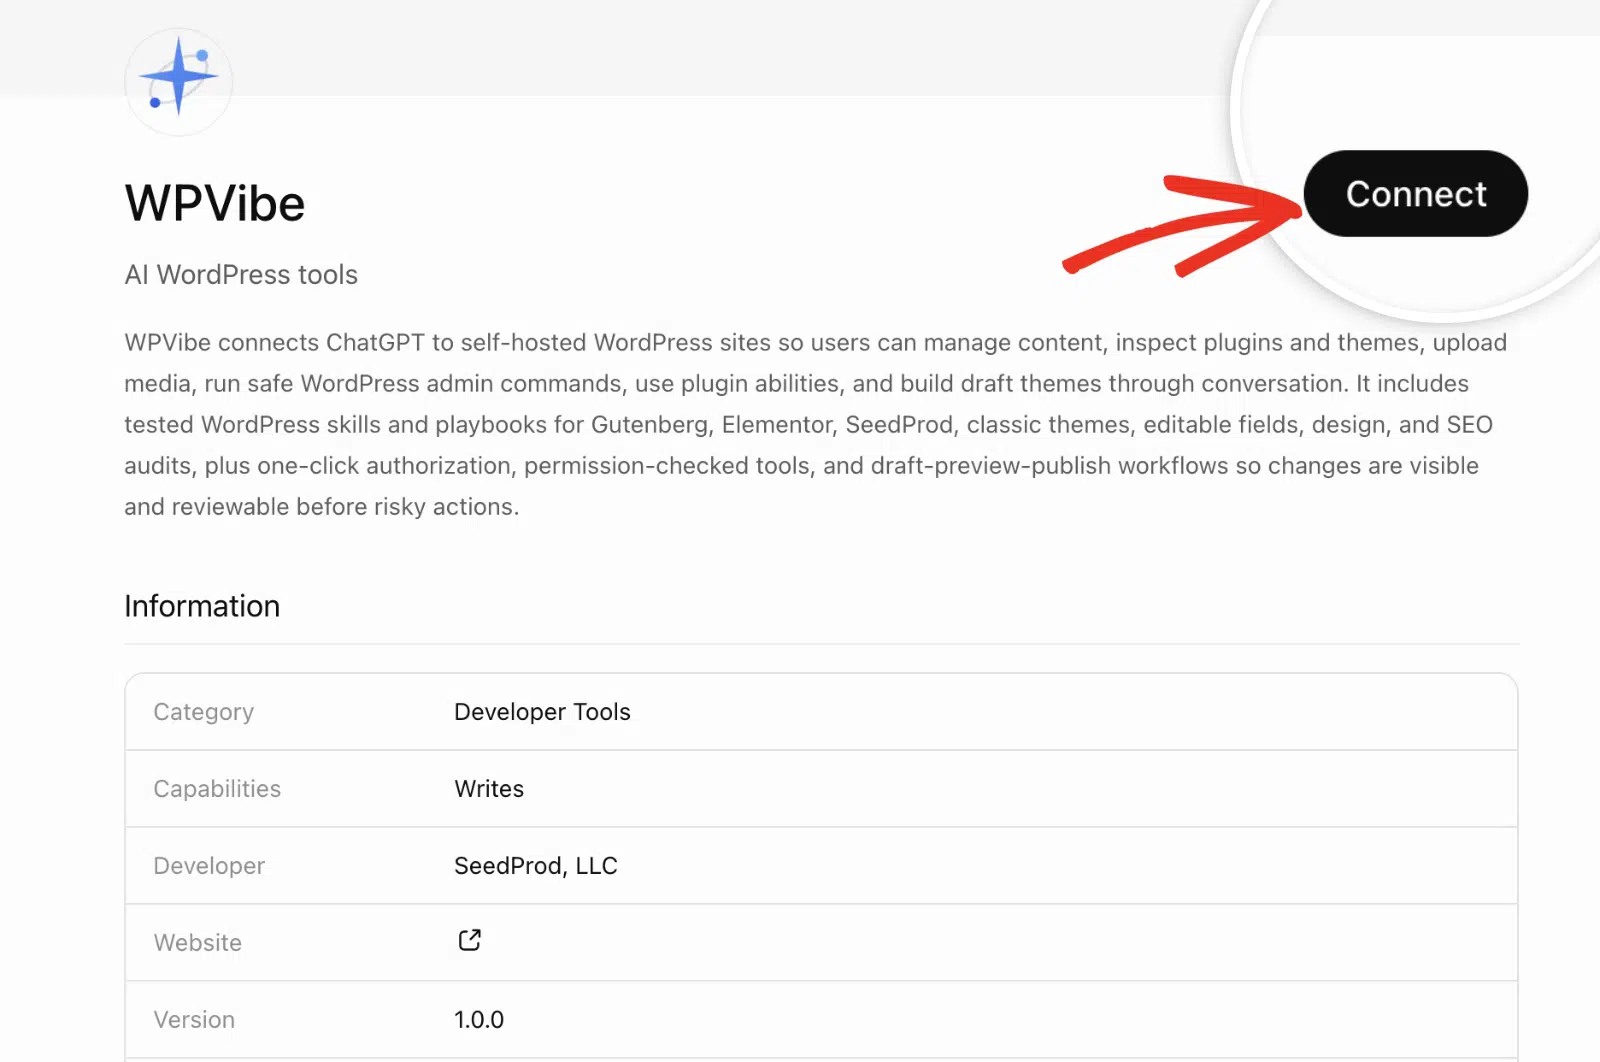
On the WPVibe page, click Connect.
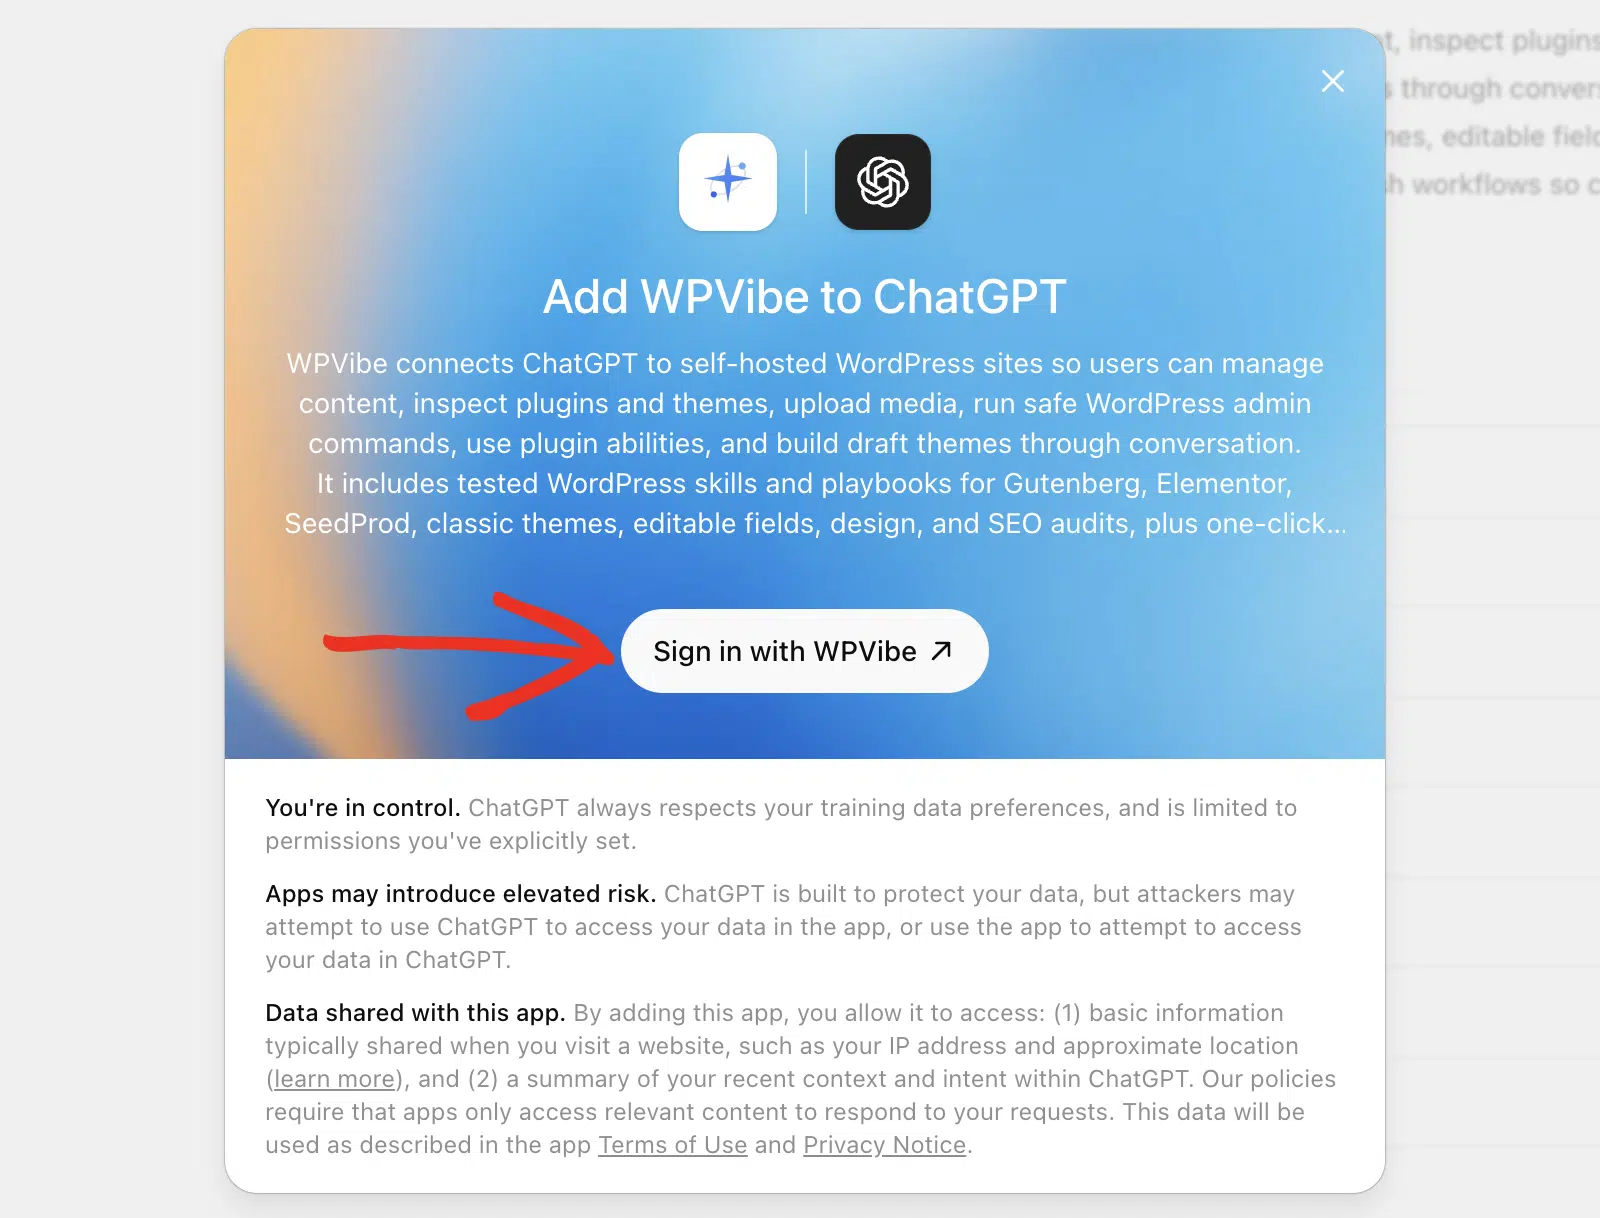
Step 3: Sign In and Authorize Your Site
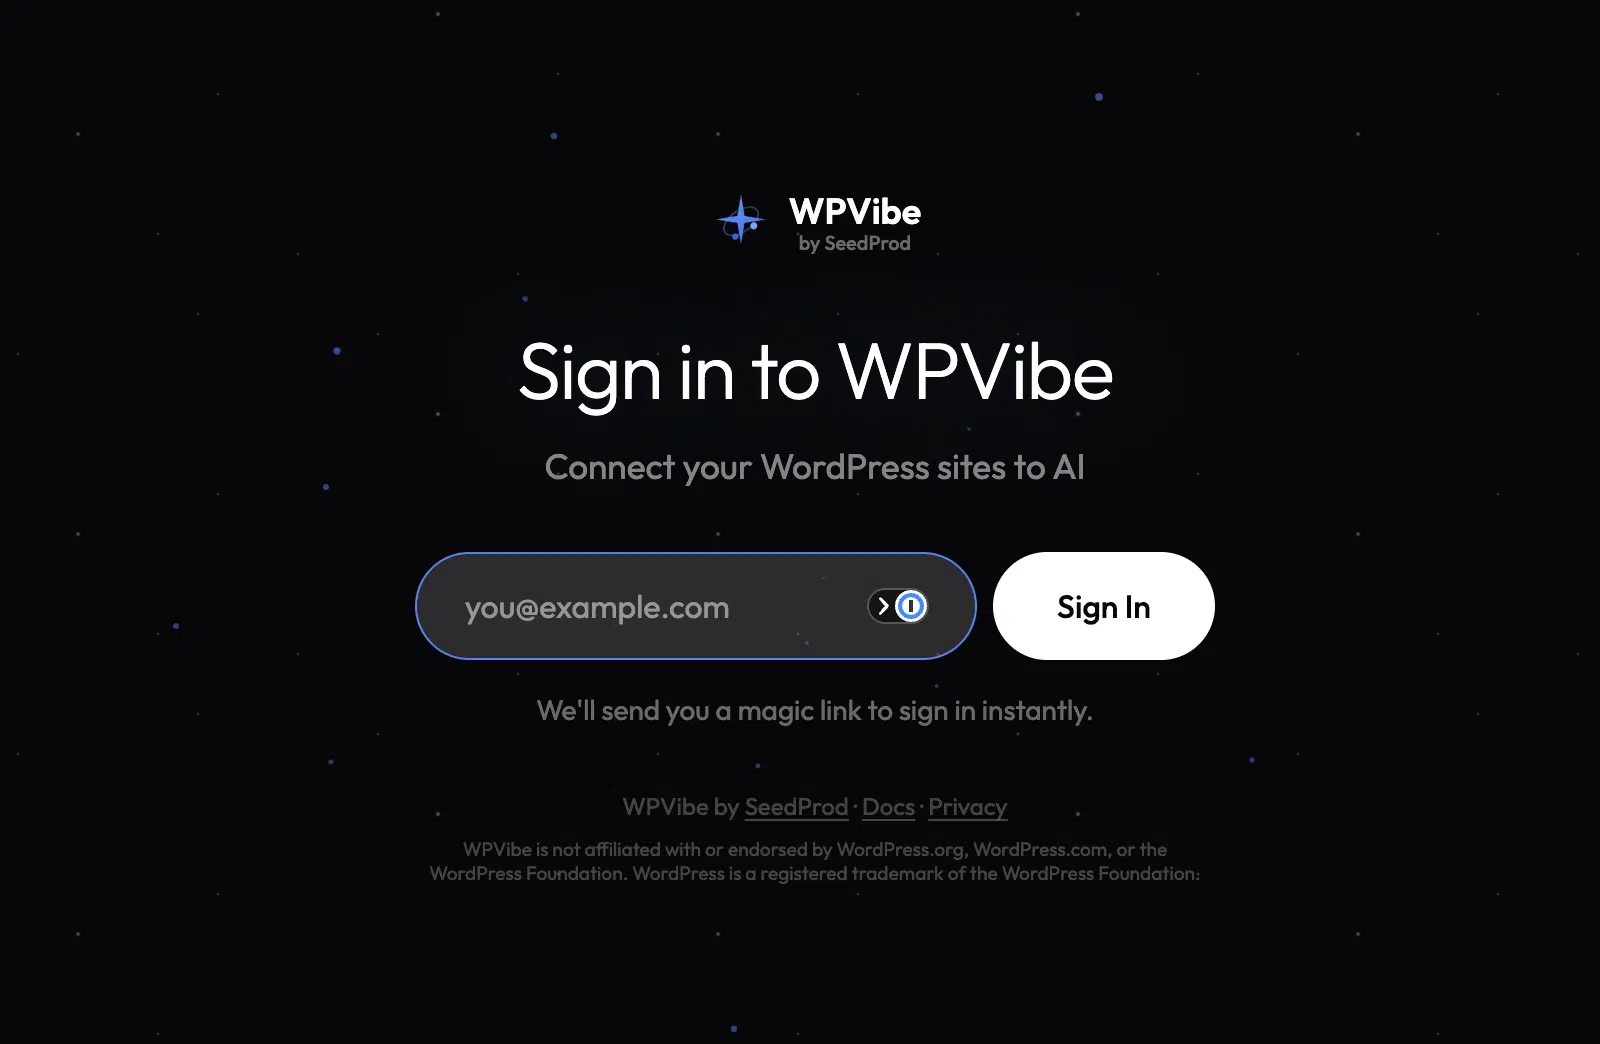
Click Sign in with WPVibe in the pop-up. WPVibe uses a magic link, so you never share a password with ChatGPT.
Enter your email address, then click Sign In. WPVibe sends you a magic link to sign in instantly.
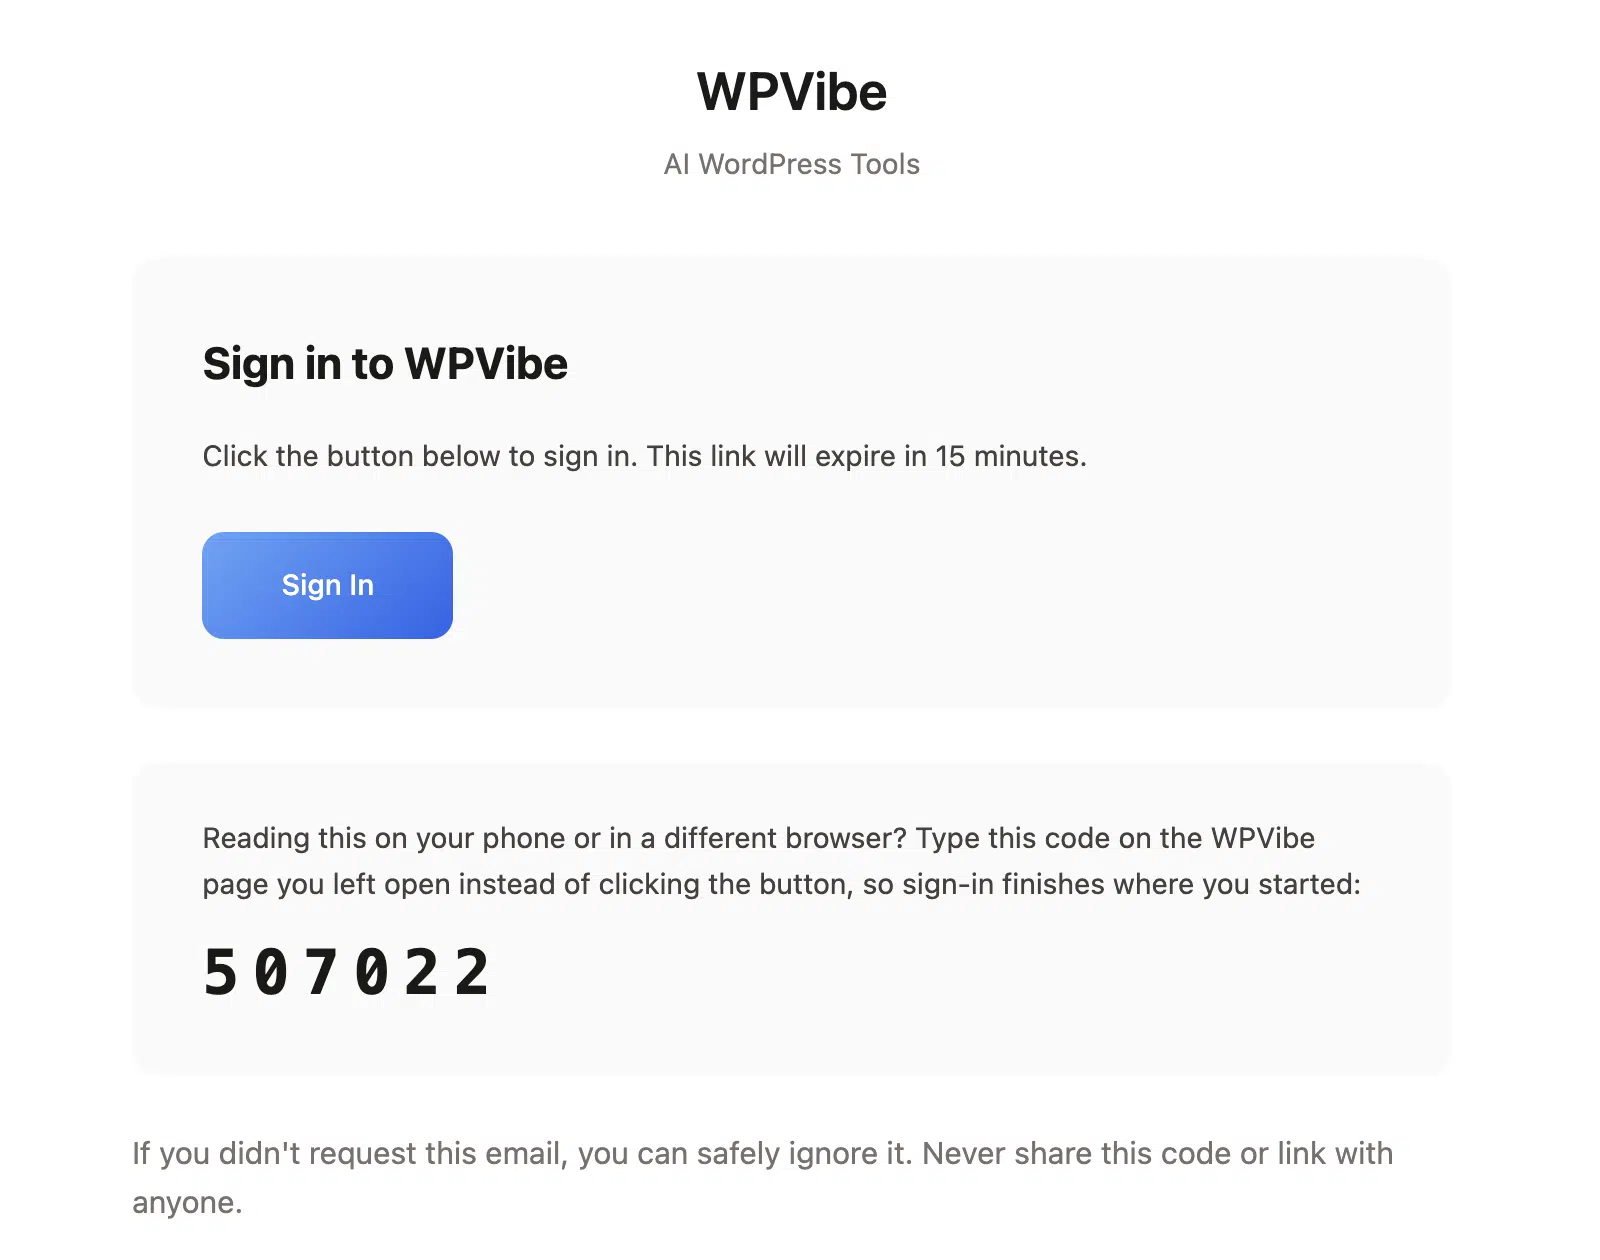
Open the email from WPVibe and click Sign In. The link expires in 15 minutes, so use it right away.
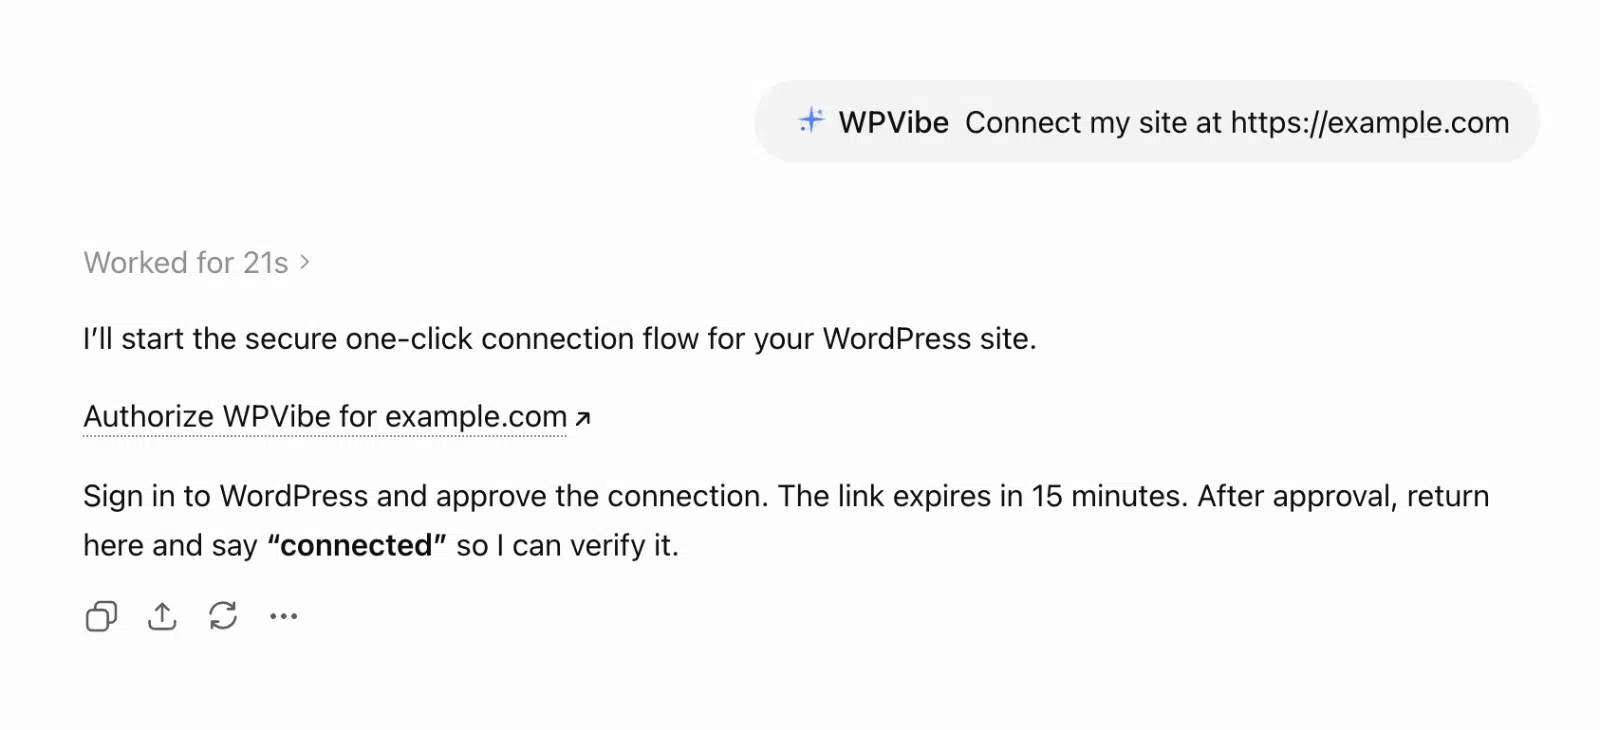
Back in ChatGPT, ask it to connect your site. Type Connect my site at https://yoursite.com, then approve the connection when prompted.
Once you see the connection confirmed, you’re ready. Try a test question like “What mailer is my site using?” to check it works.
How to Check Your WP Mail SMTP Email Logs From ChatGPT
Ask ChatGPT for a log of your sent emails, and it reads your WP Mail SMTP log for you. You get the sends, their status, and the mailer, all without opening your dashboard.
For example, try this prompt: “Give me a log of the emails sent in the last 7 days from my connected site.”
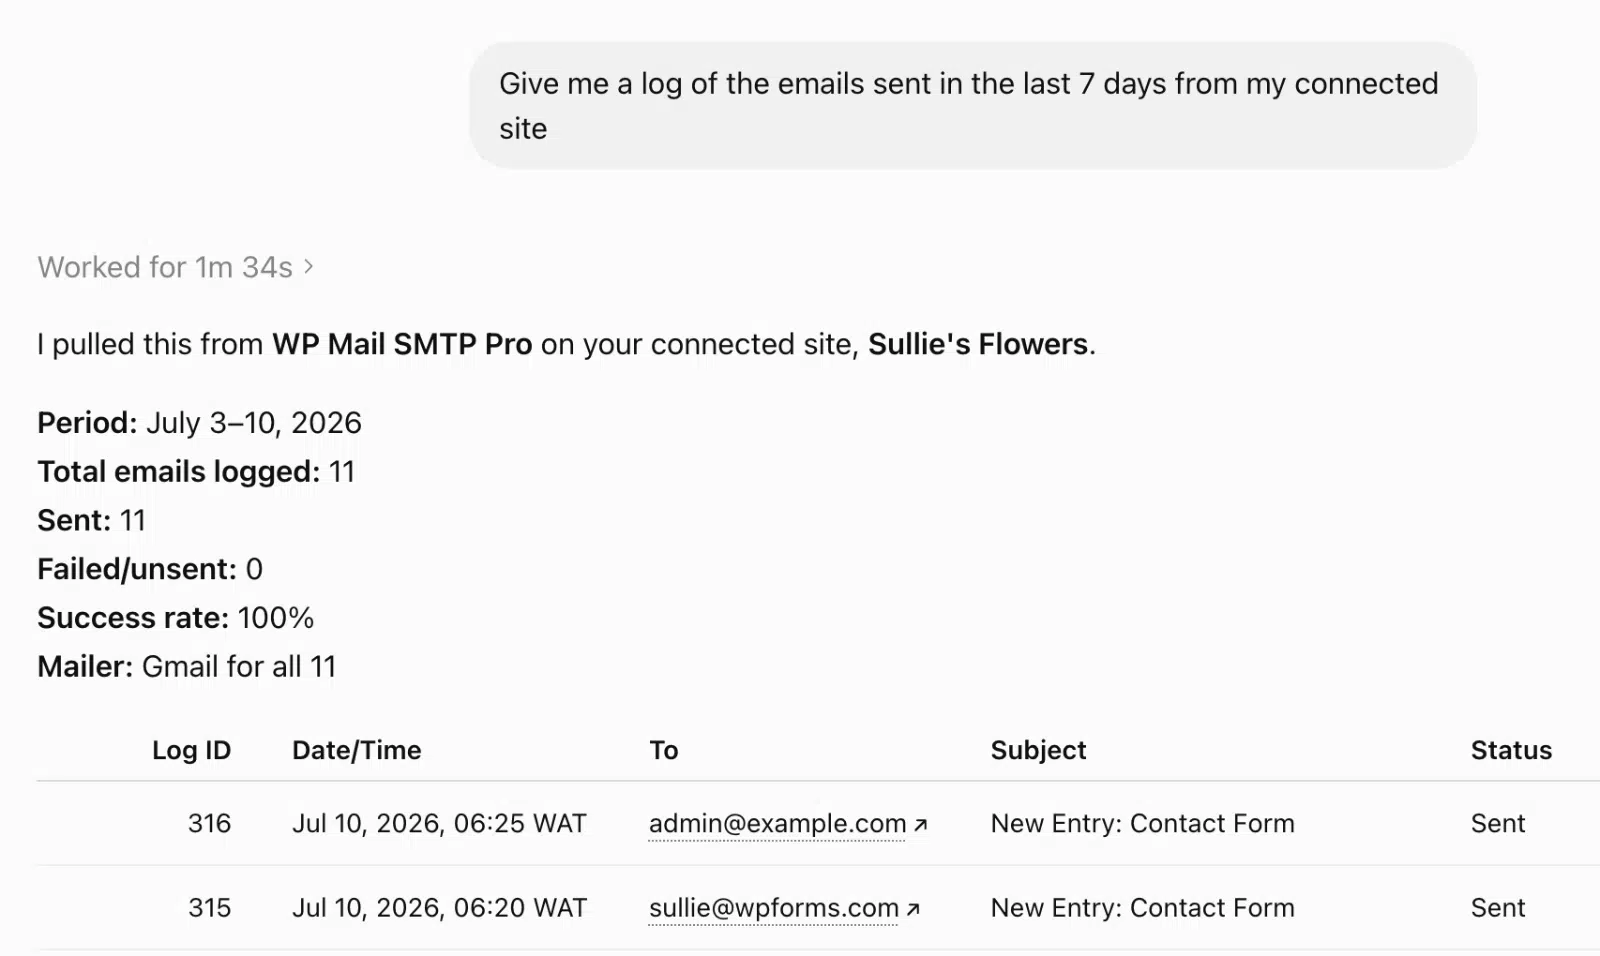
ChatGPT returns a clear summary: the period, total emails logged, the success rate, and the mailer. Below that, it lists each send with the date, recipient, subject, and status.
That’s the fastest way to test your email deliverability without leaving the chat. If sends start failing, you’ll spot it here before a customer complains.
For more prompt ideas, see our guide to monitoring your WordPress email with AI.
How to View Your WPForms Entries From ChatGPT
Once you’ve connected your WordPress site to your AI assistant, you can access other plugin settings that integrate with the WordPress Abilities API. For example, if you’re using WPForms on your site, you can ask about recent entries.
Ask ChatGPT to list your recent form entries, and it reads them from WPForms. You get names, emails, and dates without logging into WordPress.
Try this prompt: “Give me a list of form entries in the last 3 days on my connected site.”
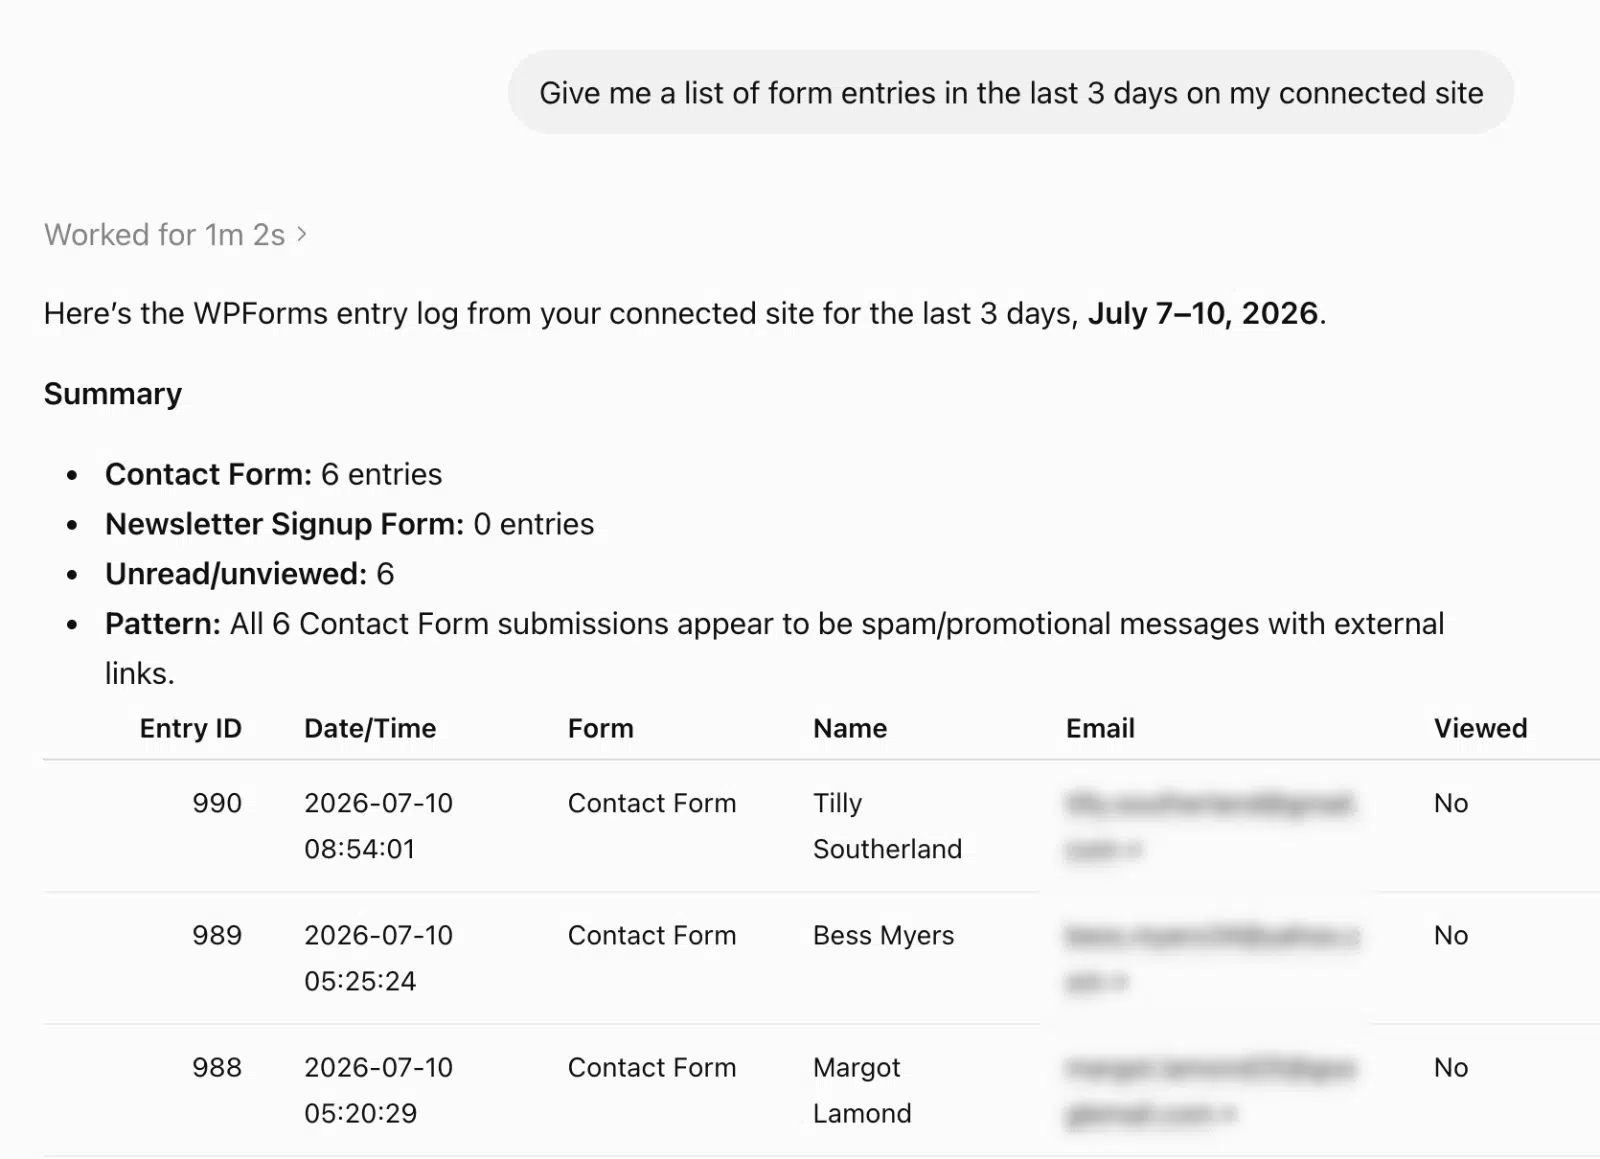
ChatGPT groups the entries by form and counts them. It can even flag a pattern, like a run of spam submissions with external links.
That makes it easy to review new leads at a glance. You can then jump into WordPress to reply or clean up spam entries.
Is It Safe to Connect ChatGPT to Your WordPress Site?
Yes, because the WordPress abilities are read-only by design. ChatGPT reviews your logs, stats, and entries, but it can’t send email, delete data, or change your settings.
A few details keep the connection safe:
- No shared credentials. You sign in with a magic link, not a password.
- Permission inheritance. ChatGPT only sees what your user account can see.
- Admin revocation. You can disconnect ChatGPT at any time.
You stay in control the whole time. ChatGPT reads your data, but it never acts on your site.
FAQs – Connecting WordPress to ChatGPT
Do you need code to connect ChatGPT to WordPress?
No. You install the free WPVibe plugin, then authorize your site with a magic link. There’s no code, no API keys, and no manual server setup.
Does this work on the free ChatGPT plan?
Yes. The free ChatGPT plan can add WPVibe and connect your site. You only need a WordPress site running version 6.9 or later.
Can ChatGPT change my settings or send emails?
No. The abilities are read-only. ChatGPT reviews your email logs, sending stats, and WPForms entries, but it can’t change settings or send mail.
Do I need WordPress 6.9 and WP Mail SMTP 4.9?
Yes. The AI connection needs WordPress 6.9 or later and WP Mail SMTP 4.9 or later. Update both, then look for the AI MCP tab under WP Mail SMTP » Tools.
Does it work on WordPress.com?
No. WPVibe connects self-hosted WordPress sites only. Managed WordPress.com hosting blocks this type of connection.
Start Reading Your Site Data With ChatGPT
You’ve now connected your WordPress site to ChatGPT and run your first 2 prompts. You can read your email logs and form entries by asking, instead of digging through admin screens.
Next, brush up on email deliverability so you know what your log and stats are telling you.
Ready to get more from your WordPress emails? Get started with WP Mail SMTP today, the best WordPress SMTP plugin. There’s a 14-day money-back guarantee on all paid plans.
If this article helped you out, please follow us on Facebook and Twitter for more WordPress tips and tutorials.
