Are you looking for a simple and straightforward method to send WordPress emails through Gmail?
WP Mail SMTP makes it incredibly easy to configure a Google Workspace / Gmail mailer using a one-click setup process!
Follow the steps in this guide to learn how to quickly configure the Google Workspace / Gmail mailer in WP Mail SMTP.
In This Article
Step 1: Install the WP Mail SMTP Pro Plugin
WP Mail SMTP is the most powerful SMTP plugin for WordPress to fix all email deliverability issues on websites.
It helps with IP Warming and makes sure all your emails are properly authenticated and sent via trusted mailers to avoid emails being marked as spam.
Among the many mailer options is the Google Workspace / Gmail mailer, which you can configure via a one-click setup process in WP Mail SMTP Pro.
So, the first step is to install and activate the WP Mail SMTP Pro plugin. You can follow the steps in this guide to learn how to install a WordPress plugin.
Step 2: Select Google / Gmail As Your Mailer
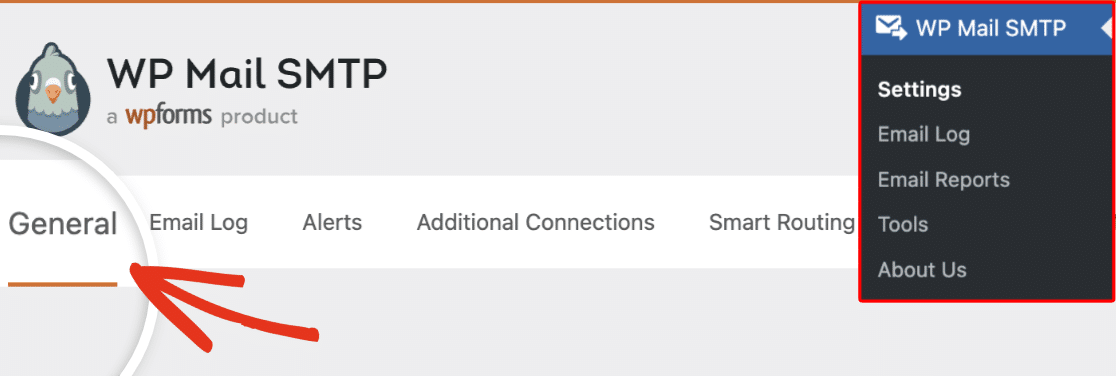
After installing and activating the plugin, go to WP Mail SMTP » Settings and click on the General tab to access the settings page.
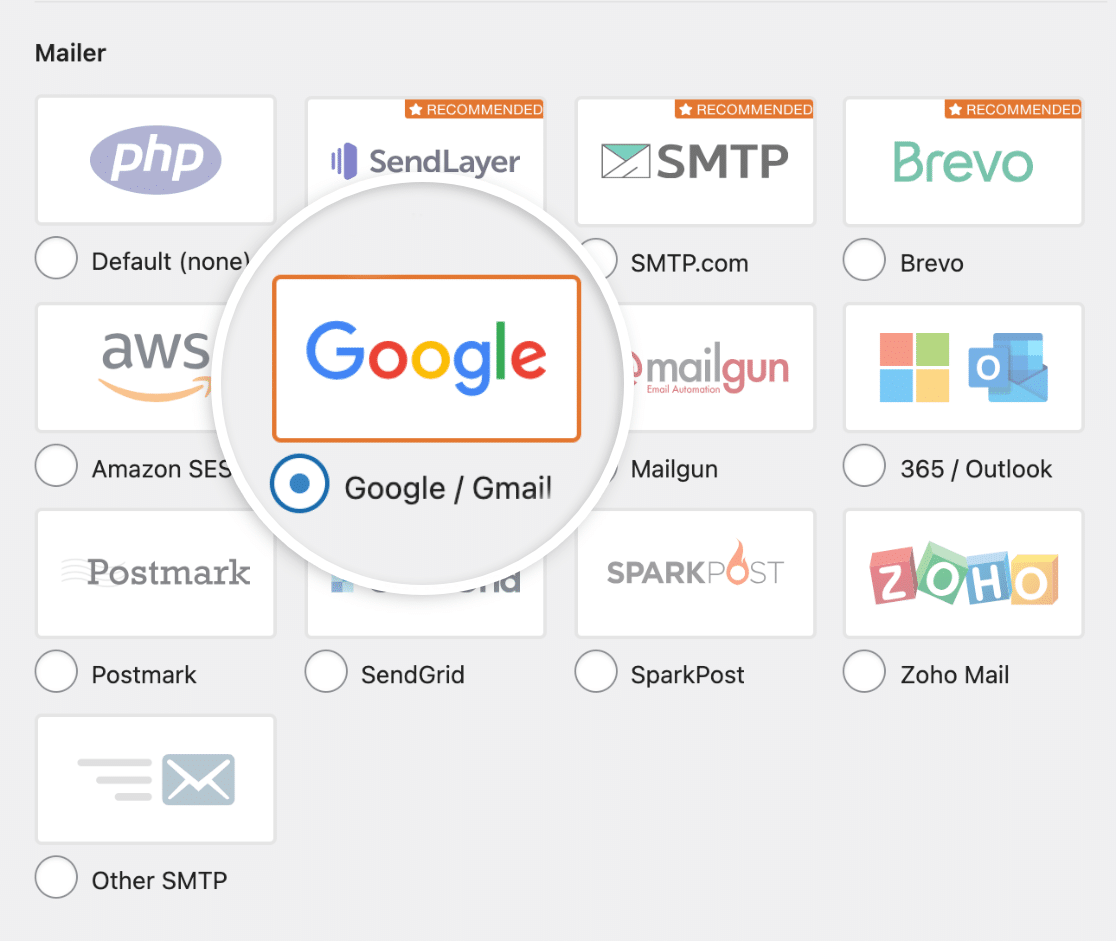
From here, scroll down from the Primary Connection section till you see the Mailer heading and select the Google / Gmail option.
This mailer requires your site to have SSL (https) enabled. For setup details, please see WPBeginner’s guide to adding SSL and HTTPS in WordPress.
A new section called Google / Gmail with additional authorization options should appear when you’ve selected the mailer for your WordPress site.
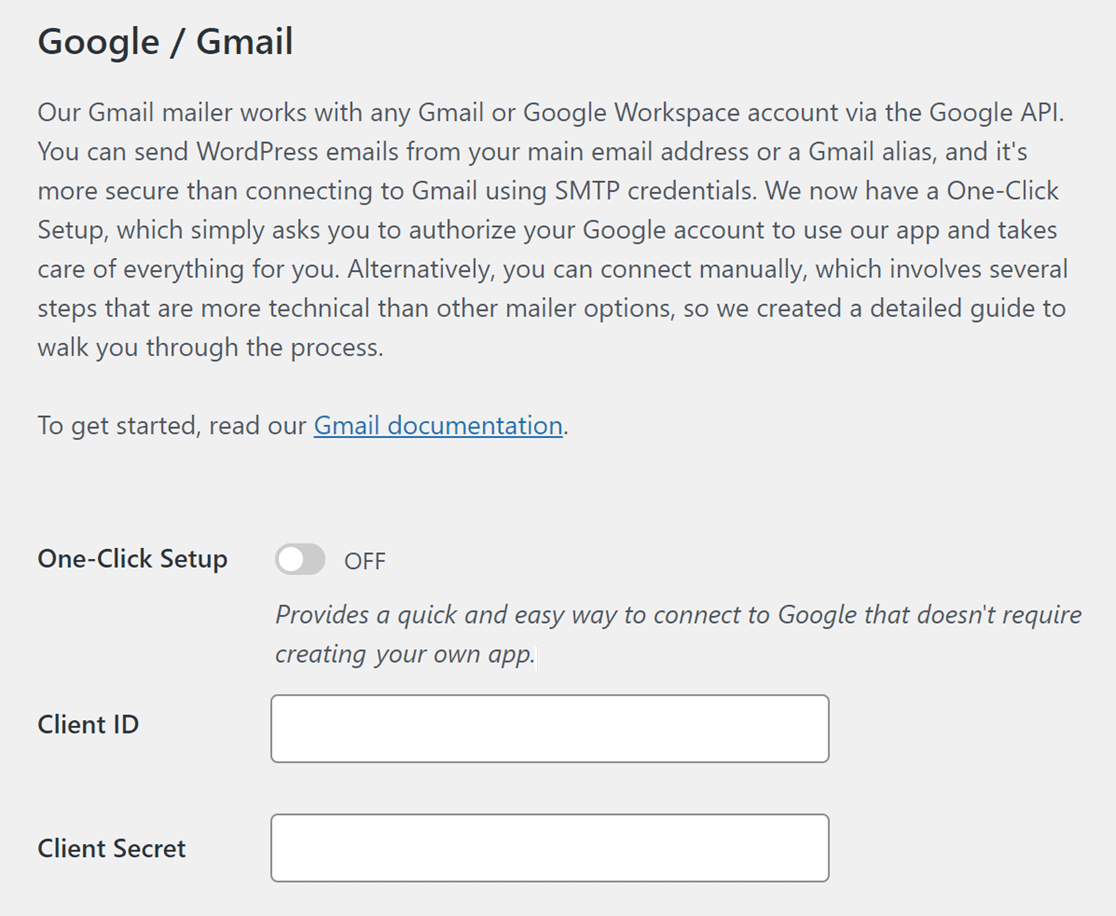
You’ll now notice two options: Use the One-Click Setup or manually create a custom Google app to generate your Client ID and Client Secret.
If you are using WP Mail SMTP Lite and would like to generate the information for the OAuth Client ID and Client Secret fields for the Gmail API, you’ll need to use your Google account to create a web application.
Since we’re opting for a more straightforward approach, let’s proceed by moving the toggle to the ON position to enable the One-Click Setup option.
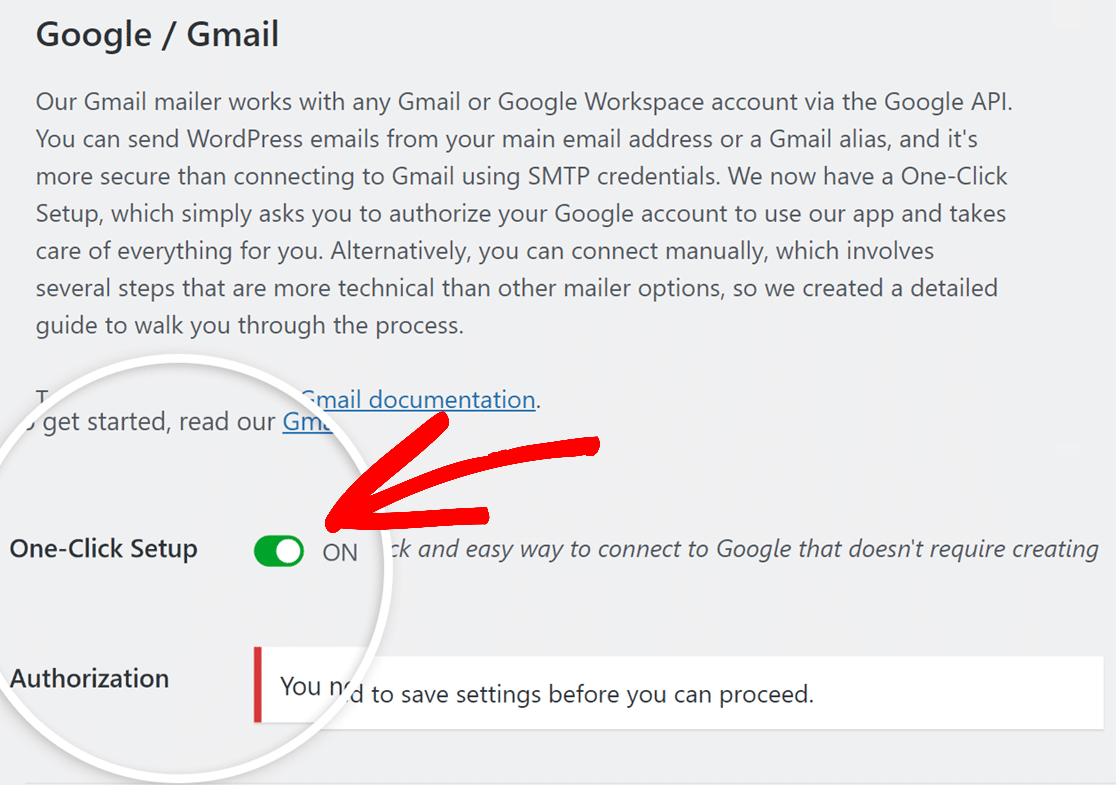
Once you’ve enabled the One-Click Setup option, simply click on the Save Settings button located at the bottom of the page.
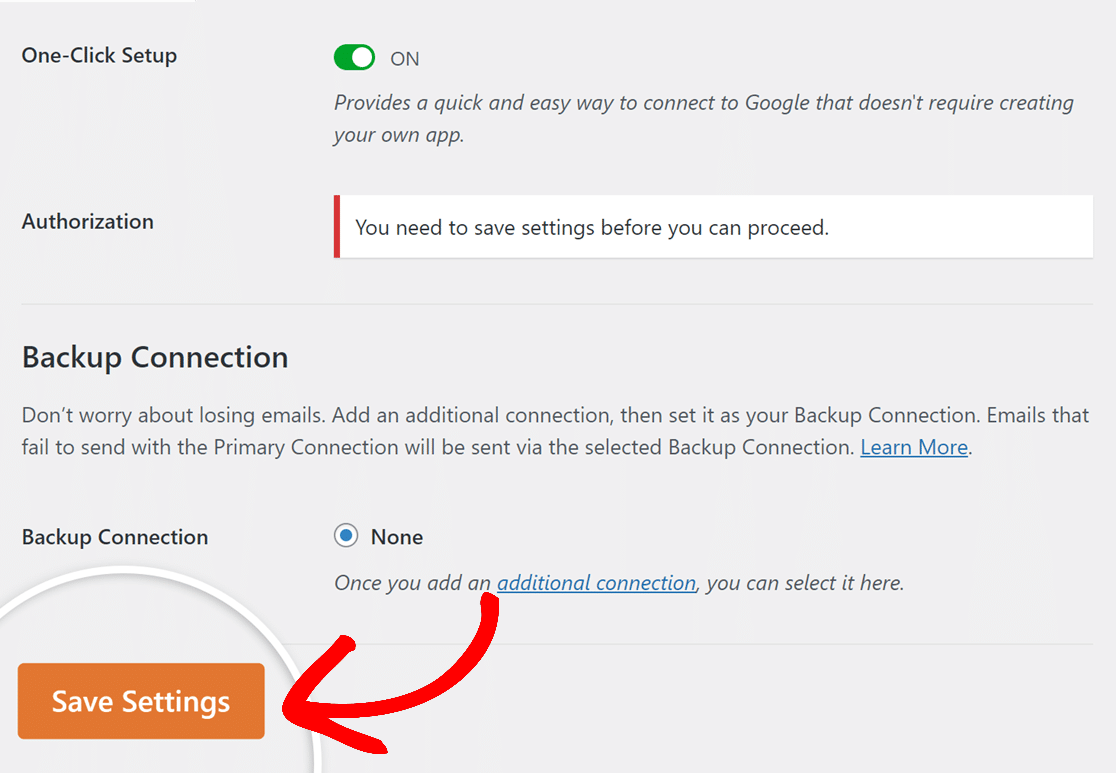
Now, all you have to do is wait for a few seconds for the page to reload, so that you can access the authorization settings.
Step 3: Authorize Google Account with WP Mail SMTP
Once the page has reloaded, scroll down to the Authentication heading and click on the blue Sign in with Google button.

By clicking on this, you will be directed to a login screen for Google. Please proceed to log in to the account you are using for this mailer setup.
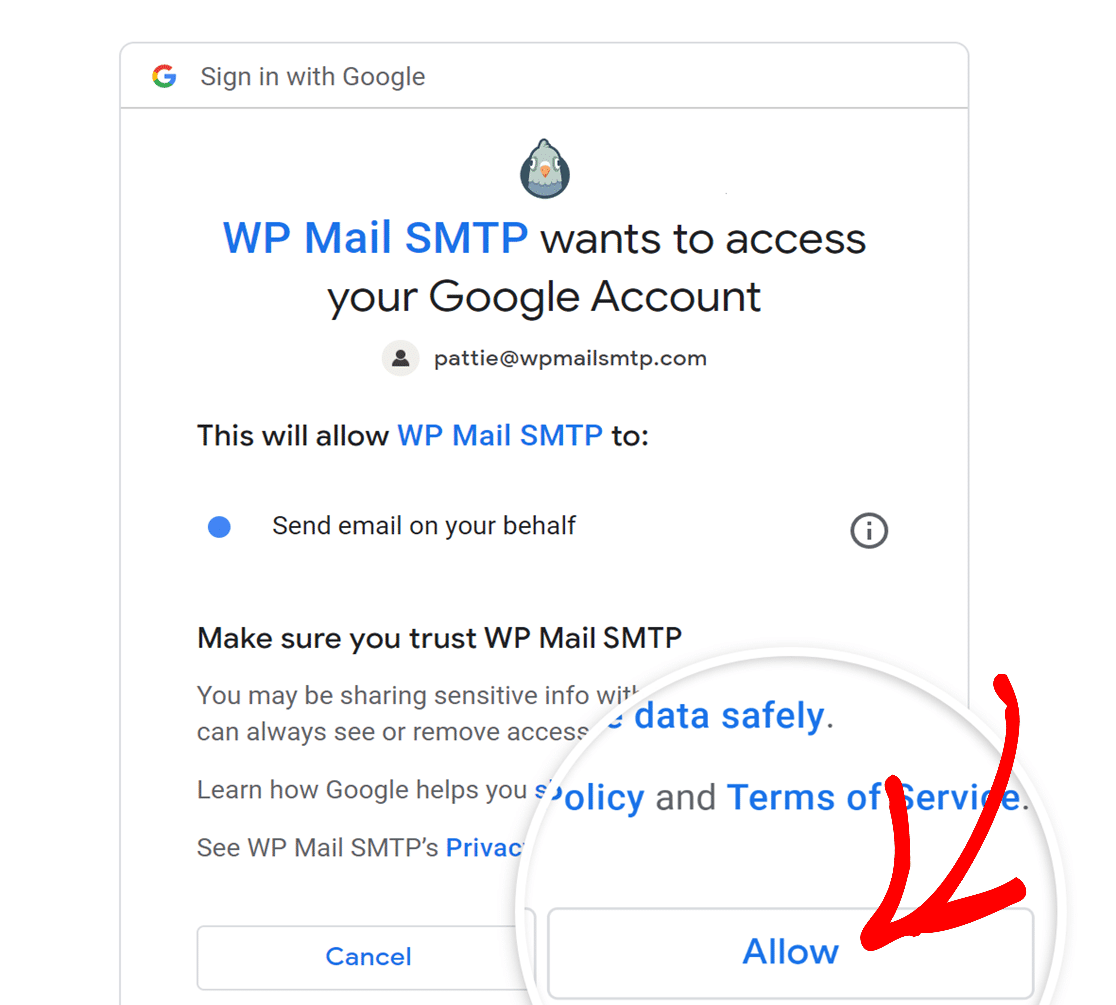
Following that, a screen will appear asking for your consent to allow WP Mail SMTP to access your Google account. Please click on the Allow button to proceed.
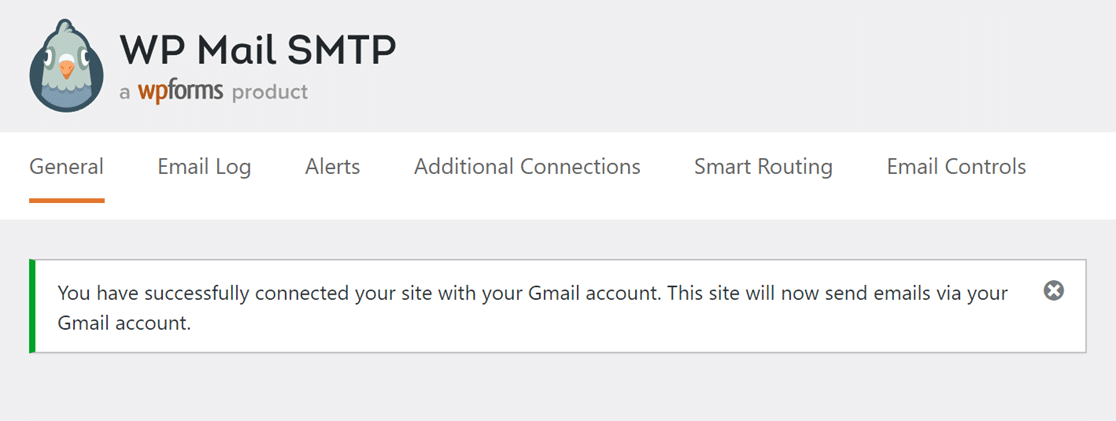
Once done, you’ll be taken back to the WP Mail SMTP Settings page. Here, you’ll see a message that confirms you’ve successfully connected your Google account.
If you scroll down a bit, you’ll also notice that the email you have configured is now visible in the Authorization section.

And that’s about it! You can now successfully send WordPress emails using the Gmail mailer, but make sure to configure your WP Mail SMTP settings first.
Step 4: Configure Your WP Mail SMTP Settings
In the WP Mail SMTP » Settings » General page, you’ll also find options to configure your From Name and From Email which all of your site’s emails will be sent from.
From Email
After you connect your site to the Gmail SMTP service, type your email address, along with any aliases you’ve set up, into the From Email field.
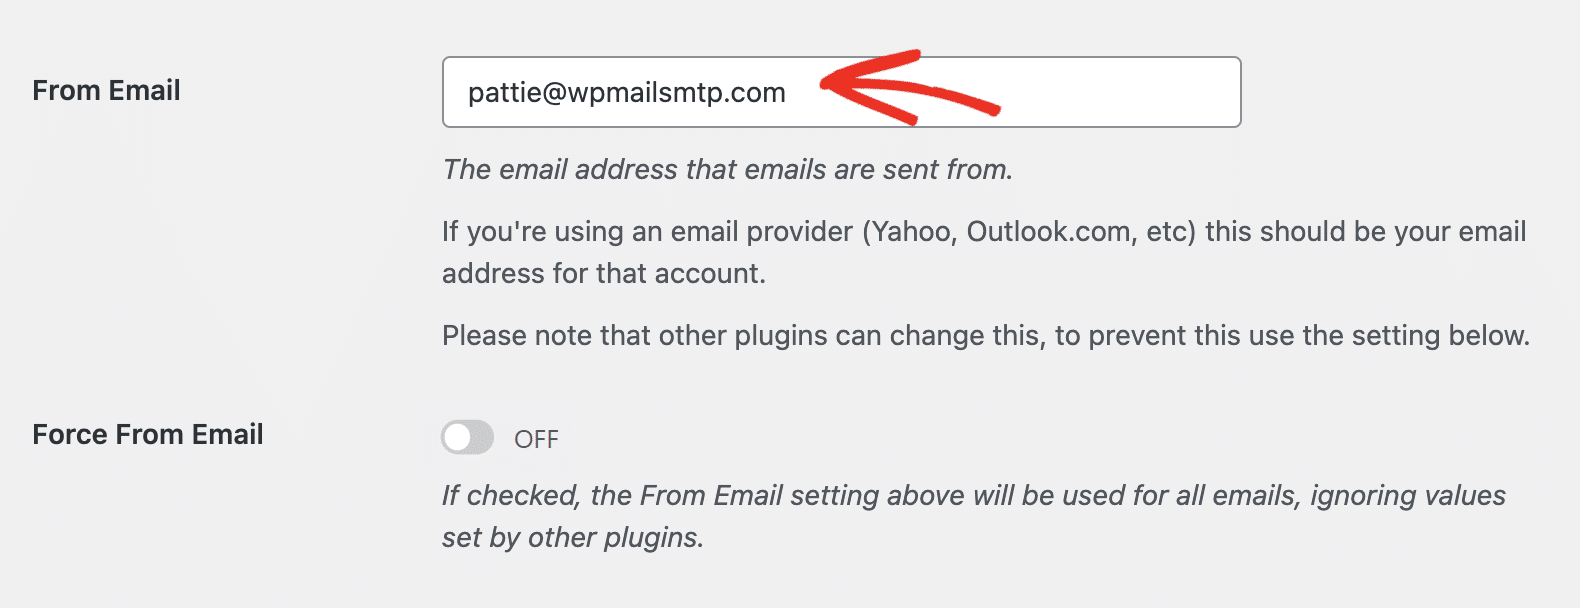
In addition to this, don’t forget to turn on Force From Email so that all emails sent from your site come from the address you entered.

If you want to use more than one Gmail alias as the From Email address in the SMTP setup, leave the Force From Email box unchecked.
From Name
The ‘From Name’ in an email is the name that appears in the inbox of your recipients. Below the From Email, set the From Name as it seems fit.
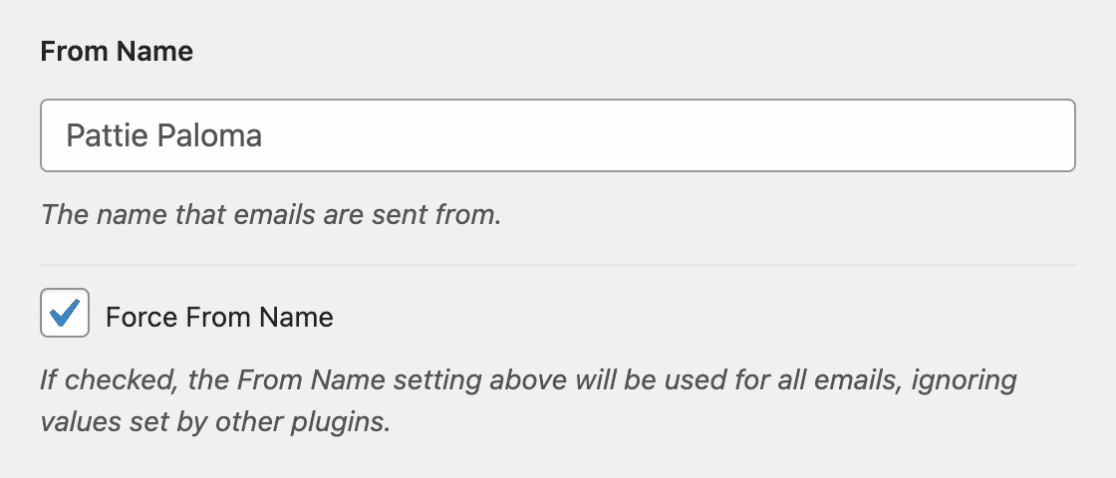
Similar to forcing emails from a single email address, you can also check the Force From Name option to apply this setting site-wide.
Step 5: Send a Test Email from WP Mail SMTP
Once all the settings are configured, navigate to WP Mail SMTP » Tools » Email Test to send a test email.
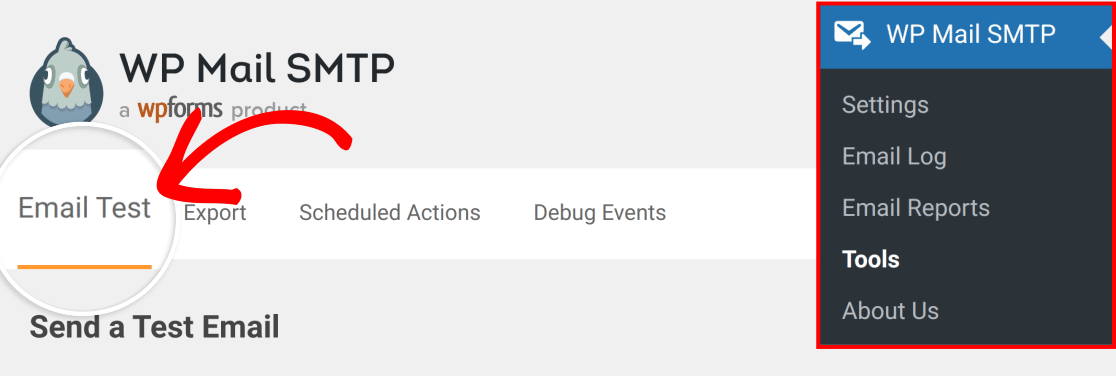
In this menu, you’ll see a field labeled Send Address. Enter the address of an email account that you have access to and click Send Email.
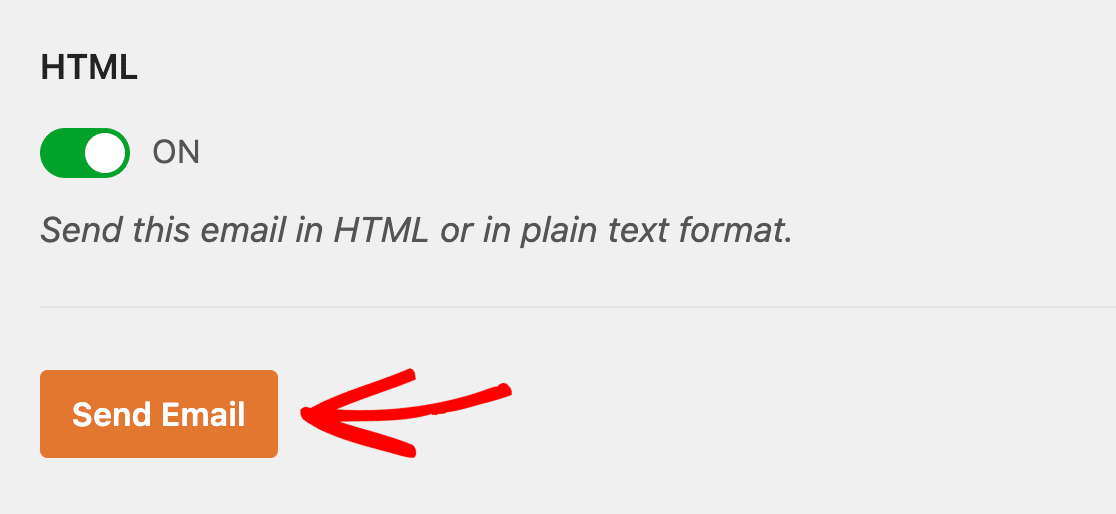
If everything has worked well, you’ll see a success message. You should then check your inbox to see if you’ve gotten the email.
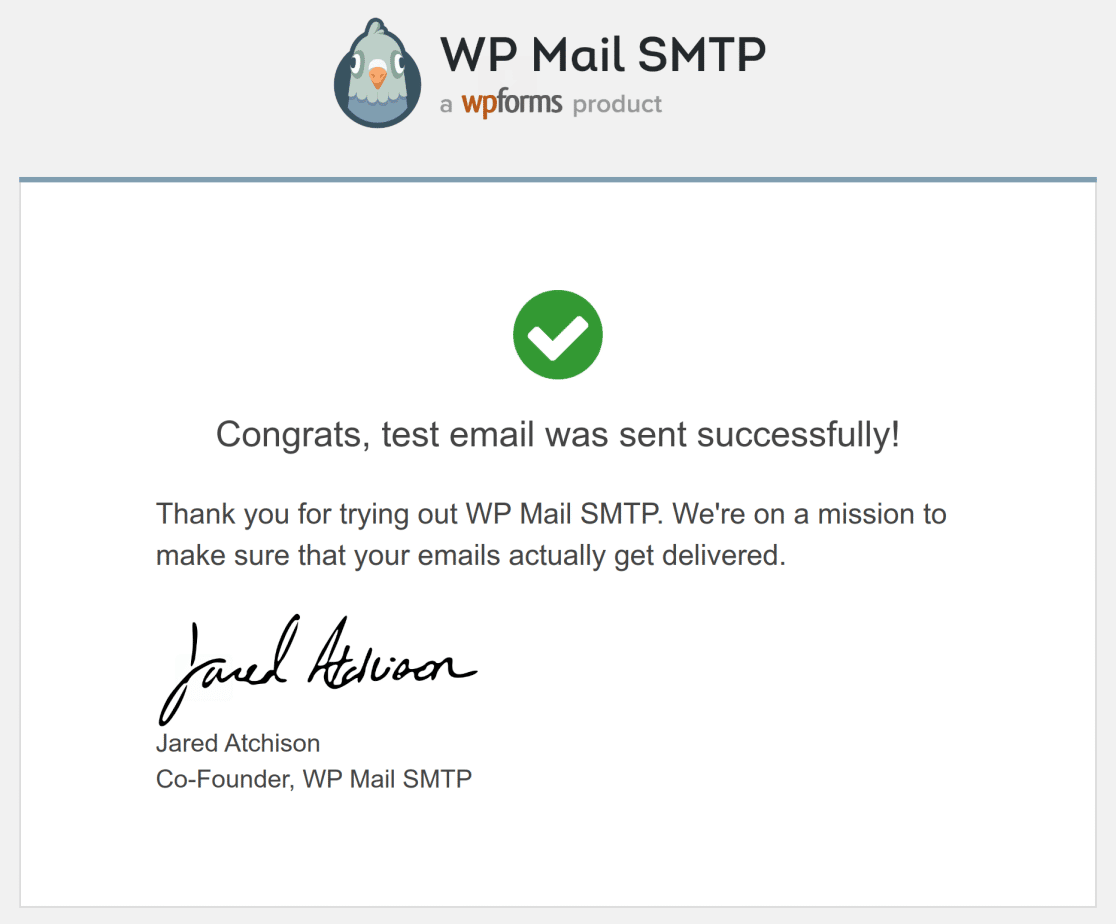
Great job! You’ve successfully configured the Gmail.com Mailer on your WordPress website and can now send notifications, order confirmations and more!
However, before you go on to send emails with Gmail, make sure to check out our guide on Gmail sending limits.
FAQs about the Google Workspace / Gmail Mailer
WP Mail SMTP’s one-click setup process for the Gmail mailer is a popular topic among our readers. Here are answers to some common questions about it:
Is Gmail SMTP free?
Yes, you can use the Gmail SMTP server for free, but it does have some limitations. You can use it for personal emails or for your website if the number of emails sent is small. For bigger needs, like for a business, Google Workspace might be a better option.
How do I set up Gmail Mailer?
To set up the Gmail mailer in WordPress, you can use the WP Mail SMTP plugin. Simply select Google / Gmail from the list of options, click on the Sign in with Google button, enter your email address, and follow the steps to connect your Gmail account.
Is Google Workspace email same as Gmail?
No! Gmail and Google Workspace email are both email services by Google, but they serve different purposes. Any individual can use Gmail for free, whereas Google Workspace is a paid service for businesses requiring a dedicated mail server.
Will I need to reconnect if I change my credentials?
Yes, if you change your Gmail or Google Workspace credentials, you’ll need to reconnect in WP Mail SMTP. This is because WP Mail SMTP uses those credentials to send emails from your site securely using the Simple Mail Transfer Protocol (SMTP).
Does the Google Workspace / Gmail mailer support aliases?
Yes, the Google Workspace / Gmail mailer supports email aliases. When setting up WP Mail SMTP, you can specify the alias you want to use for sending emails in the plugin settings. This is handy if you manage multiple email addresses under one account and wish to use a specific one for your website’s emails.
Does Google Workspace / Gmail mailer work with 2 Factor Authentication (2FA) enabled?
Yes, Google Workspace / Gmail mailer works with 2 2-factor authentication (2FA) enabled. When using WP Mail SMTP, you’ll simply need to reauthorize your email account. Once you enter your email address, enter the 2FA code to grant permission to WP Mail SMTP, and that’s about it!
Next, Learn How to Use Mailchimp with WP Mail SMTP
WP Mail SMTP and Mailchimp together form a powerhouse team, ensuring successful email delivery that lands in the right inboxes. Check out this guide for steps on how to configure Mailchimp with WP Mail SMTP.
Ready to fix your emails? Get started today with the best WordPress SMTP plugin. If you don’t have the time to fix your emails, you can get full White Glove Setup assistance as an extra purchase, and there’s a 14-day money-back guarantee for all paid plans.
If this article helped you out, please follow us on Facebook and Twitter for more WordPress tips and tutorials.

