AI Summary
Do you want to fix the iThemes Security email not sending issue?
Since iThemes Security is a WordPress security plugin, it’s super important that the security emails reach your inbox and you know about it.
In this article, we’ll show you how to fix it so that you are always updated about the security of your website.
Fix Your iThemes Security Emails Now
What Emails Do I Receive From iThemes Security?
iThemes Security is a complete WordPress security tool. It makes it easy to secure and protect your website. The plugin blocks out hackers when there are too many failed login attempts or when a file on your site has been changed. It also notifies you via an email notification about the same.
It can also be used as a database backup tool. You can schedule automatic backups and it will send you the database file as an attachment to your email.

Hackers can also try to log in to your website by using software that automatically tries different login and password combinations. This is called a brute force attack, and the plugin will block such an attack and notify you about such instances.
With iThemes Security Pro, you can set up two-factor authentication and receive the code through an email. It also has a passwordless login feature for which you will receive an email with a “magic link,” or a link that will log you in to WordPress with a click of a button.
Now that we know how important these emails are, we’ll show you how you can fix the iTheme Security email not sending email issue.
How To Fix iThemes Security Email Not Sending Issue
In This Article
Step 1: Manage Notifications by iThemes Security
iThemes Security has a notification center from which you can control all the emails the plugin sends. If you aren’t getting these emails, let’s first check if the settings in the notification center are configured properly.
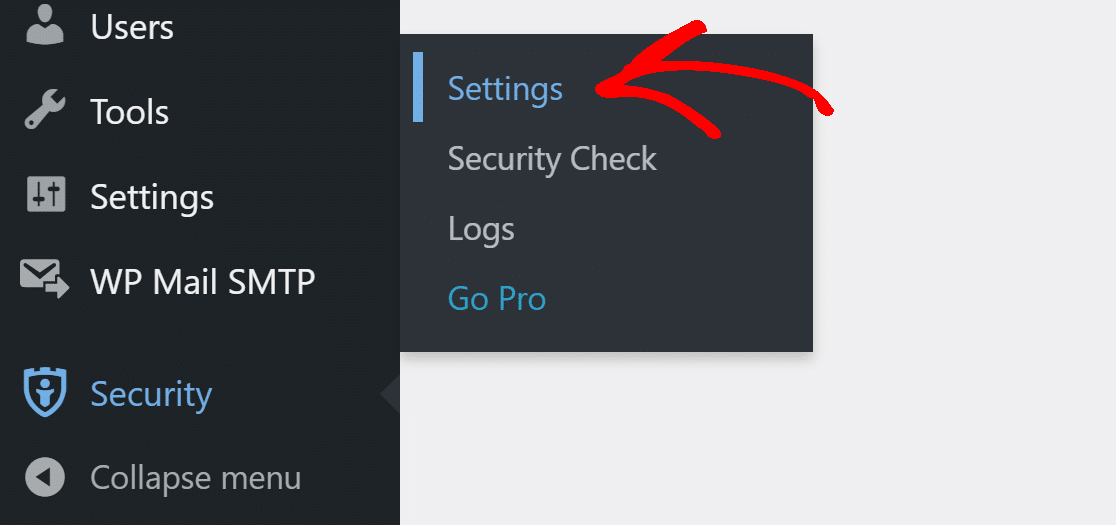
To start, log in to your WordPress dashboard and click on Security » Settings from the navigation menu.
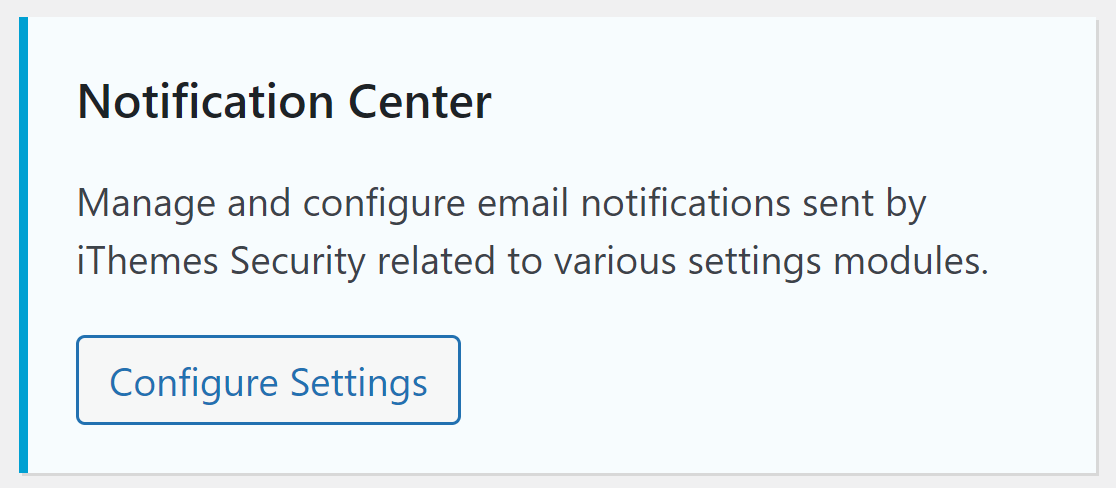
Look for the Notification Center and click on the Configure Settings button. Here we can modify the notifications and the recipient for each notification.
From Email
For the From Email, use an email address that matches your domain. For example, you can use something like [email protected] for security emails.

Default Recipients
If you have a security team for your website, you may not want the admin to receive notifications for every lockout.

Select the default recipients for all security notifications from the list of users. This is important because the users that you select here will be the recipients of all notifications unless you change them. You can also set this to all users with administrator roles.
Database Backup
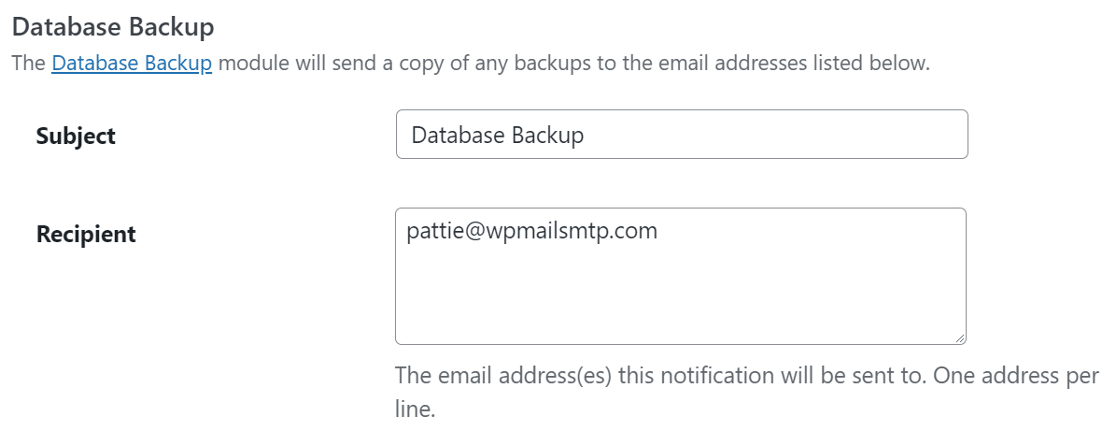
The Database Backup module will send a copy of the backup through an email. Here, you can modify the email subject and enter the email addresses one per line who should receive the database copy.
Security Digest
Security digest is the summary of lockouts and file change detection your website has undergone over a selected period of time.
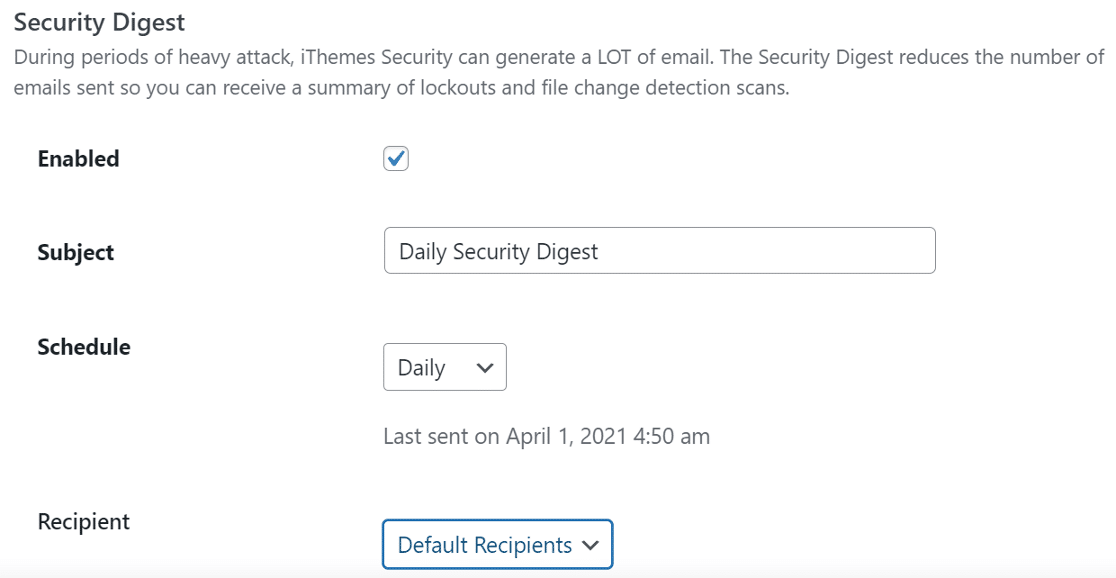
Here, you can modify the email subject line or keep it as it is and select the time period for new notifications.
The recipient is set to the default address, which is the admin email. You can change it to Custom and select the users who should receive this notification.
Site Lockouts
If the plugin detects any suspicious activity, it locks out the user or host from accessing the website. If such an event occurs, iThemes Security sends an email notification.
Here too, you can modify the email subject line and set the recipient as default or select users from the list.
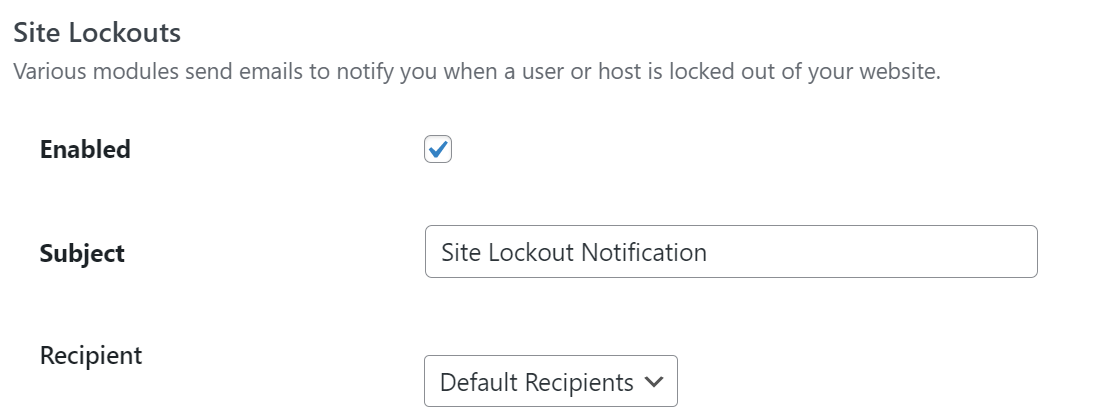
If you use iThemes Security Pro, you’ll see more options here. The settings for those will be similar to what we have seen above.
Now that we have the notification settings properly set up, let’s install the SMTP plugin to better handle the emails and avoid any failure.
Step 2: Install the WP Mail SMTP Plugin
WP Mail SMTP is the best SMTP plugin for WordPress. It connects your website to an external email service which improves email deliverability.
It also solves the problem of automated emails being marked as spam by adding verification to the messages.
If you’d like someone else to set this up for you, the team offers a full White Glove Setup service. It’s included with the Elite license.
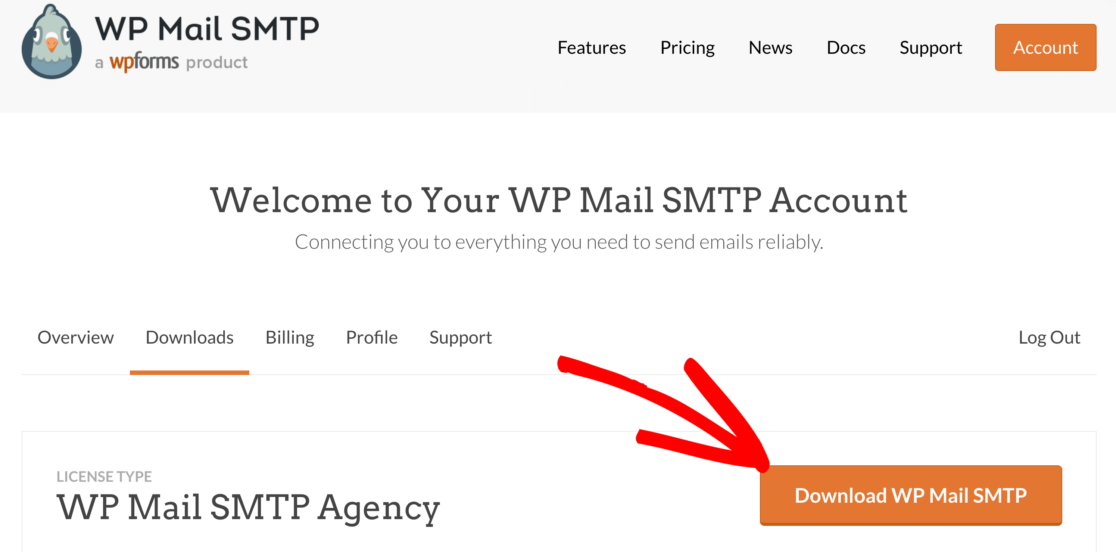
To start, go to your WP Mail SMTP account and look for the Downloads tab. Click on the orange Download WP Mail SMTP button to download the latest version of the plugin file.
Next, open up the WordPress dashboard and upload the zip file to your website.

If you need help with this, check out our guide on how to install a WordPress plugin.
Don’t forget to Activate the plugin. As soon as you do that, the Setup Wizard will open in your browser.
If you want to start the Setup Wizard any time in the future, you can do it by clicking the Launch Setup Wizard button in your WP Mail SMTP settings.
Step 3: Set Up Your Email Service
Now, we’ll choose the mailing which will add the verification to the emails. This will solve the iThemes Security email not sending issue.
Click the Let’s Get Started button to start the process. Now it’s time to choose the mailer.

The mailer service you choose here will depend on a few factors, like the amount of traffic your site has and the type of emails people receive from your website.
We recommend SendLayer, SMTP.com, or Brevo (formerly Sendinblue) because of the reliability they offer. They are great for both small and big websites. SendLayer even has a free trial that lets you start sending emails before you have to pay.
If you need detailed information about each mailer, you can check out our complete guide to WP Mail SMTP’s mailers.
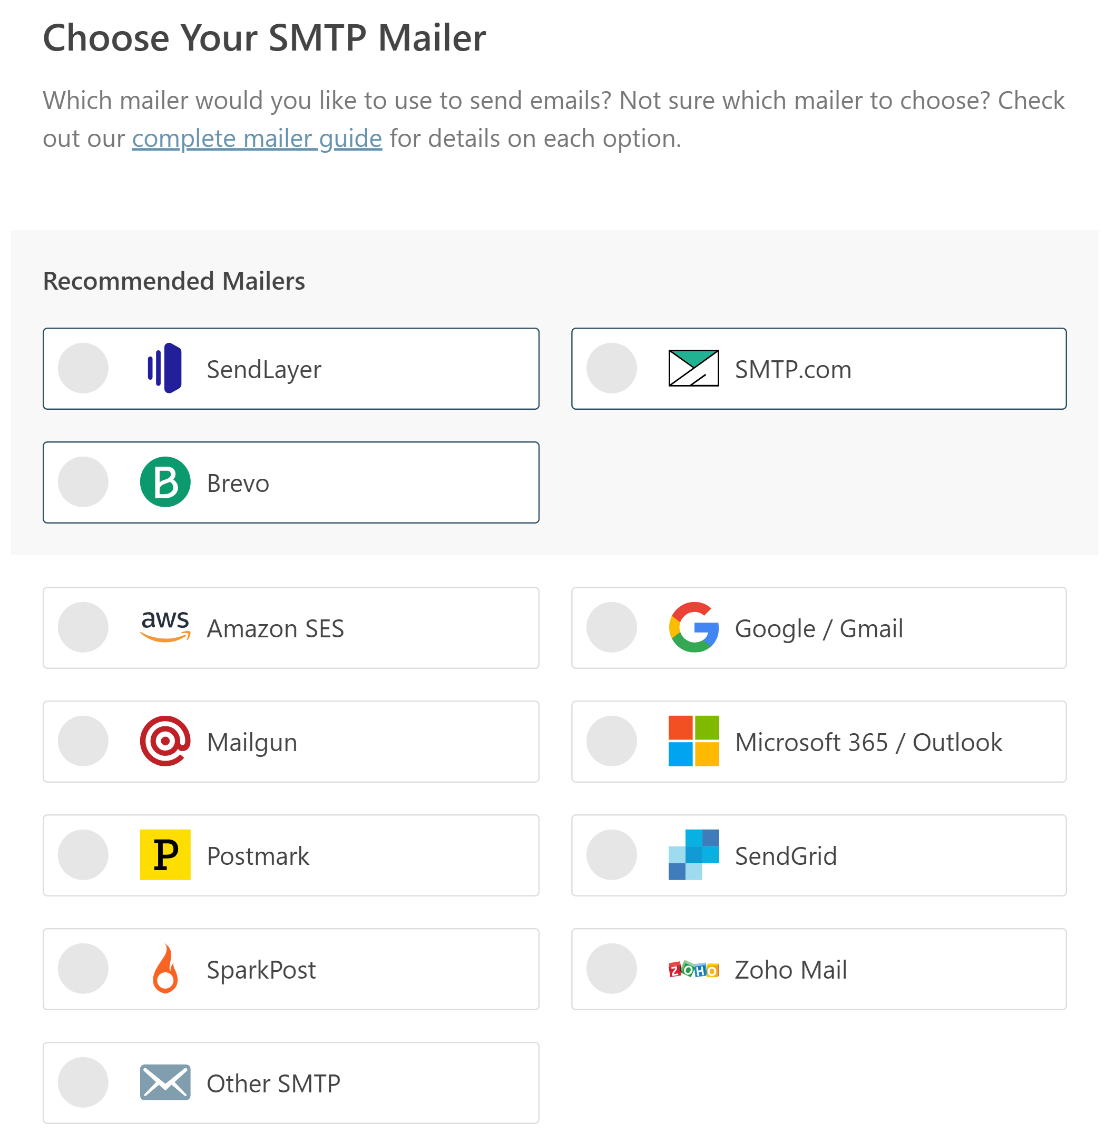
Once you’ve chosen the mailer, open up our documentation and go through the steps to set it up.
-
- SendLayer
- SMTP.com
- Brevo
- Amazon SES
- Google Workspace / Gmail
- Mailgun
- Microsoft 365 / Outlook.com
- Postmark
- SendGrid
- SparkPost
- Zoho Mail
- Other SMTP (any other SMTP server)
If you want to set up multiple mailers, you can do so in the Additional Connections settings once you’ve finished the Setup Wizard. Then you can select a Backup Connection and configure Smart Routing.
When you’ve set everything up on your email service website, come back to this guide to enable email logging on your site.
Step 4: Turn on Email Logging (Optional)
For the next step, you can choose which email features you’d like to enable.
By default, the Improved Email Deliverability and Email Error Tracking settings will be enabled.
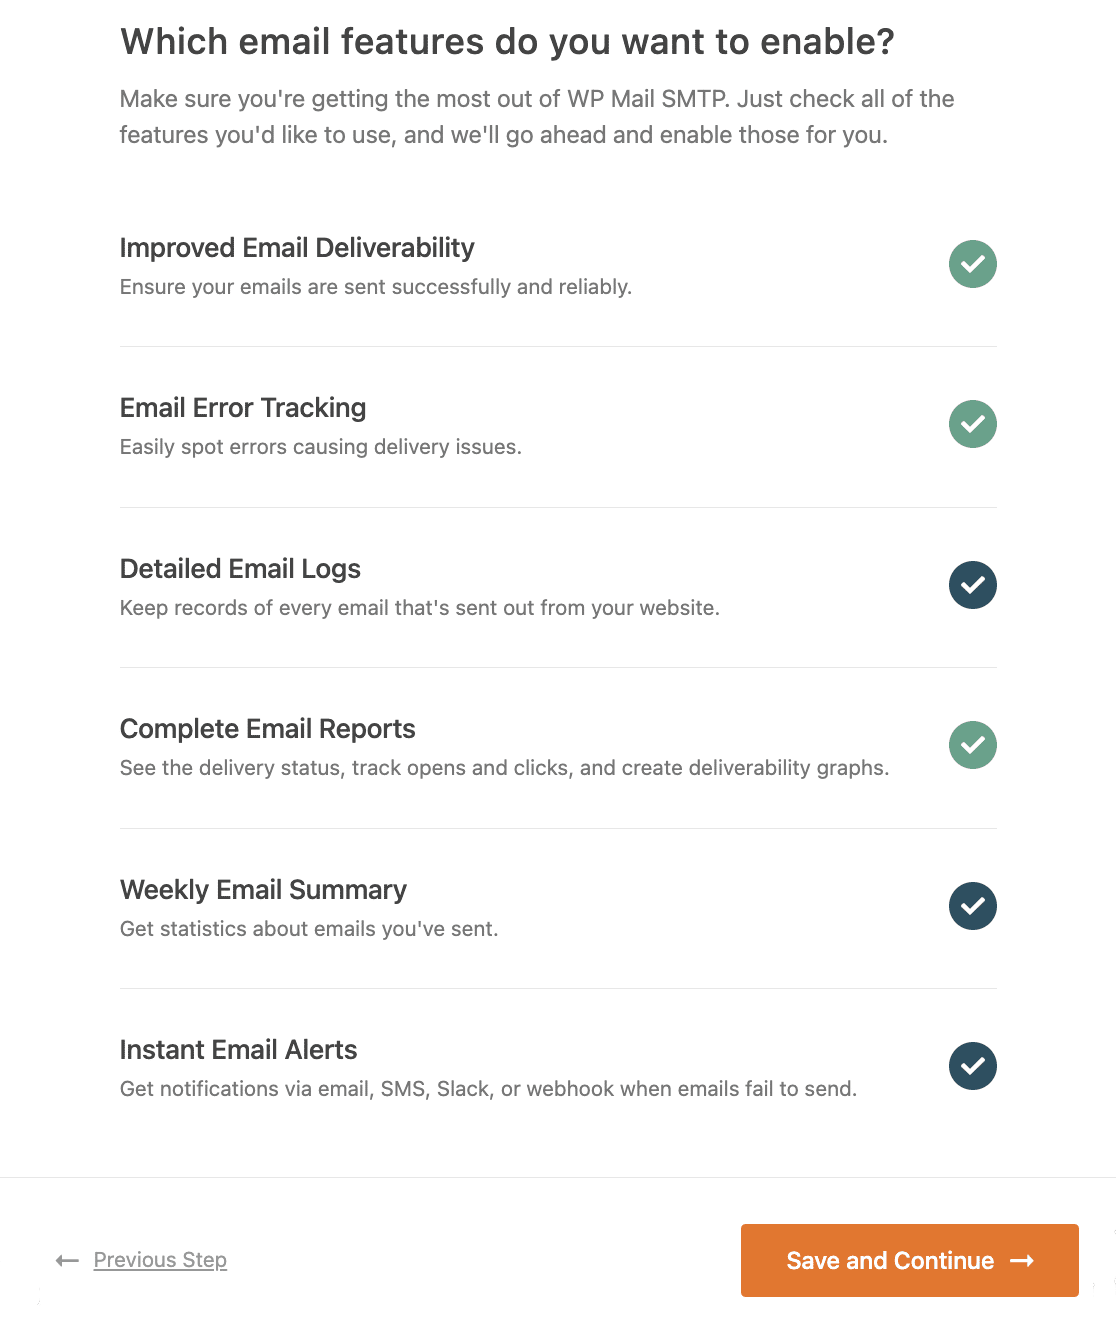
You’ll also want to enable the Detailed Email Logs. This will keep a track of all the emails your website sends along with their status in Complete Email Reports. You can also export your logs as a spreadsheet, print logs, and more.
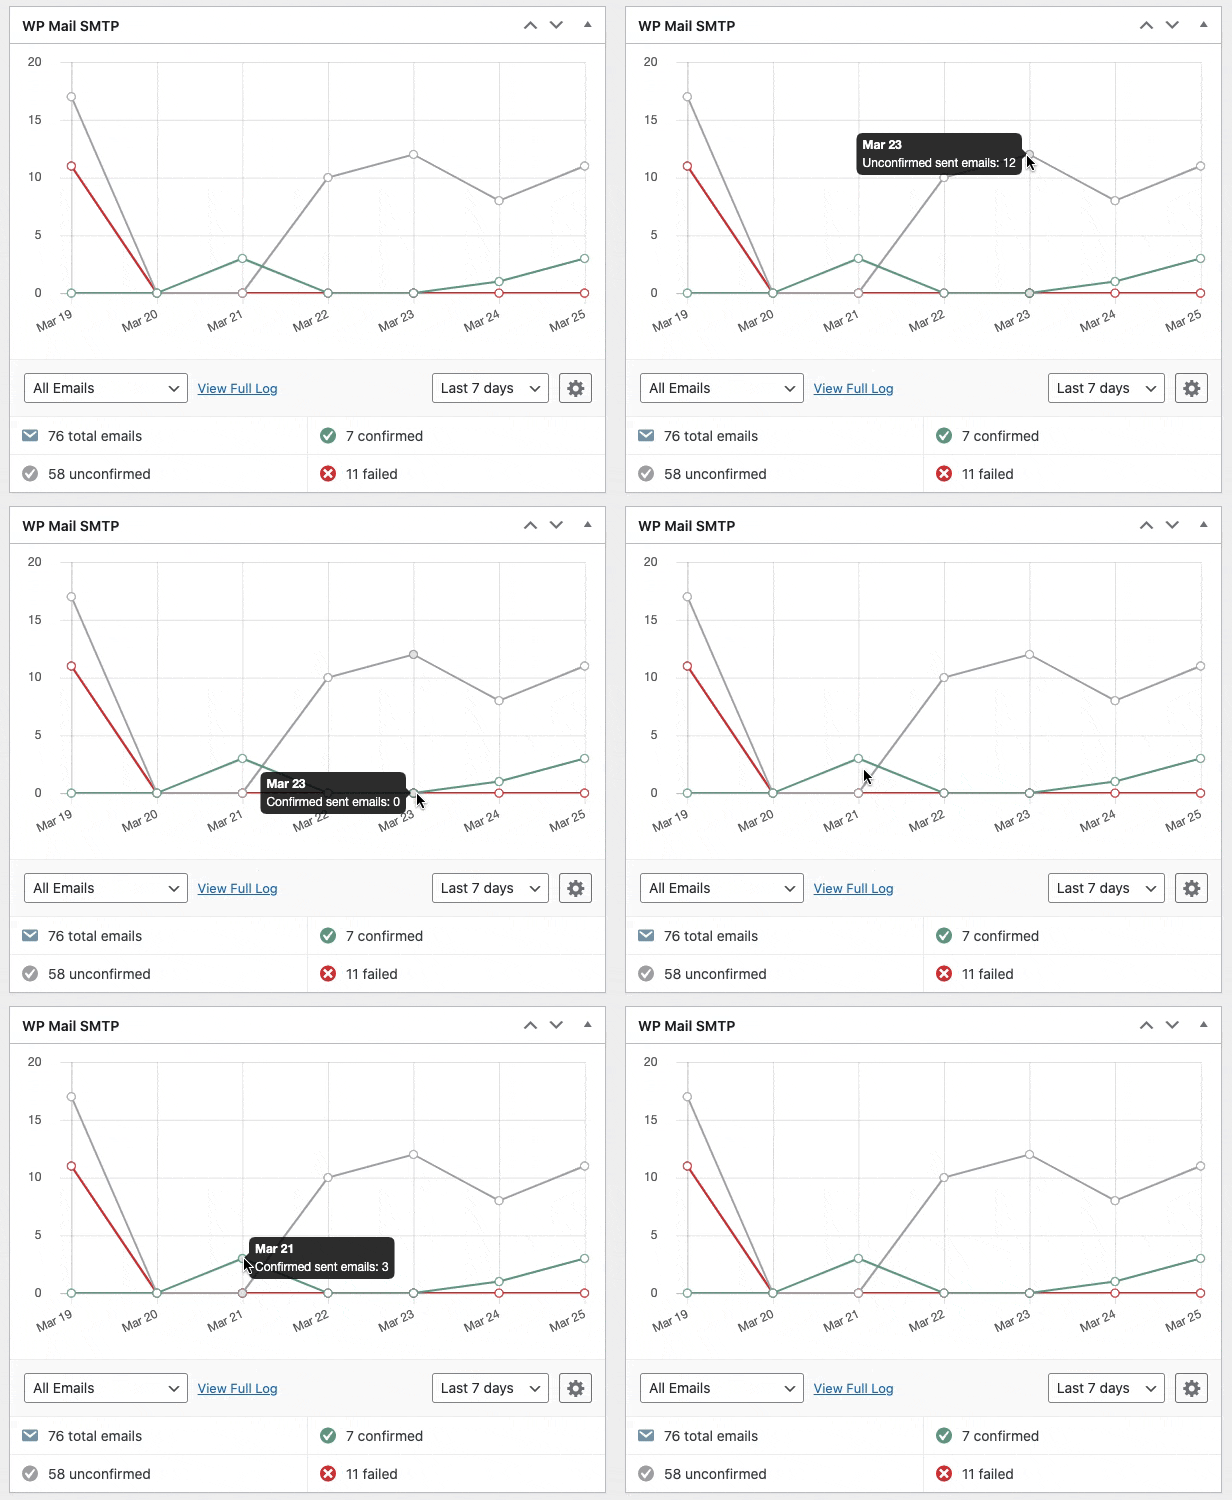
What’s even better is the included dashboard widget that comes with WP Mail SMTP Pro. It displays the log in the form of a chart, making it easier to read the data and spot errors.
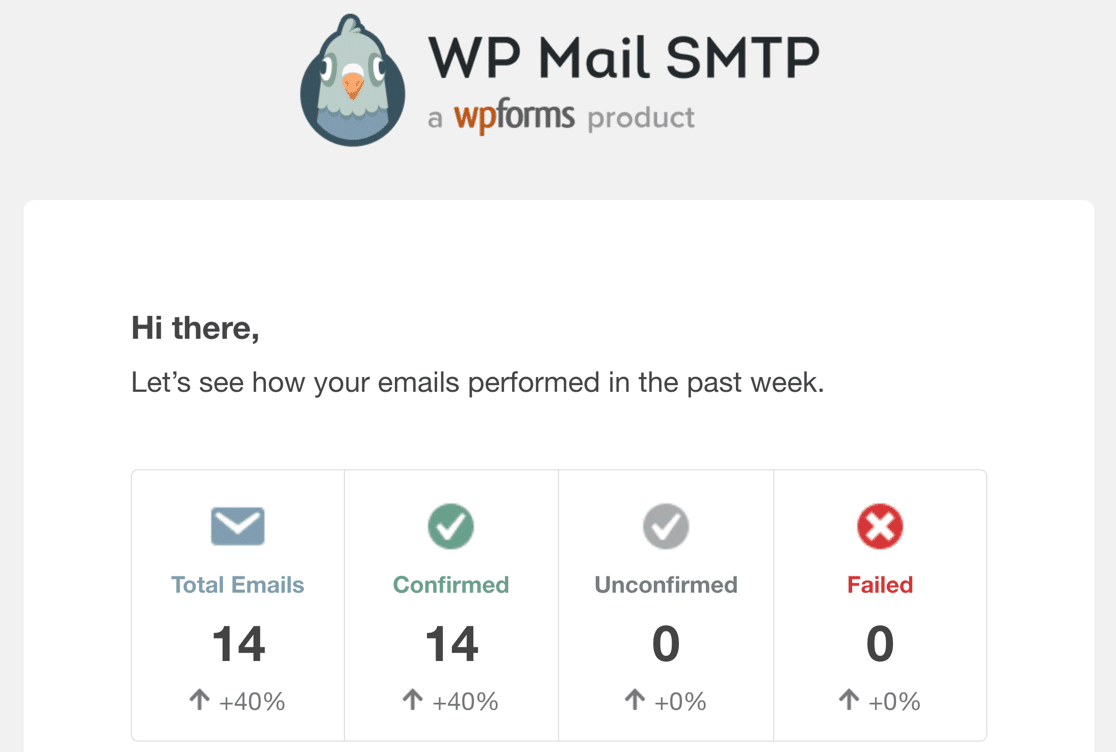
If you enable the Weekly Email Summary, you’ll also get an overview of these stats in your inbox each week.
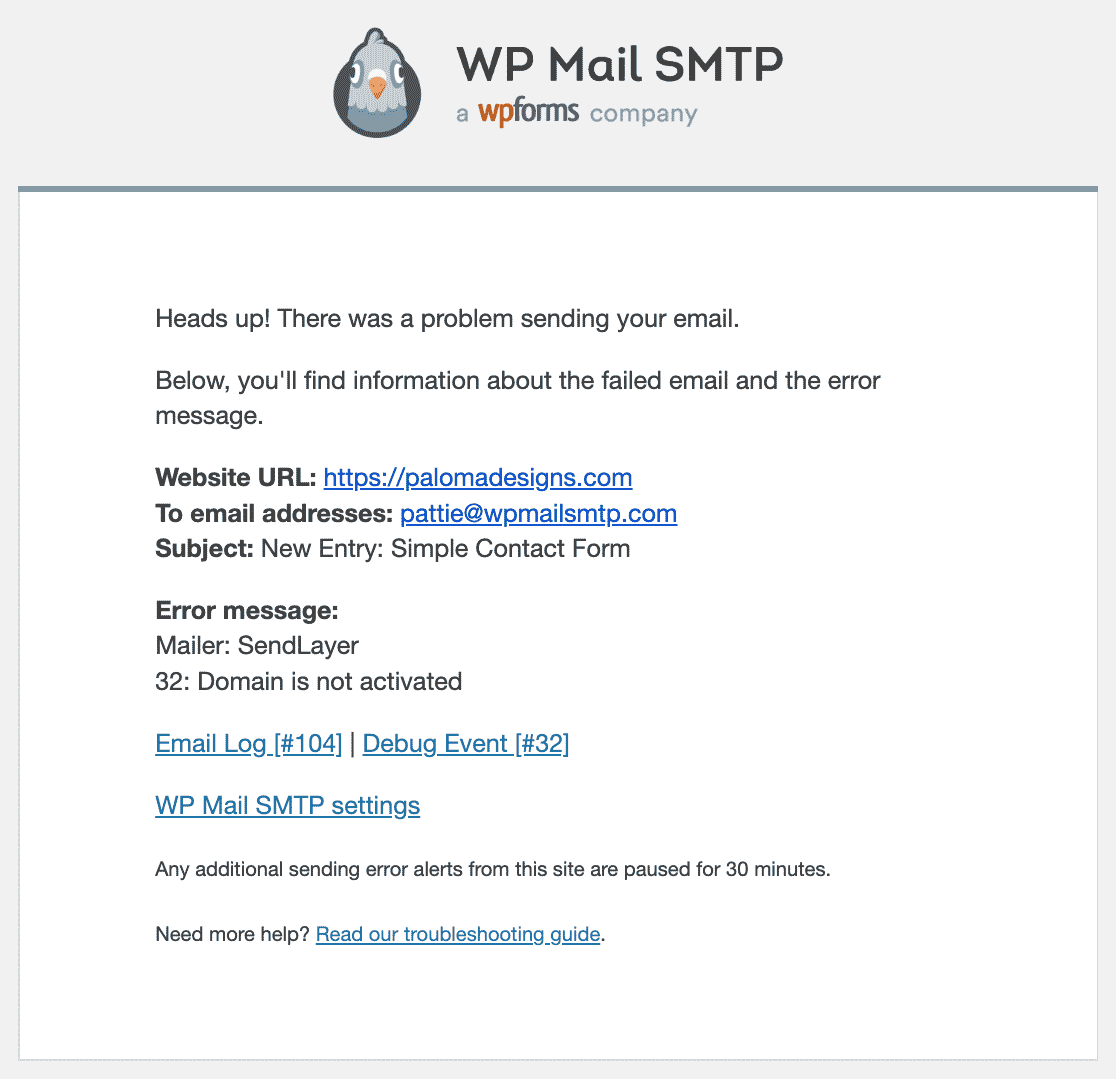
And the Instant Email Alerts will let you know if your site every fails to send an email so you can quickly fix the problem.
On the next screen, you’ll have the option to turn on some advanced email logging features.
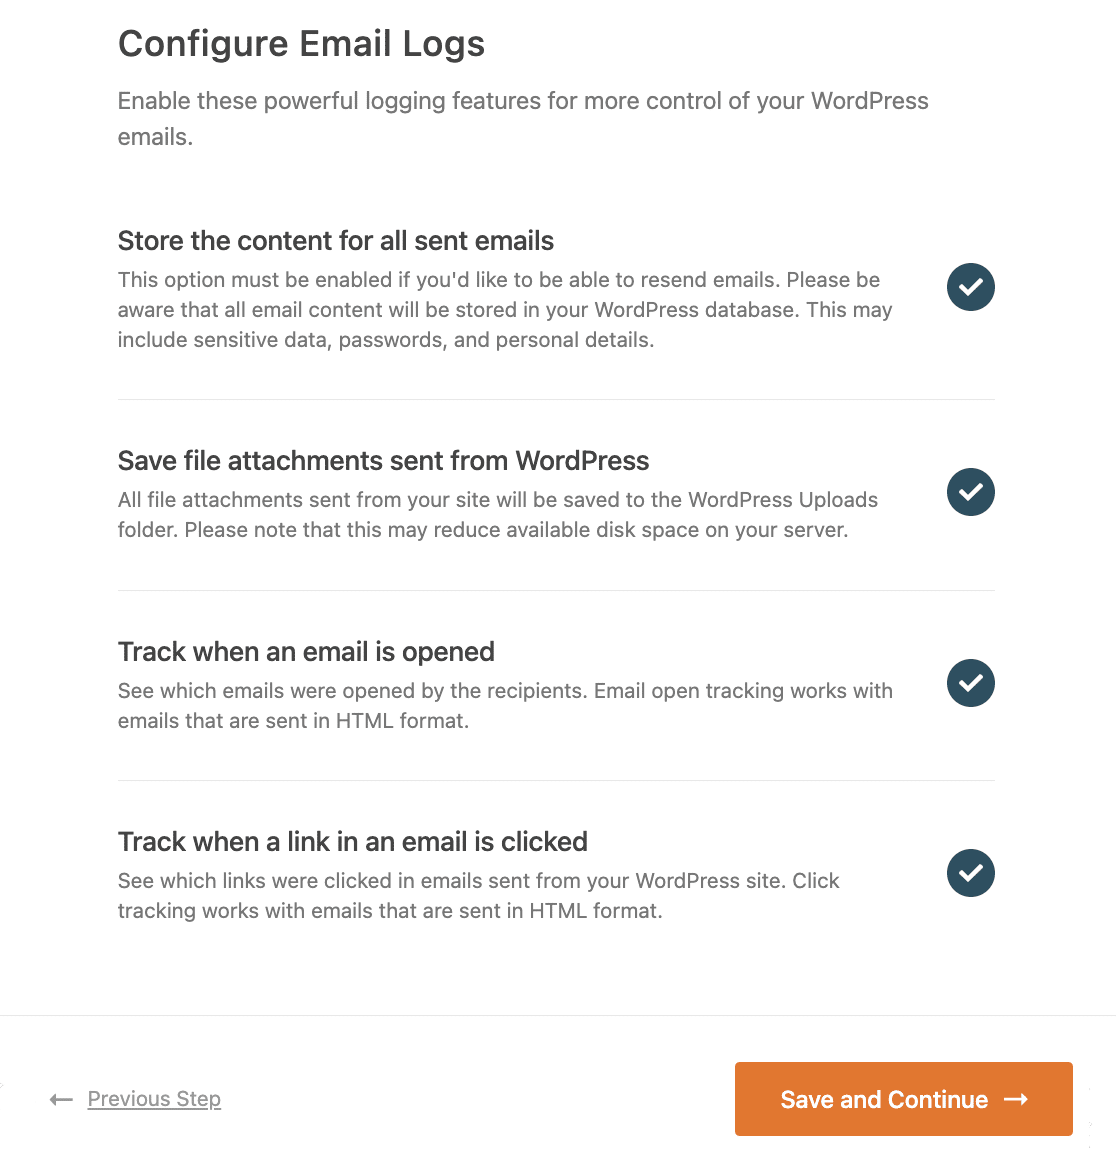
These feature let you:
- Save email content so you can resend or forward emails.
- Save file attachments so you can find and print them later.
- Track email opens and link clicks to monitor user engagement.
Check out our guide to WordPress email logging to find out about the extra email logging features in Pro.
For the last step, you’ll need to copy and paste the license key from the Downloads tab in the WP Mail SMTP account. This will enable automatic updates.

That’s it! Now you know how to fix iThemes Security not sending email.
Fix Your iThemes Security Emails Now
Next, Check Your SPF Record
Since you take the security of your website seriously and have a plugin installed for it, you’ll also want to work on the security of your emails.
In order to prevent spammers from using your emails for sending phishing or malware emails, we need to merge multiple SPF records on your domain. An SPF record is a TXT record that validates all outgoing emails from your website.
If this article helped you out, please follow us on Facebook and Twitter for more WordPress tips and tutorials.

