AI Summary
Is your Jetpack contact form not sending email? You could lose customers and leads if you don’t get the right notifications.
In This Article
Why Is My WP Form Not Working?
Your WordPress form is likely not sending email because your notifications are being marked as spam. When your Jetpack contact form sends email notifications, it sends them using the wp_mail() function from your web server.
This doesn’t add authentication, which means the emails don’t have any headers to prove that they were really sent by your site.
Missing authentication is the #1 reason Jetpack emails get filed as spam.
Additionally, Jetpack notifications are scanned by Akismet. Akismet can sometimes be too aggressive, and you might not receive the right notifications when it detects a spam submission.
How to Fix Jetpack Contact Form Not Sending Email
In this article, we’ll show you how to fix 3 common problems with Jetpack contact forms.
Let’s start the troubleshooting by setting up Jetpack with SMTP.
1. Check Your Jetpack Akismet Settings
If you aren’t receiving Jetpack contact form emails, Akismet is the 1st thing we need to check.
When Akismet is enabled, it automatically filters submissions.
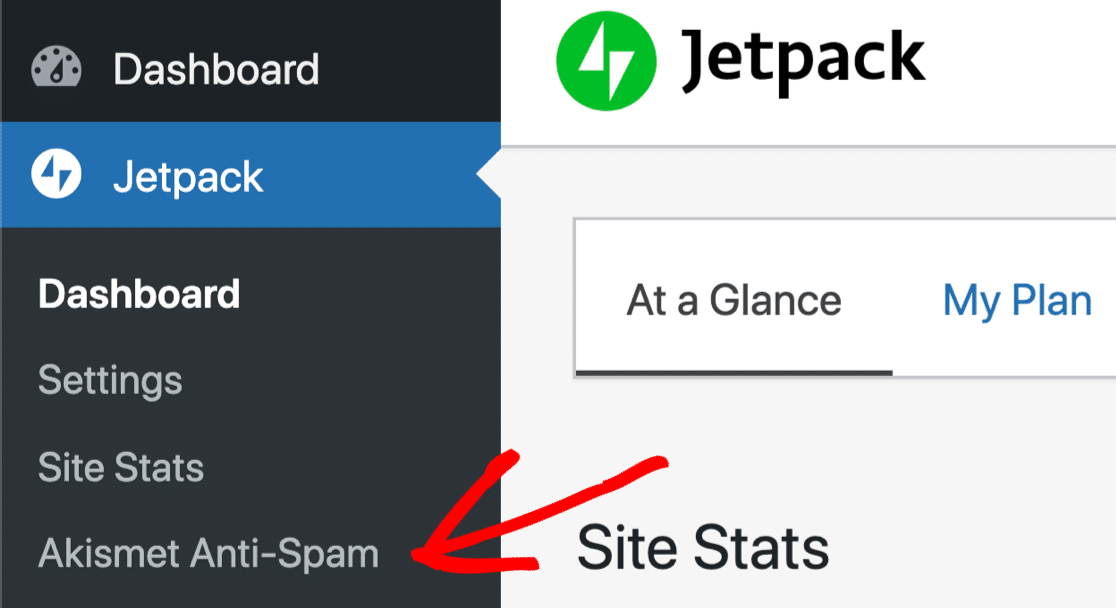
Depending on the setting you choose, Akismet will either:
- Silently discard contact form messages that it thinks are spam, so you’ll never see them.
- File messages in the Comment spam folder in WordPress, then discard the messages after 15 days.

This isn’t a great way to handle Jetpack spam messages because:
- You don’t have much opportunity to review spam.
- The Comment spam folder isn’t an obvious place to look for contact form messages.
- Akismet should also send an email alert. But if you’re already having trouble receiving WordPress emails, you might not receive Akismet notifications either.
- It’s difficult to trigger Akismet spam filters deliberately, so this anti-spam system is almost impossible to test.
To troubleshoot, you can head to the WordPress admin dashboard and disable Akismet for a while. This can help you to figure out if Akismet is filtering your Jetpack contact form emails too aggressively.
In the long term, it’s not a good idea to leave your forms without any spam protection. WPForms has better spam protection than Jetpack, so it’s worth switching your contact form plugin for more features.
For example, WPForms lets you protect your contact form from spam using:
- Invisible spam protection (form tokens)
- Google reCAPTCHA v2 or v3
- hCaptcha
- Custom CAPTCHAs
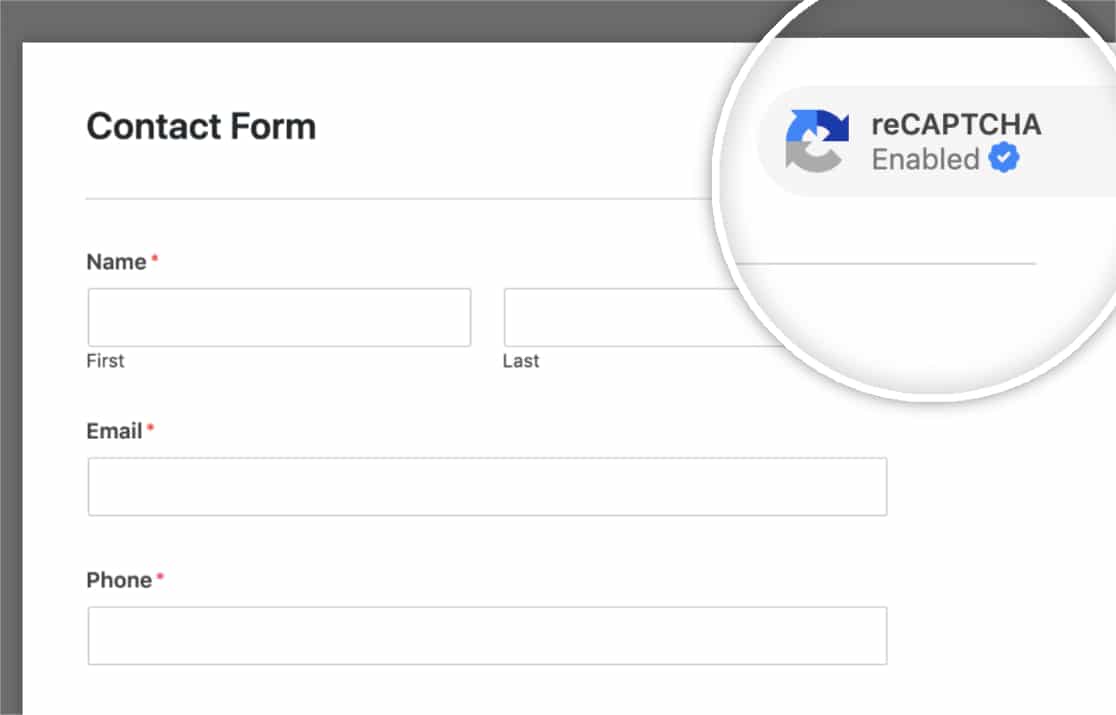
You can read more on how to stop contact form spam to learn how to use these form builder plugin settings.
If you want to continue to troubleshoot Jetpack, let’s set up WordPress SMTP.
2. Fix Jetpack Not Sending Email with SMTP
In this step, we’re going to install WP Mail SMTP to fix your email deliverability problem.
WP Mail SMTP is the best SMTP plugin for WordPress. Instead of relying on your web hosting server to generate and send emails, it sends them through a 3rd party mailing service.
This will add the right authentication to your emails to solve the problem of Jetpack contact forms not working.
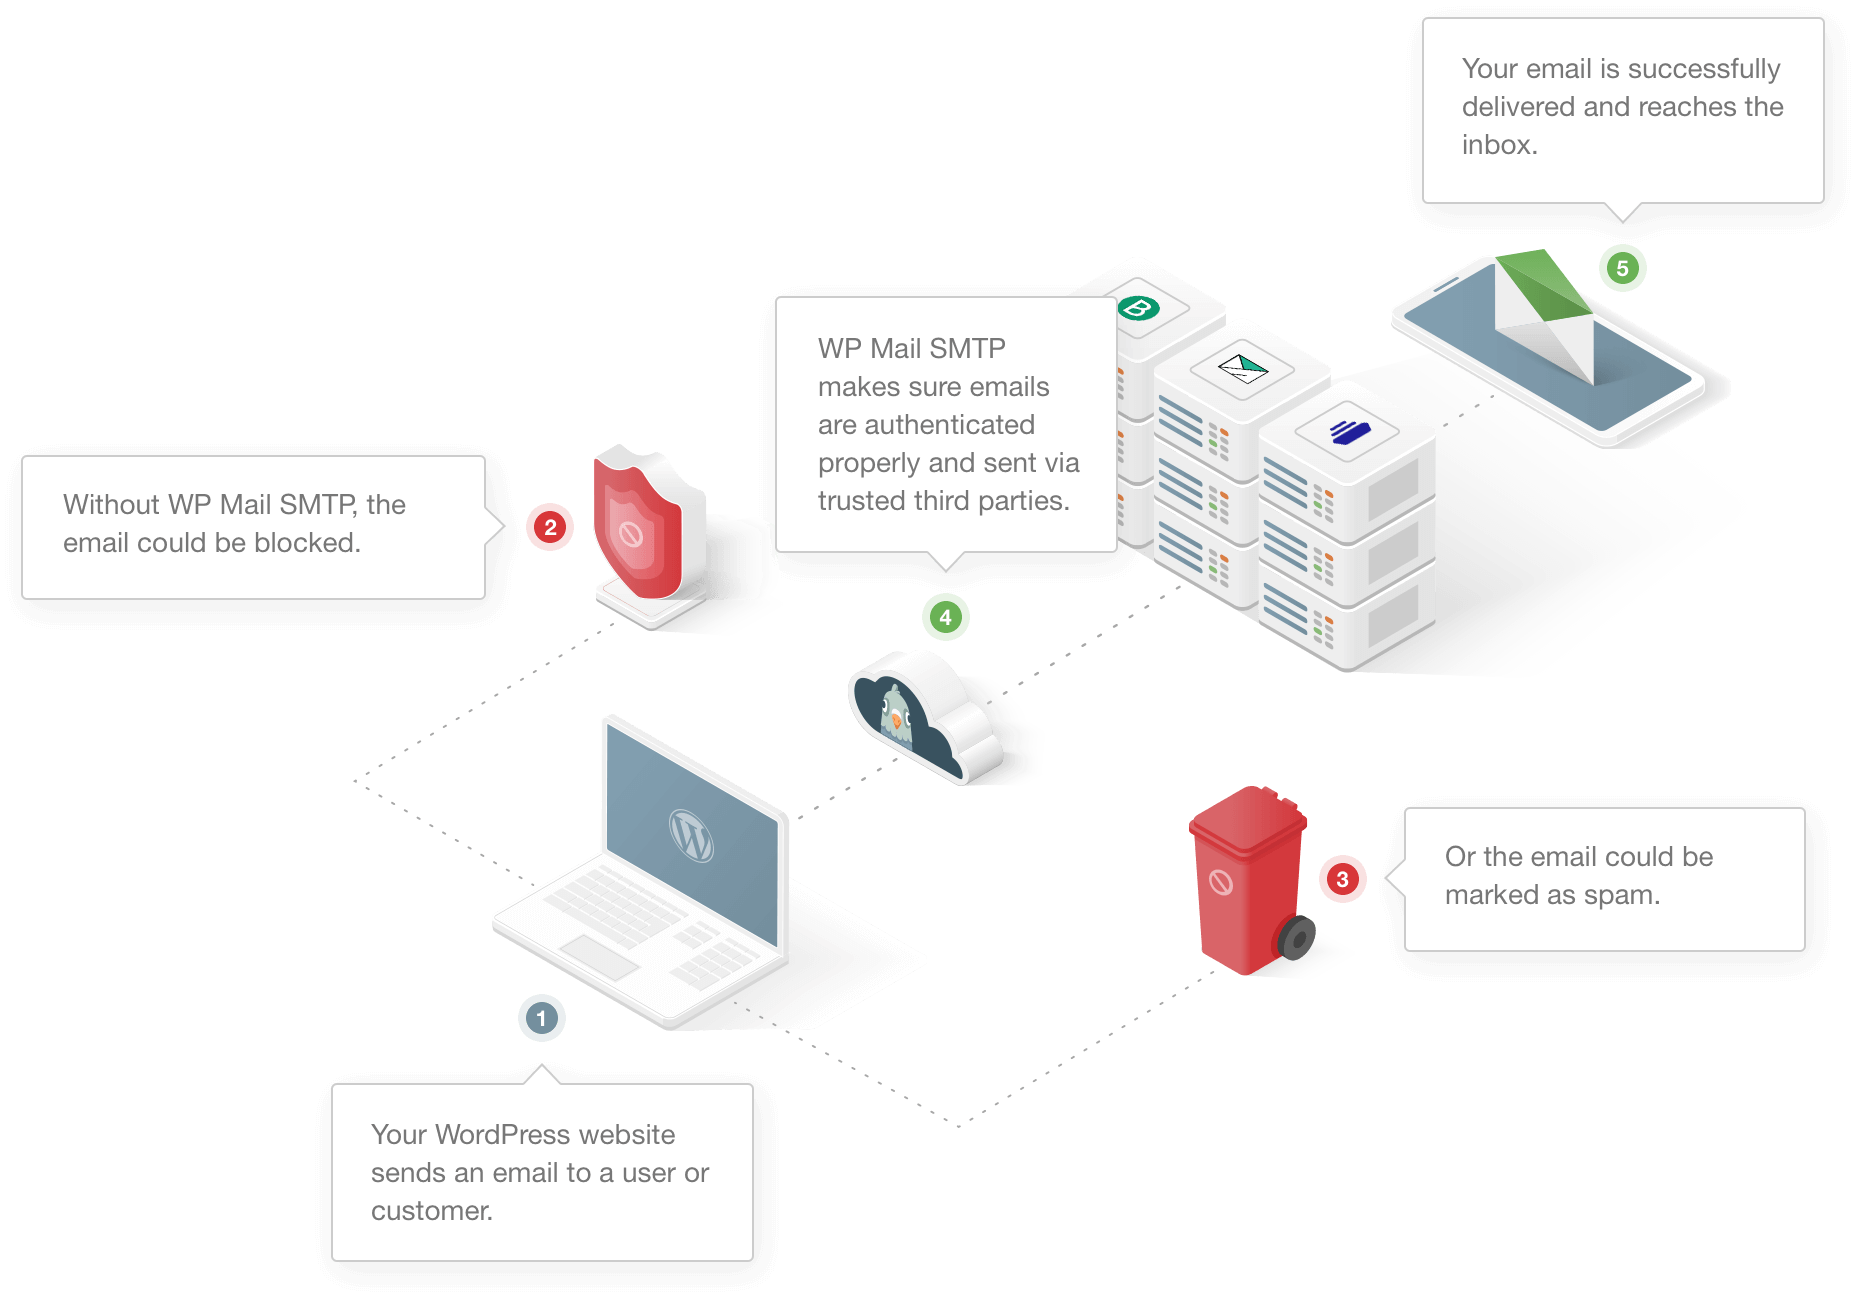
WP Mail SMTP also lets you:
- Authenticate your emails using the correct DNS settings.
- Send test emails from WordPress.
- Log all of the emails sent from your WordPress site.
- Control automatic emails generated by WordPress, like plugin update notifications.
Set Up WP Mail SMTP
First, you’ll want to download the plugin zip file from your WP Mail SMTP account.
Click the Downloads tab and download the zip file.
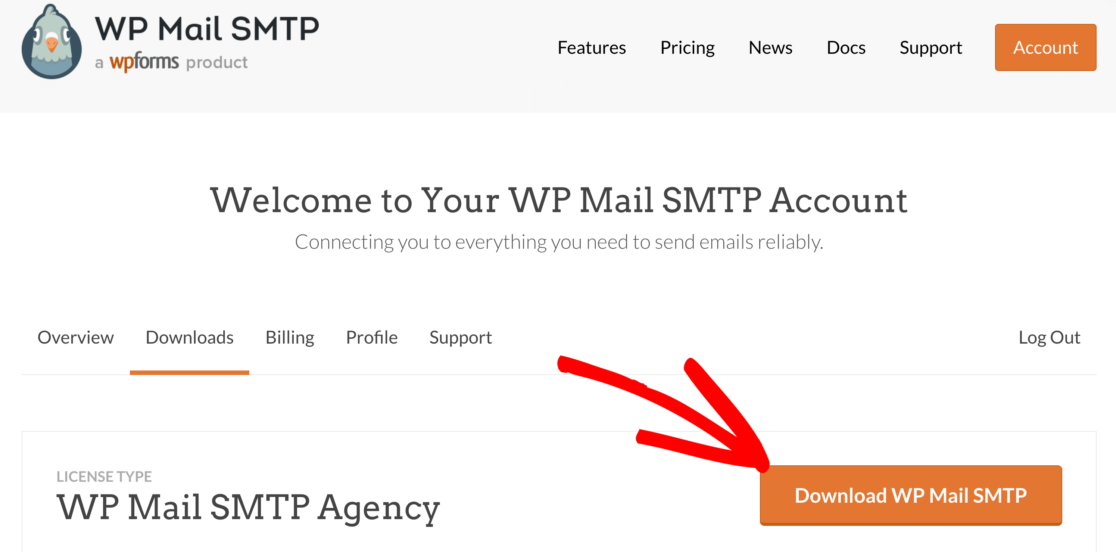
Now open up the WordPress dashboard and upload the plugin to your WordPress site. If you need help with this, jump over to this guide to installing a WordPress plugin.

Don’t forget to activate the plugin.
You’ll see the Setup Wizard open up in your browser at this point. If you’re not ready to start right now, you can come back and restart the wizard by clicking the Launch Setup Wizard button in the plugin settings.
Need a hand?
Our Elite license includes White Glove Setup with SendLayer, SMTP.com, or Mailgun.
Set Up Your Email Provider
In this step, we’re going to choose the email service provider that’ll fix your Jetpack contact form not sending email.
To start the wizard, click the Let’s Get Started button.

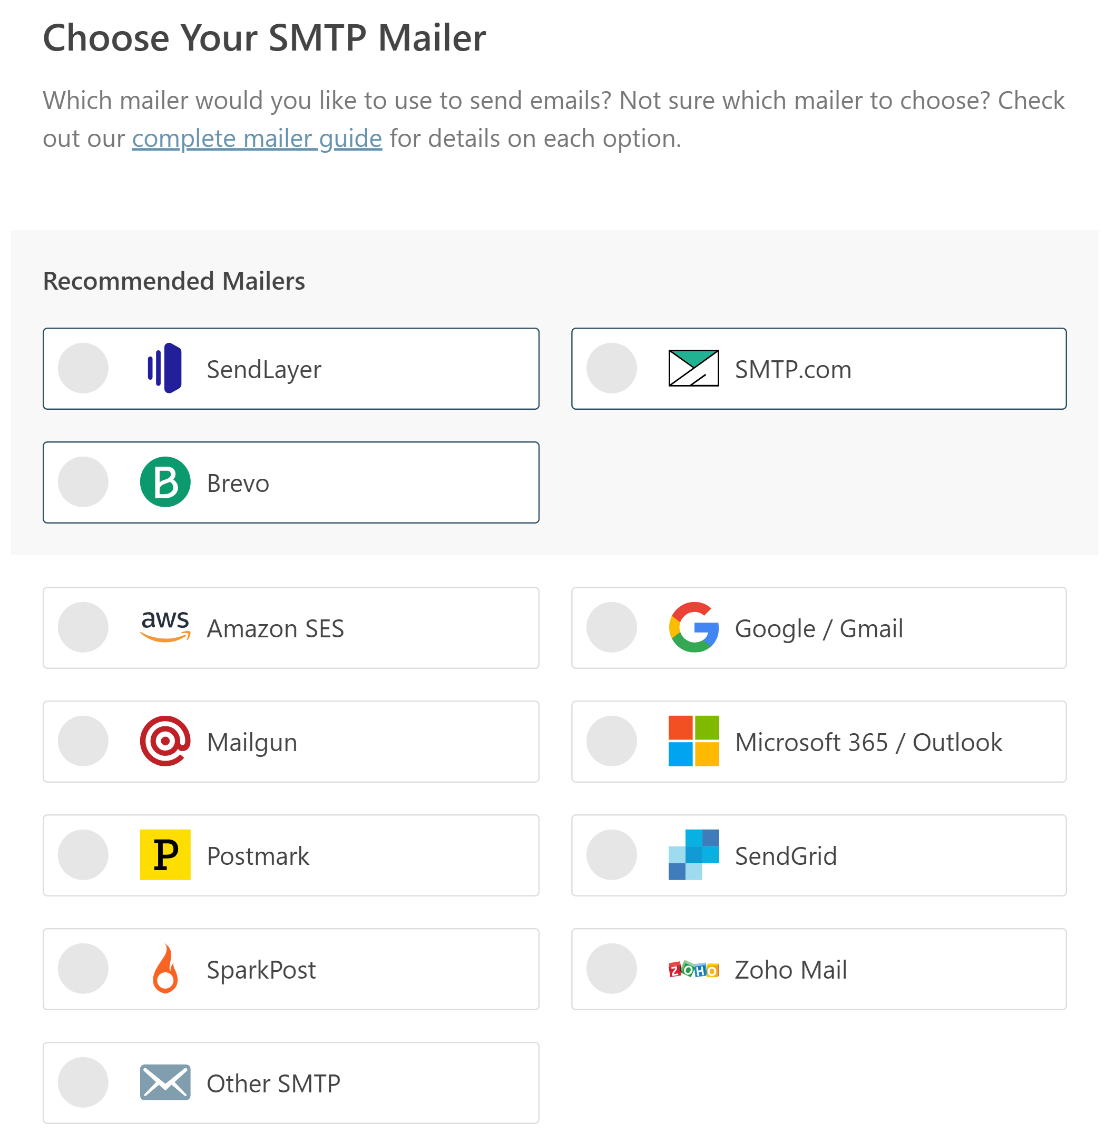
Now it’s time to choose your mailer.
WP Mail SMTP lets you choose from reliable mailers for basic or advanced users. You can read this guide to email providers if you’re not sure which one to use.
We like SendLayer, SMTP.com, and Brevo (formerly Sendinblue) because they’re reliable and easy to use, but any mailer in the list will work great.
The final option, Other SMTP, lets you use any SMTP server that you have access to instead of a mailer with an API. For example, you could use Other SMTP to send WordPress emails through the email account provided by your internet service provider.
Now you’ll want to switch over to the documentation for your mailer. We’ve created a step-by-step setup guide for each one.
Use the links below to jump to the guide you need:
| Mailers available in all versions | Mailers in WP Mail SMTP Pro |
|---|---|
| SendLayer | Amazon SES |
| SMTP.com | Microsoft 365 / Outlook.com |
| Brevo | Zoho Mail |
| Google Workspace / Gmail | |
| Mailgun | |
| Postmark | |
| SendGrid | |
| SparkPost | |
| Other SMTP |
Want to set up multiple mailers? You can do so in the Additional Connections settings once you’ve finished the Setup Wizard. Then you can select a Backup Connection and configure Smart Routing.
Come back to this guide when you’ve connected your WordPress site to the email provider.
Turn on WordPress Email Logging (Optional)
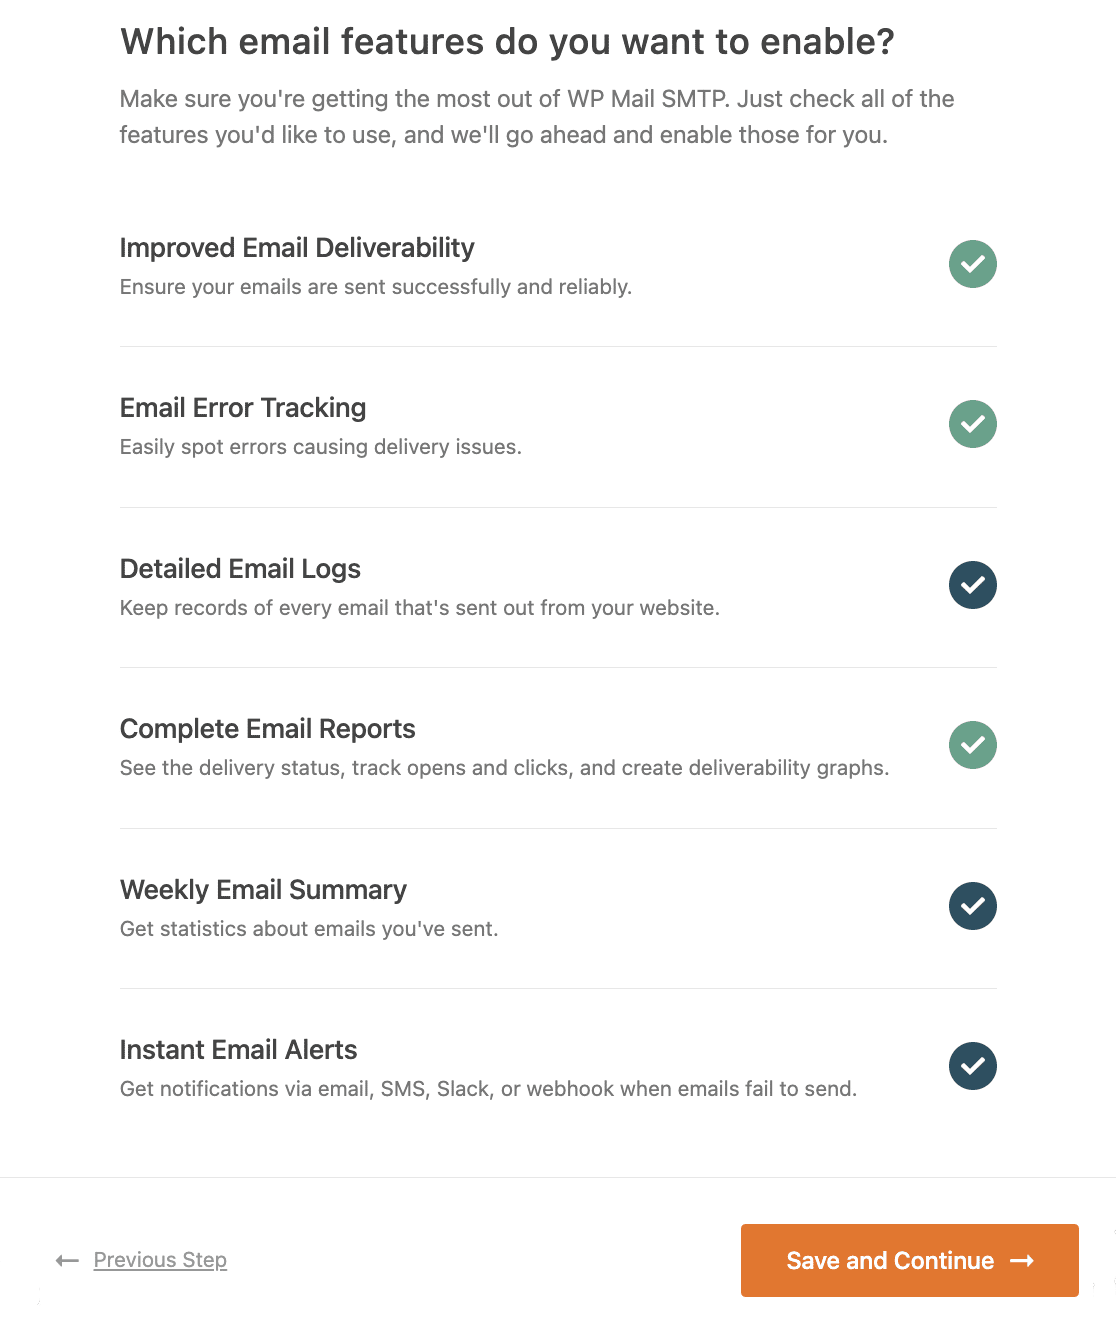
When you’re done, WP Mail SMTP will enable 2 important features for you:
- Improved Email Deliverability: This will make sure all of your emails are sent using the correct settings.
- Email Error Tracking: This will alert you to problems that could stop contact form submissions from being delivered.
If you have our Pro version or higher, you can also turn on Detailed Email Logs and Weekly Email Summary to keep track of all emails that are sent out from your site.
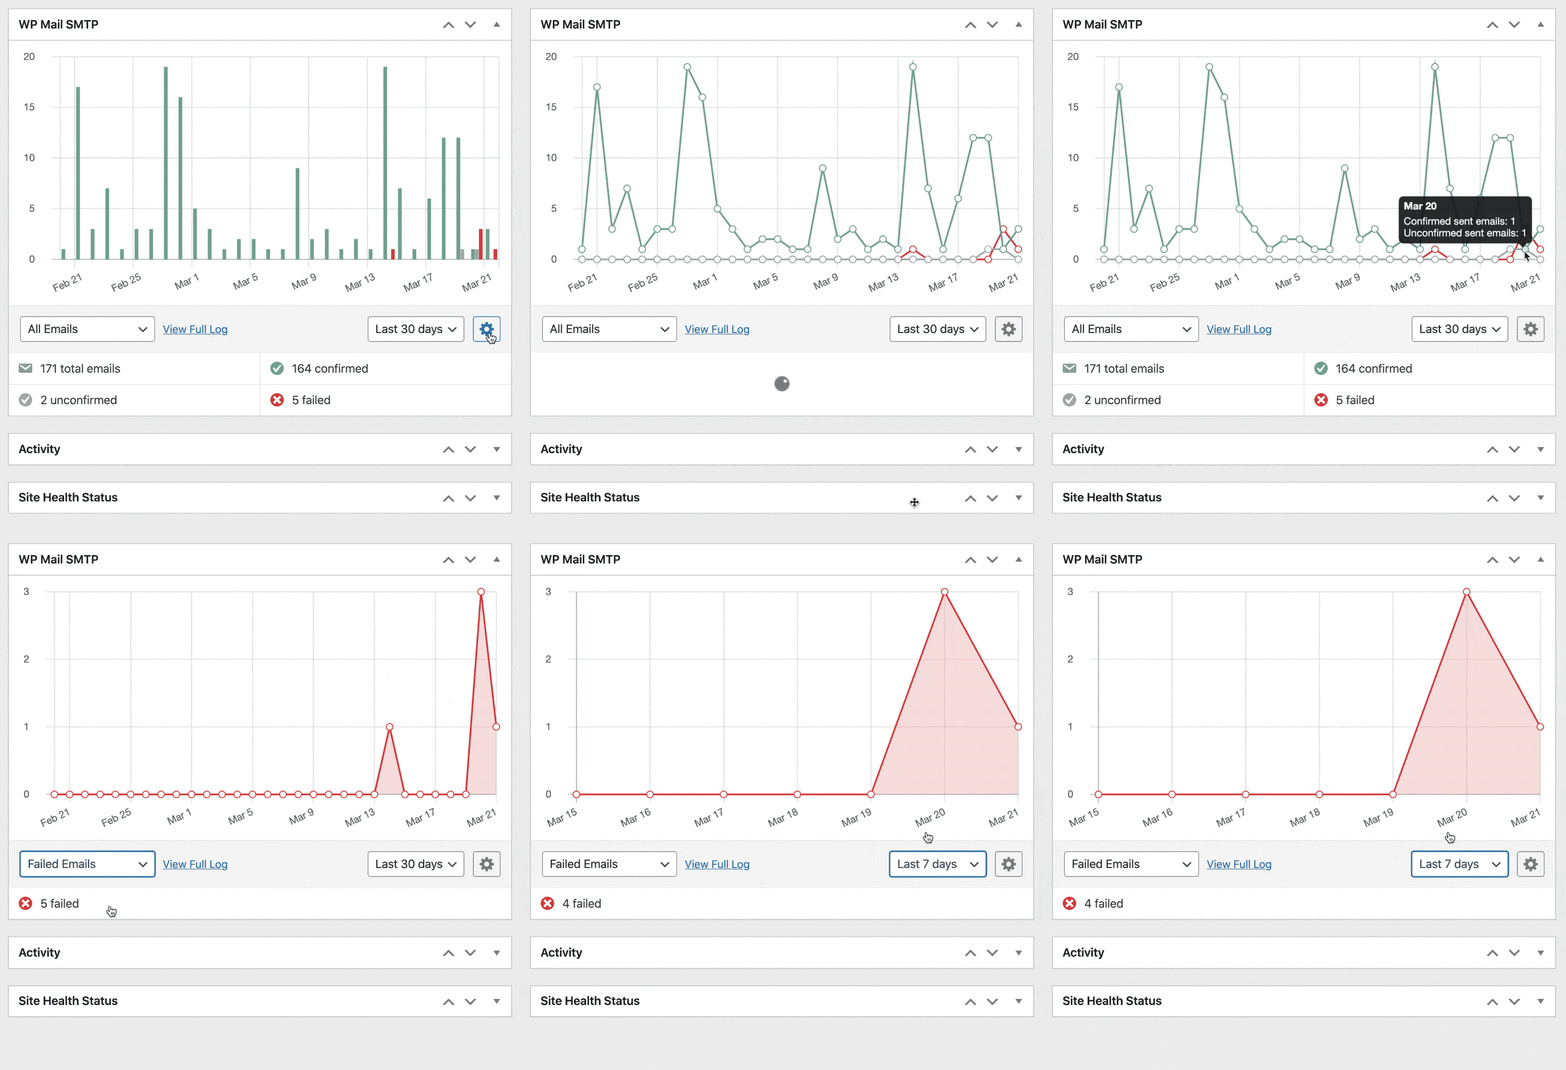
When email logs are turned on, you’ll be able to see the delivery status for each message in a chart on your WordPress dashboard and in Complete Email Reports. This is perfect if you want to keep an eye on all of the emails being sent from your site.
It’s also beneficial to enable Instant Email Alerts. If your site fails to send an email, you’ll be notified right away.
Finally, there are a few more email logging features to turn on.
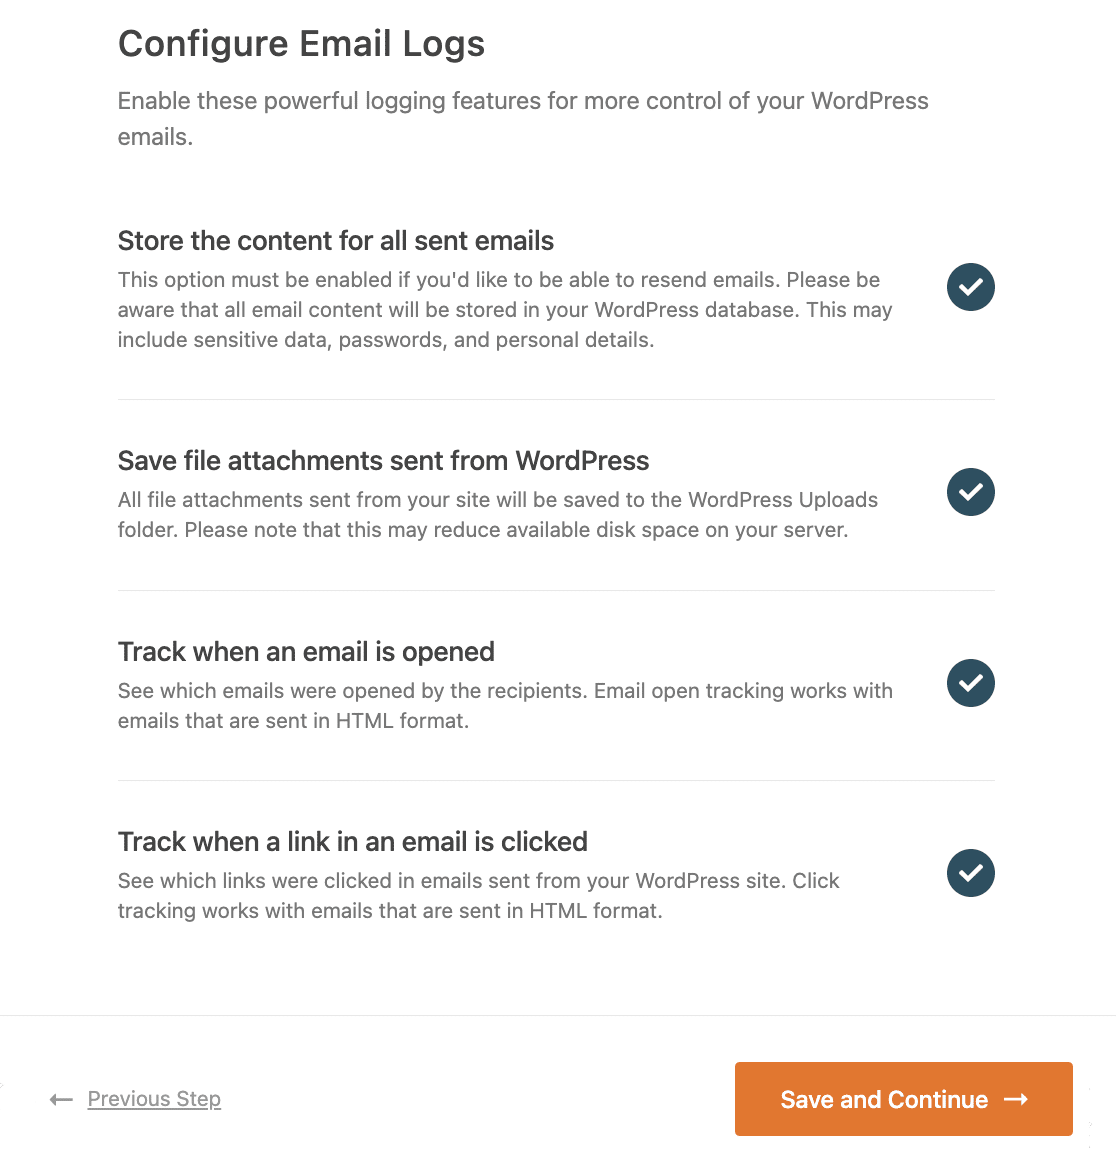
These options let you:
- Save the full content of your emails
- Resend failed emails
- Save attachments
- Track email opens and link clicks
- And more
See our guide to email logging for all the details on how this feature works.
At the end of the wizard, you can paste in your license key. This will give you all of the updates and features in the Pro version.

Now we have WP Mail SMTP installed, we can easily change the From address in Jetpack so all of the emails we sent are authenticated.
3. Change Your ‘From’ Email in Jetpack Notifications
If the From email on your notifications isn’t set correctly, your entries won’t be sent with the correct authentication.
By default, Jetpack sends email from the default ‘From’ email in WordPress. This email address is usually wordpress@[yourdomain.com]

In this case, the sender is unverified, and this mailbox doesn’t actually exist.
Gmail even marked this email with a question mark icon, and it might also show a “be careful with this message” warning to tell users that the email could be from a spammer.
We can’t easily change the sender address in Jetpack’s form settings. We can only customize the email address that the notifications are sent to.
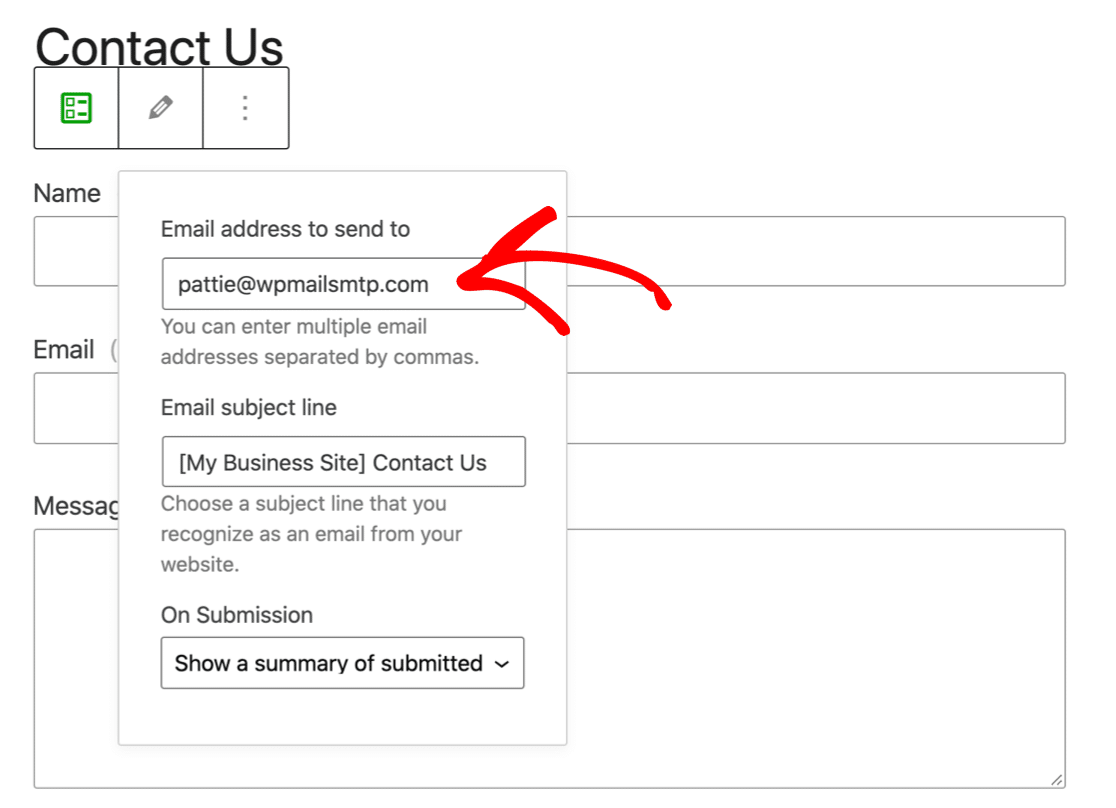
This isn’t great, because you’ll always want your contact form emails to be sent from the verified address in WP Mail SMTP.
So, there are 2 solutions to set the sender address for your Jetpack forms.
First, you can change the site administrator email in WordPress. This is the most basic method. You’ll find the menu in your General settings in the WordPress dashboard.
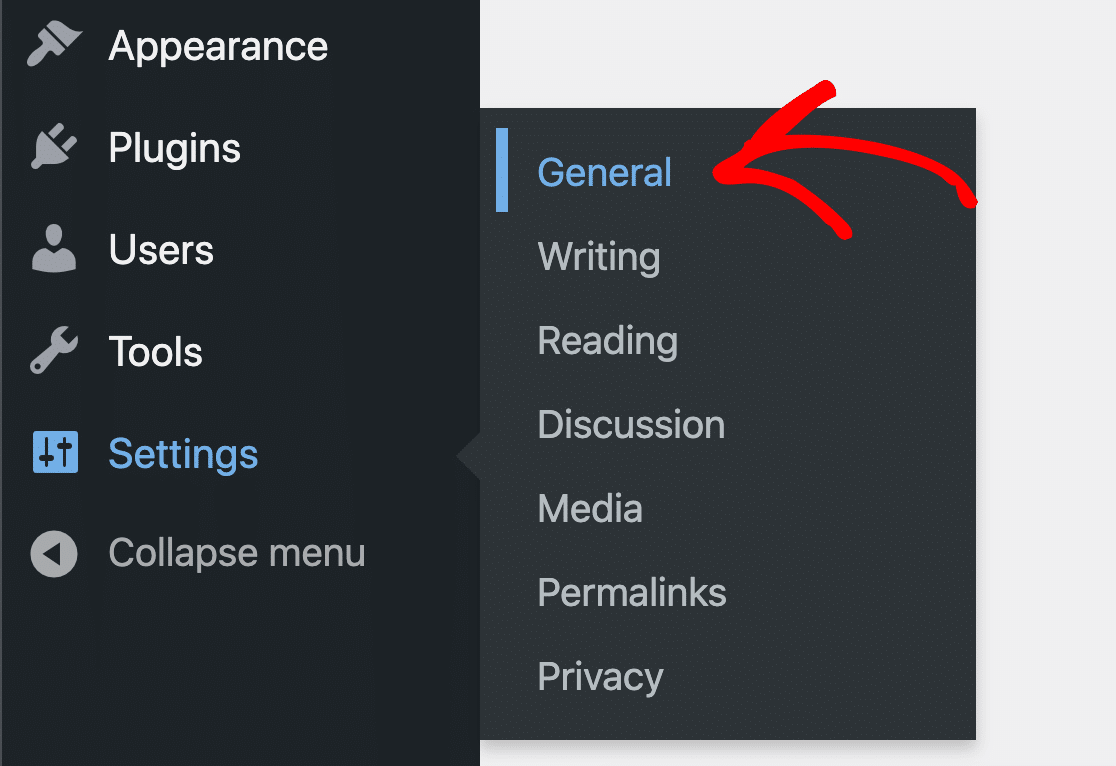
You can type in your new address under Administration Email Address. When you save the change, WordPress will send an email so you can confirm it.
Until you’ve confirmed the change, it’ll be marked as pending.

For some Jetpack users, this is inconvenient because you might not want the site admin email to be the one that sends emails. You may also have an issue with WordPress not sending the admin email change confirmation.
There is a better option.
You can use WP Mail SMTP to force a different From email address across your entire WordPress website.
This setting automatically makes every form and plugin use the sender you’ve created in WP Mail SMTP. This is the perfect solution because you’ll always know your sent emails are authenticated.
And every contact form email from Jetpack will be sent with the headers needed to bypass spam filters.
To force the From email in WP Mail SMTP, go ahead and open up the WP Mail SMTP Settings page.
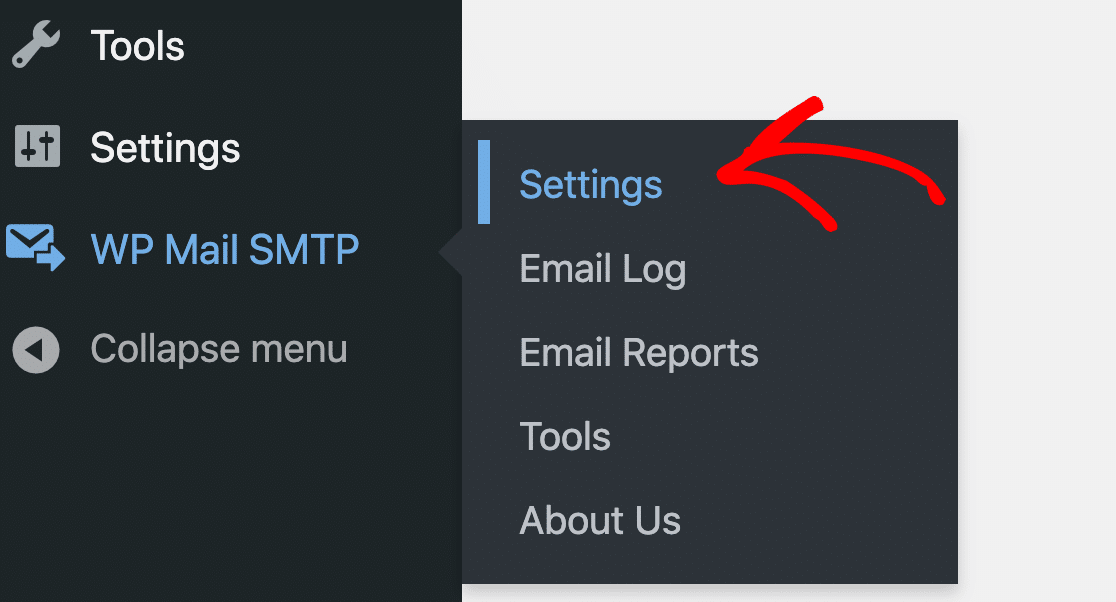
Scroll down and find the Force From Email checkbox.
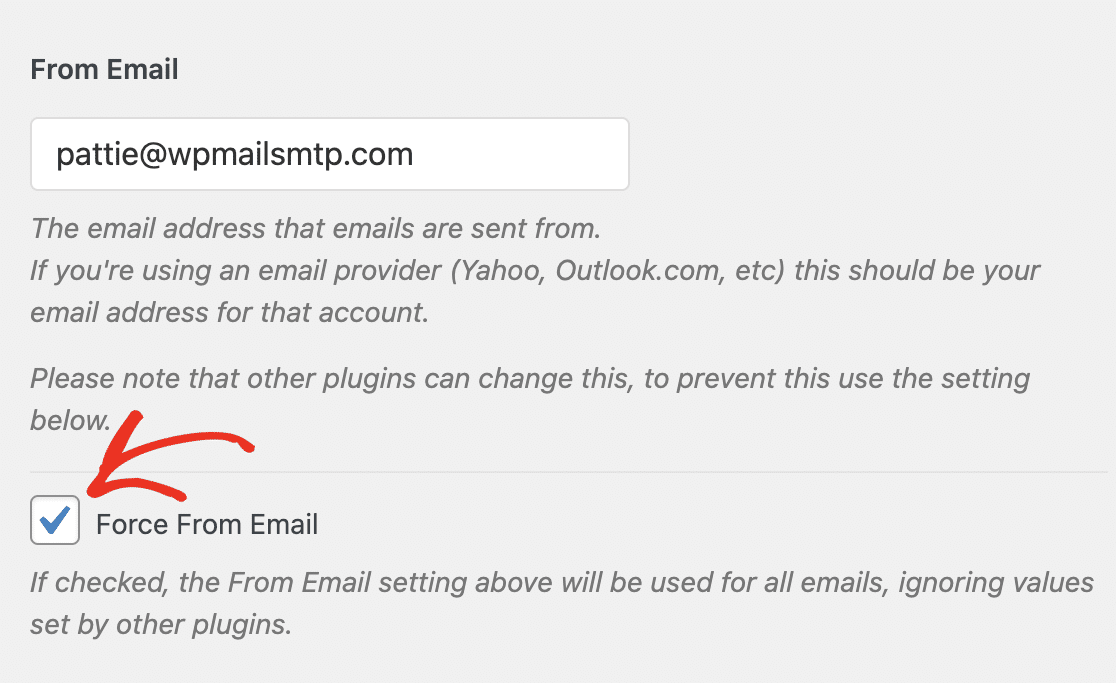
And that’s it! Now all of your Jetpack emails will be sent from a verified sender that actually exists.
If you want to use different email addresses as senders for different plugins, check out this guide to using Gmail aliases with WP Mail SMTP.
This will let you verify multiple addresses in Gmail or Google Workspace, so you could have Jetpack messages coming from one address, and emails from other plugins coming from a different one.
4. Monitor Your Jetpack Emails
Now you have WP Mail SMTP Pro, you’ve unlocked full email reporting and tracking for Jetpack.
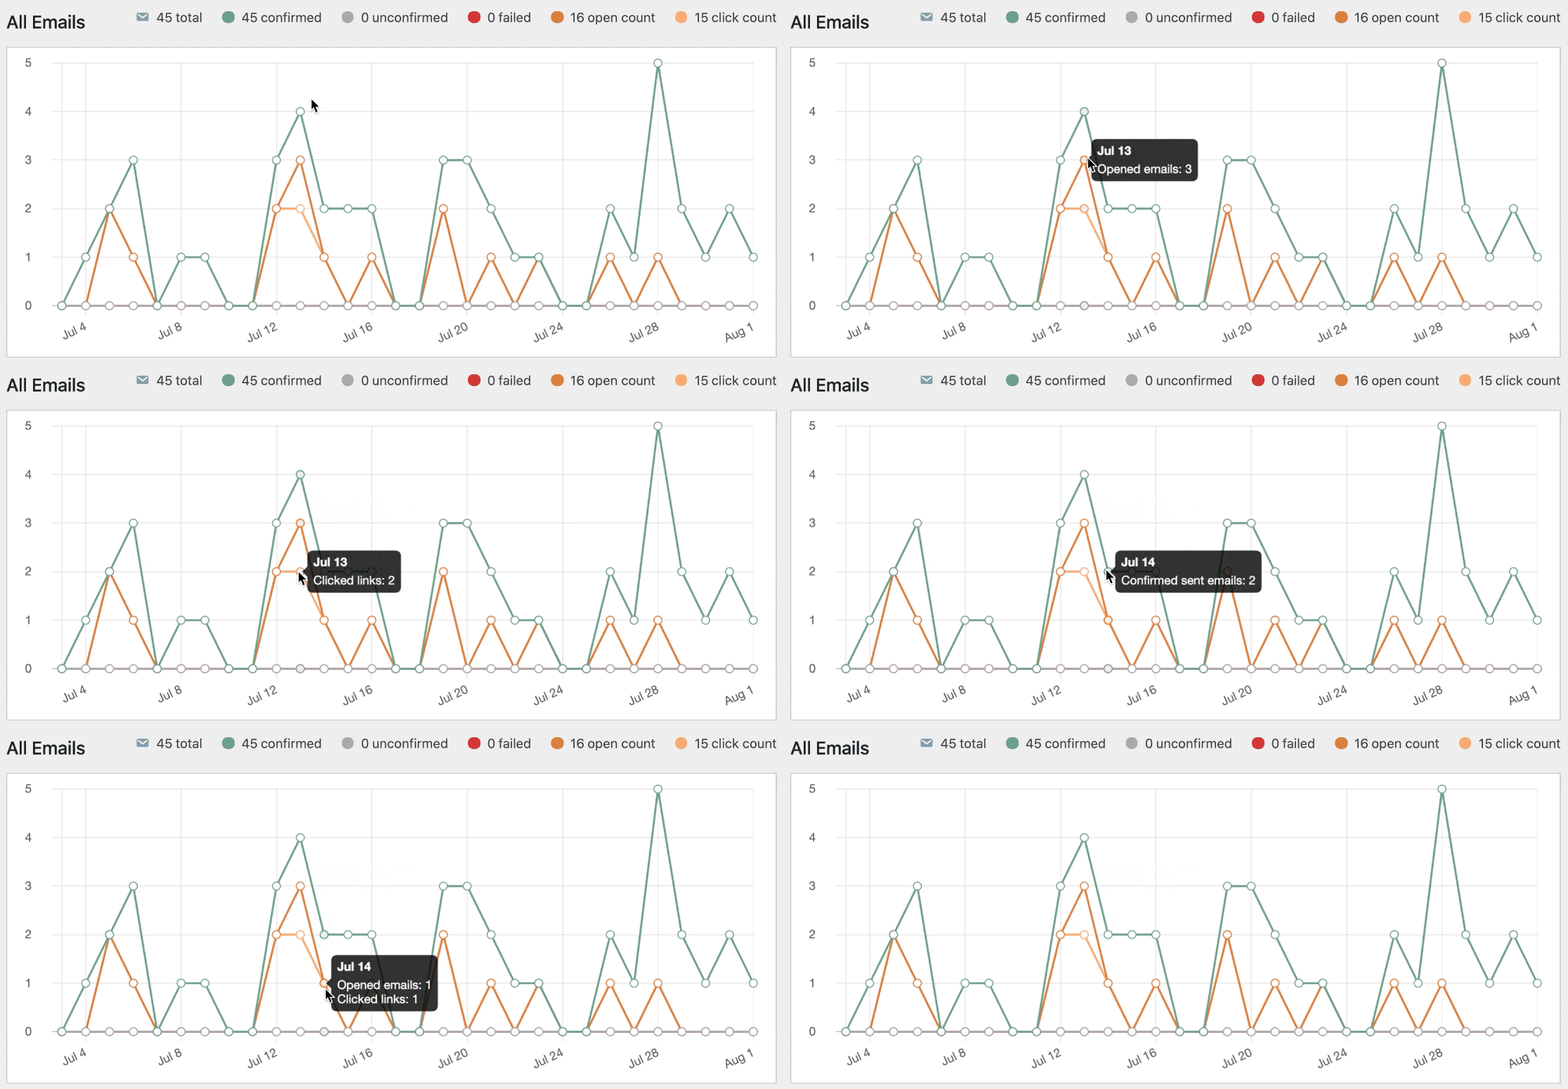
To see statistics about email deliverability and open rates, check out your Email Reports. You’ll find these under the WP Mail SMTP » Email Reports menu.
The email report can be filtered to show statistics for any dates or subject lines.
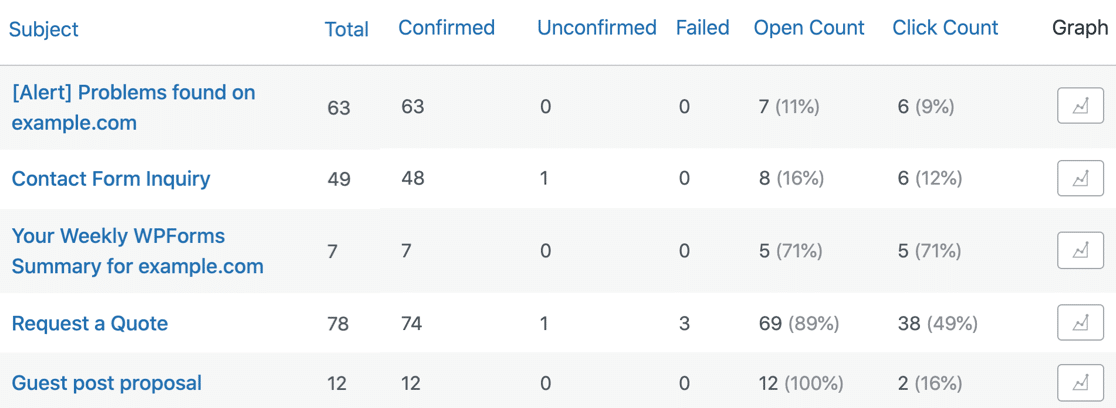
Underneath the email report, you’ll also see open rates and click-through rates for your Jetpack emails.
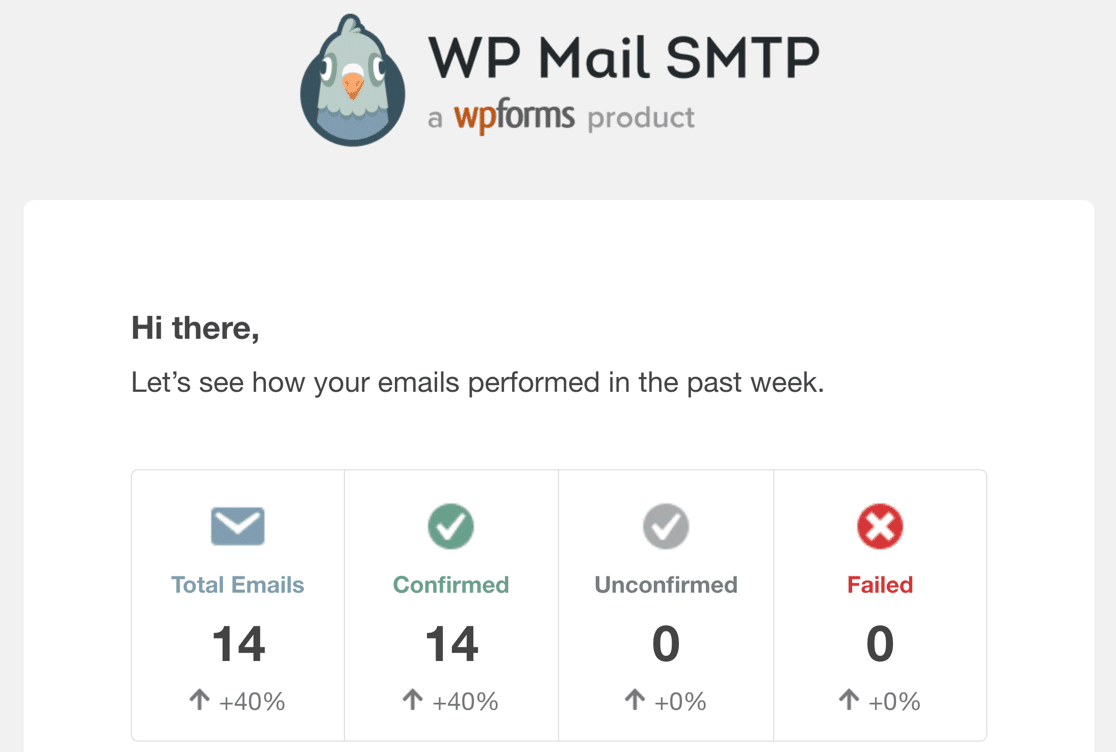
Every Monday, WP Mail SMTP will send you a Weekly Email Summary. This lets you keep an eye on email deliverability without logging into WordPress.
And that’s it! Now you know how to track and report on your Jetpack emails.
Next, Set Up Your DNS Zone
Now you know how to install a mailer to fix Jetpack not sending email. But did you remember to set up your DNS Zone?
If you don’t add DMARC, SPF, and DKIM records, your email notifications might still be filed in the Junk Mail folder. Start by creating a DMARC record for your domain.
Ready to fix your emails? Get started today with the best WordPress SMTP plugin. If you don’t have the time to fix your emails, you can get full White Glove Setup assistance as an extra purchase, and there’s a 14-day money-back guarantee for all paid plans.If this article helped you out, please follow us on Facebook and Twitter for more WordPress tips and tutorials.

