AI Summary
Is Ultimate Addons for Gutenberg not sending email on form submission?
Emails from contact forms are important for any online business. You don’t want to miss those.
In this guide, we’ll show you how to make sure the emails from the contact form reach the right inbox.
What Is Ultimate Addons for Gutenberg?
Ultimate Addons for Gutenberg is a block library plugin from the makers of the Astra theme. It extends the block editor capabilities by adding new blocks that let you build a more customized layout.

It is a free plugin with an all-in-one library of 30+ blocks. Some of the page builder level blocks that UAG has are:
- Info Box
- Advanced Heading
- Team Info
- Price List
It also has a contact form block that lets you build basic forms. In addition to that, it has a styling block for Contact Form 7 as well as Gravity Forms.
How To Fix Ultimate Addons for Gutenberg Not Sending Email
In This Article
1. Check the Ultimate Addons for Gutenberg Contact Form Settings
Ultimate Addons for Gutenberg has its own form builder as well as blocks that provide styling for Contact Form 7 and Gravity Forms.
If you are using the styling block and your Contact Form 7 is not sending email, you’ll want to check the guide we have for it.
Similarly, you can check out this guide if Gravity Forms is not sending emails.
If you’re using the form builder by UAG, follow the below steps.
From the WordPress navigation menu, go to Pages » All Pages and open the page on which you’ve added the contact form.

Click anywhere on the page and press Shift + Alt + O to open the page outline. You can also click on the three lines at the top to open the outline.

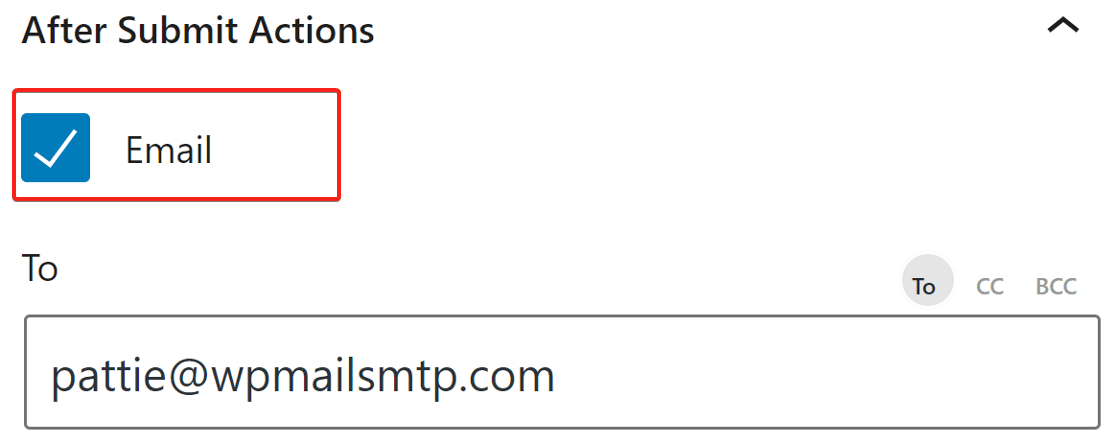
Click on Forms and the form settings will appear in the right sidebar. Click the down arrow on the After Submit Actions section to expand it. Make sure the Email option is turned on and in the To field, type in the email address that you want to receive the emails.
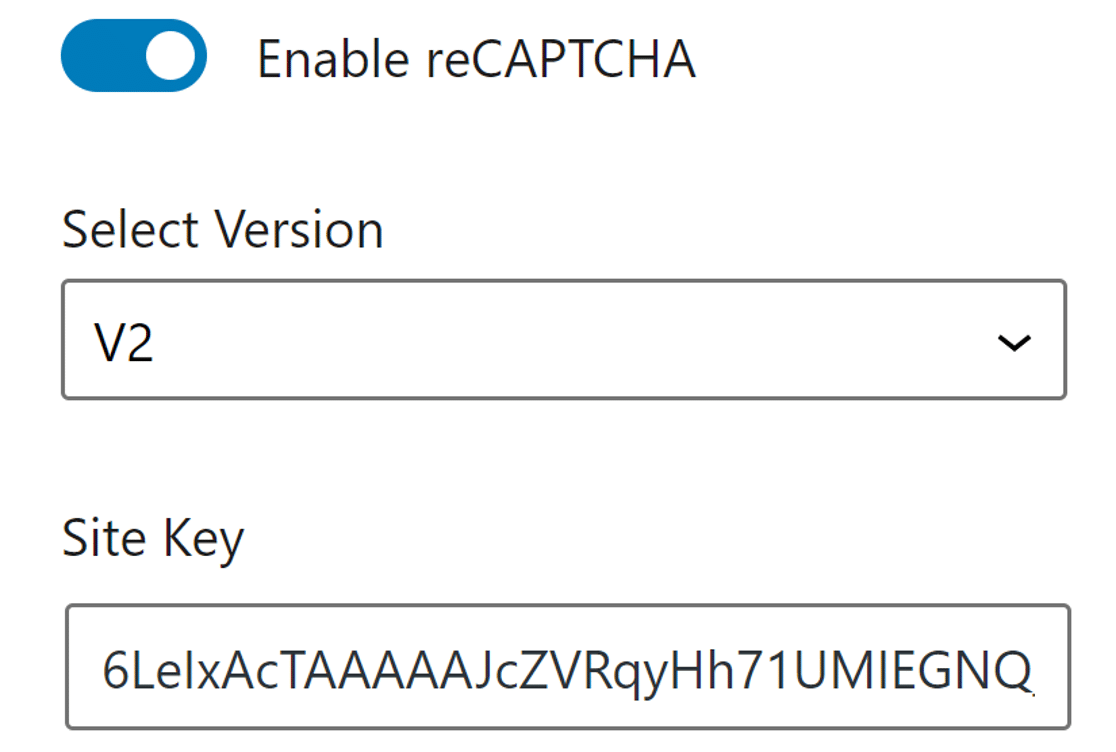
Scroll down and expand the Google reCAPTCHA option. Here, make sure you have the right Site Key and Secret Key.
Click on the Update button at the top right to save the settings.
Now that we have the right settings for the contact form from Ultimate Addons for Gutenberg, let’s install the WP Mail SMTP plugin to solve the email deliverability issue.
2. Install SMTP Plugin and Use a Mailer Service
WP Mail SMTP is the best WordPress SMTP plugin that re-routes all emails using proper authentication.
Instead of using the PHP wp_mail() function, WP Mail SMTP reconfigures your site to use a mailer service like SendLayer.
This adds the correct authentication to your emails and prevents them from being filed as spam.
Install WP Mail SMTP
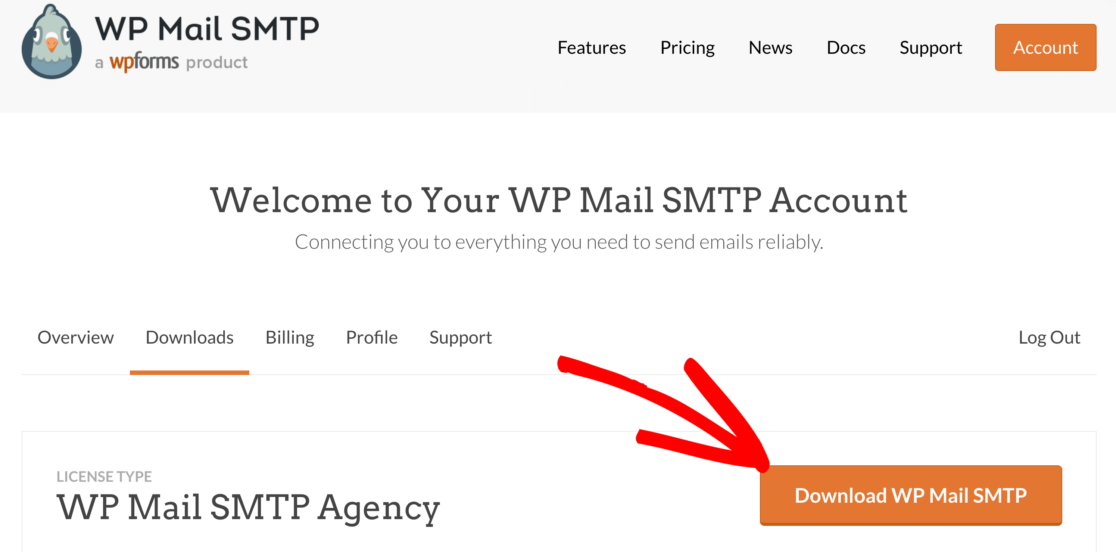
To download the plugin, go to the WP Mail SMTP account and under the Downloads tab, grab the latest version of the plugin file.
Switch back to the WordPress dashboard and upload the zip file.

If you’re not sure how to, check out our step-by-step guide on how to install a WordPress plugin.
Make sure you activate the plugin, too. As soon as you do that, the WP Mail SMTP Setup Wizard will open in your browser.
You can launch the wizard again by clicking the Launch Setup Wizard button under the General tab in the plugin settings. We don’t recommend this if you already have a mailer set up as this will remove your existing settings.
Click on the Let’s Get Started button to start the process.

Choose Your SMTP Mailer
The first step is to choose the SMTP mailer service to send emails from your website with proper authentication. You get plenty of options to choose from in WP Mail SMTP.
If you are not sure what fits best for you, check out our guide that lists some of the industry’s best SMTP service providers.
We recommend SendLayer, SMTP.com, or Brevo (formerly Sendinblue) as they all have strong reputations for reliability.
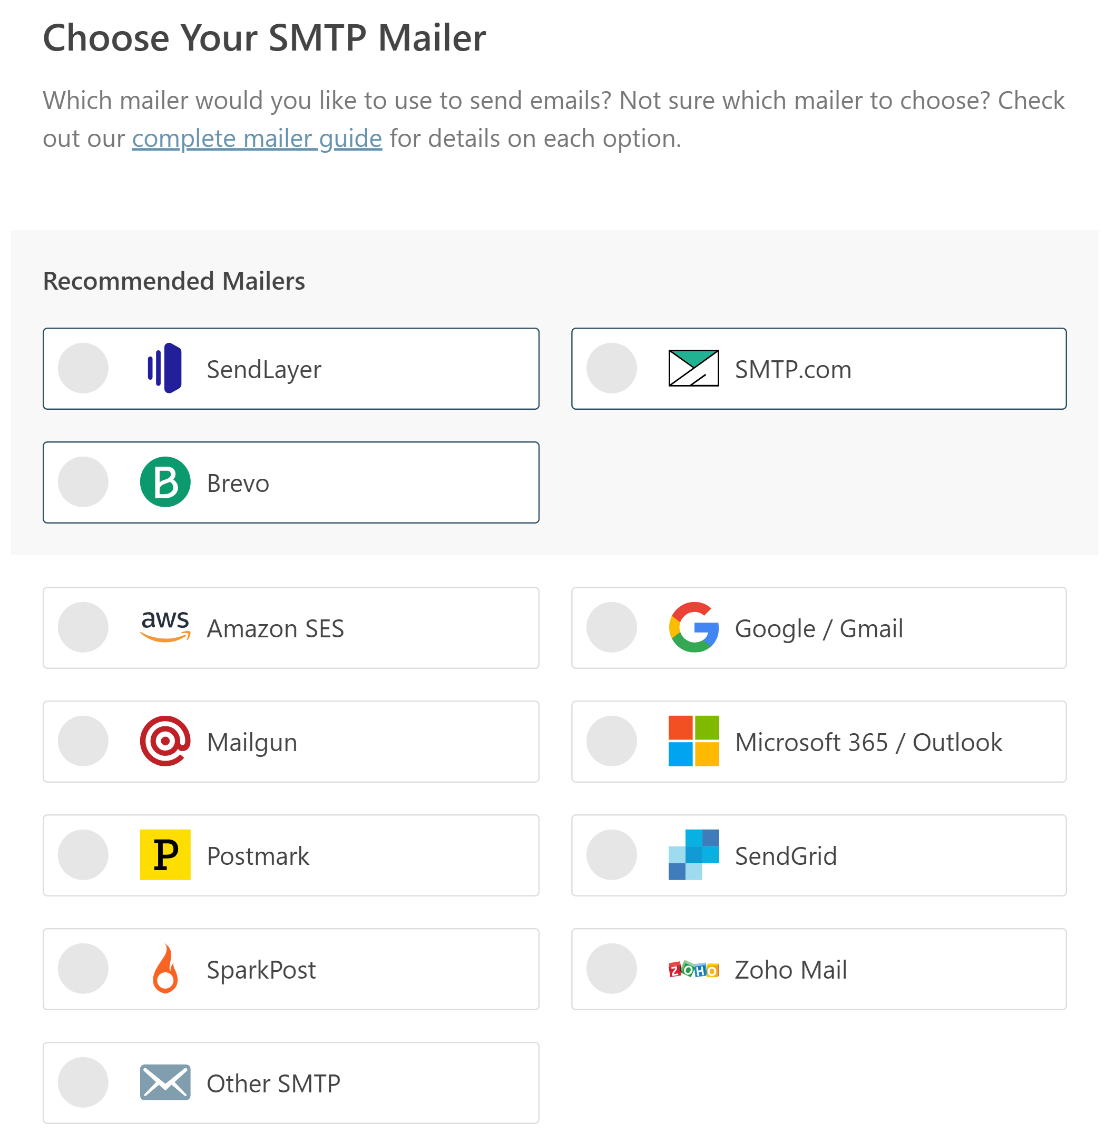
Go ahead and choose the one that serves your purpose. We have documentation for each mailer that you can follow to set up the service.
| Mailers available in all versions | Mailers in WP Mail SMTP Pro |
|---|---|
| SendLayer | Amazon SES |
| SMTP.com | Microsoft 365 / Outlook.com |
| Brevo | Zoho Mail |
| Google Workspace / Gmail | |
| Mailgun | |
| Postmark | |
| SendGrid | |
| SparkPost | |
| Other SMTP |
If you want to set up multiple mailers, you can do so in the Additional Connections settings once you’ve finished the Setup Wizard. Then you can select a Backup Connection and configure Smart Routing.
Setting up the mailer service will take only a few minutes. Switch back to this guide after you’ve set everything up.
Enable Email Features
In the next step, you can choose which features you’d like to enable. By default, the Improved Email Deliverability and Email Error Tracking features are turned on for you.
These features will detect errors from emails sent through the Ultimate Addons for Gutenberg and improve its deliverability.
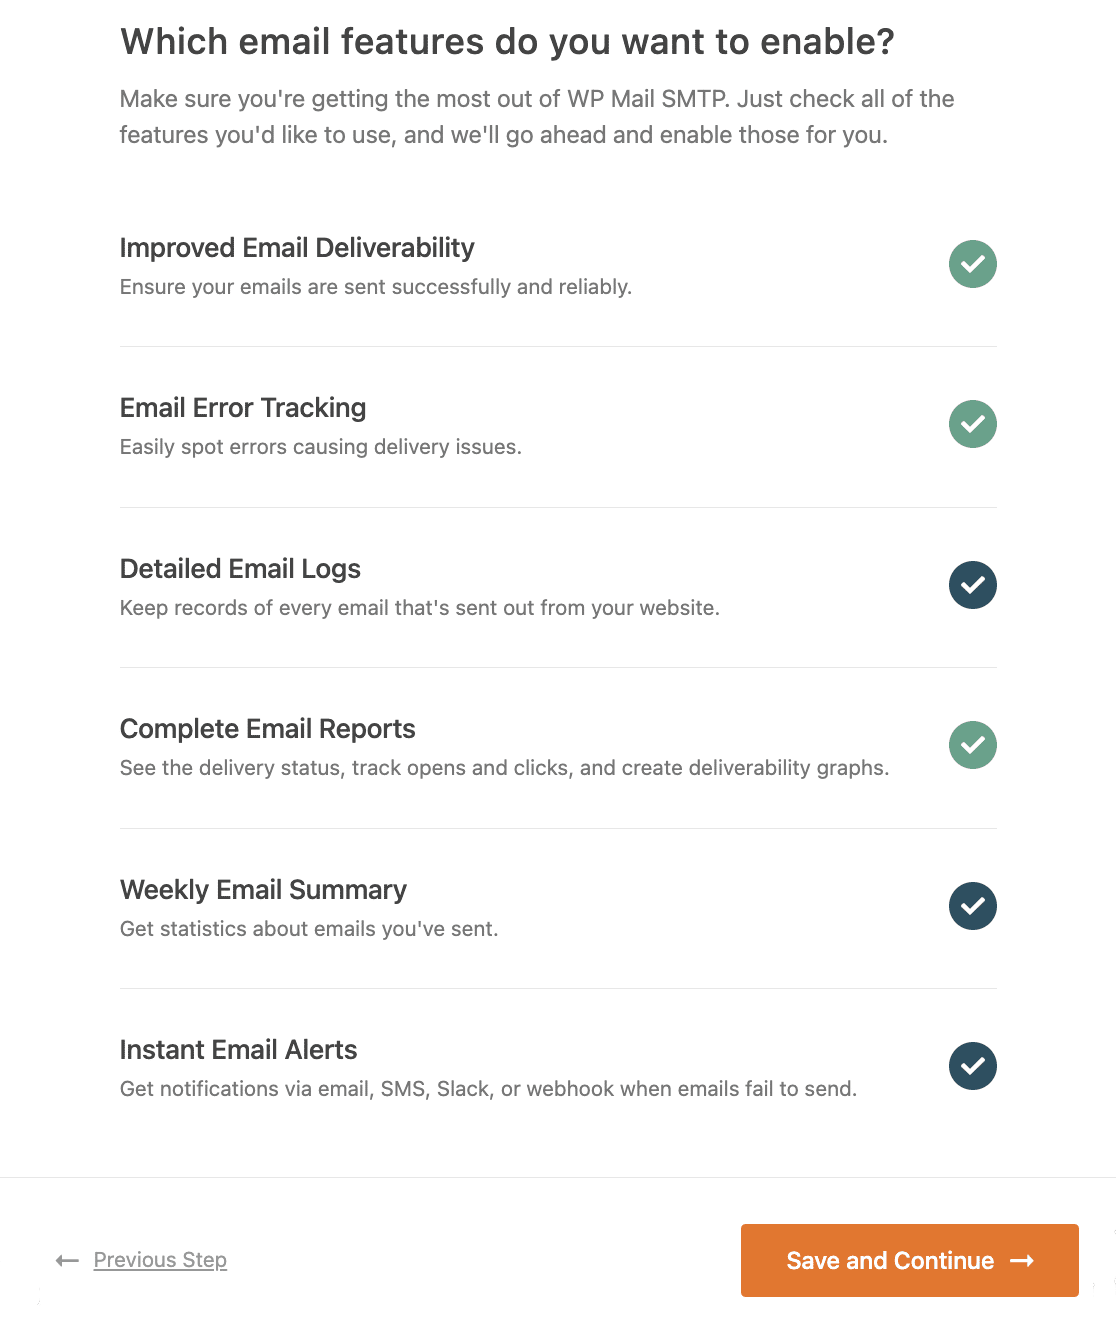
The Detailed Email Logs will let you keep a track of all the emails that are being sent from your website.
You can see your emails’ statuses in the handy WP Mail SMTP dashboard widget.
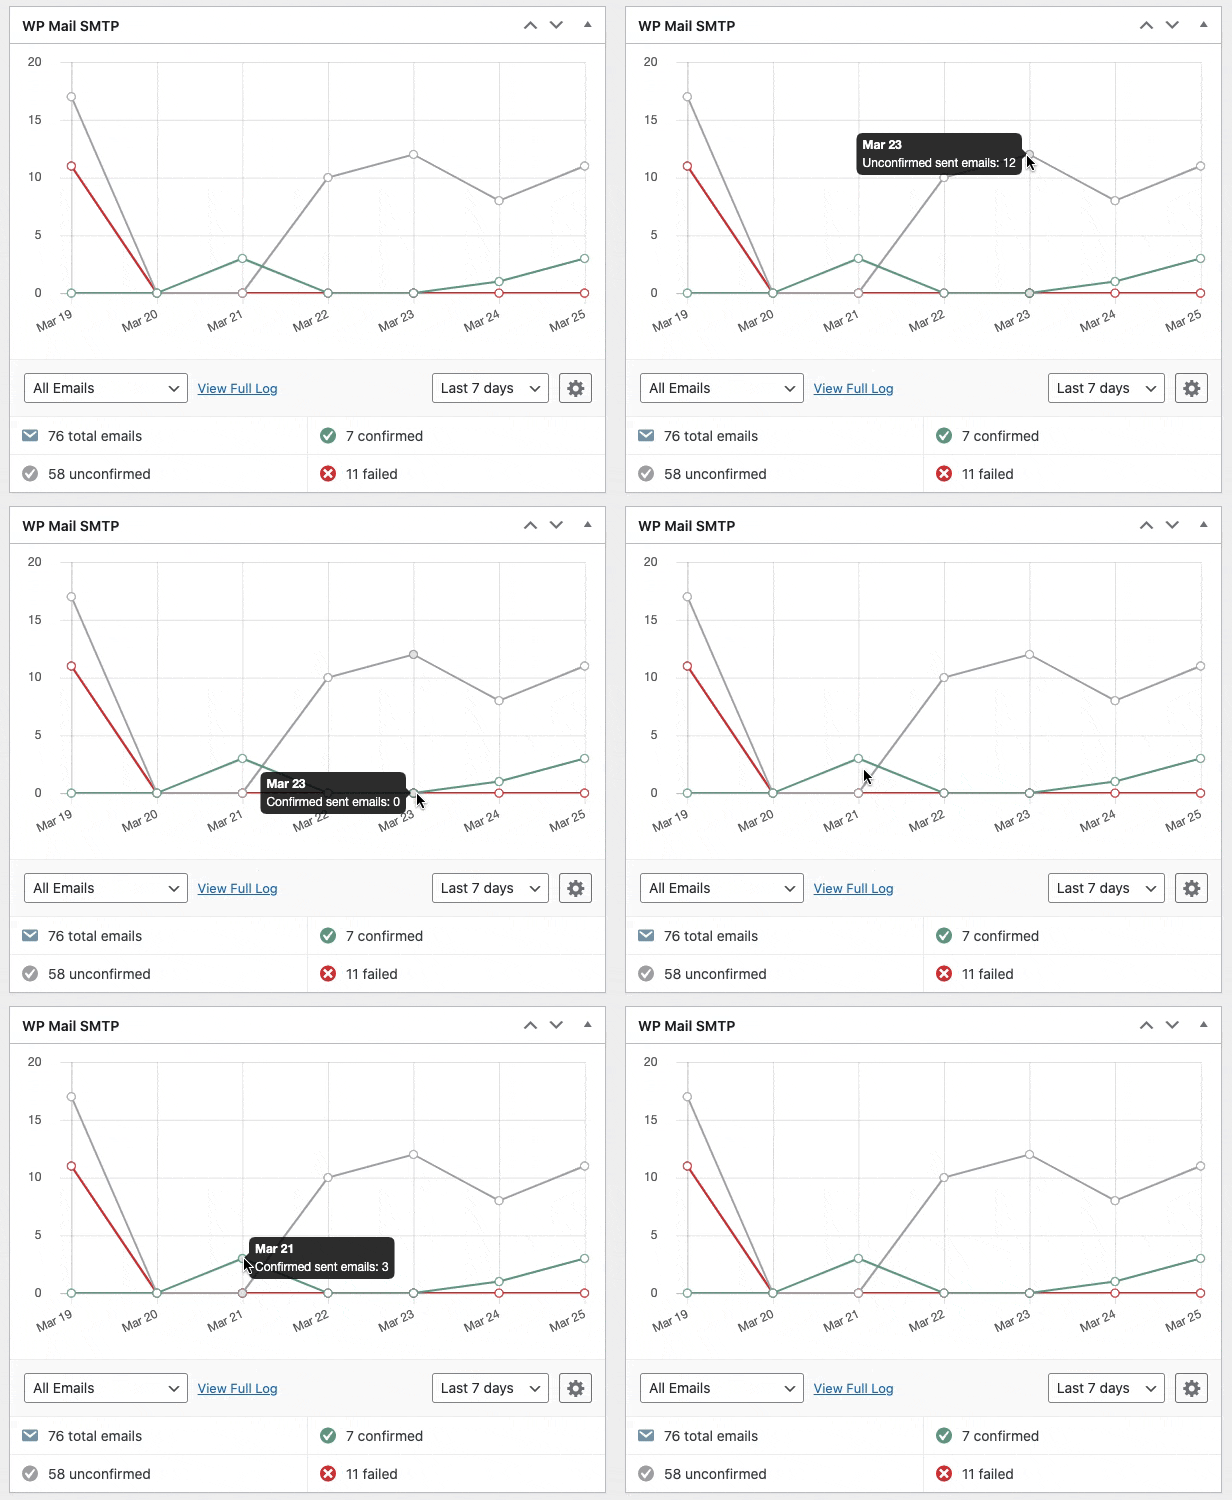
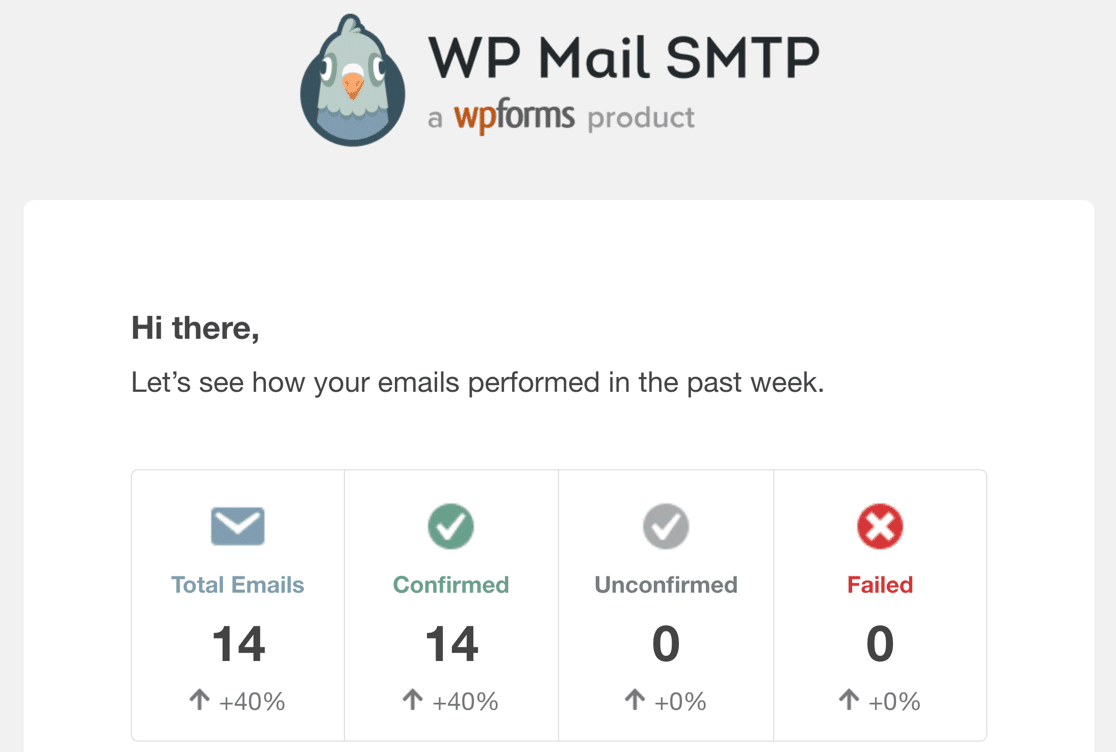
When email logging is enabled, Complete Email Reports will be, too. You can also get the Weekly Email Summary if you’d like to see an overview of your logs each week.
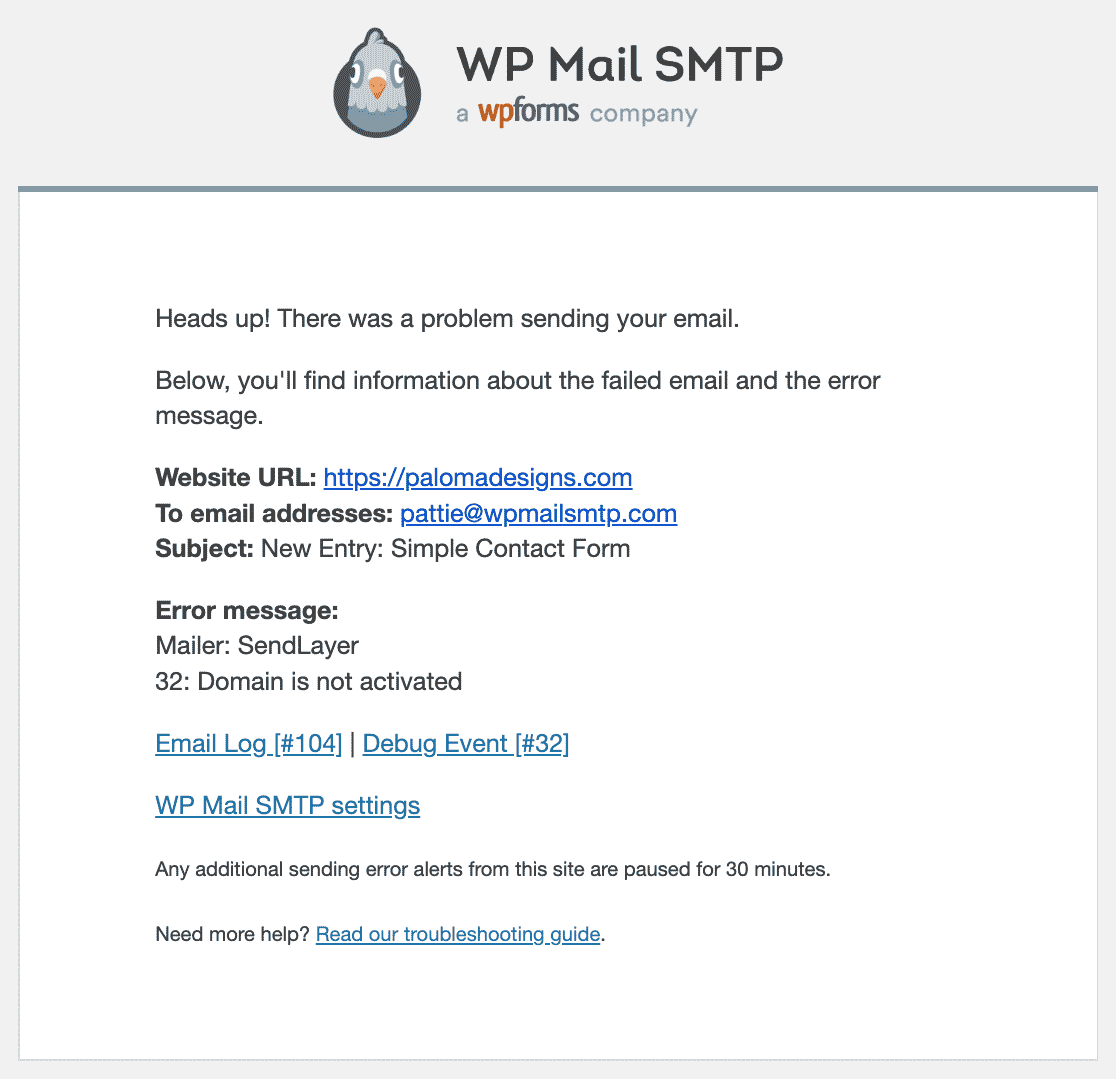
The last feature you can enable on this screen is the Instant Email Alerts. With this option turned on, you’ll get a notification if your site fails to send an email with details to help you fix the problem.
On the next screen, you’ll see advanced email logging options you can enable.
These features also let you export and print logs, resend emails, and more. Read our article on how to log WordPress emails to see how this works.
Click on Save and Continue to move to the next step.
For the final step, grab the license key from the WP Mail SMTP account and paste it here. This will enable future automatic updates.

That’s it! You must have received a test email at the end of the wizard. This confirms that the Ultimate Addons for Gutenberg not sending email issue has been fixed.
3. Send All Emails From the Same Address
Apart from the default WordPress email notifications, your website might be sending emails from a few different plugins.
WP Mail SMTP has a feature to force every plugin on your website to use the same email address.
Under the General tab in the plugin settings, scroll down to find the From Email section.
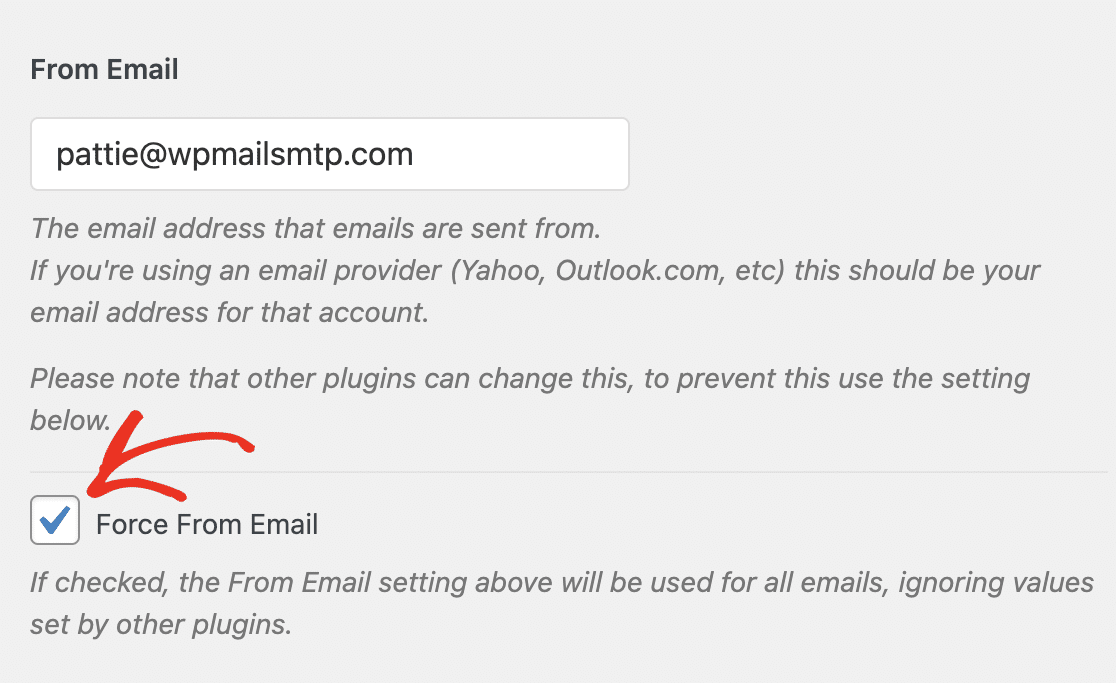
Here, type in the email address you want to use for sending emails. We recommend that you select Force From Email here as well. This will force all of the plugins on your website to use the same From Email address, which saves time and looks more professional.
Let’s scroll down again to the next section.
Under From Name, type the name of your website, or your own name if that makes more sense. This is the name that your emails will come from when they’re delivered.
Again, you should click Force From Name to make sure that all of the plugins on your site use the same From Name.
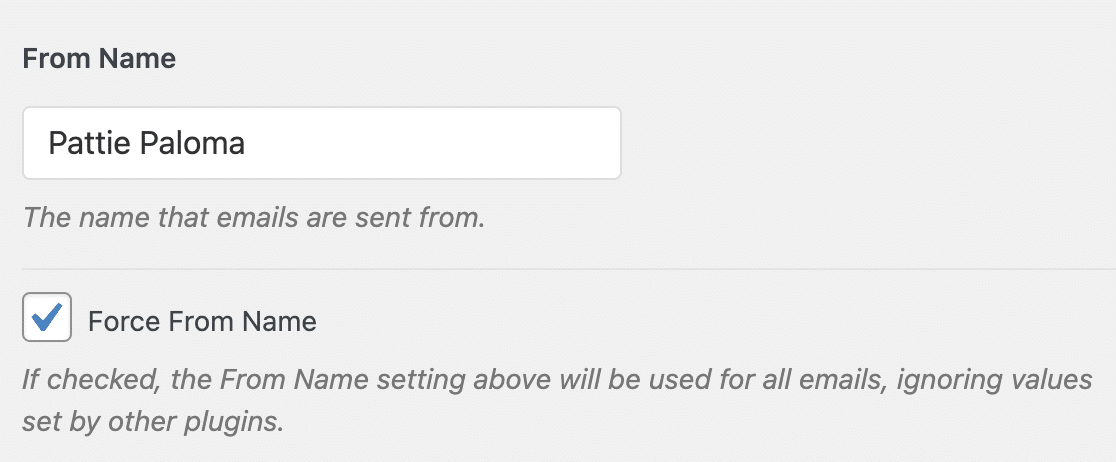
That’s it! The email from the Ultimate Addons for Gutenberg should arrive in the correct inbox.
Next, Use WPForms as a Contact Form
WPForms is the best contact form plugin for WordPress. It’s designed to make sure that your emails are delivered every time.

WPForms comes with support for hCaptcha and its own Custom CAPTCHA. Check out this WPForms review to see all the features.
Ready to fix your emails? Get started today with the best WordPress SMTP plugin. If you don’t have the time to fix your emails, you can get full White Glove Setup assistance as an extra purchase, and there’s a 14-day money-back guarantee for all paid plans.If this article helped you out, please follow us on Facebook and Twitter for more WordPress tips and tutorials.

