Are you wondering how to add coupon codes in WordPress?
If you use order forms to sell products or services through your WordPress website, chances are good that you’d like to hold sales or offer discounts every now and then. To do that, you need to be able to create a discount coupon.
With a reliable way to create and manage your coupon codes, your new sales will help you increase customer loyalty and draw in new customers.
In this post, we’ll take a look at the easiest way for you to add coupon codes to your WordPress forms with no coding skills needed.
How to Add Coupon Codes in WordPress Forms
Ready to get started? Let’s walk through this step-by-step process together. You’ll be ready to offer coupons on your WordPress site in no time!
1. Install WPForms and Activate the Coupons Addon
To get started, you want to download WPForms. A Pro license or above is required to access the Coupons addon, which is required for this tutorial. With the Pro license, you can do so much with your forms, like requiring signatures and even offering calculations.
If you need help installing WPForms, check out this guide to installing WordPress plugins for a handy walkthrough.
Once you’ve installed WPForms, it’s time to activate the Coupons addon. You can do this by navigating to WPForms » Addons in the left sidebar menu.
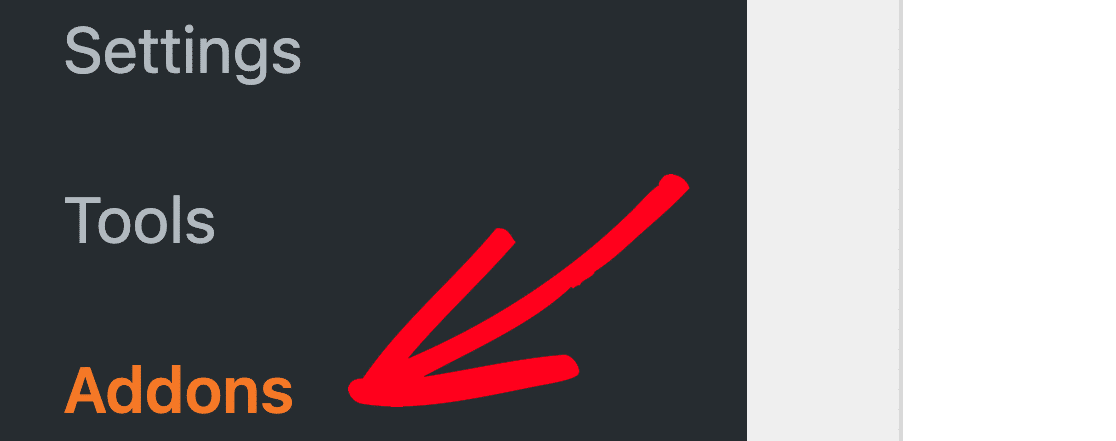
After locating the Addons page, activate the Coupons addon.
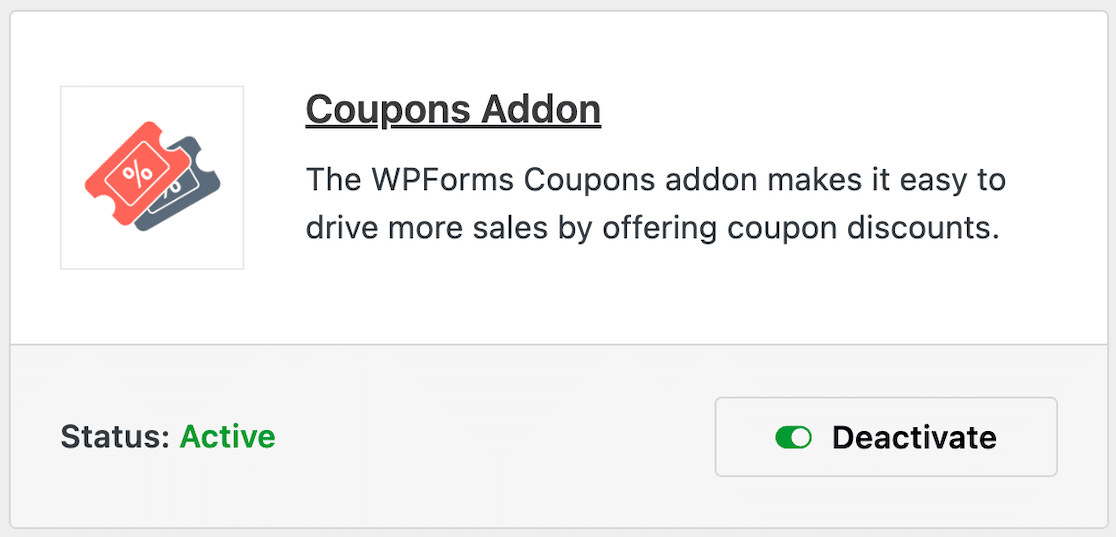
Once you activate the Coupons addon, you can create your form.
2. Create Your Form
You don’t need to know any code to create a form using WPForms. Everything in the form builder is drag-and-drop, so it’s super easy.
To create a new form, click on WPForms » Add New in the left sidebar menu. You can create a form from scratch or use one of the templates.
As you add your products and payment field, you can also drag and drop a coupon field onto your form. We suggest placing the coupon field where customers will easily see it at checkout.
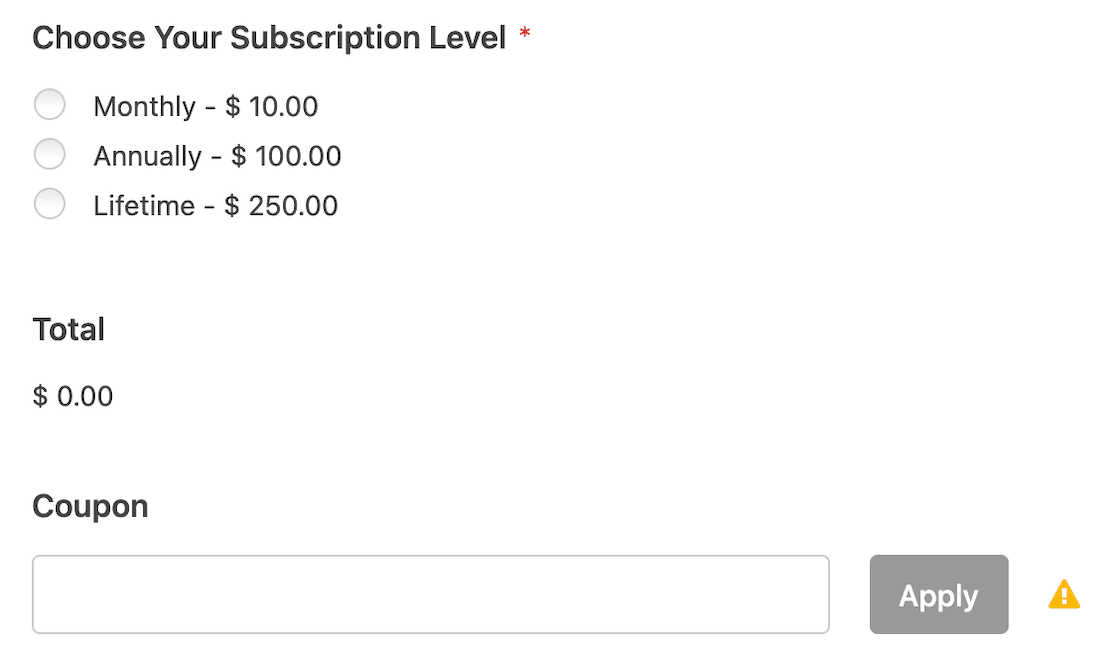
There will be a little warning symbol next to the coupon field. Don’t worry about that just yet. It just indicates that you haven’t connected the form to a specific coupon yet. We’ll take care of that in the next step.
When you’ve finished setting up your form, save it and close out of the form builder. You’re ready to create your promo code.
3. Create Your Coupon Code
From the left sidebar menu, navigate to WPForms » Payments.
Once you’re on the Payments screen, you’ll see 2 tabs at the top: Overview and Coupons. Click on the Coupons tab, and then click on the Add Coupon button at the top.
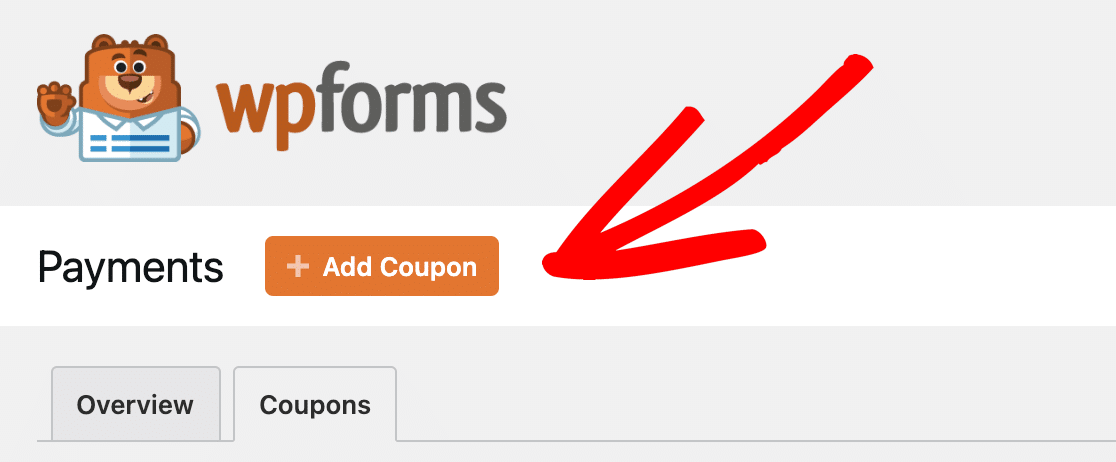
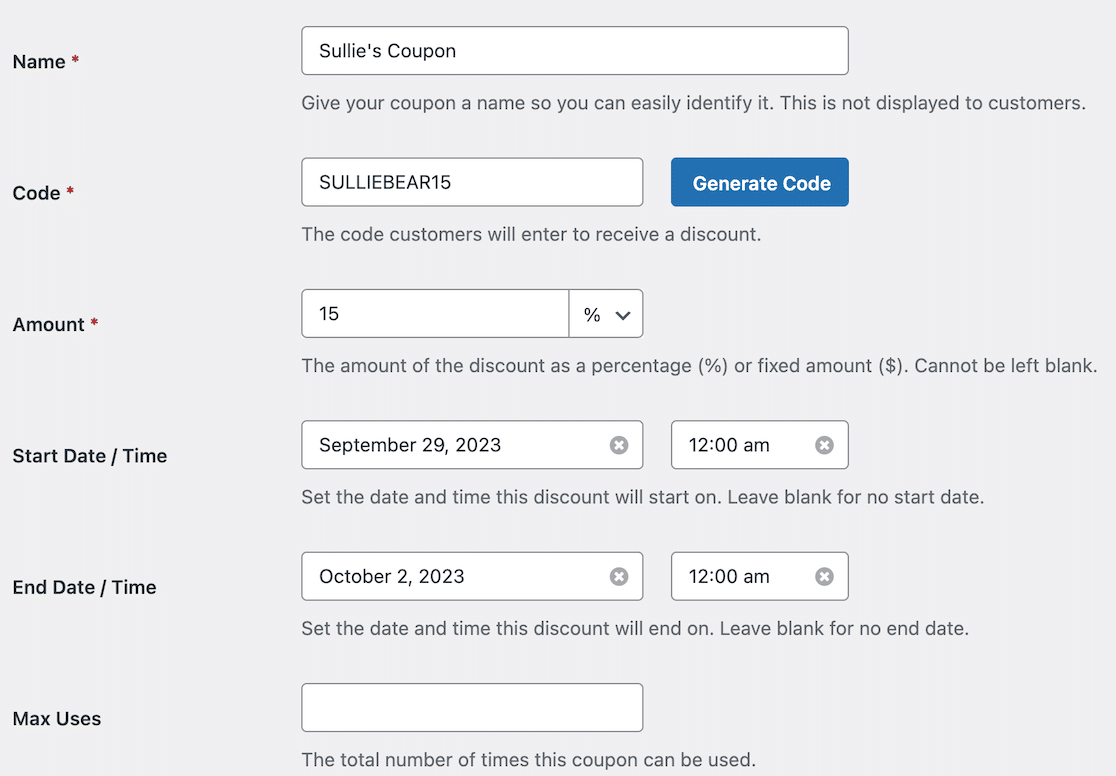
On the next screen, you’ll fill in the details for your first coupon, including the discount amount, usage restriction, and the length of time it will run.
You can decide the type of discount and if the new coupon amount will be a flat cash value or a percentage discount. It’s possible to create your own discount code or generate coupon codes automatically.
After you finish filling in the coupon details, the next section below asks you to allow forms to use that specific coupon.
You can enable the coupon on all of your forms by clicking the Form toggle at the top of the list. You can also choose which individual forms to allow.

Once you’ve enabled the forms you wish to accept that particular coupon code, you can click the orange Save button at the bottom.
4. Publish Your Form
After saving, you can go back to your form to double-check that the coupon code was applied properly. If it has been, you should no longer see the alert next to the field.
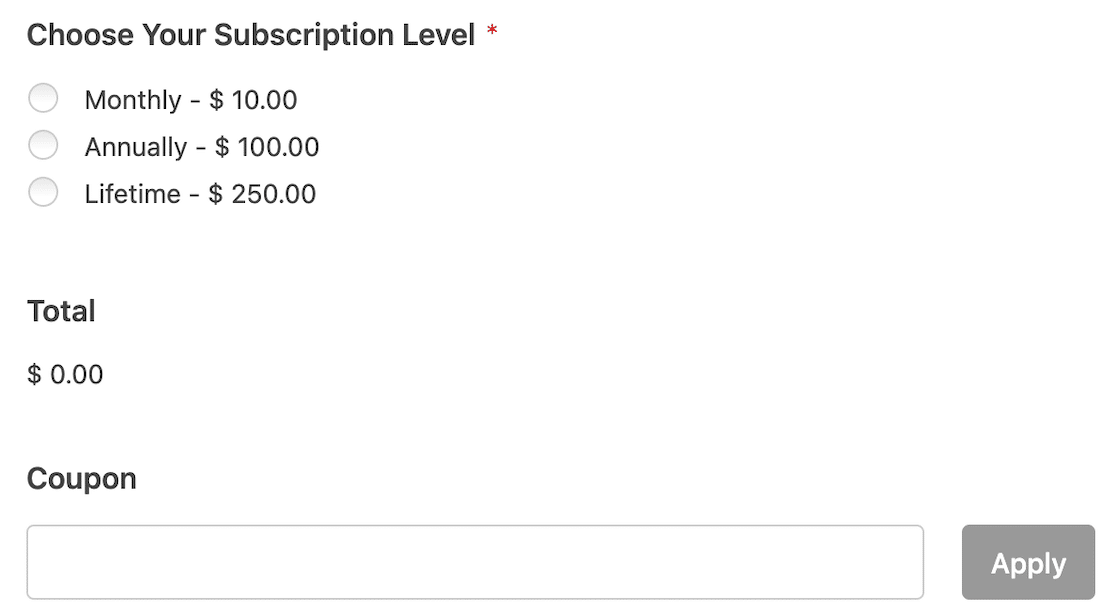
Now you’re ready to embed your form on a page and start collecting payments!
5. Review Your Payments
As your form starts making sales, you can easily review your payments by navigating to WPForms » Payments from the left sidebar menu that you visited before.
This time, you’ll want to stay on the Overview tab instead of going to the Coupons tab.
The overview dashboard will show you all of your most recent payment info, including coupon data, such as how many coupons have been redeemed.

Below that, you’ll see a list of all payments, including whether or not a coupon has been used.

That’s all there is to it! If you’re using a page builder like Divi, you can also check out this guide for steps on how to make a Divi contact form.
FAQ – How to Add Coupon Codes in WordPress
If you still have questions about how to add coupon codes in WordPress, specifically when using WPForms, which we used for this tutorial, check out the FAQs below.
Can you use the same coupon code on multiple forms?
Yes, you can use the same coupon code on multiple forms. When you go through the process of enabling the coupon code for certain forms, be sure to include it there.
Can you add more forms to a coupon code later?
You can absolutely add more forms to a coupon code later. Simply going back to where you created your coupon on the Payments page and edit it to enable more forms to use that code.
Do you have to select an expiration date for the coupon?
You don’t have to select an end date for your coupon. If you leave it open, your coupon will be active and accepted indefinitely. Without an expiry date, however, you will need to go in and manually turn it off so that its associated forms will stop accepting it.
Can I create affiliate codes using the WPForms Coupons addon?
Yes, it’s possible to create individual codes to give to your affiliates so they can share a discount with their audience. Note, however, that you will have to manually track their uses and provide a payout. The Coupons addon does not have the same functionality as an affiliate management plugin, but it will work for codes.
How do I limit the number of times a coupon can be used?
If you want to set up usage limits, all you have to do is update the number in the “Max Uses” field, and it will limit the number of times someone can use the coupon.
If you leave it blank, they can use the coupon as often as they want. If you enter 1, each shopper can only use the coupon once.
Next, Get More Out of WordPress
Are you ready to get more out of WordPress? If so, check out some of our reviews to find the plugins that will help you take your website to the next level.
- Best WordPress Maintenance Services
- Best eCommerce Plugins for WordPress
- Best WordPress Email Subscription Plugins
- Best Web Analytics Tools
- Best No-Code Tools
Want to make it better for people to get in touch with you? Check out this guide to learn how to use WPForms to set up a multi-step form in WordPress. While you’re at it, also take a look at this guide to learn how to create a lead magnet page in WordPress.
Ready to fix your emails? Get started today with the best WordPress SMTP plugin. WP Mail SMTP Elite includes full White Glove Setup and offers a 14-day money-back guarantee.
If this article helped you out, please follow us on Facebook and Twitter for more WordPress tips and tutorials.

