Are your BuddyPress email notifications not sending?
A lot of BuddyPress users run into this issue. Sometimes, you’ll find that the password reset email is delivered, but the activation email isn’t.
I’ll show you how to fix your BuddyPress notifications with SMTP. At the end of the article, I’ll also show you how to log and resend these emails.
Fix Your BuddyPress Emails Now! 🙂
What Is the BuddyPress Activation Email?
The BuddyPress activation email is the email that’s sent when a new user first registers on your site. It contains a link that your new user needs to click to activate their account.
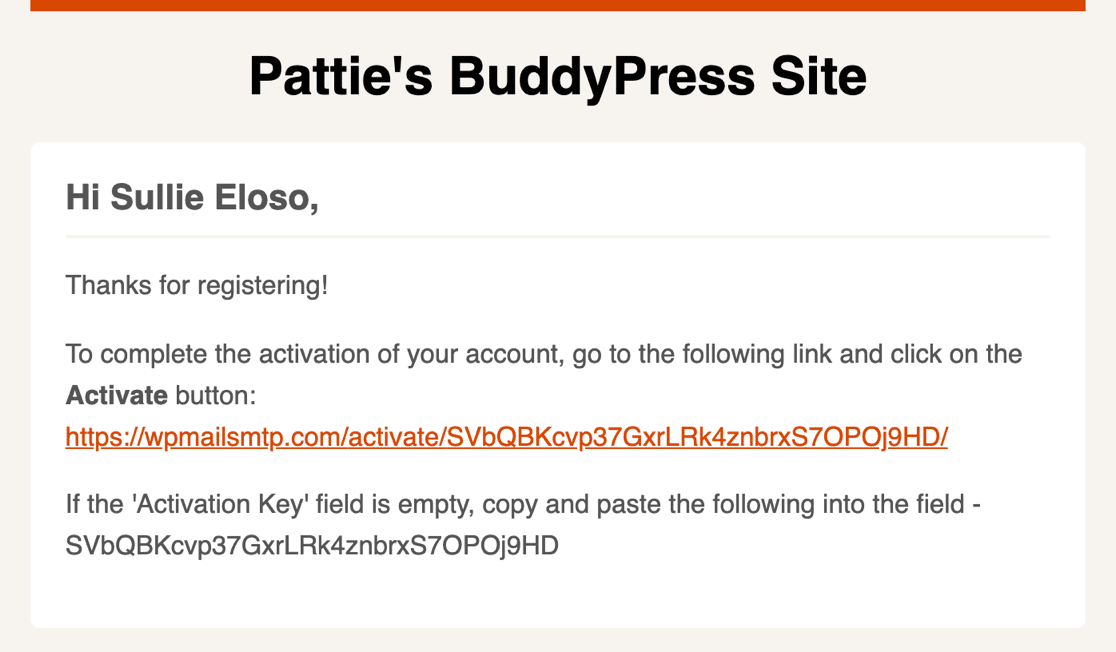
If this email isn’t delivered, your new users can’t complete the BuddyPress email verification process. That means they can’t log in and use their new account.
How to Fix BuddyPress Email Notifications
I’m now going to walk you through the steps on how to send all BuddyPress emails through WP Mail SMTP and a reliable 3rd party email provider.
1. Install the WP Mail SMTP Plugin
WP Mail SMTP is the best SMTP plugin for WordPress. It lets you send WordPress emails through a 3rd party email provider.
Using an email provider adds vital authentication headers to your emails. That’s extremely important because emails without these headers are often filed in the Junk Mail folder.
The basic steps in this tutorial will work with the free or Pro version of WP Mail SMTP. We recommend that you use the Pro license because it gives you some extra features, including:
- BuddyPress email logging
- Resend BuddyPress emails individually or in bulk
- Open and click tracking for WordPress emails
I’ll show you how these features work later in the tutorial. If you’re using the Pro version or above, you can download the latest copy of the plugin from the Downloads tab in your WP Mail SMTP account.
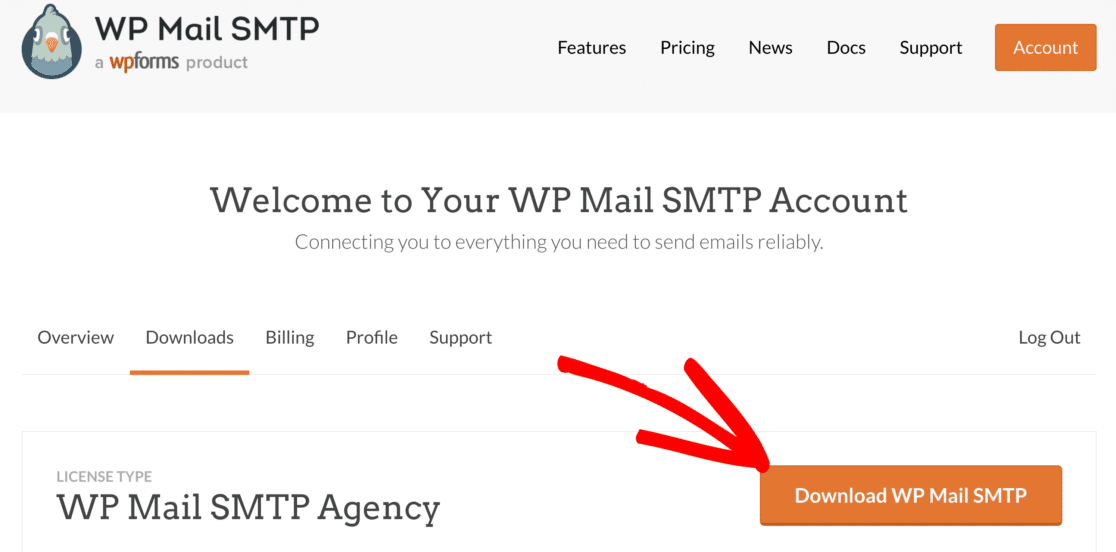
Go ahead and upload the plugin zip file to your WordPress site.

As soon as you activate the plugin, the Setup Wizard will open in your browser. Let’s work through the Setup Wizard next.
2. Choose a Reliable Email Provider
In this step, we’re going to decide which email provider you want to use to send WordPress emails. WP Mail SMTP supports free and paid mailers for any size of BuddyPress community.
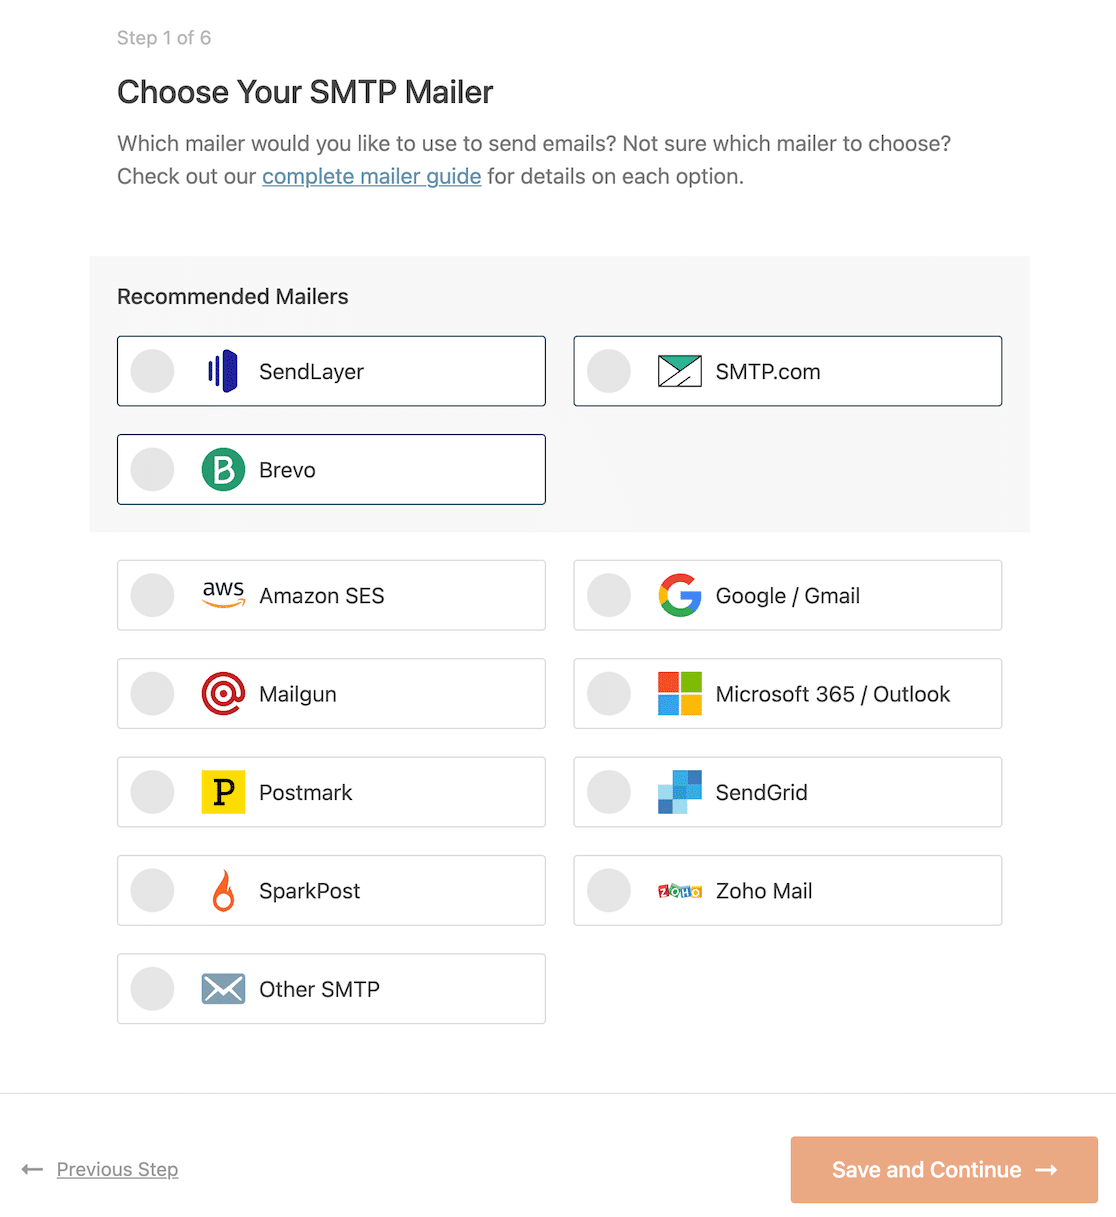
Since you’ll want BuddyPress activation emails to arrive quickly, we strongly recommend that you choose a transactional email provider.
Transactional email providers are designed to handle high-volume sending, and they’re very good at delivering emails almost instantly. SendLayer, SMTP.com, and Brevo (formerly Sendinblue) are all great options.
Other providers like Gmail or Other SMTP will likely work on a small site, but they aren’t designed to handle very high volume sending. So with Gmail SMTP, you’re more likely to run into issues as your community grows.
When you’ve chosen your WordPress email provider, click the link below to open up the corresponding doc. Following the steps in our doc will help you complete the signup process and get connected.
| Mailers available in all versions | Mailers in WP Mail SMTP Pro |
|---|---|
| SendLayer | Amazon SES |
| SMTP.com | Microsoft 365 / Outlook.com |
| Brevo | Zoho Mail |
| Google Workspace / Gmail | |
| Mailgun | |
| Postmark | |
| SendGrid | |
| SparkPost | |
| Other SMTP |
Need a hand?
Our Elite license includes White Glove Setup for SendLayer, SMTP.com, or Brevo.
If you want to set up multiple mailers, you can do so in the Additional Connections settings once you’ve finished the Setup Wizard. Then you can select a Backup Connection and configure Smart Routing.
3. Enable Email Logging
At the end of the WP Mail SMTP Setup Wizard, you’ll have the option to turn on 3 features:
- The Detailed Email Logs setting will keep track of the subject, sender, recipient, and other header information. When this setting is turned on, Complete Email Reports are also automatically enabled.
- Weekly Email Summaries will create a weekly report about the emails that have been sent.
- Instant Email Alerts let you know if your site fails to send and email so you can fix the issue.
I recommend that you turn all of these on.
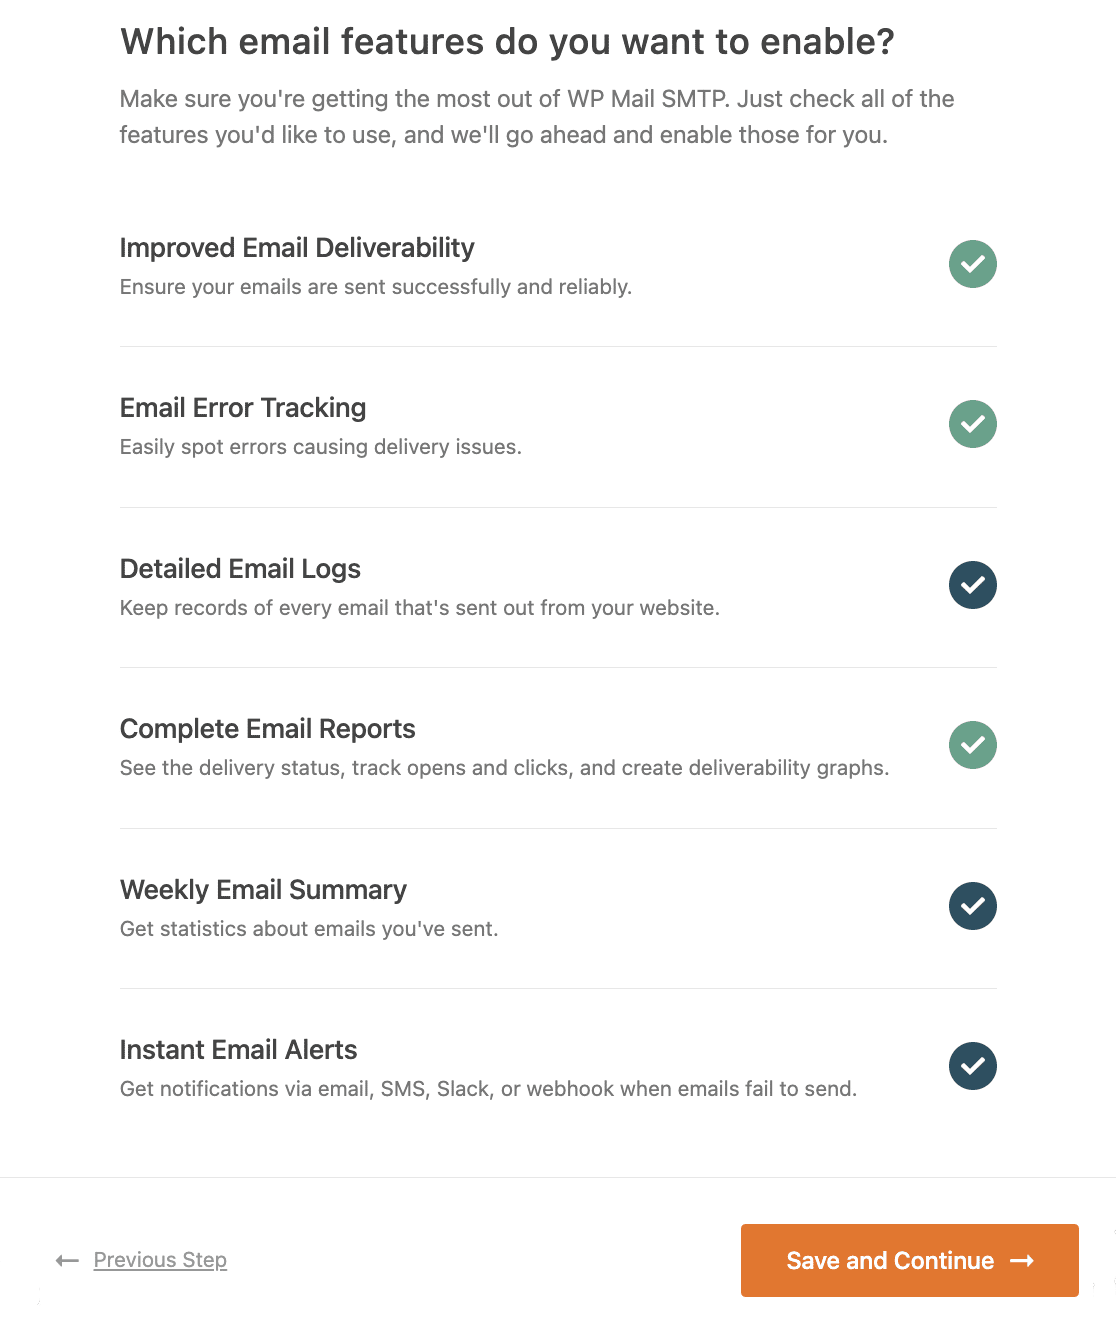
After enabling email logging, click Save and Continue to got to the next step. On this screen, you’ll be able to turn on some advanced email logging features.
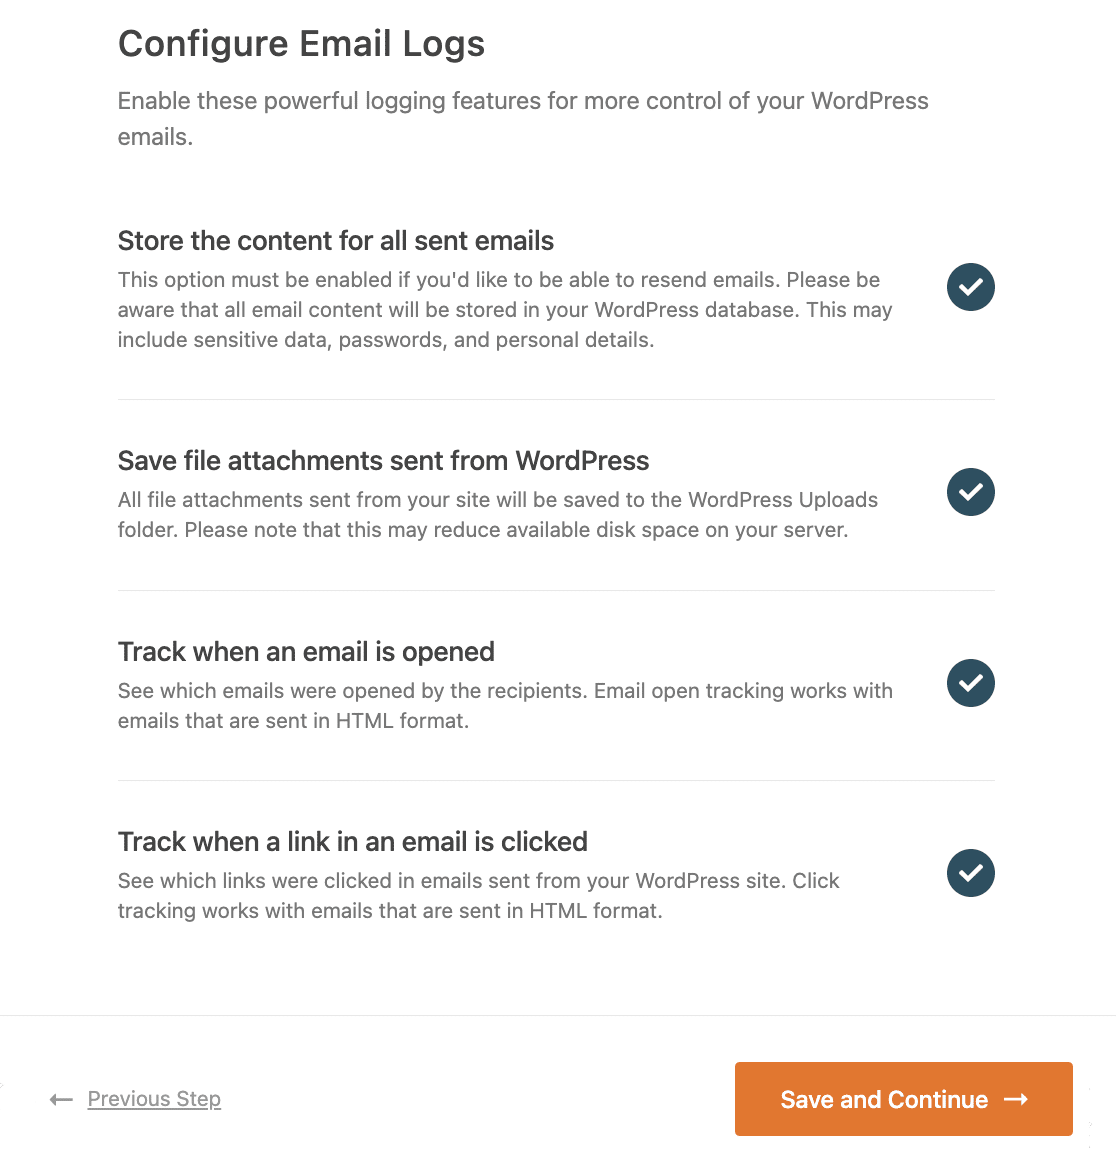
These include:
- Store the content for all sent emails. Save email content in your site’s database. This enables you to resend emails.
- Save file attachments sent from WordPress. Save email attachments in your site’s Uploads folder.
- Track when an email is opened. See when recipients open your emails.
- Track when a link in an email is clicked. See when recipients click the links in your emails.
We recommend you turn on all of these options as well, so you can get the most out of your email logs.
Once you complete the Setup Wizard, WP Mail SMTP will send an automatic test email so you know everything’s working.
Now you’ve completed the WP Mail SMTP BuddyPress setup, there’s 1 more thing to do. You need to add a short code snippet to redirect your BuddyPress emails through your new email provider.
4. Add Code Snippet to Fix BuddyPress Emails
By default, WordPress sends password reset emails using the wp_mail() function. BuddyPress activation emails aren’t sent through wp_mail() by default, so that’s why so many people have issues with them.
So in this step, we’ll add a code snippet that’ll re-route all BuddyPress emails through WP Mail SMTP.
This code snippet will also make sure that all emails are sent as HTML emails, rather than in plaintext format. That lets you track opens and clicks.
First, you need to install and activate the WPCode plugin. This will let you easily add the code to send BuddyPress emails through wp_mail() without actually editing your site’s files directly.
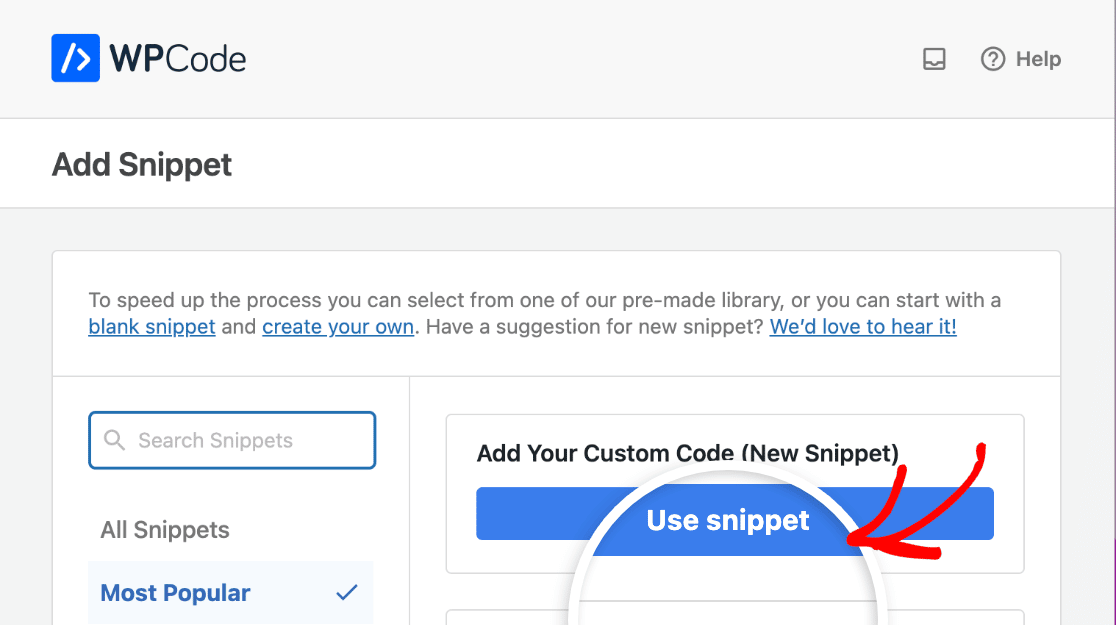
Next, go to Code Snippets » + Add Snippet in your WordPress dashboard. Then choose the Add Your Custom Code (New Snippet) option.
Enter a title in the field provided so you can identify this snippet, then set the Code Type dropdown to PHP Snippet.
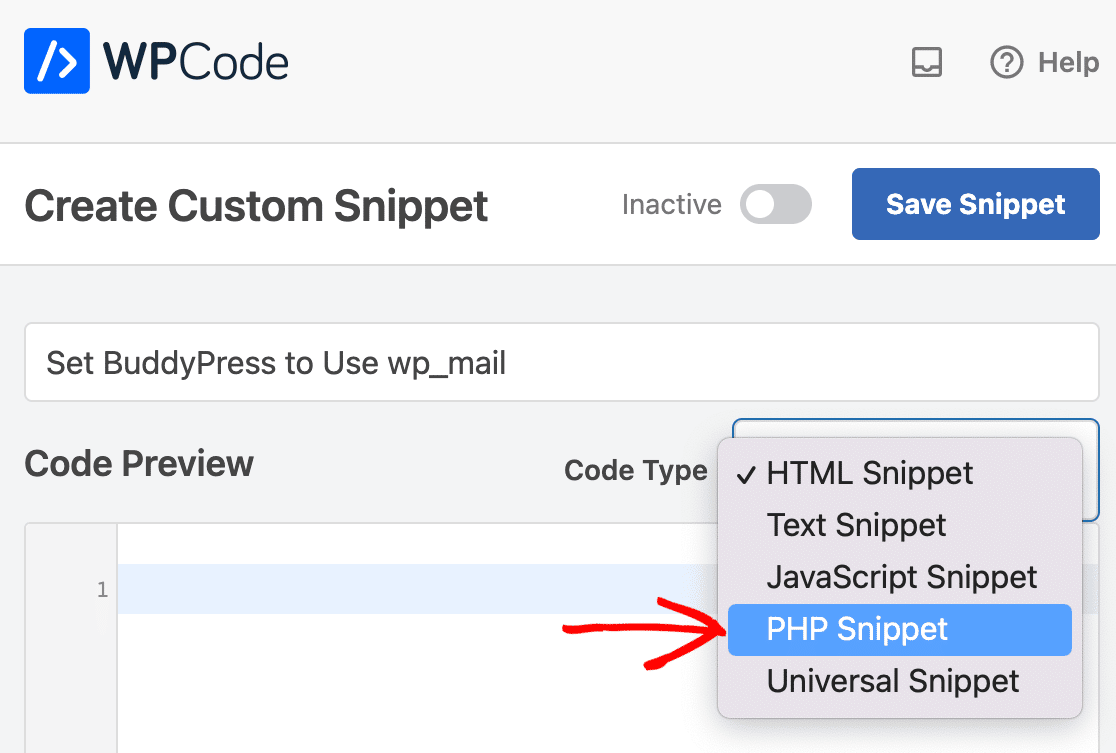
Now paste in this code to enable SMTP in BuddyPress:
Once you’re done, make sure to click the Save Snippet button.
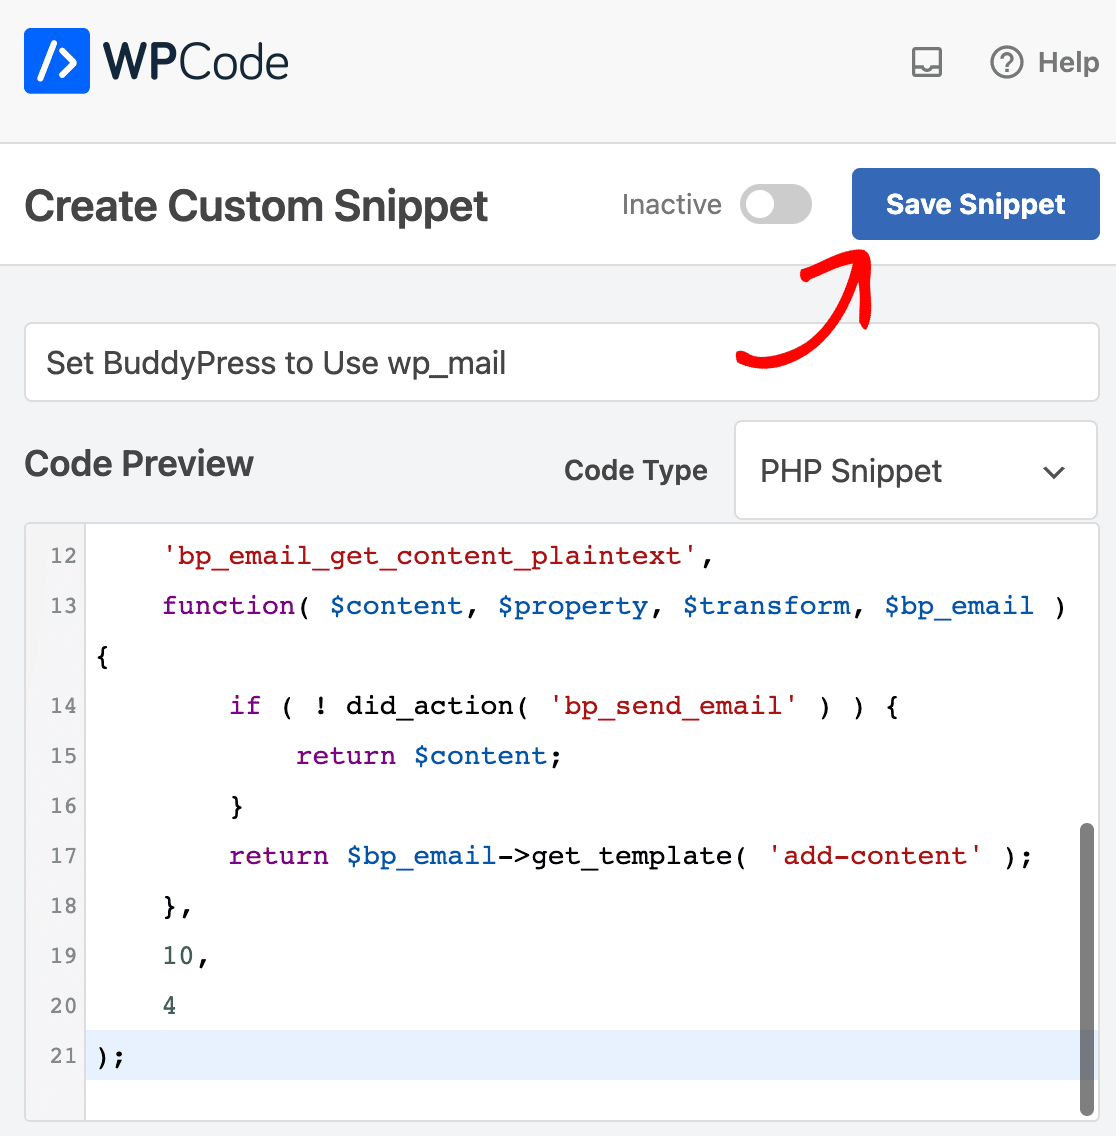
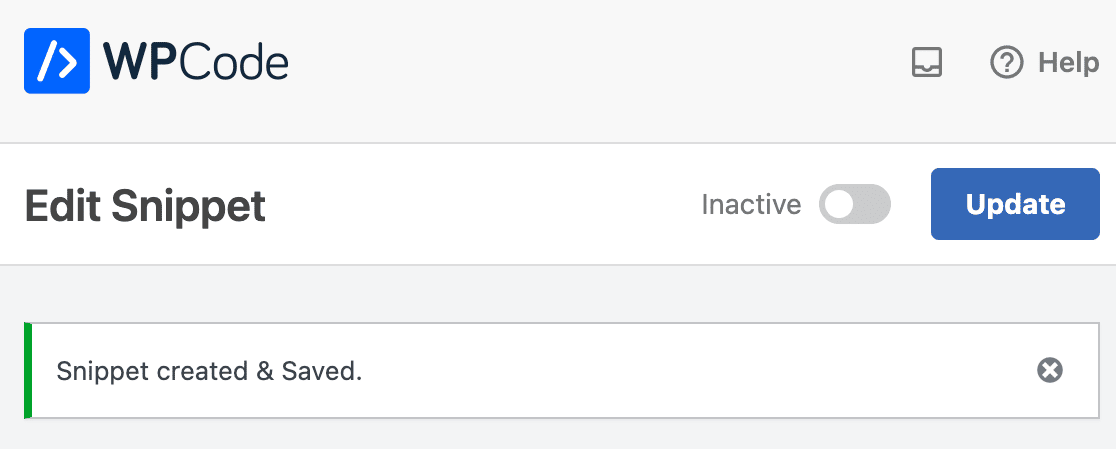
You should then see a success message.
Next, scroll down and make sure the Insertion Method is set to Auto-Insert and that the Location is set to Run Everywhere.
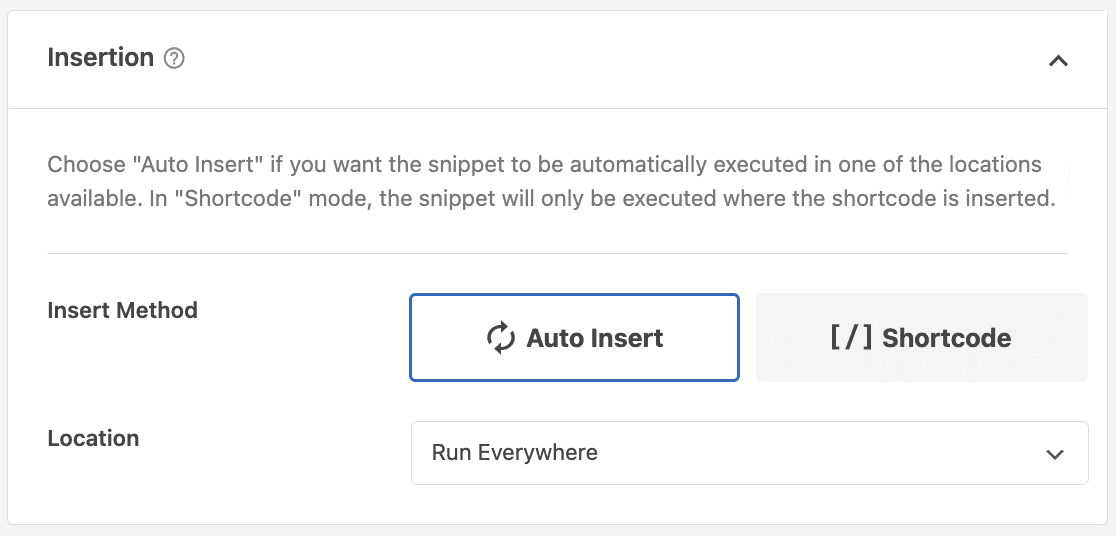
This will automatically apply this snippet everywhere on your site. The last thing to do is activate the snippet using the toggle at the top of the screen.
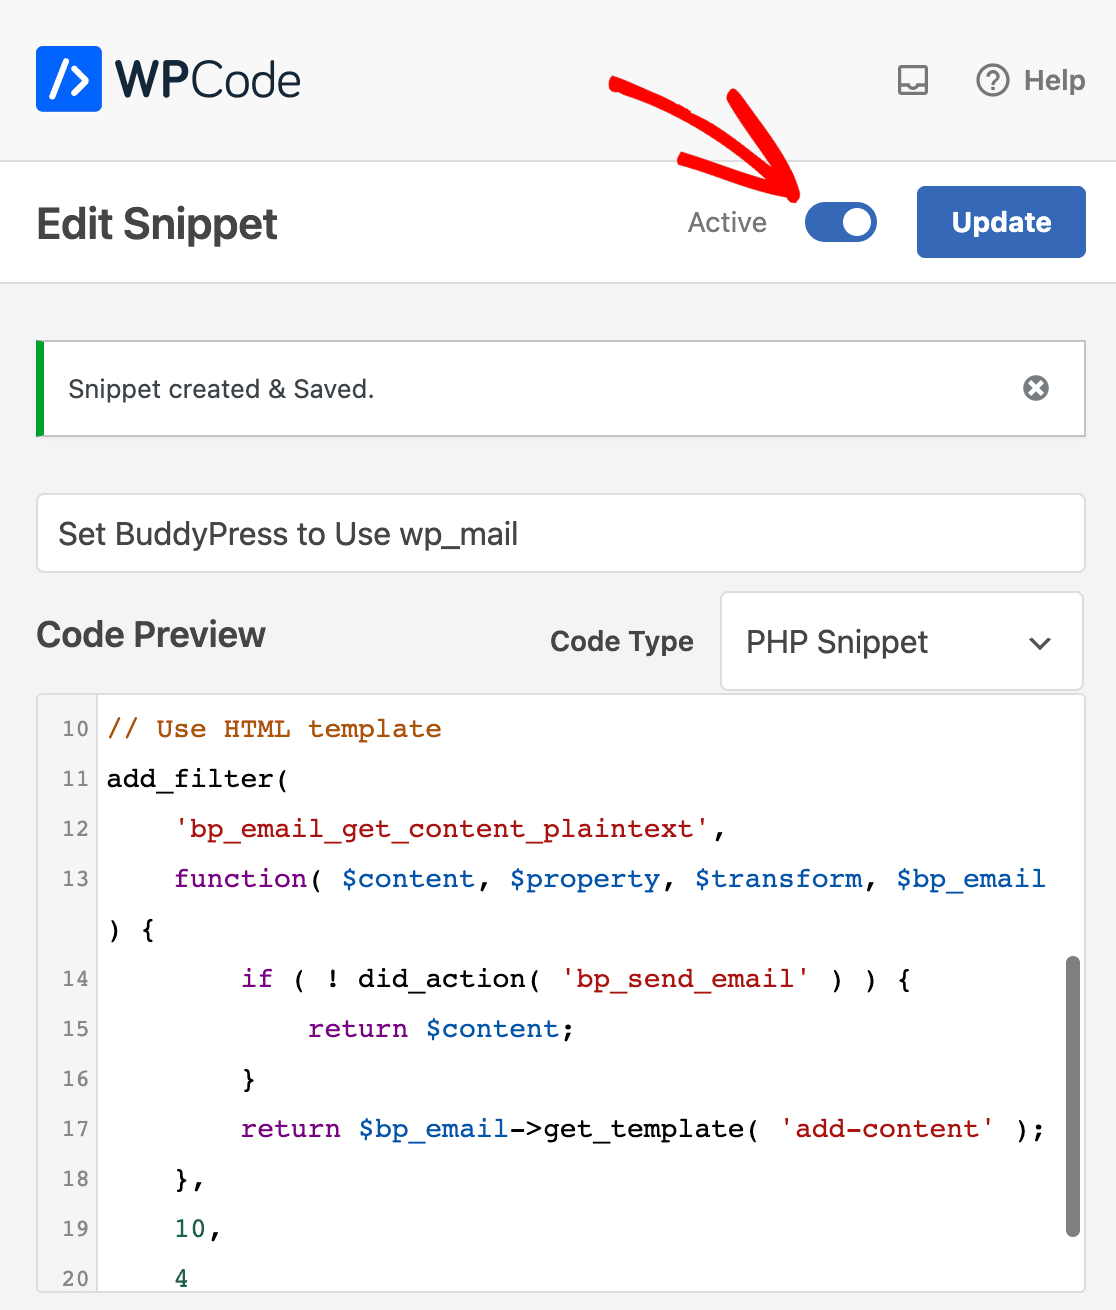
Now all your BuddyPress emails are being sent through WP Mail SMTP in HTML format. Let’s try it out!
5. Test BuddyPress Activation Email
Now we have WP Mail SMTP up and running, all BuddyPress emails are being sent through your email provider. This will fix the issues you were having with email deliverability.
To test it out, we can register a brand new user on your BuddyPress site to trigger the activation email. Be sure to use a real email address for this test because we want to be sure that the email is delivered.
Go ahead and register a test user now.
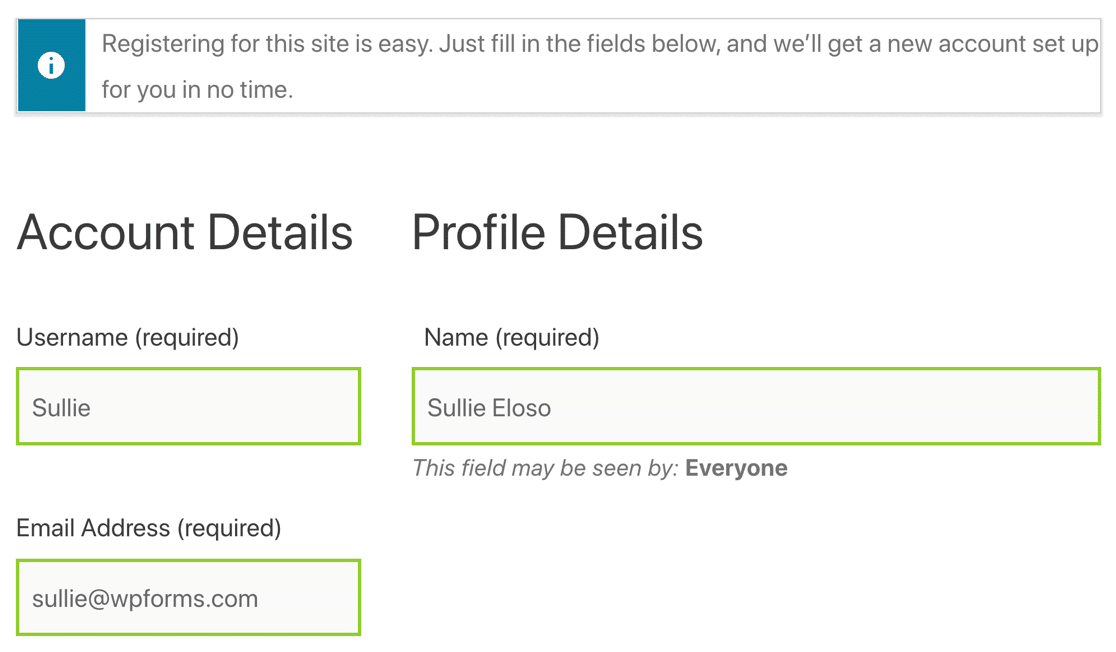
When you submit the form, you’ll get the activation email in your inbox.

If the BuddyPress verification email goes to spam, it’s possible that you have a missing DNS record. You can test this by heading to the WP Mail SMTP Email Test page.
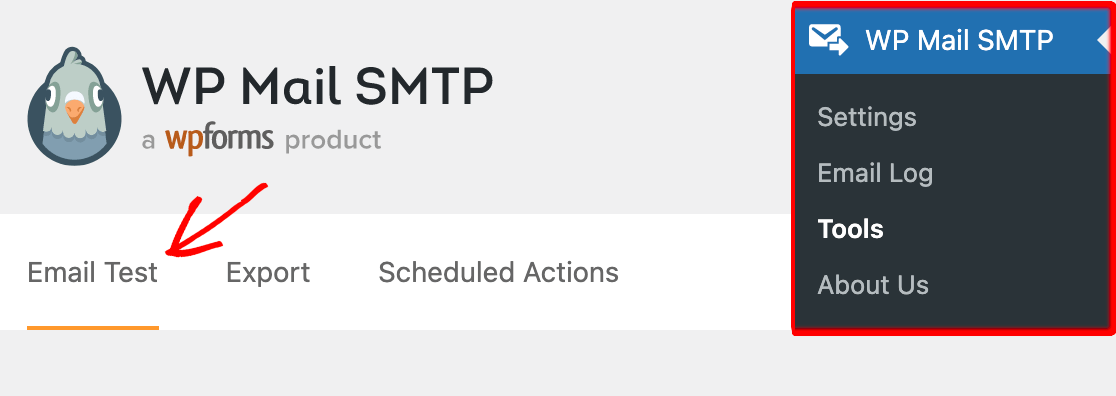
When you send a test email, WP Mail SMTP will detect any issues with your DNS records and let you know what’s missing. For example, here’s what you’ll see if you don’t haven’t created a DMARC record.

If everything’s working, we can move on and look at some of those extra email logging features we talked about at the start.
6. View BuddyPress Activation Email in the Log
Now you have WordPress email logging enabled, every email sent from BuddyPress will be saved in your email log. Head to WP Mail SMTP » Email Log to take a look.
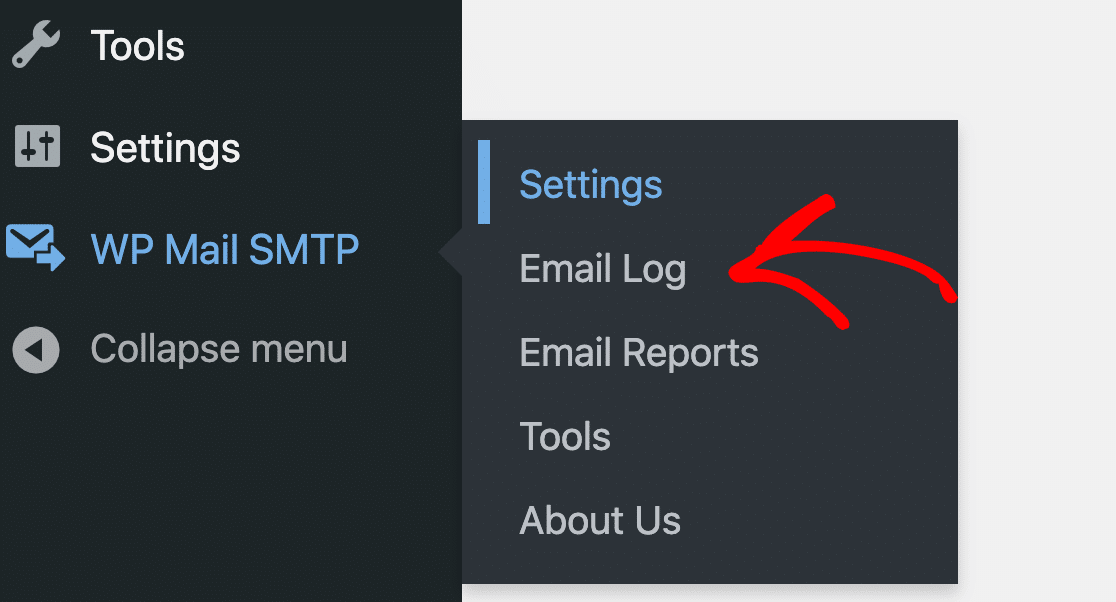
You can see the BuddyPress activation email right here at the top of the email log.

And because we enabled open and click tracking, we also know that the recipient received the activation email and clicked on a link.

When you open up the log file, you’ll see some extra information. At the top, you can see the Status of the email.
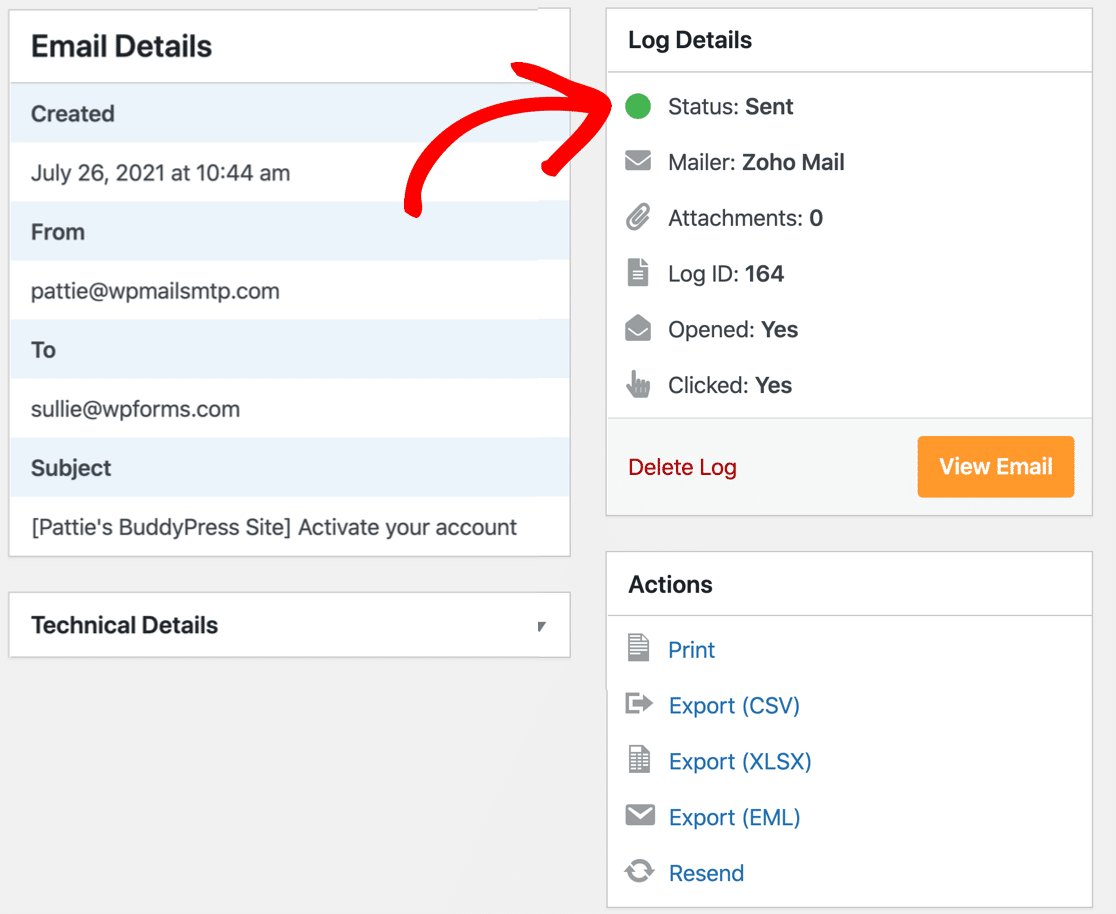
All mailers support the Sent and Failed status. If you’re using a transactional mailer like SendLayer, you might see Unconfirmed or Delivered statuses as well.
Next, I’ll show you one final tip: how to resend verification emails from BuddyPress.
7. Resend the BuddyPress Activation Email
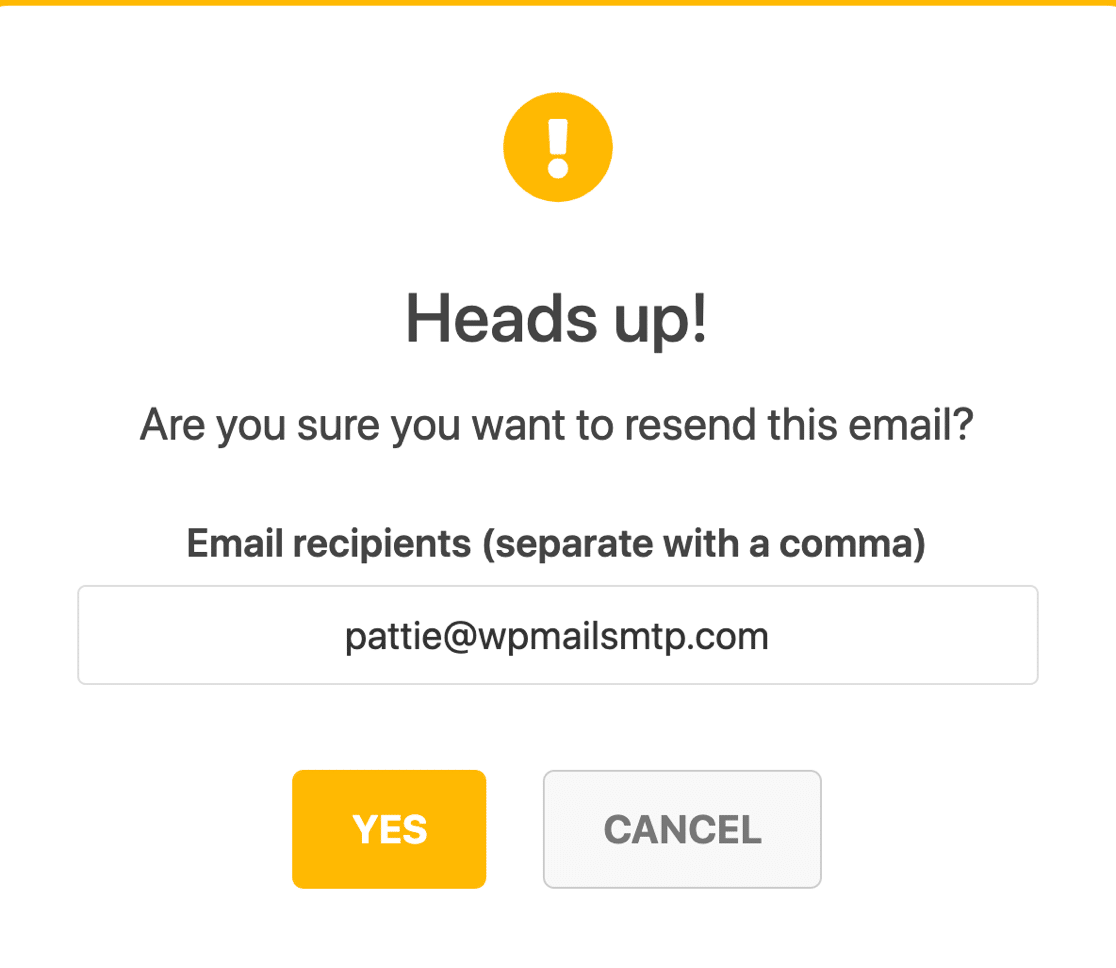
Right underneath the basic email log information, there’s also a Resend link.
This allows you to resend BuddyPress activation emails that have failed. If you want, you can forward them to a different email address. Just hit Yes to resend the BuddyPress activation email that failed.
And that’s it! Now you know how to use BuddyPress SMTP to fix your activation emails.
FAQs on How to Fix BuddyPress Not Sending Activation Emails
BuddyPress not sending activation emails is a popular topic of interest among our readers. Here are answers to some common queries about it:
Can I resend a BuddyPress activation email to a user?
Yes. install the WP Mail SMTP plugin, pick the email that you want to send from email logs, and click Resend. WP Mail SMTP then resends the BuddyPress activation email for a fresh sign up.
How do I change the BuddyPress activation email message?
In your WordPress dashboard go to Emails › BuddyPress and open Account Activation. Edit the subject and body, then save. The new text will show for every new member.
How can I stop BuddyPress activation emails from going to spam?
Send mail through an SMTP tool like WP Mail SMTP, add SPF and DKIM records, and keep the “From” address on the same domain as your site. These steps tell mail servers the message is real.
Does WP Mail SMTP help BuddyPress activation emails reach inboxes?
Yes. The plugin connects your site to services such as Gmail, SendLayer, or Amazon SES. Authenticated mail is trusted more by providers, so users see the email in their main inbox instead of junk.
How do I log BuddyPress registration emails for testing?
Turn on Email Log in WP Mail SMTP. Each activation email then appears in a log with date, address, and status, so you can confirm it was sent.
Can I add my logo to the BuddyPress activation email?
Install an email template plugin (for example, Email Templates WP). Choose a header image, upload your logo, and save. BuddyPress will use that design for all outgoing mail.
What causes the BuddyPress activation email to stay in “pending” status?
Most often the user never clicks the link, or the email was blocked by the host. Check that SMTP is working, make sure the “From” address is valid, and ask the user to look in their spam folder.
Next, Set Up Push Notifications in WordPress
Do you want to alert BuddyPress users or visitors? You can send alerts automatically based on specific actions, or manually send push notifications when you have something new to announce. Check out this tutorial on how to add web push notifications to WordPress with a free plugin.
Ready to fix your emails? Get started today with the best WordPress SMTP plugin. If you don’t have the time to fix your emails, you can get full White Glove Setup assistance as an extra purchase, and there’s a 14-day money-back guarantee for all paid plans.
If this article helped you out, please follow us on Facebook and Twitter for more WordPress tips and tutorials.

